You’re always on the lookout for engaging, safe, and creativity-boosting activities for the children in your life, aren’t you? Something that encourages imaginative play, develops fine motor skills, and provides a tangible sense of accomplishment without demanding hours of elaborate setup or specialized equipment. Look no further than air-dry clay. This versatile and forgiving medium has rapidly become a go-to for parents and educators alike, offering a world of artistic exploration right at your fingertips. From simple shapes to intricate figures, air-dry clay provides a unique tactile experience that captivates young minds and allows their ideas to take physical form.
This guide will walk you through everything you need to know about embarking on air-dry clay adventures with kids. You’ll discover why it’s such a fantastic choice, what essential supplies you’ll need, and a plethora of exciting project ideas to spark their imaginations. You’ll also learn crucial tips for safety, successful crafting, and even how to preserve those precious creations. Get ready to roll up your sleeves, because a world of colorful, tactile fun awaits!
The Allure of Air-Dry Clay for Young Creators
There’s a compelling reason why air-dry clay has soared in popularity for children’s crafts. You might be familiar with traditional modeling clay or even oven-bake varieties, but air-dry clay offers a distinct set of advantages that make it exceptionally well-suited for kids. Its accessibility, ease of use, and the sheer joy it brings are unparalleled, making it a staple in homes and classrooms.
Why Air-Dry Clay is a Kid-Friendly Crafting Gem
When considering craft materials for children, you naturally prioritize safety, simplicity, and the potential for creative expression. Air-dry clay ticks all these boxes, and then some. You’ll find that it’s remarkably easy to work with, even for very young children, and requires minimal adult intervention once they get the hang of it. This independence fosters confidence and a sense of ownership over their projects.
Perhaps one of the biggest draws is its no-bake nature. You don’t need a kiln, nor do you need to worry about high oven temperatures, which can be a significant hurdle for many craft projects. This eliminates a major safety concern and streamlines the entire process. Once shaped, the clay simply dries at room temperature, hardening over 24 to 72 hours depending on thickness and humidity. This allows children to experience the entire creative cycle from start to finish without interruption.
Furthermore, air-dry clay is incredibly versatile. It can be molded, sculpted, rolled, cut, and impressed with various textures. You can integrate other materials like beads, glitter, or natural elements (leaves, twigs) into the wet clay, or decorate it once dry with paint, markers, or even glazes. This adaptability encourages mixed-media exploration and broadens the scope of potential projects.
Understanding “Non-Toxic” and Product Safety
Your primary concern when introducing any new material to children is always safety. When it comes to clay, you’ll frequently see the term “non-toxic.” But what does that truly mean, and how can you ensure you’re choosing the right product for your kids? Hey Clay published a June 2026 post explaining what “non-toxic” really means and what gets tested in kids’ clay kits. They emphasized that “non-toxic” generally indicates the product does not contain ingredients in sufficient quantities to be poisonous or injurious to humans, including children, even if ingested.
However, “non-toxic” does not necessarily mean “food-safe.” While accidental ingestion of a small amount might not be harmful, it’s not intended for consumption. Always supervise young children, especially those who tend to put things in their mouths. Hey Clay also advised parents to check a brand before buying, looking for certifications like the ACMI (Art & Creative Materials Institute) AP (Approved Product) Seal, which signifies that the product has been evaluated by a qualified toxicologist and meets specific safety standards. You’ll find that many reputable brands clearly display this seal on their packaging.
New products are continually launching, including non-stick clay sets aimed at sensory craft kits, reflecting an ongoing commitment to child-friendly formulations. When purchasing, always check the product packaging for safety certifications and age recommendations. Even with non-toxic clay, it’s a good practice to encourage hand washing before and after handling the clay.
Air-Dry Clay Versus Other Clay Types
You might be wondering how air-dry clay stacks up against other popular modeling materials for children. Hey Clay posted a July 2026 guide comparing air-dry clay with dough, oil-based, and bake-hard clays, which can help you choose the right type for kids.
- Dough (e.g., Play-Doh): Excellent for very young children due to its softness and easy manipulation. It’s often brightly colored and has a distinctive scent. However, dough dries out quickly if left exposed to air and doesn’t harden permanently, meaning creations are temporary. While new products are launching, including a Hasbro/Horizon Group USA licensing deal for Play-Doh air-dry clay, traditional dough remains a play material, not a permanent craft medium.
- Oil-Based Clay (e.g., Plastilina): This clay never dries out or hardens, making it perfect for stop-motion animation or projects where you want to continually re-sculpt. It’s often stiffer than dough and can be greasier, potentially staining surfaces. It’s not suitable for creations you want to keep permanently.
- Bake-Hard Clay (e.g., Sculpey, Fimo): This clay requires baking in a conventional oven to harden permanently. It’s durable once cured and comes in a vast array of colors. However, it requires oven supervision and can be more challenging for very young children to manipulate due to its firmer consistency before baking. The oven requirement adds a layer of complexity and supervision that air-dry clay avoids.
You’ll quickly see that air-dry clay offers a “best of both worlds” scenario: it’s soft and easy to work with like dough, but it hardens permanently without the need for an oven, much like bake-hard clay. This combination makes it uniquely appealing for kids’ crafts where durable, lasting creations are desired without the extra steps.
Essential Tools and Materials for Clay Adventures
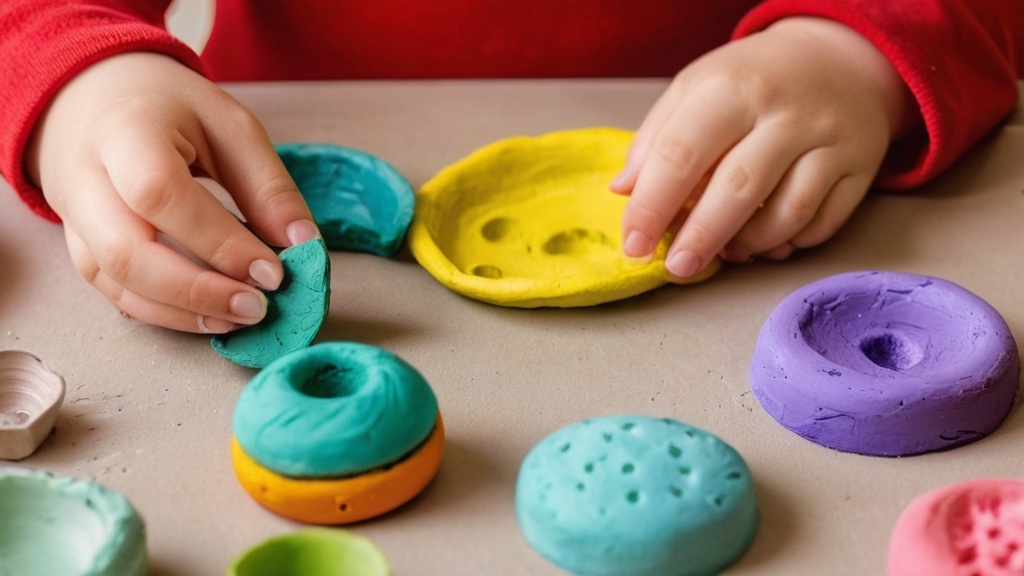
Before you dive into the exciting world of air-dry clay crafts with kids, it’s wise to gather a few essential tools and materials. You don’t need an elaborate setup or expensive equipment; in fact, many useful items can be found right in your home. Having these basic supplies on hand will make the crafting process smoother, more enjoyable, and allow for a wider range of creative possibilities.
Gathering Your Basic Clay Kit
Think of this as your foundational toolbox for air-dry clay projects. You’ll be surprised how much you can achieve with just a few simple items.
- Air-Dry Clay: This is, of course, your primary material. Air-dry clay comes in various package sizes and often in white, terra cotta, or natural grey colors. Some brands offer pre-colored air-dry clay, which can be fantastic for immediate vibrancy without needing to paint. However, white clay is excellent for painting vibrant colors after it dries. You’ll find that market demand is rising for these non-toxic craft options, so there are many choices available.
- A Workspace Protector: Clay can be a bit messy, so protect your table or floor. You can use a plastic tablecloth, a large cutting mat, wax paper, parchment paper, or even an old newspaper. This makes cleanup significantly easier.
- Rolling Pin: A small rolling pin is indispensable for flattening clay for various projects. Kids’ play rolling pins or even a clean, smooth cylindrical bottle work perfectly.
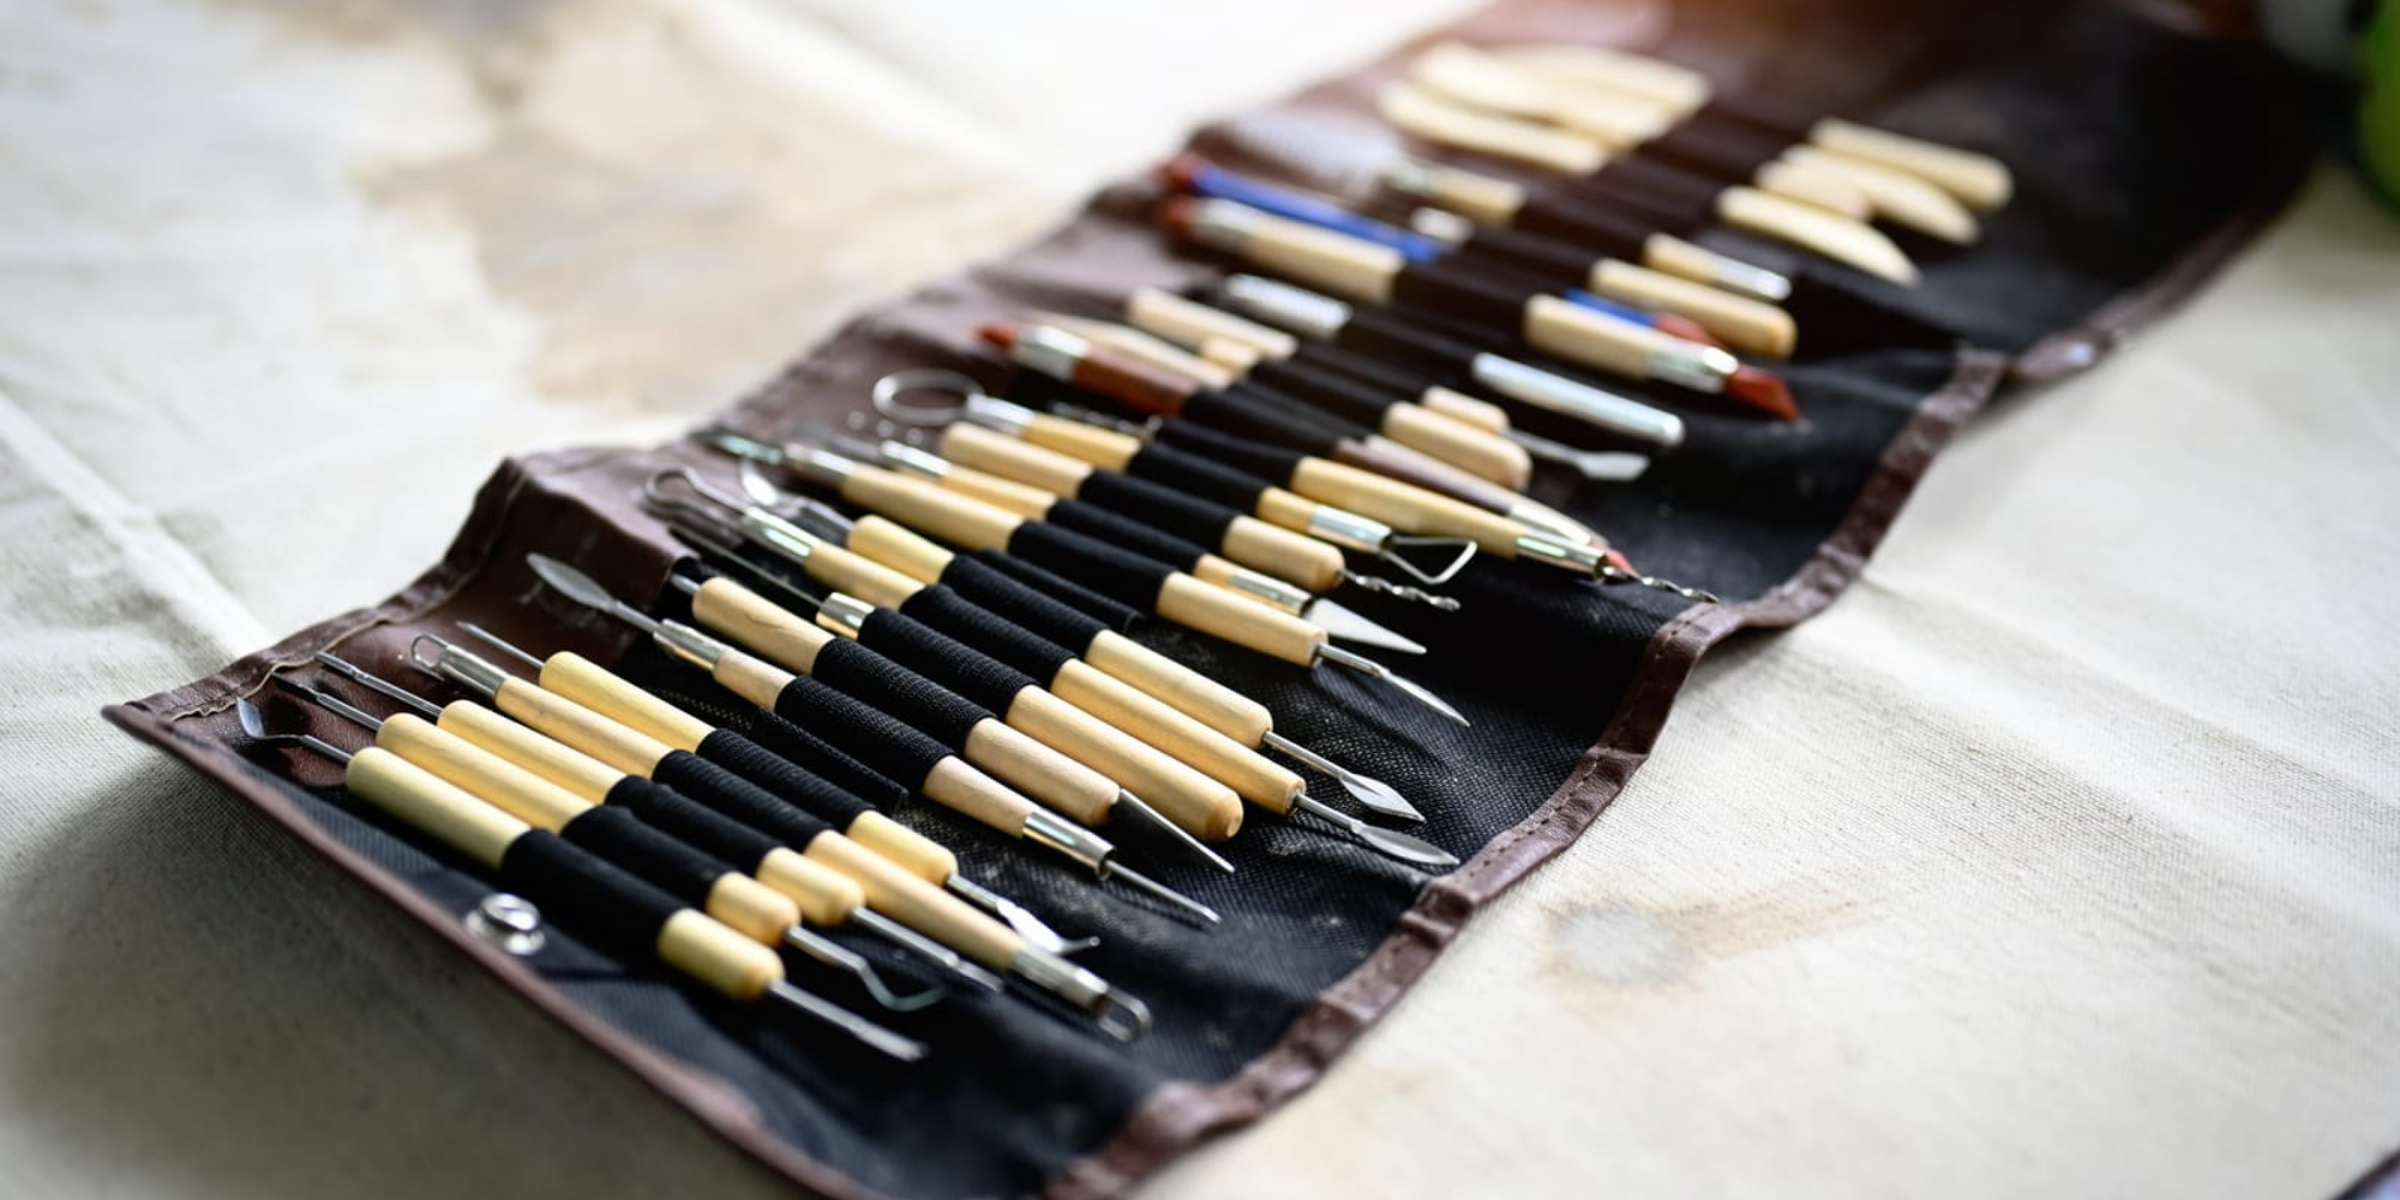
- Cutting Tools: Plastic clay tools are ideal for kids. They often come in sets with blunt knives, loop tools, and modeling sticks. Cookie cutters in various shapes (stars, hearts, animals) are also fantastic for creating consistent forms.
- Small Bowl of Water: Keep a small bowl of water nearby. You’ll use this to smooth out cracks, moisten clay if it starts to dry out while working, and to help join pieces together. Just a tiny amount is usually sufficient.
- Sponge or Cloth: A damp sponge or cloth is useful for wiping hands, tools, and the workspace, keeping things tidy as you go.
- Reference Materials (Optional): While not strictly a tool, having some craft content on hand can be very helpful. Recent craft content continues to focus on easy, no-oven projects for children, including step-by-step air-dry clay ideas from Crayola and kid-friendly project roundups from craft sites. These can provide inspiration and guidance for both you and the children.
Enhancing Your Creations: Decoration and Finishing
Once your air-dry clay creations have dried, the fun doesn’t have to stop there! Decoration adds another layer of creativity and personalization.
- Paints: Acrylic paints are excellent for decorating air-dry clay because they adhere well and offer vibrant colors. Tempera paints can also work, especially for younger children, though they might not be as durable. You’ll want a range of basic colors, along with brushes of various sizes.
- Markers: Permanent markers can be used for drawing fine details, outlines, or patterns on dry clay.
- Sealant/Varnish: To protect your finished pieces from moisture, dust, and general wear and tear, applying a sealant is a great idea. Mod Podge (matte or glossy), clear acrylic spray sealant, or craft varnish will work well. Always ensure these are non-toxic and suitable for use with children’s crafts, and apply spray sealants in a well-ventilated area, preferably by an adult.
- Embellishments: Consider having items like glitter, small beads, googly eyes, sequins, or yarn on hand. These can be glued onto the dried clay to add extra flair and texture.
- Adhesive: Craft glue (like PVA glue) is useful for attaching embellishments once the clay is dry.
Storage and Organization Tips
Keeping your air-dry clay and tools organized will make future crafting sessions much more enjoyable.
- Clay Storage: Unused air-dry clay needs to be stored properly to prevent it from drying out. You’ll want to keep it in an airtight container or a heavy-duty resealable plastic bag. If it comes in an original foil or plastic package, reseal that tightly, then place it inside an additional airtight container. If the clay feels a little dry, you can try adding a few drops of water and kneading it.
- Tool Storage: A simple caddy, plastic bin, or even a shoebox can keep all your clay tools, paints, and brushes together in one place. This makes setup and cleanup a breeze.
- Project Drying Space: You’ll need a clean, flat surface where clay creations can dry undisturbed for 24-72 hours. A wire rack can be helpful as it allows air circulation all around the piece, promoting even drying. Ensure the space is away from direct heat or drafts, which can cause cracking.
By having these materials ready, you’ll find that you and the children can transition smoothly from idea to creation, making the entire air-dry clay crafting experience even more rewarding.
Inspiring Project Ideas for Kids
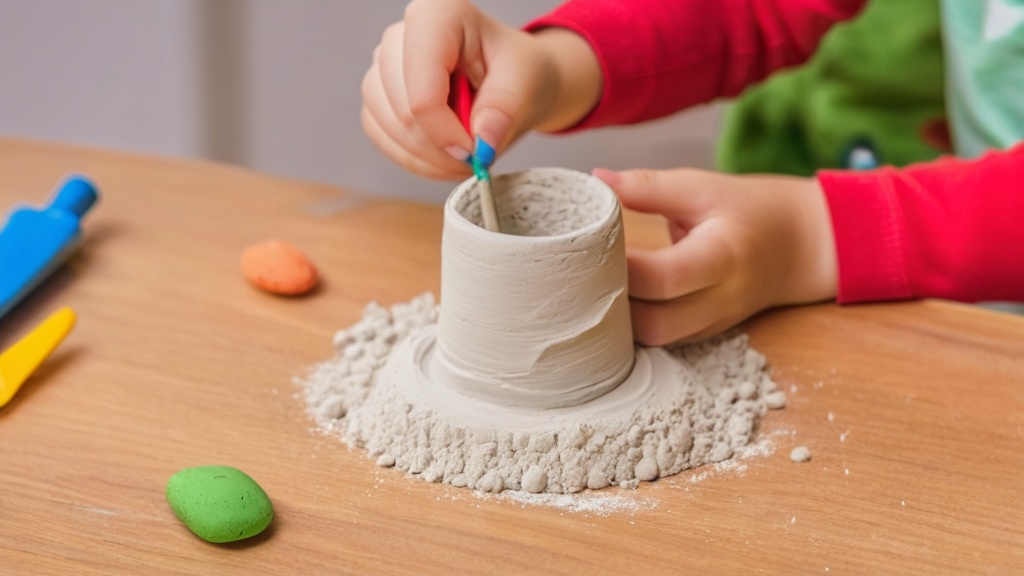
Now that you’re equipped with the necessary knowledge and materials, it’s time to unleash the creative energy! Air-dry clay offers endless possibilities, catering to various age groups and skill levels. You’ll find that even the simplest projects can be incredibly satisfying for children, fostering their imagination and fine motor development. Here are some fantastic ideas to get you started, ranging from basic shapes to more intricate designs.
Simple Shapes and Sensory Exploration
For younger children, or those new to air-dry clay, focusing on basic manipulation and sensory exploration is key. These projects are about getting comfortable with the material and understanding its properties.
- Clay Playdough: Treat air-dry clay like playdough initially. Let kids roll it, flatten it, pinch it, and pull it. Provide cookie cutters for them to press out shapes like stars, hearts, or animals. These simple cut-outs can be left plain or decorated once dry. This approach helps them build hand strength and coordination.
- Texture Rubbings: Gather various textured items from around the house or garden – lace, leaves, textured plastic mats, buttons, coins, or even a comb. Roll out a flat slab of clay and then press these items into the clay to create impressions. Once dry, these can be painted to highlight the textures.
- Coasters or Trivets: Roll out a flat circle or square of clay, about 1/4 to 1/2 inch thick. Kids can decorate the surface by pressing in small pebbles, buttons, or drawing patterns with a craft stick. Once dry and sealed, these make lovely, personalized coasters. This is a great project for using up larger chunks of clay.
- Alphabet and Number Tiles: Roll out small, flat squares or rectangles. Kids can then use a craft stick to engrave letters or numbers into the wet clay. Alternatively, they can use small alphabet stamps. Once dry, these can be used for learning games or as decorative elements.
Sculpting Animal Friends and Figures
Animals are a perennial favorite for children’s crafts. The organic shapes and imaginative potential make them ideal subjects for air-dry clay.
- Pinch Pot Animals: Start with a simple pinch pot – roll a ball of clay, then gently press your thumb into the center and pinch the walls outwards to create a cup shape. From this basic form, kids can add ears, tails, legs, and facial features to transform it into an animal like a cat, dog, owl, or even a monster. Hey Clay’s focus on easy, no-oven projects for children often features animal creations, offering great inspiration.
- Snake Coils: This classic technique is excellent for developing fine motor skills. Roll long “snakes” of clay and then coil them into spirals to create snail shells, abstract sculptures, or even the body of a snake or caterpillar. You can stack coils to build taller structures.
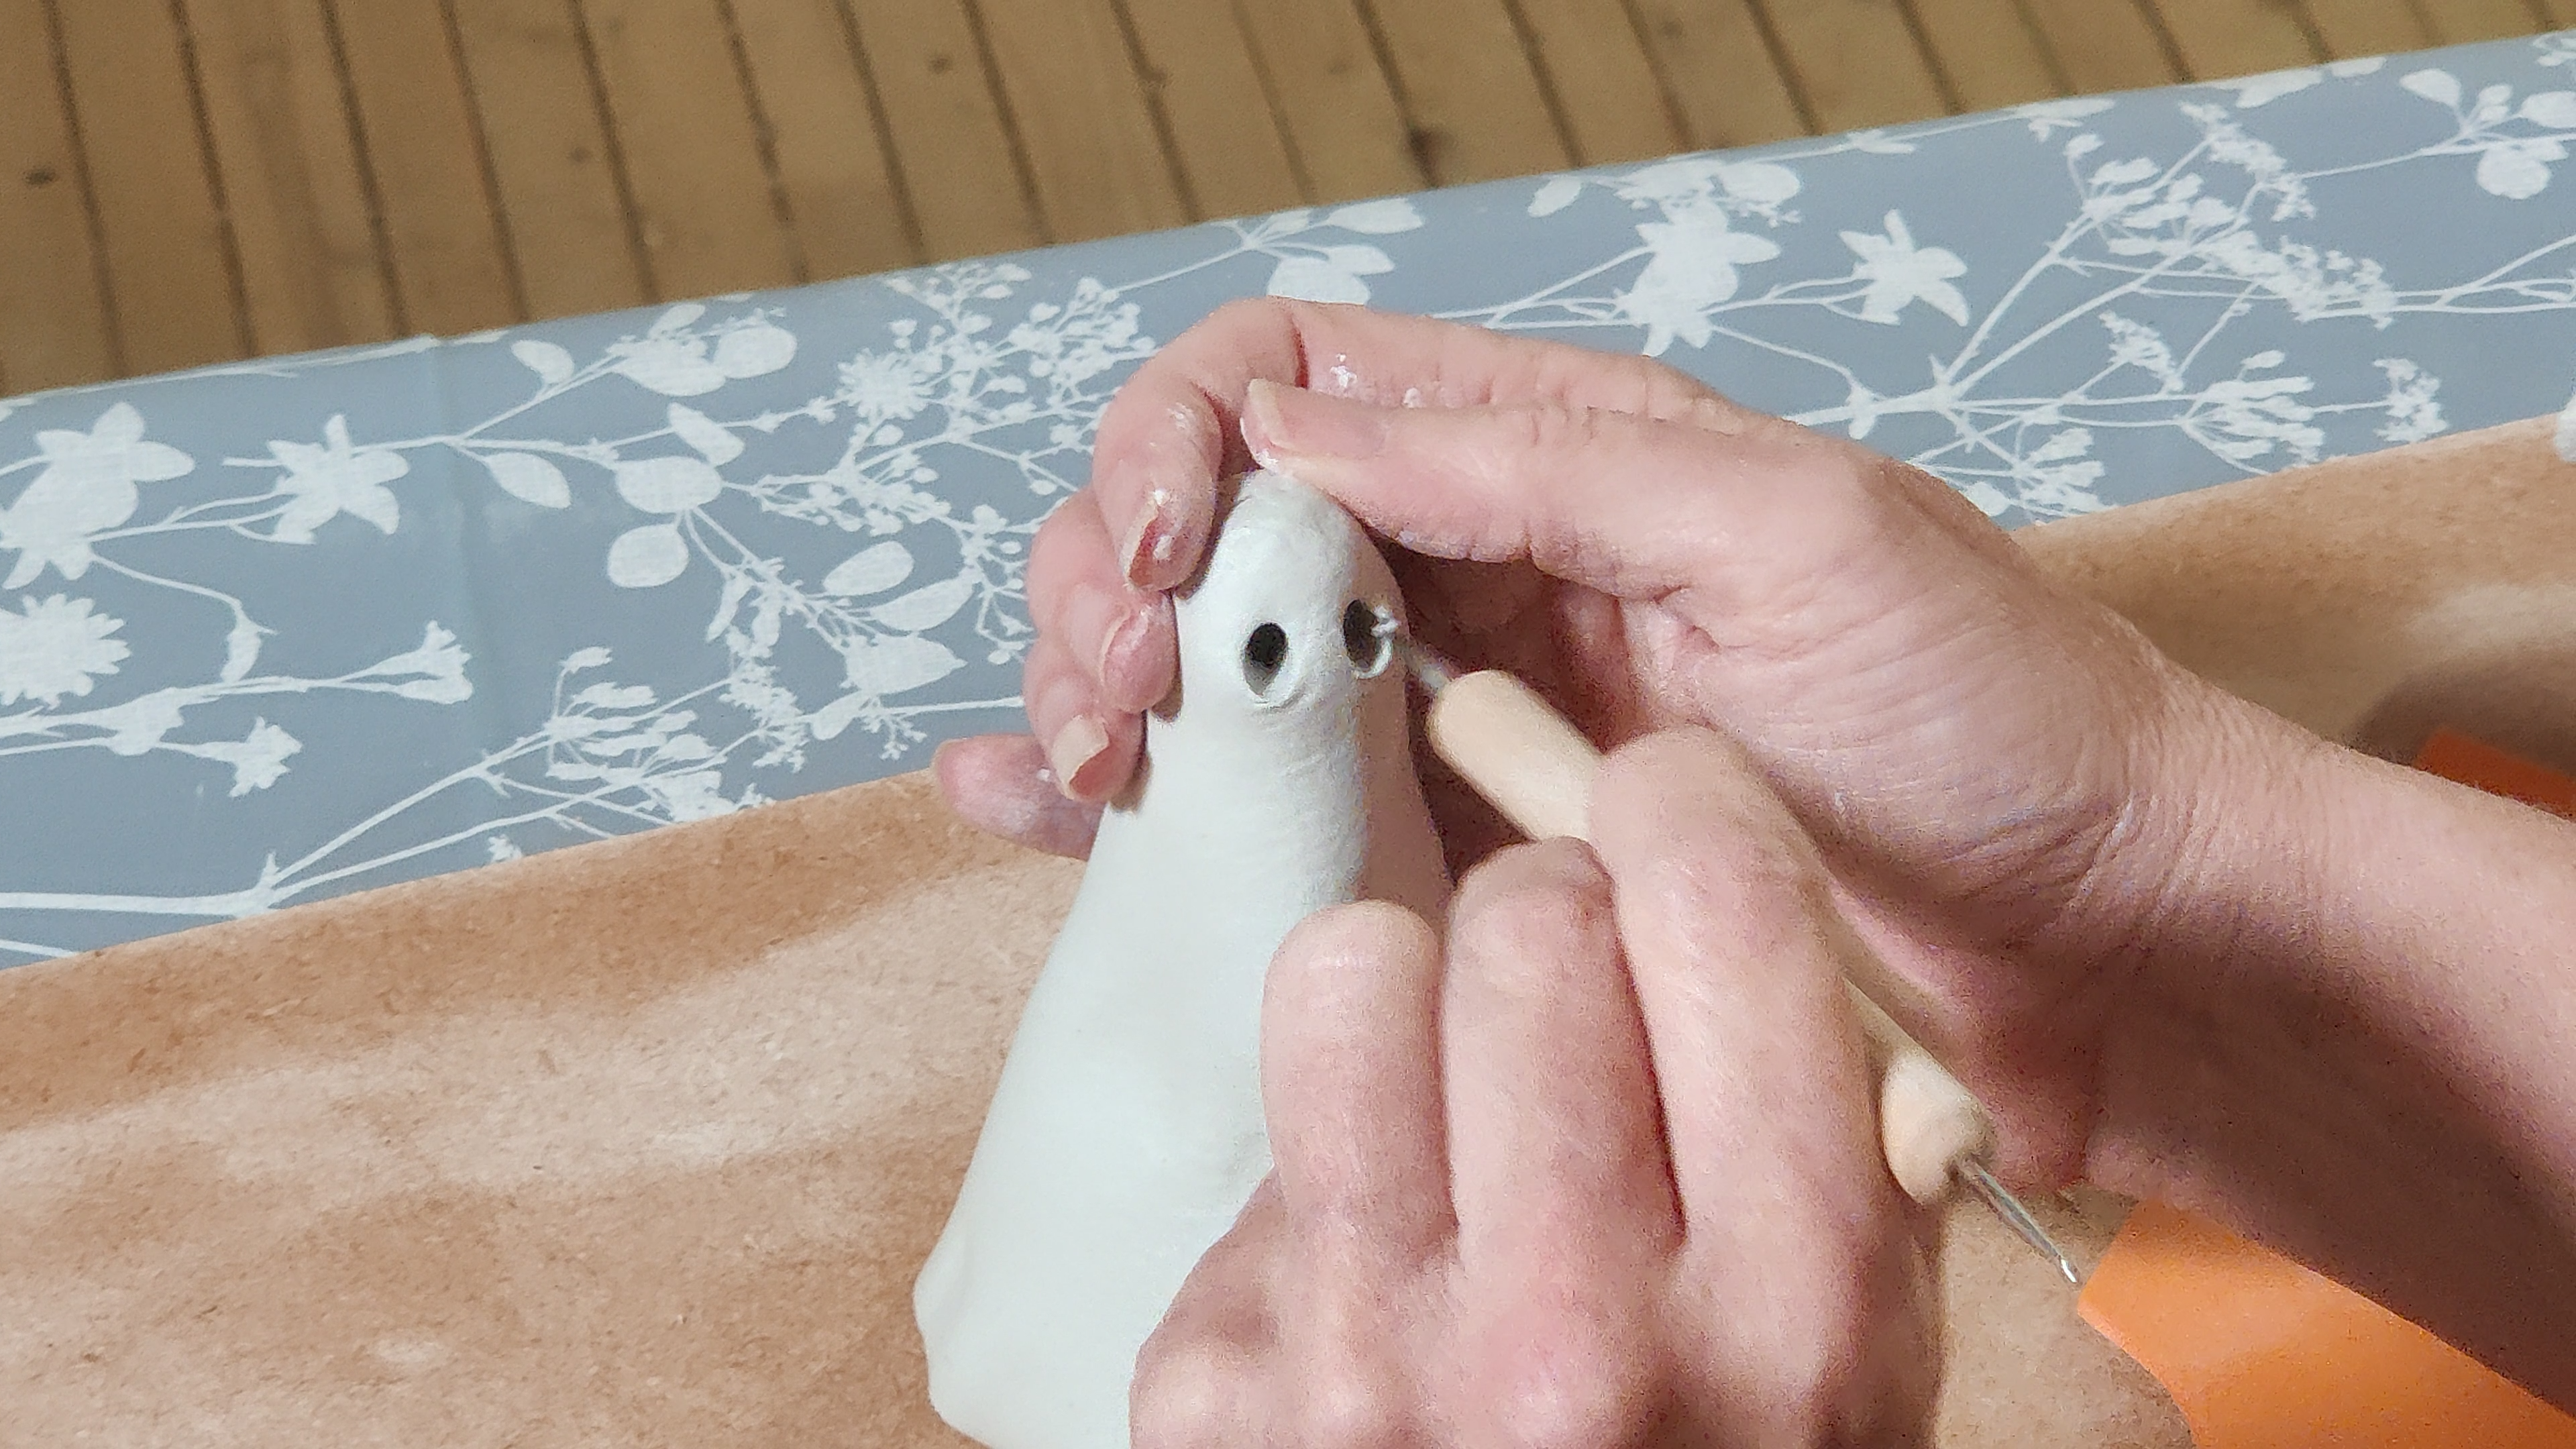
- Small Figurines: Encourage children to sculpt their favorite animals or characters. Start with basic shapes: a ball for the head, an oval for the body, and cylinders for limbs. They can then add details like eyes, noses, and clothing. These small figurines are perfect for imaginative play once dry.
- Animal Magnets: After sculpting small, flat animal shapes, children can paint them and then glue a small magnet to the back once dry. These make charming additions to the refrigerator.
Functional and Decorative Pieces
Air-dry clay isn’t just for toys; it can also be used to create beautiful and practical items that children will be proud to display or use.
- Pinch Pot Bowls/Containers: Building on the pinch pot technique, children can create small bowls for trinkets, jewelry, or paperclips. They can shape the rim, add textures to the outside, and paint them vibrant colors once dry. A family clay pumpkin-making workshop using air-dry clay is scheduled for Oct. 29, 2026, showcasing how functional, decorative pieces are actively enjoyed in real-world settings.
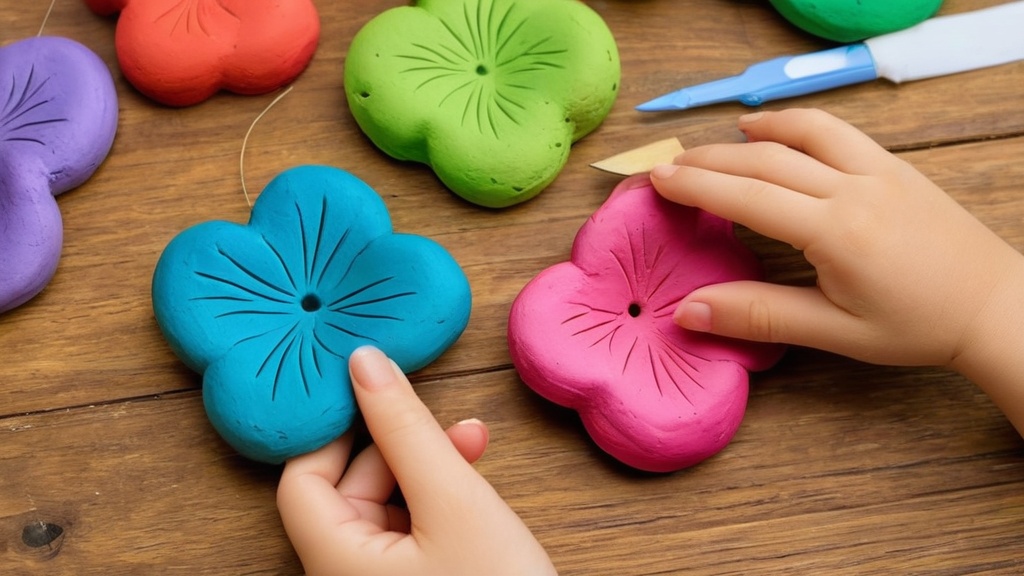
- Jewelry (Beads, Pendants): Roll small balls or cylinders of clay to make beads. Use a skewer or toothpick to create a hole through the center before drying. For pendants, flatten a piece of clay, cut out a shape, and make a hole at the top. Once dry, these can be painted and strung together to make necklaces or bracelets.
- Picture Frames: Roll out a flat sheet of clay and cut a rectangle or square. Then, cut out a smaller rectangle/square in the center to create the frame opening. Kids can decorate the frame with textures, pressed-in items, or sculpted embellishments before letting it dry. Once dry, they can paint it and glue a photo to the back.
- Votive Candle Holders: Roll out a slab of clay and cut into strips. Gently wrap the strips around a small, battery-operated tea light candle (do not use real flame candles with air-dry clay). Ensure there’s space for the light to shine through and decorate the outside. Once dry, remove the tea light and place it back inside.
- Door Hangers/Signs: Roll out a flat piece of clay and cut it into a desired shape (rectangle, oval, cloud). Kids can then engrave their name, a welcome message, or a fun design. Make a hole at the top before drying for a ribbon or string.
- Leaf Bowls: Collect some interesting leaves. Roll out a flat circle of clay. Gently press a large leaf onto the clay, then carefully peel it off, leaving an impression. Place the clay circle over an inverted small bowl to help it dry into a bowl shape. Once dry, paint it in natural tones or vibrant colors.
These project ideas are just a starting point. Encourage children to experiment, combine ideas, and let their imaginations lead the way. The joy is often in the process as much as the final product.
Guiding Principles for Successful Clay Crafting
While air-dry clay is wonderfully forgiving, a few guiding principles will help ensure that your crafting sessions are enjoyable, productive, and lead to satisfying results. You’ll find that with a little preparation and understanding of the material, both you and the children can avoid common frustrations and maximize the creative potential.
Preparing the Workspace and Clay
A well-prepared environment sets the stage for a smooth crafting experience. You’ll want to think about both the physical space and the clay itself.
- Protect Your Surfaces: As mentioned earlier, covering your work surface is crucial. A plastic tablecloth or large placemat makes cleanup incredibly easy. You can even give each child their own individual mat.
- Have Water Handy (Sparingly): Keep a small bowl of water nearby. You’ll use tiny amounts to smooth cracks, moisten slightly dry clay, or help bond pieces. Emphasize to children that a little water goes a long way; too much water will make the clay sticky and difficult to work with.
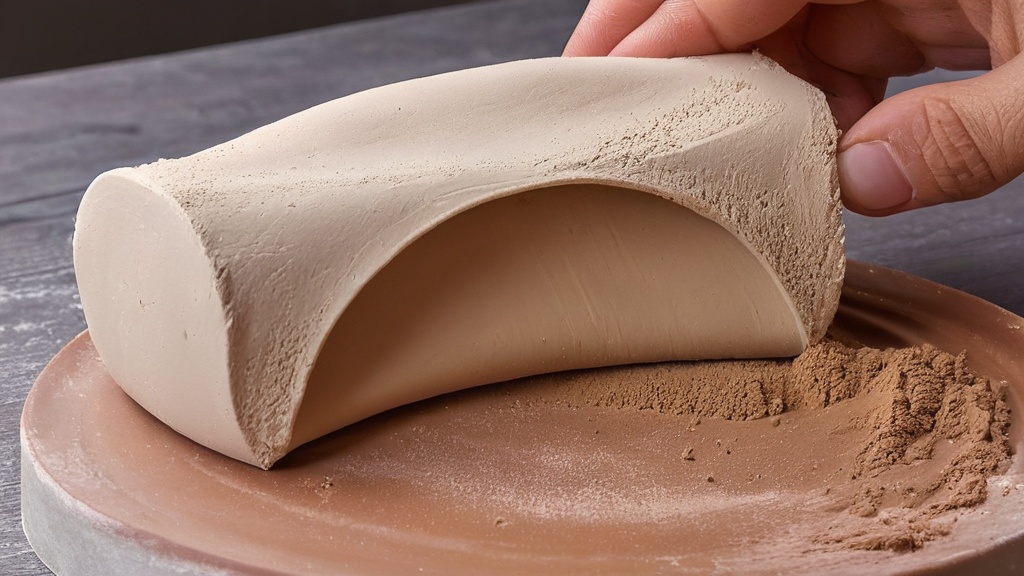
- Knead the Clay: Before starting, encourage children to knead the clay for a few minutes. This warms it up, makes it more pliable, and helps remove any air bubbles, which can cause cracking during drying.
- Work in Manageable Pieces: Don’t give children a huge chunk of clay all at once. Dispense smaller, manageable portions. Keep the unused clay sealed in its airtight container to prevent it from drying out prematurely. You can always add more if needed.
- Manage Expectations: For young children, the process is more important than the perfect outcome. Focus on the joy of creating, the sensory experience, and the development of fine motor skills. Their “masterpiece” might not look exactly like the example, and that’s perfectly fine!
Techniques for Shaping and Joining
Mastering a few basic techniques will open up a world of possibilities for your young sculptors. You can demonstrate these, then let them experiment.
- Rolling: Show kids how to roll clay into balls, coils (snakes), and flat slabs. Emphasize even pressure for consistent results.
- Pinching: The pinch pot method is foundational. Demonstrate how to gently pinch and pull the clay to create bowl shapes or to thin out edges.
- Scoring and Slipping: When joining two pieces of clay, especially if they are a bit drier, teach children to “score” both surfaces (make small cross-hatch marks with a craft tool) and then apply a tiny bit of water or “slip” (a watery clay mixture) to both scored areas before pressing them firmly together. This creates a stronger bond and prevents pieces from falling off once dry.
- Smoothing: Use fingertips, a damp sponge, or a tiny bit of water to smooth out rough surfaces, seams, and cracks. This gives a more finished look and helps prevent cracking as the clay dries.
- Tool Usage: Encourage experimentation with different tools – plastic knives for cutting, skewers for making holes, texture tools for patterns. Let them discover what each tool can do.
Understanding the Drying Process
The drying phase is crucial for air-dry clay, and knowing how to manage it will prevent common issues like cracking.
- Patience is Key: Air-dry clay needs time to dry completely. This can range from 24 hours for small, thin pieces to 72 hours or even longer for thicker creations. You’ll know it’s dry when it feels hard, cool to the touch, and the color often lightens.
- Even Drying: For best results, ensure the clay piece dries evenly. Place it on a flat, non-porous surface, or even better, on a wire rack so air can circulate all around it. If one side dries much faster than the other, it can lead to warping or cracking.
- Avoid Forced Drying: Do not place air-dry clay in direct sunlight, on a heater, in an oven, or use a hairdryer to speed up the process. Rapid drying causes the outside to shrink faster than the inside, almost guaranteeing cracks. Let it dry naturally at room temperature.
- Turning Pieces: For thicker or oddly shaped items, gently turn them periodically (e.g., every 12-24 hours) to expose different sides to the air, promoting more even drying.
- Dealing with Cracks: If small cracks appear during drying, you might be able to fill them. Lightly dampen the cracked area, apply a tiny bit of fresh, soft clay, and gently smooth it in. This works best for minor surface cracks.
By keeping these guiding principles in mind, you’ll empower children to create with confidence and achieve results they’ll be proud of. It turns potential frustrations into learning opportunities and keeps the focus on the joy of discovery.
Nurturing Creativity and Learning Through Clay
| Metric | Details |
|---|---|
| Recommended Age | 3 years and up |
| Drying Time | 24 to 48 hours depending on thickness |
| Common Uses | Figurines, ornaments, jewelry, magnets |
| Safety | Non-toxic, safe for children |
| Storage | Keep in airtight container to prevent drying out |
| Average Project Duration | 30 minutes to 2 hours |
| Materials Needed | Air dry clay, paint, brushes, sculpting tools |
| Benefits | Enhances creativity, fine motor skills, sensory play |
Air-dry clay is far more than just a fun craft material; it’s a powerful educational tool that contributes significantly to a child’s development. You’ll find that engaging with clay encourages a wide range of skills, from fine motor coordination to imaginative thinking, making it a valuable addition to any child’s activity repertoire.
Developmental Benefits of Clay Play
When you observe children working with air-dry clay, you’ll notice them engaging various senses and developing crucial abilities without even realizing it. The tactile nature of clay provides a unique learning experience.
- Fine Motor Skills and Hand-Eye Coordination: Kneading, rolling, pinching, and sculpting clay strengthens the small muscles in the hands and fingers. This improved dexterity is essential for tasks like writing, drawing, cutting, and dressing. Manipulating clay also requires precise movements, enhancing hand-eye coordination as children try to translate their mental images into physical forms.
- Sensory Exploration: The feel of cool, pliable clay, its subtle scent, and the visual transformation as it’s worked all contribute to a rich sensory experience. This tactile feedback is vital for sensory processing and helps children understand textures and forms. New non-stick clay sets aimed at sensory craft kits highlight this growing recognition of sensory benefits.
- Creativity and Imagination: Air-dry clay is an open-ended medium that allows for limitless imaginative play. Children can create anything they can envision, from fantastical creatures to miniature versions of real-world objects. This fosters divergent thinking and problem-solving as they figure out how to bring their ideas to life.
- Problem-Solving Skills: When a clay piece breaks, or doesn’t look quite right, children learn to problem-solve. How can they fix a crack? How can they make an arm stay on? This process encourages critical thinking and resilience.
- Concentration and Focus: Crafting with clay can be incredibly absorbing. Children often enter a state of focused concentration, working meticulously on their projects. This extended attention span is a valuable skill that transfers to other areas of learning.
- Self-Expression: Clay provides a non-verbal outlet for self-expression. Children can communicate feelings, ideas, and stories through their creations, which is particularly beneficial for those who may struggle with verbal communication.
Integrating Clay into STEAM Activities
The rising market demand for air-dry clay is partly due to schools using tactile materials in STEAM (Science, Technology, Engineering, Arts, Math) activities. You can easily bring this same educational approach into your home.
- Science: Explore the properties of materials by observing how clay changes consistency with water, how it hardens as it dries, and how different textures can be created. You can discuss density as children mold different shapes.
- Technology: While not direct digital technology, designing and planning a clay project involves a kind of “technological” thinking—how to structure, build, and connect components. You can even use simple machines like rolling pins as tools.
- Engineering: This is where clay truly shines. Children can experiment with balance, stability, and construction. How can they build a tall tower without it toppling? How can they create a strong base for a figure? These are fundamental engineering challenges.
- Arts: This is the most obvious connection. Clay is a visual and tactile art form. It encourages aesthetic choices, color theory (when painting), and an understanding of three-dimensional form.
- Math: Concepts like shape recognition, symmetry, measurement (how much clay do I need?), and spatial reasoning are all engaged during clay play. You can use rulers to measure thickness or create geometric patterns.
Encouraging a Positive Creative Environment
Your role in facilitating air-dry clay crafts is crucial. You can create an atmosphere that nurtures creativity and makes the experience enjoyable for everyone.
- Be a Facilitator, Not a Director: Offer suggestions and guidance, but allow children the freedom to explore their own ideas. Resist the urge to “fix” their creations to make them perfect. The beauty is often in their unique interpretation.
- Praise Effort, Not Just Outcome: Focus your praise on the process, their persistence, their imaginative ideas, and their willingness to try new things, rather than solely on the finished product. “I love how you experimented with those textures!” or “You worked so patiently on that!” are more valuable than “That’s a perfect cat!”
- Share in the Experience: Sit down with them and create something of your own. Your enthusiasm is contagious, and it shows them that creating is a valuable and enjoyable activity for all ages.
- Display Their Work: Once their creations are dry and decorated, find a special place to display them. This validates their efforts and reinforces their sense of accomplishment. Rotate their “gallery” to keep it fresh and show appreciation for all their hard work.
- Embrace the Mess: Clay can be messy, and that’s part of the fun! Accept that hands, tools, and surfaces might get a little dirty. Focus on the creative process, and remember that easy cleanup with your protected workspace will alleviate stress.
By embracing air-dry clay, you’re not just providing a craft activity; you’re offering a rich, multi-faceted learning experience that supports holistic child development, cultivates creativity, and creates lasting memories.
Caring for Your Clay Creations
Once the crafting is done and the clay has dried, you’ll want to ensure these precious creations are preserved and displayed properly. Taking a few simple steps for finishing and care will help your children’s air-dry clay projects last, allowing them to enjoy their artwork for much longer. This final stage is just as important as the initial sculpting, giving a sense of completion and protection to their efforts.
The Finishing Touches: Painting and Sealing
These steps add vibrancy and durability, transforming a dried clay piece into a finished work of art.
- Ensure Complete Dryness Before Painting: You must make absolutely sure the clay is bone dry before you even think about applying paint. If there’s any moisture left, the paint may not adhere properly, or it could crack and peel as the clay continues to dry and shrink underneath. As a general rule, wait at least 24-72 hours, depending on the thickness of the piece. It should feel hard, cool, and possibly lighter in color.
- Choose the Right Paints: Acrylic paints are highly recommended for air-dry clay. They are opaque, vibrant, and durable once dry. They also clean up with water while wet. Tempera paints can be used, especially with younger children, but they tend to be less durable and can reactivate with moisture even after drying, so a good sealant is essential.
- Painting Techniques: Encourage children to experiment with different brush sizes for details versus larger areas. They can mix colors, create patterns, or paint solid blocks of color. Remind them to apply paint in thin, even layers to avoid gloppy results. If they’re using multiple colors, advise them to let one color dry before applying an adjacent color to prevent smudging.
- Applying Sealant: Once the paint is completely dry (which usually takes a few hours), it’s time to seal the piece. This step is crucial for protection.
- Craft Varnish/Mod Podge: These are brush-on options. You can use a matte or glossy finish, depending on the desired look. Apply one or two thin, even coats, allowing each coat to dry fully before applying the next. These sealants protect against moisture, dust, and minor abrasions.
- Acrylic Spray Sealant: For older children (or adult application), a clear acrylic spray sealant provides excellent protection and a smooth finish. Always use spray sealants in a well-ventilated area, preferably outdoors, and ensure no children are in the vicinity during application. Apply several light coats rather than one heavy coat to prevent drips.
- Attaching Embellishments: If you want to add glitter, googly eyes, sequins, or other small embellishments, do this after the clay is dry and before applying the final sealant (or after sealant if using Mod Podge which acts as an adhesive). Craft glue (PVA glue) works well for most embellishments.
Display and Storage Recommendations
Once completed, your children’s masterpieces deserve to be proudly displayed!
- Displaying Art: Find a special shelf, a mantelpiece, or a dedicated “art wall” to showcase their creations. Rotating their art pieces can keep the display fresh and allow you to appreciate all their hard work. For items like magnets or ornaments, find functional places for them in your home.
- Avoid Wet Environments: Air-dry clay is not waterproof, even when sealed. Avoid placing creations in bathrooms, near sinks, or outdoors where they will be exposed to significant moisture or humidity. While a sealant offers some protection against light splashes, prolonged exposure to water will soften and damage the clay.
- Handling with Care: While sealed air-dry clay is reasonably durable, it can still break if dropped or handled roughly. Remind children to treat their creations (and others’) with care.
- Cleaning Dust: If pieces collect dust over time, gently wipe them with a dry, soft cloth or use a soft brush. Do not use wet cloths or abrasive cleaners.
- Long-Term Storage: If you need to store pieces long-term, ensure they are completely dry and sealed. Wrap them individually in tissue paper or bubble wrap and store them in a sturdy box in a dry, room-temperature environment, away from extreme heat or cold. This will protect them from physical damage and environmental factors.
By following these simple steps, you’ll ensure that the creative efforts of the children in your life are celebrated and preserved, turning their temporary bursts of imagination into lasting treasures. These finished pieces serve as wonderful reminders of their growing skills and endless creativity.
FAQs
What is air dry clay?
Air dry clay is a type of modeling clay that hardens when exposed to air, eliminating the need for baking or firing in a kiln. It is typically made from natural materials and is non-toxic, making it safe for children to use in crafting projects.
Is air dry clay safe for kids?
Yes, air dry clay is generally considered safe for kids as it is non-toxic and free from harmful chemicals. However, it is always advisable to supervise young children during crafting activities and to check the product label for any specific safety information.
How long does it take for air dry clay to dry?
The drying time for air dry clay can vary depending on the thickness of the project and the humidity in the environment. Typically, it can take anywhere from 24 hours to several days for the clay to fully dry and harden.
Can air dry clay be painted or decorated?
Yes, once air dry clay is completely dry, it can be painted with acrylic paints, markers, or decorated with various materials such as glitter, beads, or stickers. This allows for endless creativity and personalization in kids’ crafts.
What types of projects can kids make with air dry clay?
Kids can create a wide variety of projects with air dry clay, including figurines, ornaments, bowls, and sculptures. It is also great for making personalized gifts, decorations, and educational tools, allowing children to explore their creativity and develop fine motor skills.