Understanding Air-Dry Clay’s Drying Process
When you dive into the world of air-dry clay, one of the first questions you’ll likely ask is, “How long until this is ready?” It’s a fundamental aspect of working with this versatile material, and understanding the drying process is key to successful projects. Unlike traditional kiln-fired clay, air-dry clay hardens as its water content evaporates into the surrounding air. This process isn’t instant, and its duration is influenced by a multitude of factors, making it a nuanced topic. You’ll find that while many commercial air-dry clays advertise a relatively quick drying time, the reality on your workbench can vary significantly.
You might initially assume that once a piece feels firm, it’s completely dry. However, there’s a crucial distinction to be made between a piece that is “dry to the touch” and one that is fully cured. Many clays will feel dry on their surface after about 24 hours. This initial firmness is a good sign, allowing you to handle the piece gently, but it doesn’t mean the internal moisture has fully dissipated. For complete drying, especially for thicker sections, you will typically need to allow up to 72 hours or even more. This extended period ensures that all the moisture has evaporated, preventing issues like cracking, warping, or a piece that remains soft in its core, which could compromise its durability and paintability. Patience is truly a virtue when working with air-dry clay, as rushing the process can lead to disappointing results.
Key Factors Influencing Drying Time
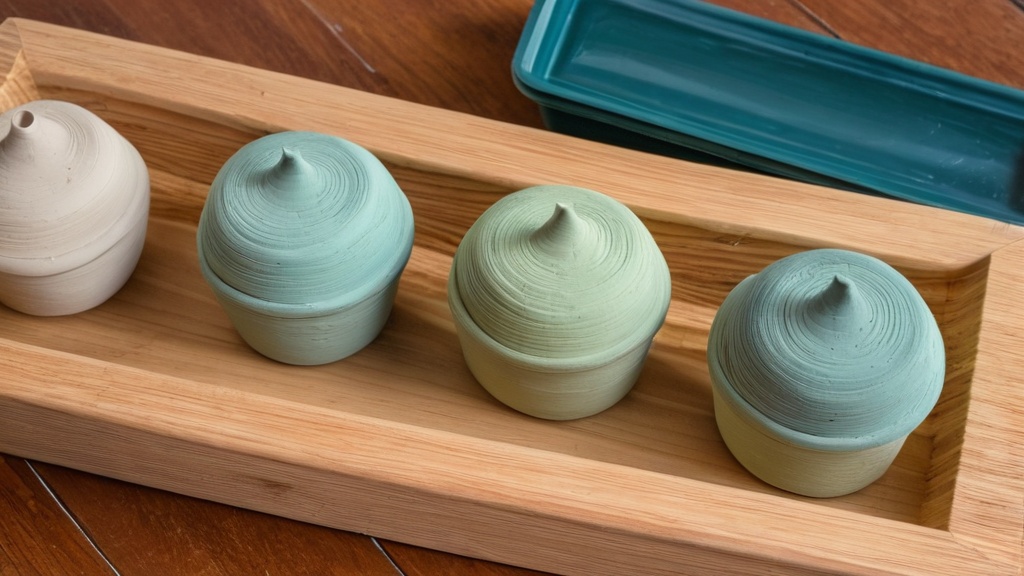
The time it takes for your air-dry clay creation to fully harden isn’t a fixed number; rather, it’s a dynamic period influenced by several environmental and project-specific elements. Understanding these factors will empower you to better predict drying times and even optimize your drying setup for more consistent results. You’ll quickly learn that a piece of clay doesn’t just dry on its own; it interacts with its surroundings.
Thickness and Size of Your Project
One of the most significant determinants of drying time is the physical dimensions of your clay piece. Quite simply, the more material there is, the more water needs to evaporate, and the longer it will take. Imagine trying to dry a thin sheet versus a dense block – the difference is intuitive.
For instance, thin pieces, such as delicate leaves or small ornaments measuring around 2-3 mm, can typically dry within 24-48 hours. This relatively quick turnaround makes them ideal for projects where you need faster results. However, as you increase the thickness, the drying time escalates. Pieces with an 8-10 mm thickness can require 72-96 hours or even longer to fully cure. If you’re working on substantial sculptures or functional items thicker than 1 cm, you might need to allocate several days to a week for complete drying. This is because the moisture from the interior has a longer path to travel to the surface for evaporation, and if the surface dries too quickly, it can trap moisture inside, leading to potential issues later on.
The overall size and shape of your project also play a role. Smaller items like beads or intricate ornaments often fall within the 24-48 hour drying window. In contrast, larger pieces such as bowls, arches, or candle holders, which have more volume and often varying thicknesses, generally require 2-3 days, or 24-72 hours, to achieve full dryness. The surface area exposed to the air relative to the volume of clay is a key aspect here; larger, more compact forms will naturally take longer.
Environmental Conditions: Humidity and Temperature
The environment where your clay is drying is another critical factor. Humidity and temperature directly impact the rate at which water can evaporate from your clay. You might notice that a project dries faster in one room of your house than another, and these environmental factors are often the reason.
Humidity, in particular, has a profound effect. In a low-humidity environment, such as a dry climate or an air-conditioned room, small items can sometimes dry in as little as 6-12 hours. This is because there’s less moisture in the air, allowing the clay’s water to evaporate more readily. Moderate humidity conditions will typically see drying times of about 12-24 hours for similar items. However, when you’re dealing with high humidity – imagine a rainy day or a very humid climate – the drying process can be significantly protracted. High humidity can make your clay take 2-5 times longer to dry. A project that would normally be ready in 24 hours might instead require 48-72 hours or even more. The air is already saturated with moisture, making it much harder for the water from your clay to escape.
Temperature also plays a role, albeit a more nuanced one. While warmth can accelerate evaporation, excessive heat, especially direct sunlight, can cause the clay to dry too quickly on the surface, leading to cracking. A warm, well-ventilated area is ideal, as it promotes consistent evaporation without causing the surface to harden prematurely and trap moisture inside.
Brand and Type of Air-Dry Clay
Not all air-dry clays are created equal. Different brands formulate their clays with varying compositions, which can affect their drying characteristics. While the general principles apply across the board, specific products might have slightly different drying curves.
For example, popular brands like Crayola air-dry clay typically advertise a drying time of 24 hours to be dry to the touch, but they specifically recommend 72 hours for complete drying. Many craft guides echo this sentiment, suggesting a common range of 24-72 hours for full curing. You might encounter some products that advertise a quicker turnaround, perhaps 12-24 hours. However, real-world tests often reveal that even after 24 hours, parts of these pieces can still feel soft and may require additional time or gentle assistance to dry completely. It’s always a good idea to consult the specific instructions provided by the clay manufacturer, but also to temper those expectations with the understanding that real-world conditions can extend those estimates. Always remember that the manufacturer’s suggested drying times are usually under ideal conditions, which your crafting space may not perfectly replicate.
Recognizing When Your Clay is Truly Dry
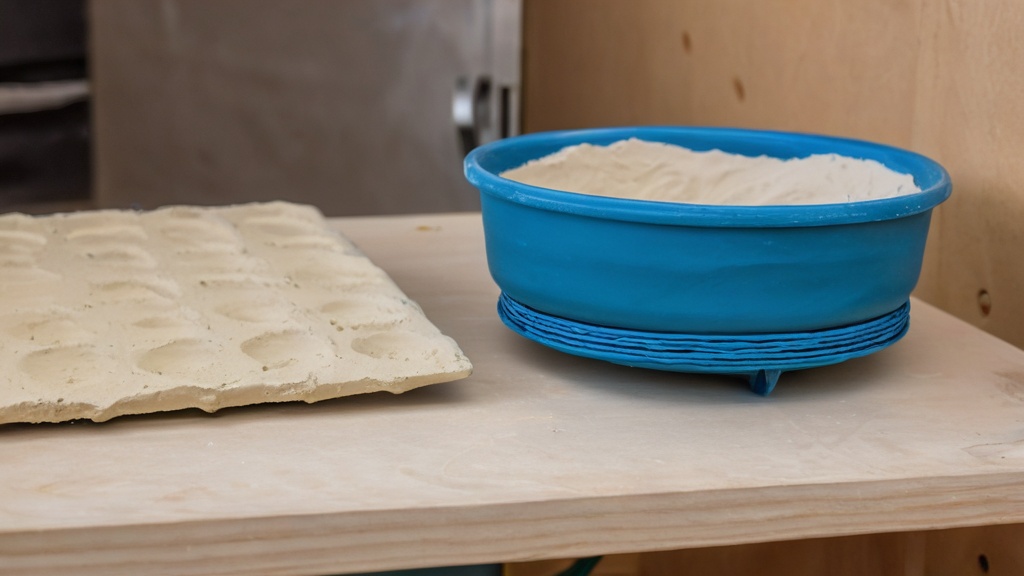
Understanding the signs of a fully dry piece of air-dry clay is crucial for ensuring the longevity and success of your project. You don’t want to prematurely paint, seal, or use a piece that is still harboring moisture internally, as this can lead to future problems like cracking, mold, or a lack of structural integrity. There are several clear indicators you can look for.
The most noticeable sign is a change in color. Wet air-dry clay typically has a darker, often greyish or brownish hue, and a slightly translucent appearance. As it dries, the clay will become significantly lighter, often appearing an even white, light grey, or an off-white, depending on the specific clay type. This color change should be uniform across the entire piece; if you see darker patches, it indicates those areas are still wet. The surface will also transition from a slightly glossy or damp look to a completely matte finish.
Beyond visual cues, the feel of the piece is another critical indicator. A fully dry piece of clay will feel firm and rigid. When you press lightly on different parts of the surface, there should be absolutely no soft or flexible spots. If you detect any give or sponginess, even a subtle one, it means there’s still moisture present. The piece should also feel cool to the touch but not cold, which would indicate residual moisture. It’s important to test various areas, especially thicker sections or points where different pieces were joined, as these are often the last to dry. If you can, gently lift the piece; it should feel lighter than when it was wet, as the weight of the water has evaporated.
Optimizing Your Drying Setup for Best Results
While patience is paramount when drying air-dry clay, there are several strategies you can employ to create an optimal environment that promotes efficient and safe drying. The goal is to encourage even evaporation from all surfaces without causing the clay to dry too rapidly, which can lead to stress and cracking. You’ll want to think about airflow, temperature, and where you position your creations.
Creating an Ideal Drying Environment
The location you choose for drying your clay pieces is more important than you might initially think. You want an area that offers good airflow and a stable, moderate temperature. Placing your project in a warm, well-ventilated area is highly recommended. Good ventilation helps to carry away the moisture evaporating from the clay, allowing the drying process to continue unimpeded. This could be a room with an open window, near a gentle fan (but not directly on the fan), or simply a clear space where air can circulate.
It’s crucial to keep your pieces away from direct sunlight or excessive heat sources. While warmth aids evaporation, intense heat can cause the clay surface to dry much faster than the interior. This rapid surface drying can lead to shrinkage and stress, resulting in unsightly cracks or warping, especially in thicker pieces. Think of it like a desert landscape – the top layer bakes hard while deeper layers might still be soft. A consistent, moderate temperature is far better than fluctuating extremes.
Ensuring Even Airflow and Support
One of the simplest yet most effective tips for even drying is to ensure all sides of your piece are exposed to air. Clay pieces often sit flat on a surface, which can hinder evaporation from the bottom. To combat this, you should rotate or turn your pieces periodically. For smaller items, you might place them on a mesh rack, a piece of cardboard elevated on small risers, or even skewers stuck into a block of foam. This allows air to circulate underneath, preventing the bottom from staying damp long after the top has dried. For larger, more complex forms, rotating them every 6-12 hours can significantly contribute to uniform drying and prevent one side from lagging behind.
If you’re creating a piece with complex shapes, arches, or areas that might trap moisture, consider how you can provide internal support or allow air into those spaces during drying. Sometimes, creating small, inconspicuous holes or strategically placing internal supports that can be removed later can help air circulate more effectively within enclosed or very thick sections.
Cautious Acceleration Methods (When Necessary)
While natural air drying is generally the safest and most recommended method, there are times when you might need to gently accelerate the process, especially for very slow-drying pieces or when facing time constraints. However, any acceleration should be approached with extreme caution to avoid damaging your work.
For pieces that are stubbornly slow to dry, some crafters briefly use a very low-heat oven. This is typically a workaround, not a primary recommendation from manufacturers, and carries a risk. If you choose this method, set your oven to its absolute lowest temperature setting (often around 150-200°F or 65-95°C) and place the clay inside for short, supervised intervals, perhaps 15-30 minutes at a time, allowing it to cool completely between sessions. Never attempt to “bake” air-dry clay like ceramic clay, as it can cause cracking, burning, or even release fumes depending on the clay’s composition. This method is best reserved for pieces that are already mostly dry and just need a final push. Always monitor your piece closely for any signs of cracking or discoloration, and err on the side of caution. Remember, gentle air drying is almost always preferable for the best outcome.
Troubleshooting Common Drying Issues
| Clay Thickness | Drying Time | Factors Affecting Drying |
|---|---|---|
| 1/4 inch (6 mm) | 24-48 hours | Room temperature, humidity, airflow |
| 1/2 inch (12 mm) | 48-72 hours | Ventilation, clay brand, ambient conditions |
| 1 inch (25 mm) | 3-5 days | Thickness, drying environment, clay composition |
| 2 inches (50 mm) or more | 1 week or longer | May require turning or additional airflow |
Even with careful planning, you might encounter some common issues during the air-dry clay drying process. Knowing how to identify and potentially mitigate these problems can save your project from disaster and help you learn for future creations. The most frequent issues revolve around cracking and pieces remaining soft.
Addressing Cracking and Warping
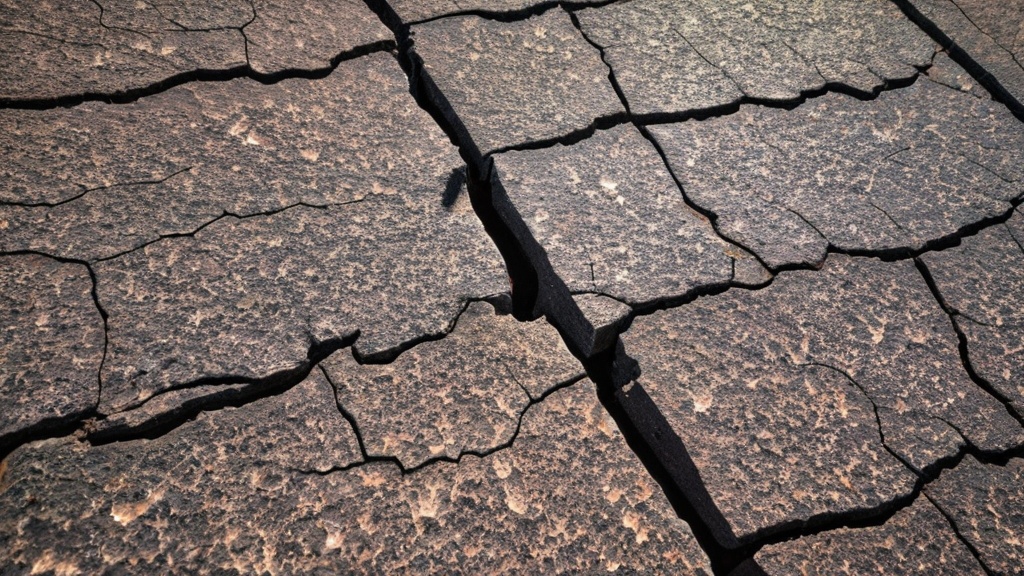
Cracking is arguably the most common and frustrating issue you’ll face with air-dry clay. It typically occurs when different parts of your piece dry at uneven rates, causing stress as the clay shrinks. The outer layers dry and contract faster than the inner layers, leading to tension that manifests as cracks.
To prevent cracking, the most important step is to ensure even drying. This means avoiding direct heat sources like strong sunlight, heaters, or even powerful hair dryers, especially on thick sections. As mentioned, placing your piece in a warm, well-ventilated area away from direct drafts or extreme temperatures is ideal. Regularly rotating your piece so all sides are exposed to air will also help. If you notice a crack forming, sometimes you can gently fill it with a small amount of fresh, soft clay, smooth it out, and then allow the piece to continue drying very slowly. For very thick pieces, sometimes wrapping them loosely in plastic wrap for the first 24 hours, then gradually exposing them to air, can help slow down initial surface drying and promote more even moisture loss.
Warping, where your piece loses its intended shape, often goes hand-in-hand with uneven drying or improper support. If a flat piece is not consistently supported as it dries, one side might dry faster and contract, pulling the piece into a curve. To prevent warping, ensure that flat pieces are drying on a truly flat, level surface, and consider using weights (lightly) or support structures for more complex forms during the initial drying phase.
Dealing with Remaining Soft Spots
Finding a soft spot in your clay after what you thought was sufficient drying time is a clear indication that moisture is still trapped within that section. This is particularly common in thicker areas, where moisture has a longer journey to the surface, or in crevices and joined sections.
If you encounter soft spots, the solution is straightforward: more drying time. Isolate the piece and place it back in your optimal drying environment (warm, well-ventilated, out of direct sun). Ensure that the soft area is now directly exposed to airflow. If it’s the underside of a bowl, for instance, prop it up on risers to allow air to reach the bottom. Sometimes, gently rotating the piece every few hours can help. For very stubborn soft spots, and only as a last resort and with extreme caution, you might consider the very low-heat oven method described previously, but understand the risks involved. The most important thing is to resist the urge to paint or seal the piece until it is uniformly hard and dry, as sealing in moisture will prevent it from ever fully curing and can lead to mold or structural failure. Patience and consistent airflow are your best allies in eliminating those pesky soft spots.