Understanding the Fundamentals of Air-Dry Clay
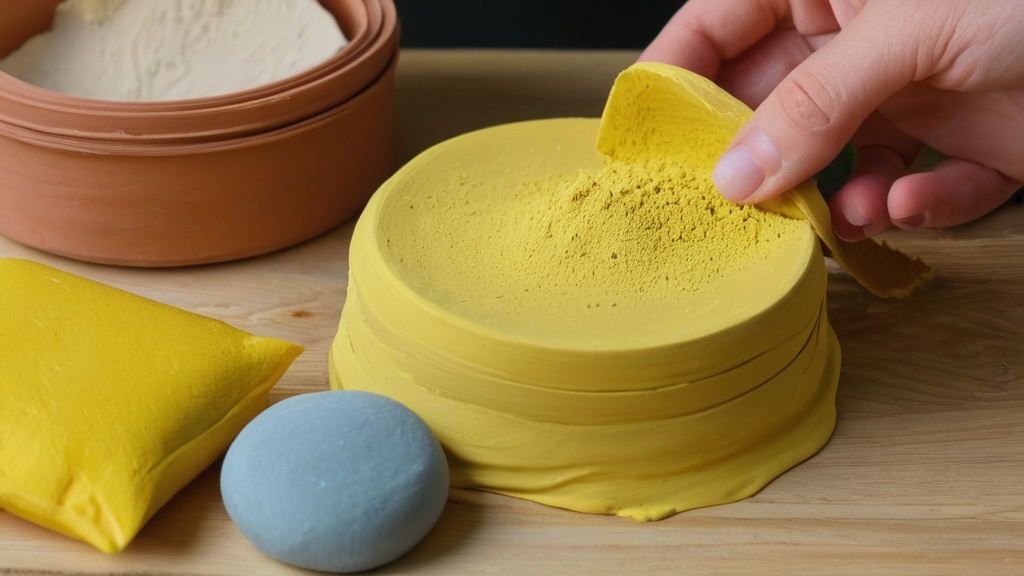
When you embark on a creative journey with air-dry clay, one of the most common questions that quickly arises is, “How long will this take to dry?” It’s a crucial consideration, not only for planning your next steps in the crafting process but also for ensuring the longevity and structural integrity of your finished piece. Air-dry clay, unlike its kiln-fired counterparts, cures through evaporation, meaning the water content within the clay body dissipates into the surrounding atmosphere, causing the clay to harden. This process is surprisingly nuanced, influenced by a multitude of factors that can either accelerate or significantly prolong the drying time. You’ll find that while many brands offer general guidance, the reality on your workbench might differ based on your specific project and environment. This guide will walk you through everything you need to know, from typical drying durations to advanced techniques for achieving optimal results, ensuring your clay creations are perfectly cured.
The Science Behind Air Drying
At its core, air-dry clay hardens as moisture leaves its structure. Clay is composed of tiny, interlocking mineral particles suspended in water. When this water evaporates, the particles draw closer together, forming a solid matrix. This process is akin to a microscopic game of musical chairs; as the chairs (water molecules) are removed, the players (clay particles) have no choice but to sit closer, forming a more compact and rigid structure. The rate at which this evaporation occurs is not uniform and is subject to several environmental and material-specific variables. Understanding these underlying principles will empower you to predict and even control the drying process, leading to fewer cracks and stronger finished products.
Why Drying Time Matters
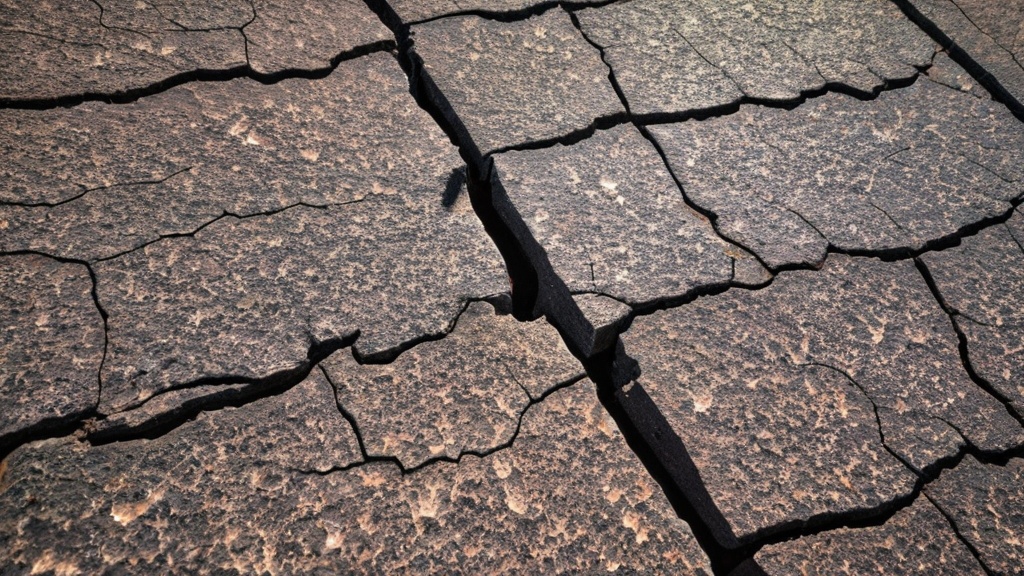
Improper drying can lead to a host of problems. If clay dries too quickly on the surface while remaining wet inside, it can cause shrinking and cracking as the inner moisture tries to escape later. Conversely, if it dries too slowly in a very humid environment, it might develop mold. Beyond structural issues, knowing the drying time allows you to plan glazing, painting, or sealing applications accurately. You want your piece to be fully hardened and completely dry throughout its core before applying any finishes to prevent trapped moisture from causing issues down the line. A properly dried piece is a stable piece, ready for its final adornment and display.
Key Factors Influencing Drying Speed
The drying time for air-dry clay is not a fixed number; it’s a dynamic range influenced by several interconnected factors. You’ll quickly learn that while manufacturers provide general guidelines, your personal experience will vary based on how these variables play out in your specific crafting environment. Understanding these key factors will give you greater control over the drying process, helping you to prevent common issues like cracking and warping.
Thickness of Your Clay Project
This is arguably the most significant factor affecting drying time. Simply put, the thicker your clay piece, the longer it will take to dry completely. Think of it like a thick slice of bread versus a thin cracker; the cracker dries out much faster because there’s less moisture to evaporate.
- Very thin pieces (approx. 2–3 mm): You can expect these to be dry to the touch within 12–24 hours, and fully cured within 24–48 hours. This applies to delicate ornaments, jewelry components, or thin embellishments.
- Quarter-inch thickness (approx. 6 mm): For pieces around this thickness, which is common for small bowls, coasters, or simple figurines, anticipate 24–48 hours for complete drying under normal conditions.
- Half-inch thickness (approx. 12–13 mm): As you approach this thickness, the drying time significantly increases. While some “quick” guides might suggest unusually fast times, realistically, you should plan for 3–5 days. Some conservative pottery practices even suggest longer for safety.
- One inch (approx. 25 mm) or more: For substantial sculptures or structural pieces, the drying time can range anywhere from 7–14 days for full, even drying. For very large or solid sculptures, particularly those resembling traditional pottery, it’s not uncommon to allow up to a week or even 2–3 weeks in humid climates to ensure the piece is completely dry all the way through, minimizing the risk of internal moisture leading to future cracks.
Environmental Conditions: Temperature and Humidity
Your crafting environment plays a huge role in how quickly your clay dries. Consider two primary elements: temperature and humidity.
- Temperature: Warmer temperatures generally accelerate evaporation. If your room is comfortably warm (around 20–24 °C or 68–75 °F), your clay will dry faster than in a cold room. However, extreme heat can cause the surface to dry too rapidly, leading to cracking, so moderation is key.
- Humidity: This is a critical factor. High humidity means there’s already a lot of moisture in the air, making it harder for water to evaporate from your clay.
- Normal room conditions (40–60% humidity): Under these ideal conditions, small to medium pieces typically dry within 1–3 days.
- High humidity (60–80% RH): Drying can stretch to 2–5 times longer. Thin pieces might need 2–3 days, while thicker ones could take several days to a week or even more.
- Low humidity: A dry environment speeds up the process, but again, be cautious. Too dry, too fast, can lead to cracking.
Air Circulation and Ventilation
Good airflow helps carry away the moisture that evaporates from your clay, preventing the air immediately surrounding your piece from becoming saturated.
- Well-ventilated areas: Placing your clay in a room with gentle air circulation, or even near an open window (as long as it’s not exposed to direct drafts or extreme temperatures), can significantly cut down drying time. Warm, dry, well-ventilated rooms can sometimes reduce drying to about 24 hours for small, thin crafts.
- Stagnant air: In contrast, a closed-off, unventilated space will trap moisture, slowing down drying considerably and potentially fostering mold growth.
Type and Brand of Air-Dry Clay
While all air-dry clays work on the same principle, formulations vary slightly between brands, which can affect drying times. Some brands are designed to dry faster or offer different consistencies.
- Crayola Air-Dry Clay: A popular choice, typically dries to the touch in about 24 hours and completely hardens in approximately 72 hours.
- Hobby/craft brands (e.g., Mont Marte, Spotlight): Many of these commonly state around 24 hours for initial drying, extending up to 48–72 hours for thicker projects. Always check the specific packaging for the manufacturer’s recommendations.
Surface and Support
The surface your clay rests on also plays a minor role. Porous surfaces like cardboard or unfinished wood can wick some moisture away from the bottom of your piece, aiding in more even drying. Non-porous surfaces like plastic or glass can trap moisture, potentially leading to slower drying on the underside. Rotating your piece periodically can help ensure all sides are exposed to the air.
By consciously managing these factors, you can optimize the drying process for your air-dry clay projects, leading to better results and a more enjoyable crafting experience.
Typical Drying Timelines and What to Expect
When you’re working with air-dry clay, one of the most reassuring things is having a general idea of how long you’ll need to wait before your masterpiece is ready for the next step. While the factors discussed previously mean there’s no single definitive answer, you can certainly anticipate a typical range. Most brands generally take about 24–72 hours to fully harden, with pieces usually dry to the touch after approximately 24 hours. This serves as a useful benchmark for most common projects.
General Guidance by Thickness
To give you a more precise expectation, let’s break down the typical drying times based on the thickness of your clay creation. Remember, these are guidelines for normal room conditions (around 20–24 °C and 40–60% humidity).
- Very Thin Pieces (≈2–3 mm): These delicate items, like thin jewelry components, small leaves, or flat embellishments, are the quickest to dry. You’ll likely find them dry to the touch within 12-24 hours, and completely firm within 24–48 hours. They have the least amount of moisture to release, making their drying process relatively swift.
- About 1/4 Inch (≈6 mm): This is a common thickness for many small to medium-sized projects such as coasters, decorative tiles, or smaller figurines. Under normal conditions, expect these pieces to become fully dry and hard within 24–48 hours. You can usually handle them carefully after about a day.
- About 1/2 Inch (≈12–13 mm): As you venture into thicker pieces, like small bowls, substantial figurines, or relief sculptures, the drying time increases noticeably. While some sources might suggest remarkably fast times, it’s more realistic to plan for 3–5 days for these pieces to be thoroughly dry. Trying to rush these thicker items can lead to surface drying while the interior remains damp, a recipe for cracks later on.
- 1 Inch (≈25 mm) or More: For large, solid sculptures, substantial pottery-style pieces, or any work with considerable bulk, patience is your greatest virtue. To ensure full, even drying throughout, especially in careful pottery practice, you should anticipate anywhere from 7–14 days. For exceptionally large or structural pieces, it’s often prudent to leave them for at least a week, and up to 2–3 weeks in more humid climates, to guarantee complete dryness all the way through, thereby preventing hidden moisture pockets and subsequent cracking.
Brand-Specific Examples
While the general guidelines are helpful, specific brands often provide their own estimates, which can give you a more tailored expectation.
- Crayola Air-Dry Clay: A widely accessible and popular choice, Crayola typically states that their air-dry clay will be dry to the touch in approximately 24 hours. For complete hardening and full readiness, you should allow about 72 hours (3 days).
- Hobby/Craft Brands (e.g., Mont Marte, Spotlight): Many other common hobby and craft brands, which you might find in art supply stores, tend to give similar recommendations. They commonly suggest around 24 hours for initial drying, extending up to 48–72 hours for projects that are thicker or more substantial. Always refer to the specific instructions on the packaging of the clay you are using.
Practical Rules of Thumb for Home Projects
For most home crafters, a few practical rules of thumb can help simplify the drying time estimation:
- Small, thin ornaments or jewelry: Plan for approximately 24–48 hours. These are quick turnaround projects.
- Medium decorative items (bowls, pots, figurines): Give these a solid 2–4 days. This allows for thorough drying and reduces the risk of issues.
- Very thick, solid sculptures: For pieces with significant mass, it’s wise to plan for up to a week or more. This cautious approach is crucial for achieving safe, crack-resistant drying and ensures your hard work lasts.
By keeping these timelines in mind, you can set realistic expectations for your projects and manage your crafting schedule effectively, allowing your air-dry clay creations to dry properly and beautifully.
Best Practices for Optimal Drying
Achieving perfectly dry air-dry clay isn’t just about waiting; it’s about creating the right conditions to facilitate an even and steady drying process. By implementing a few best practices, you can minimize the risk of cracks, warping, and uneven drying, ensuring your finished pieces are strong and beautiful. You want to aim for controlled, gradual drying, allowing moisture to escape uniformly from all parts of your creation.
Choosing the Right Drying Location
The environment where your clay dries is paramount. Select a spot that offers a balance of ideal conditions.
- Normal Room Temperature: Aim for a room with a stable temperature, ideally between 20–24 °C (68–75 °F). Avoid extreme heat sources like direct sunlight, heaters, or ovens, which can cause the surface to dry too quickly while the interior remains wet, leading to stress and cracking. Conversely, very cold rooms will significantly slow down the drying process.
- Moderate Humidity: As discussed, very high humidity dramatically prolongs drying time and can even encourage mold growth. Conversely, extremely dry environments can pull moisture out too fast, causing surface cracks. A humidity level of 40–60% is generally ideal. If your environment is particularly humid, consider using a dehumidifier in the room. If it’s very dry, you might need to slow drying down.
- Good Air Circulation, No Direct Drafts: Gentle, consistent airflow is beneficial as it carries away evaporated moisture. Placing your piece in a well-ventilated room, or even near a fan set on a low setting (not blowing directly on the clay), can help. However, avoid strong, direct drafts that can dry one side of your piece much faster than another, leading to warping or cracking.
Managing Drying Speed for Thick Pieces
Thick sections are the most prone to cracking because the surface dries and shrinks before the internal clay can catch up. This tension can cause fissures.
- Slowing Down the Drying Process: For very thick or intricate pieces, you might intentionally want to slow down the drying.
- Partial Covering: Loosely cover your clay with a plastic bag, piece of plastic wrap, or a damp cloth for the first day or two. This creates a mini-humid environment around the clay, allowing the internal moisture to equalize with the surface moisture before too much evaporates. The key is “loosely” – you still want some air exchange.
- Intermittent Drying: You can let the piece dry for a day, then cover it again for a day, repeating the process. This stop-and-start method helps ensure even moisture distribution.
- Gradual Exposure: For very large sculptures, some potters even store pieces in a damp box for several days before gradually exposing them to air. While this is more common for traditional clay, the principle can be adapted for air-dry clay that is very thick.
Ensuring Even Drying
Even drying prevents internal stresses that lead to cracks and warping.
- Elevate Your Piece: Don’t just place your clay directly on a flat surface. Use a drying rack, a piece of cardboard, or even skewers/small blocks to elevate the piece. This allows air to circulate underneath, ensuring the bottom dries at a similar rate to the top and sides.
- Rotate Periodically: Especially for three-dimensional objects, gently rotate your piece every 12-24 hours during the initial drying phase. This exposes all sides to the ambient air, preventing one side from drying significantly faster than another.
- Hollowing Out Thick Sections: For very thick sculptures (over 1 inch or 2.5 cm), consider hollowing out the interior when you initially sculpt. This reduces the mass of clay that needs to dry, significantly shortening the drying time and minimizing the risk of internal cracks. Make sure the walls are still thick enough to be structurally sound (e.g., at least 1/2 inch or 1.25 cm). This technique is borrowed from traditional ceramic practices and is highly effective.
- Smooth Surfaces Gently: As your clay begins to firm up, occasionally very gently smooth any fine cracks that might appear on the surface with a damp finger. This is best done in the early stages of drying.
Troubleshooting Common Drying Issues
Despite your best efforts, sometimes issues arise. Knowing how to identify and address them can save your project.
- Cracking:
- Surface Cracks: Often caused by drying too quickly. If caught early while the clay is still somewhat pliable, you can try to re-moisten the area with a damp sponge and gently smooth it. For deeper cracks, you might need to fill them with a small amount of fresh, soft clay and blend carefully.
- Deep Cracks/Warping: Usually indicates uneven drying or too rapid drying of thick sections. These are harder to fix once the clay has significantly hardened. Prevention is truly the best cure here.
- Mold Growth: If your clay smells musty or you see fuzzy spots, it’s likely mold. This happens when clay dries too slowly in a very humid, poorly ventilated environment.
- Action: If it’s minor and caught early, you can try to wipe it off with a damp cloth and then move the piece to a dryer, better-ventilated area. If the mold is pervasive and has penetrated deep into the clay, the piece might be compromised and should likely be discarded to prevent health issues and further contamination. Ensure good airflow and lower humidity for future projects.
By conscientiously applying these best practices, you empower yourself to achieve consistent, high-quality results with your air-dry clay, transforming raw material into resilient finished art.
How to Tell if Your Clay is Fully Dry
| Type of Clay | Average Drying Time | Factors Affecting Drying Time | Notes |
|---|---|---|---|
| Air-Dry Clay (General) | 24 to 72 hours | Thickness, humidity, temperature, airflow | Thin pieces dry faster; thicker pieces may take longer |
| Paper Clay | 12 to 48 hours | Humidity, thickness, ventilation | Dries faster due to paper fibers |
| Natural Clay (Non-fired) | Several days to weeks | Thickness, temperature, humidity | May crack if dried too quickly |
| Polymer Clay (Air-Dry Variant) | 24 to 48 hours | Thickness, airflow | Usually requires baking for full hardening |
| Modeling Clay (Non-hardening) | Does not air dry | N/A | Remains pliable indefinitely |
Determining when your air-dry clay is truly ready for the next stage – whether that’s painting, sealing, or just handling without fear of damage – is critical. You don’t want to rush the process and potentially compromise your hard work. While visual cues are helpful, a combination of sensory checks will give you the most accurate assessment. You’re looking for signs that all the moisture has evaporated, not just from the surface, but from the very core of your piece.
Visual Cues
Your eyes will be your first line of defense in determining dryness.
- Color Change: Most air-dry clays lighten considerably as they dry. Often, a darker, wetter shade will transform into a significantly lighter, almost chalky color. You should observe a uniform color change across the entire surface and, if possible, deep into any crevices or less accessible areas. Any dark spots suggest residual moisture.
- Matte Finish: Wet clay often has a slightly glossy or “wet look.” As it dries, this sheen will disappear, leaving a completely matte, dull finish.
- Absence of “Wet Spots”: Carefully inspect all surfaces, including the underside and any internal cavities. There should be no visible patches that appear darker or feel damp to the touch.
Tactile Tests (Touch and Feel)
Your hands can provide crucial information about the internal dryness of your clay.
- Hardness: A fully dry piece of air-dry clay will be hard and rigid. It should not yield or bend under gentle pressure. If you can still feel any slight flexibility, especially in thinner sections, it’s not completely dry.
- Temperature: Surprisingly, a completely dry piece of clay will feel at room temperature. A piece that is still drying will often feel cool to the touch, even in a warm room. This coolness is due to the evaporative cooling effect as water continues to escape the clay. If your piece feels distinctly cool, it’s still drying.
- Weight: This is one of the most reliable tests for thicker pieces. Pick up your clay project. Wet clay is significantly heavier than dry clay due to the weight of the water it contains. A fully dry piece will feel noticeably lighter than it did when you first started sculpting it. Over time, you’ll develop an intuition for this, recognizing the substantial difference in heft between a wet and a dry piece of a given size.
The “Click” Test (for Thicker Pieces)
For more substantial or solid items, a simple auditory test can sometimes help.
- Gentle Tap: Hold the piece up to your ear and gently tap it with a fingernail or a small, non-marring object. If it’s fully dry and dense, you might hear a faint, crisp “click” or ringing sound. If it’s still damp inside, the sound will be duller, more of a “thud.” This test is more indicative for solid, firm pieces rather than thin, delicate ones.
When in Doubt, Wait Longer
The golden rule of air-dry clay is patience. If you’ve conducted all your tests and still have even the slightest doubt about whether your piece is completely dry, err on the side of caution and give it more time. There’s no harm in letting it dry for an extra day or two, especially for thicker items. Rushing it, however, can lead to serious problems like trapped moisture, which can cause paints to peel, sealers to not adhere properly, or even mold to develop under finishes, ultimately ruining your hard work. For larger or over ½-inch thick work, it’s often prudent to leave it at least 1 week, and up to 2–3 weeks in humid climates, to ensure it is completely dry all the way through before proceeding with any finishing steps.
By combining these visual, tactile, and auditory assessments, you’ll gain confidence in knowing when your air-dry clay creations are truly ready for their next stage, ensuring a durable and beautiful final product.
Post-Drying: Finishing Your Air-Dry Clay
Once your air-dry clay creation is definitively dry and hard, your creative journey isn’t over. This is when you bring your piece to life with color, protection, and polish. Proper finishing not only enhances the aesthetic appeal but also adds a layer of durability and seals the clay, protecting it from moisture and wear. You’ve put in the time for proper drying; now it’s time to ensure your piece stands the test of time.
Sanding for Smoothness
Even with careful sculpting, air-dry clay can dry with minor imperfections, rough patches, or visible tool marks.
- Fine-Grit Sandpaper: Once completely dry, you can gently sand your piece to achieve a smoother finish. Start with a medium-fine grit (e.g., 180-220) to address rough areas, then move to a finer grit (e.g., 320-400) for a silky smooth surface.
- Dust Removal: Always sand in a well-ventilated area, and wear a dust mask if you’re sensitive to fine particles. After sanding, use a soft brush or a damp (not wet) cloth to thoroughly wipe away all dust before painting or sealing. Residual dust can prevent finishes from adhering properly.
Painting Your Masterpiece
This is where your vision truly comes to fruition. Air-dry clay takes well to various types of paint.
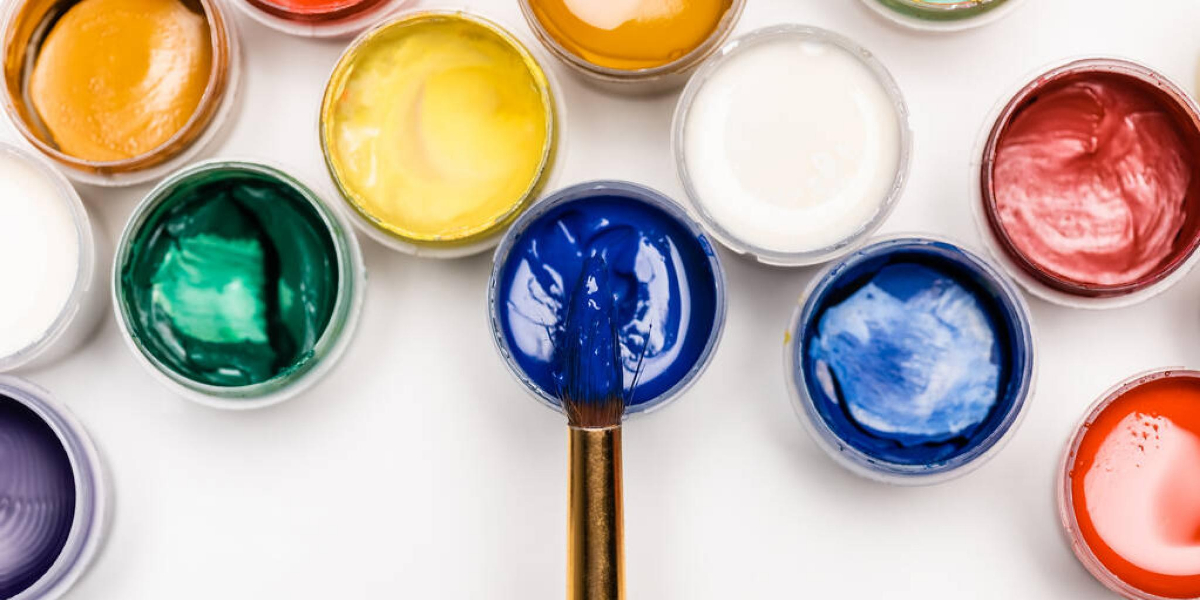
- Acrylic Paints: These are the most popular choice for air-dry clay. Acrylics are versatile, come in a vast array of colors, dry quickly, and are water-resistant once cured. You can apply them directly to the dry clay.
- Tempera and Gouache: These paints are opaque and offer vibrant colors, but they are not water-resistant, so your piece will require a strong sealant.
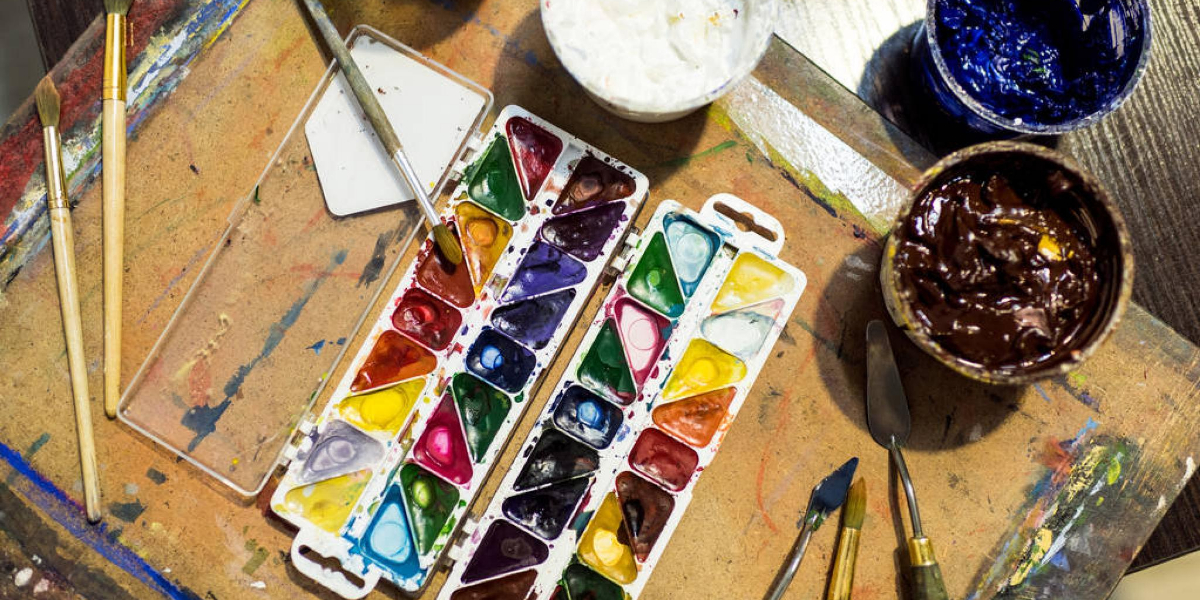
- Watercolors: While possible, watercolors can be challenging on porous clay surfaces and may require a primer if you want vibrant, non-absorbed color. They are not water-resistant and need sealing.
- Priming (Optional but Recommended): For better paint adhesion and truer color, especially with lighter paints or if your clay is a darker shade, consider applying a coat of white acrylic gesso primer. This creates a uniform, slightly textured base for your paint.
Sealing for Protection and Durability
Sealing is perhaps the most crucial step after drying and painting. It protects your clay from moisture, dust, and general wear and tear, significantly extending its lifespan.
- Water-Based Sealers: These are generally easy to use, clean up with water, and are non-toxic. They typically dry clear and offer a good level of protection. You can find them in matte, satin, or gloss finishes. Apply several thin, even coats, allowing each coat to dry completely before applying the next.
- Acrylic Sealers (Varnishes): These are essentially clear acrylic paints and are excellent for sealing. They form a durable, water-resistant barrier. Brands like Mod Podge or various art varnishes work well.
- Spray Sealers: For quick and even application, especially on intricate pieces, spray sealers (e.g., clear acrylic spray lacquer) are convenient. Ensure you use them in a well-ventilated area or outdoors, wearing a mask. Follow the manufacturer’s instructions for distance and number of coats.
- Types of Finish:
- Matte: Provides a natural, un-glossy look, which can be ideal for rustic or understated pieces.
- Satin/Semi-Gloss: Offers a subtle sheen, making colors pop slightly without being overly reflective.
- Gloss: Creates a shiny, reflective surface that enhances vibrancy and depth of color.
- Applying Sealant: Always ensure your paint is completely dry before applying sealant (typically 24 hours after the final paint coat). Apply thin, even coats to prevent drips or bubbles, and allow adequate drying time between coats as recommended by the product manufacturer. For pieces that might come into contact with water (e.g., coasters, decorative bowls), aim for at least 2-3 coats of sealant.
Long-Term Care and Display
Even after sealing, air-dry clay pieces are not as durable or water-resistant as kiln-fired ceramics.
- Avoid Submerging in Water: Your sealed air-dry clay should not be used for food or liquids, or submerged in water. It is not dishwasher safe.
- Gentle Cleaning: If cleaning is necessary, gently wipe with a slightly damp (not wet) cloth. Avoid harsh chemicals or abrasive cleaners.
- Indoor Use: Most air-dry clay is designed for indoor decorative use. While some sealants offer UV protection, prolonged exposure to outdoor elements (rain, extreme temperatures, direct sunlight) can still degrade the clay over time.
- Handling: Handle finished pieces with care, especially if they have delicate parts. While sealed, they can still chip or break if dropped.
By embracing these post-drying steps, you not only finalize your creative vision but also ensure that your air-dry clay projects remain beautiful and intact for years to come, a testament to your patience and craftsmanship.
FAQs
How long does it typically take for clay to air dry?
Air drying clay usually takes between 24 to 72 hours to fully dry, depending on the thickness of the piece and the humidity levels in the environment. Thicker pieces may take longer to dry completely.
What factors can affect the drying time of air-dry clay?
Several factors can influence the drying time of air-dry clay, including the thickness of the clay, the humidity and temperature of the surrounding environment, and the airflow around the piece. Higher humidity can slow down the drying process, while warmer temperatures can speed it up.
Can I speed up the drying process of air-dry clay?
Yes, you can speed up the drying process by placing the clay in a warm, dry area with good airflow. Using a fan or a dehumidifier can also help reduce moisture in the air, promoting faster drying. However, avoid using direct heat sources like ovens, as they can crack the clay.
Is it safe to paint or seal air-dry clay before it is fully dry?
No, it is not recommended to paint or seal air-dry clay before it is fully dry. Doing so can trap moisture inside, leading to potential mold growth or damage to the piece. It’s best to wait until the clay is completely dry before applying any finishes.
What should I do if my air-dry clay piece cracks during drying?
If your air-dry clay piece cracks during the drying process, you can try to repair it by mixing a small amount of wet clay with water to create a paste and applying it to the cracks. Once the paste is dry, you can sand it down and repaint the area if necessary.