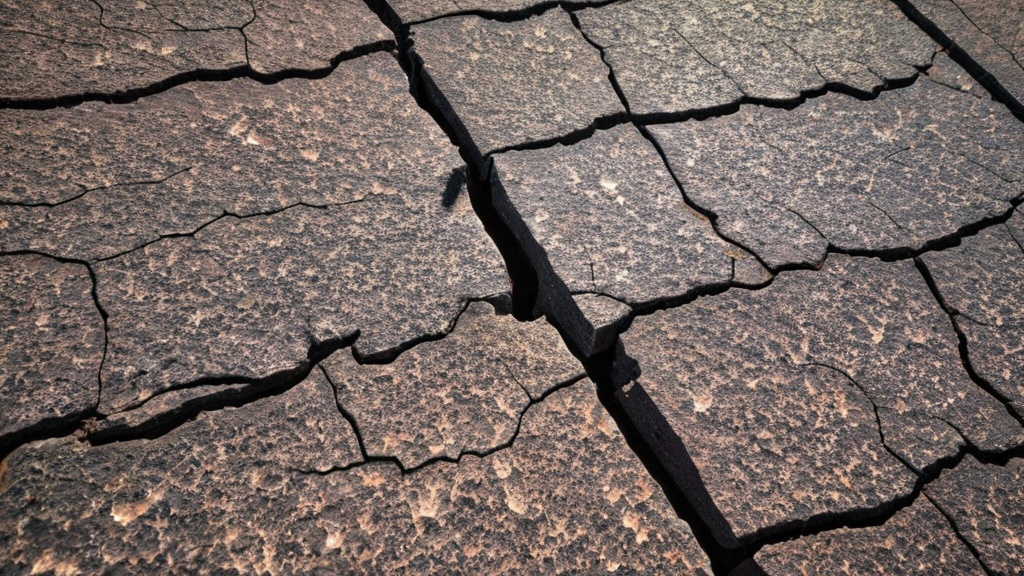
You’ve poured your heart and soul into that air dry clay masterpiece. You’ve envisioned it, shaped it, meticulously refined it, and now you’re patiently waiting for it to dry. But then, it happens. A tiny hairline appears, then expands, spiderwebbing across your creation. A disheartening sight, indeed. Don’t despair. Cracks in air dry clay are a common occurrence, but they are far from being a death sentence for your artwork. With the right techniques and a little patience, you can effectively repair these blemishes and restore your piece to its pristine glory. This comprehensive guide will walk you through everything you need to know about fixing cracks in air dry clay, from prevention to advanced repair strategies, ensuring your artistic endeavors are not thwarted by a few minor imperfections.
Before you can effectively fix a crack, it’s beneficial to understand why it happened in the first place. Air dry clay, by its nature, is prone to cracking if not handled and dried correctly. By understanding the underlying causes, you can take preventative measures in the future and approach your repairs with a more informed perspective.
Rapid Drying and Uneven Shrinkage
This is arguably the most common culprit behind cracks. Air dry clay contains water, and as this water evaporates, the clay shrinks. If the drying process occurs too quickly or unevenly, different parts of your piece will shrink at different rates. This differential shrinkage creates internal stresses within the clay, leading to tears and cracks, particularly in thinner sections or at points where different thicknesses meet. Imagine a delicate bridge, with one end drying much faster than the other; the tension would inevitably cause it to break.
Thick and Thin Sections
Pieces with significant variations in thickness are inherently more susceptible to cracking. Thicker sections retain moisture for longer and thus dry and shrink slower than thinner sections. This disparity in drying rates puts considerable strain on the junctions between thick and thin areas, making them prime locations for cracks to form. Think of a sculpture with a bulky base but delicate limbs; the limbs will dry quickly, while the base remains damp, creating tension.
Insufficient Wedging or Conditioning
Wedging clay is not just for pottery. Even air dry clay benefits from proper conditioning. This process removes air bubbles and ensures a consistent, uniform moisture content throughout the clay body. Air pockets within your clay can create weak points that, during drying shrinkage, can collapse and lead to cracks. Similarly, if your clay isn’t thoroughly mixed and hydrated, different areas might have varying moisture levels, contributing to uneven drying.
Overworking the Clay
While wedging is important, overworking your clay can also be detrimental. Excessive manipulation can lead to the clay becoming “short” or less pliable, making it more prone to tearing during shaping and drying. When the clay loses its innate elasticity, it’s less able to accommodate the stresses of shrinkage.
Environmental Factors
The environment in which your clay dries plays a crucial role. Direct sunlight, drafts, or proximity to heat sources (like radiators or vents) can all accelerate drying, increasing the risk of cracks. Conversely, a very humid environment can prolong drying time excessively, which, while reducing immediate cracking, can sometimes lead to mold or a weaker final product if not managed correctly.
Essential Tools and Materials for Crack Repair
Before you embark on your repair mission, gather the necessary tools and materials. Having everything at hand will make the process smoother and more efficient. Think of yourself as a surgeon preparing for a delicate operation; precision and preparation are key.
Fresh Air Dry Clay or Slip
You’ll need a small amount of fresh air dry clay, preferably the same brand and type as your original piece, to fill the cracks. Alternatively, you can create “slip” by mixing a small amount of your air dry clay with water until it forms a thick, creamy paste. Slip is particularly effective for hairline cracks and for creating a smooth, seamless finish.
Water
A small bowl of clean water is indispensable. You’ll use it to moisten the cracked area, soften the clay, and help blend your repairs. Think of water as the bonding agent that allows the new clay to meld with the old.
Small Brushes or Sculpting Tools
Small, soft brushes (like watercolor brushes) are excellent for applying water precisely to cracks and for smoothing slip. Various small sculpting tools, such as dental picks, silicone shapers, or even toothpicks, can be used to gently work the fresh clay into the crack and refine the surface.
Sponge or Cloth
A damp sponge or soft cloth will be useful for gently cleaning the surface, smoothing out repairs, and wiping away excess moisture.
Craft Knife or Blade
For more significant cracks or uneven surfaces, a sharp craft knife or blade can be used to carefully trim away any loose or uneven clay before filling.
Sandpaper
Once your repair has fully dried, fine-grit sandpaper (220-400 grit) will help you smooth out any remaining imperfections and achieve a seamless finish.
Optional: Glue or Epoxy Clay
For severe breaks or structural issues, a strong adhesive like super glue, wood glue specifically designed for porous materials, or even epoxy clay might be necessary to provide initial structural integrity before further patching.
Step-by-Step Guide to Fixing Hairline Cracks
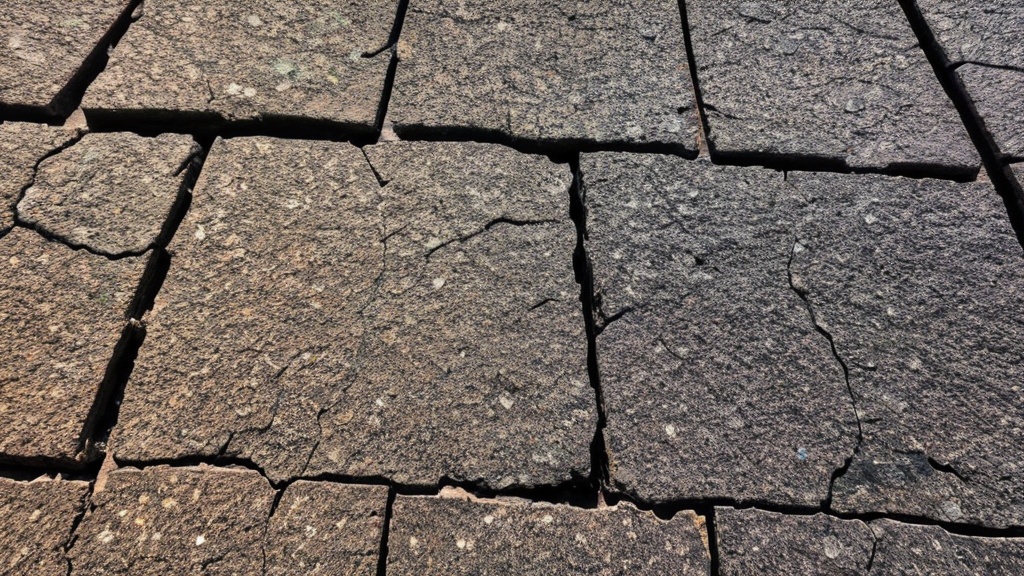
Hairline cracks are the most common type of damage you’ll encounter. They appear as fine lines on the surface and are often a result of minor differential drying. These are generally the easiest to fix, but still require a meticulous approach.
1. Moisten the Crack Thoroughly
This is a critical first step. Before applying any new clay, you need to rehydrate the edges of the crack.
- Apply a few drops of water: Using a small brush or a dropper, gently apply a few drops of water directly into and along the length of the crack.
- Allow it to absorb: Let the water sit for a minute or two, allowing the dry clay to absorb the moisture and soften. You might even see the edges of the crack slightly swell or become more pliable. This softening is crucial because it allows the fresh clay or slip to properly bond with the existing, hardened clay, preventing the repair from simply flaking off later. Think of it as preparing the ground for new seeds; you need to make it receptive. Repeat this step as needed until the clay around the crack feels slightly softened.
2. Prepare and Apply Slip or Fresh Clay
Now that the crack is moistened, you’re ready to introduce the filler material.
- For Hairline Cracks: For very fine cracks, slip is usually the best option.
- Make your slip: Take a small piece of your air-dry clay and mix it with a few drops of water on a non-porous surface (like a tile or plastic lid) until it forms a thick, creamy consistency, similar to yogurt or thick paint.
- Apply the slip: Using your small brush or a toothpick, carefully apply the slip directly into the moistened crack. Work it in gently, ensuring it penetrates the entire depth of the crack.
- For Slightly Wider Hairline Cracks: If the crack is a bit wider, but still relatively shallow, you might use a tiny amount of fresh clay.
- Roll a thin coil: Take a very small piece of fresh clay and roll it into a thin, spaghetti-like coil, even thinner than the crack itself if possible.
- Press into the crack: Gently press this coil into the moistened crack, using a sculpting tool or your fingertip. Ensure it fills the entire void.
3. Press and Smooth the Repair
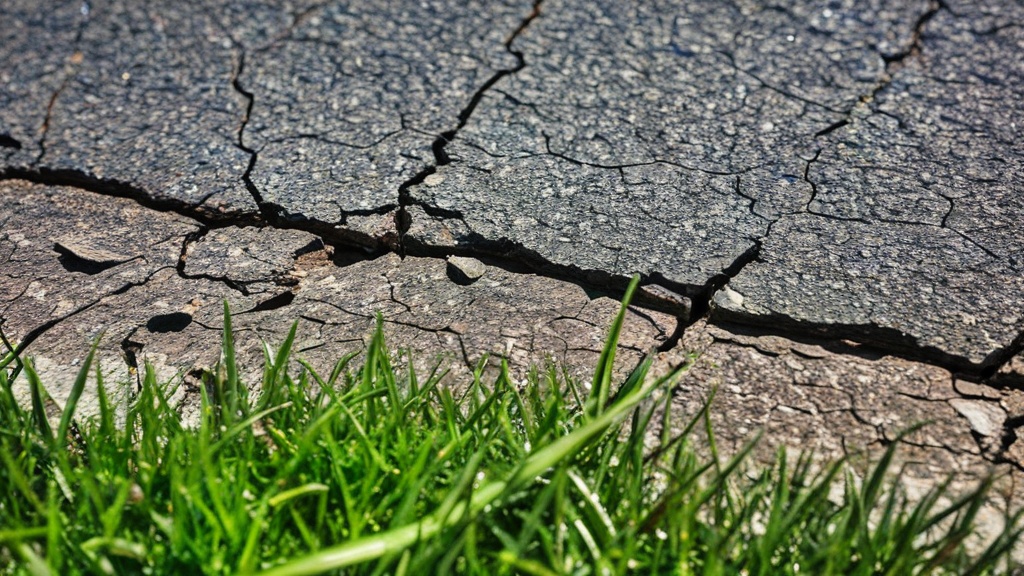
Once the filler material is in place, you need to integrate it seamlessly with the surrounding clay.
- Gentle pressure: Using a clean fingertip, a silicone shaper, or the back of a small spoon, gently press down on the filled crack. This helps to force the slip or fresh clay deeper into the crack and bond it with the moistened edges of the original clay.
- Smooth flush: Continue to smooth the area, blending the new clay with the old. You can use a damp sponge or a slightly wet fingertip to help achieve a flush and even surface. Wipe away any excess slip or clay that spreads onto the undamaged areas. The goal here is to make the repair virtually invisible. Think of it as feathering the edges so there’s no noticeable seam.
4. Allow the Repair to Dry Slowly
This is just as important as the initial drying process for the original piece.
- Patience is key: Once the repair is complete, do not rush the drying. Place your piece in a cool, dry area away from direct sunlight or drafts.
- Consider slow drying methods: For larger repairs, or if you find the piece is still prone to cracking, you might employ slow drying techniques. Gently cover the repaired area (or the entire piece) with a damp paper towel or loosely tent it with plastic wrap. This traps some moisture, allowing the repaired area to dry very gradually, minimizing the risk of new stress cracks forming around your repair.
5. Sand if Necessary
After the repair is completely dry (which can take 24-72 hours depending on the thickness of the repair and humidity), inspect the area.
- Fine-grit sandpaper: If there are any slight bumps or unevenness, use very fine-grit sandpaper (220-400 grit) to gently sand the repaired area until it is perfectly smooth and flush with the surrounding surface. Use a light touch to avoid damaging the original clay.
- Dust off: Wipe away any clay dust with a clean, dry cloth. Your piece should now be ready for painting, sealing, or whatever final finishing touches you have planned.
Tackling Larger Cracks and Breaks
| Crack Size | Fixing Method |
|---|---|
| Small cracks | Use a small amount of water to smooth over the crack and blend the clay together |
| Large cracks | Fill the crack with a mixture of clay and water, then smooth over the surface |
| Deep cracks | Use a clay sculpting tool to open up the crack, then fill it with clay and blend the surface |
| Preventing cracks | Ensure the clay is properly kneaded and free of air bubbles before shaping, and allow it to dry slowly and evenly |
While hairline cracks are common, sometimes you encounter more significant damage – wider fissures, or even a piece that has completely broken apart. These require a more robust approach, often involving a combination of reinforcements and filling.
1. Realign and Reassemble Broken Pieces
If your clay piece has completely broken, your first task is to meticulously reassemble the fragments. Think of it like a puzzle, but one where the pieces are delicate.
- Clean the edges: Carefully remove any dirt, dust, or loose clay particles from the broken edges. A soft brush or a craft knife can help with this.
- Dry fit: Gently fit the broken pieces back together without any adhesive to ensure a perfect alignment. This will help you identify any areas that might need trimming or more careful attention.
- Secure with glue (for structural integrity): For a clean break where the two surfaces match perfectly, a strong glue can be your first line of defense.
- Choose the right glue: Super glue (cyanoacrylate) works quickly and provides a strong bond, particularly for small, precise breaks. For larger areas or where a bit more open time for adjustment is needed, a strong wood glue (which is excellent for porous materials) or even a ceramic adhesive can be effective.
- Apply sparingly: Apply a thin, even layer of glue to one of the broken surfaces.
- Press firmly: Carefully align the pieces and press them together firmly, holding them in place until the glue sets. If possible, use painter’s tape or clamps to hold the pieces securely while the glue cures completely, which can take several hours depending on the type of glue.
- Consider epoxy clay for major structural reinforcement: For very heavy pieces or breaks that will be under significant stress, epoxy clay can offer superior structural reinforcement.
- Mix epoxy clay: Epoxy clay usually comes in two parts that you mix together. Follow the manufacturer’s instructions carefully for proper mixing ratios.
- Apply to the joined area: Once the broken pieces are glued back together and the initial glue has cured, you can apply a thin layer of mixed epoxy clay along the seam, effectively creating a strong “splint” or bridge over the rejoined area. This is particularly useful on the underside or less visible parts of the sculpture.
- Smooth and shape: Use sculpting tools or damp fingers to smooth and shape the epoxy clay, blending it as much as possible. Epoxy clay dries very hard and can often be sanded and painted once cured.
2. Fill the Gaps and Larger Cracks
Once the broken pieces are securely reattached, or if you’re dealing with a wide crack that didn’t involve a complete break, you’ll need to fill the remaining gaps.
- Moisten the surrounding clay: As with hairline cracks, thoroughly moisten the clay surrounding the gap or wide crack. This ensures better adhesion of the new clay.
- Pack with fresh clay: Take a small amount of fresh air dry clay and press it firmly into the crack or gap. Don’t be afraid to overfill slightly, as the clay will shrink as it dries.
- Work it in: Use a sculpting tool or your fingers to really work the new clay into every crevice, eliminating any air pockets. Ensure it binds well with the moistened edges of the original piece.
- Smooth and blend: Once the gap is filled, use a damp finger, sponge, or sculpting tool to smooth the new clay and blend it seamlessly with the surrounding surface. The goal is to make the repair flush and invisible.
3. Reinforce from Within (if possible)
For structural cracks or breaks in hollow forms, you might consider internal reinforcement.
- Internal patch: If the piece is hollow and you can access the inside, you can create an internal patch. Once the broken pieces are glued back together from the outside, apply a thin layer of fresh clay (or even epoxy clay) to the inside of the seam. This adds another layer of strength and acts as a hidden brace, similar to how internal supports are used in construction.
- Consider armatures: If the piece is still in the modeling stage and you anticipate structural weakness, integrating an armature (like wire) can prevent future breaks. While this isn’t a “repair” per se, it’s a valuable preventative measure for complex forms.
4. Gradual Drying and Refinement
Once your substantial repair is complete, it’s crucial to manage the drying process carefully.
- Slow drying is paramount: Large patches of new clay will take longer to dry and shrink more, increasing the risk of new cracks forming around the repair. Employ slow drying techniques diligently:
- Damp paper towels: Gently drape damp paper towels over the entire repaired area or even the whole piece.
- Plastic wrap: Loosely tent the piece with plastic wrap, leaving a slight opening for air circulation, or create a damp box by placing the piece in a plastic container with a small bowl of water.
- Monitor hydration: Check the dampness regularly and re-moisten the paper towels or the inside of the plastic wrap as needed. The goal is to extend the drying time over several days or even a week for very large repairs.
- Inspect and repeat: Once completely dry, inspect the repair for any new hairline cracks. It’s not uncommon for a large repair to reveal minor touch-ups needed. Repeat the hairline crack repair steps as necessary.
- Sanding and finishing: Once fully dry and satisfactory, sand the repaired area with fine-grit sandpaper until smooth. Your piece is now structurally sound and ready for painting or sealing.
Preventing Future Cracks in Air Dry Clay
While fixing cracks is a valuable skill, preventing them in the first place is even better. Implementing good practices from the outset will save you time and frustration in the long run. Think of it as proactive care for your artistic creations.
Proper Clay Preparation
The journey to a crack-free sculpture begins before you even start shaping.
- Kneading and wedging: Always knead or wedge your air dry clay thoroughly before use. This removes air bubbles, which can cause internal stresses and cracks during drying. Wedging also ensures an even consistency and moisture distribution throughout the clay body. Imagine kneading bread dough; you’re creating a uniform structure.
- Hydrate adequately: If your clay feels too stiff or crumbly, add a few drops of water and knead it in until it reaches a pliable, workable consistency. Too dry clay is less elastic and more prone to tearing.
- Store unused clay properly: Keep any unused clay tightly sealed in an airtight container or plastic bag to prevent it from drying out prematurely.
Smart Sculpting Techniques
Your shaping process can greatly influence the clay’s susceptibility to cracking.
- Avoid extreme thickness variations: Try to keep the thickness of your sculpture relatively consistent throughout. If you must have thick and thin sections, transition between them gradually rather than abruptly. This minimizes the differential drying stress.
- Build hollow for larger pieces: For larger sculptures, consider building them hollow. This allows for more even drying throughout the piece and reduces the overall volume of clay that needs to dry. Make sure to properly score and slip joints when building hollow sections.
- Smooth surfaces during construction: As you sculpt, smooth the surface of your clay regularly. Small fissures or rough areas can act as starting points for cracks to develop later.
Controlled and Slow Drying Environment
This is perhaps the single most important factor in preventing cracks.
- Avoid rapid drying conditions: Never place your air dry clay pieces in direct sunlight, by a heat vent, in a strong draft, or under a fan. These conditions strip moisture too quickly, guaranteeing cracks.
- Create a slow drying chamber:
- Damp paper towel method: For smaller pieces, you can gently cover them with a damp paper towel (not soaking wet) to slow down the evaporation.
- Plastic bag/wrap method: Loosely cover your piece with plastic wrap or place it in a plastic grocery bag, leaving a small opening for some air exchange. This creates a mini-greenhouse effect, trapping moisture and slowing the drying process.
- Damp box: For more critical pieces or larger projects, create a “damp box.” Place your sculpture in a sealed plastic container (like a storage bin) along with a small bowl of water. The water evaporates, increasing the humidity inside the container and significantly extending the drying time.
- Rotate your piece: Regularly rotate your sculpture during the initial drying phase to ensure all sides are exposed to similar air conditions, promoting even drying.
- Patience is a virtue: Allow ample time for your piece to dry completely. Depending on the size and thickness, this can take several days to a week or more. Rushing this stage is a recipe for disaster. If you can feel any coolness or dampness, it’s not fully dry.
Monitoring and Early Intervention
Regularly inspect your drying pieces and take action at the first sign of trouble.
- Inspect daily: Make it a habit to check your drying sculptures daily for any new hairline cracks.
- Moisture check: Gently touch the piece in different areas. If one side feels significantly drier than another, adjust your drying setup or add local moisture (e.g., a damp paper towel on the drier section).
- Immediately address early cracks: If you spot a tiny crack forming, don’t wait. Follow the steps for fixing hairline cracks immediately. Repairing small cracks is much easier and more effective than dealing with larger, more established ones.
Finishing and Sealing Repaired Air Dry Clay
Once your air dry clay piece is crack-free and thoroughly dry, you’re ready for the final steps: decorating and sealing. These steps protect your hard work and enhance its longevity.
Painting Your Repaired Piece
You can paint air dry clay with a variety of mediums, and the good news is that a well-executed repair will be invisible under paint.
- Clean the surface: Before painting, ensure your piece is completely dry and free of any dust or debris from sanding. You can use a soft brush or a slightly damp cloth (then let it dry again) to clean the surface.
- Prime (optional but recommended): While not strictly necessary for all paints, applying a primer (like white gesso or a dedicated craft primer) can offer several benefits:
- Even paint application: Creates a uniform, non-porous surface, allowing your paint to spread more smoothly and evenly.
- Vibrant colors: Prevents the clay from absorbing too much paint, resulting in brighter, more vibrant colors.
- Improved adhesion: Helps the paint adhere better, making it more durable.
- Choose your paints:
- Acrylic paints: These are the most popular choice for air dry clay. They are water-based, easy to clean up, available in a vast array of colors, and dry quickly.
- Tempera paints: Good for children’s projects, but less durable and vibrant than acrylics.
- Watercolors: Can be used for a more translucent effect, but may require more sealing.
- Apply paint in thin coats: Build up your colors in thin, even layers. This prevents paint from cracking or peeling and allows for better control over shading and detail. Let each coat dry completely before applying the next.
- Pay attention to the repaired areas: If your repair involved a different type of clay or epoxy clay, you might notice slight differences in porosity or texture. A primer will help equalize this, but you might need an extra thin coat of paint over the repaired zone to ensure total color uniformity.
Sealing for Protection and Durability
Sealing your finished and painted air dry clay piece is essential. It protects the surface from moisture, dust, and wear, and considerably increases the durability of your artwork.
- Why seal? Air dry clay, even after drying, can reabsorb moisture from the air, potentially softening or weakening over time. Sealers create a protective barrier.
- Types of sealers:
- Acrylic spray sealers: These are convenient and provide an even coat. They come in various finishes (matte, satin, gloss). Apply in thin, even coats from a distance, following manufacturer’s instructions. Ensure you’re in a well-ventilated area.
- Brush-on varnishes: Acrylic varnishes (water-based) are also excellent. They offer control over thickness and finish. Apply with a soft brush in even strokes. Multiple thin coats are better than one thick coat.
- Mod Podge: This is a popular craft sealer that acts as a glue, sealer, and finish. It comes in different finishes and is a good all-rounder for many projects.
- Waterproof sealers (for functional pieces): If your air dry clay piece is intended for limited functional use (e.g., a decorative planter not holding water, a coaster), look for specific waterproof or water-resistant sealers. However, keep in mind that air dry clay is generally not food-safe or truly waterproof for continuous liquid exposure, even with sealing. For items that will hold liquids, consider using a glass insert or a different base material.
- Apply multiple coats: For best protection, apply at least two to three thin coats of your chosen sealer, allowing each coat to dry completely according to the manufacturer’s instructions.
- Consider the finish: Choose a sealer that complements your artwork. A matte finish will give a natural, unglazed look, while a gloss finish will make colors pop and give a shiny, ceramic-like appearance.
- Curing time: Even after the sealer feels dry to the touch, it may require additional time to fully “cure” and reach its maximum hardness. Check the product label for specific curing times.
By following these comprehensive steps for understanding, repairing, preventing, and finishing your air dry clay creations, you can ensure your artistic vision is realized without the frustration of irreparable damage. Embrace the learning process, and soon you’ll be a master of not just creating, but also maintaining the beauty and longevity of your air dry clay art.
FAQs
What is air dry clay?
Air dry clay is a type of clay that dries and hardens without the need for a kiln or oven. It is a popular choice for craft projects and sculpting because it is easy to work with and does not require special equipment for curing.
Why does air dry clay crack?
Air dry clay can crack due to a variety of reasons, including improper storage, overworking the clay, or not properly supporting the structure as it dries. Additionally, environmental factors such as humidity and temperature can also contribute to cracking.
How can I prevent cracks in air dry clay?
To prevent cracks in air dry clay, it is important to properly store the clay in an airtight container when not in use, avoid overworking the clay, and provide proper support for the structure as it dries. Additionally, keeping the clay at a consistent temperature and humidity level can help prevent cracking.
How do I fix cracks in air dry clay?
To fix cracks in air dry clay, you can use a small amount of water to smooth out the surface and blend the cracks together. For larger cracks, you can use a small amount of fresh clay to fill in the gaps and then smooth it out with water. Once the repairs are made, allow the clay to dry completely before sanding or painting.
Can I use any type of paint or finish on air dry clay?
Yes, air dry clay can be painted with acrylic paints, watercolors, or any other type of paint. Additionally, you can also apply a clear sealant or varnish to protect the surface and give it a glossy finish.