Understanding the Air-Dry Clay Drying Process
You’ve just finished your latest creation with air-dry clay, a material that offers incredible versatility and ease of use without the need for a kiln. But now comes the waiting game, and a crucial question likely springs to mind: “How long does this take to dry completely?” The answer, as you’ll soon discover, isn’t a simple, single number. Instead, it’s a dynamic interplay of factors that influence the overall drying time, requiring a bit of patience and observation on your part. Understanding this process is key to ensuring your finished piece is durable, crack-free, and ready for its next stage, whether that’s painting, sealing, or simply display. You’re essentially allowing the water content within the clay to evaporate naturally into the surrounding air. This evaporation is a gradual process, and rushing it can lead to unfortunate outcomes for your carefully crafted item.
The Initial Stage: Drying to the Touch
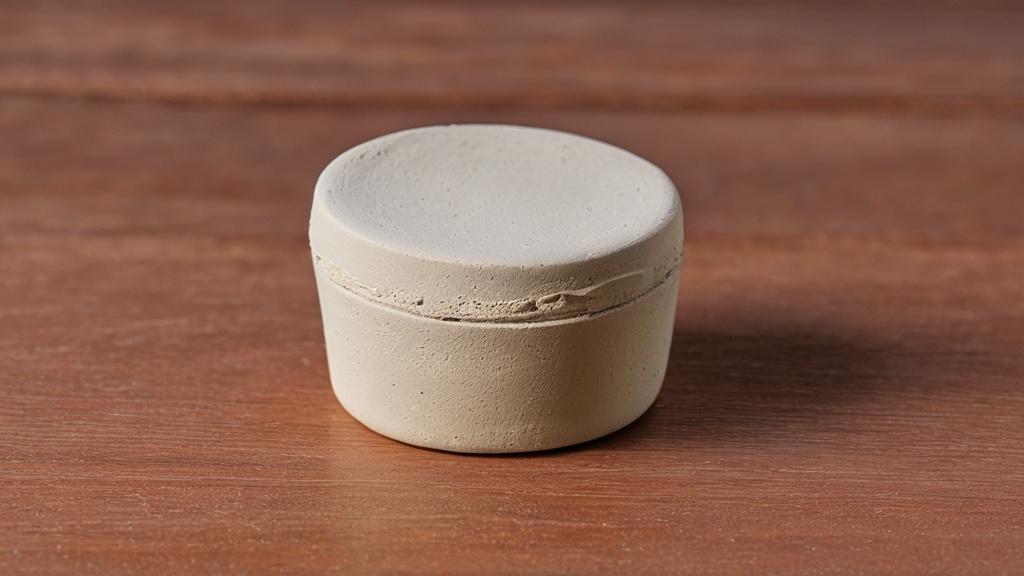
When you first hear about air-dry clay, you might assume it dries very quickly. While it does begin to harden relatively fast, achieving a “dry to the touch” state is just the first milestone. For many brands, you’ll find that your piece feels dry and firm on the surface within about 24 hours. This initial hardening is often enough to allow for gentle handling or even light sanding in some cases. However, it’s absolutely critical to understand that “dry to the touch” does not equate to “completely dry.” Beneath that seemingly solid exterior, there’s still a significant amount of moisture trapped within the clay’s core. Think of it like a cake that’s golden brown on the outside but still gooey in the middle; you wouldn’t frost it or serve it yet.
A notable example of this initial drying phase is with Crayola Air-Dry Clay. You’ll observe that it typically dries to the touch within approximately 24 hours. This rapid surface hardening can be quite encouraging, leading you to believe your project is almost finished. However, it’s a crucial distinction to remember that this is merely the beginning of the complete drying journey. Moving too quickly to the next steps, such as painting or sealing, based solely on a dry-to-the-touch surface, can lead to problems down the line, including paint not adhering properly, mold growth, or even future cracking as the internal moisture eventually escapes.
Key Factors Influencing Drying Time
When you’re working with air-dry clay, anticipating the drying time requires you to consider several critical variables. It’s not a one-size-fits-all scenario, and adjusting your expectations based on these factors will lead to better results and less frustration. Each element plays a significant role in how quickly or slowly your creation transitions from wet clay to a fully hardened object.
Thickness and Size of Your Project
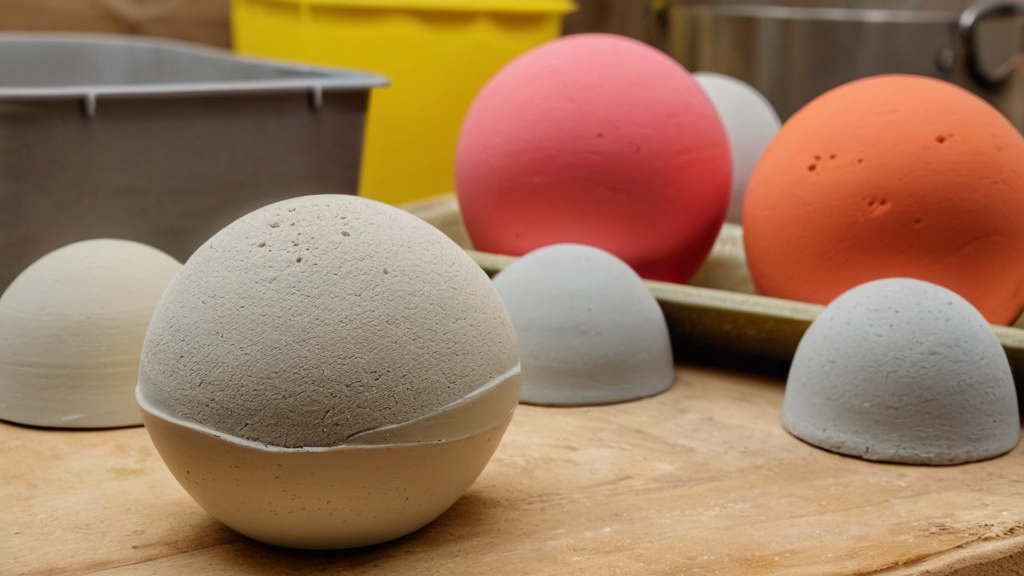
Perhaps the most significant factor affecting how long your air-dry clay takes to dry is the thickness and overall size of your piece. Imagine a thin, flat leaf versus a solid, spherical apple crafted from clay. The leaf, being much thinner, has a larger surface area relative to its volume, allowing moisture to evaporate more readily and from all sides. Conversely, the apple, with its greater bulk, holds significantly more moisture deep within its core, which takes a much longer time to diffuse and evaporate through the outer layers.
You’ll find that most air-dry clay brands, for pieces of moderate thickness (think a quarter to half an inch), will generally take about 24 to 48 hours to dry completely. This is a good baseline to keep in mind for average-sized projects. However, as you venture into creating thicker or larger pieces, your drying timeline will inevitably extend. Projects with substantial bulk can easily take longer than 48 hours. In some cases, especially for very large or dense sculptures, you might even need to allow several days, or even up to a week, for the clay to dry thoroughly. It’s an exercise in patience, but essential for the integrity of your work. Trying to rush the drying of a thick piece by force-drying it often leads to external cracking while the inside remains wet, creating a fragile and compromised finished product.
Environmental Conditions: Humidity and Temperature
The environment in which your clay piece dries plays an equally crucial role. Think of your clay as a sponge slowly releasing water into the air. The characteristics of that air directly impact how efficiently and quickly that exchange happens. You’ll find that controlling your drying environment, even subtly, can make a noticeable difference.
The Impact of Humidity
Humidity is arguably the biggest external factor that can slow down your drying process. When the air around your clay is already saturated with moisture, it has less capacity to absorb additional water from your clay piece. You’ll notice that if you try to dry your clay on a damp, rainy day or in a naturally humid room (like a bathroom), the drying time will be significantly extended. The clay simply won’t release its moisture as readily into an already moisture-laden atmosphere. High humidity can not only prolong drying but, in extreme cases, can even lead to mold growth on your clay if it stays damp for too long. You’ll want to avoid drying your pieces in very humid conditions if you can help it.
Temperature and Air Circulation
Conversely, warm, well-ventilated air is your best friend when it comes to drying air-dry clay. Warm air has a greater capacity to hold moisture than cold air, effectively “pulling” water out of your clay more efficiently. Good air circulation then helps to whisk away this moisture-laden air, replacing it with drier air that can continue the evaporation process. You’ll want to place your clay in a spot where there’s a gentle, consistent airflow, but avoid direct strong drafts which can cause rapid surface drying and subsequent cracking.
A common mistake is trying to speed up drying by placing the clay directly in front of a fan or heater. While this might seem logical, rapid surface drying can cause the outside of the clay to harden and shrink while the inside remains wet and expansive. This differential drying leads to stress and often results in unsightly cracks as the piece tries to equalize. Think of it like baking bread; you don’t blast it with heat at the beginning, or you’ll get a burnt crust and raw dough inside. A gentle, consistent, and moderate approach is always best.
Type of Air-Dry Clay
While many air-dry clays share similar characteristics, there can be subtle differences between brands that affect their drying times. Most common brands you encounter will generally fall within the 24-48 hour window for complete drying under ideal conditions. However, some formulations might be designed to be more pliable, potentially containing a higher moisture content initially, or having slightly different binders that influence drying rates.
For instance, Crayola Air-Dry Clay is a widely popular choice, especially for beginners and children. You’ll find that while it dries to the touch in about 24 hours, it explicitly states that it requires approximately 72 hours to dry completely. This extended complete drying time is an important detail to remember if you’re working with this particular brand, as rushing the process can compromise the final integrity of your project. Always check the specific instructions or recommendations provided by the manufacturer of the clay you are using, as they often offer valuable insights into optimal drying practices for their particular product. These recommendations are based on the clay’s specific composition and will help you achieve the best results.
Signs Your Clay is Completely Dry
You’ve been patient, you’ve considered the factors, and now you’re wondering if your air-dry clay masterpiece is truly ready. Identifying when your clay is completely dry is a critical step before moving on to painting, sealing, or displaying it. Missing this crucial stage can lead to myriad problems, including mold, cracking, or paint not adhering correctly. Fortunately, there are several reliable indicators you can look for.
Hard to the Touch and No Longer Soft
The most practical and straightforward rule you can follow is to wait until the piece is hard to the touch and no longer soft. This might seem obvious, but it’s a more precise observation than simply feeling “dry.” You should be able to press firmly on any part of the clay, including thicker sections, without feeling any give, sponginess, or softness. If you can still indent the surface, even slightly, or if the clay feels cool to the touch (indicating evaporating moisture), it’s not completely dry.
This firmness should extend throughout the entire piece, not just the surface. For thicker items, this test becomes even more vital. You’ll want to gently tap the piece in various spots; a fully dry piece will often produce a harder, more resonant sound, whereas a still-damp piece might sound duller or feel heavier than expected. The absence of any pliability or malleability is your primary physical confirmation that the clay has released the vast majority of its moisture.
Color Change and Uniformity
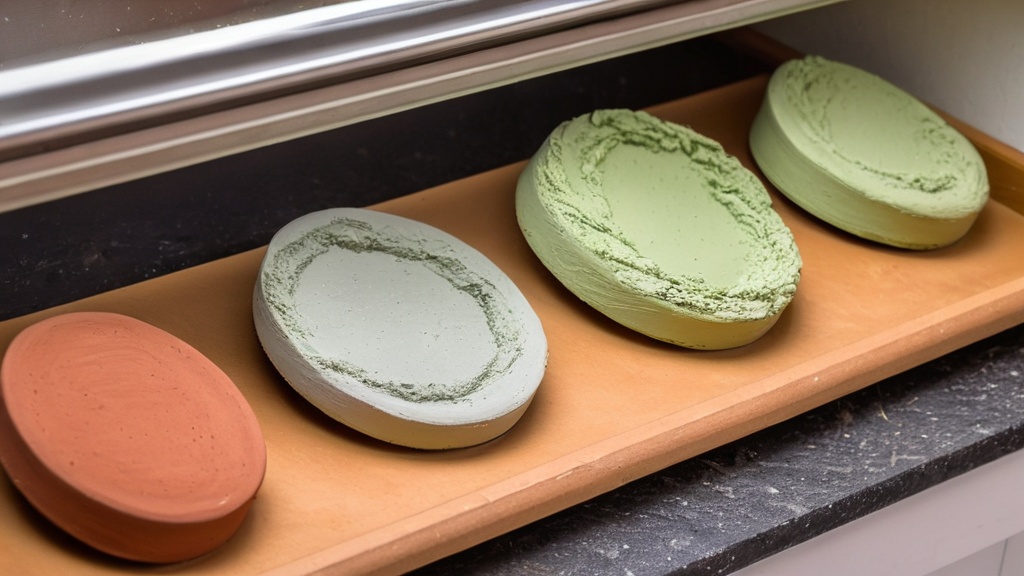
As air-dry clay dries, you’ll notice a distinct color change. Most air-dry clays, whether they start as gray, white, or terracotta, will lighten considerably as they dry. A fully dry piece will exhibit a uniform color throughout, indicating consistent moisture evaporation. If you still see darker patches, especially in crevices or thicker areas, those spots are likely still holding moisture.
The key here is uniformity. You shouldn’t see any variations in shade that suggest dampness. While some clays might have a slightly translucent quality when fully dry, the main visual cue is the consistent, lighter hue across the entire surface. This visual cue, combined with the tactile “hard to the touch” test, provides a strong indication of complete dryness.
Weight Reduction
Another, perhaps less obvious, but effective indicator of complete dryness is a noticeable reduction in weight. Wet clay contains a significant amount of water, which adds to its overall mass. As this water evaporates, the piece becomes lighter. You can try this by gently lifting your piece when it’s wet, then periodically checking its weight as it dries. A fully dry piece will feel distinctly lighter than when you first formed it.
This method is particularly useful for larger or thicker pieces where visual cues or the “hard to the touch” test might be harder to gauge in the interior. If your piece still feels heavier than you anticipate for its size and material, it’s a good sign that there’s still internal moisture. This isn’t an exact science, but it’s a helpful qualitative assessment that, when combined with other indicators, gives you a comprehensive understanding of your clay’s dryness.
Best Practices for Drying Air-Dry Clay
Achieving optimal drying for your air-dry clay creations is not just about waiting; it’s about employing smart techniques that encourage even, crack-free drying. Following these best practices will help you avoid common pitfalls and ensure your finished pieces are robust and ready for their next steps.
Provide Even Air Circulation
As you’ve learned, consistent airflow is paramount. You’ll want to place your clay piece on a surface that allows air to circulate underneath it as well as around the sides. Placing it directly on a flat, non-porous surface like a table can trap moisture on the bottom, leading to uneven drying and potential warping or even mold.
Elevating Your Piece
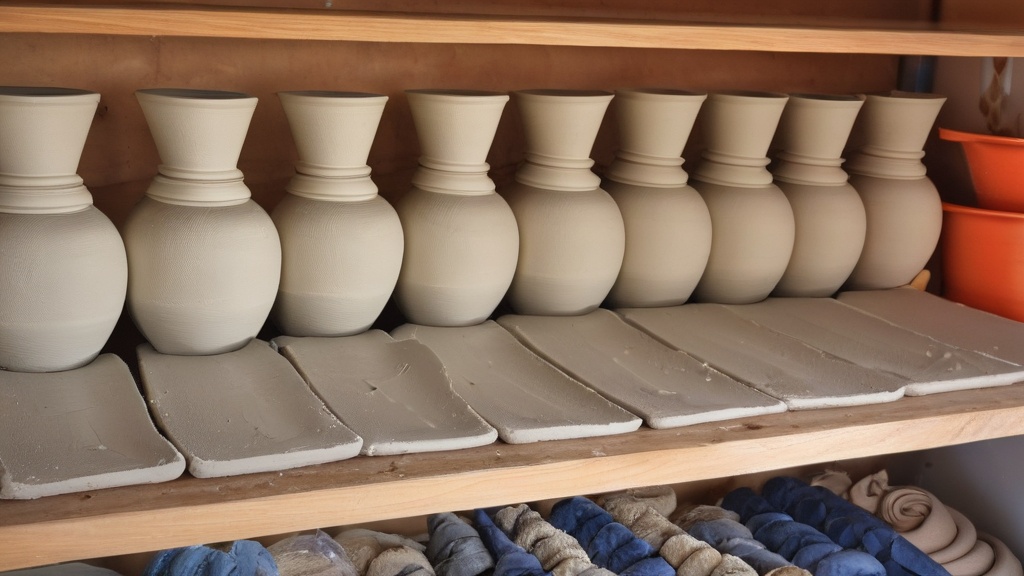
A simple and effective solution is to elevate your piece. You can use a wire rack, a piece of cardboard with small holes, or even just a few craft sticks or toothpicks placed strategically underneath. This allows air to reach the bottom surface of your clay, promoting more uniform drying. For sculptural pieces with complex shapes, you might even need to gently rotate them periodically (after they’ve hardened enough to handle) to ensure all sides are exposed to the air. Think of it as tanning; you need to turn over to get an even tan.
Avoiding Drafts and Direct Sunlight
While good air circulation is beneficial, extreme drafts, like those from an open window on a windy day or directly in front of a powerful fan, can be detrimental. Rapid surface drying can lead to the exterior hardening and shrinking too quickly while the interior remains moist and expansive. This differential causes stress and is a primary cause of cracking.
Similarly, direct sunlight should be avoided. While warmth is good, the intense, localized heat from direct sunlight can also cause rapid surface drying and an increased risk of cracking. Furthermore, prolonged exposure to UV light can sometimes affect the color of the clay or the longevity of any subsequent paint or sealer. A shaded, warm room with gentle, ambient airflow is always the ideal environment.
Patience is Key: The Long Haul Approach
This cannot be stressed enough: patience is the single most important tool in your air-dry clay drying arsenal. Rushing the process is almost always counterproductive and can lead to disappointing results, forcing you to restart your project.
Resisting the Urge to Force Dry
You might be tempted to put your clay in an oven, microwave, or directly under a heat lamp to speed things up. Resist this urge! Force-drying methods almost invariably lead to cracking, warping, or even the clay exploding in extreme cases due to rapidly expanding internal moisture. Air-dry clay is designed to dry naturally at room temperature. Its unique formulation relies on a slow, steady evaporation process to achieve its final strength and hardness.
Even if a piece appears outwardly dry after being force-dried, the internal structure will likely be compromised, making it brittle and prone to breaking later on. Remember the practical rule: wait until the piece is hard to the touch and no longer soft before painting or sealing it. For most brands, this means allowing 24-48 hours. For Crayola Air-Dry Clay, you’re looking at around 72 hours for complete dryness. Thicker or larger pieces, as you know, will require even more time—sometimes several days or up to a week. Trust the process; your patience will be rewarded with a durable, beautiful creation.
Preparing for Painting and Sealing
Once your air-dry clay piece is completely dry, you’re ready for the exciting steps of decorating and protecting it. However, even at this stage, a couple of considerations will help you achieve the best finish.
Surface Preparation
Before you even pick up a brush, inspect your dried clay piece. You might find small imperfections, rough spots, or seams. Air-dry clay can be gently sanded once completely dry to achieve a smoother finish. Use fine-grit sandpaper (around 220-grit or higher) and work gently to avoid damaging the piece. A soft brush can then be used to remove any dust particles before painting. This preparation ensures that your paint adheres evenly and gives your finished product a professional look.
Choosing the Right Paint and Sealer
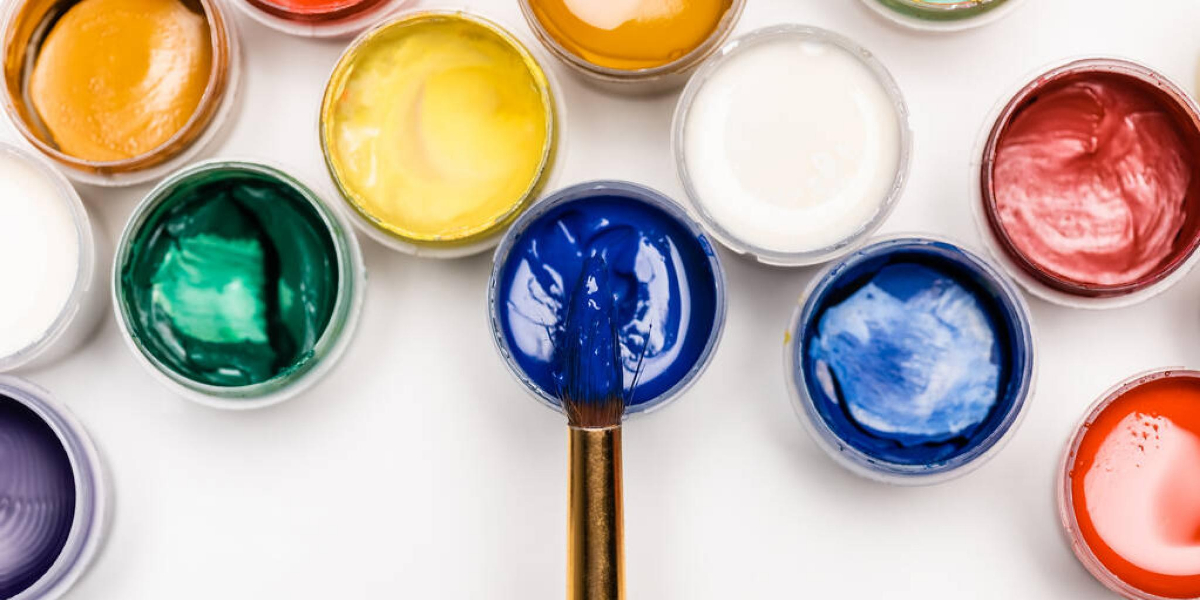
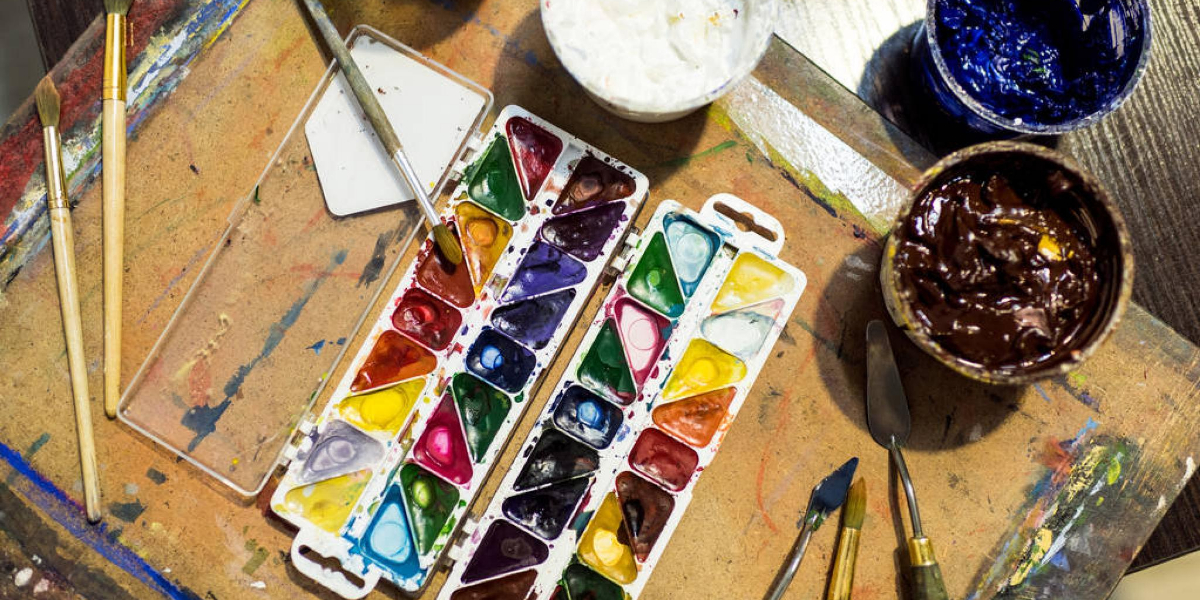
Most types of paint work well on air-dry clay once it’s completely dry. Acrylic paints are a popular choice due to their versatility, vibrant colors, and quick drying time. You can also use tempera, gouache, or even oil paints if you prefer, though oil paints will require a longer drying time.
After painting, sealing your air-dry clay project is highly recommended. Sealing not only protects the paint but also adds a layer of durability to the clay itself, making it more resistant to moisture, dust, and minor abrasions. There are various types of sealers available:
- Matte, Satin, or Gloss Varnish: These are common choices, available in spray or brush-on forms. They provide a clear protective layer and allow you to choose your desired finish.
- Mod Podge: A versatile craft sealer and adhesive that comes in various finishes.
- Waterproof Sealers: If your item will be exposed to any moisture, even indirectly (like a decorative pot cover), consider a waterproof sealer specifically designed for crafts.
Always ensure your paint is completely dry before applying a sealer. Apply sealers in thin, even coats, allowing each coat to dry thoroughly according to the manufacturer’s instructions before applying the next. This multi-layered approach provides the best protection and a beautiful, lasting finish for your hard work.
Troubleshooting Common Drying Problems
| Air Clay Type | Thickness | Drying Time | Drying Conditions | Notes |
|---|---|---|---|---|
| Standard Air-Dry Clay | 1/4 inch (6 mm) | 24 hours | Room temperature, low humidity | Fully dry and ready for painting |
| Standard Air-Dry Clay | 1/2 inch (12 mm) | 48 hours | Room temperature, low humidity | May require longer drying for thicker parts |
| Lightweight Air-Dry Clay | 1/4 inch (6 mm) | 12-24 hours | Room temperature, low humidity | Dries faster due to lighter composition |
| Heavy or Dense Air-Dry Clay | 1/2 inch (12 mm) | 48-72 hours | Room temperature, low humidity | May remain slightly soft inside if too thick |
| Air-Dry Clay | Varies | Up to 7 days | High humidity or cold conditions | Drying time increases significantly |
Even with the best intentions and practices, you might occasionally encounter issues during the air-dry clay drying process. Understanding why these problems occur and how to address them can save your project or at least help you learn for next time.
Dealing with Cracks
Cracks are perhaps the most common and disheartening problem you’ll face with air-dry clay. They usually occur due to uneven drying, particularly when the surface dries much faster than the interior.
Why Cracks Form
As you now know, air-dry clay shrinks as it dries, as the water evaporates. If the outside of your piece dries and shrinks rapidly while the inside remains wet and larger, the outer layers pull apart, resulting in cracks. This is often exacerbated by:
- Excessive heat or drafts: Drying in direct sunlight, near a heater, or in a strong draft.
- Uneven thickness: Areas where thin sections meet thick sections can create differential stress during drying.
- Lack of turning/rotation: If one side dries significantly faster than another.
Repairing Minor Cracks
For minor surface cracks, you can often repair them. Once the piece is completely dry, you can mix a small amount of fresh air-dry clay with a tiny bit of water to create a thick paste. Carefully apply this paste into the cracks with a toothpick or small spatula, smoothing it over. Allow this repair to dry completely (which might take another 24 hours, depending on the depth) before sanding and painting.
For deeper or more extensive cracks, especially those that compromise the structural integrity, repair might be more challenging and less successful. In such cases, it might be better to learn from the experience and start a new piece, adjusting your drying conditions.
Preventing Warping and Deforming
Warping occurs when your clay piece bends or twists out of its intended shape during drying. This is another consequence of uneven moisture loss and shrinkage.
Causes of Warping
- Uneven drying: If one side of a flat piece dries faster than the other, the faster-drying side will shrink more quickly, pulling the piece into a curve.
- Inadequate support: Thin or delicate parts of a sculpture might sag under their own weight if not properly supported during the initial stages of drying.
- Placing on a non-porous surface: As mentioned, this traps moisture on the bottom, leading to the top drying faster and causing upward curling.
Strategies to Prevent Warping
- Ensure even air circulation: Elevate your piece on a wire rack to allow airflow from all sides.
- Turn flat pieces periodically: For flat items like tiles or coasters, gently flip them over every 12-24 hours during the initial drying phase to ensure both sides dry at a similar rate.
- Use temporary supports: For intricate sculptures, you might need to use props, crumpled paper, or even pieces of foam to support delicate or extended parts until they are firm enough to hold their shape.
- Consider slow drying methods: For very thin or delicate flat pieces, you can try covering them loosely with plastic wrap or placing them in a slightly enclosed space for the first 12-24 hours. This slows down the initial drying rate, allowing the moisture to equalize more gradually and reducing the risk of rapid, uneven shrinkage.
Addressing Mold Growth
Mold is an unpleasant but occasionally encountered problem, especially if your clay takes a very long time to dry due to high humidity.
Why Mold Appears
Mold thrives in damp, stagnant conditions. If your air-dry clay piece remains wet for an extended period, particularly in a humid environment with poor air circulation, mold spores (which are ubiquitous in the air) will find a perfect breeding ground.
How to Deal with Mold and Prevent It
- Prevention is key: The best way to deal with mold is to prevent it. Ensure your drying environment is warm, well-ventilated, and not overly humid.
- Immediate action: If you notice small spots of mold, you can try to gently wipe them off with a cloth dampened with rubbing alcohol. This can sometimes save the piece if the mold hasn’t penetrated deeply.
- Discarding severely molded pieces: If the mold is extensive or has been present for a long time, it’s often best to discard the piece. Mold can weaken the clay’s structure and may reappear even after treatment. It’s also not something you want lingering in your craft space.
By understanding these common problems and implementing the preventive measures and troubleshooting tips, you can increase your success rate with air-dry clay and ensure your projects turn out as beautiful and durable as you envision them. Remember, every project is a learning experience, and careful observation will always be your best guide.
FAQs
How long does it typically take for air dry clay to dry?
Air dry clay usually takes between 24 to 72 hours to fully dry, depending on the thickness of the piece and the humidity levels in the environment. Thicker pieces may take longer to dry completely.
Does humidity affect the drying time of air dry clay?
Yes, humidity can significantly affect the drying time of air dry clay. In high humidity conditions, the drying process may take longer, while in low humidity, the clay may dry faster.
Can I speed up the drying process of air dry clay?
While it’s not recommended to use heat sources like ovens or hair dryers, you can speed up the drying process by placing the clay in a well-ventilated area or using a fan to circulate air around it.
What happens if air dry clay is not completely dry before painting?
If air dry clay is not fully dry before painting, the moisture can cause the paint to crack or peel. It’s best to wait until the clay is completely dry to ensure a smooth and durable finish.
Is there a way to tell if air dry clay is fully dry?
You can tell if air dry clay is fully dry by checking its color and texture. Fully dried clay will appear lighter in color and feel hard to the touch. Additionally, tapping it lightly should produce a solid sound.