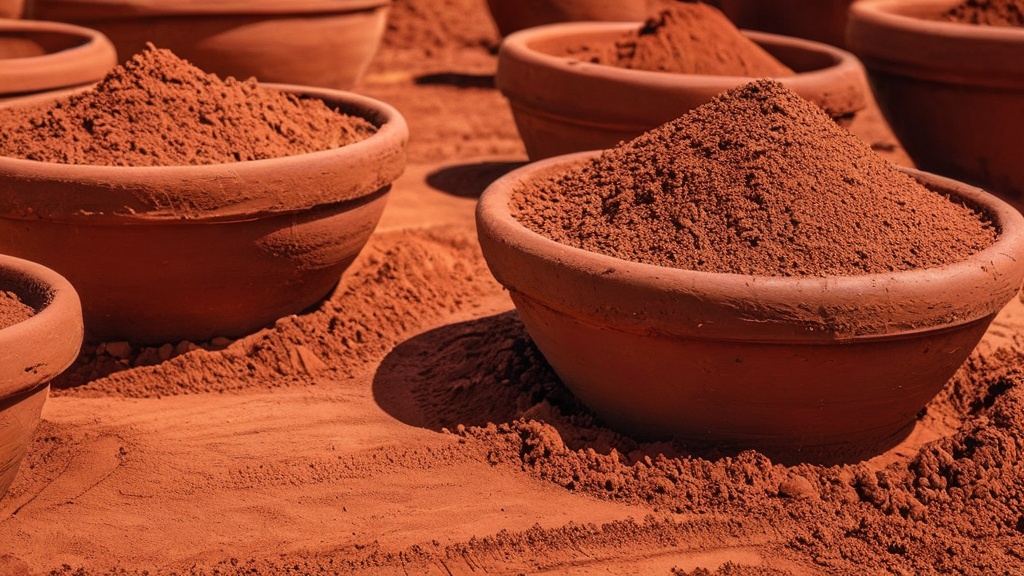
For centuries, we’ve used normal clay to make liquid holding vessels. This clay goes through a firing process, first a bisque firing and then a glaze firing, to make it not only strong but also able to hold water rather than absorb it. Air drying clay doesn’t go through this firing process, so what happens when you try to add water?
Air dry clay can hold water if it has been correctly sealed, a process that takes place once your piece has fully dried and been painted. Air dry clay pieces can be sealed using varnish or an acrylic sealer.
You might be thinking about using white crafts glue as a sealer but this isn’t recommended, it doesn’t provide waterproofing and it can discolour in time.
What does sealing air dry clay do?
Before explaining how to seal your project let’s first understand why it’s important to seal your air dry creations: the process of sealing prevents moisture getting inside (your item is ‘sealed’ off from the outside), thus preventing damage being caused.
Traditional clays, such as porcelain, are made harder via a kiln firing process, but this doesn’t make them waterproof. They require a second firing one they’ve been glazed, this is how your cups and plate are made.
Note this applies to water based clays only. There are oil-based clays such as polymer clay and epoxy clay, which don’t require sealing to be waterproof.
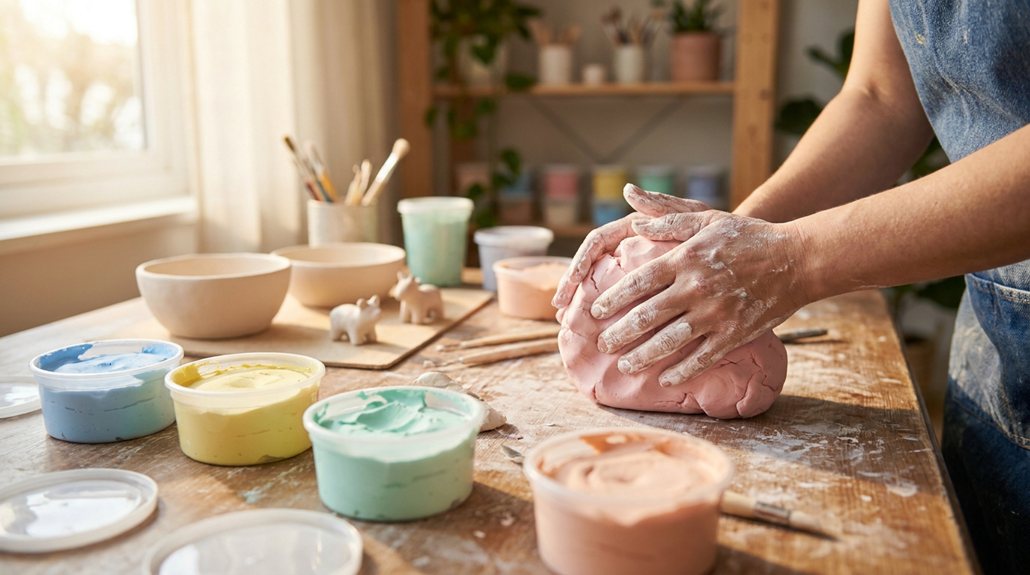
With air drying clay there are no firings, as the name suggests you leave your item out to naturally dry out at which point you can seal it. The drying process can take upwards of 24 hours depending on clay thickness, if in doubt give it additional drying time to be sure the moisture level has dropped to nothing.
Once dry your item is still porous and can absorb water or moisture in the air, by sealing it you’re giving your item a shield that will protect it.

Air Dry Clay Varnish: Clay varnish Prevents air drying clay from drying out cracks, scratches, scuffs and abrasions on the clay, glaze for air dry clay is also watertight and fireproof, and dries to transparent, high gloss finish
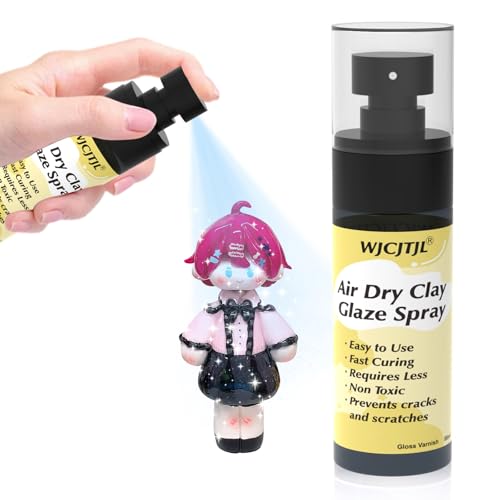
Fast & Efficient Sealing: Achieve a smooth, long-lasting seal on your air dry clay creations in just 30 minutes. Save time and keep your projects looking shiny, fresh and professional.

Air Dry Clay Varnish: Clay varnish Prevents air drying clay from drying out cracks, scratches, scuffs and abrasions on the clay, glaze for air dry clay is also watertight and fireproof, and dries to transparent, high gloss finish
How do you seal air dry clay?
It doesn’t take long to seal your sculptures but you do need to remember it takes time for them to dry.
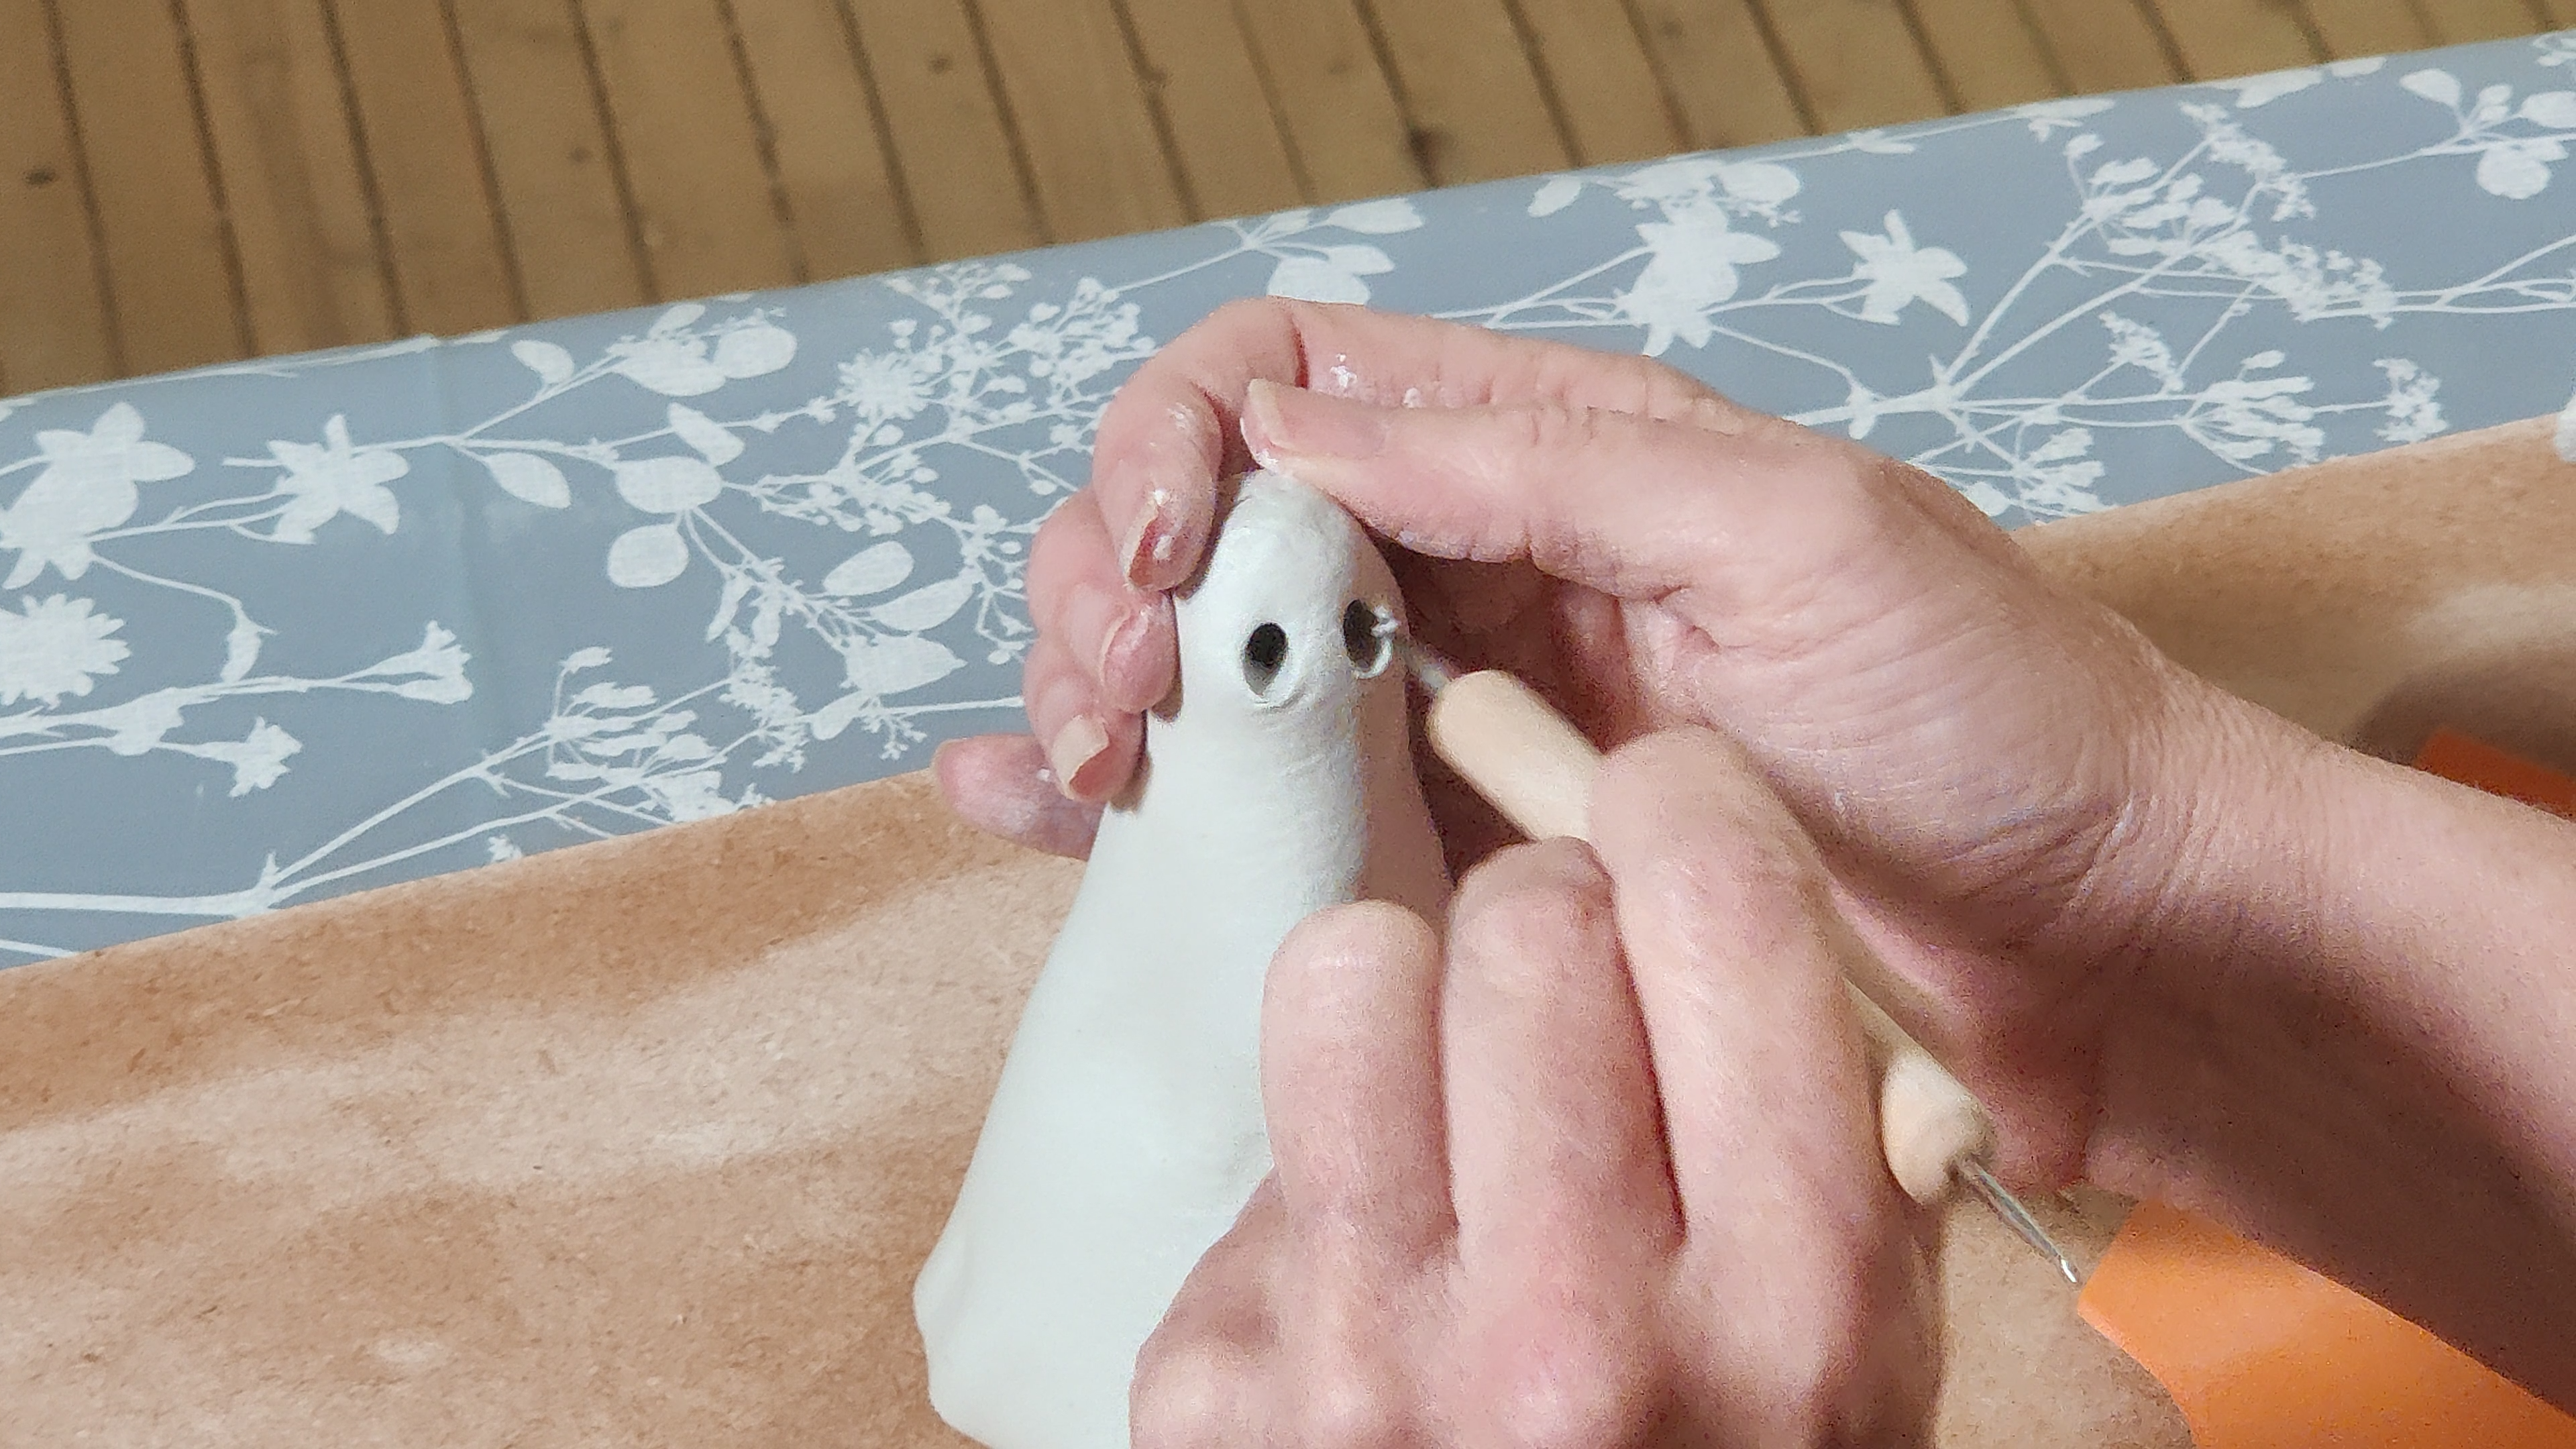
- Create your item
- Leave to dry for at least 24 hours (it can take as long as 72 hours)
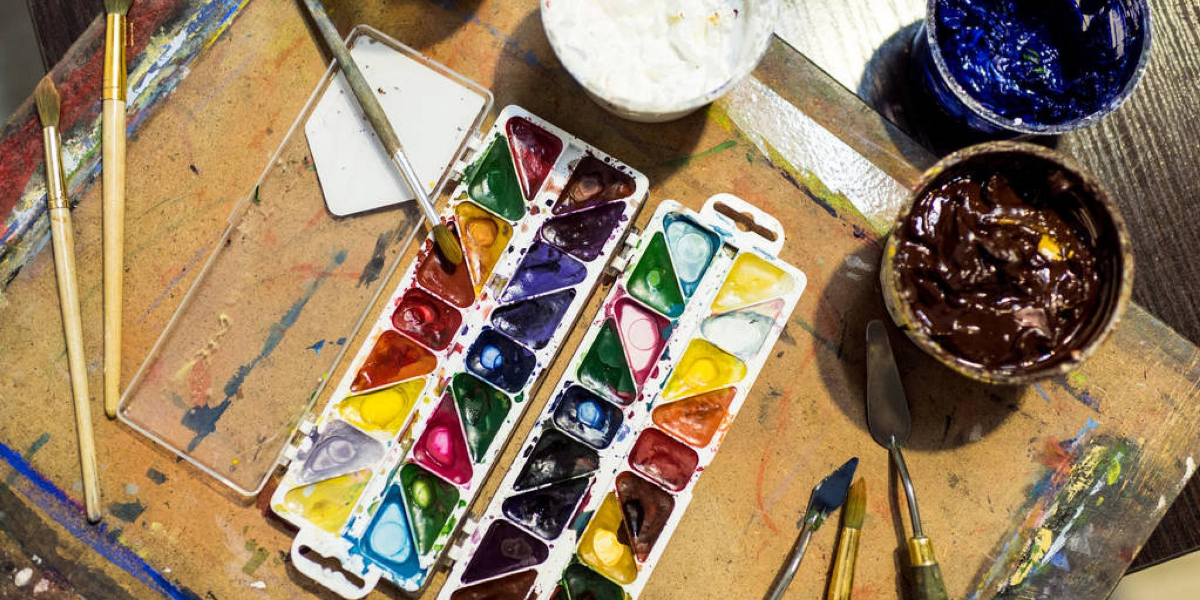
- Optional: Once fully dry decorate with acrylic paint and leave to dry again
- Brush on your choice of sealer and leave to dry, apply additional coat if required
Once dry your item is sealed and water-resistant, congratulations!
For the final step I would recommend using a varnish to seal your item. A liquid varnish tends to be the easiest method to ensure you gain full coverage and you can choose from different finishes, matte, glossy or satin, it should indicate which type it is on the tin.
Matte varnish – Gives a matte finish without a shine and can lighten darker colours
Gloss varnish – Will give you a shiny glossy finish that reflects light, giving your colours a more saturated look
Satin varnish – A bit of both, half-way between a matte finish and glossy finish as it isn’t completely flat, nor is it as shiny and reflective as gloss
There are other sealers available, even some designed specifically for air dry clay, I suggest varnish as it’s the easiest to get hold of and in general is very easy to work with, especially compared to something like epoxy resin.
You can make use of craft glues, such as Mod Podge, to finish your work but it won’t be waterproof and this sort of sealant has been known to discolor yellow if exposed to sunlight.
The sealer should be applied all over your item, try to use as few brush strokes to get a nice even application and avoid pooling.
To gain a thicker looking finish apply a thin layer, leave to dry and apply additional layers. Leave each layer to dry before applying the next and stop when you get the desired look.
Be sure to cover ALL exposed surfaces, if any area is left unsealed it creates a zone where moisture can enter and cause damage.

Air Dry Clay Glaze: Clay varnish prevents air drying clay from drying out cracks, scratches, scuffs and abrasions on the clay, glaze for air dry clay is also watertight and fireproof, and dries to transparent, high gloss finish

PROFESSIONAL PROTECTION FOR YOUR ART: Are you worried about clay creations or air clay being damaged by water or scratches? crystal-clear gloss varnish and low-shine matte varnish provide a protective layer that prevents cracks and ensures full waterproofing. Keep your creations looking beautiful for longer with air dry clay glaze, which offers exceptional protection and a long-lasting gloss

Air Dry Clay Varnish: Clay varnish Prevents air drying clay from drying out cracks, scratches, scuffs and abrasions on the clay, glaze for air dry clay is also watertight and fireproof, and dries to transparent, high gloss finish
How do you test different sealants?
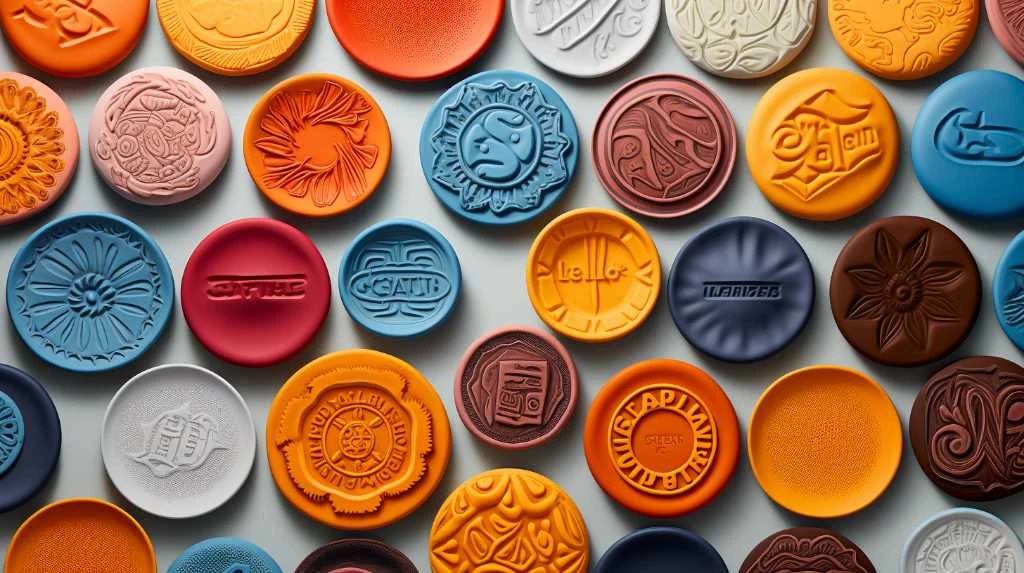
Experimentation is the key to crafting, to try out different sealers to see how they look create several small flat squares from the same clay and allow them to dry. Apply a different sealer to each rectangle, leave to dry, and see which one you like the look of best.
Of course, you don’t have to use squares, it can be any shape, I suggest them just because they’re easy to make (super easy if you get a cookie cutter tool) and they allow for a direct like for like comparison.
Keep in mind you’ll need a system to remember which you’ve applied to which square. A simple system is to add small dots to each square, like those found on dice, so they’re numbers. This allows you to note down which sealant you used on square 1, 2, 3, 4 etc.
Take it from me, if there is no way to distinguish which square has which sealant on it can get very confusing, especially if they get moved or jumbled up!
It’s good to experiment like this before attempting to seal a sculpture you’ve worked hard to create, it would be a real pity if after all that time you were happy with the look but didn’t like the finish provided by the sealant.
Things to think about when testing different options:
- How easy is it to apply
- How does it impact colors
- What sort of finish does it provide
- How many coats does it require to achieve your desired finish
- Is it readily available
- How much does it cost
- Are there any health warnings (some sealants are toxic)
Whenever you have a new sealant be sure to try it test it first before applying to a finished sculpture. If you get a few, experiment with them, see what works best for you and make sure you’re happy with the result.
Final thoughts
Sealing your air dry clay sculptures is an important step that provides protection from the elements and will ensure your items last. Find the method and sealer that works for you but don’t be afraid to experiment, try different sealers, a different number of coats, a different finish type, and you’ll end up with the ability to quickly produce different styles and looks for your projects.