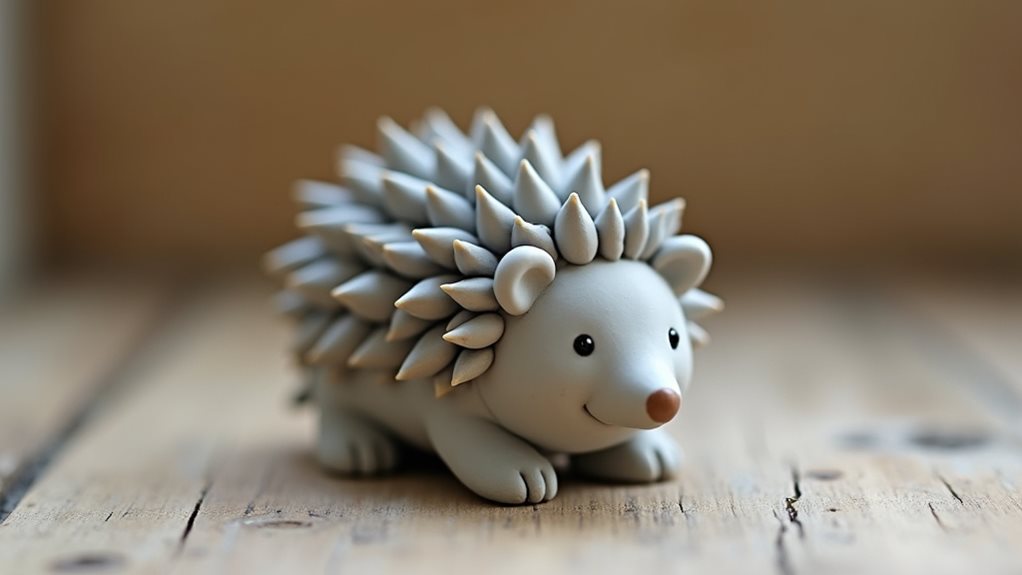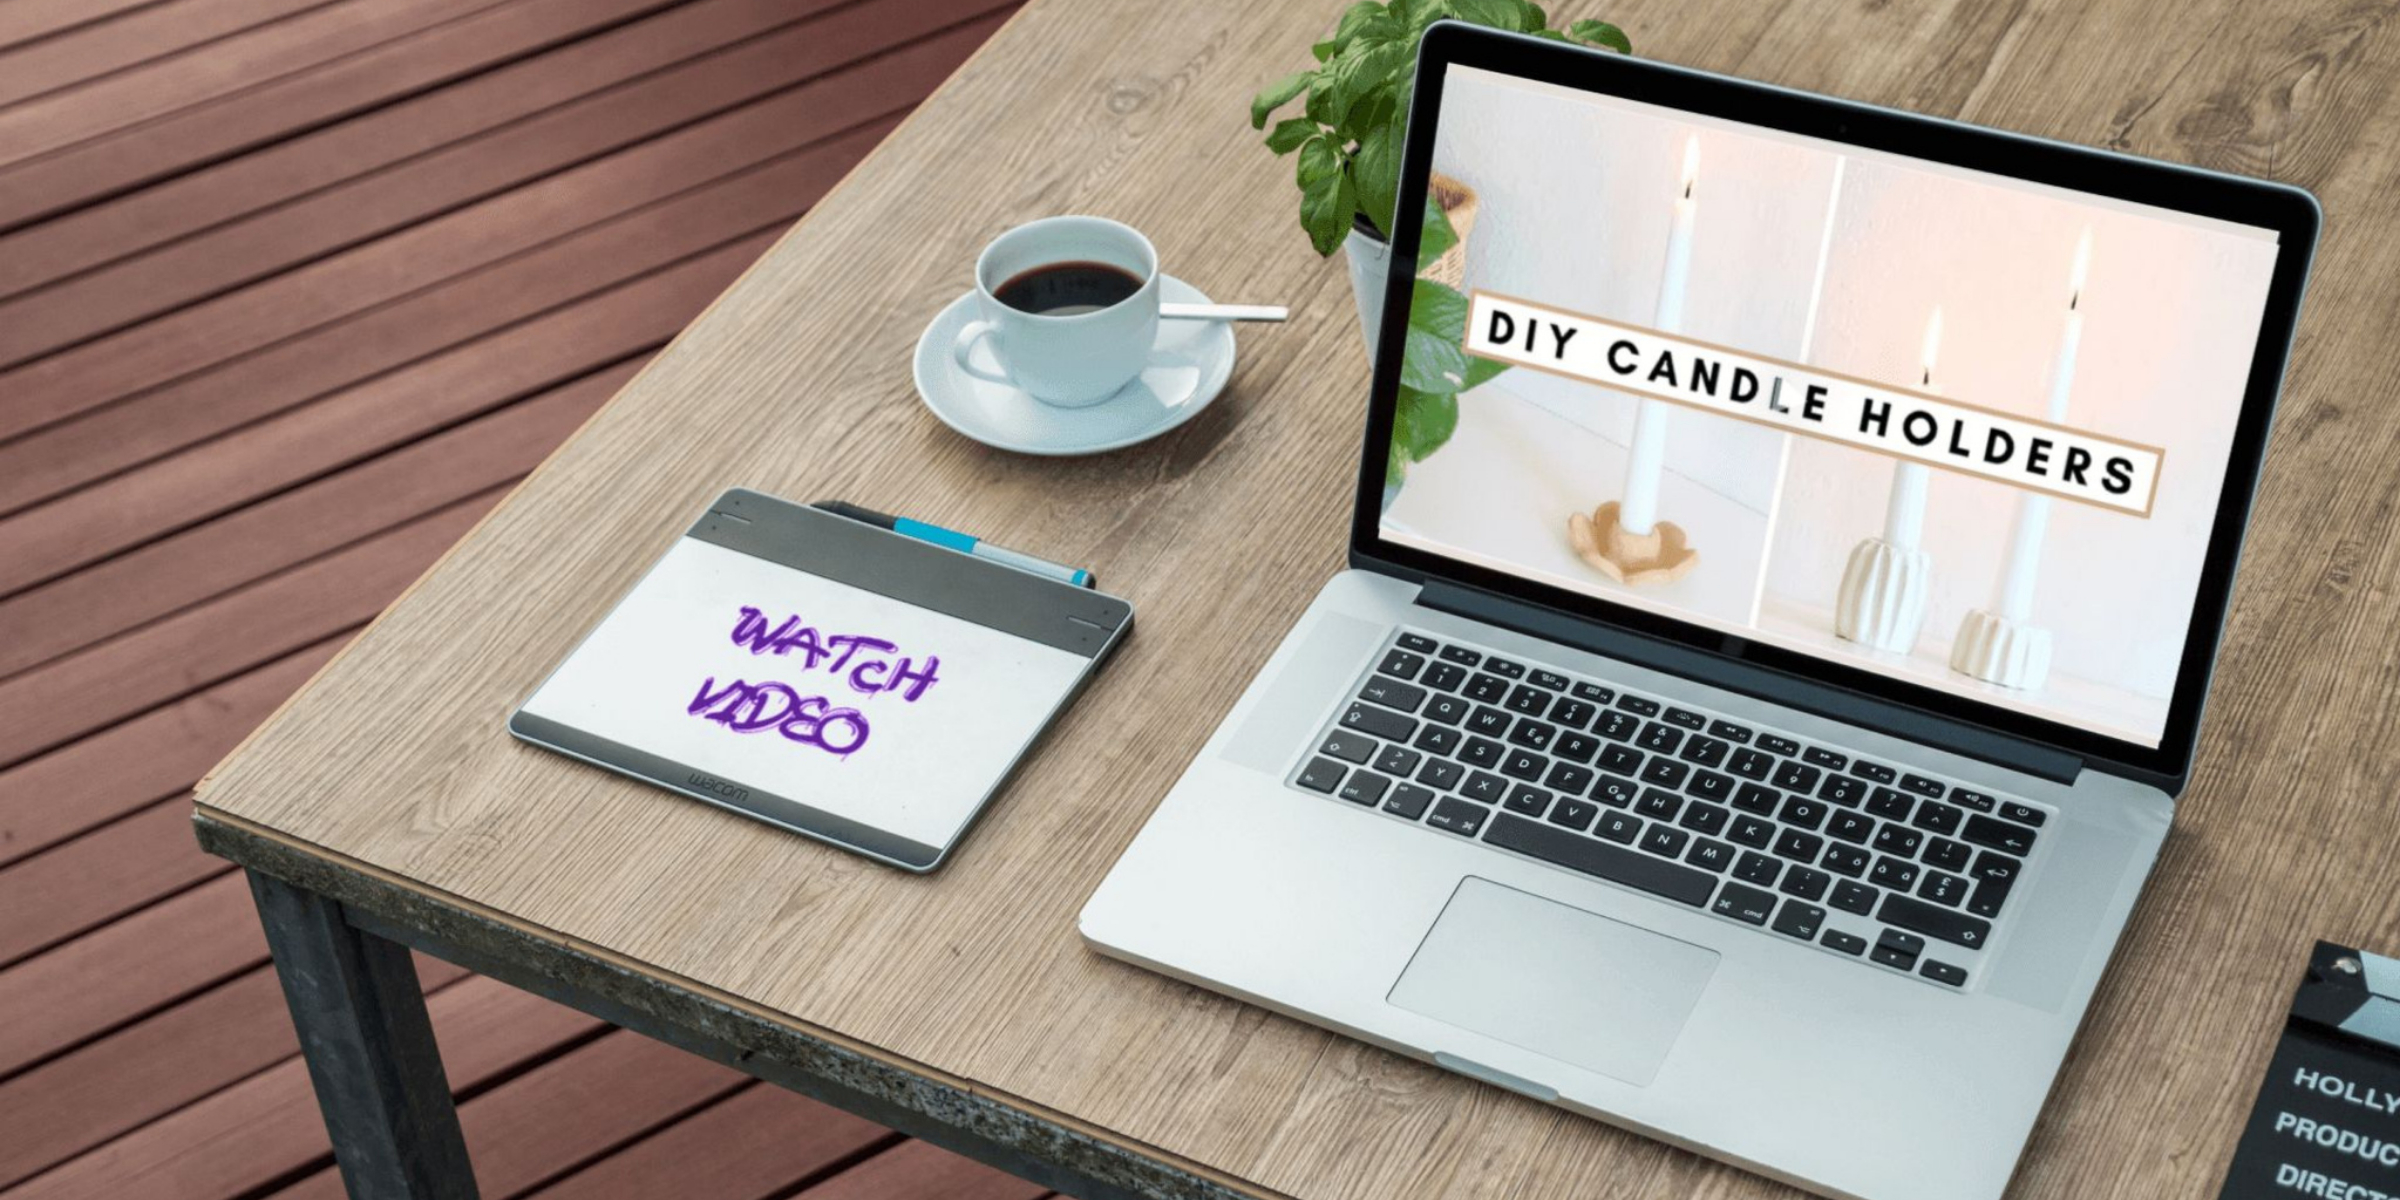
In this DIY video, Eunice introduces two new candleholder projects using aair-dryclay. She is excited to try the air-dry clay for the first time and shares her first impressions of the paper-based clay.
The first project is a flower-shaped candleholder, which she demonstrates step by step, including how to dry the petals upwards.
The second project is a duo candleholder with grooves that add character to the minimal design. Eunice provides helpful tips and recommendations throughout the video, making it easy for viewers to follow along and create their own candleholders.
Key Takeaways
- Eunice shares her first impressions of the Dash air dry clay and recommends it for smaller, quicker projects.
- The flower-shaped candleholder is a simple and elegant design that can be customized with different colours and textures.
- The grooves on the duo candleholder add character to the minimal design and make it easier to keep the candles in place.
Dash Air Dry Clay – First Impressions
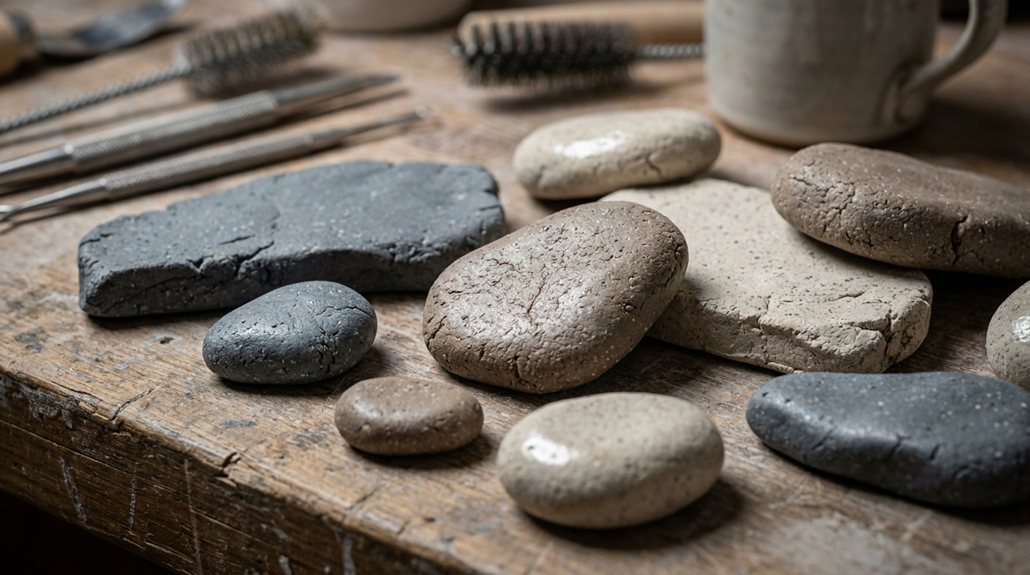
The speaker in the video tried out Das Air Dry Clay for the first time ever and shared her first impressions. She noted that the clay felt more pliable and inorganic compared to the Craft Smart natural clay that she had used in her past air dry clay projects.
The speaker found that the clay was easier to work with as it did not feel as muddy and sticky as the Craft Smart clay. She was able to use a wax paper underneath and work on top of that without any issues. The speaker also mentioned that the Das Air Dry Clay dried quickly and the pieces after drying were really sturdy.
In comparison, the Craft Smart clay was organic and natural, so it felt more like the real clay that one would throw on a wheel. However, it took more time to build up with the warmth of her hands.
The speaker suggested that the Craft Smart clay would be ideal for bigger projects like big vases that take a longer time to work on, whereas the Dash Air Dry Clay would be suitable for quicker, smaller projects.
Overall, she was impressed with the Das Air Dry Clay and said that she would definitely come back to it for future clay projects. She found it easy to work with, not too messy, and dried really quickly.
Candle Holders DIY – 2 projects
This is a great video as Eunice shares two candleholders you can DIY using air-dry clay. The first project is a flower-shaped candleholder, which Eunice creates by rolling out the clay and outlining a flower shape.
She then creates a cylinder-shaped holder by rolling the clay around a tapered candle and smoothening it out. Eunice then joins the holder to the flower base and dries the piece in a sauce plate with saran wrap to make the petals stick upwards. After sanding and painting the piece, she seals it with mod podge.
For the second project, Eunice creates a duo candleholder by rolling a ball of clay around a tapered candle and creating grooves with a pen. She repeats the process for a second, larger piece to add height. After drying and sanding both pieces, Eunice paints them with a light terracotta shade mixed with white and baking soda for texture. She seals the pieces with mod podge and loves how the grooves add character to the minimal design.
Eunice shares her thoughts on the Das air dry clay, noting that it feels more pliable than the organic and natural Craft Smart clay she has used in the past. She finds the Das clay easy to work with and quick to dry, making it ideal for smaller projects. Overall, Eunice enjoys creating these candleholders and encourages viewers to try making them as well.

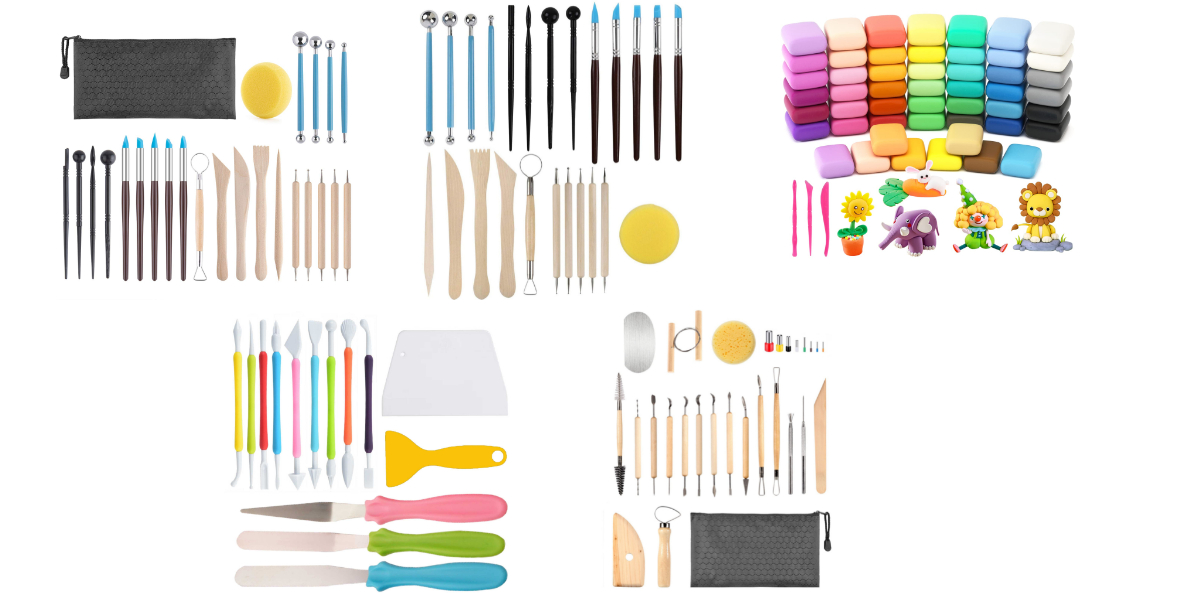
VIBRANT CLAY KIT - Our air dry clay kit includes 32 different colors,3 sculpting tools,and extra sealing bags.You can also mix and match any way you like to create your desired colors
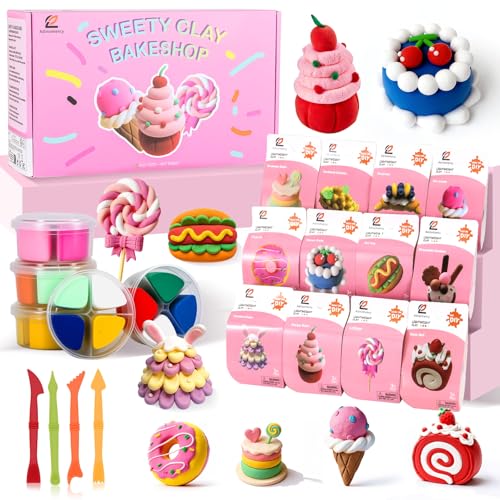
Ultimate Air Dry Clay Kit for Creative Kids! Dive into a world of creative fun with our complete air dry clay kit! This all-in-one set lets kids create 12 adorable food-themed pastries like cupcakes and donuts. Each of the 12 individual cups comes pre-filled with 4 vibrant modeling clay colors, making it the perfect arts and crafts activity for boys & girls aged 3-12 and beyond.

COMPLETE STARTER SET: Includes 1.1 lb white air dry clay, wooden roller, 5 sculpting tools, sandpaper, 8 tempera colors, 2 brushes, notepad, and 2 candles.
Flower Shaped Candle Holder
The flower-shaped candleholderis a beautiful and simple DIY project that can add a touch of elegance to any room. This project is perfect for those who are new to working with air-dry clay, and it only requires a few materials to get started. In this section, we will go over the steps to create this stunning candle holder.

Dimension: Overall dimension (Width x Height) is 11.5cm x 6cm / 4.52" x 2.36", could hold tea light or votive candles, for max candle's diameter of 4cm / 1.57", well packed in a foam box, NOT including candles!

Dimension: Overall dimension (Width x Height) is 11.5cm x 6cm / 4.5" x 2.36", could hold tea light or votive candles, for max candle's diameter of 4cm / 1.6", well packed in a foam box, NOT including candles!

COMPLETE POTTERY + CANDLE MAKING SET: Includes all pottery sculpting & candle making supplies you need to easily craft a beautiful custom candle at home. The perfect beginner arts & crafts gift, hobby idea, and romantic date night surprise.
Materials and Preparation
Before starting the project, gather the following materials:
- Das air-dry clay
- Rolling pin or glass
- Tapered candle
- Water
- Sandpaper
- Mod Podge
- Paintbrush
- Paint in desired colour
Once you have all the materials, prepare your workspace by covering it with wax paper or a plastic sheet. This will make clean up easier.
Shaping the Flower
To create the flower shape, take a small amount of clay and roll it out into a flat sheet using a rolling pin or glass. Then, using your hands, shape the clay into a flower shape. If you want your flower to be perfect, you can use a cookie cutter to shape it.
Creating the Holder
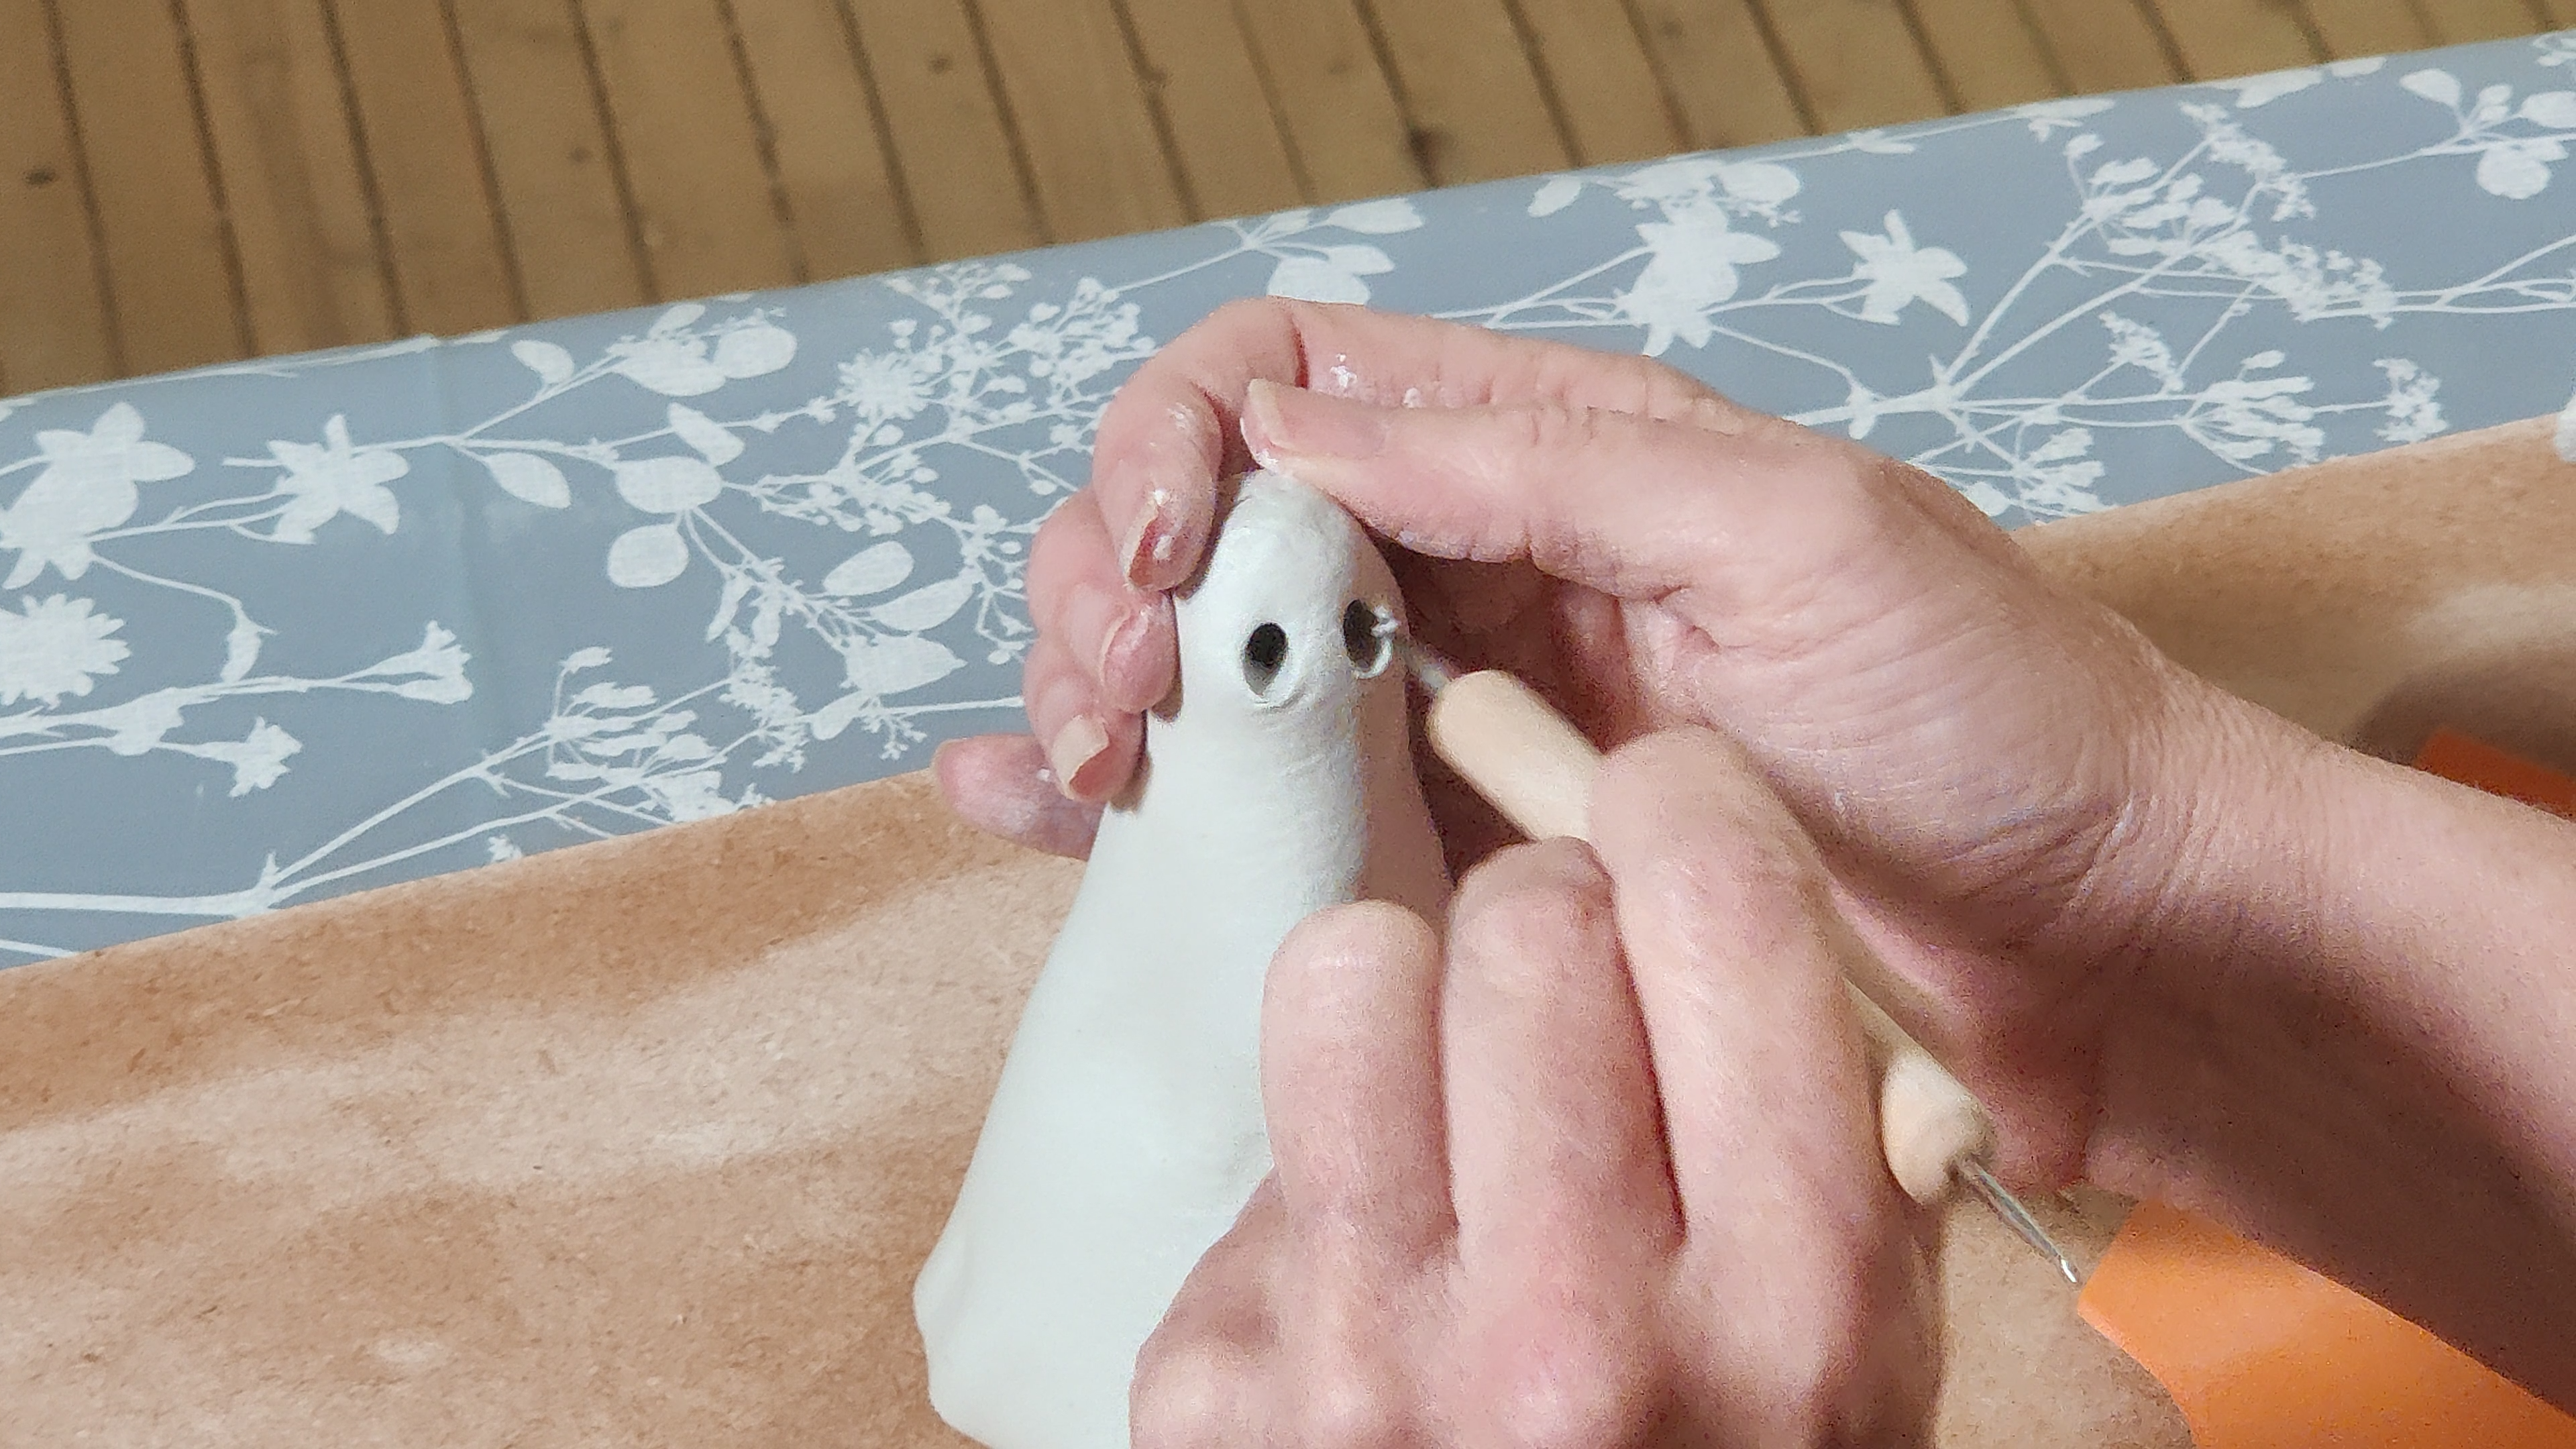
To create the holder, take another piece of clay and roll it into a ball. Insert the tapered candle into the ball to determine the size of the holder hole. Then, roll the clay with the candle still inside against the table to create a cylinder shape. Smooth out the edges and make the walls even.
Next, score the base of the holder as well as the center of the flower. Then, join the two pieces together by blending the clay from the holder to the base where the flower is and smoothing it out.
Drying Method
To dry the flower-shaped candle holder, find a sauce plate or small bowl that is close to the size of the flower. Line the plate or bowl with saran wrap so that the candleholder doesn’t stick when it’s drying.
Place the candleholder in the center of the bowl and pull down the saran wrap so that the petals are bent but not too much. Secure the wrap where you like it and let it dry for about 24 hours.
Finishing Touches
Once the candleholder is dry, sand down any rough edges with sandpaper. Then, use a wet paper towel to wipe away any dust. Apply a coat of Mod Podge to seal everything up and fill in any pores. Let it sit for about an hour before painting.
Finally, paint the candleholder in the desired colour and let it dry completely. The flower-shaped candleholder is now ready to use and will add a beautiful touch to any room.
Duo Candle Holder
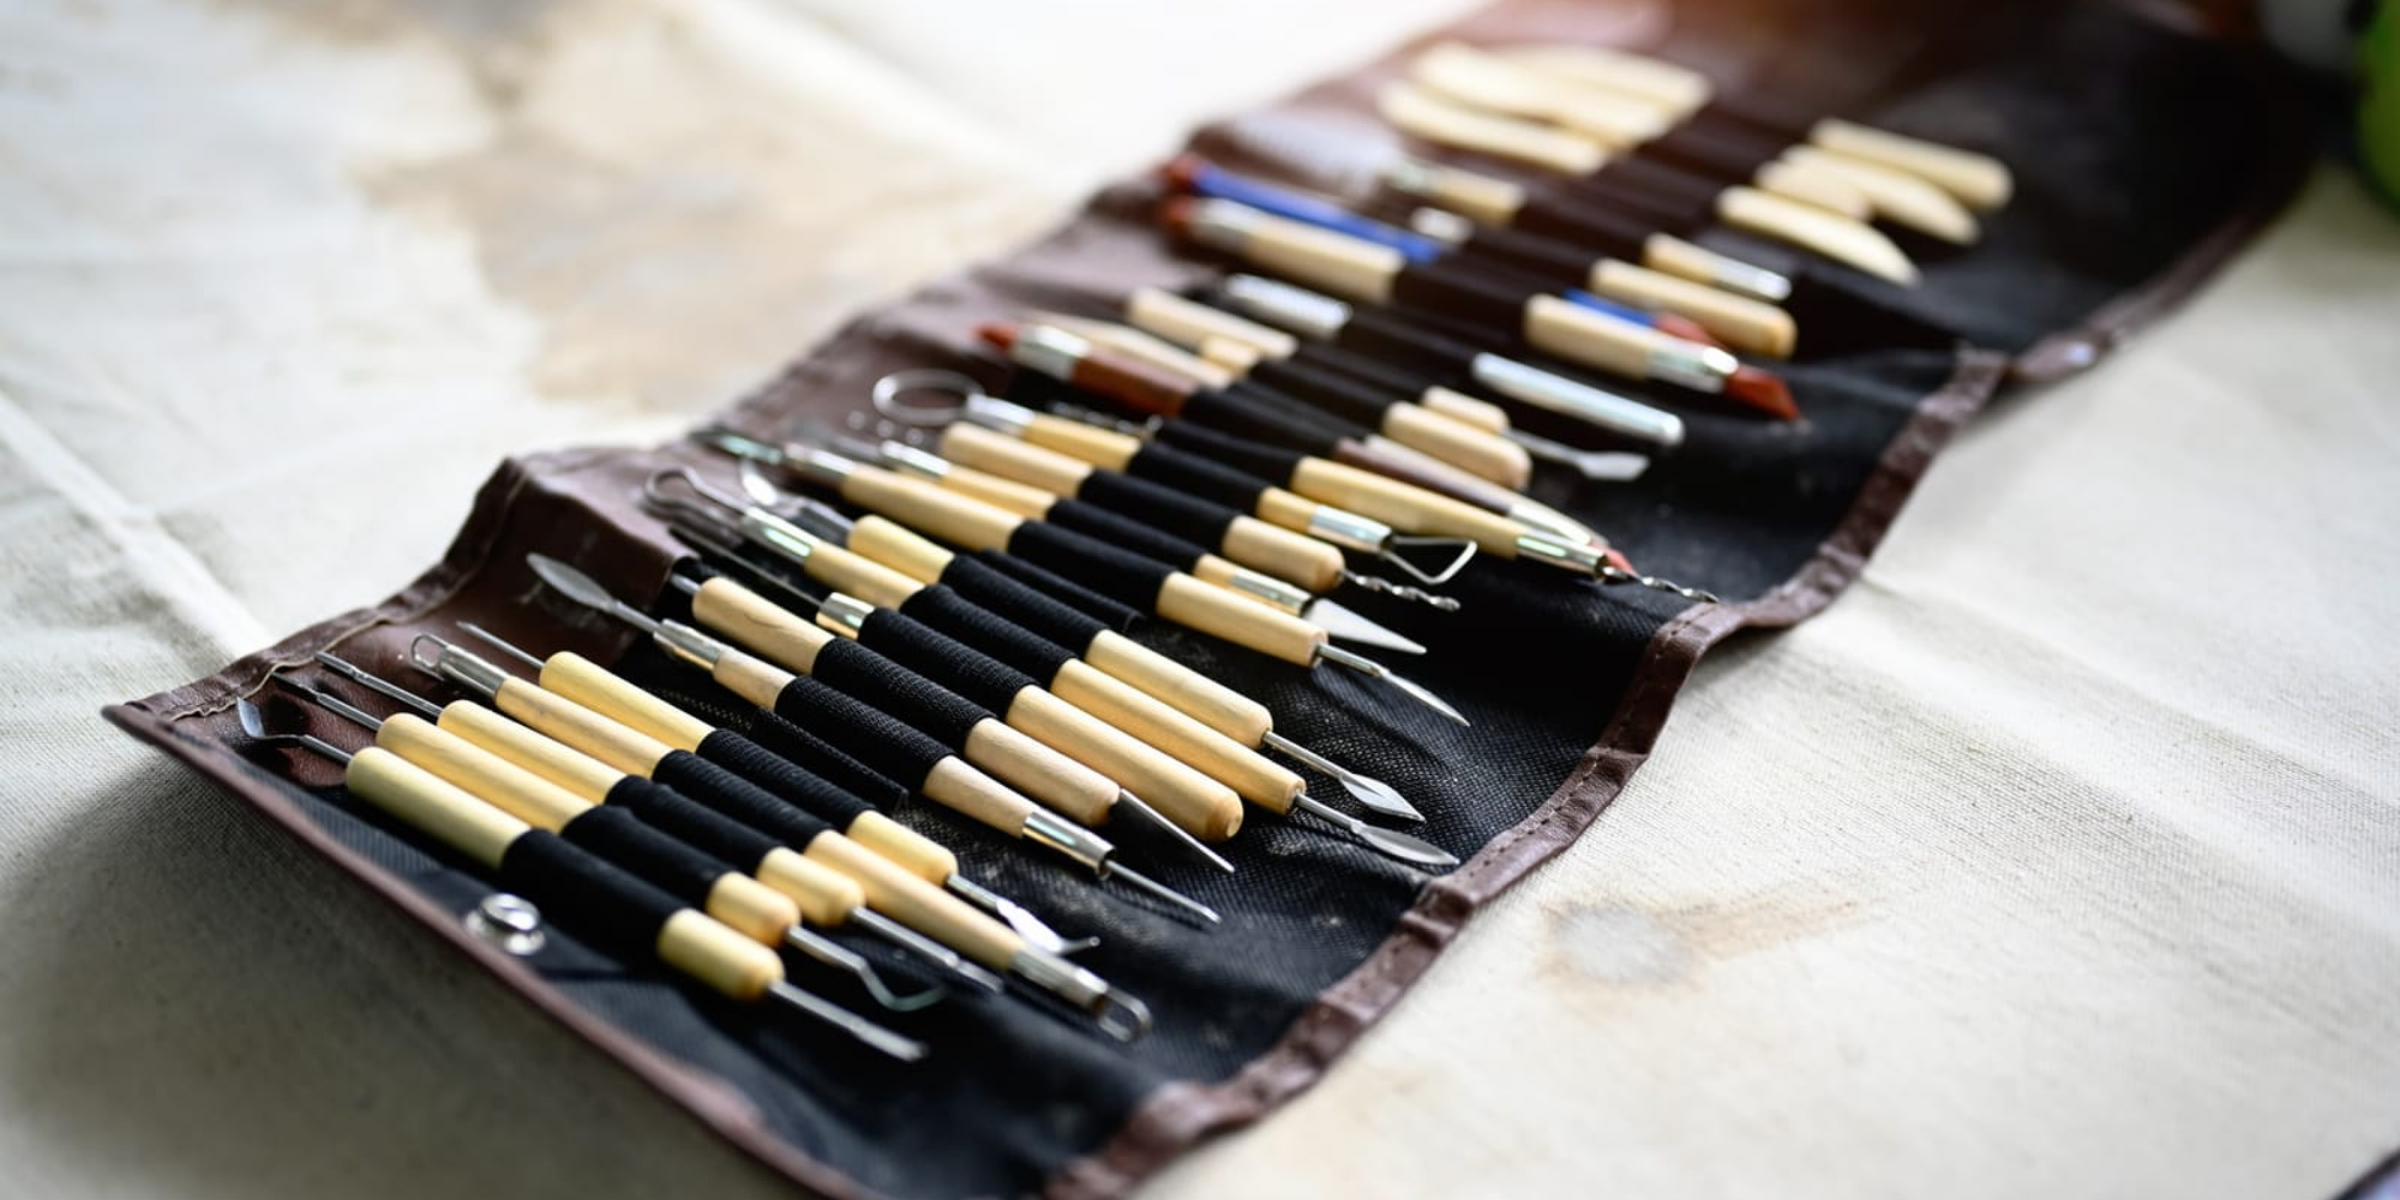
Complete Clay Tools Kit: This versatile air dry clay tools includes 25 essential sculpting tools for stippling, carving, molding, and shaping—ideal for everyone from beginners to professionals working with polymer clay or air dry modeling projects
Comprehensive Pottery Kit: This all-inclusive air dry clay starter kit includes all the necessary materials to start your pottery journey - 3 x 1lb/500g air dry clay with storage bags, 1 x gloss varnish, 6 x acrylic paints, 8 x sculpting tools, 1 x sponge, 1 x palette, 1 x foldable bucket, 2 x brushes for detailing, 1 x work mat, 1 x spray bottle,1 x rolling pin, 1 x guide manual with a video tutorial. Transform your leisure time into a fulfilling pottery experience with the our airdry clay kit!

COMPLETE AIR DRY CLAY KIT FOR ADULTS: Your At Home Pottery kit contains everything for 2 people to easily sculpt, paint, varnish, and finish beautiful waterproof plant pots, sculptures, vases, and more.
Materials and Preparation
To create the duo candle holder, you will need the following materials:
- Dash air dry clay
- Tapered candles
- Pen
- Sandpaper
- Mod Podge
- Paintbrush
- Baking soda
- Primary colour paints
- White paint
Before starting, make sure to have a clean workspace and gather all the materials. It is also important to have a bowl of water nearby to keep the clay moist while working.
Creating the Holders
To create the first piece of the duo candle holder, start with a ball of clay and stick the tapered candle in the middle to create the holder hole. Roll the clay with the candle still inside against the table into a cylinder shape. Then, use a pen to create grooves around the outside of the cylinder. This will make it easier to keep the candle in place and add some character to the holder. Once the grooves are deep and even, smooth out the edges and let it dry.
For the second piece, start with a larger ball of clay and stick the tapered candle in the middle to create the holder hole. Roll the clay with the candle still inside against the table into a tapered cylinder shape. Then, use a pen to create grooves around the outside of the cylinder, dragging the pen upwards to create a unique pattern. Once the grooves are deep and even, smooth out the edges and let it dry.
Drying and Sanding
After both pieces have dried, use sandpaper to smooth out any rough edges and bumps. Flatten the top of the first piece if it is uneven and smooth out the grooves for both pieces. Wipe away any dust with a wet paper towel.
Finishing Touches
Before painting, seal both pieces with Mod Podge. Mix primary colour paints with white paint to create an eggshell white shade, then add baking soda for texture. Paint both pieces with the mixture and let them dry. The duo candleholder is now complete and ready to use.
Overall, the duo candleholder is a simple yet elegant addition to any home decor. The grooves on the holders add character and make them stand out, while the eggshell white shade gives them a minimalistic look. The dash air dry clay is easy to work with and dries quickly, making it a great choice for smaller projects like these.
Final Thoughts and Recommendations
In conclusion, the DIY air dry clay candleholders presented in this video were simple yet elegant and can be easily replicated by anyone. The Das air dry clay used in this video was highly recommended by many DIYers, and it proved to be easy to work with and dried quickly. The pieces created with this clay were also sturdy, making it a great choice for smaller, quicker projects.
The flower-shaped candleholder is a beautiful addition to any room, and the way it was dried gave it a unique, upward-facing petal effect. The duo candleholder was also a great option for those looking for a more minimalist design, with the grooves adding character and texture to the piece.
For those looking to recreate these candle holders, it is recommended to use a rolling pin or a water/wine glass to flatten the clay and outline the shape. A pen can be used to create grooves for the duo candle holder, while a flower-shaped cookie cutter can be used for a more perfect flower shape.
Overall, these DIY air dry clay candle holders are a great way to add a personal touch to any home decor and can be easily customized with different colours and textures. It is recommended to seal the pieces with mod podge before painting and to sand down any rough edges for a smooth finish.
In conclusion, this DIY project showcases the use of Das air dry clay to create two unique candle holders. The speaker also provided some tips and tricks for working with air dry clay, such as using a wax paper underneath the clay to prevent it from sticking and using wet paper towels to wipe away any dust after sanding. The speaker also shared a recipe for creating a light terracotta color using primary colors and white.
Overall, this DIY project is a great way to explore the use of air dry clay and create beautiful and unique candle holders. The speaker encourages viewers to try out this project and share their creations with her on Instagram.