Welcome to the fascinating world of polymer clay, where your imagination takes tangible form. You’ve molded, sculpted, and perfected your creation, and now comes the crucial step: baking. This isn’t just about hardening the clay; it’s about transforming your artistic vision into a durable, lasting piece. Get ready to master the art of polymer clay oven baking, ensuring your hard work doesn’t go up in smoke – literally.
Before you even think about placing your beautiful creations in the heat, you need to understand the fundamental relationship between your oven and your specific polymer clay. This isn’t a one-size-fits-all process; rather, it’s a careful dance between temperature, time, and technique.
The Critical Role of Temperature Adherence
You might be tempted to crank up the heat, thinking it will speed up the process, or perhaps lower it to avoid burning. Resist these urges. You must follow the package temperature exactly. This isn’t a suggestion; it’s a golden rule. Multiple reputable sources unequivocally state that higher temperatures can scorch your beloved polymer clay, leading to discoloration, brittleness, and a compromised finish. Conversely, baking at too low a temperature will leave your pieces underbaked, meaning they’ll be fragile, easily broken, and possibly even retain a chalky, unfinished appearance. Your clay needs to reach a specific internal temperature to fully cure and become robust. Deviating from the recommended temperature risks undermining all your careful work.
The Wisdom of Longer, Not Hotter Baking
When it comes to baking polymer clay, patience truly is a virtue. If you find yourself in a situation where your pieces aren’t fully cured after the recommended time, your instinct might be to increase the oven temperature. However, multiple guides strongly advise that it is usually safer to extend baking time than to increase oven temperature, especially for thicker pieces. This is a critical distinction. A higher temperature can quickly burn the surface of your clay while leaving the core still underbaked. Extending the baking time, on the other hand, allows the heat to penetrate gradually and thoroughly, ensuring an even cure throughout the entire piece without the risk of scorching the exterior. Think of it like slow-cooking; gentle heat over a longer duration yields a perfectly cooked result, whereas a high blast of heat can burn the outside while leaving the inside raw. For particularly thick sculptures, you might even consider baking in stages, allowing the piece to cool and then returning it to the oven for an additional baking cycle if necessary, all while maintaining the recommended temperature.
The Indispensable Oven Thermometer
You’ve set your oven to the recommended temperature, confidently assuming it’s accurate. But here’s a sobering truth: oven dial settings can be notoriously inaccurate. They can fluctuate, degrade over time, and vary significantly from the actual internal temperature. This is where an oven thermometer becomes your absolute best friend. You need to use an oven thermometer to verify the actual oven temperature. This small, inexpensive tool will give you real-time, accurate readings of your oven’s internal temperature, allowing you to make necessary adjustments to your oven’s dial. Don’t just place it in and glance at it; let it sit in the oven for at least 15-20 minutes after preheating to get a stable reading. You might be surprised to find your oven is 25 degrees off its setting, either too hot or too cold. Without an accurate thermometer, you are essentially baking blind, and that significantly increases your risk of either scorching or underbaking your polymer clay creations. Invest in one, and consider it an essential part of your polymer clay toolkit.
Preparing Your Oven and Workstation for Baking
Once you understand the nuances of temperature and time, it’s time to set up your baking environment for optimal success. Proper preparation is key to achieving consistent and beautiful results.
The Importance of Full Preheat and Middle Rack Placement
Just like baking a cake, your oven needs to reach a stable, consistent temperature before your polymer clay enters its fiery embrace. You must preheat fully and bake on the middle rack for more even heat and to reduce scorching. Rushing this step is a common mistake. If you place your clay into a cold or still-heating oven, it will be exposed to fluctuating temperatures, which can lead to uneven curing and potentially compromised results. Give your oven ample time to reach and stabilize at the desired temperature – again, verified by your trusty oven thermometer.
Baking on the middle rack is also crucial. The top rack often experiences hotter, more direct heat, increasing the risk of scorching. The bottom rack can be cooler and sometimes lead to uneven baking. The middle rack provides the most consistent and evenly distributed heat, ensuring your polymer clay receives the ideal environment for curing. This simple adjustment can make a significant difference in the final quality of your baked pieces.
Supporting Your Delicate Creations
Imagine spending hours sculpting a delicate, intricate piece, only for it to collapse under its own weight or shift during baking. Heartbreaking, right? This is why support is paramount. You must support delicate or top-heavy pieces with foil or other supports so they do not collapse while baking. Polymer clay, especially when still uncured, can be quite pliable. The heat of the oven can temporarily soften it further, making it susceptible to sagging or deformation.
For pieces with outstretched limbs, thin sections, or overhanging elements, create custom supports. Crumpled aluminum foil is an excellent choice for this. You can mold it to fit the contours of your piece, providing stable scaffolding. Consider nesting your creations in a bed of cornstarch or baking soda for added support, though ensure you brush off any residue thoroughly after baking. You can also use glass beads or even other pieces of scrap clay (removed after baking) to prop up specific areas. The goal is to prevent any part of your sculpture from drooping, flattening, or losing its intended shape during the curing process. Don’t let your art succumb to gravity!
Choosing the Right Baking Surface
The surface your polymer clay rests on during baking might seem like a minor detail, but it can significantly impact the final finish of your pieces. You need to use a smooth, non-metal baking surface such as parchment, plain paper, or a ceramic tile-lined setup to help prevent shiny spots and scorching. Metal surfaces, particularly bare baking sheets, can conduct heat very efficiently and unevenly. This can lead to localized hotspots, causing the underside of your clay to scorch or develop undesirable shiny, flat spots where it directly contacts the metal.
Parchment paper provides a smooth, non-reactive barrier that promotes even baking and prevents sticking. Plain white paper, without any inks or coatings that might transfer, can also work in a pinch. Ceramic tiles, particularly unglazed ones, are another excellent option. You can line a baking tray with ceramic tiles, creating a perfectly even and non-reactive surface. This diffuse heat distribution helps ensure that all surfaces of your clay cure uniformly, resulting in a matte or consistent finish without any unexpected sheen or scorch marks. Avoid using silicone mats unless specifically designed for polymer clay, as some can cause a glossy finish.
Testing and Troubleshooting
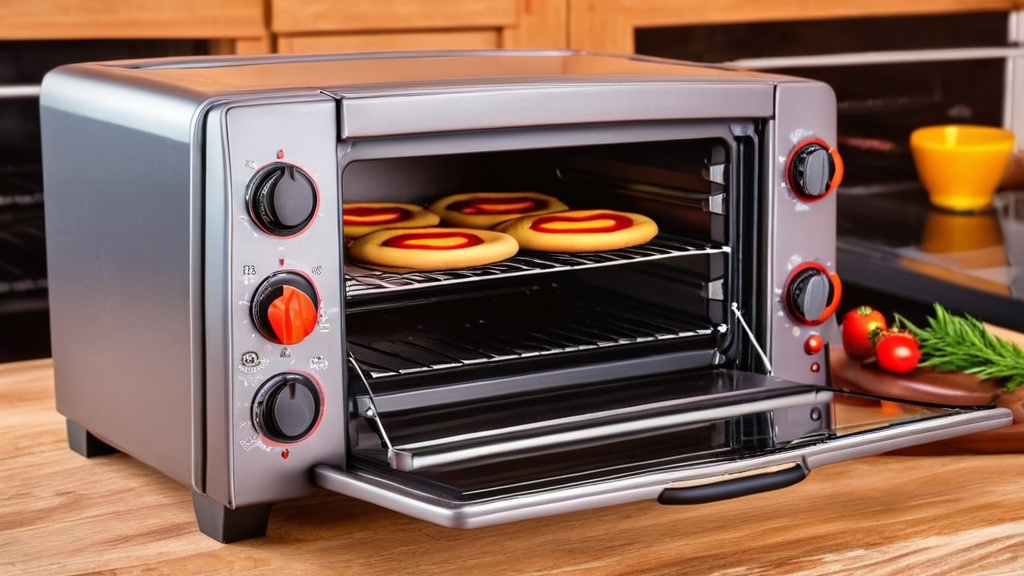
Even with all the best practices in mind, every oven and every batch of clay can behave slightly differently. This is why testing and knowing how to troubleshoot are essential skills for any serious polymer clay artist.
The Absolute Necessity of Sample Testing
You wouldn’t bake a multi-tiered wedding cake without first testing a small batch of batter, would you? The same logic applies to polymer clay. You must test with sample pieces first to find the right time and temperature for your specific oven and clay brand before baking a finished piece. This step is non-negotiable, especially when you’re working with a new brand of clay, a new oven, or a new technique.
Create several small, relatively flat test pieces. Aim for a thickness that is representative of your typical work or, if working with very thick pieces, make a sample of comparable thickness. Bake these samples at the recommended temperature for varying durations – perhaps the minimum recommended time, the maximum, and a couple of points in between. After baking and cooling, test their durability. Can you easily break them? Do they bend without snapping? Do they feel brittle or chalky? Observe their color; is it consistent with the raw clay, or has it discolored? This iterative process will allow you to fine-tune your baking parameters, giving you confidence when it’s time to bake your actual, treasured creations. It’s a small investment of time that can save you significant heartbreak.
Recognizing Underbaked Clay
You’ve pulled your creations from the oven, let them cool, and are now inspecting them. How do you know if they’re properly cured? Underbaked clay is often easily identifiable. If your piece feels brittle, snaps easily, or has a chalky texture on the surface even after cleaning, it’s likely underbaked. It might also show a lack of vibrant color, appearing duller than the raw clay. For thin pieces, if you can bend them and they break rather than flex, they need more baking time. The good news is that you can often re-bake underbaked pieces. Simply return them to the oven at the recommended temperature for an additional 10-15 minutes, allowing them to cool completely before re-testing. Remember, it’s safer to bake longer at the correct temperature than to increase the heat.
Identifying Overbaked or Scorched Clay
On the opposite end of the spectrum is overbaked or scorched clay. This is usually more immediately noticeable. Scorched clay will often show discoloration – turning brown, black, or even appearing “burnt” in areas. White or light-colored clays are particularly susceptible to this. The surface might also look blistered or bubbly. In extreme cases, it might emit a faint odor, though you should always ensure good ventilation when baking polymer clay to avoid inhaling any fumes. Overbaked clay can also become brittle, though this is often accompanied by the obvious visual signs of scorching. Unfortunately, once clay is scorched, the damage is often irreversible. This underscores the importance of precise temperature control and the use of an oven thermometer. If you repeatedly scorch your clay, your oven might be running hotter than its dial indicates, or you might be placing your pieces too close to a heating element. Adjust your oven settings, re-verify with your thermometer, and consider using a deeper baking container or a foil tent to shield your clay if scorching persists.
Advanced Baking Techniques and Considerations
Once you’ve mastered the basics, you might find yourself exploring more complex projects and needing to adapt your baking methods.
Baking Thicker Pieces with Confidence
As mentioned, thicker pieces require special consideration. The core of a thick sculpture takes longer for heat to penetrate and fully cure. Your primary strategy here should be extended baking times, not increased temperatures. For very thick pieces (anything over an inch or so), you might even consider baking in multiple stages. Bake for the recommended time, allow the piece to cool completely, and then return it to the oven for another baking cycle. This allows the heat to gradually work its way through the entire mass. Some artists also recommend pre-baking thicker pieces at a slightly lower temperature (e.g., 10-15 degrees Fahrenheit below the recommended) for a portion of the total baking time, then increasing to the recommended temperature for the remainder. This gradual heating can help prevent cracking from thermal shock and ensure an even cure. Always test with samples of comparable thickness first!
Baking Pieces with Mixed Media Inclusions
Incorporating other materials into your polymer clay creations adds another layer of complexity to the baking process. Many common inclusions are perfectly safe to bake with polymer clay, such as glass beads, metal findings, some natural stones, and even some types of paper. However, you need to be mindful of two key factors: heat tolerance and expansion/contraction rates. Materials that cannot withstand the polymer clay baking temperatures (e.g., some plastics, delicate fabrics, certain glues) should be added after baking. For materials that are heat-safe, consider their expansion and contraction. Glass and metal generally have similar rates to polymer clay, so they often bake without issues. However, if you are encapsulating a material that expands significantly more or less than the clay, it could lead to cracking or separation during cooling. When in doubt, always do a small test piece with your specific mixed media inclusion before committing it to a finished work.
Ensuring Proper Ventilation
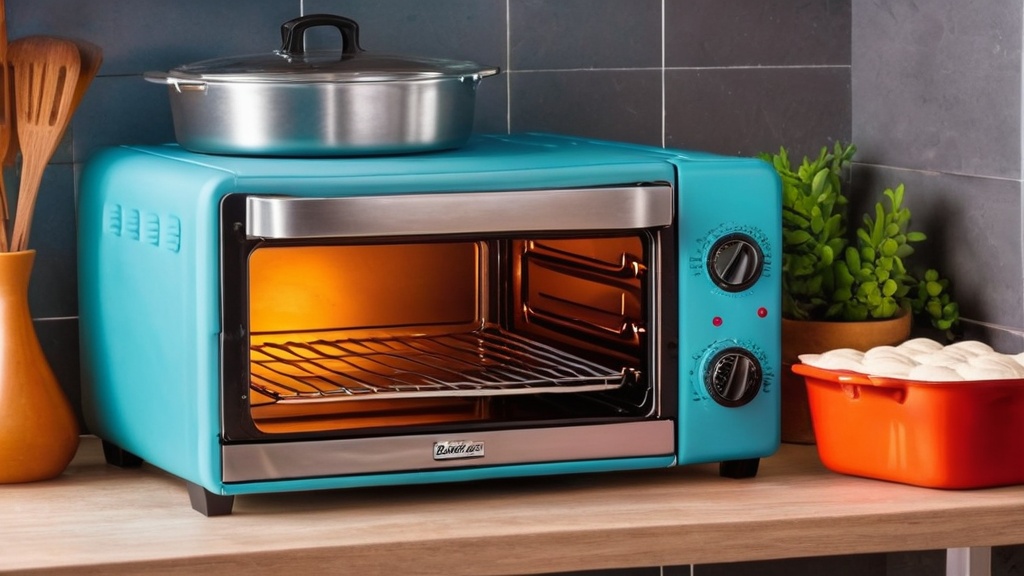
While polymer clay is generally considered non-toxic when baked according to package directions, it’s always wise to ensure good ventilation in your baking area. As the clay cures, it can release very faint odors. While not harmful in small amounts, consistent exposure in an unventilated space is not ideal. Always bake in a well-ventilated area. This means opening a window, using an exhaust fan, or even placing a small fan nearby (pointing away from the oven) to circulate the air. If you are particularly sensitive to smells or baking large quantities, consider a dedicated small oven for your polymer clay projects, which you can place in a garage or workshop where ventilation is less of a concern for your living space. Safety first!
By diligently applying these essential tips and techniques, you will transform your raw polymer clay into durable, beautiful, and lasting works of art. Embrace the process, trust your oven thermometer, and enjoy the satisfying culmination of your creative journey. Happy baking!
FAQs
What is polymer clay?
Polymer clay is a type of modeling clay that hardens when baked in an oven. It is made from PVC (polyvinyl chloride) and a liquid plasticizer, making it a versatile and durable material for crafting and sculpting.
Why is oven baking required for polymer clay?
Oven baking is required for polymer clay to cure and harden it. This process transforms the soft, pliable clay into a durable and long-lasting finished product. The heat activates the PVC particles in the clay, causing them to fuse together and create a solid, permanent structure.
What temperature and duration is recommended for baking polymer clay?
The recommended temperature for baking polymer clay is typically between 265°F and 275°F (130°C and 135°C). The duration of baking varies depending on the thickness of the clay and the specific brand, but it generally ranges from 10 to 45 minutes.
Can polymer clay be baked in a regular home oven?
Yes, polymer clay can be safely baked in a regular home oven. It is important to use an oven thermometer to ensure the temperature is accurate, and to dedicate a separate oven for crafting to avoid mixing food and crafting materials.
Are there any safety precautions to consider when baking polymer clay?
When baking polymer clay, it is important to ensure proper ventilation in the area to avoid inhaling any fumes released during the baking process. Additionally, it is recommended to use an oven thermometer to monitor the temperature and to avoid overheating the clay, which can release harmful fumes.