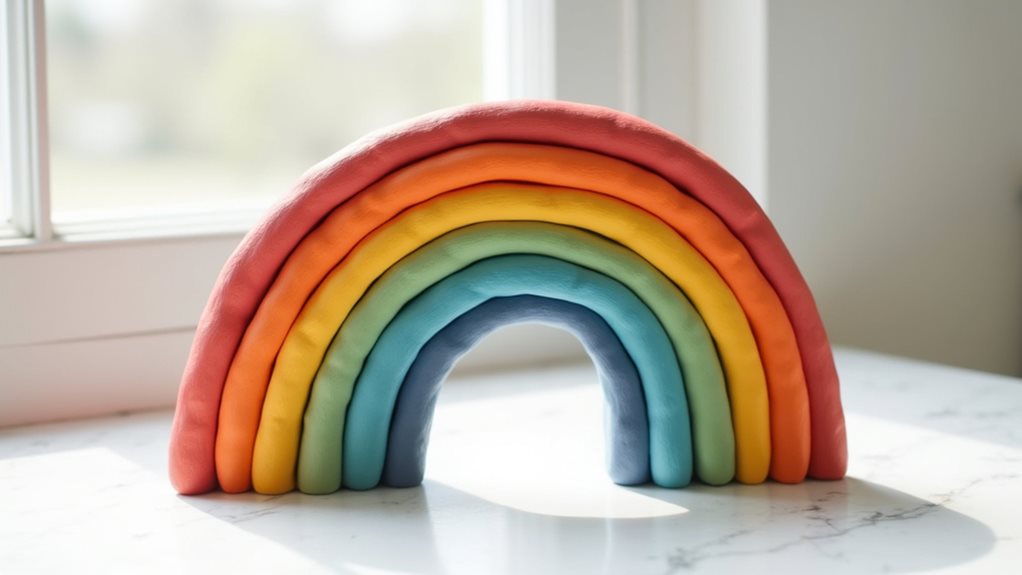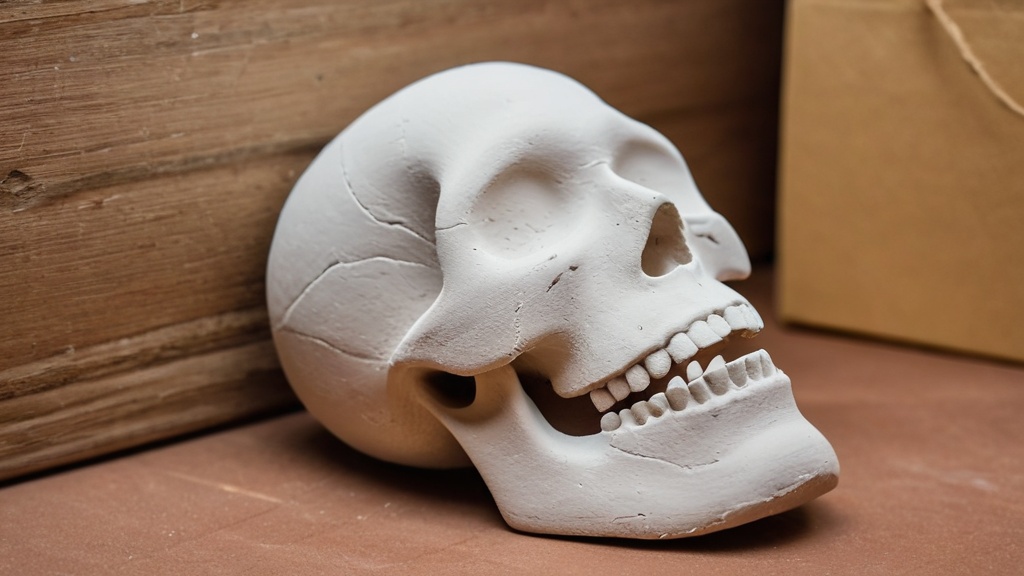
You’re standing at the precipice of a wonderfully tactile, delightfully low-fuss crafting adventure. Forget about scorching ovens or intimidating kilns; today, you’re diving headfirst into the world of air dry clay. This isn’t just a trend; it’s a revelation for anyone who loves to create but might be short on specialized equipment or even just patience. You’ll discover that transforming a lump of clay into something beautiful, useful, or utterly unique is incredibly satisfying, and the best part? It simply dries in the air.
Air dry clay is your new best friend in the crafting world. It’s forgiving, versatile, and, as the name suggests, requires absolutely no baking. This means you can sculpt, shape, and mold to your heart’s content, then simply set your creations aside and let nature do the rest. Imagine the possibilities: gifts for loved ones, decorative pieces for your home, or even just fun projects to unwind after a long day. You’re about to unlock a realm of creativity that’s accessible to everyone, regardless of your artistic background.
What Makes Air Dry Clay So Appealing?
The appeal of air dry clay lies in its simplicity and accessibility. You don’t need a ceramics studio or even a dedicated craft room. A kitchen table, a rolling pin, and your hands are often all you require. This makes it perfect for impromptu crafting sessions, rainy day activities with kids, or even a mindful escape for yourself. The sheer variety of projects you can undertake, from simple decorative items to more intricate sculptures, ensures that you’ll never run out of ideas.
The Lowdown on Popular No-Bake Clay Recipes
While store-bought air dry clay is fantastic, did you know you can also make your own? This adds another layer of DIY satisfaction to your crafting journey.
Glue-and-Cornstarch Clay: A Kitchen Staple Marvel
This recipe is incredibly popular for its smooth texture and ease of creation. You likely already have the ingredients in your pantry: white glue (PVA glue works best) and cornstarch. A little bit of oil (like baby oil or mineral oil) can also be added for extra pliability. The process usually involves heating the mixture gently until it forms a dough-like consistency. Once cooled, it’s ready to be sculpted. You’ll find that this clay is wonderfully pliable and takes impressions beautifully.
Flour-and-Salt Clay: An Oldie But a Goodie
Another classic no-bake option is flour-and-salt clay. This is a go-to for many parents and educators due to its non-toxic nature and readily available ingredients. Typically, you’ll mix flour, salt, and water until you achieve a workable dough. While it might have a slightly coarser texture than cornstarch clay, it’s incredibly durable once dry and excellent for creating robust shapes. Think ornaments, small figurines, or even geological-inspired pieces like geodes.
Mastering the Drying Process: Patience is Key
You’ve spent time meticulously crafting your piece, and now comes the crucial, yet often overlooked, step: drying. This isn’t a race, and attempting to rush it can lead to frustrating cracks and imperfections. Think of it as a slow, natural transformation.
The Gentle Art of Air Drying
The most important advice you’ll hear consistently across all tutorials is to let your creations dry slowly and naturally. Find a flat, even surface in a well-ventilated area away from direct sunlight or strong heat sources. A sunny windowsill might seem ideal, but the rapid, uneven drying can cause your clay to warp or crack. Patience truly is a virtue here.
The Flip Side: Ensuring Even Drying
Imagine a piece of toast drying out on one side only – it would curl up, right? The same principle applies to your clay creations. To ensure even drying and prevent warping, gently flip your pieces occasionally, especially if they are thicker or have a complex shape. This exposes all sides to the air, promoting uniform moisture release. You’ll want to do this every few hours initially, and then less frequently as the piece hardens.
The Danger of Rushing: Why Heat is the Enemy
It’s tempting to want to speed up the drying process with a hairdryer, oven, or even a fan. Resist this urge! High heat forces the moisture out of the clay too quickly and unevenly, leading to internal stresses that manifest as cracks. These cracks can appear even days after you thought your piece was dry. Embrace the natural drying process; it’s the best way to achieve a strong, crack-free finished product. Depending on the thickness and humidity, your creations could take anywhere from 24 hours to several days to fully dry.
Project Inspiration: Easy & Creative Crafts to Try
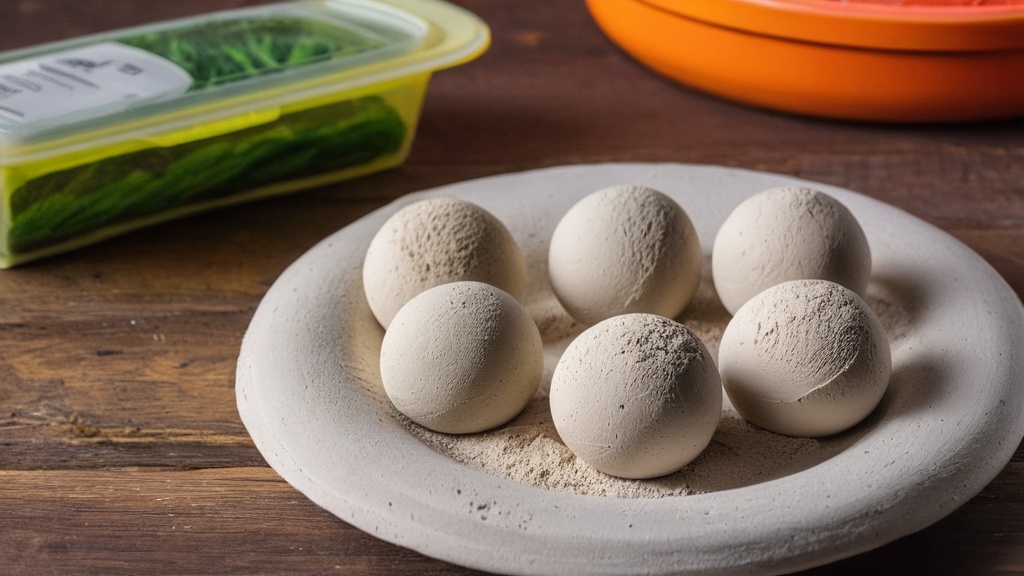
Now for the fun part: what can you actually make? The possibilities are truly endless, and you’ll find that even the simplest shapes can become stunning pieces with a little imagination and a dash of color.
Trinket Dishes: A Catch-All for Your Treasures
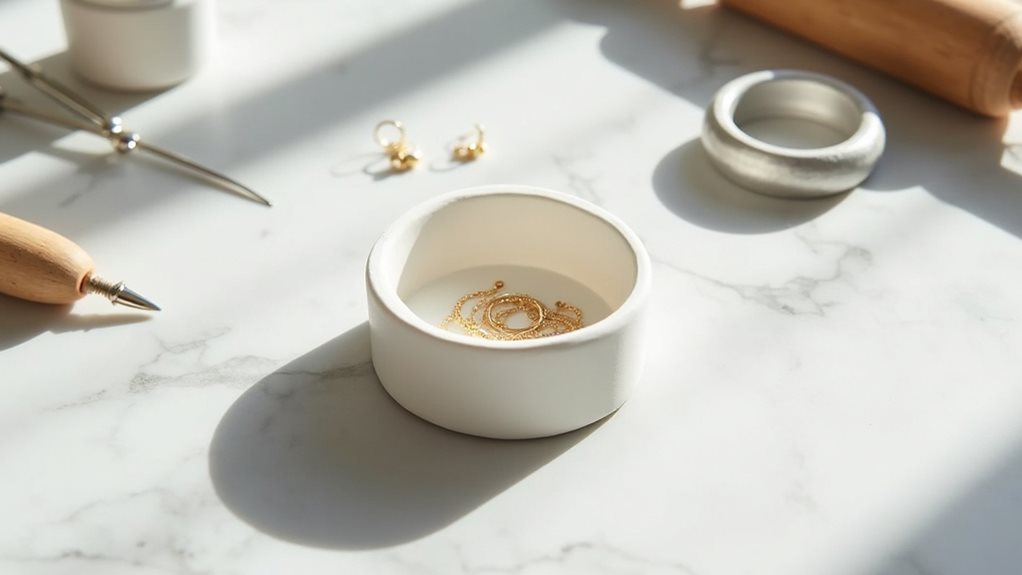
Trinket dishes are a fantastic starting point for air dry clay beginners. They’re functional, relatively simple to make, and can be customized in countless ways.
Simple Round Dishes: The Beginner’s Delight
Start with a ball of clay, flatten it into a disc, and then gently pinch up the edges to form a shallow bowl. You can use a small bowl as a mold or simply freehand it. Once dry, paint it with acrylics and seal it for a polished look. Imagine a delicate pastel dish for earrings or a vibrant, speckled one for small crystals.
Leaf Imprint Dishes: Nature’s Own Decor
Collect a few interesting leaves from your garden. Roll out a flat piece of clay, press the leaf firmly into it to create a detailed impression, then carefully peel the leaf away. Cut around the leaf shape or create a simple circle around it. Gently curve the edges to form a dish. This creates beautiful, organic-looking pieces perfect for holding small items or simply as decorative accents.
Marbled Clay Dishes: A Touch of Elegance
For a more sophisticated look, try marbling your clay. Knead together two or three different colored clays (or tinted white clay) slightly, but don’t overmix. Roll it out and shape it into a dish. The subtle swirls of color will create a beautiful, unique effect.
Personalized Magnets: Tiny Art for Your Fridge
Magnets are quick, easy, and always appreciated. They’re also a great way to use up smaller scraps of clay.
Cut-Out Shapes: Simple & Sweet
Roll out your clay and use cookie cutters to create various shapes: hearts, stars, animals, or even letters. Once dry, paint them and glue small magnets to the back. These make fantastic personalized gifts or charming additions to your own fridge.
Embossed Designs: Texture & Charm
Before cutting out your shapes, gently press textured items into the rolled-out clay. Think lace, doilies, stamps, or even a fork. The resulting patterns add depth and interest to your magnets.
Miniature Food Magnets: Whimsical & Fun
This is a favorite, especially for kids’ craft collections. Sculpt tiny versions of your favorite foods: mini donuts, croissants, fruits, or vegetables. These incredibly cute magnets are sure to bring a smile to anyone’s face.
Holiday Ornaments: Festive Fun Without the Fuss
Air dry clay is ideal for creating unique and personal holiday ornaments. They’re lightweight and can be customized to match any decor.
Classic Cookie Cutter Ornaments: Easy & Traditional
Similar to magnets, cookie cutters are your best friend here. Roll out your clay, cut out shapes like stars, trees, or snowflakes. Don’t forget to poke a hole at the top with a skewer or toothpick before drying for hanging. Once dry, paint them with festive colors, glitter, or even personalize them with names.
Handprint/Footprint Ornaments: Cherished Keepsakes
These are incredibly popular, especially for new parents or as thoughtful gifts. Roll out a disc of clay, gently press a child’s hand or foot into it, and then carefully remove it. Poke a hole for hanging. These become priceless mementos that capture a moment in time.
Stamped Message Ornaments: Meaningful Decor
Use letter stamps to imprint meaningful words, dates, or short messages onto your clay shapes before drying. This adds a personal touch that makes them even more special.
Jewelry Dishes: A Home for Your Bling
Similar to trinket dishes, jewelry dishes can be more specialized for holding rings, earrings, or small necklaces.
Ring Holders: Elegant & Functional
Sculpt a small, shallow dish with a cone or pillar in the center. The cone is perfect for sliding rings onto, while the dish can hold earrings or small chains. You can make these as simple or as intricate as you like.
Segmented Dishes: Organized Sparkle
Create a slightly larger dish and then add small dividers or walls to create separate compartments for different types of jewelry. This keeps everything organized and tangle-free.
Simple Gifts: Hand-Crafted Love
The beauty of air dry clay is that it allows you to create heartfelt, handmade gifts that feel truly special.
Personalized Keychains: Practical & Thoughtful
Roll out small pieces of clay, cut them into desired shapes, and poke a hole for the keyring attachment. You can stamp initials, draw designs, or create miniature sculptures. These are quick to make and make lovely stocking stuffers or party favors.
Coasters: Protecting Surfaces in Style
Roll out thicker discs or squares of clay. You can leave them plain, stamp designs into them, or paint them in coordinating colors. Once sealed, they become durable and decorative additions to any home. Remember to use a sealant that is water-resistant for coasters.
Small Planters/Vases: Bringing Greenery Indoors
While air dry clay isn’t naturally waterproof, you can create small decorative planters or vases by adding a waterproof lining (like a small glass insert or by thoroughly sealing the inside). These are wonderful for small succulents or air plants, adding a touch of natural beauty to a space.
Finishing Touches: Elevating Your Air Dry Clay Creations
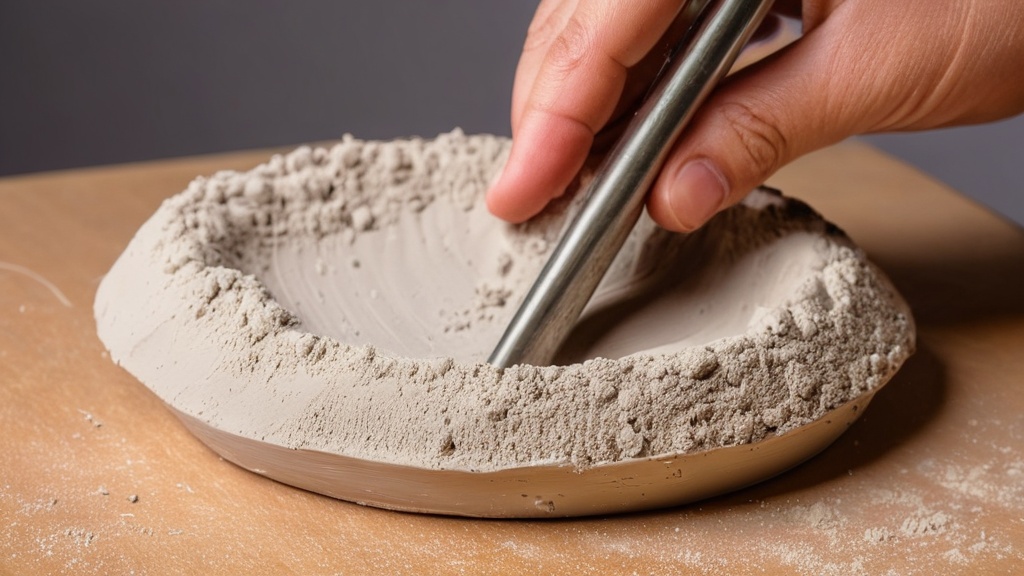
Once your clay is completely dry, it’s time to bring your creations to life with color and protection. This is where your pieces truly transform from raw clay into polished works of art.
Painting Your Masterpiece
Acrylic paints are your best friend when it comes to coloring air dry clay. They’re vibrant, easy to work with, and clean up with water.
Acrylic Paints: A Spectrum of Color
You can use a wide range of acrylic colors to paint your creations. Experiment with solid blocks of color, intricate patterns, or even abstract designs. Don’t be afraid to mix colors to get the exact shade you desire. For finer details, invest in a set of small brushes.
Watercolor Washes: Delicate Hues
For a more translucent and delicate effect, you can experiment with watercolor washes. Apply a thin layer of watercolor paint over your dry clay for a subtle tint. This works particularly well for pieces where you want to highlight the natural texture of the clay.
Metallic Accents: A Touch of Glamour
Add a touch of elegance with metallic paints or pens. Gold, silver, and copper accents can elevate a simple piece, making it look much more sophisticated. Use them to highlight embossed details or to create decorative edges.
Sealing for Durability and Shine
Sealing your air dry clay pieces is a crucial step. It protects them from moisture, dirt, and wear, and can also enhance their appearance.
Mod Podge: The All-Rounder
Mod Podge is a popular choice for sealing air dry clay. It comes in various finishes (matte, gloss, satin) and provides a protective, non-yellowing coat. Apply several thin layers, allowing each to dry completely between coats, for the best protection.
Acrylic Sealers: Spray or Brush-On Options
Acrylic spray sealers are convenient for getting an even coat, especially on textured or intricate pieces. Ensure you use them in a well-ventilated area. Brush-on acrylic sealers also work wonderfully and give you more control over the application. Look for options that are water-resistant or even food-safe if you’re making items that might come into contact with food (though air dry clay is generally not recommended for direct food contact without proper, food-safe resin sealing).
Varnish: High Shine and Robust Protection
For a high-gloss finish and enhanced durability, consider using a clear varnish. These often provide a harder, more resilient surface, making them ideal for items that might see a bit more handling, like coasters or keychains.
You’ve now got the blueprint for countless hours of creative enjoyment. Air dry clay offers an incredibly accessible and rewarding crafting experience. From functional trinket dishes to heartfelt handmade gifts, you’re equipped with the knowledge to sculpt, dry, paint, and seal your way to beautiful creations, all without ever needing to turn on an oven. So, gather your supplies, let your imagination run wild, and enjoy the wonderfully tactile journey of air dry clay!
FAQs
What is air dry clay?
Air dry clay is a type of modeling clay that hardens when left to dry in the air, without the need for baking in an oven or kiln. It is a popular choice for craft projects and sculpting due to its ease of use and accessibility.
How does air dry clay work?
Air dry clay contains water, binders, and fillers that allow it to be pliable and moldable. As the water evaporates, the clay hardens and becomes solid. This process typically takes 24-48 hours, depending on the thickness of the clay and the humidity of the environment.
What can you make with air dry clay?
Air dry clay can be used to create a wide range of crafts and sculptures, including jewelry, ornaments, figurines, and decorative objects. It can be sculpted, stamped, and carved to achieve various textures and designs.
How do you use air dry clay?
To use air dry clay, simply knead it to soften it and remove any air bubbles. Then, sculpt or mold it into the desired shape. Allow the clay to dry completely, and then it can be sanded, painted, or sealed as needed.
What are the advantages of using air dry clay?
One of the main advantages of air dry clay is its convenience – it does not require baking, making it suitable for children and those without access to a kiln or oven. It is also lightweight, versatile, and can be easily painted and sealed once dry.