Understanding Air Dry Clay’s Nature
You’ve just sculpted a masterpiece from air dry clay, and now you’re eager to see it finished. The waiting game can be the hardest part, right? Air dry clay is a wonderfully accessible medium, beloved for its simplicity and the lack of need for a kiln. However, its very nature means it relies on ambient air to evaporate its moisture content, a process that can feel painstakingly slow. You might be wondering if there’s a secret shortcut, a magic spell to speed up this drying process without compromising your creation. The good news is, while you can’t magically instant-dry it, you can certainly employ strategies to accelerate the process safely and effectively. Before diving into specific techniques, it’s crucial to understand what’s happening at a molecular level and why certain methods are counterproductive. The clay is essentially shedding water, and the rate at which it does so is influenced by temperature, humidity, and airflow. Your goal is to optimize these factors without shocking the clay, which can lead to disastrous results like cracking or warping. Patience is still a virtue here, but informed patience will get your project completed sooner.
The Science Behind Drying Clay
When you work with air dry clay, you’re manipulating a material that’s a blend of natural minerals, fibers, and binders, all held together by water. As the water evaporates, these particles draw closer, solidifying the form you’ve created. This evaporation needs to happen uniformly throughout the piece. If the surface dries too quickly while the interior remains saturated, the outer layer contracts faster than the inner core. This differential shrinkage creates internal stresses that eventually manifest as cracks or structural weaknesses. Think of it like a desert lakebed – the surface cracks into patterns because the top dries and shrinks much faster than the underlying mud. Your clay piece is susceptible to the same phenomenon. Therefore, any method you use to speed up drying must encourage even moisture loss, from the inside out, or at least prevent the outside from drying significantly faster than the inside. This delicate balance is key to achieving a strong, intact finished product.
Factors Affecting Drying Time
Several environmental factors play a significant role in how quickly your air dry clay project will set. You have some control over these, and understanding them is the first step toward optimizing your drying process. Firstly, humidity is a major player. In a humid environment, the air is already saturated with moisture, making it less efficient at absorbing water from your clay. Conversely, a dry environment will draw moisture out much faster. Secondly, temperature influences the rate of evaporation; warmer air can hold more moisture and generally encourages faster evaporation. However, there’s a critical caveat: too much heat, especially direct heat, can be detrimental. Lastly, airflow is crucial. Stagnant air around your clay piece creates a localized pocket of high humidity, slowing down drying. Constant, gentle air movement helps carry away evaporating moisture, maintaining a favorable drying environment. Your piece’s own characteristics, such as its thickness and overall size, also significantly impact how long it will take. Thicker projects naturally hold more moisture and require more time for that moisture to escape from the core.
Optimizing Your Drying Environment
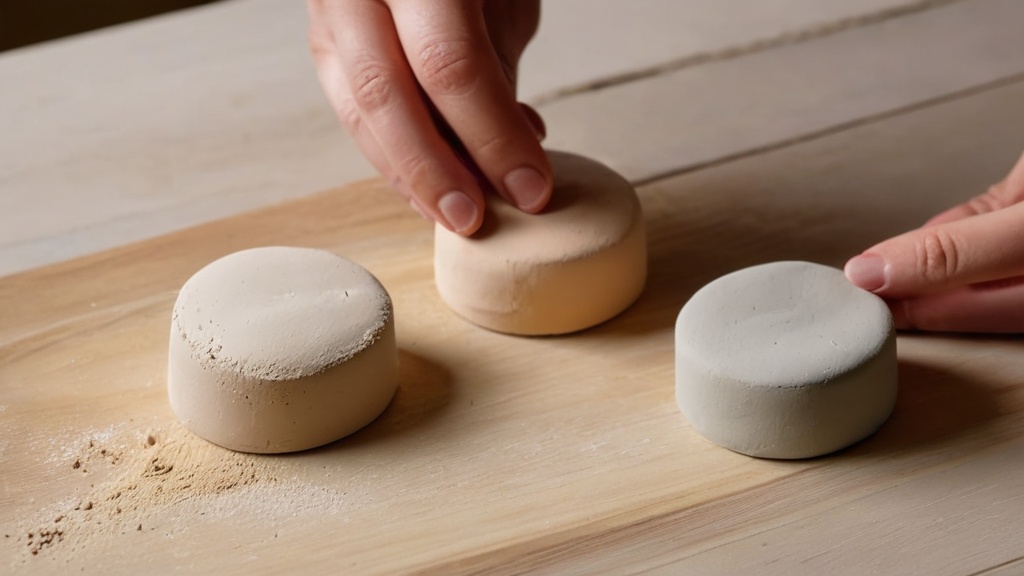
You’ve got your sculpted piece ready, and now it’s time to set it up for success. Creating the ideal drying environment is perhaps the most critical step in accelerating the air dry clay process while preventing damage. You want a balance of warmth, low humidity, and gentle airflow, all working in harmony to encourage even moisture evaporation from your artwork. Think of it as a carefully controlled microclimate designed specifically for your clay. Rushing this stage or applying extreme measures will almost certainly lead to disappointment. Instead, focus on creating conditions that gently coax the moisture out of your piece over time.
Strategic Placement for Airflow
One of the most effective and safest ways to speed up drying is to ensure excellent airflow around your piece. Placing your clay creation on a wire rack is an absolute game-changer. Why a wire rack? Because it allows air to circulate freely around the entire object, including the bottom. If you place your piece directly on a solid surface, the underside will remain damp for much longer, creating an uneven drying situation that can lead to warping or cracking. You can further enhance this by positioning a fan on a low setting a few feet away from your wire rack. The key here is “low setting” and “a few feet away.” You don’t want a direct, strong blast of air hitting the clay, as this can dry the surface too quickly. Instead, aim for a gentle, consistent breeze that helps dissipate the humid air around your piece without causing rapid surface drying.
Temperature and Humidity Control
Beyond airflow, the ambient temperature and humidity of your drying space are paramount. You want a warm but not hot room for optimal drying. A typical room temperature, perhaps slightly elevated but not exceeding what you’d find comfortable, is ideal. Avoid direct heat sources like radiators or placing your piece in direct sunlight. While seemingly logical to use heat to evaporate water, intense, direct heat causes the surface of your clay to dry and shrink much faster than the interior. This disparity in drying rates is a primary cause of cracks and warping. Think of it as a sunburn for your clay – it’s too much, too fast.
Humidity is the other side of this coin. You want low humidity and good airflow. If you live in a naturally humid climate, or if your chosen drying room tends to be damp, consider using a dehumidifier. A dehumidifier actively removes moisture from the air, creating an environment that is much more conducive to faster clay drying. This subtle change can make a significant difference in the overall drying time, ensuring that the air around your piece is always ready to absorb more moisture from the clay.
Regular Turning and Observation
Even with optimal airflow from a wire rack and fan, gravity and the natural properties of drying can still mean one side dries marginally faster than another. To combat this and ensure truly even drying, you should flip or rotate your piece periodically. A good rule of thumb is to do this after about 12–24 hours, once the clay has developed enough rigidity to be handled without deforming. Gently turning it over or rotating it exposes previously less-exposed surfaces to the air, preventing the bottom from staying damp and encouraging uniform moisture loss from all sides. As you rotate your piece, take a moment to observe it. Look for any signs of cracking or unusual drying patterns. Early detection allows you to adjust your drying conditions if necessary, perhaps moving the fan further away or increasing humidity slightly if cracking begins to appear. This hands-on approach helps you fine-tune the process for your specific project and environment.
Techniques for Faster Drying
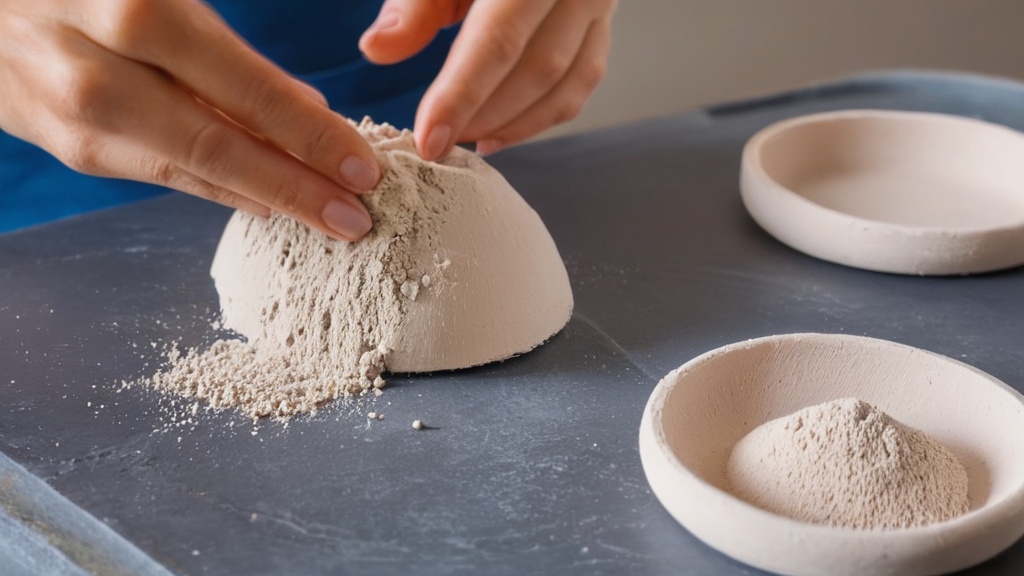
You’ve set up your ideal environment, but what if your piece is particularly large or thick, or you just need to shave off a few more hours from the drying time? There are additional techniques you can employ that focus on the clay piece itself, or carefully introduce an extra boost of energy, but these require a cautious approach. Remember, the overarching goal is always even drying to prevent cracking and warping.
Internal Adjustments for Thicker Pieces
One of the biggest challenges with air dry clay is drying thick projects. A solid, chunky piece will retain moisture at its core for a very long time, often leading to surface cracks even if the outside feels dry. To counteract this, especially for larger or thicker pieces, you should hollow them out or dry them in parts. If you’re sculpting something like a large statue or a substantial bowl, don’t make it solid. Instead, sculpt the basic form and then carefully hollow out the interior, leaving walls that are no thicker than about a finger’s width (around 1-2 cm). This significantly reduces the amount of moisture that needs to evaporate from the core, allowing for much faster and more even drying. If hollowing isn’t feasible for your design, consider constructing your piece in separate, smaller components that can dry individually before being assembled with slip later. This segmented approach also reduces the overall drying time and minimizes the risk of internal stresses.
Cautious Use of Forced Air and Low Heat
While direct, strong heat is a definite no-go, there are situations where you can carefully introduce a gentle heat source to accelerate drying. A hair dryer on its lowest heat setting and with constant movement can be used, but extreme caution is advised. You must keep the hair dryer moving continuously over the entire surface of the clay, maintaining a safe distance to avoid concentrating heat in one spot. The goal is to gently warm the surface and encourage evaporation, not to bake it. Think of it as wafting warm air, not blasting it. Several sources warn that using a hair dryer requires careful application to avoid cracking, as it’s very easy to dry the outside too quickly. If you choose this method, use it for short bursts, alternating with periods of natural air drying, and always monitor your piece closely for any signs of stress. This is a technique best reserved for slightly advanced users who can accurately gauge the clay’s response.
Methods to Strictly Avoid
Just as there are techniques to safely speed up drying, there are also methods that are commonly tried but should be strictly avoided due to their high risk of damaging your artwork. Never place air dry clay in direct sunlight, an oven, or on radiators, or use any strong heat source. These methods apply intense, uneven heat that will dry the outside of your piece far too quickly while the inside remains saturated. This rapid difference in drying rates almost guarantees cracks or warping. The rapid expansion and contraction caused by extreme heat will lead to structural failure. Imagine leaving a ceramic mug out in the sun or baking it in a low oven; it’s a completely different material. Air dry clay needs a gentle, consistent environment for the water to evaporate naturally and uniformly. Resist the temptation for these quick-fix, high-heat solutions; they will only lead to disappointment and wasted effort.
Understanding Drying Timeframes
You’ve implemented all the best practices, but you’re still left with the burning question: “How long will this actually take?” While there’s no single universal answer, understanding the factors that influence drying time will help you set realistic expectations and know when your piece is truly ready for the next stage, whether that’s painting, sealing, or display.
General Drying Expectations
The drying time for air dry clay can vary significantly, but generally, you should expect your project to take anywhere from 24 to 72 hours to fully cure. This is a broad range because many variables are at play. Thinner, smaller pieces in an optimal drying environment (warm, low humidity, good airflow) might be ready on the lower end of that spectrum, possibly even sooner. However, larger, thicker, or more intricate projects, even with all the best drying techniques applied, will naturally take longer. When sources refer to “fully curing,” they mean the clay has lost almost all its moisture content and has hardened to its maximum potential. It’s not just about the surface feeling dry to the touch; the entire piece needs to be thoroughly dehydrated.
Impact of Size and Thickness
Without a doubt, the size and brand of your clay piece are the biggest determinants of drying time. A small, flat charm will dry considerably faster than a hollowed-out sculpture the size of your fist, which in turn will dry faster than a solid, thick block. As mentioned earlier, thicker projects will unequivocally take longer. This is because moisture from the core has a longer path to travel to the surface to evaporate. Even if the outside feels bone dry, the interior could still be holding a significant amount of water. This is why hollowing out thick sections is so crucial – it reduces the total volume of water that needs to escape and shortens the distance that water needs to travel. Different brands of air dry clay also have slightly different formulations, affecting their moisture content and drying properties, though generally, the principles remain the same across brands.
Recognizing a Fully Dry Piece
How do you know when your air dry clay is truly dry? It’s not always as simple as feeling cold or damp. A fully dry piece will exhibit several characteristics. Firstly, it will feel hard and rigid throughout, not just on the surface. If there are any areas that still feel slightly yielding or cool to the touch, they are likely still retaining moisture. Secondly, the color of the clay will usually lighten considerably. Most air dry clays are a darker shade when wet and become much lighter, almost white or off-white, when fully dry. You might also notice a change in texture; wet clay feels smooth and pliable, while dry clay will often feel rougher or more porous. Another subtle indicator is the sound: a fully dry piece will often have a more resonant, almost ceramic-like sound if tapped gently, whereas a damp piece will sound duller. If you’ve painted your piece, make sure the paint is also thoroughly dry before sealing. It’s always better to err on the side of caution and give your piece an extra day or two, especially for larger projects, rather than rushing it and risking potential issues down the line.
Post-Drying Steps and Maintenance
| Method | Effect on Drying Time | Notes |
|---|---|---|
| Using a fan or air circulation | Reduces drying time by approximately 20-30% | Speeds evaporation by increasing airflow around the clay |
| Placing clay in a warm, dry environment | Reduces drying time by 25-40% | Optimal temperature range: 70-85°F (21-29°C); avoid direct sunlight to prevent cracking |
| Using a dehumidifier | Reduces drying time by 15-25% | Removes moisture from the air, enhancing evaporation |
| Applying thin layers | Reduces drying time significantly (up to 50%) | Thinner layers dry faster and more evenly |
| Using a hairdryer on low heat | Reduces drying time by 30-40% | Use caution to avoid overheating and cracking |
| Microwave drying (not recommended) | Dries clay in minutes but risks cracking and uneven drying | Can damage the clay; generally not advised |
Once your air dry clay creation has fully dried and cured, you might think the journey is over. However, there are a few important post-drying steps and considerations to ensure your artwork’s longevity and to protect it from the elements. This final stage is just as important as the sculpting and drying process, as it safeguards your efforts and prepares your piece for its intended display or use.
Painting and Decorating
With your piece now hard and dry, it’s ready for its aesthetic transformation. Air dry clay serves as an excellent canvas for various paints. Acrylic paints are a popular choice due to their versatility, wide range of colors, and quick drying time. You can also use tempera, watercolors, or even oil paints, depending on the desired finish and your artistic preference. Before painting, you might want to gently sand any rough areas to create a smoother surface. Once painted, ensure the paint is completely dry according to the paint manufacturer’s instructions, especially if you plan to apply multiple coats or move on to sealing. Remember that air dry clay is inherently porous, so it will absorb paint differently than a non-porous surface. You might need multiple coats to achieve vibrant, opaque colors.
Sealing and Protecting
This is a critical step for preserving your air dry clay creation. Air dry clay, even when fully dry, remains somewhat porous and can be susceptible to moisture and humidity if left unsealed. Sealing protects your piece from absorbing ambient moisture, which could soften or degrade it over time, and also offers protection against dust and minor scuffs. You have several options for sealants:
- Acrylic sealers or varnishes: These are widely available in matte, satin, or gloss finishes. They create a protective barrier and can enhance the vibrancy of your painted colors. Apply them in thin, even coats, allowing each coat to dry completely before applying the next.
- Mod Podge: This is a versatile craft adhesive and sealer, often used for decoupage, but it also works well as a protective coating for air dry clay.
- Waterproof sealers: If your piece might be exposed to occasional splashes (though air dry clay is not recommended for anything that will hold liquids or be submerged), look for specific waterproof or water-resistant sealers.
Always apply sealers in a well-ventilated area and follow the product’s specific instructions. Sealing not only adds durability but also brings out the finished look of your art, giving it a professional sheen or a subtle, natural finish, depending on your choice.
Long-Term Care and Display
Even after sealing, it’s important to remember that air dry clay is not as durable or water-resistant as kiln-fired ceramics. Therefore, avoid using air dry clay for items that will hold water, be washed frequently, or be exposed to outdoor elements for extended periods. For best results, display your finished pieces indoors, away from areas of high humidity (like bathrooms) or extreme temperature fluctuations. Dust your pieces gently with a soft cloth or a dry brush. If your piece does get wet, try to dry it immediately and thoroughly. With proper care and the right sealing, your air dry clay creations can last for many years, providing enjoyment and showcasing your artistic talent. You’ve put in the effort to create and dry your piece, and these final steps ensure that effort is rewarded with a lasting artwork.
FAQs
1. Can air dry clay be dried faster using a hairdryer?
Yes, using a hairdryer on a low heat setting can help speed up the drying process of air dry clay. Hold the hairdryer a few inches away from the clay and move it around to ensure even drying.
2. Is it possible to make air dry clay dry faster by placing it in the sun?
Yes, placing air dry clay in direct sunlight can help it dry faster. However, be cautious as too much sun exposure can cause the clay to crack. Rotate the clay periodically to ensure even drying.
3. Can adding heat to air dry clay speed up the drying process?
Yes, adding heat can help air dry clay dry faster. You can place the clay near a heater or in an oven set to a low temperature. Keep a close eye on the clay to prevent overheating and cracking.
4. Will using a dehumidifier help air dry clay dry faster?
Yes, using a dehumidifier in the room where the air dry clay is drying can help absorb excess moisture from the air, speeding up the drying process. Make sure the room is well-ventilated to prevent the clay from becoming too dry.
5. Can adding baking soda to air dry clay help it dry faster?
Yes, adding a small amount of baking soda to air dry clay can help absorb moisture and speed up the drying process. Knead the baking soda into the clay before shaping and allow it to dry as usual.