Understanding the Air Dry Clay Drying Process
When you dive into the world of air dry clay, one of the most common questions that surfaces is, “How long does it really take for this stuff to dry?” It’s a valid concern, as the success of your project often hinges on proper drying. You’re not just waiting for the surface to feel firm; you’re aiming for a complete cure, right down to the core of your creation. This distinction between “dry to the touch” and “fully dry” is crucial, and it’s something you’ll quickly learn to appreciate as you work with the medium.
Typically, you’ll find that air dry clay requires a period of 24 to 72 hours to dry completely. This isn’t just an arbitrary number; it’s the window during which the moisture truly evaporates from the clay, allowing it to harden and achieve its final structural integrity. You might pick up your newly sculpted piece after a day and find that it feels quite firm on the outside. This initial firmness can be deceptive, however, as many sources will tell you that while it might feel dry in about 24 hours, the interior of your piece may still be holding onto moisture, needing more time to fully cure. Patience, therefore, becomes your best friend in this creative endeavor.
The Nuance of “Dry to the Touch” vs. “Fully Cured”
Imagine you’ve just finished a delicate sculpture. After 24 hours, you gently tap it, and it feels solid, no longer soft or pliable. This sensation of “dry to the touch” is a significant milestone, indicating that the outermost layer of your clay has hardened. However, this is precisely where many beginners make a common mistake: assuming the entire piece is ready for painting, sealing, or further handling. The reality is often quite different.
The internal structure of your air dry clay piece needs time to release its moisture content. If you were to cut open your piece at this 24-hour mark (not recommended for your actual artwork, of course!), you might find the center still slightly damp, darker in color, or even cooler to the touch. This internal dampness is why the recommended drying time extends to the full 72 hours. A fully cured piece will be consistently hard throughout, lighter in color, and will typically produce a more resonant sound when gently tapped. Rushing this process can lead to problems down the line, such as cracking, warping, or an uneven finish when painted, because residual moisture can react with sealants and paints.
Why Thickness Matters So Much
The size and thickness of your air dry clay project are perhaps the most significant factors influencing its drying time. It stands to reason that a thicker piece will have more moisture trapped within its core, requiring a longer period for that moisture to escape. While a thin, small leaf or a delicate ornament might indeed be fully dry within the 24-hour mark, a more substantial sculpture will demand significantly more time.
For larger or thicker projects, you should prepare for an extended drying period, potentially up to a week or even more. This extended timeframe is not an exaggeration; it’s a practical reality you’ll face. Consider a robust pot, a solid figurine, or a large decorative plaque. Each of these will have a substantial volume of clay, and each centimeter of thickness adds to the overall drying duration. It’s helpful to think of the moisture having to travel from the very center of the clay outward, and the longer that journey, the more time it will take. This is why you’ll often hear a practical rule of thumb: several guides recommend approximately 24 hours per centimeter of thickness for a more reliable drying estimate. So, a piece that’s 3 centimeters thick could reasonably take 72 hours (3 days) to fully dry, while a 5-centimeter-thick piece might need 120 hours (5 days) or more. Planning your project with this in mind will save you from impatience and potential disappointment.
Environmental Factors Influencing Drying Speed
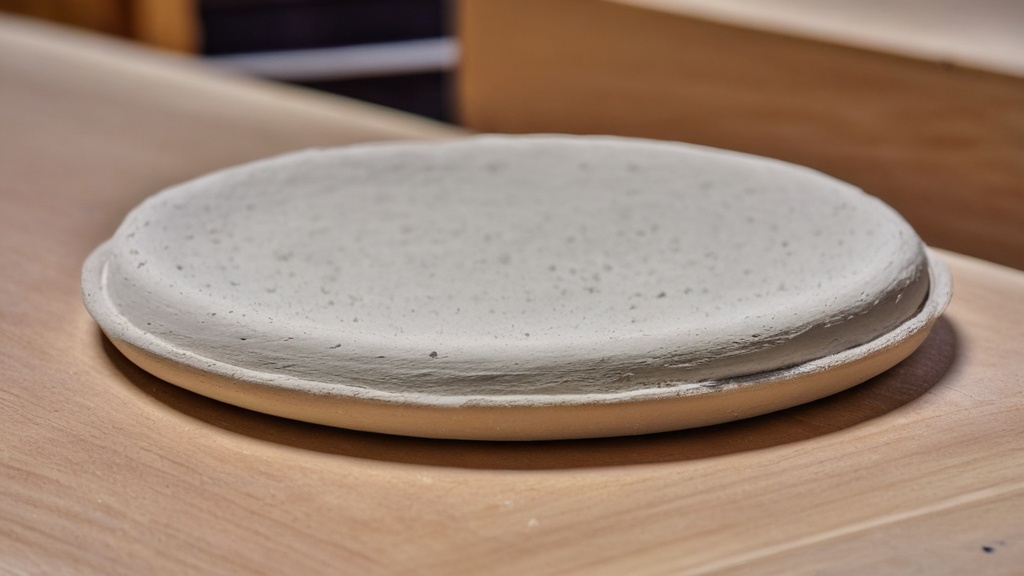
While the inherent properties of air dry clay and the thickness of your piece are primary determinants of drying time, the environment in which your creation sits plays a critical supporting role. You have more control over these factors than you might realize, and optimizing them can significantly impact how quickly and effectively your clay dries. Consider your drying space as a mini-laboratory where you can fine-tune conditions to suit your project.
The Role of Humidity
Humidity is perhaps the most impactful environmental factor you’ll encounter. Air dry clay dries by releasing moisture into the surrounding air. If the air itself is already saturated with moisture – i.e., it’s very humid – then the clay has a much harder time releasing its own water content. Think of it like trying to dry clothes on a rainy day; it’s a slow and often frustrating process.
In a highly humid environment, your clay will take considerably longer to dry, potentially extending the typical 24-72 hour window by several days or even more. Conversely, a low-humidity environment will draw moisture out of the clay more efficiently, speeding up the drying process. If you live in a naturally humid climate, you might consider using a dehumidifier in the room where your clay is drying. Even small steps, like avoiding drying your clay in a bathroom after a shower or in a basement prone to dampness, can make a difference. The goal is to create an environment where the air can readily accept the moisture evaporating from your clay.
Temperature’s Contribution to Drying
Temperature also plays a significant role in the rate of evaporation. Warmer temperatures generally accelerate the drying process because heat increases the kinetic energy of water molecules, causing them to evaporate more quickly. Imagine placing a wet cloth in a warm room versus a cold room; the warm room will dry it faster.
However, there’s a delicate balance to strike. While warmth is beneficial, excessive heat can be detrimental. Placing your clay in an oven, microwave, or directly under a heat lamp might seem like a quick solution, but it can lead to rapid surface drying while the interior remains wet. This uneven drying often causes cracking, warping, and structural weakness. The exterior hardens and shrinks, but the soft interior cannot accommodate this change, resulting in stress fractures. A consistent, moderate room temperature (typically between 65-75°F or 18-24°C) is ideal. Avoid extreme temperature fluctuations, as these can also stress the clay and contribute to cracking.
The Importance of Airflow
Good airflow is another unsung hero in the drying process. Stagnant air around your clay piece quickly becomes saturated with moisture released from the clay, effectively creating a localized humid microclimate that slows further drying. Air circulation helps to continuously move this moist air away from your project and replace it with drier air, facilitating more efficient evaporation.
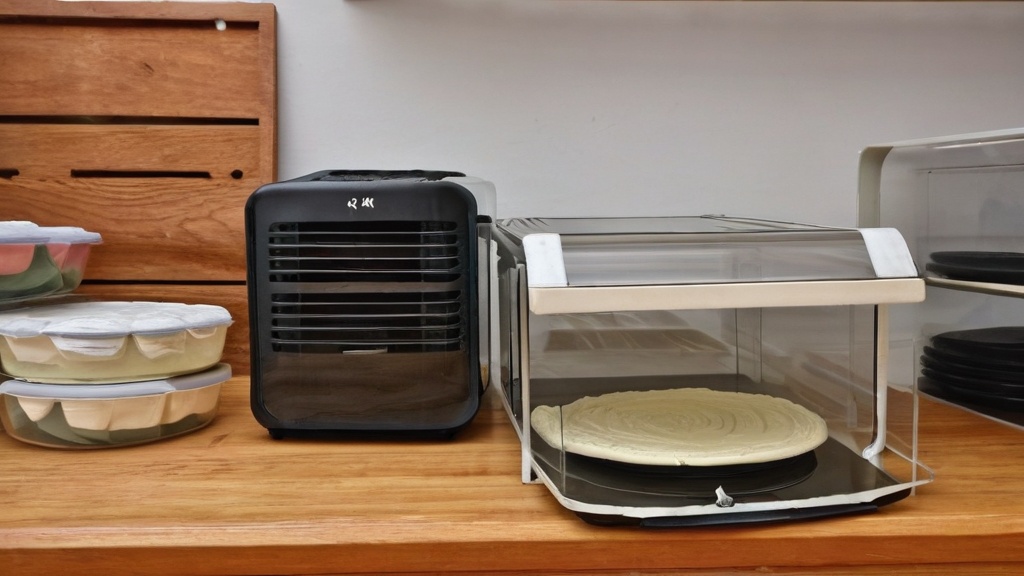
Placing your clay piece in a well-ventilated room, perhaps near an open window (as long as it’s not too humid outside), or using a gentle fan, can significantly reduce drying time. The key word here is “gentle.” A strong, direct blast of air can cause the surface to dry too quickly, just like excessive heat, leading to cracking. Instead, aim for a gentle breeze or simply ensure that your piece isn’t confined in an enclosed, airless space. Elevating your piece on a wire rack or similar surface also helps, allowing air to circulate around the bottom as well as the top and sides, ensuring a more even and thorough dry. This simple trick can prevent the bottom from staying damp longer than the rest of the piece.
Best Practices for Optimal Drying
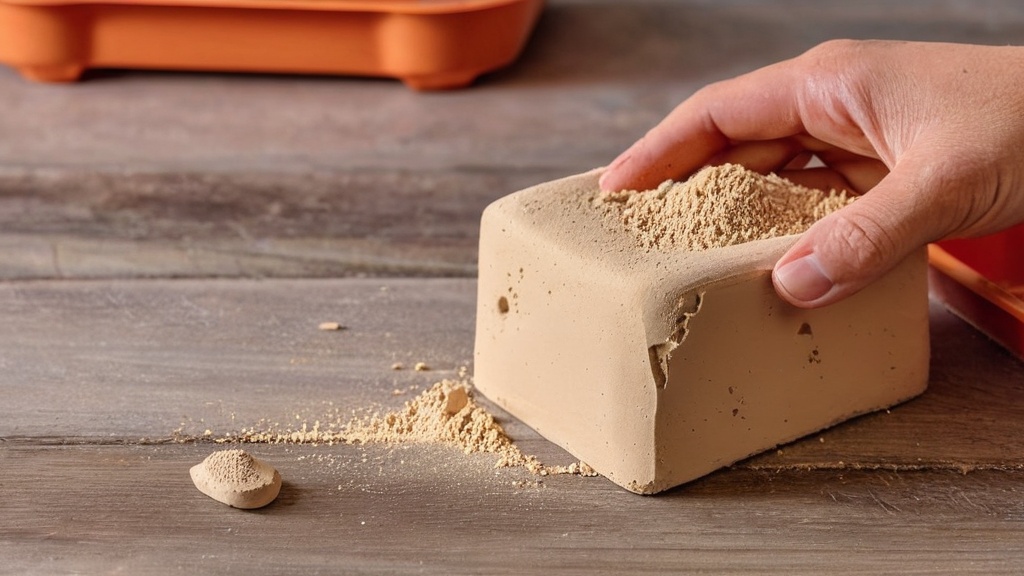
Achieving a perfectly dried air dry clay piece isn’t just about waiting; it’s about employing smart techniques and giving your creations the best possible environment. By following a few best practices, you can minimize the risk of cracks, warping, and uneven drying, ensuring your finished piece is as robust and beautiful as possible.
Preparing Your Clay and Work Surface
Before you even start sculpting, a little preparation can go a long way. Ensure your air dry clay is conditioned properly – soft, pliable, and without large air bubbles trapped within. Air bubbles can lead to weak spots and potential cracking as the clay dries and the air expands or contracts. Kneading your clay thoroughly helps achieve this consistency.
When it comes to your work surface, consider its properties. Non-porous surfaces like plastic cutting boards, glass, or silicone mats are ideal as they prevent the clay from sticking. More importantly for drying, these surfaces won’t absorb moisture from the bottom of your piece, which can lead to uneven drying. If you must work on a porous surface like wood, place a barrier underneath your clay. For the actual drying process, however, you’ll want to move your piece to a surface that encourages airflow from all sides.
The Power of a Wire Rack and Turning
One of the most effective strategies for even drying is to elevate your clay piece. A simple wire rack, like those used for cooling baked goods, is an invaluable tool. Placing your sculpture on a wire rack allows air to circulate underneath the piece, preventing the bottom from staying damp while the top dries. This uniform exposure to air significantly reduces the chances of differential drying and the associated stresses that lead to cracks or warping.
Furthermore, make it a habit to gently turn your piece periodically, especially during the first 24-48 hours. If your piece has distinct sides, slowly rotate it every few hours. This ensures that all surfaces are exposed to the same environmental conditions over time, promoting an even evaporation rate. For example, if you have a figurine, turn it from its front to its back, then to each side. For flatter pieces, simply flipping them occasionally is sufficient. This attention to detail can prevent one side from drying too quickly and pulling at the still-wet areas.
Avoiding Common Drying Pitfalls
There are several temptations you should resist when drying air dry clay, as they often lead to more problems than solutions.
Firstly, do not attempt to bake or microwave air dry clay. Unlike oven-bake polymer clay, air dry clay is not designed for high-heat curing. Applying excessive heat rapidly removes moisture from the surface, causing it to harden and shrink while the interior remains wet and soft. This creates immense internal stress, almost inevitably leading to severe cracking, warping, and sometimes even bubbling or scorching. The structural integrity of your piece will be compromised, and it likely won’t last.
Secondly, resist the urge to dry too quickly with strong heat sources or direct fans. While gentle airflow is good, a powerful, direct fan can mimic the effects of too much heat by drying the surface much faster than the interior. Similarly, placing your piece directly on a radiator or in direct, intense sunlight for prolonged periods can cause similar issues. Gradual, even drying is always preferable.
Finally, avoid covering your clay completely during drying. While covering can be useful for keeping clay pliable if you need to pause a project, it’s counterproductive for drying. A cover traps moisture, creating a humid environment around your piece and significantly slowing down the drying process. For drying, you want maximum exposure to circulating air. If you’re concerned about dust, a loose, breathable cloth or a mesh screen placed above the piece (not directly on it) can offer some protection without impeding airflow.
Recognizing When Your Clay is Truly Dry
Knowing when your air dry clay is genuinely dry is crucial for the longevity and quality of your finished project. Rushing to paint or seal a piece that’s still damp inside can lead to a host of problems, from paint not adhering properly to mold growth or even re-softening of the clay. You’re looking for a complete cure, not just surface dryness.
Visual and Tactile Cues
The most straightforward way to assess dryness is through observation.
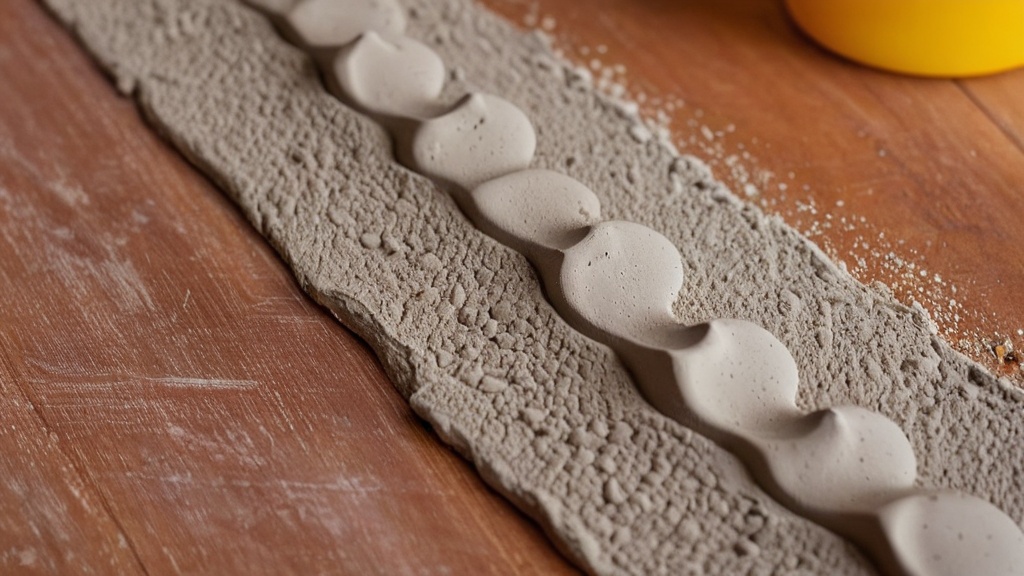
Color Change: As air dry clay dries, it typically undergoes a noticeable change in color. Most brands will lighten considerably as moisture evaporates. For instance, a gray clay might become a much lighter, almost off-white gray, while a white clay might become a purer, brighter white. If you notice any dark, damp-looking patches, particularly in crevices or thicker areas, your clay is still drying. The color should be uniform throughout the entire piece.
Hardness and Rigidity: When fully dry, your air dry clay will be hard and rigid. It should not feel cool to the touch (coolness often indicates residual moisture). When you gently tap it with a fingernail, it should produce a distinct, solid sound, rather than a dull thud. There should be absolutely no give, flexibility, or sponginess in any part of the piece. If you can still flex a thin section or indent it slightly, it needs more time.
Weight Reduction: As water evaporates, your clay piece will become noticeably lighter. You might not perceive this change over an hour, but over days, the difference can be quite significant. If your piece feels surprisingly heavy for its size, it’s likely still holding onto moisture. This is a subtle cue but can be helpful for experienced crafters.
The Sound Test
The “sound test” is a classic method for confirming the dryness of clay, whether it’s ceramic or air dry. Gently tap your dried clay piece with a light, solid object, such as your fingernail, the end of a paintbrush, or even another piece of fully dried clay.
A fully dried piece will produce a clear, resonant, and sometimes almost bell-like sound. This indicates that the internal structure of the clay is completely hardened and solid. If, instead, you hear a dull thud, a muted tap, or no distinct sound at all, it’s a strong indicator that there’s still moisture trapped inside, and your piece needs more drying time. Practice this test on a piece you know is dry versus one that’s still curing, and you’ll quickly learn to distinguish the sounds. This is often the most reliable non-invasive test for internal dryness.
The “Overnight Test” and Patience
Even after your piece looks and feels dry, and passes the sound test, it’s often wise to give it a little extra time, especially if it’s a larger or more important project. The “overnight test” is a simple but effective strategy: once you believe your piece is dry, leave it for another 24 hours in a good drying environment. This acts as a final safeguard, ensuring any lingering, deep-seated moisture has ample opportunity to escape.
Remember, the typical full drying time for air dry clay is 24 to 72 hours, but thicker pieces can take up to a week or more. If your project falls into the thicker category, don’t be alarmed if it takes longer than a few days. Patience truly is a virtue here. Rushing the process will almost always lead to compromises in quality and durability. If you’re unsure, it’s always better to err on the side of giving it more time rather than less. A properly dried piece is a stable foundation for painting, sealing, and enjoying for years to come.
What Happens if You Don’t Let It Fully Dry?
| Clay Thickness | Drying Time | Drying Conditions | Notes |
|---|---|---|---|
| 1/4 inch (6 mm) | 24 hours | Room temperature, low humidity | Thin pieces dry faster and evenly |
| 1/2 inch (12 mm) | 48 hours | Room temperature, low humidity | May require flipping for even drying |
| 1 inch (25 mm) | 72 hours or more | Room temperature, low humidity | Risk of cracking if dried too quickly |
| Over 1 inch (25 mm) | Several days to a week | Room temperature, low humidity | Slow drying recommended to prevent cracks |
| Very thick or large pieces | Up to 2 weeks | Room temperature, low humidity, occasional turning | May require gradual drying and sealing |
Skipping the full drying process might seem like a shortcut to getting to the fun part of decorating, but it’s a gamble that rarely pays off. Understanding the potential consequences of not allowing your air dry clay to fully cure can motivate you to be patient and follow best practices. The integrity and longevity of your artwork depend on it.
Cracking and Warping
One of the most immediate and common problems you’ll encounter with incomplete drying is cracking. As a clay piece dries, it naturally shrinks. If the outer layers dry and shrink significantly faster than the inner layers (which happens when the inside is still wet), the tension created can be immense. The rigid outer shell pulls at the soft, resistant interior, leading to stress fractures that manifest as visible cracks on the surface. These cracks can range from fine hairline fissures to deep, unsightly splits that compromise the structural integrity of your piece.
Warping is another frequent issue. If different parts of your sculpture dry at different rates – perhaps one side dries faster than the other due to uneven airflow, or a thinner section dries before a thicker one – the uneven shrinkage will cause the piece to deform. A flat plaque might become curved, a straight edge might become wavy, or a perfectly symmetrical object might end up lopsided. This deformation is often irreversible, leaving you with a compromised piece.
Mold Growth and Weakened Structure
Moisture is an essential ingredient for mold growth. If you seal or paint an air dry clay piece that still contains internal moisture, you’re essentially trapping that water inside. Over time, in the dark, damp conditions under a layer of paint or sealant, mold can begin to grow. This not only appears as unsightly discoloration but can also produce an unpleasant odor and degrade the clay itself. Once mold sets in, it’s incredibly difficult to remove without damaging the piece.
Beyond mold, residual moisture can also significantly weaken the structure of your clay. Air dry clay hardens as water evaporates, creating a rigid matrix. If this process is incomplete, the clay remains somewhat soft and porous internally. This means your piece will be more fragile, more susceptible to breaking, crumbling, or softening if exposed to humidity later on. It won’t have the hard, durable finish you expect from a fully cured piece.
Issues with Painting and Sealing
The biggest disappointment for many crafters who rush the drying process comes when they try to paint or seal their projects.
Poor Paint Adhesion: If your clay is still damp, the paint may not adhere properly. It might appear streaky, uneven, or even peel off once dry. The moisture in the clay can interfere with the chemical bonding of the paint to the surface, leading to a patchy and unprofessional finish.
Discoloration and Blistering: Trapped moisture can also react with paints and sealants. This can cause discoloration, where the original clay color bleeds through or changes the hue of your paint. In some cases, as the internal moisture eventually tries to escape, it can create tiny blisters or bubbles under the paint or sealant layer, ruining the smooth surface you worked so hard to achieve.
Sealant Failure and Softening: Sealants, which are often applied to protect air dry clay from moisture and provide a durable finish, rely on a completely dry surface for proper adhesion and curing. If applied to damp clay, the sealant may not cure effectively, remaining tacky or cloudy. More critically, if the internal clay is still wet, the sealant can trap that moisture, creating a perfect environment for the issues mentioned above (mold, weakening). Furthermore, if the clay isn’t fully dry, it will remain more susceptible to re-softening if it comes into contact with water, rendering the sealant ineffective in its primary role of protection.
In summary, the effort and patience you invest in ensuring your air dry clay is thoroughly dry are not wasted. They are fundamental steps that guarantee the beauty, durability, and longevity of your handmade creations.
FAQs
1. How long does air dry clay take to dry?
Air dry clay typically takes about 24-48 hours to dry completely, depending on the thickness of the clay and the humidity levels in the environment.
2. Can I speed up the drying process of air dry clay?
Yes, you can speed up the drying process of air dry clay by using a fan to increase air circulation or placing the clay in a warm, dry area. Just be cautious not to dry it too quickly, as this can cause cracking.
3. How can I tell if air dry clay is fully dry?
You can tell if air dry clay is fully dry by gently tapping on the surface – if it sounds hollow, the clay is dry. Additionally, the color of the clay will lighten as it dries.
4. What factors can affect the drying time of air dry clay?
The thickness of the clay, humidity levels in the environment, and the temperature of the surroundings can all affect the drying time of air dry clay. Thicker pieces and high humidity will result in longer drying times.
5. Is it necessary to seal or varnish air dry clay after it has dried?
While it is not necessary to seal or varnish air dry clay after it has dried, doing so can help protect the clay from moisture and make it more durable. It can also enhance the appearance of the finished piece.