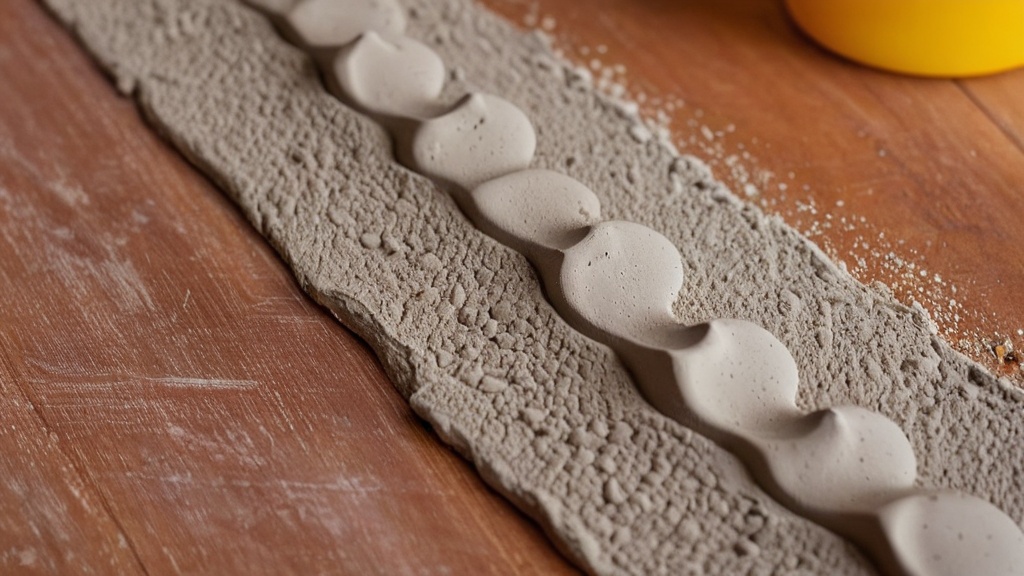
Preparing Your Clay for Textural Exploration
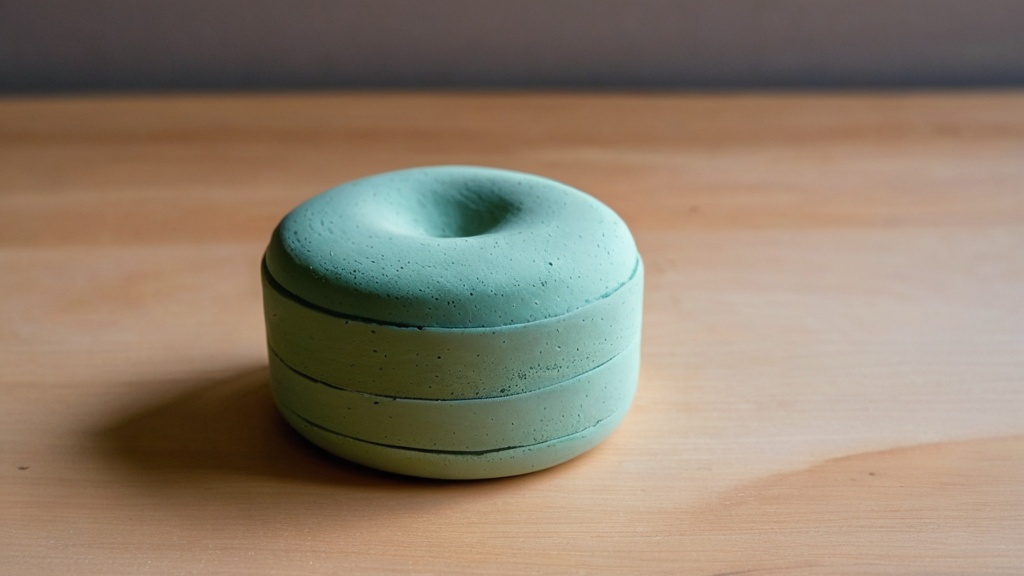
Before you dive into the exciting world of adding texture to your air dry clay, it’s crucial to understand the optimal state of your material. Think of it like a canvas – a well-prepared canvas leads to a masterpiece. The key to successful texturing lies in working with the clay when it’s receptive, not too wet and not too dry. Several sources highlight that the best results typically emerge when the clay is smooth, slightly damp, soft, or in the leather-hard stage, rather than completely dry. This sweet spot allows for crisp impressions and prevents cracking or crumbling as you manipulate the surface. If your clay is too wet, details might become muddy or blur, and the clay might stick to your tools. Conversely, if it’s too dry, you’ll struggle to make any lasting impressions, and the clay might simply crack under pressure.
Ensuring Ideal Clay Consistency
To achieve that perfect texture-ready state, start by thoroughly kneading your air dry clay. This process helps to remove any air bubbles and ensures a consistent, pliable texture throughout the piece. If your clay feels a little stiff, you can lightly mist it with water using a spray bottle and continue kneading until it softens. Conversely, if it feels too soft or sticky, you can allow it to air dry for a short period, or even place it on an absorbent surface like newspaper or an unglazed tile, to draw out some of the excess moisture. The goal is a smooth, even surface that yields slightly when pressed but doesn’t feel overly wet or crumbly.
Shaping Your Piece Before Texturing
While you can add texture at various stages, it’s often easiest to apply broad textures or patterns after you’ve formed the general shape of your clay piece. Whether you’re creating a bowl, a sculpture, or a simple slab, having your basic form established provides a stable foundation for your textural embellishments. For instance, if you’re making a flat ornament, roll out your clay to your desired thickness and cut out the shape before you begin imprinting. This prevents distortion of your textured pattern that could occur if you were to significantly alter the shape after texturing. Consider how the texture will interact with the contours of your final design.
Utilizing Everyday Household Objects for Imprints
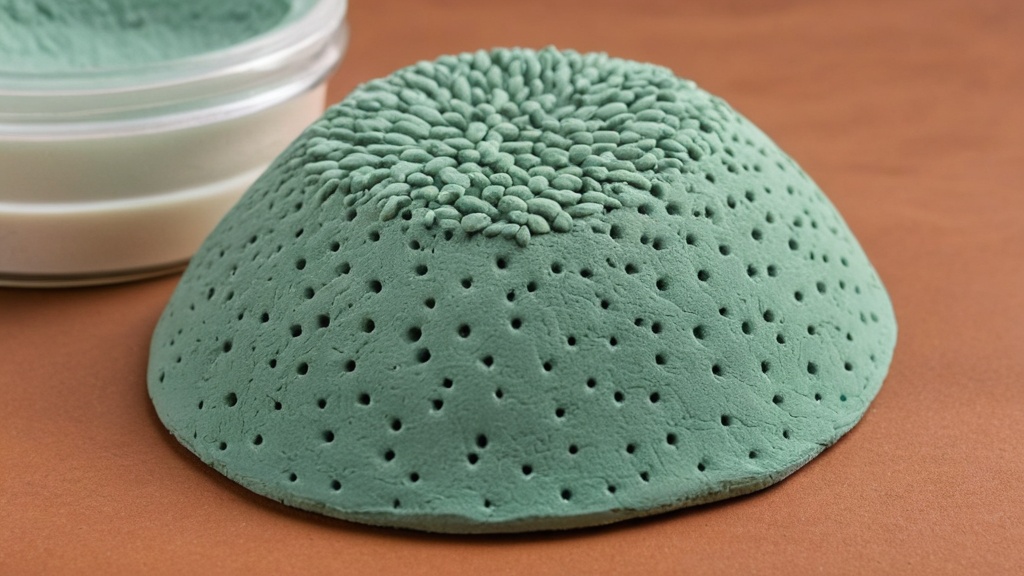
You might be surprised by the wealth of textural possibilities already present within your home. Rather than investing in specialized tools right away, look around your environment for items that possess interesting surface qualities. These ordinary objects can become extraordinary tools for adding unique patterns and depth to your air dry clay. The beauty of using household items is their accessibility and the endless variety they offer, allowing you to experiment and discover textures you might not have otherwise considered.
Imprinting with Fabrics and Textiles
Fabrics offer a fantastic range of textures, from delicate to coarse. Lace, with its intricate patterns, can create elegant and detailed designs on your clay. Simply lay a piece of lace over your clay and gently but firmly press it down with a flat object, like a rolling pin or the palm of your hand. For a more rustic, earthy feel, burlap is an excellent choice. Its coarse, open weave will leave a distinct, almost woven texture. Drawer liner, particularly the kind with a grid or geometric pattern, can also provide interesting repetitive designs. Doilies, with their decorative cut-outs and woven elements, are another classic option for adding beautiful, traditional patterns. When working with fabrics, ensure the clay is evenly rolled and press without sliding to keep the pattern crisp. Woven cotton or linen, for example, can produce a fine, woven texture.
Capturing Nature’s Textures
Nature provides an endless source of organic and unique textures that can beautifully enhance your clay creations. Leaves, especially those with prominent veins, can leave stunning natural patterns. Collect various leaves, press them firmly into the clay, and then carefully peel them away to reveal their intricate details. Shells, with their ribbed or spiral surfaces, can create fascinating imprints. Experiment with different types of shells – conch shells will leave a swirling pattern, while clam shells might offer a more fan-like design. Stones, especially those with interesting natural formations or rough surfaces, can also be pressed into the clay for a more rugged, geological texture. Remember to clean any natural objects thoroughly before use to avoid transferring dirt or debris to your clay.
Repurposing Kitchen and Home Items
Your kitchen and household items are a treasure trove of potential texturing tools. Jars and lids, particularly those with raised patterns, lettering, or ridged edges, can create circular or linear impressions. The bottom of a glass jar, for instance, might have a subtle texture perfect for a unique pattern. Wicker objects, such as baskets or placemats, can impart a beautiful woven texture. Simply press a section of the wicker firmly onto your clay. Even items like textured placemats or trivets can be used. The key is to look at everyday objects with a new perspective, considering the unique patterns and surfaces they possess.
Employing Purposeful Tools for Detailed Texturing
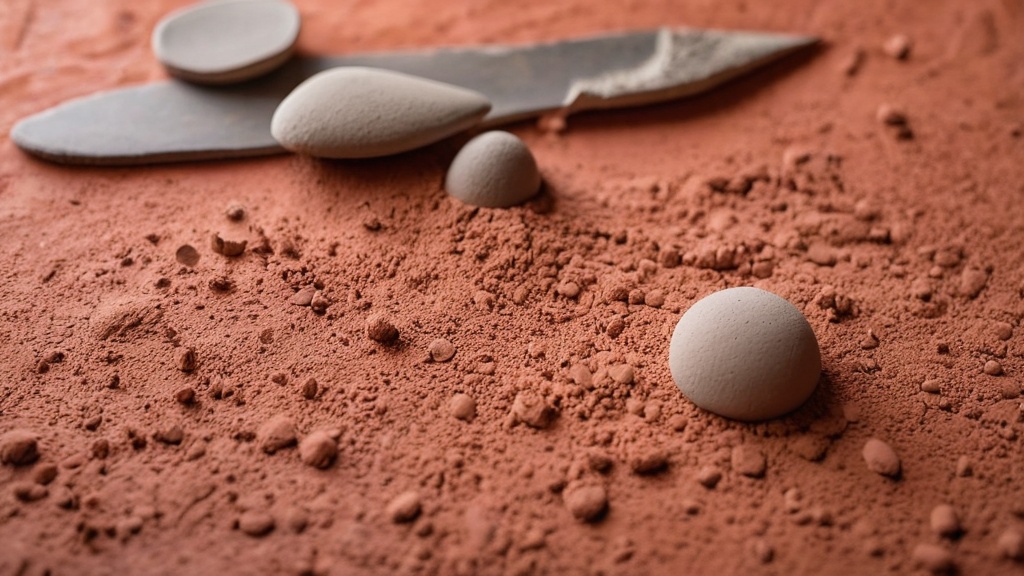
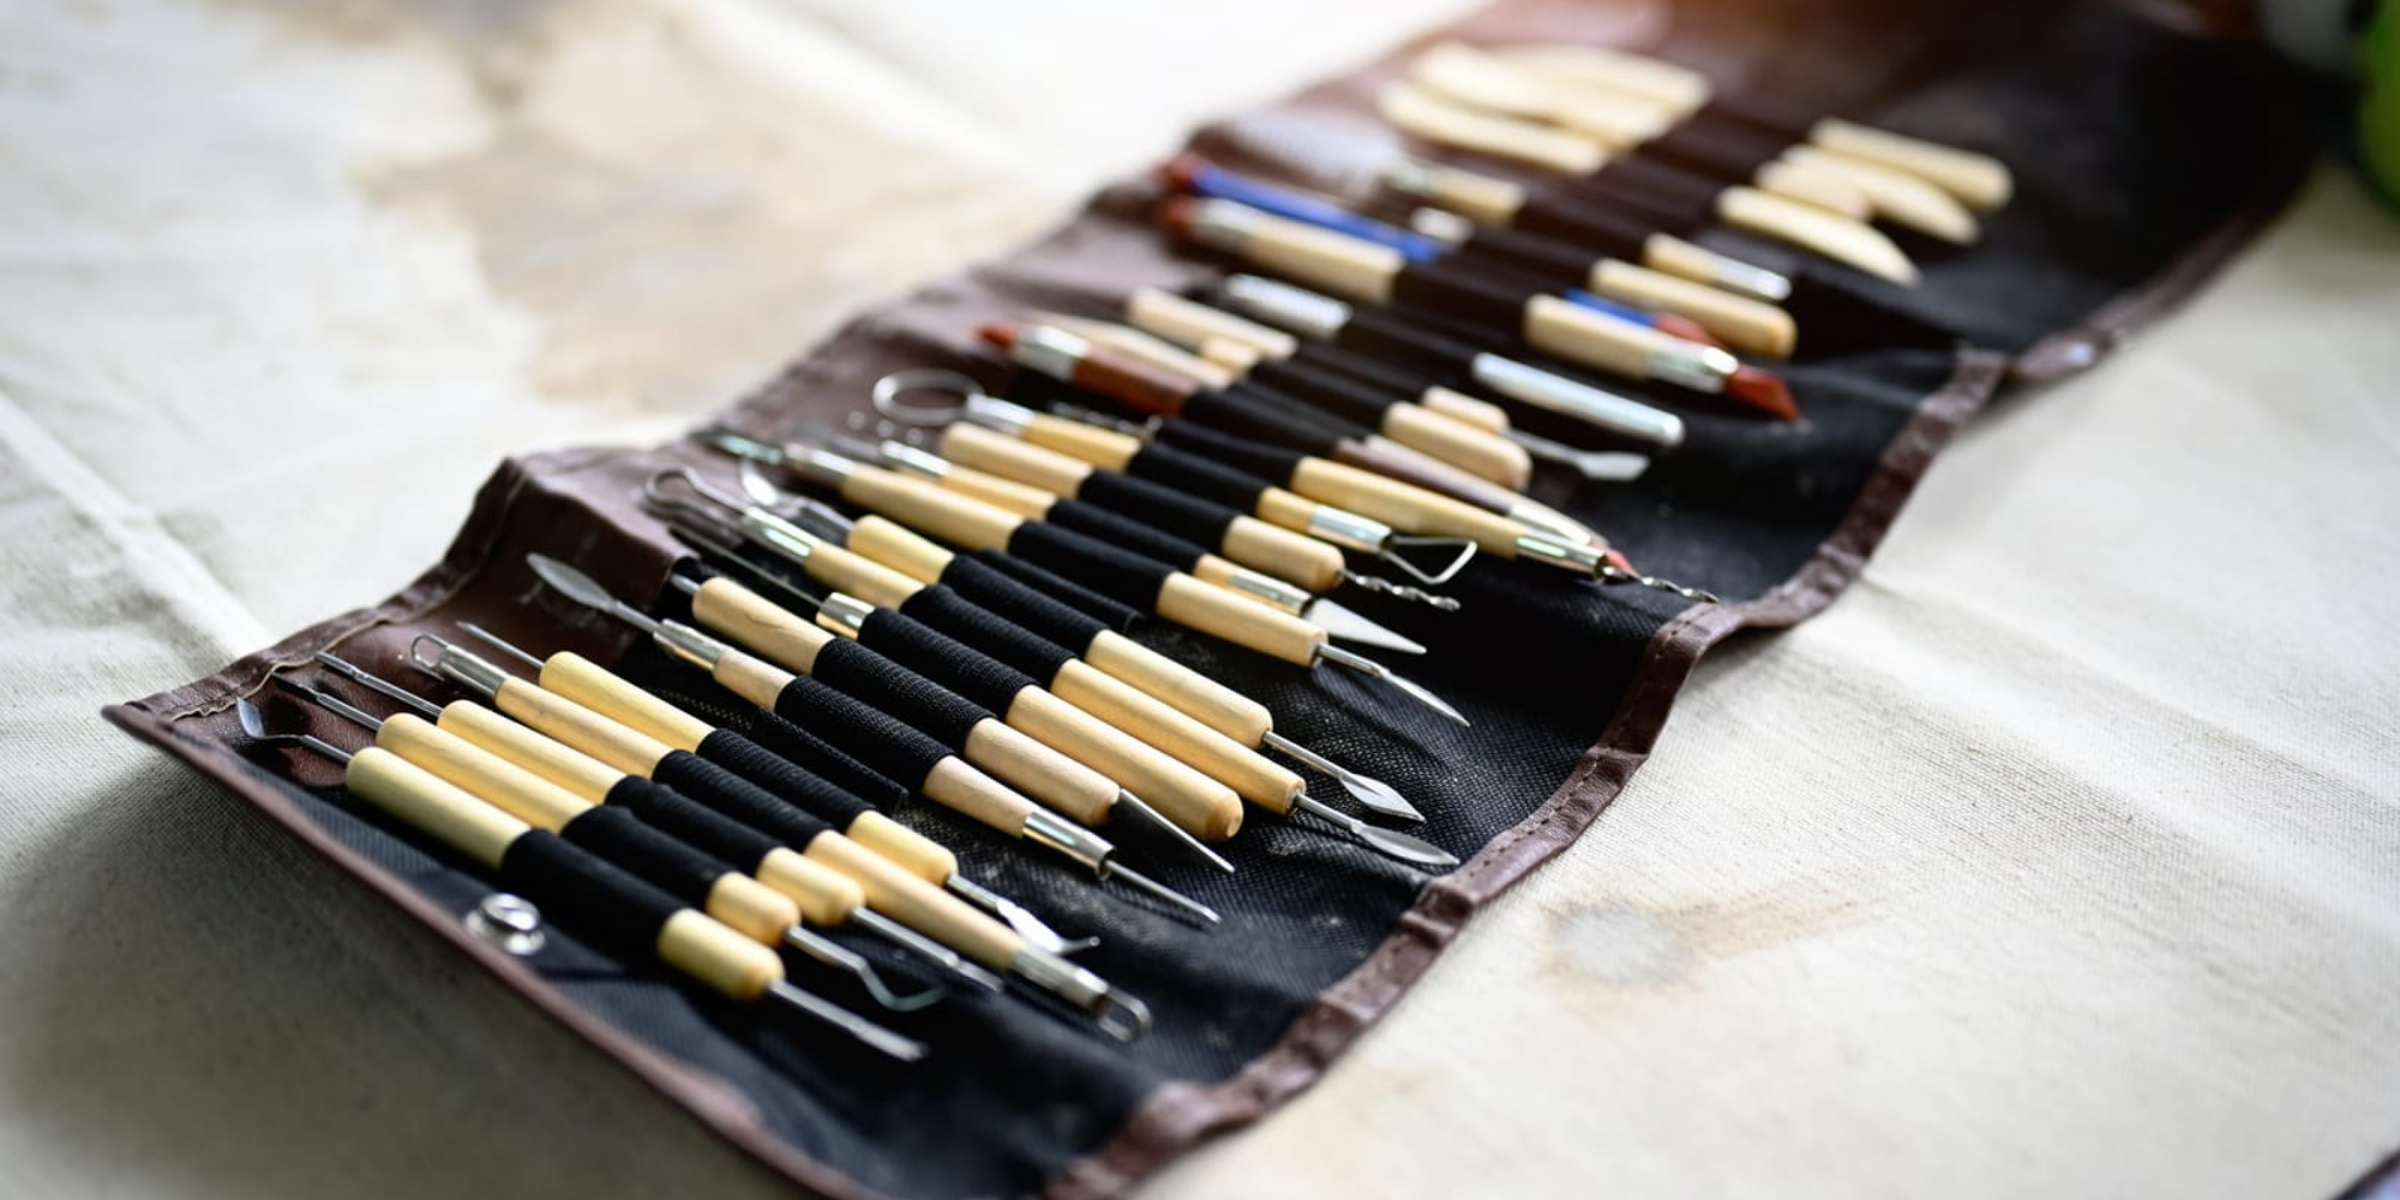
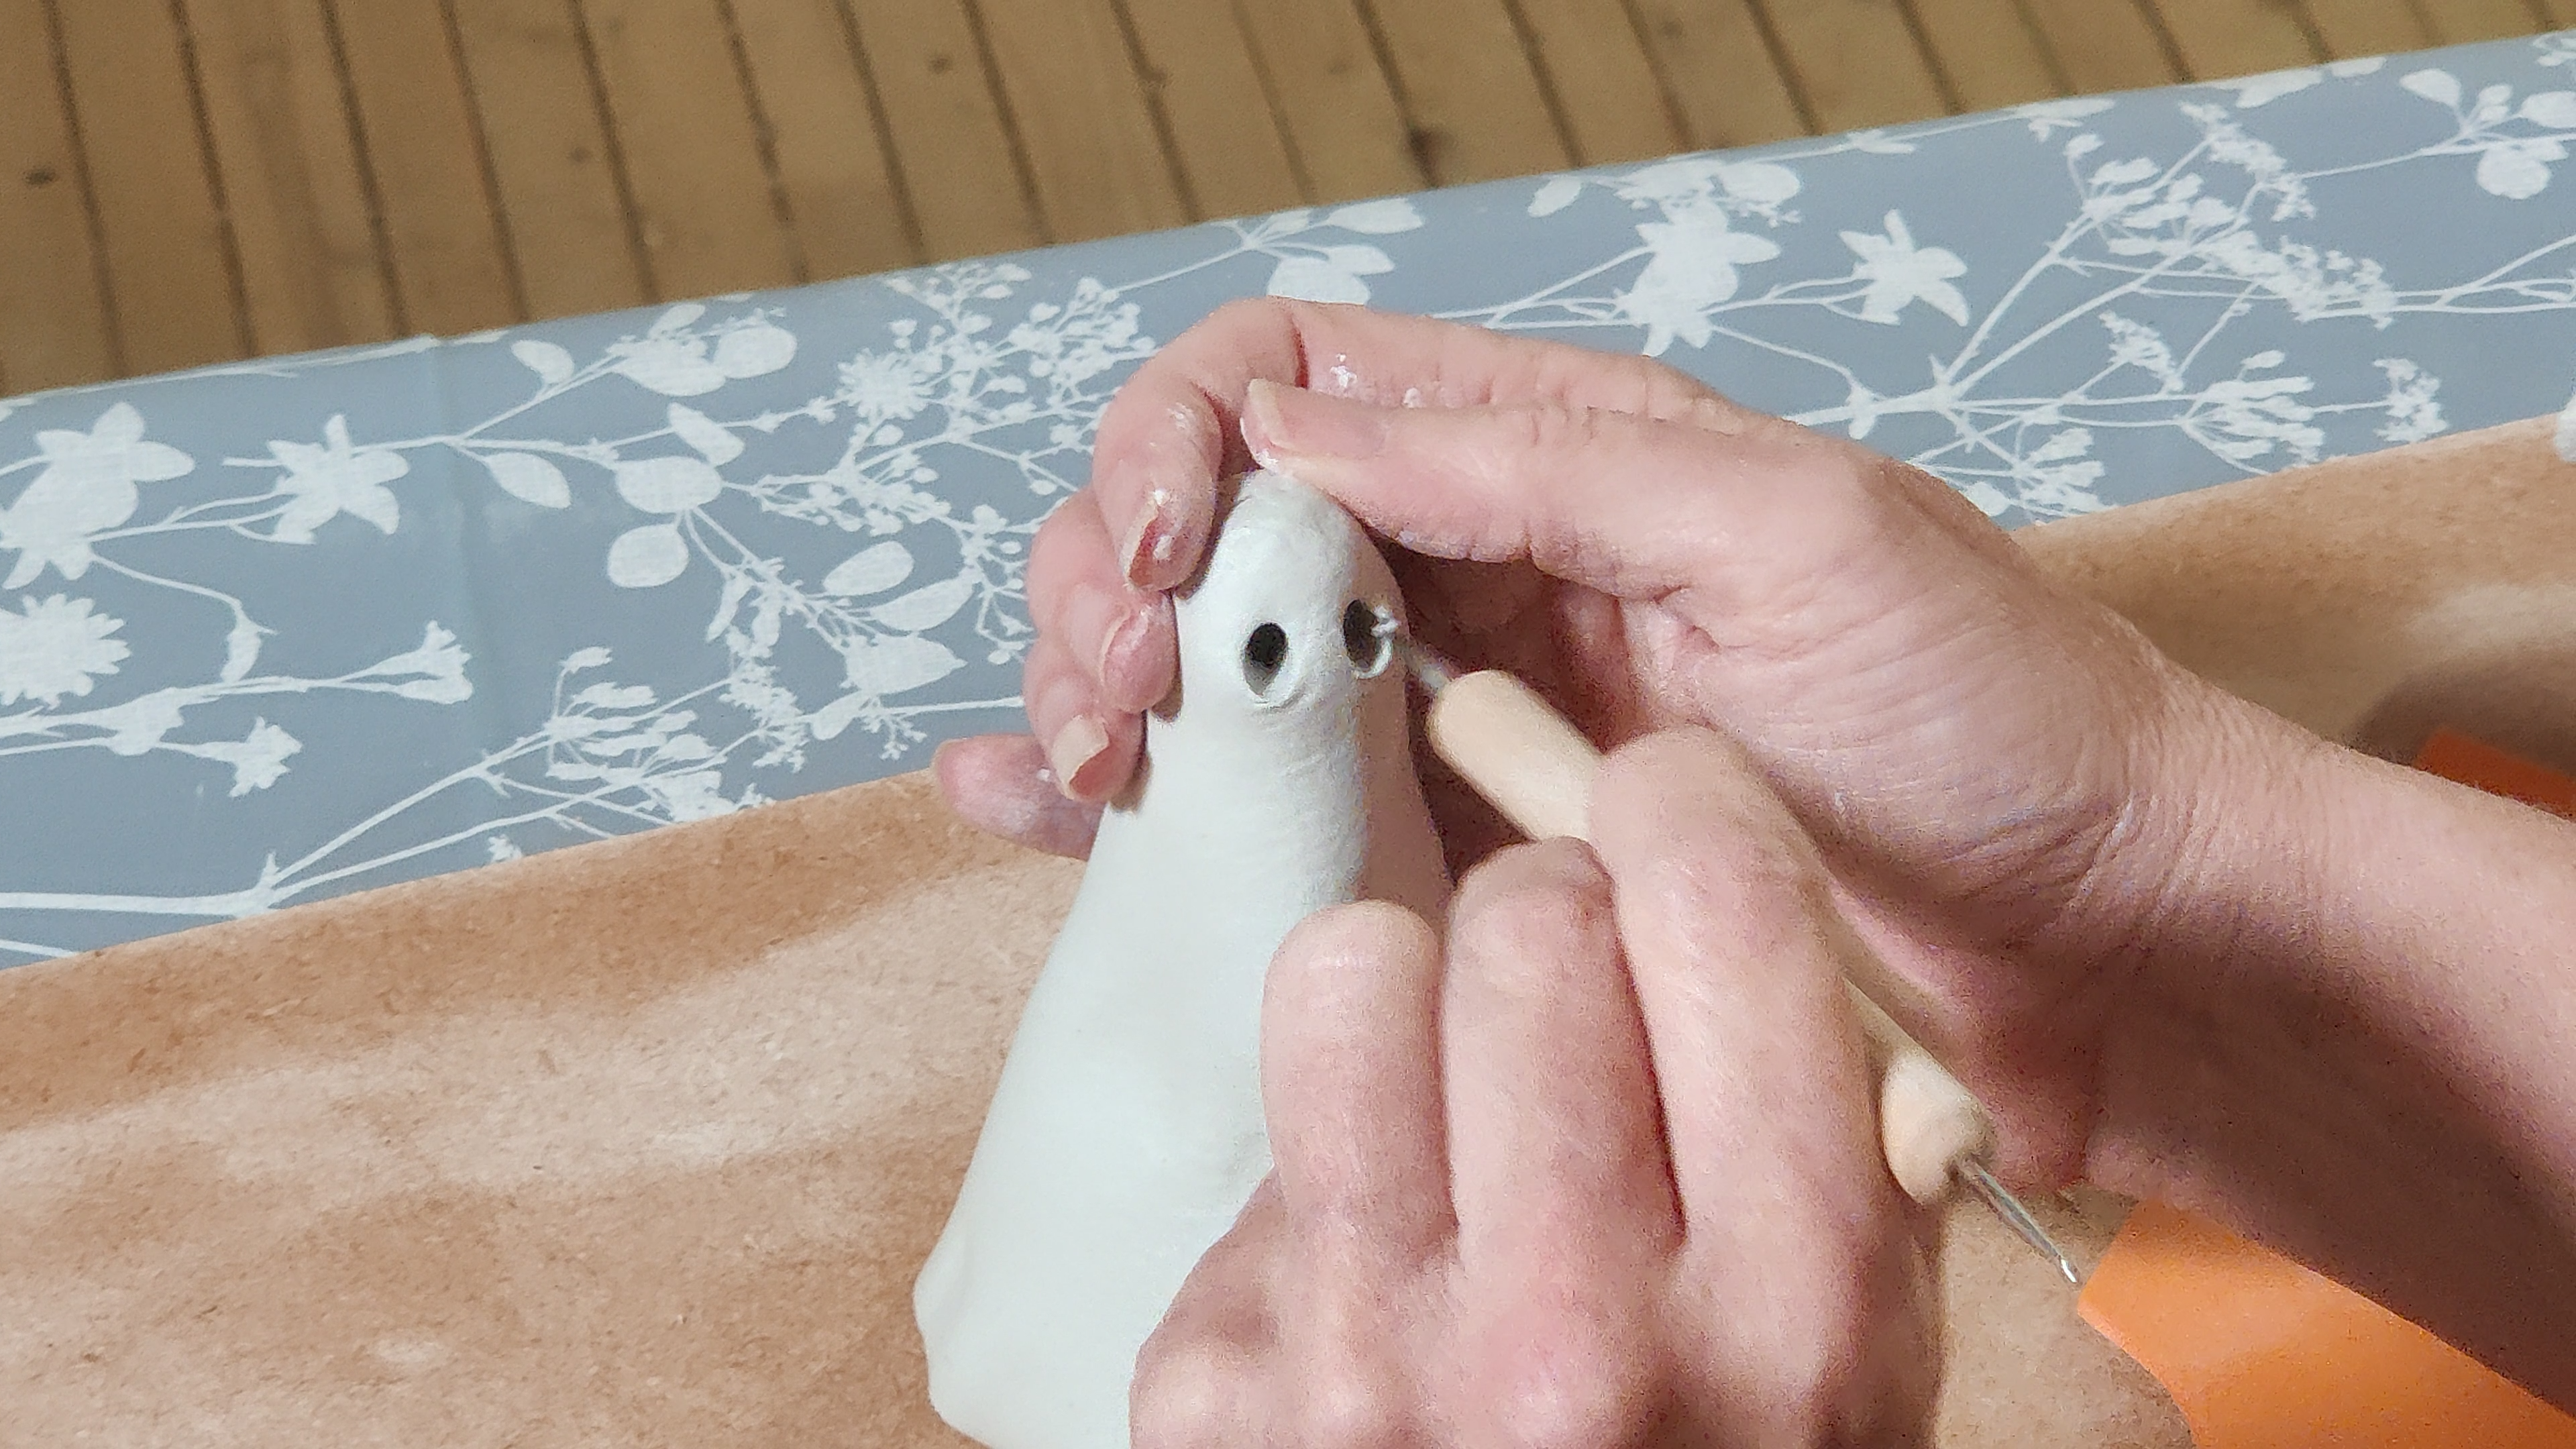
While household items offer abundant possibilities, there are also dedicated tools and common implements that provide more control and precision for specific textural effects. These tools allow you to create defined lines, dots, rings, and various other surface details, moving beyond simple imprints to more intentional surface manipulation. The advantage of these tools lies in their ergonomic design and the consistent results they can achieve, making them invaluable for adding intricate details to your air dry clay projects.
Crafting Lines and Grooves
For creating deliberate lines and grooves, several common tools are exceptionally effective. A simple fork, for instance, can be dragged across the clay surface to produce parallel lines, varying in depth depending on the pressure you apply. The tines of a comb can achieve a similar effect, offering a finer or coarser set of lines depending on the comb’s teeth spacing. For more controlled and varied lines, consider using a loop tool, which is a specialized clay tool with a wire loop at one end. These come in various shapes and sizes, allowing you to scoop, carve, and create a wide range of linear textures, from delicate etchings to broader grooves. The back of a spoon, especially its rounded edge, can also be used to create smooth, curved lines or depressions.
Creating Dots, Rings, and Spheres
When you want to add distinct circular elements to your clay, a few simple tools will do the trick. The end of a pencil, particularly the eraser end, can be pressed into the clay to create neat, uniform dots. Varying the pressure will alter the depth of the dot. Bottle caps, in their various sizes, are perfect for imprinting clear, circular rings. You can press the open end down to create a raised rim, or use the top surface to leave a simple circular impression. For more elaborate spherical textures, you might find a ball stylus tool useful. These tools have small metal balls at their ends, allowing you to create consistent indentations or even small raised bumps if you work from the underside of the clay.
Stamping and Stenciling for Repetitive Patterns
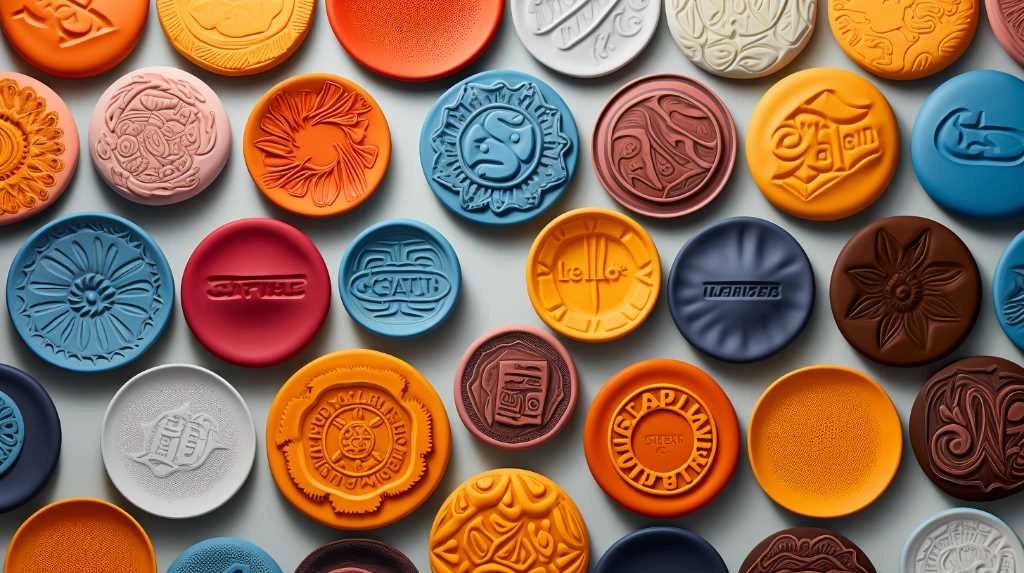
Rubber stamps are an excellent way to introduce consistent, repeatable patterns or motifs to your air dry clay. Whether you have decorative art stamps, letter stamps, or even carved potato stamps, the principle remains the same. Press the stamp straight down onto the clay surface with even pressure, then lift it straight up to ensure a clean, crisp impression. Avoid wiggling or sliding the stamp, as this can blur the design. Stencils offer another method for repetitive patterns. Lay a stencil flat on your clay and use a sponge or brush to lightly dab clay slip or a contrasting color of clay paste through the openings. Alternatively, you can press a pointed tool around the edges of the stencil to create a subtle raised or recessed pattern. Remember to lift the stencil straight up once you’re done.
Enhancing Texture with Applied Mediums and Pastes
Beyond pressing and imprinting, you can actively build up texture on the surface of your air dry clay by applying various mediums and pastes. This technique allows for the creation of more organic, three-dimensional textures that can mimic natural surfaces like stone or create abstract, layered effects. It’s a way to add a different dimension to your work, moving from impressed patterns to added volume and tactile interest.
Crafting a Custom Textured Paste
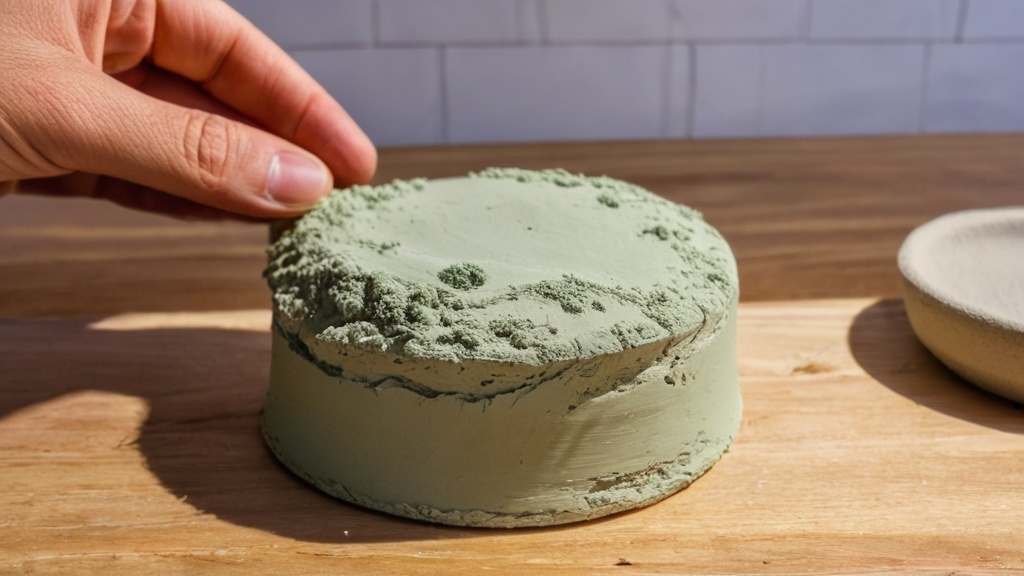
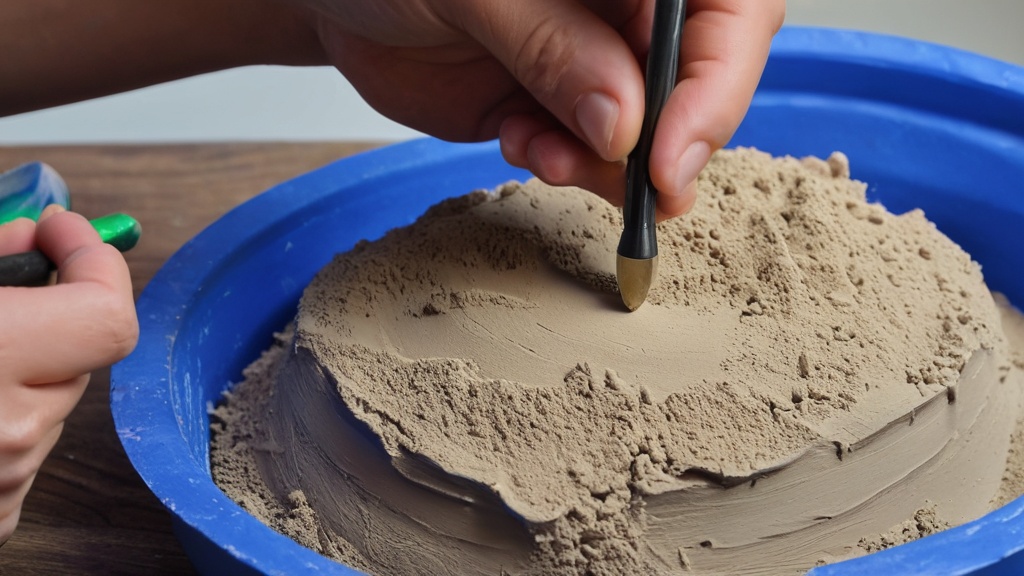
One of the most effective ways to add unique texture is by creating your own textured paste. You can achieve this by mixing small bits of your air dry clay with water to form a thick slip or slurry. The consistency should be somewhere between thick cream and a soft paste, allowing it to be easily dabbed but still hold its shape. For an even grittier, stone-like finish, you can incorporate fine sand, coffee grounds, or even small, crushed natural materials into this clay and water mixture. Experiment with the ratios to find the desired level of grittiness and pliability. This custom paste offers immense flexibility in achieving specific textural effects.
Application Techniques for Pastes
Once you have your textured paste ready, there are several methods for applying it to your air dry clay. A sponge is an excellent tool for dabbing the paste onto the surface, creating a pitted, porous, or stone-like finish. Use a light, dabbing motion rather than wiping to build up the texture gradually. For more defined or raised textures, a stiff brush, like an old toothbrush or a bristle paint brush, can be used to dab, stipple, or even flick the paste onto the clay. This can create a rougher, more uneven surface. You can also use a palette knife or a flat sculpting tool to spread the paste in thicker, more deliberate layers, creating ridges or peaks. Varying the thickness of the applied paste will result in different levels of textural intensity.
Integrating Other Gritty Materials
Beyond custom clay pastes, you can directly integrate other gritty materials onto your air dry clay surface. While the clay is still slightly damp and tacky, you can sprinkle fine sand, very small pebbles, or even dried herbs onto the surface, gently pressing them in to ensure they adhere. Once dry, these materials will be securely embedded, adding a unique and natural texture. When using this technique, ensure the clay is damp enough for the materials to stick but not so wet that they sink into the surface and lose their individual texture. Always consider how these added elements will interact with any glazes or paints you plan to apply later, as some materials might affect the final finish.
Timing is Everything: Texturing at the Right Stage
| Method | Tools/Materials Needed | Texture Effect | Difficulty Level | Drying Impact |
|---|---|---|---|---|
| Imprinting | Leaves, stamps, lace, textured fabrics | Detailed patterns and natural textures | Easy | Minimal impact |
| Carving | Clay tools, toothpicks, knives | Fine lines and intricate designs | Medium | May cause slight cracking if too deep |
| Adding Sand or Grit | Fine sand, small beads, grit | Rough, grainy surface | Easy | Can slow drying time |
| Using Texture Rollers | Patterned rollers or textured mats | Consistent repeating patterns | Easy | Minimal impact |
| Layering Clay | Different colored clays, sculpting tools | Raised, 3D textures | Medium | May increase drying time |
| Pressing Objects | Buttons, coins, shells | Unique imprints and shapes | Easy | Minimal impact |
The success of your texturing efforts largely depends on applying them at the opportune moment in your clay’s drying process. Air dry clay undergoes various stages of drying, and each stage offers different possibilities and limitations for textural work. Rushing the process or waiting too long can lead to less than ideal results, such as blurry impressions, cracking, or difficulty in creating any impression at all. Several sources emphasize that the best results usually come when the clay is smooth, slightly damp, soft, or leather-hard, rather than fully dry. Understanding these stages is paramount for achieving crisp, lasting textures.
Texturing on Soft, Pliable Clay
When your air dry clay is still soft and very pliable, it’s ideal for deep impressions and broad textures. This is the stage where you’ll get the most dramatic results from pressing household objects like leaves, shells, or fabrics into the clay. The clay’s malleability allows it to conform easily to the contours of the textured object, capturing even fine details. However, there’s a trade-off: overly soft clay can sometimes lead to blurry impressions if the object is not pressed and lifted cleanly, or if the clay itself is too wet. It’s also more prone to distortion if handled roughly after texturing. This stage is excellent for overall surface patterns and deep, clear imprints.
Working with Leather-Hard Clay
The leather-hard stage is often considered the “sweet spot” for many texturing techniques. At this point, the clay has lost a significant amount of its moisture but is still workable. It’s firm enough to hold its shape well and resist distortion, but still soft enough to accept impressions. This is an excellent stage for carving, incising lines with tools like loop tools, and creating more precise details. Stamping and stenciling also yield particularly crisp results on leather-hard clay, as the surface is firm enough to prevent smudging or blurring of the pattern. The clay is less likely to stick to your tools, allowing for cleaner lines and edges. If your clay has dried past the soft stage, but isn’t quite leather-hard, you can sometimes rehydrate it slightly by misting it with water and wrapping it in plastic for a short period to achieve this ideal consistency.
Avoiding Fully Dry Clay for Texturing
Once air dry clay is fully dry, it becomes significantly harder and more brittle. At this stage, it’s generally too late for most traditional texturing methods that involve pressing or carving. Attempting to impress patterns into dry clay will likely result in the clay cracking, flaking, or simply not accepting the texture. While you might be able to abrade the surface with sandpaper for a very subtle texture, or apply gritty pastes as a surface treatment, the inherent properties of dry clay are not conducive to deep or detailed textural work. Therefore, planning your texturing process to occur while the clay is still in its softer or leather-hard stages is crucial for optimal outcomes. Always remember to store any unused clay properly sealed to prevent premature drying and ensure it’s ready for your next textural adventure.
FAQs
1. Can you add texture to air dry clay before it dries?
Yes, you can add texture to air dry clay before it dries by using various tools such as stamps, textured rollers, or even everyday objects like toothpicks or forks to create patterns and designs on the surface.
2. How can you create texture on air dry clay using natural materials?
You can create texture on air dry clay using natural materials like leaves, shells, or even fabrics. Simply press these items onto the clay to transfer their textures before the clay dries.
3. What is the best way to add intricate details to air dry clay?
The best way to add intricate details to air dry clay is by using sculpting tools such as needle tools, carving tools, or even dental tools. These tools allow for precise detailing and shaping of the clay.
4. Can you add color to textured air dry clay?
Yes, you can add color to textured air dry clay by using acrylic paints, watercolors, or even colored markers. Make sure the clay is completely dry before applying any color to prevent smudging or distortion of the texture.
5. How long does it take for air dry clay to dry with added texture?
The drying time for air dry clay with added texture can vary depending on the thickness of the clay and the humidity levels in the environment. On average, it can take anywhere from 24 to 72 hours for the clay to completely dry and set with the added texture.