Understanding Air Dry Clay Slip and Its Purpose
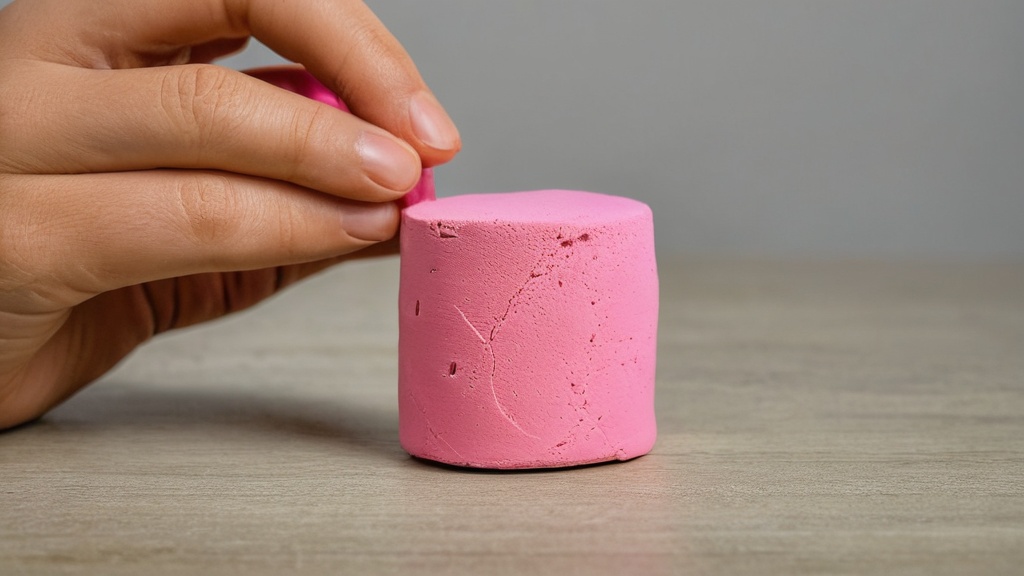
You’ve embarked on the wonderful journey of working with air dry clay, a versatile and forgiving medium that allows you to create without the need for a kiln. As you progress in your crafting, you’ll inevitably encounter situations where you need to join two pieces of clay together securely, repair a small crack, or even add decorative elements with a smooth, paint-like consistency. This is precisely where air dry clay slip becomes your invaluable ally. Imagine it as the superglue of the clay world, specifically formulated to bond with your air dry clay creations.
Unlike ceramic slip, which often involves deflocculants and specific firing temperatures, air dry clay slip is a much simpler concoction, tailored to the unique properties of air dry materials. Its primary function is to create a strong, seamless bond between clay pieces that might otherwise separate as they dry and shrink. When two dry or partially dry pieces of clay are simply pressed together, the chances of them separating or cracking at the seam are high. This is because the surface of the clay often dries slightly faster than the interior, and the molecular structures don’t intermingle effectively enough to form a lasting connection. Slip, being a liquid clay, acts as a bridge, filling in microscopic gaps and creating a homogeneous bond that dries and shrinks at a similar rate to the surrounding clay. This minimizes stress and maximizes the integrity of your finished piece.
Furthermore, air dry clay slip isn’t just for joining. You’ll find it incredibly useful for smoothing out rough textures, filling in minor imperfections or small divots that might appear as your clay dries, and even for creating textural surface decoration. Think of it as a thick clay paint that can be applied with brushes, spatulas, or even your fingers to achieve various effects. For instance, if you’re creating a sculpture with delicate features, a thin layer of slip can help reinforce fragile areas or provide a smoother canvas for subsequent details. The beauty of air dry clay slip lies in its simplicity and its ability to significantly enhance the durability and aesthetic appeal of your creations, ensuring your hard work stands the test of time.
Gathering Your Essential Materials
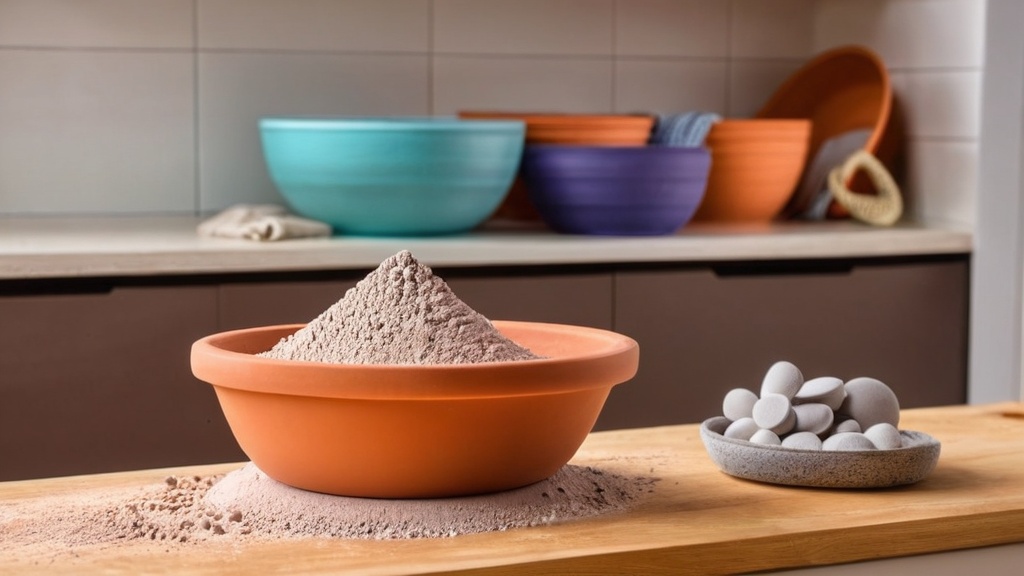
Before you dive into the process of creating your air dry clay slip, it’s crucial to gather the right materials. The good news is that you likely already have most, if not all, of these items readily available in your crafting space. The key to successful slip making is consistency and a little patience, and having your tools at hand will streamline the entire procedure.
Choosing the Right Clay Body for Slip
This is perhaps the most critical step in ensuring the efficacy of your slip. Always use the same clay body you’re working with for your slip. Many seasoned crafters and guides emphatically recommend making slip from scraps of the identical air-dry clay you’re using for your main project. Why is this so important? Different brands and types of air dry clay can have varying compositions, including different binders, fillers, and drying rates. If you use a different type of clay for your slip, it may dry and shrink at a different rate than your main project, leading to stress, cracking, or a weak bond at the seams.
Imagine trying to glue two pieces of wood together with a glue designed for metal – it simply wouldn’t hold as effectively. The same principle applies here. By using the same clay, you ensure that the slip integrates seamlessly with your sculpture, maintaining consistent drying behavior and a strong, homogenous bond. So, whether you’re using a white, terracotta, or stone-colored air dry clay, make sure your slip is derived from that very same material. This means saving any small offcuts, trimmings, or even dried-out bits of the same clay that might otherwise be discarded. Don’t be afraid to sacrifice a small piece from your fresh pack if you don’t have enough scraps.
Selecting Your Water Source
While any clean water will technically work, you’ll want to use plain tap water for your air dry clay slip. There’s no need for distilled or fancy filtered water; the minerals typically found in tap water will not adversely affect the air dry clay’s properties in this context. The crucial aspect here is the amount of water you add, not its specific origin. You’ll be adding water gradually, bit by bit, to achieve the desired consistency, so having a small container or cup of water readily available will be essential.
Essential Tools for Mixing and Storage
To effectively create and store your air dry clay slip, you’ll need a few basic tools:
- A sturdy mixing container: This could be an old plastic container, a glass jar, or a ceramic bowl. Choose something with a wide enough opening to allow for easy mixing and to prevent spills.
- A mixing tool: A spoon, spatula, palette knife, or even an old paintbrush handle will work perfectly. The goal is to be able to thoroughly stir and break down the clay in the water. For larger batches or for achieving an exceptionally smooth consistency, some crafters even opt for an immersion blender or a dedicated small food processor (ensure it’s only used for crafting once designated!).
- An airtight storage container: Once your slip is made, you’ll want to store it properly to prevent it from drying out. A jar with a tight-fitting lid, a plastic container with a snap-on lid, or even a heavy-duty resealable plastic bag will suffice. The goal is to minimize air exposure, which can cause the slip to dry and become unusable.
- Optional: A spray bottle: A small spray bottle filled with water can be incredibly useful for misting your clay scraps or adding tiny amounts of water very gradually, giving you greater control over the consistency.
- Optional: A small amount of vinegar: While not a standard guide recommendation, some craft tips mention adding a small amount of vinegar to help break down certain air-dry clays. This is more of a user-experience tip rather than a universal requirement. If you choose to experiment with this, add it in very small increments, perhaps a few drops at a time, to see if it aids in the breakdown of your specific clay.
By having all these materials laid out and ready before you begin, you set yourself up for a smooth and efficient slip-making process, ensuring you can quickly create the perfect bonding agent for your air dry clay projects.
The Step-by-Step Slip Creation Process
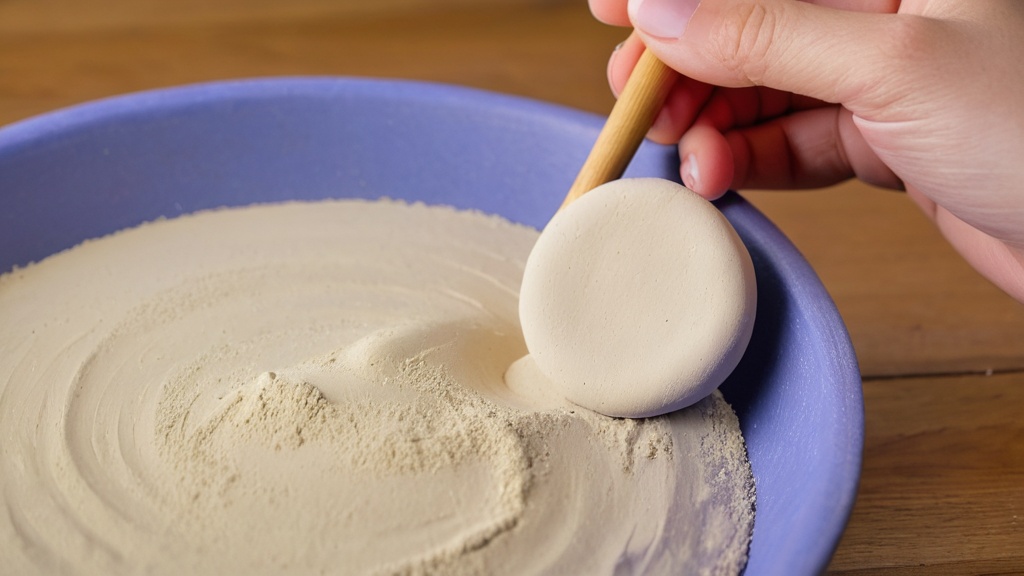
Now that you have all your materials assembled, you’re ready to transform those seemingly unusable clay scraps into a valuable crafting resource. The process is straightforward, but it requires patience and attention to detail to achieve the ideal consistency. Remember, the goal is a smooth, lump-free mixture that effectively acts as a clay glue.
Preparing Your Clay Scraps
The first crucial step is to prepare your clay. You can’t just toss a large chunk of clay into water and expect it to dissolve quickly. To facilitate the breakdown process, you need to increase the surface area of the clay exposed to the water.
- Break the clay into small, thin pieces first. Think of it like preparing ingredients for a soup; smaller pieces cook faster. You can pinch off small bits, crumble dried scraps, or even use a craft knife to carefully shave thin pieces from larger chunks. The thinner and smaller the pieces, the faster they will absorb water and become soft. Aim for pieces no larger than a pea, and ideally even smaller.
- If you’re using fully hardened, dry clay scraps, you might need to crush them a bit. You can place them in a sturdy plastic bag and gently tap them with a hammer or use a mortar and pestle. Be careful not to create a fine powder, as this can sometimes make it harder to rehydrate evenly. Small, irregular pieces are ideal.
Gradually Adding Water and Initial Mixing
This is where the magic begins to happen, but it’s also where many beginners make the mistake of adding too much water too quickly. Remember, it’s always easier to add more water than to take it away (by adding more clay, which is often less convenient).
- Place your prepared small clay pieces into your mixing container.
- Add a little water gradually rather than pouring in too much at once. Start with just enough water to barely cover the clay pieces, or even slightly less. You want the clay to soak up the water, not swim in it.
- Let the mixture soak for a few hours to overnight. This step is vital and often overlooked. Giving the clay ample time to absorb the water allows it to soften thoroughly and begin to break down naturally. If you try to mix it immediately, you’ll likely end up with stubborn lumps that are difficult to resolve. For best results, cover the container loosely to prevent excessive evaporation while still allowing some air exchange.
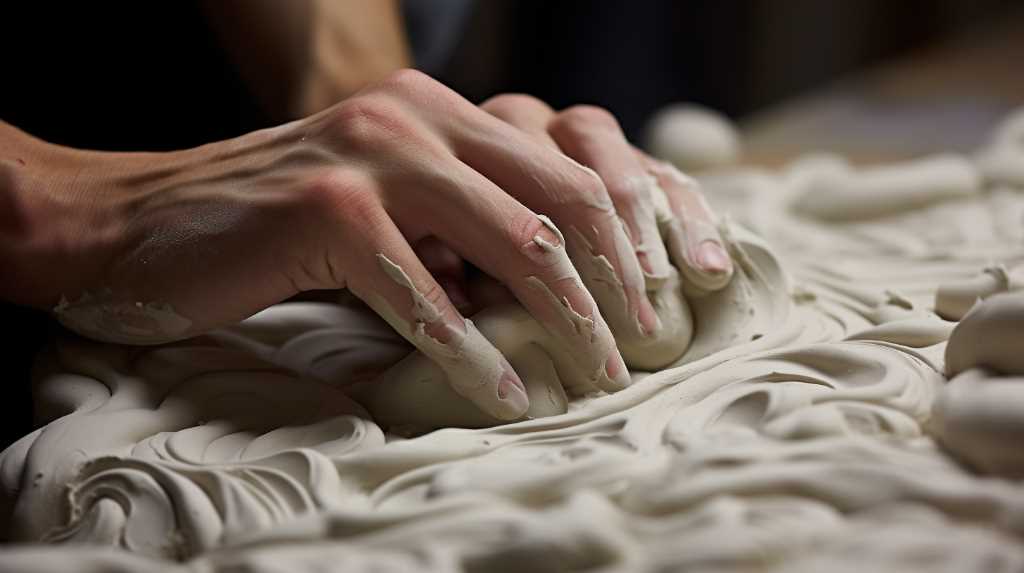
- After the soaking period, you’ll notice the clay has become much softer, possibly even resembling a mushy paste. Now, it’s time for the initial mix. Use your spoon, spatula, or mixing tool to gently stir and mash the clay and water together. You’ll start to see the mixture transform into a thicker, more uniform paste.
Achieving the Ideal Consistency
The consistency of your air dry clay slip is paramount to its effectiveness. You’re aiming for a very specific texture, and it’s worth taking your time to get it right.
- Aim for a thick cream, yogurt, or milkshake consistency—smooth, creamy, and not watery. This is the golden rule. If it’s too thin, it won’t have enough clay solids to create a strong bond and will simply soak into the clay without building up. If it’s too thick, it will be difficult to apply smoothly and may not penetrate the surfaces effectively.
- Continue stirring or blending until there are no lumps. This might take some vigorous stirring, especially if you’re doing it by hand. Press any remaining lumps against the side of the container with your spoon to break them down. If you’re using an immersion blender, a few quick pulses will make short work of any lumps.
- Adjusting the consistency:
- If the slip is too thin, add more clay. Take a few more of your prepared small clay pieces (or crumble some more from your main supply) and mix them in. Let them soak for a bit if they’re particularly dry, then stir again. Repeat until the desired thickness is achieved.
- If it’s too thick, add a little water. This is where the gradual addition of water comes in handy. Add water in very small increments, perhaps a few drops or a quarter teaspoon at a time. Stir thoroughly after each addition and assess the consistency before adding more. It’s easy to overdo it, so err on the side of caution.
By diligently following these steps, you will successfully create a high-quality air dry clay slip that is perfectly suited for all your bonding and decorative needs. Remember that practice makes perfect, and you’ll quickly develop an eye (and feel) for the ideal slip consistency.
Effective Application Techniques for Slip
Once your air dry clay slip is perfectly mixed to a thick cream consistency, the next crucial step is learning how to apply it effectively. Proper application is just as important as proper mixing in ensuring strong bonds and seamless finishes. Think of your slip as a specialized adhesive, and like any adhesive, it performs best when applied correctly to prepared surfaces.
Preparing Surfaces for Bonding
Before you even think about applying the slip, you need to prepare the surfaces of the clay pieces you intend to join. This step is critical for maximizing the bond strength.
- Scoring the surfaces first: This is perhaps the most important pre-application technique. “Scoring” refers to roughing up the surfaces of the clay where they will meet. You can use a needle tool, a fork, a craft knife, or even a coarse toothbrush to scratch cross-hatch patterns or create a series of small indentations on both surfaces. The goal is to create texture, not deep gouges.
- Why score? Scoring creates a larger surface area for the slip to adhere to and provides mechanical “teeth” for the clay to interlock. When the slip is applied, it fills these tiny grooves and crevices, effectively creating a stronger, more integrated bond than if applied to a smooth surface. It allows the slip to physically “grip” both pieces of clay.
- Dampening the surfaces (optional but recommended): If your clay pieces are already quite dry to the touch, you might want to lightly dampen the scored surfaces with a mist of water before applying the slip. This helps the slip penetrate more effectively and prevents the dry clay from absorbing too much moisture from the slip too quickly, which could lead to a weaker bond. Be careful not to make the surfaces soaking wet, just slightly damp.
Applying Slip as a “Clay Glue”
With your surfaces scored and ready, you can now apply your meticulously prepared air dry clay slip. Think of it as a bonding agent, a thick “clay glue” designed to meld your pieces together seamlessly.
- Apply the slip generously to both scored surfaces. Don’t be shy with the slip; you want a good, thick layer that fills all the scored marks. You can use a small brush, a spatula, your finger, or a wooden tool for application. Ensure an even coating across the entire area that will be joined.
- Press the two pieces firmly together. Once the slip is applied, bring your clay pieces together and press them firmly. Gently twist or wiggle them slightly to ensure good contact and to work the slip into all the crevices. You should see some excess slip squeeze out from the seam; this is a good sign, indicating that you’ve applied enough.
- Clean up excess slip immediately. While the slip is wet, use a damp sponge, a modeling tool, or your finger to carefully wipe away any excess slip from around the joint. This will save you a lot of sanding and refining later on. If you let the excess dry, it can create unsightly lumps or textures that are much harder to remove.
- Reinforce the joint (optional): For critical joins or areas under stress, you can further reinforce the seam by “welding” it. This involves using a small modeling tool or your finger to gently blend a thin “coil” or “worm” of soft, fresh clay along the joint line, integrating it with the slip and the main clay body. This effectively creates a stronger, thicker connection.
Using Slip for Repair and Decoration
Beyond joining, air dry clay slip is a fantastic tool for repair and adding decorative elements.
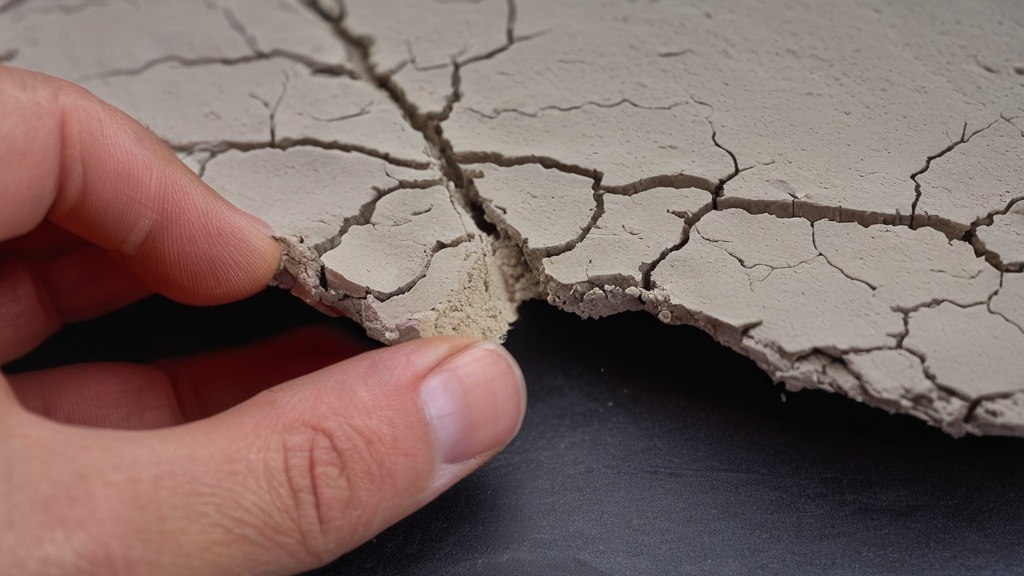
- Repairing cracks: If you notice small cracks developing in your drying clay piece, especially around stress points or thinner areas, slip can be your savior.
- First, gently open the crack slightly if possible (without causing more damage) to allow the slip to penetrate deeply.
- Apply a generous amount of thick slip into the crack, working it in with a small tool or your finger.
- Gently compress the clay around the crack to close it, pushing the slip into the void.
- Smooth over the surface, removing any excess. You might need to repeat this process if the crack reappears during further drying.
- Smoothing surfaces and filling imperfections: For areas that have dried with a slightly rough texture, or if you have minor indentations or pockmarks, a thin layer of slip can provide a smooth finish. Apply a thin coat with a soft brush, let it dry slightly, and then gently buff or smooth it with a damp sponge or your finger. This acts like a very fine clay filler.
- Creating decorative textures and relief: You can use thicker slip (slightly thicker than your bonding consistency) to “paint” raised designs or add texture. Apply it with a brush, a palette knife, or even pipe it through a small pastry bag or syringe for fine lines and dots. As it dries, it will retain its raised form, adding a tactile element to your work.
- As a “wash” or color base: If you mix pigments or acrylic paints into your slip, you can create colored washes or thin “paints” for decorative effects. This allows you to add color that has the same clay base, often resulting in a more cohesive look than simply painting on dry clay later.
By mastering these application techniques, you unlock the full potential of your air dry clay slip, ensuring your creations are not only beautiful but also durable and structurally sound. Remember to always work cleanly and efficiently, as slip can dry quickly, especially on absorbent surfaces.
Storing and Maintaining Your Air Dry Clay Slip
| Step | Materials Needed | Quantity | Description | Tips |
|---|---|---|---|---|
| 1 | Air Dry Clay | Small piece (about 1 inch) | Start with a small amount of air dry clay to create the slip. | Use fresh clay for best results. |
| 2 | Water | 2-3 teaspoons | Add water gradually to the clay to soften it into a creamy consistency. | Add water slowly to avoid making it too runny. |
| 3 | Mixing Bowl | 1 medium size | Use a bowl to mix the clay and water thoroughly. | Mix well to remove lumps. |
| 4 | Mixing Tool (e.g., spoon or spatula) | 1 | Use to stir the clay and water mixture until smooth. | Scrape sides of bowl to incorporate all clay. |
| 5 | Consistency Check | N/A | Ensure the slip is thick but pourable, similar to pancake batter. | If too thick, add a few drops of water; if too thin, add more clay. |
| 6 | Storage Container | 1 airtight container | Store unused slip to prevent drying out. | Seal tightly and use within a few days. |
You’ve successfully created a batch of perfect air dry clay slip and used it to bond, repair, and decorate your projects. Now, what do you do with the leftover slip? Proper storage and maintenance are key to ensuring your slip remains fresh, usable, and ready for your next creative endeavor. Neglecting storage can lead to your precious slip drying out, growing mold, or developing an unusable consistency, forcing you to start the process all over again.
The Importance of Airtight Storage
The primary enemy of air dry clay slip, much like fresh air dry clay, is air exposure. Air causes the water in the slip to evaporate, leading it to thicken, harden, and eventually become completely dry and unusable. Therefore, an airtight container is your best friend for long-term storage.
- Use a jar with a tight-fitting lid: Glass jars (like old jam jars or Mason jars) with screw-on lids are excellent choices. Plastic food containers with snap-on lids also work very well. The key is to ensure the lid forms a secure seal, preventing air from circulating inside.
- Minimize air pockets: If you have a larger container with only a small amount of slip, the air trapped above the slip can still contribute to drying. You can either transfer the slip to a smaller container that it fills more completely or, for very long-term storage, some crafters place a piece of plastic wrap directly on the surface of the slip before putting on the lid. This creates an extra barrier against air.
- Label your container: It’s a good habit to label your container with the type of clay the slip is made from and the date it was prepared. This is especially helpful if you work with different types or brands of air dry clay, preventing any accidental mix-ups that could compromise your projects.
Revitalizing Dried or Thickened Slip
Even with the best storage practices, you might find your slip thickening over time, or perhaps you forgot to seal the container properly, and it’s partially dried out. Don’t despair! Most air dry clay slip can be easily revitalized.
- Add small amounts of water gradually: If your slip has thickened, simply add a few drops or a small splash of clean water. Stir thoroughly until the water is fully incorporated and the consistency returns to your desired thick cream or yogurt-like texture. Remember the golden rule: add water slowly, as it’s easier to thin than to thicken.
- For partially dried chunks: If parts of your slip have dried into solid lumps, you can often rehydrate them. Add a bit more water than usual to the container, making sure the lumps are submerged. Let it sit for several hours or overnight, allowing the water to penetrate. Then, vigorously stir and mash the lumps with your mixing tool until they break down and become smooth again. You might need to adjust the overall consistency by adding more water or a tiny bit of fresh clay if it becomes too thin.
- Consider a quick blend: If you have particularly stubborn lumps or want to quickly re-achieve a perfectly smooth consistency, an immersion blender or a dedicated craft blender can work wonders. Just a few pulses will usually emulsify any remaining chunks and bring your slip back to its prime.
Recognizing When Slip is Unusable
While air dry clay slip is quite resilient, there are a few signs that indicate it might be past its prime and should be discarded.
- Mold growth: If you see any signs of mold (green, black, or white fuzzy spots), it’s best to discard the slip entirely. Mold can weaken the clay’s structure and may cause issues with your finished projects, not to mention potential health concerns. While a tiny amount of mold might sometimes be scraped off and the rest rehydrated (especially if it’s very minor surface mold), it’s generally safer to start fresh. The addition of a tiny amount of white vinegar (a few drops) is sometimes suggested as a mild mold preventative, though it’s not a standard practice across all air-dry clays.
- Foul odor: A strong, unpleasant, or putrid smell is another indicator that bacterial growth has occurred, and the slip should be disposed of.
- Extreme hardness/difficulty rehydrating: If your slip has dried into a rock-solid block that resists rehydration even after prolonged soaking and vigorous mixing, it might be too far gone to be worth the effort. It’s often more efficient to simply make a fresh batch.
By diligently storing your air dry clay slip in an airtight container and knowing how to properly revitalize it, you ensure that this valuable crafting resource is always on hand when inspiration strikes, saving you time and effort in your creative process.
Advanced Tips and Troubleshooting for Your Slip
You’ve mastered the basics of making and applying air dry clay slip. Now, let’s delve into some advanced tips and common troubleshooting scenarios to further refine your technique and address any challenges you might encounter. These insights will help you achieve even stronger bonds, smoother finishes, and a more consistent crafting experience.
Enhancing Bond Strength with Vinegar (Experimental)
While not a universally recommended practice in standard guides, some experienced crafters and online communities have experimented with adding a small amount of vinegar to their air dry clay slip, particularly for stronger joins or when working with certain types of air dry clays.
- The theory behind it: The acetic acid in vinegar is believed by some to act as a mild deflocculant or softener for some air dry clay formulations. It can potentially help break down the clay particles more effectively, leading to a smoother slip and potentially a more aggressive “bite” for bonding. In traditional ceramics, vinegar can sometimes be used to thin very thick slips or improve their flow properties.
- How to experiment cautiously: If you decide to try this, proceed with extreme caution and always test it on scrap pieces first. Add only a few drops of white vinegar to your slip while mixing. Stir thoroughly and observe any changes in consistency or texture. Avoid adding too much, as excessive acidity could potentially weaken the clay or alter its drying properties.
- Observe results: Pay close attention to how the slip performs. Does it feel smoother? Does it seem to create a stronger bond when tested on scrap pieces? Is there any adverse effect on drying or final strength? This is largely based on user experience and may vary significantly depending on the specific brand and composition of your air dry clay. It’s an optional, experimental step, not a required one.
Troubleshooting Common Slip Issues
Even with careful preparation, you might encounter some common issues. Knowing how to address them quickly will save your projects and your patience.
My Slip is Too Watery!
This is a very common issue, especially for beginners who are eager to get started.
- Solution: Add more clay! This is the most straightforward fix. Take some small, broken-up pieces of the same air dry clay you used initially and gradually mix them into your watery slip. Let the new clay pieces soak for a bit (15-30 minutes, or even longer if they are very dry) to absorb the excess water. Then, stir vigorously until the clay is fully incorporated and the desired thick cream consistency is achieved. Patience is key here; don’t rush the rehydration of the added clay.
- Prevention: Always add water gradually, in very small increments, when first making your slip. It’s much easier to add more water than it is to remove it.
My Slip is Too Thick / Full of Lumps!
If your slip is like a chunky paste or very difficult to spread, it needs further refinement.
- Solution: Add a little water and soak longer, then stir/blend. First, add a small amount of water (a teaspoon or less) to the thick slip. Stir it in thoroughly. If there are still lumps, let the mixture sit and soak for another hour or two, or even overnight. The water needs time to penetrate and soften the stubborn clay particles.
- Vigorous stirring or blending: Once soaked, stir vigorously with your mixing tool, pressing any remaining lumps against the side of the container to break them down. For persistent lumps, an immersion blender (if you have one dedicated to crafts) or a small, strong whisk can quickly homogenize the mixture.
- Prevention: Ensure your initial clay pieces are broken into very small, thin fragments. Allow sufficient soaking time (several hours to overnight) before you begin the primary stirring and consistency adjustment.
My Joints are Cracking After Drying!
This is a frustrating issue that indicates a weak bond.
- Review your scoring technique: Did you thoroughly score both surfaces that were joined? Smooth surfaces provide little grip for the slip. Ensure a good cross-hatch pattern or significant roughing up of the clay.
- Check slip consistency: Was your slip too thin? If it’s too watery, it doesn’t contain enough clay solids to create a strong, solid bond. It might just absorb into the clay without acting as an effective adhesive. The slip should be thick, like yogurt.
- Assess application: Did you apply enough slip? Was it spread evenly over both surfaces? A skimpy application won’t create a strong bond.
- Consider clay dryness: Were your pieces too dry when joined? While slip helps, joining very dry pieces can be challenging. Lightly dampen scored surfaces of dry clay before applying slip.
- Drying conditions: Did the joined piece dry too quickly? Rapid drying, especially with a fresh joint, can cause stress and cracking. Allow your creations to dry slowly and evenly, away from direct heat or drafts.
- Solution: For existing cracks, you can try to repair them using the method described earlier (applying slip into the crack, compressing, and smoothing). For future projects, ensure you’re following all the best practices for scoring, slip consistency, and application.
By understanding these advanced tips and being prepared to troubleshoot common issues, you elevate your air dry clay crafting skills. Your ability to create, maintain, and effectively use air dry clay slip will become a significant asset, leading to more robust, professional-looking, and satisfying finished pieces.
FAQs
What is air dry clay slip?
Air dry clay slip is a liquid form of air dry clay that is used to join clay pieces together, fill in cracks, or add details to clay projects.
How can I make air dry clay slip?
To make air dry clay slip, simply mix a small amount of water with air dry clay until you achieve a smooth, paint-like consistency. You can also add a small amount of white glue to improve the strength of the slip.
What is the purpose of using air dry clay slip?
Air dry clay slip is used to create strong bonds between clay pieces, allowing you to attach clay components securely and seamlessly. It also helps in repairing any cracks or imperfections in the clay.
How should I store air dry clay slip?
Store air dry clay slip in an airtight container to prevent it from drying out. Make sure to keep it away from direct sunlight and extreme temperatures to maintain its consistency.
Can I color air dry clay slip?
Yes, you can add acrylic paint or food coloring to air dry clay slip to achieve different colors. Mix the color thoroughly into the slip until you reach your desired shade.