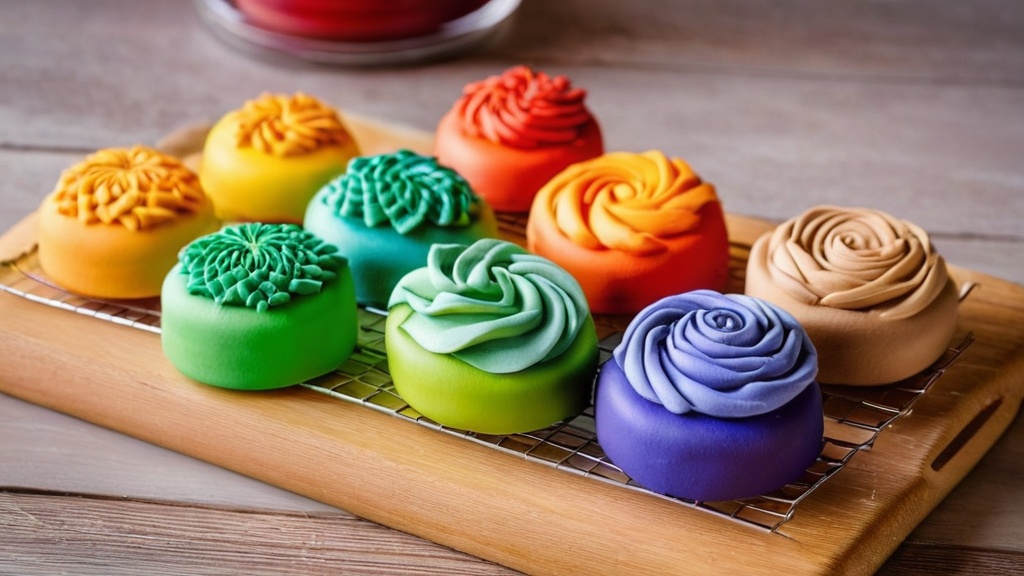
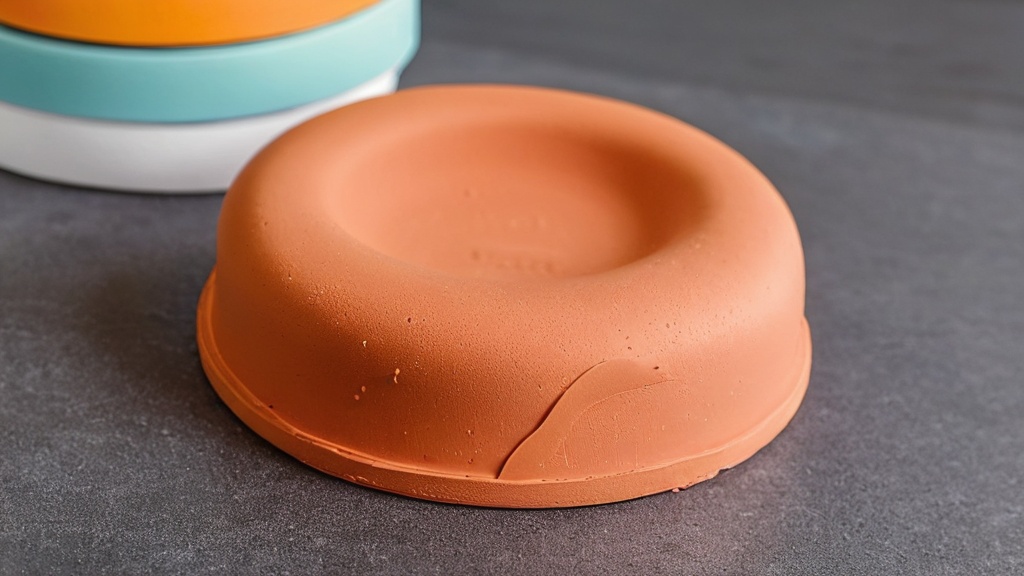
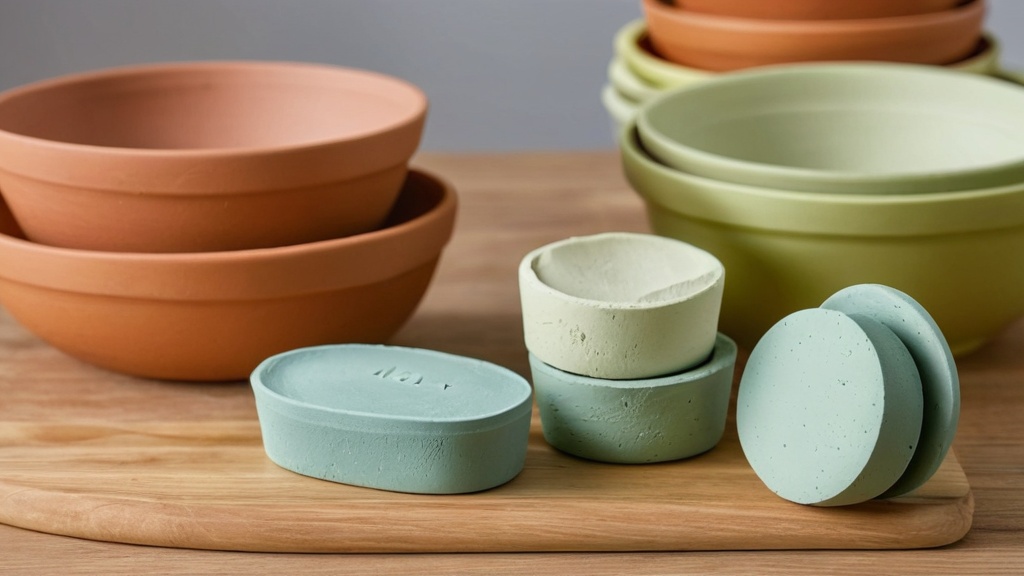
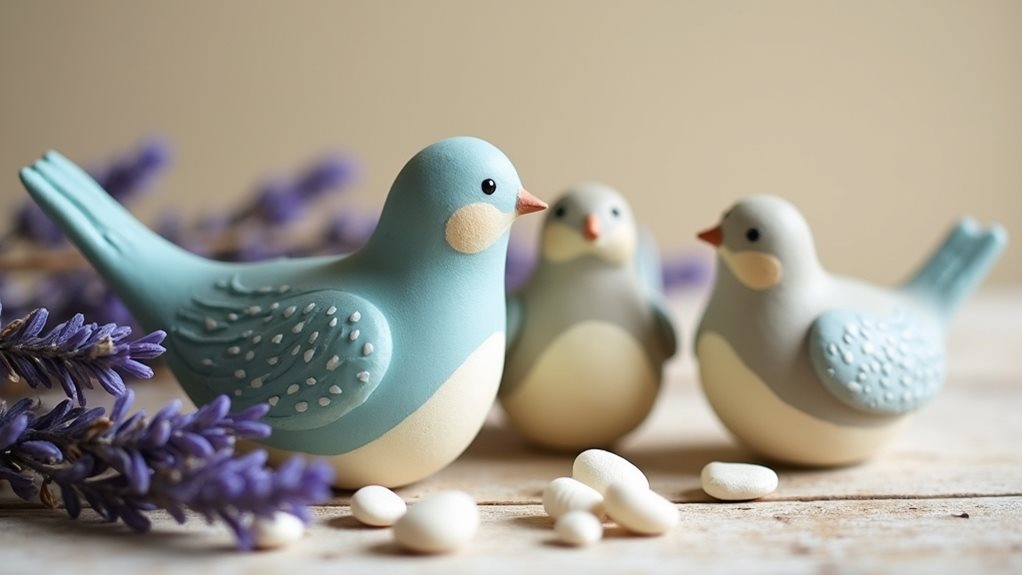
Air drying clay is perfect for little decorations and figurines, why not use it to conjure up some spooky ghosts, then decorate them individually to give them a unique personality.
Things you’ll need
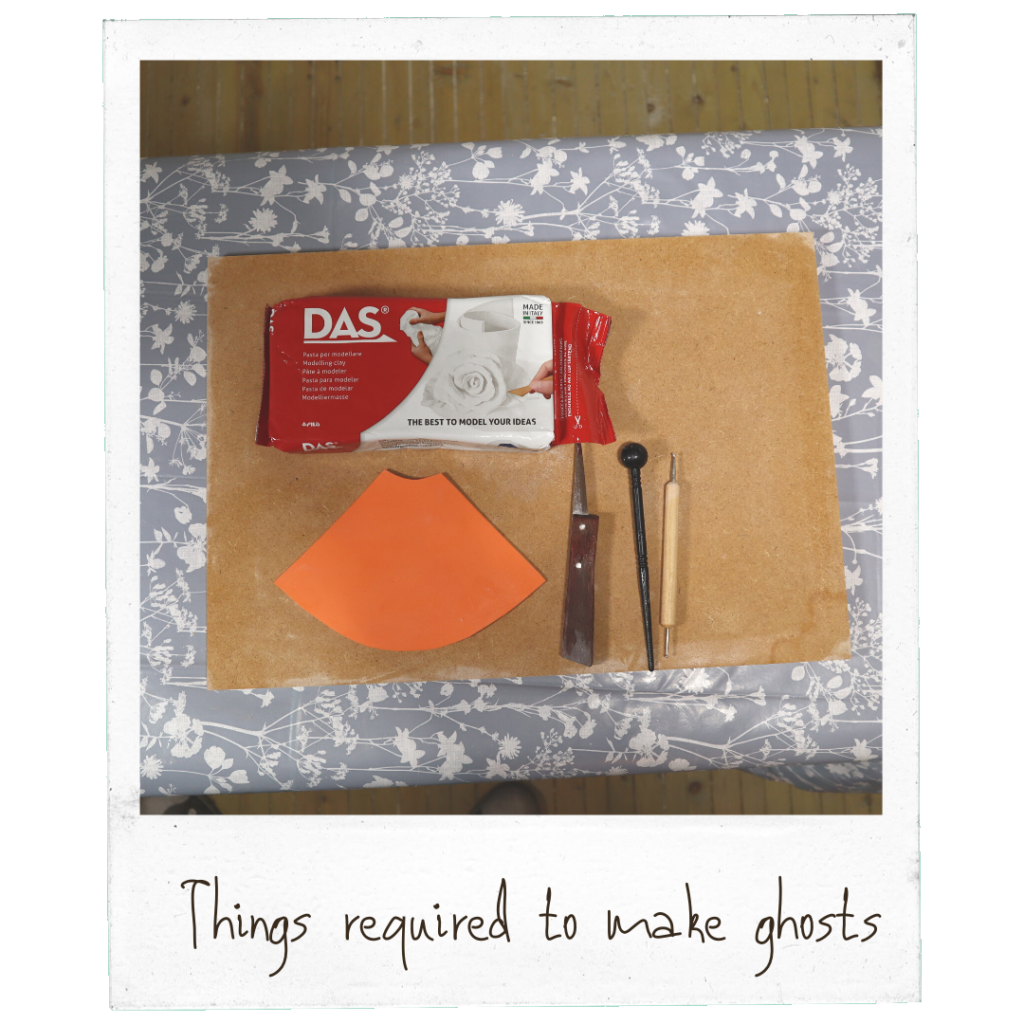
For this project you will need:
- Clay (we used DAS modelling clay)
- Rolling pin
- Knife
- Ball clay sculpting tool
- Ball stylus
- Ghost template
- Acrylic paing and brush for decorating
The template is included in our project book at the end of the article. Have a read through, grab the book, and get crafting, or in this case, conjuring! 👻
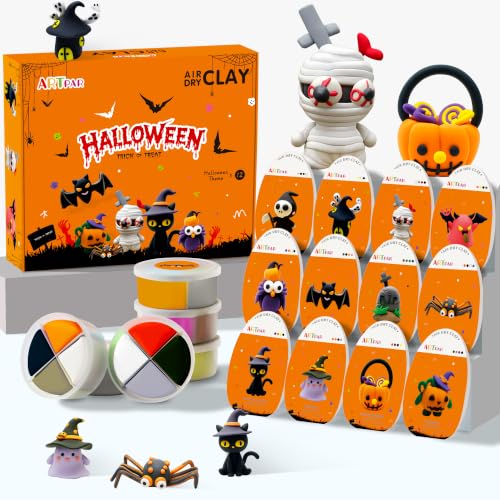
【Complete Halloween Air Dry Clay Kit】 Includes 12 boxes (total 48 vibrant colors), 4 sculpting tools & a step-by-step illustrated guide. Create 12 spooky designs like pumpkins, ghosts & bats – perfect modeling clay crafts for kids Halloween party.

𝐂𝐨𝐦𝐩𝐥𝐞𝐭𝐞 𝟐𝟒 𝐏𝐜𝐬 𝐇𝐚𝐥𝐥𝐨𝐰𝐞𝐞𝐧 𝐂𝐥𝐚𝐲 𝐊𝐢𝐭: What You See Is What You Get! Our set includes exactly 24 pieces air dry clay in 12 vibrant colors (2 per color), 24 Halloween-themed cards in 2 unique designs (12 each), plus eyes and other things. Every piece is clearly counted. With 12 individual colors - 3X more variety than typical 4-color kits - kids can mix, match, and create truly unique Halloween monsters, pumpkins, ghosts, and bats

[Package Contents] - 12 clays (1 black, 3 orange, 3 white, 2 purple, 1 red), 6 witch hats, 6 pumpkin vines, 4 bat wings, 6 pairs of small eyes, 2 big eyes, 6 mouths, 6 noses, 2 small spiders and other accessories. Can be freely assembled into: pumpkin, ghost, spider, eyes, skull and other Halloween shapes. Decorate your Halloween festival atmosphere.
How to craft air dry ghosts
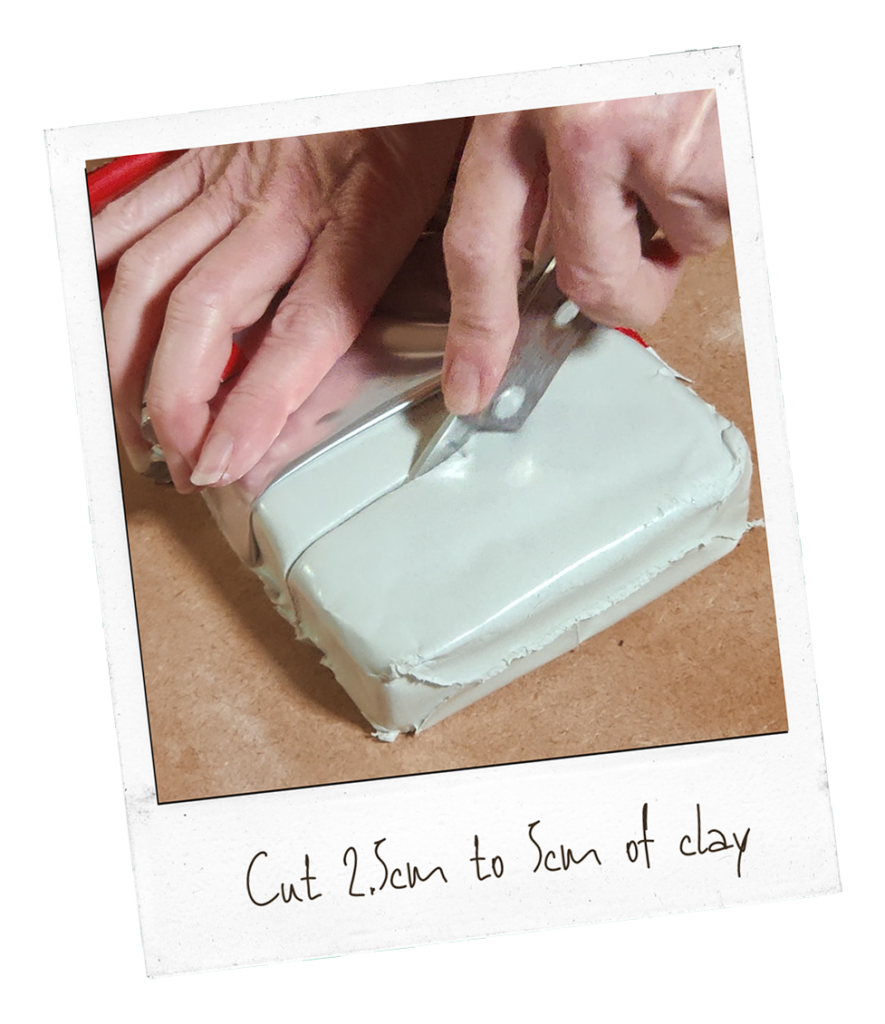
Start by opening your clay and cutting about 2.5cm to 5cm depending on how many ghosts you want to create. You need enough to roll out and place the template on. Remember to wrap up the rest of the pack.
Work the clay with your hands, this helps warm the clay up and makes it easy to roll out.
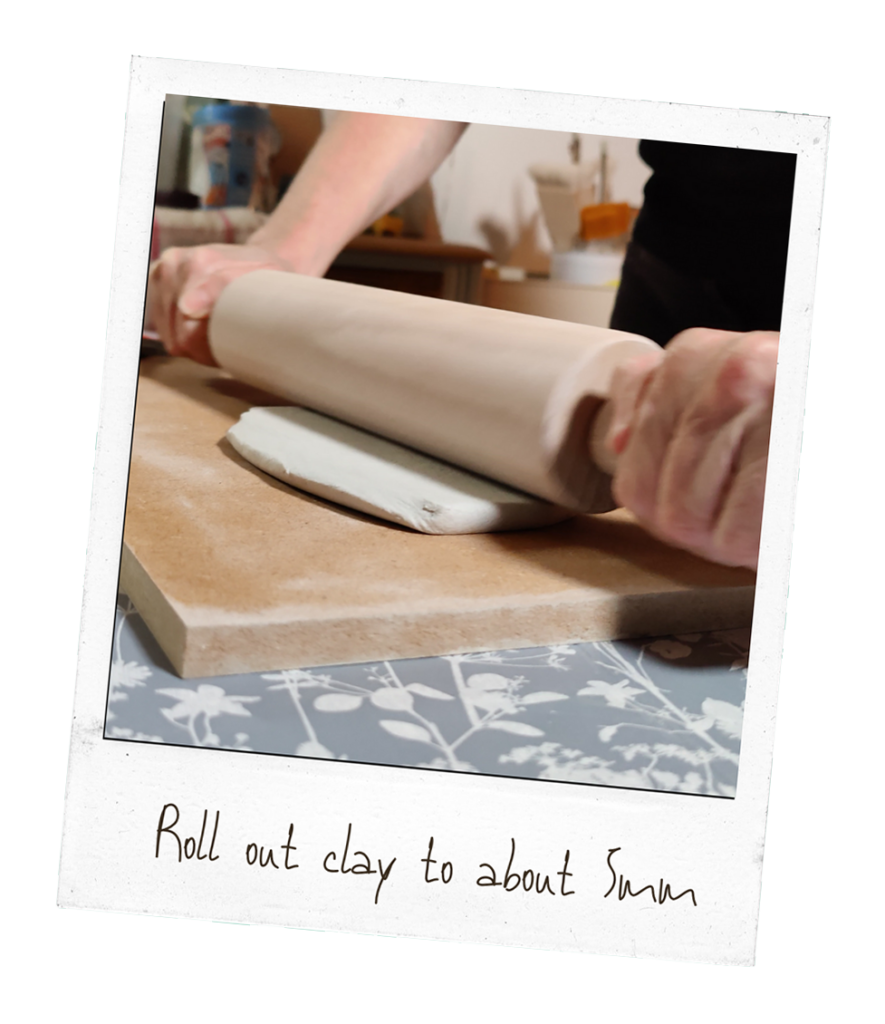
On a flat, hard, surface use a rolling pin and roll the clay until it’s approximately 0.5cm thick. Roll it forwards, backwards, left and right to get an even layer.
It doesn’t matter if the edges are a little thicker, like a pizza crust, as you’ll be cutting these away.
Now for the magic, you’re going to conjure up ghosts from the flat sheet of air dry clay!
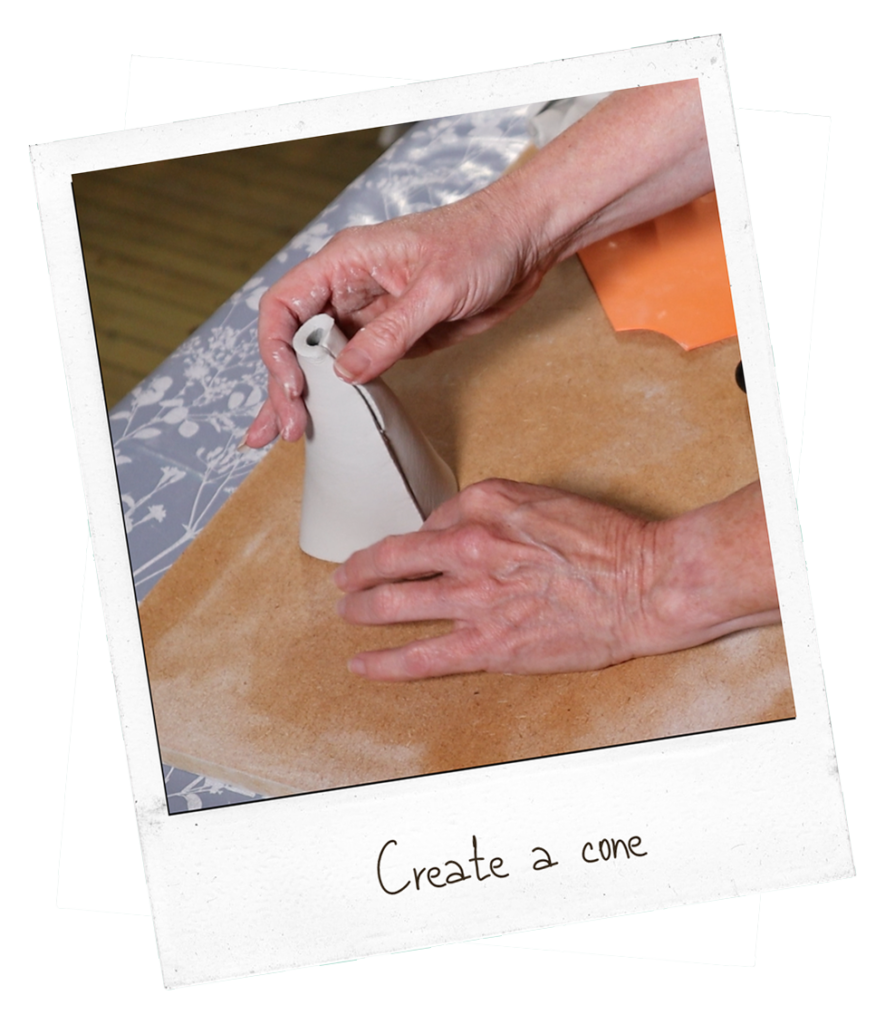
Pick the sheet up and wrap it round to create a cone shape, the template will give you a large bottom and a smaller top. Press the two sides together and smooth one side over the other, so they join.
Take your time, it’s important to make sure the two sides are firmly joined and that the bottom is level, you should be able to stand the ghost up at this stage (it’ll look more like a cone than a ghost).
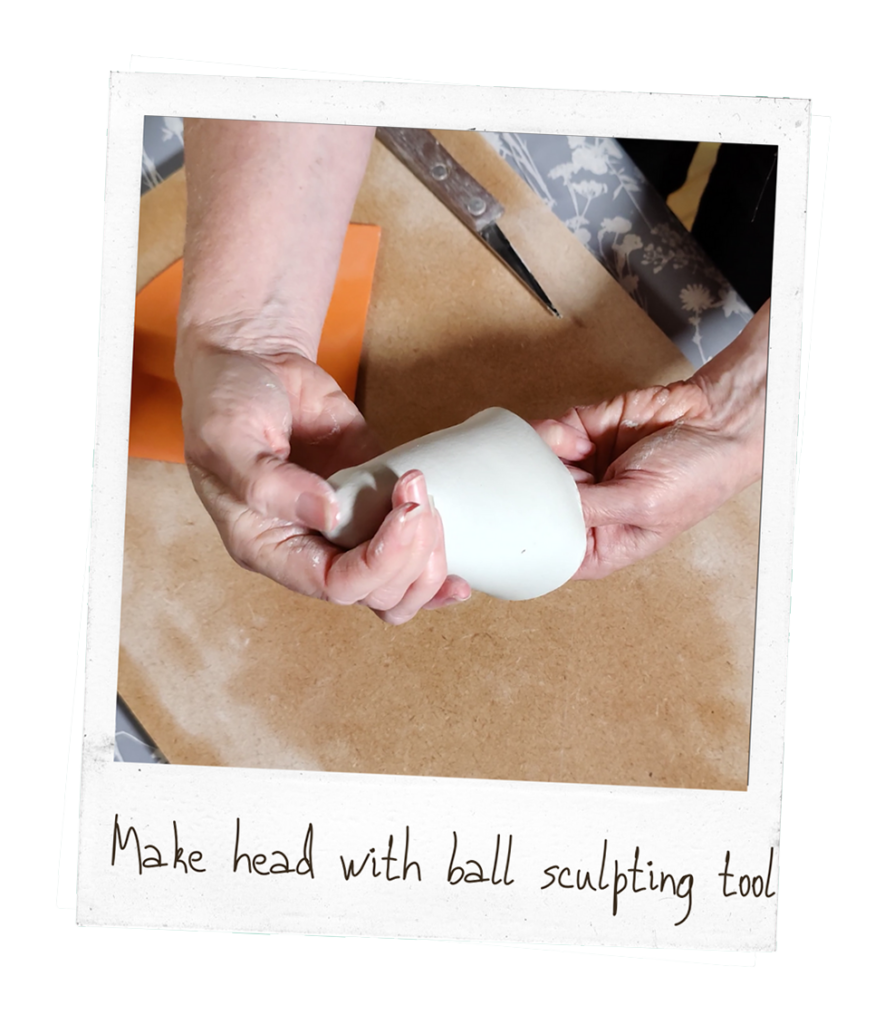
Take a ball headed sculpting tool and place inside the ghost cone until it reaches the head, but don’t press through the top.
Gentle press the clay over the ball to create a rounded head for your ghost, smoothing over any visible joins until they disappear.
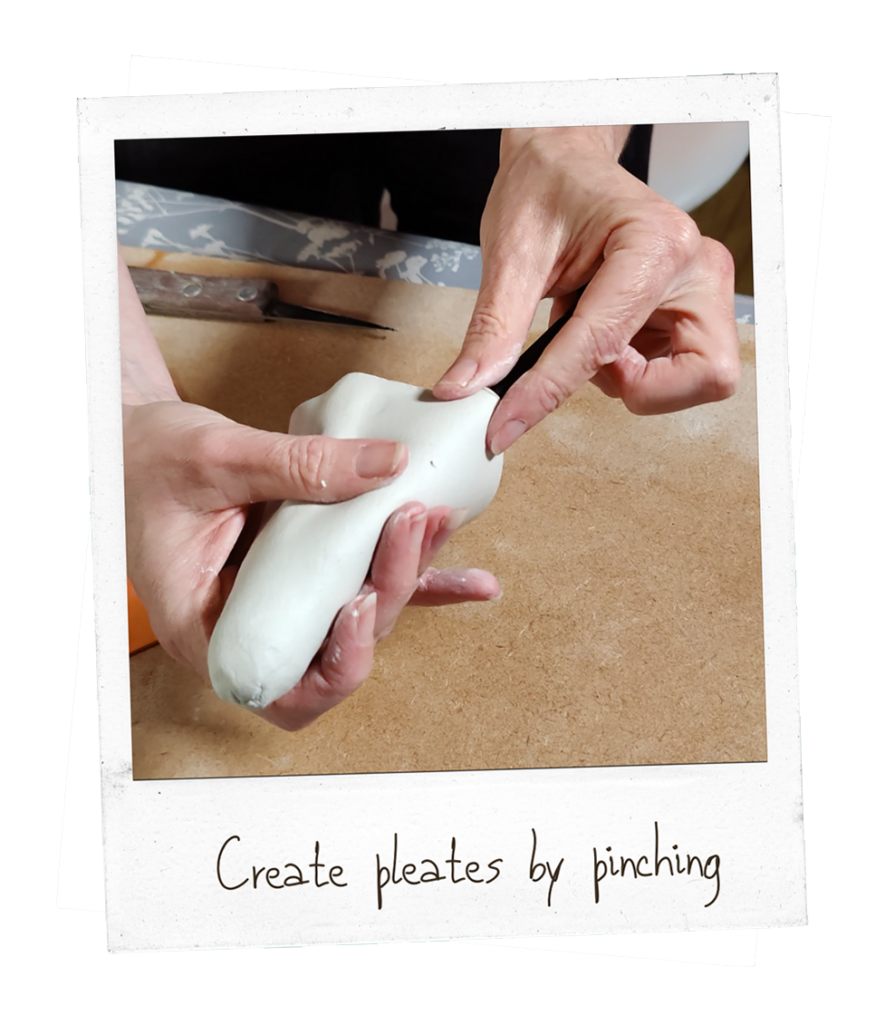
Now we need to create a pleated effect. Place a straight tool (a pen or pencil would work if you don’t have a dedicated tool) into the side of the sheet and pinching around it. Don’t overdo this as you may break the clay.
Repeat this pleating action several times around the bottom of the ghost to create a waving look to the sheet.
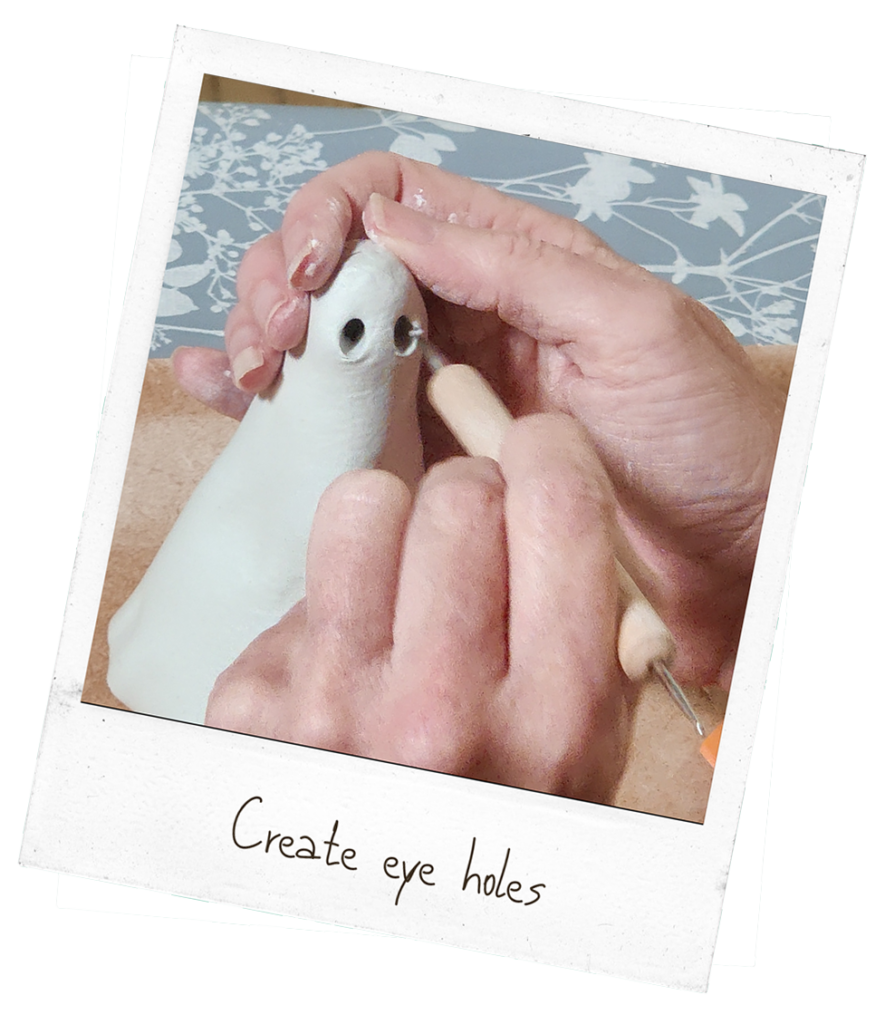
Poke out eye holes. You can try different eye shapes, I think an oval shape on a slight angle works best but feel free to experiment.
That’s it! You’ve created a ghost! Now it needs to dry before being decorated. Leave it for at least 24 hours.

LIGHT PRACTICAL: These clay carving tools are made of good quality wood, stainless steel, plastic and other materials, simple and sturdy, not easy to be damaged or fall off; the handle of the tool pen is smooth and comfortable to hold

Set includes 5 double-sided snack tools,6 rubber nibs,4 ball pens,9 polymer clay shaping and sculpting tools,5 clay carving tools,1 stainless steel scraper and 1 sponge.All sizes are available to meet the needs of you various craft projects for clay models and different creative effects.

18 Pieces in Total: This set of clay tools contains most of the basic tools you may need for pottery making and sculpting. They are great for carving, cutting, chipping, modeling, trimming, smoothing, etc.
Decorate the air dry ghosts
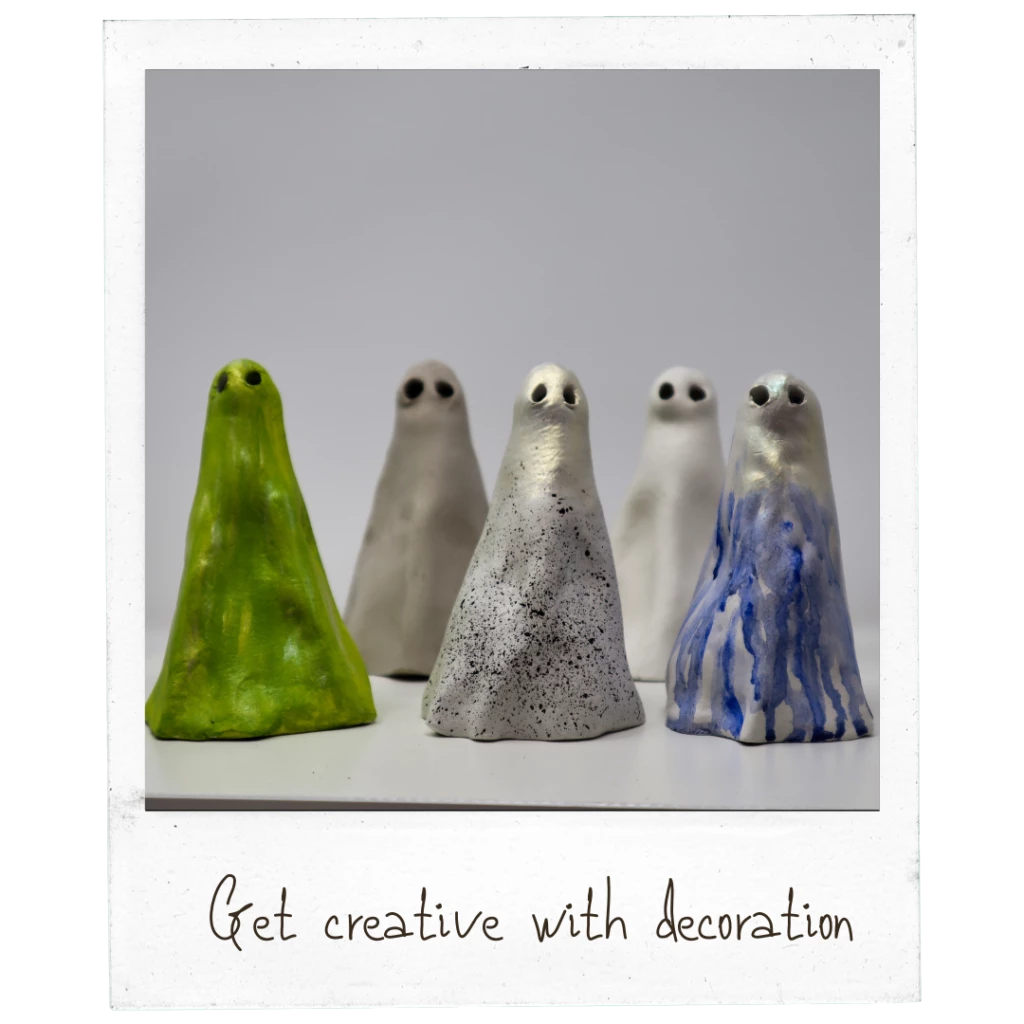
How you decorate your new spooky friend is up to you, I suggest using acrylic paints and get creative with some of these techniques:
- Mix paint with a little water and sprinkle on for a paint splattering look
- Paint top to bottom in a single colour
- Mix paint with water then allow it to run down the ghosts sheet

VIBRANT ACRYLIC PAINTS : Shuttle Art 30 Acrylic Paint Set consists of 30 vibrant assorted colors and with BONUS 3 FREE PAINT BRUSHES. Each tube is filled with 12 ml (0.4 oz) paints with rich pigments that are professional artist quality

VIBRANT ACRYLIC PAINTS : Shuttle Art 16 Acrylic Paint Set consists of 16 vibrant assorted colors and with BONUS 3 FREE PAINT BRUSHES. Each tube is filled with 12 ml (0.4 oz) paints with rich pigments that are professional artist quality

CONVENIENT SIZE & FUN BRIGHT COLORS - This versatile acrylic paint set includes 16 - 2 oz bottles of colorful craft paint. The colors in this kit include: White, Black, Flag Red, Jack-o-Lantern, Bright Blue, Candy Pink, Nutmeg Brown, Bright Yellow, New Shamrock, Purple Iris, Too Blue, Fuchsia, Key West, Pewter Grey, Bright Magenta, and Parrot Blue
Air Dry Ghosts Project Book
Ready to get creative and make your own? Grab our project guidebook which contains the template you’ll need and the instructions to follow, enjoy!
Note: This project was originally published on our sister website (https://cabinceramics.co.uk/how-to-make-ghost-figures/) and a video is available on the Cabin Ceramics YouTube channel.