Understanding Sculpey Air-Dry Clay’s Drying Process
When you dive into the world of Sculpey air-dry clay, one of the first questions that likely comes to mind is, “How long will this take to dry?” It’s a fundamental concern that impacts your project timeline, your ability to paint or finish your creation, and ultimately, your satisfaction with the entire artistic process. You’re working with a material designed to cure and harden simply by being exposed to the air, a stark contrast to oven-bake clays that require specific temperature settings. This inherent difference means understanding the nuances of air-drying is crucial for successful outcomes. While the concept seems straightforward – leave it out, it dries – the reality is that several factors influence the speed and completeness of this process. You’ll quickly discover that while there’s a general guideline, achieving optimal dryness for your specific piece requires a bit more insight.
The Standard Drying Timeline
You’ll find that Sculpey’s official guidance generally points to a fairly consistent drying window. According to Sculpey’s product and FAQ pages, your Sculpey air-dry clay typically reaches a fully dry state in about 24 hours when left at room temperature. This is a solid benchmark you can use for most of your projects. It provides a reasonable expectation and allows you to plan your next steps, whether that’s painting, sanding, or adding more details. However, it’s important to understand that this “24 hours” isn’t a rigid, universal law for every single piece you create. You’ll encounter variations based on the specifics of your project and environment.
Variability for Smaller Creations
You might be pleasantly surprised to learn that not all projects adhere strictly to the 24-hour rule. Sculpey itself offers guidance suggesting that smaller pieces, particularly those that are thin or have a low volume, may be ready much sooner. If you’re working on delicate embellishments, thin leaves, or small figurines, you could see them firm up in as little as 2 hours. This quicker drying time is possible if these pieces are left undisturbed in an area with low humidity. However, even with this accelerated timeline for smaller items, Sculpey often reiterates the 24-hour mark as the standard for complete hardening on many of its project pages, suggesting it’s the safest bet to ensure full cure and durability for almost any piece. This slight discrepancy highlights the importance of assessing your individual project’s size and thickness.
Extended Drying for Larger Works
Conversely, you’ll find that your more ambitious projects, those with significant bulk or thickness, demand a much longer drying period. Don’t expect a thick sculpture or a large, solid base to be fully cured in a day. Sculpey explicitly states that thicker or larger projects will naturally take longer to dry. For these types of pieces, you should prepare for drying times that can extend from 1 to 2 days. If you’re tackling truly substantial figures or very dense forms, you might even find yourself waiting for up to a week for the clay to fully harden throughout. This extended timeframe is crucial to prevent internal moisture from lingering, which could lead to cracking or instability in your finished piece down the line. Patience is definitely a virtue when working with larger air-dry clay creations.
Factors Influencing Drying Speed
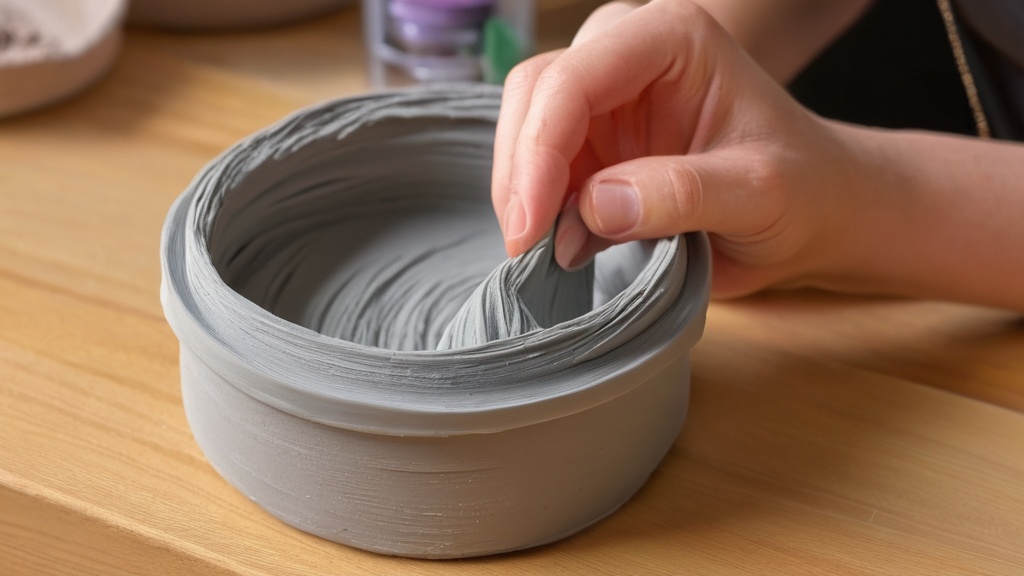
You’ll quickly learn that the drying speed of your Sculpey air-dry clay isn’t a static constant. Instead, it’s a dynamic process influenced by a confluence of environmental and structural factors. Understanding these variables empowers you to either accelerate drying when needed or ensure a thorough, crack-free cure for more complex pieces. You’re not just leaving it to chance; you’re actively managing the conditions for optimal results.
Thickness and Volume of the Clay
The most significant factor you’ll encounter is the sheer physical dimension of your creation: its thickness and overall volume. Imagine trying to dry a thin sheet of paper versus a thick book – the difference is intuitive. Thinner pieces of clay have more surface area exposed relative to their mass, allowing moisture to escape more rapidly. This is why a delicate leaf might be firm in a couple of hours, while a solid block of clay the same size as a paperback novel will require days. The internal moisture in thicker pieces has a longer path to travel to reach the surface and evaporate. If you rush the drying of a thick piece, the outer layer might harden and shrink prematurely, trapping moisture inside and potentially leading to internal stresses that manifest as cracks later. You’ll find that hollowing out larger forms, where structurally feasible, can significantly reduce drying time and prevent these issues.
Ambient Airflow
You might not immediately consider it, but the movement of air around your clay piece plays a crucial role in its drying speed. Stagnant air becomes saturated with moisture evaporating from the clay, slowing down further evaporation. Think of it like a crowded sauna versus a breezy porch – the porch helps you dry off much faster. When you place your clay project in an area with good air circulation, the continuous movement of air carries away the evaporating moisture, allowing more moisture to escape from the clay’s surface. This constant exchange helps maintain a favorable humidity gradient, accelerating the drying process. You don’t necessarily need a powerful fan directly on your piece, which could dry the surface too quickly and cause cracking; rather, a well-ventilated room or an area with a gentle, ambient breeze is ideal.
Environmental Temperature
Temperature also plays a pivotal role in how quickly your clay dries. Generally, warmer temperatures accelerate the evaporation of water. Molecules move faster at higher temperatures, meaning water molecules within your clay are more eager to escape into the air. This doesn’t mean you should put your clay in a scorching oven or direct sunlight, which can lead to uneven drying, warping, or cracking. However, working in a comfortably warm room (e.g., standard room temperature around 68-72°F or 20-22°C) will yield faster results than leaving your clay in a cold basement. Just be mindful of extreme heat, as it can cause the surface to dry too rapidly while the interior remains wet, leading to stress fractures.
Relative Humidity in the Environment
Finally, you must consider the humidity of your surroundings. Humidity refers to the amount of moisture present in the air. If the air is already saturated with water vapor (high humidity), it has less capacity to absorb additional moisture evaporating from your clay. This significantly slows down the drying process. Conversely, in a dry environment (low humidity), the air readily absorbs moisture from your clay, leading to faster drying. This is why Sculpey specifically mentions that smaller pieces might dry in 2 hours if left undisturbed in a low-humidity area. If you live in a naturally humid climate, you might find that your clay takes longer than the standard 24 hours, even for moderately sized pieces. Using a dehumidifier in your crafting space can be incredibly beneficial in such conditions.
Strategies for Optimizing Drying Time
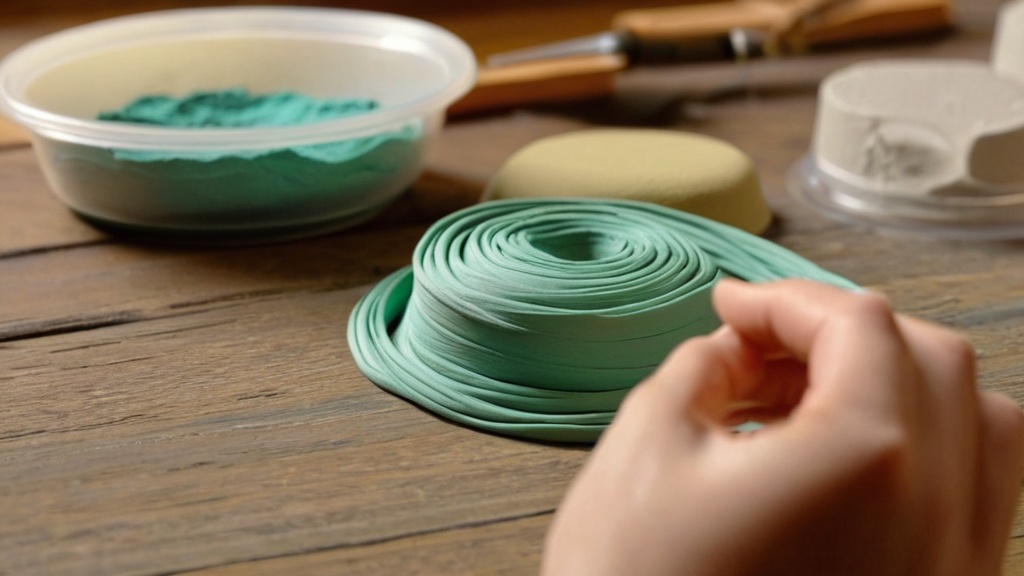
You’re not entirely at the mercy of the elements when it comes to drying your Sculpey air-dry clay. There are proactive steps you can take to influence the drying process, ensuring your projects cure efficiently and effectively. Whether you’re aiming for speed or simply seeking to prevent common drying issues, these strategies will empower you to take control.
Enhancing Air Circulation
One of the simplest yet most effective ways to optimize drying is by ensuring adequate air circulation around your clay piece. You’ll want to avoid placing your project in a confined space where air is stagnant. Instead, consider these approaches:
Elevating Your Project
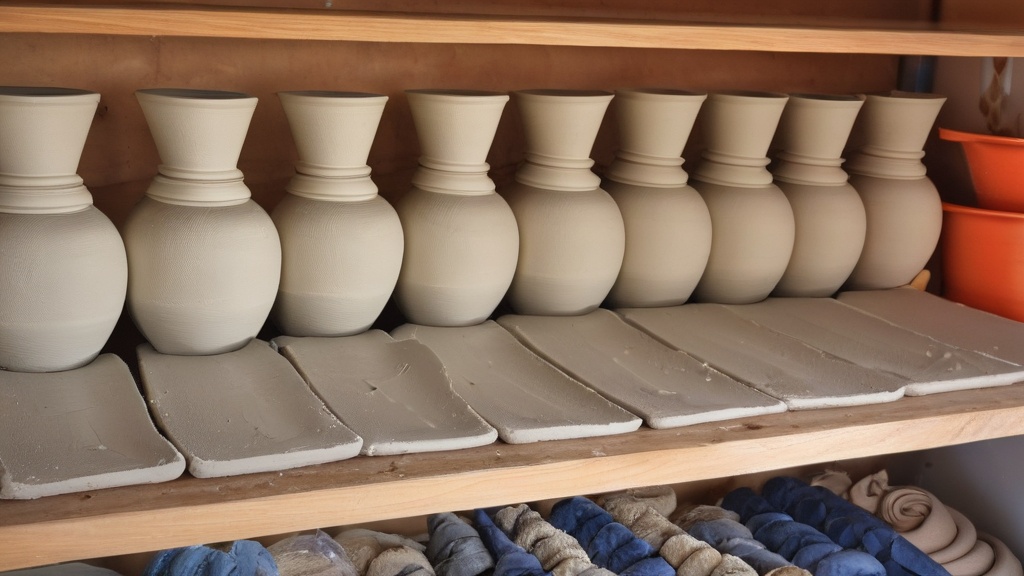
Don’t just leave your clay flat on a table. When you elevate your project, you allow air to circulate not just over the top, but also underneath. This is particularly important for pieces with a flat base or large underside. You can achieve this by placing your clay on a wire rack, a piece of mesh, or even small blocks that lift it slightly off the surface. This ensures all surfaces are exposed to airflow, promoting more even and thorough drying. Without this elevation, the bottom of your piece might remain damp long after the top has hardened.
Utilizing a Well-Ventilated Space
The overall environment where your clay dries makes a significant difference. Choose a room with good natural ventilation, perhaps near an open window (but out of direct drafts that could dry too quickly). If natural airflow is limited, consider using a small fan on its lowest setting, positioned to create gentle ambient air movement in the room rather than blowing directly onto the clay. Direct, strong airflow can cause the surface to dry out too rapidly, leading to cracking before the interior has a chance to catch up. The goal is consistent, gentle air movement, not a forceful blast.
Managing Environmental Humidity
You’ve learned that humidity is a major player in drying time, so actively managing it can make a substantial difference, especially if you live in a naturally damp climate.
Using a Dehumidifier
If you consistently find your clay taking a long time to dry, or if you notice your projects feeling slightly tacky even after a day, a dehumidifier can be an invaluable tool. By actively removing moisture from the air in your crafting space, a dehumidifier creates a drier environment that encourages faster and more efficient evaporation from your clay. You don’t need to turn your room into a desert, but maintaining a relative humidity level of around 40-50% can significantly cut down drying times and ensure a fully hardened end product.
Avoiding Humid Locations
It might seem obvious, but you should avoid drying your clay in inherently humid areas of your home. Basements, bathrooms (especially after showers), or kitchens during cooking can all have elevated humidity levels that will prolong drying. Instead, opt for a living room, bedroom, or a dedicated studio space that tends to be drier. If you have no choice but to use a slightly more humid area, try to schedule your drying during times when humidity is naturally lower or take extra steps to ventilate the space.
Accelerated Drying with Low Heat Baking
You might be surprised to learn that Sculpey air-dry clay isn’t strictly limited to air drying. While its primary characteristic is to harden without heat, Sculpey provides an option to accelerate the process through low-heat baking. This can be a game-changer when you’re on a tighter schedule or want to ensure a thorough cure for thicker pieces. However, it’s crucial to approach this method with caution and precision to avoid damaging your creation.
Sculpey’s Baking Recommendations
Sculpey’s official guidance confirms that its air-dry clay can indeed be baked to speed up drying. This isn’t the high-temperature baking you’d use for polymer clay; it’s a much gentler process designed to slowly remove moisture. You’ll find that Sculpey recommends baking its air-dry clay at a temperature of 200°F (approximately 93°C). This relatively low temperature is key to preventing the clay from burning, cracking too rapidly, or undergoing unwanted chemical changes. Always ensure your oven thermometer is accurate, as even slight temperature deviations can impact your results.
Baking Times Based on Thickness
Just like with air drying, the thickness of your project dictates how long it needs to bake at 200°F. You cannot apply a one-size-fits-all baking time.
Thin Pieces
For thinner pieces, those delicate details or flattened forms, Sculpey suggests a minimum baking time of at least 20 minutes. You should still monitor these pieces, as even thin clay can vary. The goal is to feel completely hardened and cool to the touch after baking. It’s always better to start with the minimum recommended time and check the clay’s hardness before deciding if it needs more oven time. Over-baking, even at a low temperature, can make the clay brittle or cause discoloration.
Thicker Pieces
When you’re dealing with thicker or more substantial pieces, you’ll need to extend the baking time significantly. There isn’t a precise minute-by-minute guide, as thickness varies so greatly. Instead, Sculpey advises requiring longer checks for hardness. This means you’ll bake for an initial period (perhaps 30-60 minutes for a moderately thick piece), then remove the item, allow it to cool completely, and check its firmness. If it still feels soft or damp in the center, return it to the oven for additional baking increments. You might find that a very thick piece requires several hours of intermittent baking to fully harden throughout. The key here is patience and regular checks, ensuring the heat has time to penetrate the core of the clay and evaporate all internal moisture. Always let the piece cool completely before re-checking for hardness, as clay can feel softer when warm.
Signs of Dryness and Finishing Your Project
| Clay Type | Drying Time | Thickness | Drying Conditions | Notes |
|---|---|---|---|---|
| Sculpey Air-Dry Clay | 24 to 72 hours | Up to 1/4 inch (6 mm) | Room temperature, well-ventilated area | Thin pieces dry faster; thicker pieces may take longer |
| Sculpey Air-Dry Clay | Up to 1 week | Over 1/4 inch (6 mm) | Room temperature, well-ventilated area | Thicker pieces require extended drying time to fully harden |
| Sculpey Air-Dry Clay | Varies | Any thickness | Humidity and temperature affect drying time | Higher humidity slows drying; warmer temperatures speed drying |
You’ve patiently waited, monitored the conditions, and perhaps even baked your Sculpey air-dry clay. Now, how do you know for sure that it’s truly dry and ready for the next stage of your creative process? Recognizing the signs of complete dryness is just as important as managing the drying time itself. Rushing the finishing touches on a still-damp piece can lead to a host of problems later on.
Identifying Fully Dry Clay
You’ll need to engage your senses to determine if your clay has reached its optimal dry state. Look for a combination of visual and tactile cues.
Visual Cues
Firstly, observe the color of your clay. Most Sculpey air-dry clays, when wet, have a slightly darker, more saturated color. As they dry, you’ll notice them becoming lighter, sometimes significantly so, returning to their original, unworked shade. This color change can be a good initial indicator, especially if you compare it to a fresh piece of clay. You should also look for the absence of any shiny, wet-looking patches, particularly in crevices or undercuts, as these often indicate lingering moisture. Finally, inspect for any signs of cracking. While some minor cracking can occur if drying is too rapid, extensive cracking, especially deep ones, might suggest uneven drying or that the clay was too thin in certain areas to begin with.
Tactile Cues
Beyond what you see, what you feel is paramount. A fully dry piece of Sculpey air-dry clay should feel hard and solid to the touch. There should be no give, no squishiness, and no cool, damp sensation. If you tap it gently with your fingernail, it should produce a crisp, solid sound, rather than a dull thud. Importantly, it should feel lightweight. As water evaporates, the clay loses density, becoming noticeably lighter. If a piece still feels heavier than you expect for its size, it’s likely still retaining some moisture. Pay particular attention to the thickest parts of your project, as these are the last areas to dry completely. A good test is to gently press a fingernail into an inconspicuous area; if it leaves an impression, it’s not fully dry.
Preparing for Painting and Sealing
Once you’re confident your clay is completely dry, you’re ready to move on to the exciting stage of embellishment. However, even at this point, a few preparatory steps will ensure the longevity and beauty of your finished project.
Sanding and Smoothing
You’ll often find that even perfectly dried air-dry clay has some rough spots, fingerprints, or minor imperfections from the sculpting process. Before painting, take the time to gently sand and smooth your piece. Use fine-grit sandpaper (around 220-400 grit) or sanding sponges. You can even use small files for intricate details. Sanding creates a smoother surface, which allows paint to adhere more evenly and gives your final piece a more professional appearance. Be gentle, especially with delicate areas, and wipe away any dust with a dry brush or cloth before moving on.
Priming the Surface
While not strictly mandatory for all paints, applying a primer to your dried and sanded Sculpey air-dry clay can significantly improve your results. A primer creates an even, uniform base for your paint, enhancing color vibrancy and ensuring better adhesion. It also helps to seal the porous surface of the clay, preventing it from “drinking up” too much paint, which can lead to dull colors or require multiple coats. A simple acrylic gesso or an all-purpose craft primer works wonderfully. Apply a thin, even coat and allow it to dry completely before you begin painting.
Applying Paint and Sealants
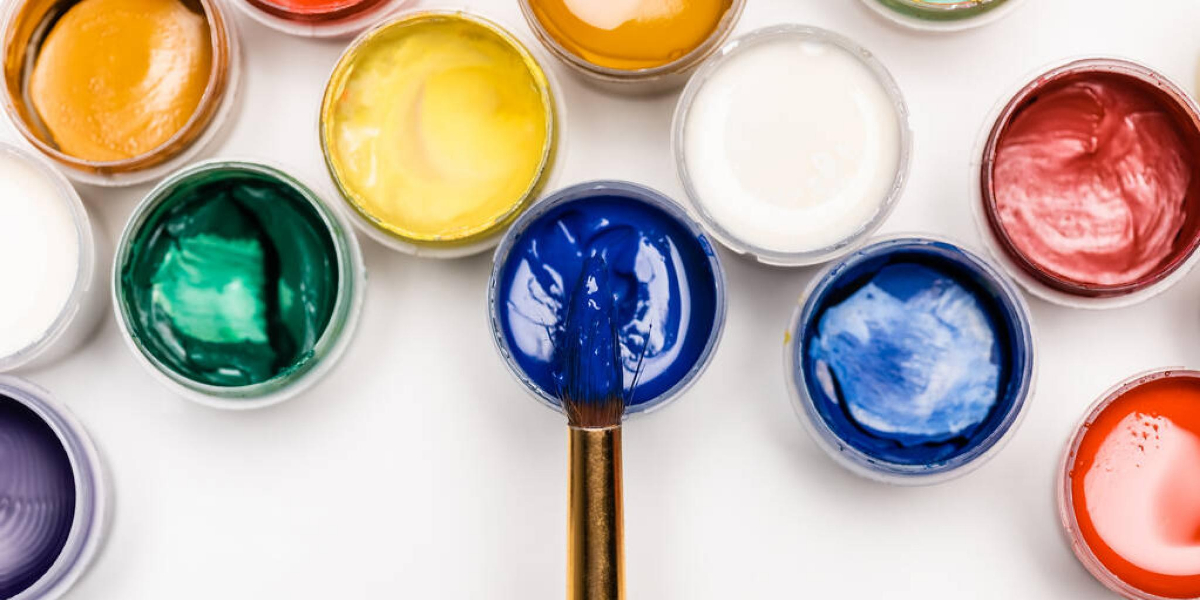
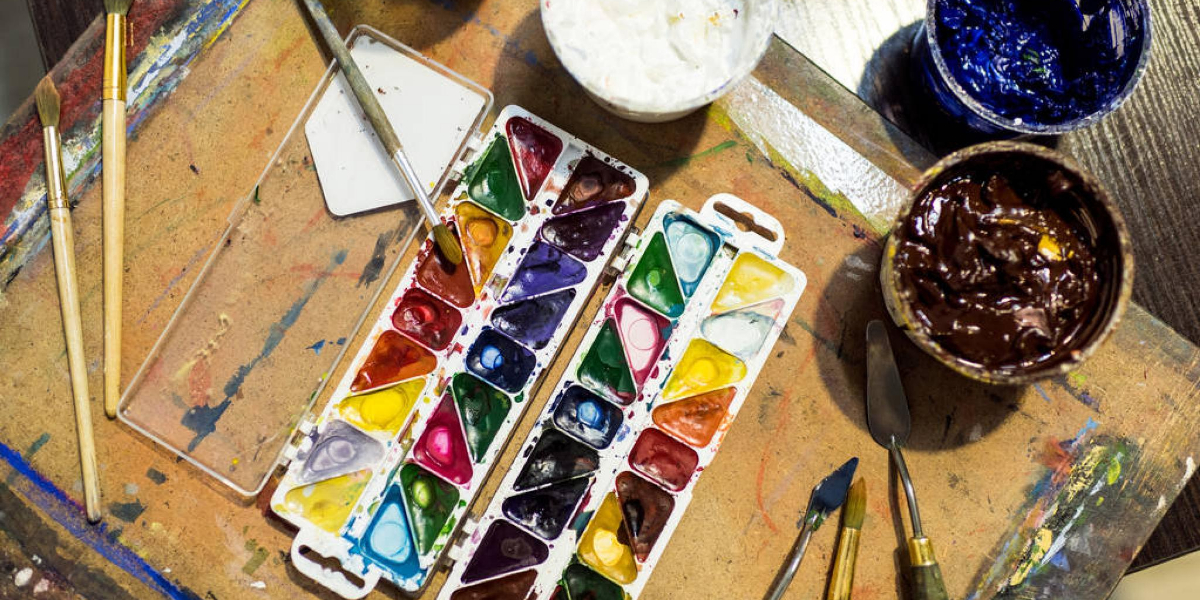
Now comes the fun part: bringing your creation to life with color! You can use a wide variety of paints on dried Sculpey air-dry clay, including acrylics, tempera, watercolors, or even oil paints (though oils will require longer drying times). Once your paint is completely dry, the final crucial step is to apply a sealant. A sealant, also known as a varnish or topcoat, protects your painted surface from dust, moisture, UV damage, and everyday wear and tear. It also enhances the finish, whether you prefer a matte, satin, or glossy look. Choose a clear, non-yellowing sealant that is appropriate for craft projects. Apply 2-3 thin, even coats, allowing each coat to dry thoroughly according to the product instructions. This final protective layer ensures your hard work stands the test of time.
FAQs
How long does Sculpey air-dry clay take to dry completely?
Sculpey air-dry clay typically takes about 24 hours to dry completely, depending on the thickness of the piece and the humidity levels in the environment. Thicker pieces may take longer to dry, while thinner pieces may dry faster.
Can I speed up the drying process of Sculpey air-dry clay?
Yes, you can speed up the drying process by placing the clay in a warm, dry area or using a fan to circulate air around it. However, avoid using direct heat sources like hair dryers or ovens, as they can cause the clay to crack.
What factors can affect the drying time of Sculpey air-dry clay?
Several factors can affect the drying time, including the thickness of the clay, the humidity and temperature of the environment, and the airflow around the piece. Higher humidity levels can slow down the drying process.
Is it safe to paint or seal Sculpey air-dry clay before it is fully dry?
It is recommended to wait until Sculpey air-dry clay is fully dry before painting or sealing it. Applying paint or sealant too early can trap moisture, leading to potential damage or a longer drying time.
Can Sculpey air-dry clay be rehydrated if it dries out too quickly?
Yes, if Sculpey air-dry clay dries out too quickly and becomes hard, you can try to rehydrate it by adding a small amount of water and kneading it until it becomes workable again. However, this may not always restore the clay to its original condition.