Making air dry clay hedgehogs offers you a straightforward, rewarding craft project that combines basic sculpting with painting techniques. You’ll start with simple materials—clay, matchsticks, and acrylic paint—to create charming little creatures. Whether you’re crafting with children or exploring a new hobby, this project teaches fundamental sculpting skills while producing decorative pieces you can actually display. But before you begin shaping that first ball of clay, understanding the precise steps and techniques will determine your success.
Key Takeaways
- Roll air dry clay into a smooth ball, point one end for the nose, and flatten the bottom to prevent rolling.
- Push 1-2 inch colored matchsticks or twigs into the clay in rows to create hedgehog spikes and texture.
- Add googly eyes or create indentations with a clay tool, then draw a simple mouth for facial features.
- Allow the completed hedgehog to air dry on a plastic bag for approximately three days before handling.
- Paint with acrylic base coat after 24 hours of drying, using black for bristle areas and terracotta for body.
History
Throughout the 20th century, inventors and craft developers experimented with new moldable materials, ultimately creating air dry clay—a self-hardening substance that’s revolutionized how we approach hands-on projects.
Early versions emerged from cold porcelain clay in Argentina, which combined cornstarch and glue into a workable paste.
As experimentation expanded across Europe and the United States, craftspeople developed paper clay by mixing cellulose fibers into traditional clay, while others created polymer alternatives in their labs.
The true breakthrough occurred when inventors combined glue, starch, and plasticizer, producing a material that you could mold easily and that hardened without requiring a kiln.
This innovation democratized clay crafting, making it accessible to everyone regardless of equipment or experience level, paving the way for modern educational applications like hedgehog sculptures. Today, air-drying clay remains a popular choice for teaching scissor skills and fine motor development in preschool and toddler activities.
Project
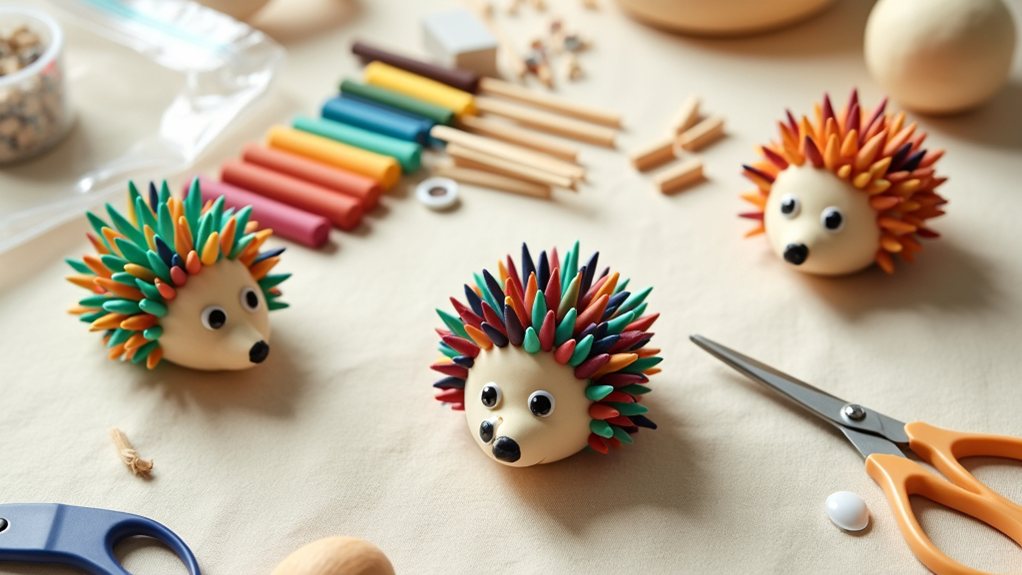
Creating an air dry clay hedgehog is a delightful craft project that combines simple sculpting with fine motor skill development. This budget-friendly activity uses materials readily available at dollar stores, making it perfect for classrooms, home daycare settings, or family craft time.
The finished hedgehogs make charming decorations and serve as wonderful keepsakes of your child’s creative work.
The beauty of this project lies in its accessibility and flexibility. Whether you’re working with one child or a group, the basic technique remains straightforward: shape clay into a ball, add simple facial features, and insert colorful spikes. For younger toddlers who may struggle with shaping, adult assistance can help ensure smooth participation and successful results.
The process encourages children to practice scissor skills by cutting matchsticks to various lengths and develops their fine motor control through pinching, poking, and positioning materials. With minimal setup and cleanup, this 15-minute activity delivers maximum creative satisfaction.
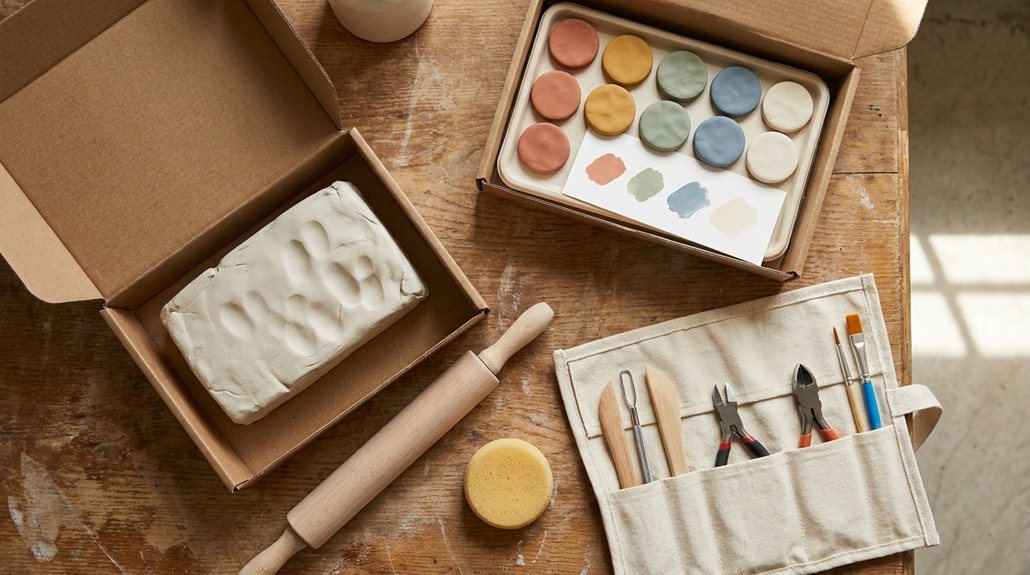
Materials:
- Air dry clay (IOD brand or similar dollar store option)
- Child-safe scissors
- Colored matchsticks or natural twigs
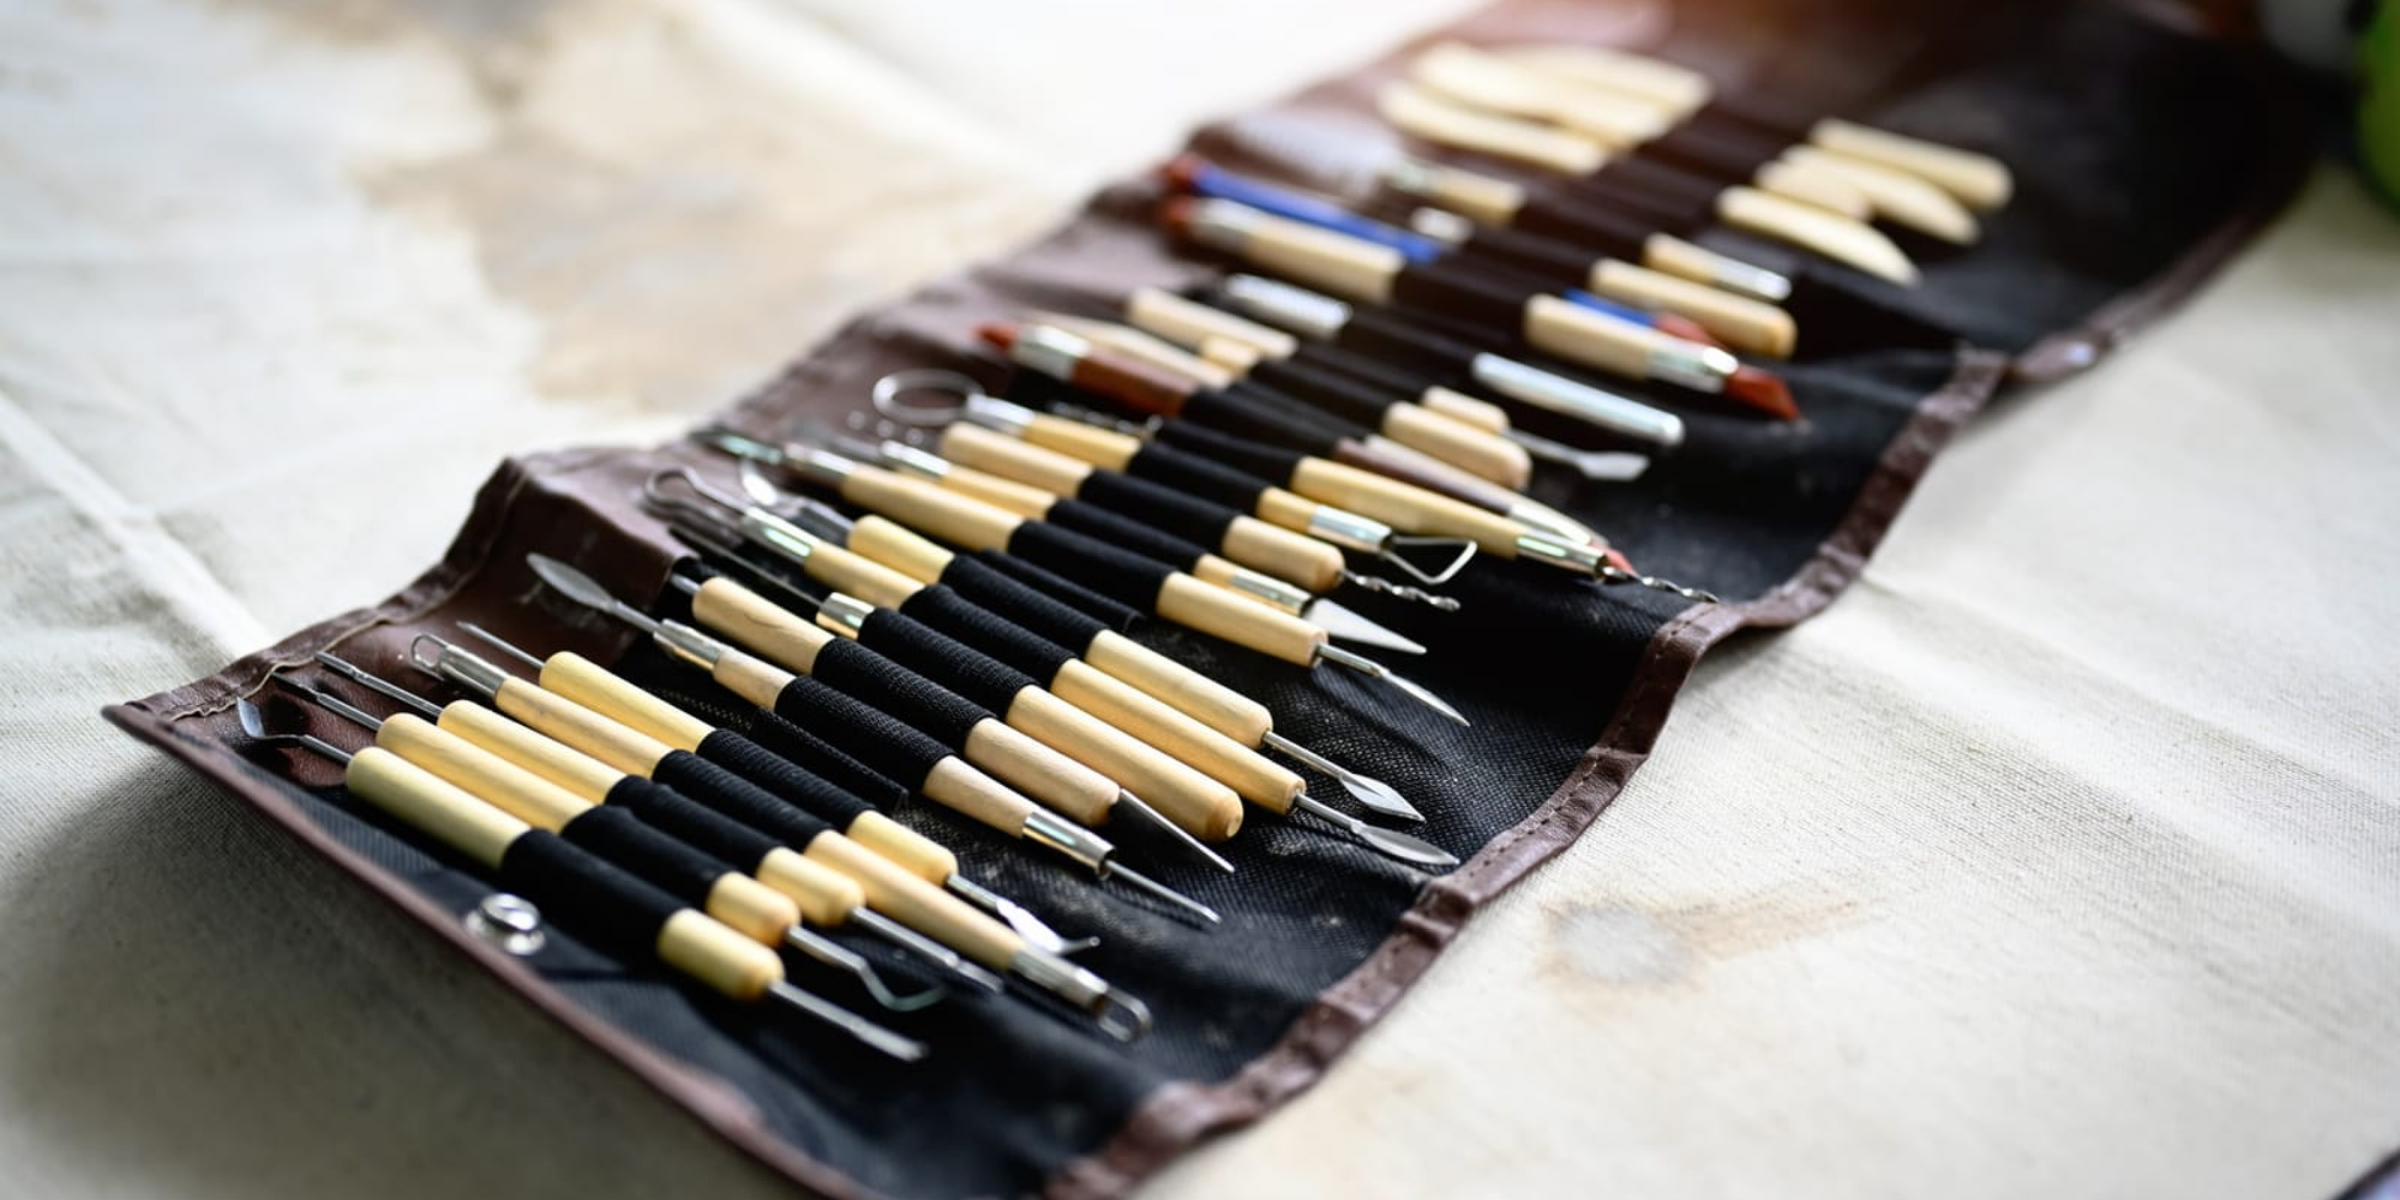
- Clay modeling tools
- Googly eyes (optional but recommended)
Instructions:
Begin by rolling your air dry clay into a smooth ball or oval shape for the hedgehog’s body, then gently point one end to create a nose and flatten the bottom to prevent rolling.
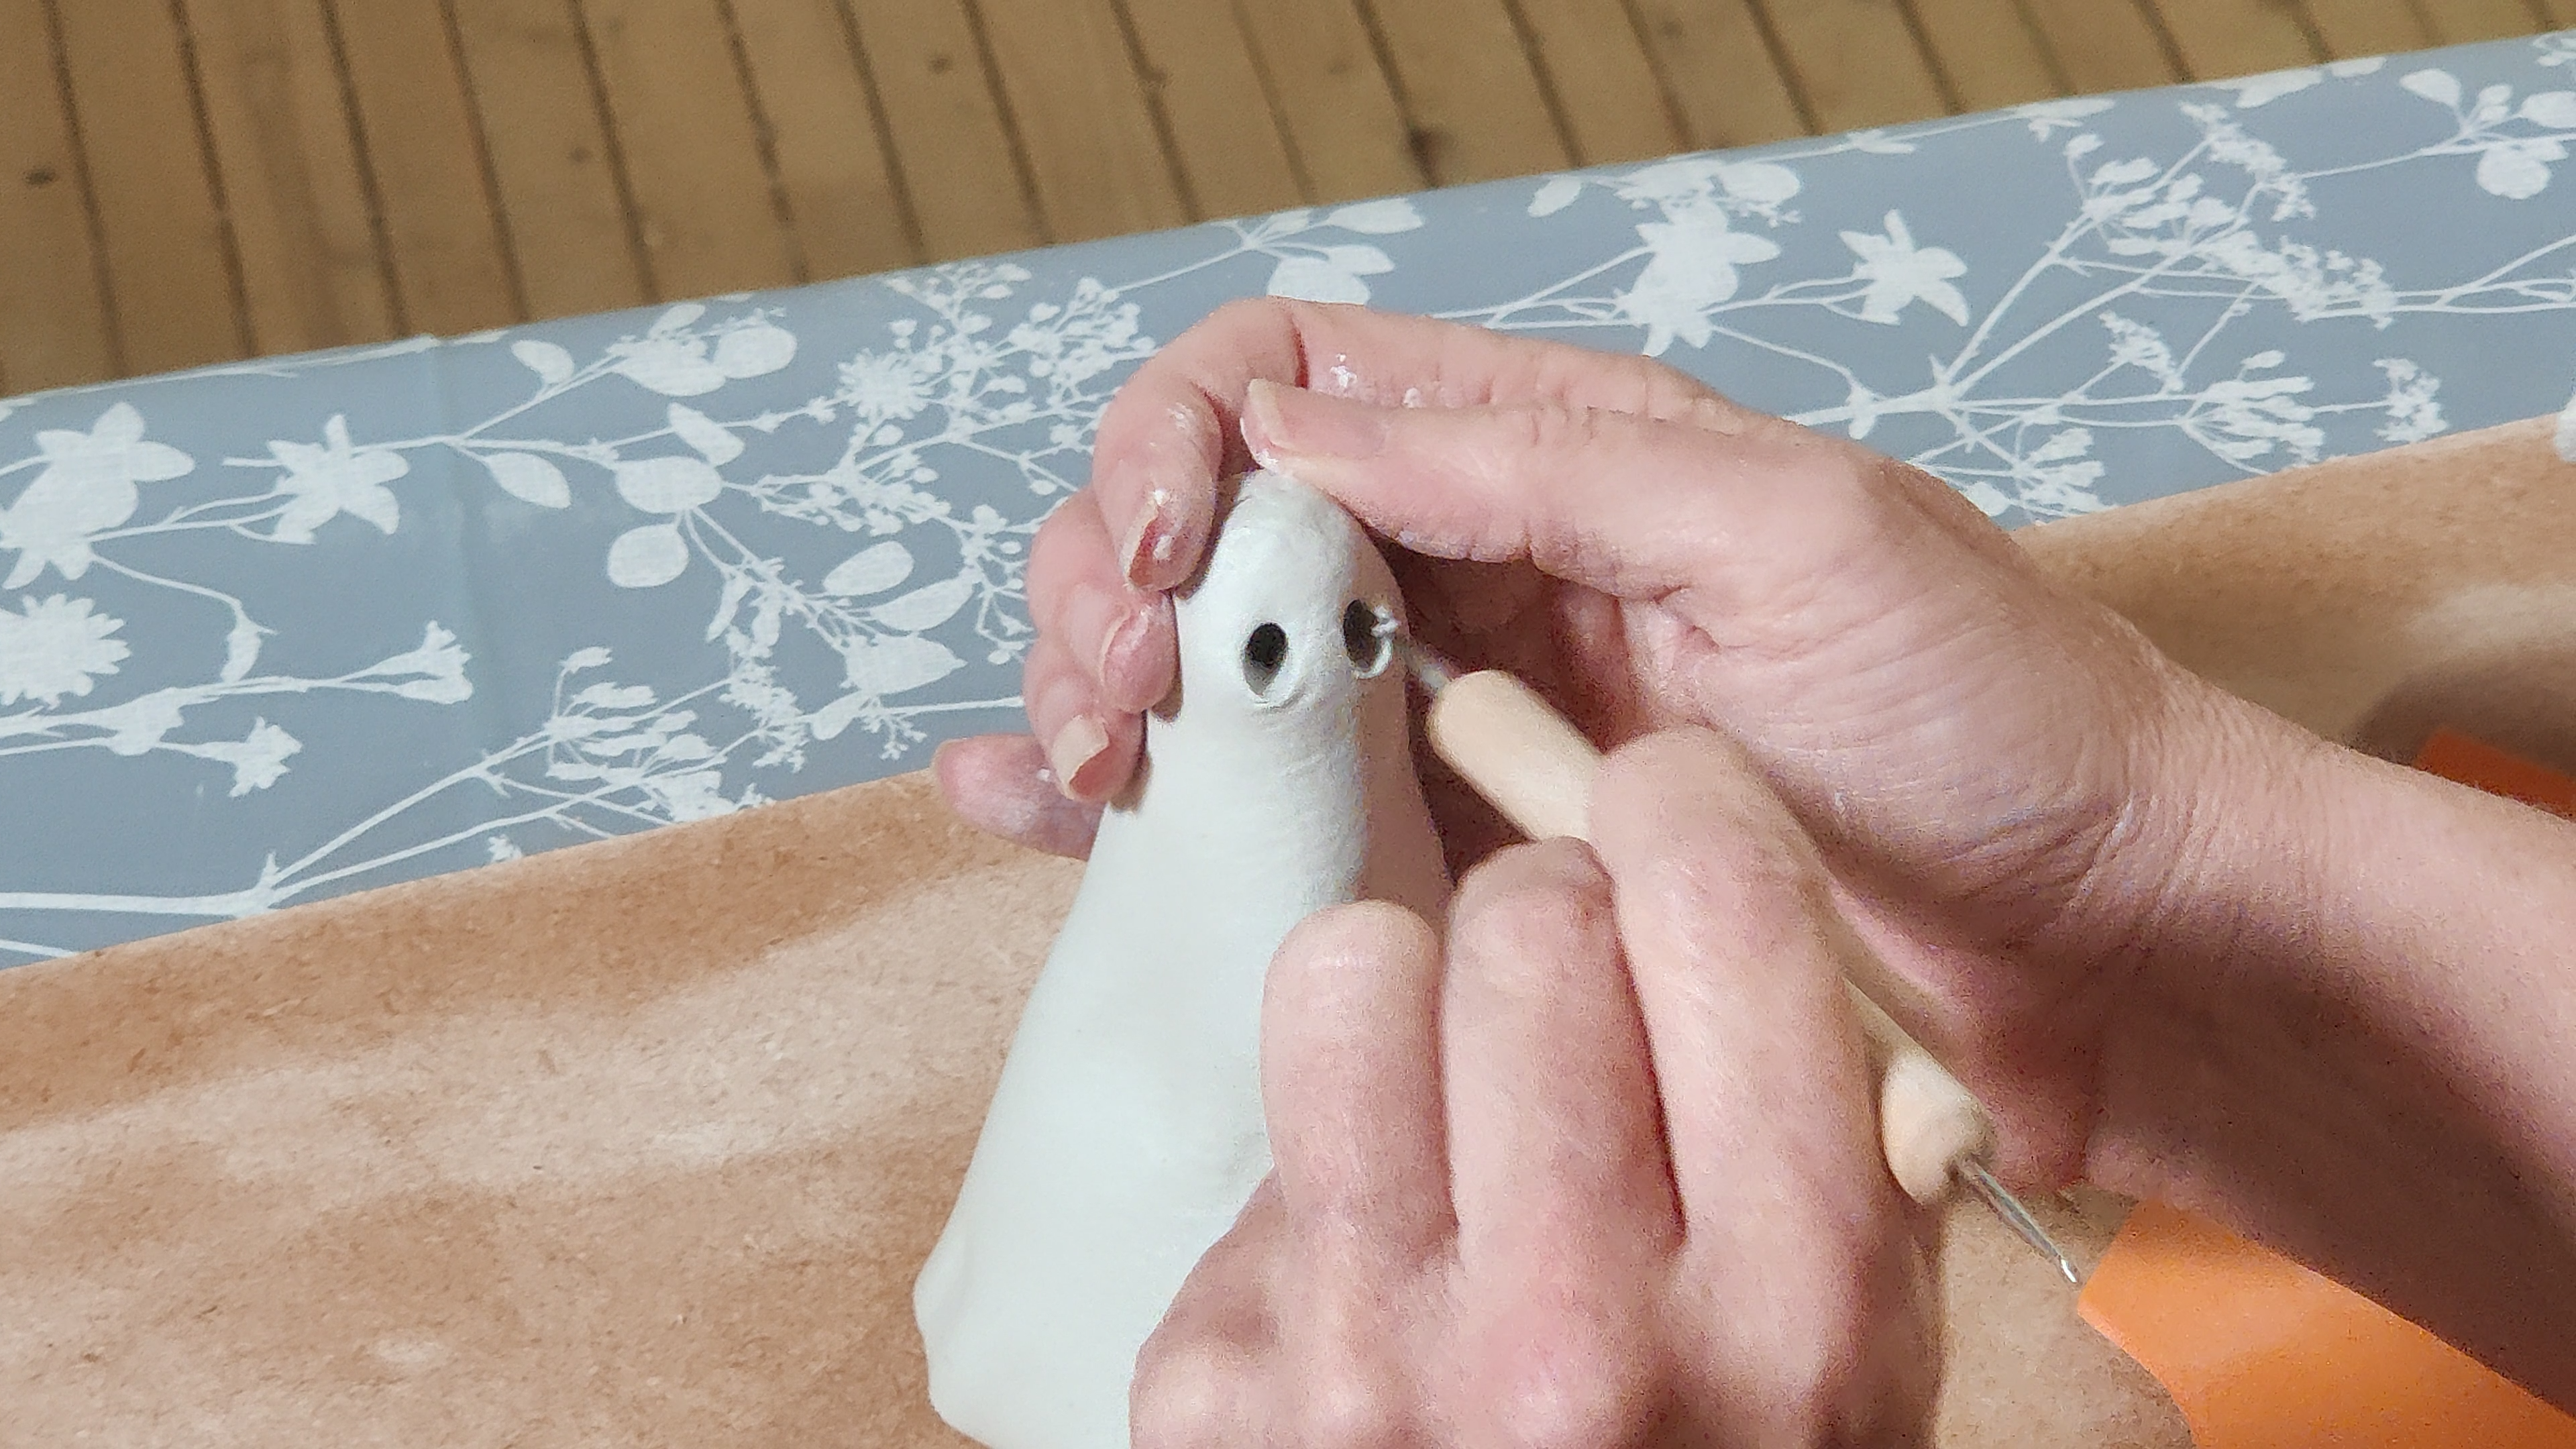
Use a clay tool to poke two small indentations for eyes and either insert googly eyes or draw a simple mouth with your tool.
Cut your colored matchsticks or twigs into varying lengths—typically 1 to 2 inches (2.5 to 5 cm)—and push them firmly into the clay body in rows to create the hedgehog’s spines, allowing your child to arrange them in their own unique pattern.
Allow the completed hedgehog to air dry on a plastic bag for approximately three days, which will help the clay set while holding all inserted materials securely in place.
Extra Tips:
Air dry clay shrinks slightly as it cures, which actually helps secure the matchsticks and eyes more firmly in place, so don’t be alarmed by minor size reduction.
To prevent cracking during the drying process, ensure you create a small drainage hole in the bottom of your hedgehog and maintain a slight air passage between the head and body if they’re separate pieces.
If traditional air dry clay proves too crumbly, non-drying modeling clay works equally well and won’t crack when pierced with spikes, though it won’t fully harden for display.
Project Steps
Now that you’ve prepared your clay, you’ll roll it into a ball and gradually shape it into your hedgehog’s body while pinching the nose forward to create that characteristic pointed snout.
Next, you’ll build the hedgehog’s distinctive appearance by creating spiky quills that you’ll attach across the body, then add clay eyes to bring your creature to life. Start by using spare balls to make the spikes for the back and tail, shaping them flat on the sides before connecting them to the main body structure.
Finally, you’ll paint or add additional details to complete your hedgehog, transforming your simple clay form into a finished, charming creation ready for display.
Step 1. Roll Clay Into Ball
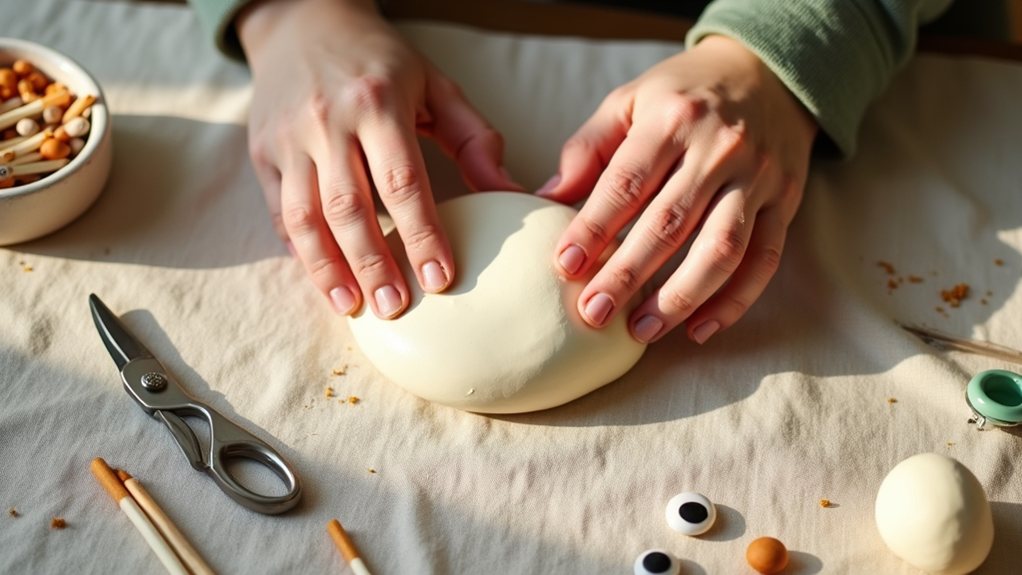
Before you can construct your hedgehog’s body, you’ll need to prepare your clay by rounding the corners of your clay block in the palm of your hand, then carefully squeeze those corners between both hands to push them inward further before you begin the full rolling motion.
Roll two equal-sized clay balls approximately 2.5 inches in diameter between your palms with gentle, careful movements to avoid creating fine cracks from excess handling.
If cracks develop, apply water spray to repair them.
Allow your clay balls to firm up until they reach a leather-hard stage, becoming cold to touch but no longer flexible. A practice run with your first sphere will help you understand the pressure needed for proper impressions before committing to your final design.
This hardening prevents collapse during subsequent assembly steps.
Consistent sizing between both balls ensures even hemisphere formation and proper proportions for your final hedgehog sculpture.
Step 2. # Step 2: Pinch Nose Forward
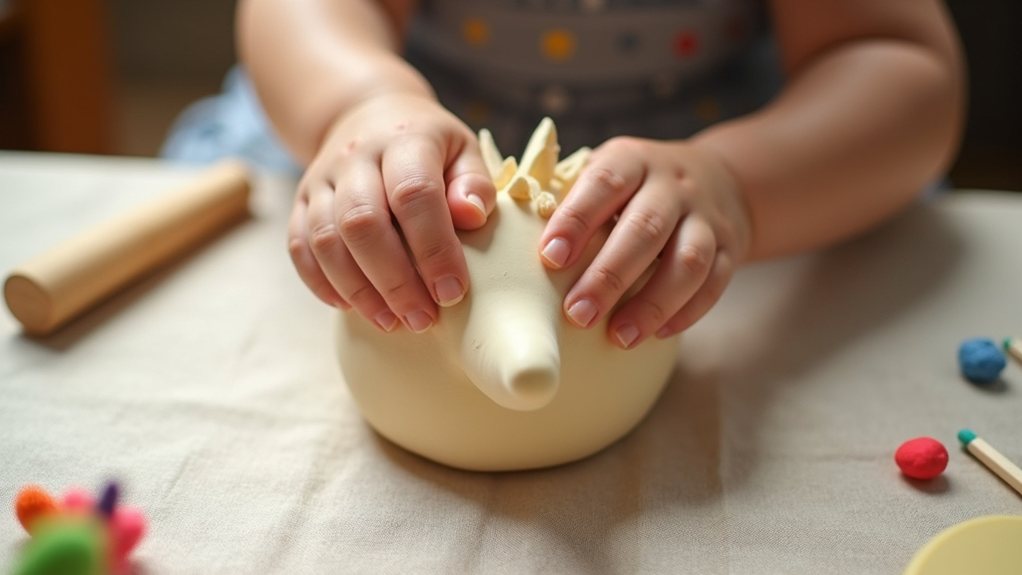
With your clay balls now firmed to a leather-hard stage, you’re ready to shape the hedgehog’s distinctive facial features by pinching the nose forward.
Pinch the forward section of your clay ball gently between your thumb and forefinger, creating a thin protrusion that resembles a volcano top.
As you work, use two fingers to push indentations into the sides where the eyes will eventually be positioned.
Check your hedgehog’s profile view frequently to verify that the nose height, width, and length appear balanced and proportional to the body.
Ensure your hedgehog still sits flat on its base after pinching. Reference printed images throughout this step to guide the hedgehog’s characteristic snout appearance and proportions.
This foundational shaping determines your finished piece’s overall character and charm.
Step 3. Step 3: Create Spiky Quills
Once you’ve shaped your hedgehog’s face, you’re ready to transform its smooth body into a spiky masterpiece using one of several creative techniques.
You can push colored matchsticks densely into the clay body, positioning them around the entire form while excluding the face area.
Alternatively, cut bristles to length, dip their ends in white glue, and insert them into the clay, working from the sides and filling tightly for complete texture coverage.
For a natural approach, embed small outdoor twigs firmly into an air-dry clay ball, arranging them to radiate outward.
Another option involves rolling thin clay ropes, flattening them slightly, and wrapping them around the upper body half, smoothing the seam with a moist finger to create a realistic peaked shape. For best results with clay coils, apply slip to the hedgehog before placing the worms to ensure secure adhesion and proper texture development.
Step 4. Step 4: Add Clay Eyes
Your hedgehog’s face truly comes to life when you add expressive eyes, and you’ve got several excellent techniques to choose from depending on your skill level and available materials.
The simplest approach uses the poking method, where you create small indentations with a clay tool after shaping the nose.
For more dimension, try the clay dots method by flattening tiny black clay pieces above the nose, blending them gently into the body. However, be aware that some air-dry clays have blending challenges, making it difficult to achieve smooth transitions between features.
If your air-dry clay resists blending smoothly, apply premix clay over it to define eyelids and details.
Alternatively, insert small beads or steel ball bearings before the clay fully dries, securing them permanently as it sets.
Each technique delivers realistic results suited to different crafting preferences and experience levels.
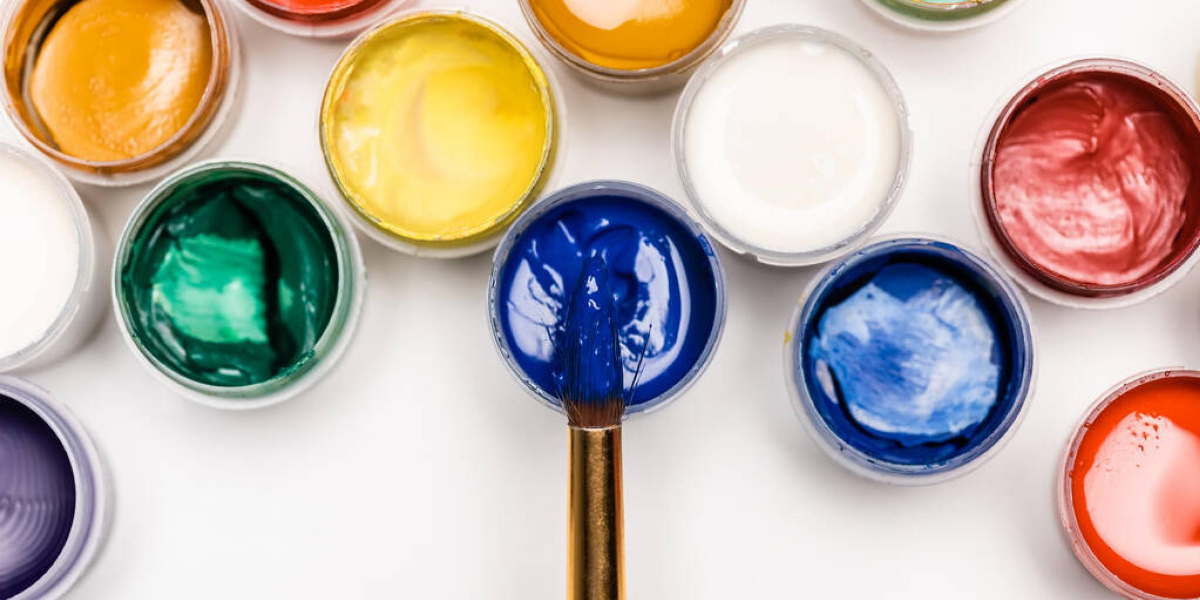
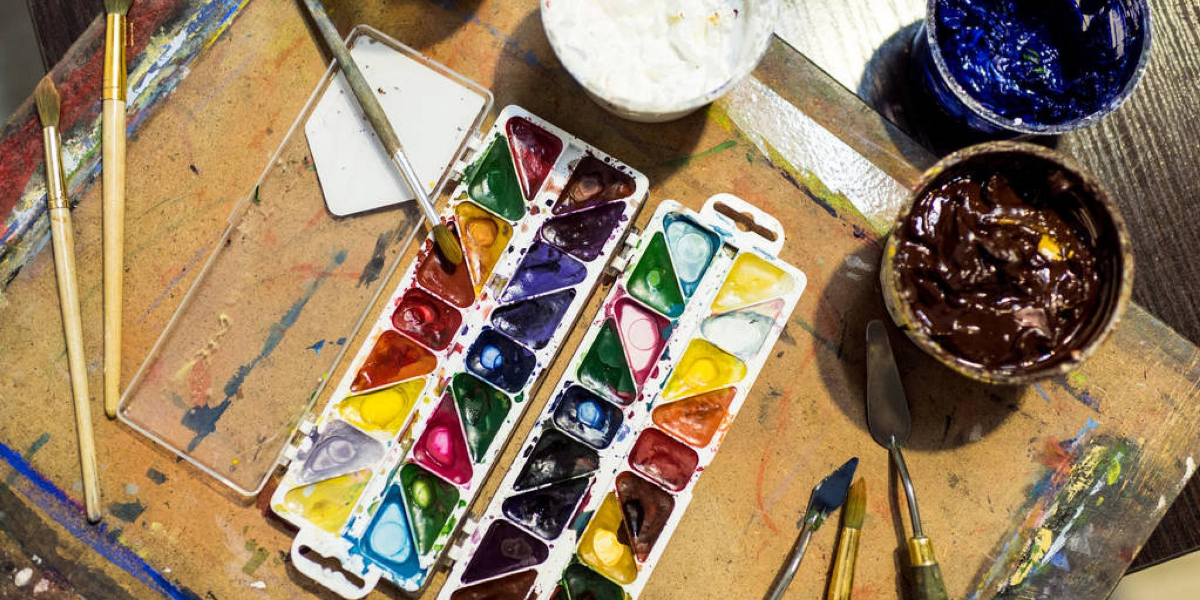
Step 5. Step 5: Paint Details
After your hedgehog’s clay has fully dried for approximately 24 hours, you’re ready to bring out its personality through strategic painting and finishing touches.
Apply a uniform base coat of acrylic paint across the entire surface, using black on the upper body where you’ll attach bristles and terracotta or natural tones elsewhere for realism.
Use thin layers to prevent cracking on the dried clay. Music and audio elements can enhance your creative process while working on detailed projects like this.
Paint the face and upper body black before attaching any bristles, then add white highlights lightly across the surface for variation.
Define fine details like whiskers and quill textures using a fine brush.
Dilute paint with water to wash into crevices, enhancing the natural texture.
Allow each layer to dry completely before applying the next coat for optimal results.
Final Thoughts
Making air-dry clay hedgehogs represents a rewarding craft project that combines artistic expression with skill-building opportunities across multiple developmental areas. You’ve developed fine motor skills, hand-eye coordination, and creative problem-solving throughout this process.
While air-dry clay presents durability challenges—remaining somewhat soft and prone to edge crumbling—you can minimize these issues by allowing adequate drying time and using supportive bases like Styrofoam or tin foil structures.
Your hedgehog’s longevity improves significantly when you follow proper drying protocols, including adequate air passage and ventilation holes.
Whether you’ve chosen IOD air-dry clay or salt dough alternatives, you’ve created a personalized sculpture reflecting your artistic vision.
Consider experimenting with colored matchsticks, marbled effects, or varied spike placements to enhance future projects.
Your continued practice builds confidence and mastery.