Understanding Air Dry Clay Drying Times
You’ve just sculpted a masterpiece with air dry clay, and now the anticipation sets in: how long until your creation is fully dry and ready for its final touches? Understanding the drying process for air dry clay is crucial for achieving successful, crack-free results. Unlike traditional pottery clay that requires a kiln, air dry clay hardens through evaporation, meaning the water within the clay simply needs time to escape into the surrounding air. This process isn’t instant, and several factors will influence just how long you’ll be waiting.
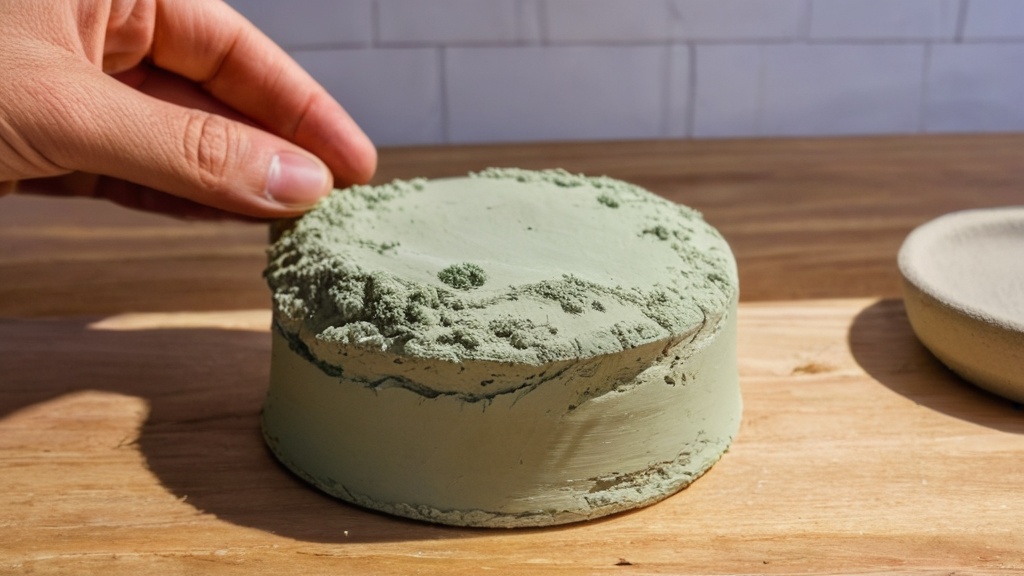
Generally, you can expect your air dry clay project to feel dry to the touch within about 24 hours. This is the point where the surface moisture has evaporated, and you can usually handle the piece without fear of marring its shape. However, “dry to the touch” doesn’t mean fully cured. The interior of your sculpture will still hold considerable moisture, and it’s essential to allow this to evaporate completely to prevent cracking, weakening, or even mold growth down the line. For a complete, thorough drying, most projects will require anywhere from 24 to 72 hours. Larger or thicker pieces, however, can extend this timeline significantly, sometimes taking up to a week to fully cure. This isn’t a precise science, as the environment and the characteristics of your piece play a significant role.
Why Drying Time Varies
The beauty of air dry clay lies in its simplicity, but this also means you’re relying on atmospheric conditions for its hardening. Several key elements will dictate whether your project dries quickly and evenly or takes its sweet time, potentially leading to issues. Being aware of these factors allows you to proactively create the best drying environment for your creations.
The Impact of Thickness
This is arguably the most significant factor affecting drying time. Think of it like a sponge: a thin, damp sponge will dry much faster than a thick, saturated one. The same principle applies to your clay. A delicate leaf or a small, flat ornament will naturally shed its moisture much quicker than a solid, chunky sculpture. For thicker pieces, the moisture has a longer journey to travel from the core to the surface, slowing down the overall evaporation rate. A practical rule of thumb suggests approximately 24 hours of drying time for every centimeter of thickness. So, if your sculpture is 3 centimeters thick, you might be looking at a minimum of 72 hours for complete dryness. Don’t underestimate this factor; attempting to speed up the drying of thick pieces too aggressively can lead to surface drying while the interior remains damp, a recipe for cracks.
Environmental Conditions
Your surrounding environment plays a pivotal role in how efficiently your clay dries. Air dry clay thrives in specific conditions.
Humidity Levels
High humidity is the enemy of fast drying. When the air is already saturated with moisture, it has a reduced capacity to absorb more water from your clay. If you live in a humid climate or are drying your clay on a particularly damp day, expect extended drying times. Conversely, a drier environment will draw moisture out of the clay more efficiently, speeding up the process. While you can’t control the weather, you can influence the immediate environment around your clay, as we’ll discuss later.
Airflow and Ventilation
Stagnant air means moisture that has evaporated from your clay tends to linger around the piece, forming a localized humid microclimate. Good airflow, on the other hand, constantly whisks away this evaporated moisture, allowing the clay to continue releasing water effectively. Placing your clay in a well-ventilated room, or even near an open window (without direct sunlight or drafts), will significantly improve drying times. Think of a clothesline: clothes dry much faster with a breeze than hanging in a still, stuffy room.
Room Temperature
Temperature also influences evaporation rates. Warmer temperatures generally encourage faster evaporation. However, there’s a fine line to walk here. While a warm room is beneficial, excessive heat can be detrimental. We’ll delve into the dangers of extreme heat in a later section, but for now, understand that a comfortable room temperature is ideal. Aim for typical indoor temperatures, generally between 68-75°F (20-24°C).
Type of Air Dry Clay
While many air dry clays share similar characteristics, there can be subtle differences between brands and formulations. Some clays are designed for quicker drying, while others might have a slightly denser composition that requires more time. Always refer to the manufacturer’s specific recommendations on the packaging of your chosen clay. These guidelines are tailored to the specific properties of their product and will provide the most accurate starting point for drying times.
Recognizing When Your Clay is Fully Dry
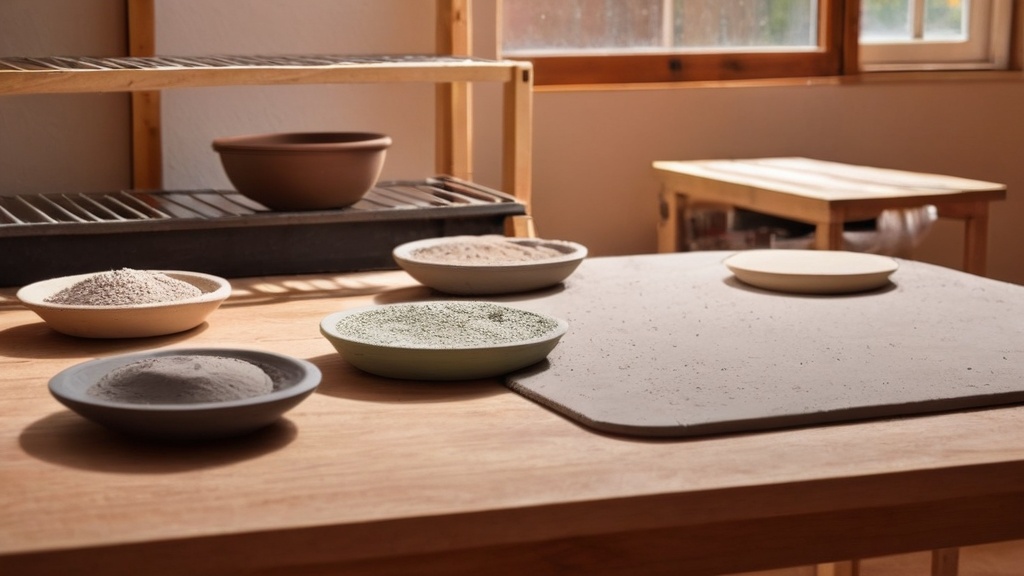
Knowing when your air dry clay is truly ready is more than just a waiting game; it involves observation and understanding a few key indicators. Rushing this stage can lead to disappointment later on, so patience is key.
Visual Cues
Your eyes will be your primary tool in assessing dryness. As air dry clay dries, it undergoes noticeable visual transformations.
Color Change
Most air dry clays, regardless of their initial color, will lighten as they dry. A dark, wet clay will become a lighter, often duller shade when completely dry. This color change is a reliable indicator that moisture is leaving the clay. Observe your piece carefully from all angles, especially in crevices and thicker sections. Any darker patches indicate remaining moisture.
Opacity and Finish
Wet clay often has a slightly translucent or glossy appearance due to the surface moisture. As it dries, it will become more opaque and develop a matte finish. This dullness signals that the surface is no longer saturated with water. If you see any shiny or darker, wet-looking spots, keep drying.
Tactile Indicators
Beyond what you see, how your clay feels to the touch provides crucial information about its dryness.
Firmness and Rigidity
When wet, air dry clay is pliable and somewhat soft. As it dries, it will become progressively harder and more rigid. A fully dry piece will feel solid and unyielding. You should be able to tap it gently and hear a solid, almost resonant sound, rather than a dull thud.
Temperature
A piece of clay that is still damp will often feel cooler to the touch than the surrounding air. This is due to evaporative cooling, where the escaping water draws heat away from the surface. Once fully dry, your clay piece should feel at ambient room temperature, no longer cool to the touch. Pay attention to the interior and thicker sections; if they still feel cool, there’s moisture lurking.
Weight
While subtle, a completely dry piece of air dry clay will be noticeably lighter than when it was wet. This is because all the water that was bound within the clay has evaporated. If you can, lift your piece occasionally during the drying process. A significant reduction in weight is a good sign of complete dryness.
Best Practices for Successful Drying
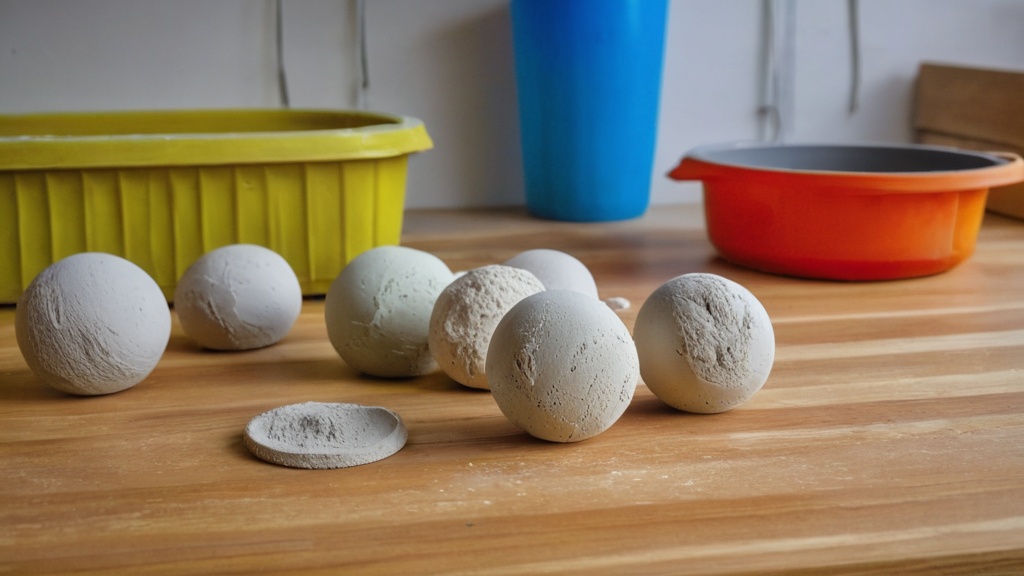
You can’t just set your clay aside and forget about it. Proactive steps during the drying process will minimize the risk of cracks, warping, and uneven hardening, ensuring your creation looks its best.
Choose the Right Drying Location
The environment you select for drying your clay is paramount. Don’t underestimate its importance.
Well-Ventilated Area
As discussed, good airflow is critical. Find a spot in your home that has consistent air movement but isn’t subject to direct, strong drafts. A room with an open window (but not directly in front of it) or a fan running on a low setting in the general vicinity can be very effective. Avoid enclosed spaces like cupboards or drawers, as these will trap humidity and slow down drying considerably.
Stable Room Temperature
Aim for a comfortable, consistent room temperature. Extreme fluctuations in temperature can stress the clay and contribute to cracking. Avoid placing your clay near heat sources like radiators, heating vents, or fireplaces. While warmth aids evaporation, intense heat can dry the surface too quickly, sealing in moisture and leading to internal stress and surface cracks.
Away from Direct Sunlight
Direct sunlight, while warm, can be too intense for air dry clay. Similar to artificial heat sources, intense sun can cause the surface to dry out much faster than the interior, leading to uneven drying and cracking. The UV rays can also sometimes affect the clay’s properties or cause premature fading of any colors if the clay is pre-colored. A shaded, indirect light spot is best.
Proper Placement and Support
How you position your clay piece during drying also matters, especially for complex or multi-dimensional sculptures.
Elevate Your Piece
To encourage even airflow around all surfaces of your clay, elevate it. Placing your piece directly on a flat, solid surface can restrict airflow to the bottom, leading to slower drying and potential issues like sticking. Use a wire rack, a piece of cardboard with holes, or even small blocks to lift your sculpture slightly. This allows air to circulate underneath, promoting uniform drying.
Turn Your Piece Periodically (If Applicable)
For three-dimensional sculptures, especially those with varying thickness, gently turning your piece every 12-24 hours can be beneficial. This exposes different sides to the air, promoting more even drying and reducing the likelihood of one side drying faster than another and causing warping or cracking. Be very careful when handling still-damp clay, as it can be fragile.
Support Delicate Areas
If your sculpture has thin, delicate parts, or sections that protrude significantly, consider adding temporary supports during the initial drying stages. Crumpled aluminum foil, cotton balls, or even small props can help maintain the shape and prevent sagging or breakage as the clay loses its structural integrity during the drying process. Remove these supports once the clay has gained sufficient strength.
Gradual Drying Techniques for Thicker Pieces
Thicker pieces are particularly susceptible to cracking if dried too quickly. For these, a more gradual approach is essential.
The “Slow and Steady” Approach
The golden rule for thick air dry clay is patience. Resist the urge to speed up the process. A slow, steady rate of moisture loss from the surface allows the interior moisture to catch up, preventing the surface from drying and shrinking before the inside.
Partial Covering
For very thick pieces, or if you notice the surface drying too rapidly (indicated by very light color and firmness while the core is still soft), you can partially cover the piece. Drape a light, breathable fabric (like an old sheet or a very thin towel) loosely over it, or place it inside a loosely sealed plastic bag with a small opening. This reduces the immediate exposure to air, slows surface drying, and allows the internal moisture to equalize. Remove the covering once the overall dryness starts to progress more evenly.
Common Drying Problems and How to Avoid Them
Even with the best intentions, you might encounter issues during the drying process. Understanding why these problems occur and how to prevent them can save your projects from disaster.
Cracking and Warping
These are perhaps the most common and frustrating problems with air dry clay.
Uneven Drying
This is the primary culprit behind most cracks. When one part of your sculpture dries significantly faster than another, the faster-drying section shrinks, creating tension and pulling on the still-wet parts. This stress often manifests as cracks. Thicker sections are prone to remaining wet while thinner sections or the surface dries quickly. As mentioned before, ensuring good airflow around all surfaces, elevating your piece, and turning it periodically can help. For thicker pieces, a slower, more controlled drying method is crucial.
Drying Too Quickly
Aggressively trying to speed up drying with direct heat (hairdryers, ovens, radiators) or intense sunlight almost always leads to cracking. The rapid surface drying traps moisture inside, creating immense internal pressure as the inner clay tries to shrink while the outer layer is already rigid. The outer layer then tears, resulting in cracks. Always prioritize a gentle, natural drying process.
Excessive Thinness or Weak Points
Very thin sections of clay are more fragile and can dry out much faster, leading to stress fractures if they’re connected to a much thicker section. Similarly, weak points in the design, such as sharp angles or areas where different pieces are joined, can be prone to cracking. Reinforce these areas during sculpting if possible, or ensure extra care during drying.
Using Too Much Water During Sculpting
While water is necessary for workability, using an excessive amount when sculpting can increase the overall drying time significantly and also contribute to structural weakness once dry. When the clay loses all that excess water, it will shrink more, increasing the chances of cracking.
Mold Growth
While less common with modern air dry clays, mold can occasionally appear.
High Humidity and Poor Airflow
Mold thrives in damp, stagnant environments. If your clay is taking an exceptionally long time to dry and is in a humid, poorly ventilated area, you create a perfect breeding ground for mold. Ensure good airflow and lower humidity if possible to prevent this.
Contamination
Sometimes, mold spores can be introduced from your hands, tools, or even the water you use. Always work with clean hands and tools. If mold does appear, often it’s on the surface. You can try to gently scrape it off, and then thoroughly dry the piece in a well-ventilated area. If the mold has penetrated deeply, the piece might be unsalvageable.
Sticking to Surfaces
This issue is more annoying than destructive but can still mar your piece.
Drying Directly on Impermeable Surfaces
Placing your wet clay directly on a smooth, non-porous surface like glass, plastic, or a varnished table can cause it to stick as it dries. The moisture has nowhere to go on the bottom, and the shrinking clay adheres to the surface. Always use a porous surface or elevate your piece on a wire rack to prevent sticking.
Not Applying a Release Agent
If you must dry on a less-than-ideal surface, or for very delicate pieces, you can place a piece of parchment paper or wax paper underneath to act as a release agent. However, elevating the piece for airflow is still the best solution.
Post-Drying Steps and Finishing
| Type of Air Dry Clay | Thickness | Drying Time | Notes |
|---|---|---|---|
| Standard Air Dry Clay | Up to 1/4 inch (6 mm) | 24 hours | Drying time may vary with humidity and temperature |
| Standard Air Dry Clay | 1/4 inch to 1/2 inch (6-12 mm) | 48 hours | Thicker pieces require longer drying |
| Standard Air Dry Clay | Over 1/2 inch (12 mm) | 72 hours or more | May need to dry slowly to avoid cracking |
| Lightweight Air Dry Clay | Up to 1/4 inch (6 mm) | 12-24 hours | Dries faster due to lighter composition |
| Modeling Air Dry Clay | Varies | 24-72 hours | Depends on brand and thickness |
Once your air dry clay is completely dry, your journey isn’t over. There are a few essential steps to ensure its longevity and bring your creative vision to life.
Sanding and Smoothing
Even with careful sculpting, your dried clay might have some rough spots, fingerprints, or minor imperfections.
Fine-Grit Sandpaper
Once fully dry, air dry clay can be sanded to achieve a smooth finish. Use fine-grit sandpaper (180-220 grit) to gently rub away any bumps, lines, or unwanted textures. For very delicate areas, you can use a nail file or even a soft emery board. Always sand in a well-ventilated area, and wear a mask to avoid inhaling clay dust.
Damp Sponge Smoothing
For very minor imperfections, or to achieve a slightly smoother, more organic feel, you can gently rub the dry clay with a slightly damp sponge. This can help to meld small fibers or even out textures. Be careful not to re-wet the clay too much, as this can reactivate it and potentially cause issues. This technique is often used before painting.
Painting Your Creation
This is where your piece truly comes to life with color.
Acrylic Paints
Acrylic paints are an excellent choice for air dry clay. They are water-based, dry quickly, and offer a wide range of vibrant colors. They adhere well to the matte surface of dried clay. You can apply multiple layers for opacity and detail.
Gesso Primer (Optional but Recommended)
For a more professional finish, or if you plan to use lighter colors on a darker clay, consider applying a layer of gesso primer first. Gesso creates a uniform, opaque white base that helps your colors pop and provides an even surface for painting. It can also help seal the clay slightly before painting.
Sealing and Protecting
To protect your finished artwork from moisture, dust, and general wear and tear, sealing is a crucial final step.
Water-Based Sealants
A water-based sealant (like Mod Podge or a clear acrylic sealer) is typically the best choice for air dry clay. These come in various finishes (matte, satin, gloss) allowing you to choose the aesthetic you prefer. Apply several thin, even coats, allowing each coat to dry completely before applying the next. This creates a durable, protective barrier.
Varnish
Artist’s varnish, available in spray or brush-on forms, can also be used. Varnish offers excellent protection and can enhance the vibrancy of your paint colors. Again, multiple thin coats are better than one thick, uneven coat.
Avoid Oil-Based or Solvent-Based Sealants (Unless Specified)
Some oil-based or strong solvent-based sealants can react negatively with air dry clay, potentially causing discoloration or even breaking down the clay over time. Unless the clay manufacturer specifically recommends a particular oil-based product, stick to water-based sealants for safety and best results.
By following these guidelines, you’ll be well on your way to creating durable, beautiful air dry clay projects that you can cherish for years to come. Patience, observation, and proper technique are your best tools throughout the drying and finishing process.
FAQs
1. How long does air dry clay take to dry?
Air dry clay typically takes 24-72 hours to dry completely, depending on the thickness of the clay and the humidity levels in the environment.
2. Can you speed up the drying process of air dry clay?
Yes, you can speed up the drying process of air dry clay by using a fan to increase air circulation, placing the clay in a warm and dry area, or using a dehumidifier.
3. What factors can affect the drying time of air dry clay?
The drying time of air dry clay can be affected by the thickness of the clay, the humidity levels in the environment, and the temperature of the surroundings. Thicker pieces and higher humidity levels will result in longer drying times.
4. How can you tell if air dry clay is fully dry?
You can tell if air dry clay is fully dry by gently tapping on the surface of the clay – if it sounds hollow, the clay is dry. Additionally, the color of the clay will lighten as it dries.
5. What should you do if air dry clay cracks while drying?
If air dry clay cracks while drying, you can try to smooth out the cracks with a wet finger or tool before the clay is completely dry. Once the clay is dry, you can sand down any rough areas and patch up the cracks with additional clay before painting or sealing the piece.