You’ve decided to dive into the wonderful world of air-dry clay. Perhaps you’ve seen stunning creations online, or maybe you’re just looking for a hands-on creative outlet that doesn’t require a specialized studio. Whatever your motivation, you’re in for a treat. Air-dry clay offers an accessible and incredibly rewarding way to bring your ideas to life with just your hands and a few basic tools. You don’t need a kiln, you don’t need complex glazes – just your imagination and a willingness to get a little messy. This guide is your starting point, designed to equip you with the knowledge to navigate those initial steps, avoid common pitfalls, and unlock the full potential of this versatile material.
Embracing the Simplicity: Why Air-Dry Clay is Perfect for You
You’re not alone in being drawn to air-dry clay. Its appeal lies in its sheer accessibility. Unlike traditional ceramics that demand a significant investment in equipment and space for firing, air-dry clay sets you free. You can create anywhere – your kitchen table, a park bench, even while watching your favorite show. The magic happens as it interacts with the air, transforming from a pliable mass into a solid, durable object. This inherent simplicity is its greatest strength, making it an ideal entry point for anyone looking to explore sculpture, modeling, or decorative crafts.
The Appeal of No Firing
The absence of a firing process is a game-changer for beginners. For many, the idea of a kiln feels intimidating and expensive. With air-dry clay, that barrier is removed entirely. Your creations harden naturally, saving you time, money, and the hassle of finding a place to fire your work. This means you can complete a project from start to finish within days, not weeks or months. You can experiment and iterate quickly, which is invaluable when you’re learning new techniques.
Where to Find Your Clay
You’ll find air-dry clay readily available in most craft stores, art supply shops, and even online retailers. It comes in various forms: white, terracotta, and sometimes even pre-colored options. For your first foray, a standard white or terracotta block is a great choice. It’s forgiving, easy to work with, and provides a neutral base for painting and decorating later.
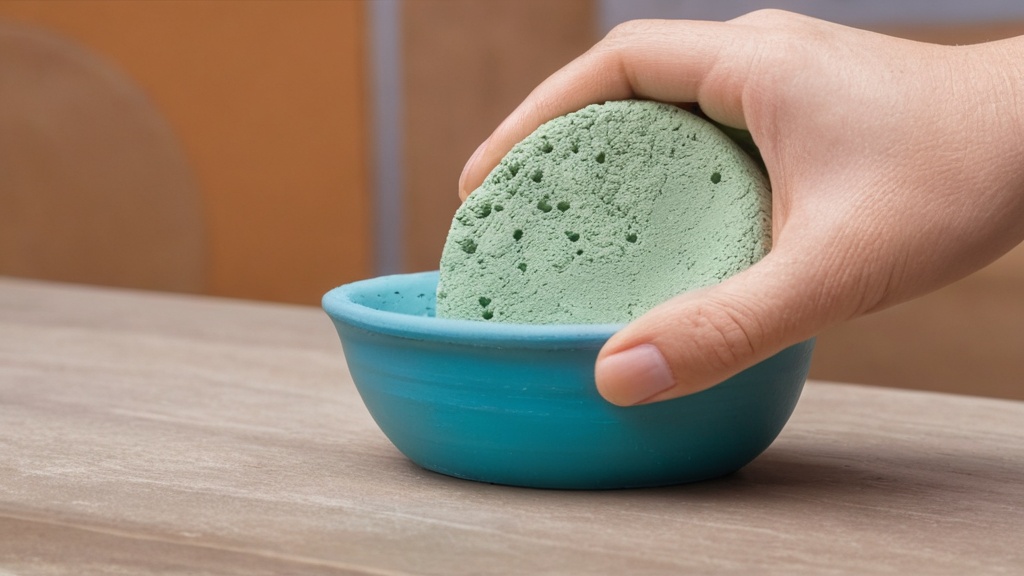
What to Expect from the Texture
When you first open a fresh package of air-dry clay, you’ll notice its smooth, pliable texture. It feels cool and moist to the touch. It’s designed to be kneaded and shaped easily, allowing you to sculpt, roll, and mold it into almost any form you can envision. As it begins to dry, this texture gradually changes, becoming firmer and more rigid.
Your First Steps: Getting Started with Air-Dry Clay
You’ve got your clay, you’re excited, and you’re ready to create. But where do you begin? The initial stages are crucial for setting yourself up for success. Think of it as laying a solid foundation. It’s about understanding the material’s properties and learning a few fundamental techniques that will make your sculpting journey smoother and more enjoyable.
Unpacking and Preparing Your Clay
First things first, open your package of air-dry clay. As soon as it’s exposed to the air, the drying process begins. This is why proper storage is so critical, which we’ll discuss later. For now, take out a manageable portion of clay. You’ll want to knead it, much like you would dough. This process removes any air bubbles and makes the clay more pliable and workable. Roll it between your hands, fold it, and press it until it feels smooth and consistent.
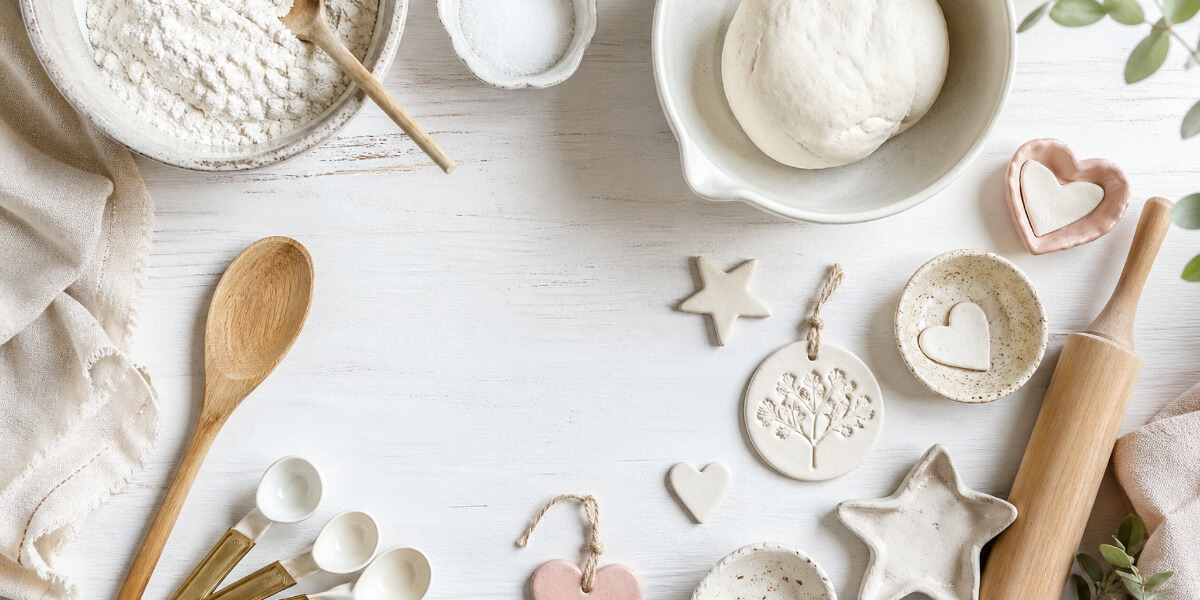
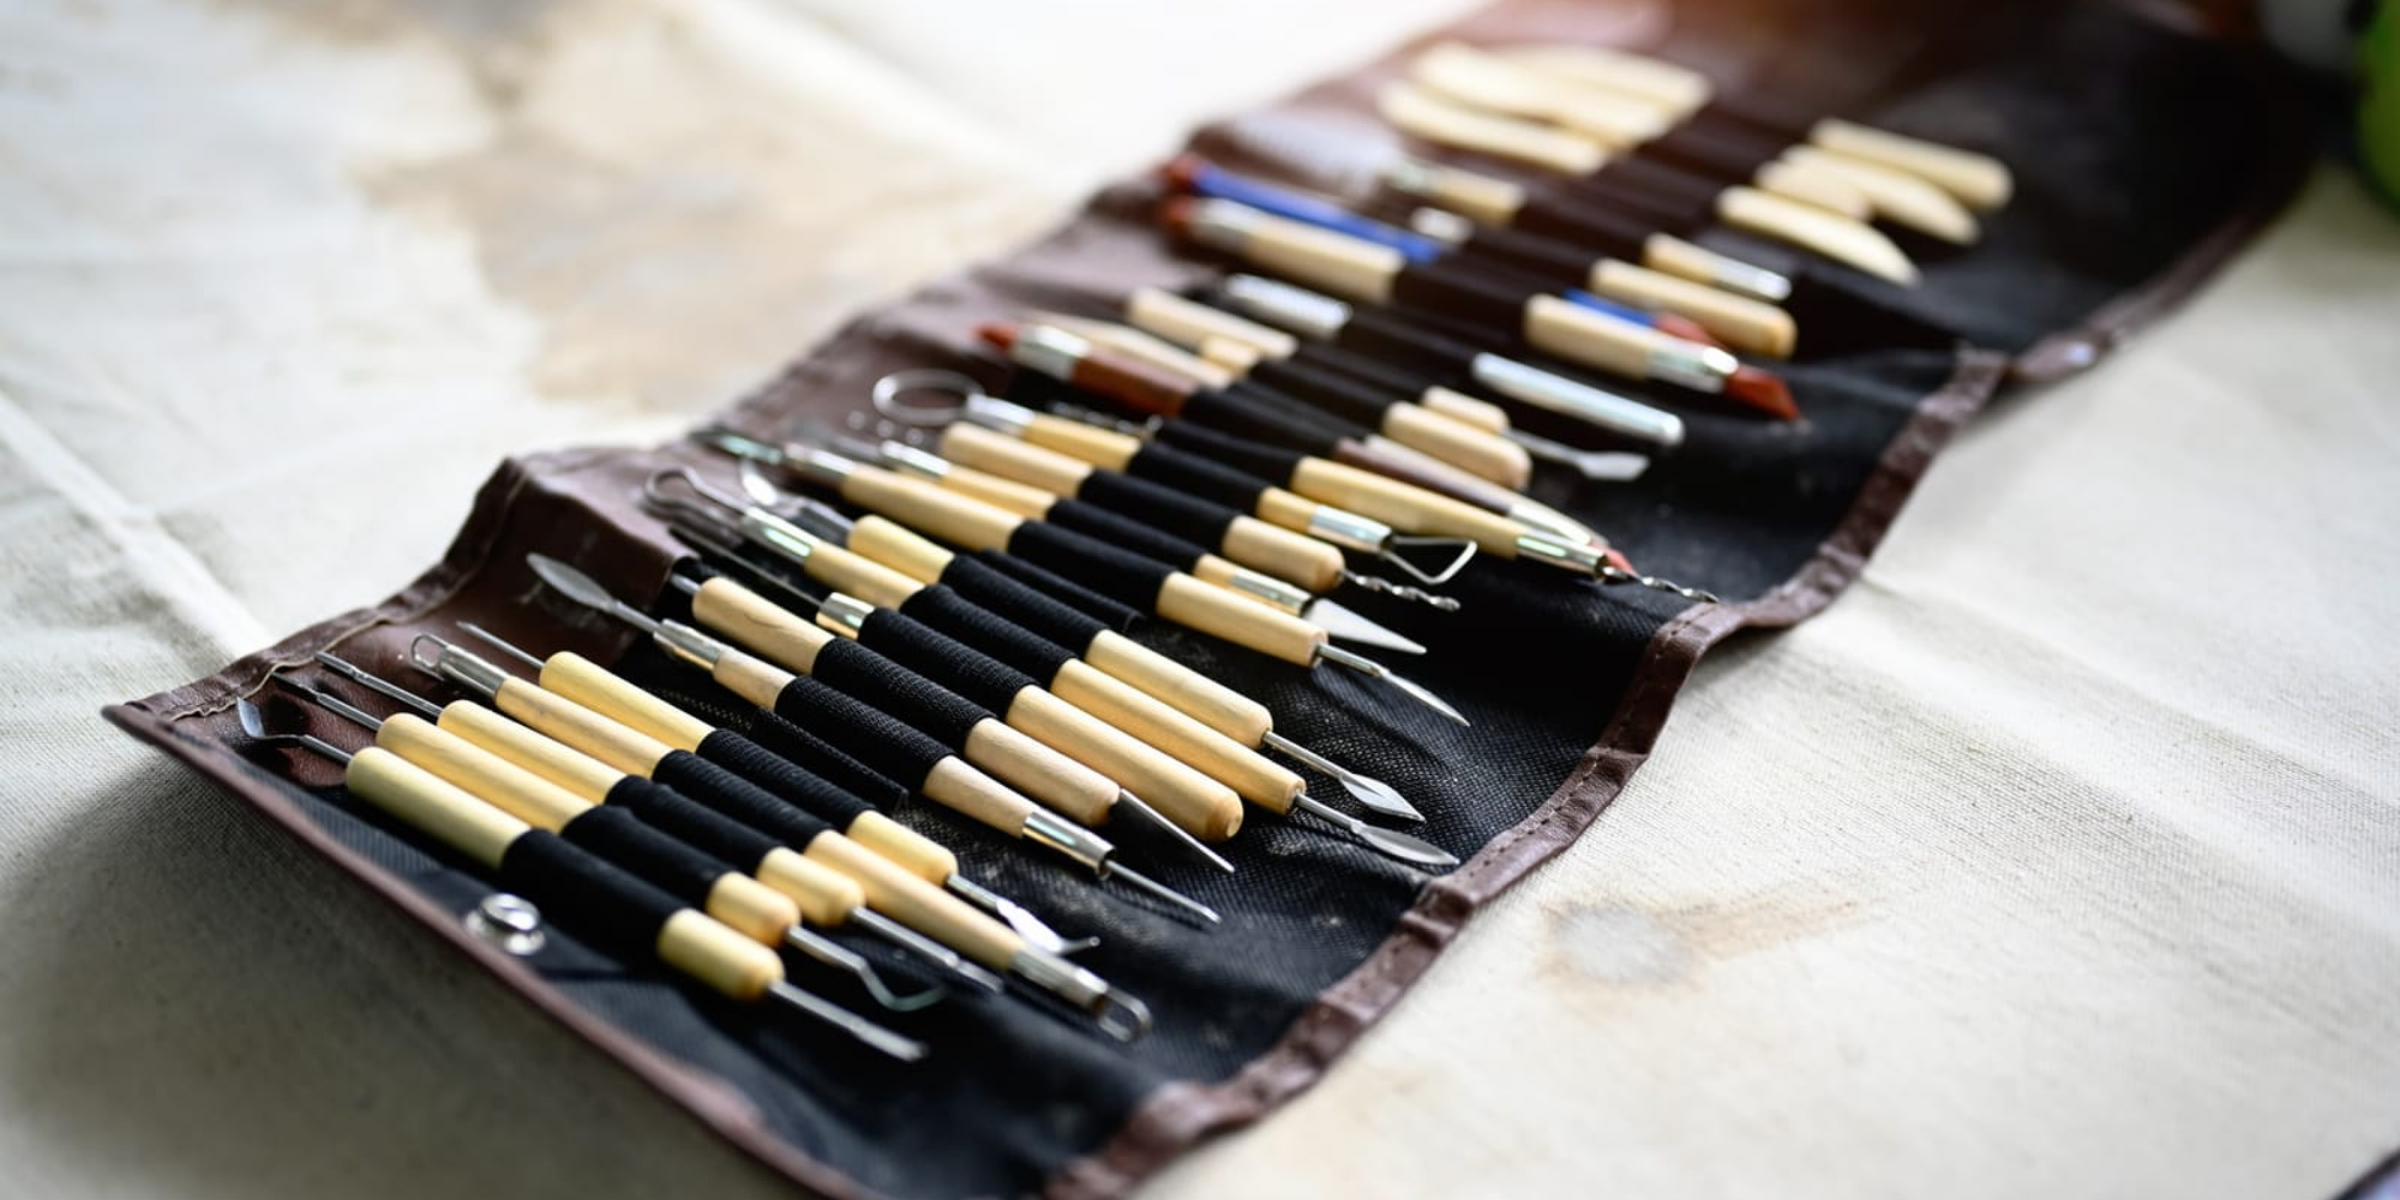
Essential Tools for the Beginner
You don’t need a professional sculptor’s toolkit to get started. A few basic items will serve you well:
Basic Sculpting Tools
You can start with everyday kitchen utensils or purchase inexpensive clay tool sets. A craft knife, a rolling pin (or a smooth cylindrical object like a can), a dull butter knife, toothpicks, and some damp cloths will be your primary companions. These will help you cut, shape, smooth, and clean your clay.
Water: Your Best Friend (and Sometimes Foe)
Water is essential for working with air-dry clay. A small bowl of water is your constant companion. You’ll use it to:
- Smooth surfaces: Dip your fingers or a sponge in water and gently run them over the clay to create a smooth, finished look.
- Attach pieces: Water acts as a mild adhesive when joining two pieces of clay.
- Keep clay moist: If your clay starts to dry out while you’re working, a light mist of water can revive it. Be careful not to use too much water, as it can make the clay too soft and sticky.
A Dedicated Workspace
While you can work anywhere, having a dedicated surface is beneficial. A plastic mat, a piece of thick cardboard, or a silicone crafting mat will protect your table and make cleanup easier. Ensure the surface is easy to wipe down.
Mastering the Basics: Techniques for Success
With your clay prepared and your workspace ready, it’s time to explore some fundamental techniques. These are the building blocks of air-dry clay sculpting, and mastering them will significantly improve your results and your enjoyment of the process. Think of these as your essential skill set.
The Art of Joining: Using Slip
You won’t always be able to create your desired object from a single piece of clay. Joining separate pieces together is a common and essential technique. This is where “slip” comes in. Slip is essentially a slurry of clay and water.
Making Slip
To make slip, take a small amount of your air-dry clay and break it into tiny pieces. Place these pieces in a small container and add just enough water to cover them. Stir or mash the clay and water mixture until it forms a smooth, paste-like consistency. It should be thick enough to stick to your clay pieces but thin enough to spread easily.
Applying Slip for Strong Bonds
When you want to join two pieces of clay – say, attaching a handle to a mug, or adding limbs to a figure – score both surfaces. This means lightly scratching or cross-hatching the areas where they will connect. Then, apply a generous amount of slip to one or both of the scored surfaces. Press the two pieces together firmly. The scoring creates a larger surface area for the slip to adhere to, ensuring a strong bond. You can then use a damp cloth or your finger to smooth away any excess slip and blend the pieces together.
Slow and Steady Wins the Race: Preventing Cracks
One of the most common frustrations for beginners is the appearance of cracks as their air-dry clay pieces dry. This happens because clay shrinks as it loses moisture. If this drying process is too rapid or uneven, stress builds up, leading to cracks.
Understanding the Drying Process
Air-dry clay dries through evaporation. When it’s exposed to air, moisture escapes from its surface. The key to preventing cracks is to manage this evaporation.
Slow Drying Techniques
- Layering Approach: If you’re building up a complex piece, don’t try to do it all in one go. Allow each layer or significant addition to dry partially before adding more. This prevents too much stress from accumulating on a partially dried section. You might sculpt the main body of a creature, let it firm up for an hour or two, and then add its legs.
- Controlled Environment: Avoid placing your drying clay in direct sunlight, near a heat source (like a radiator or fan), or in a drafty area. These conditions will cause the outer layers to dry much faster than the inner layers, creating stress.
- Covering During Drying: For larger or thinner pieces that are prone to warping and cracking, you can loosely cover them with plastic wrap or a damp cloth for intermittent periods during the initial drying phase. This helps to slow down the evaporation process and promote more even drying. However, be mindful not to seal it completely, as it still needs to air out eventually.
- Turning Your Work: If you’re making a flat object like a plaque or a bowl, periodically turning it over can help ensure even drying. This prevents one side from drying out completely while the other remains very wet.
Reinforcing for Durability
Some projects, especially those that are thin or will be handled frequently, might need extra reinforcement to prevent them from being too fragile.
Internal Support
For hollow items or very thin structures, you can strategically embed support materials inside the clay while it’s still wet. This could include:
- Wire Armatures: For larger sculptures, a wire armature can provide a strong internal skeleton.
- Cardboard or Paper Inserts: For boxes or trays, sometimes a carefully placed piece of cardboard can provide rigidity. Ensure it’s fully enclosed by clay.
Post-Drying Reinforcement
Once your piece is completely dry, you can also add reinforcement. This often involves sealing and strengthening the surface.
Beyond the Basics: Finishes and Durability
You’ve sculpted your masterpiece, and it’s dried to a satisfying hardness. Now what? The finishing touches are where your creation truly comes alive and becomes a lasting piece. This stage is about transforming your raw clay form into something polished and durable.
Sanding for a Smooth Finish
Even with careful sculpting, you might find small imperfections, rough edges, or unwanted textures. Sanding is your solution.
Choosing Your Sandpaper
You’ll want a selection of sandpaper grits. Start with a coarser grit (around 100-150) to remove significant bumps. Progress to finer grits (220 and above) to achieve a smooth, polished surface.
The Sanding Process
Ensure your clay is completely dry before sanding. Work in a well-ventilated area, as clay dust can be an irritant. You can sand dry clay, but sometimes a slightly damp sanding process can help reduce dust and achieve a finer finish. Lightly dampen the sandpaper or the clay surface before sanding. Always sand in one direction with fine grits to avoid visible scratch marks.
Sealing for Protection and Longevity
Once you’ve sanded your piece to perfection, sealing it is crucial for durability and for preparing it for further decoration.
Why Seal?
Air-dry clay, even when dry, can be somewhat porous and susceptible to moisture and damage. Sealing creates a protective barrier. It also provides a uniform surface for paints and other decorative mediums.
Sealing Options
- Acrylic Sealers: These are popular choices as they are water-based, dry clear, and provide a durable finish. They come in matte, satin, or gloss varieties, allowing you to control the sheen of your final piece. Apply 1-3 thin coats, allowing each to dry completely before applying the next.
- Mod Podge: A versatile option that acts as both a glue and a sealer. It’s great for adding a protective layer and can also be used to adhere decorative papers or fabrics.
- Spray Sealants: For a quick and even coat, spray sealants can be very effective. Ensure you use them in a well-ventilated area and apply in thin, even passes.
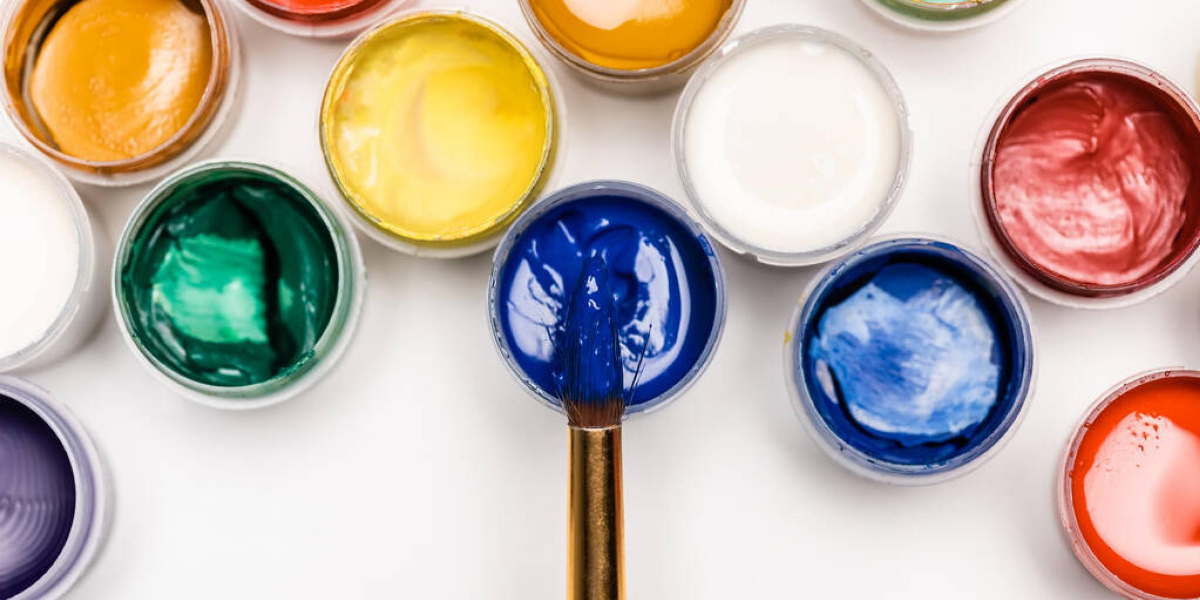
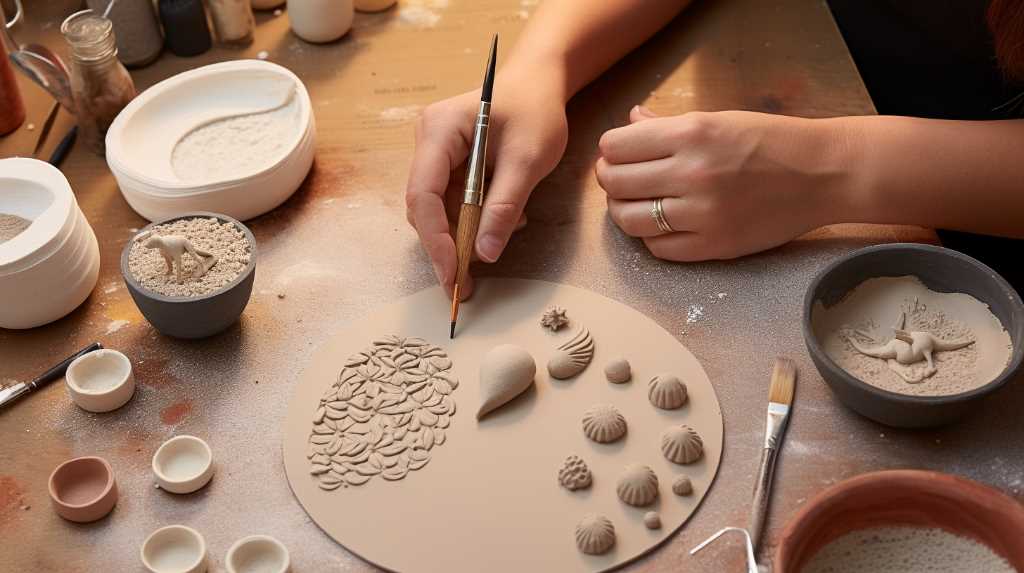
Painting and Decorating Your Creations
This is where you truly inject your personality and style into your air-dry clay pieces.
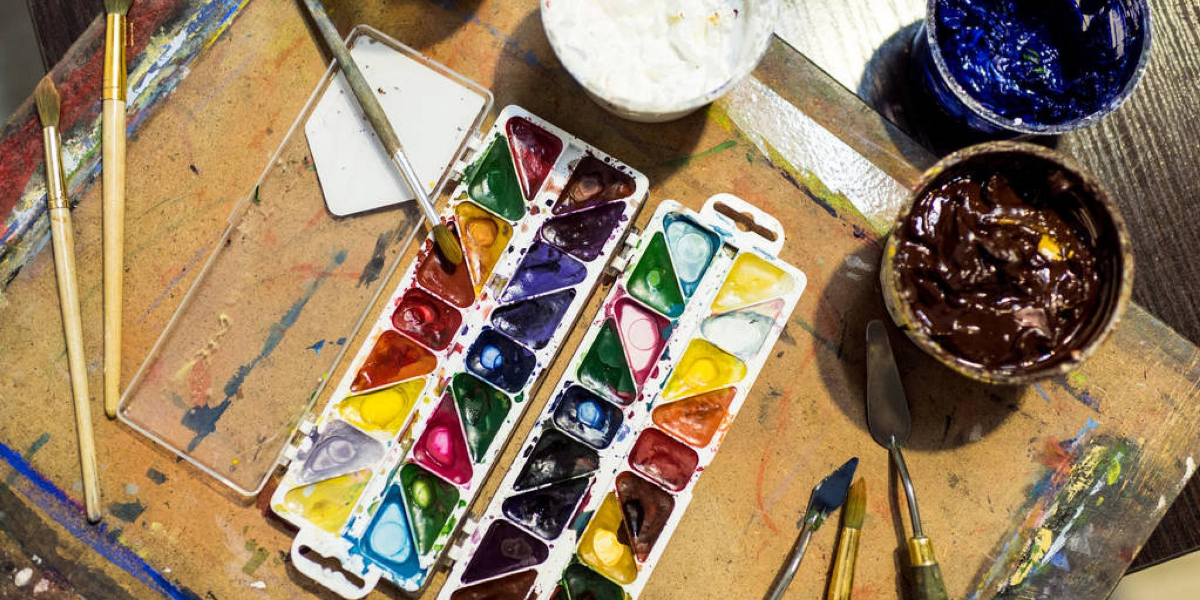
Preparing for Paint
Once sealed, your clay is ready for painting. You can use:
- Acrylic Paints: These are the most common and versatile for air-dry clay, offering a wide range of colors and finishes.
- Watercolor or Gouache: These can be used for a softer, more translucent effect, especially on lighter colored clay.
- Spray Paints: For quick coverage and special effects.
Adding Embellishments
Beyond paint, you can glue on beads, glitter, small stones, or even fabric elements to further enhance your creations.
Beginner-Friendly Projects to Spark Your Creativity
Feeling a little overwhelmed with all the possibilities? Don’t worry! Air-dry clay is incredibly forgiving, and starting with simple projects will build your confidence and introduce you to its properties in a fun, low-pressure way. These projects are designed to be achievable for beginners, allowing you to practice essential techniques while creating something you’ll be proud to display or gift.
Colorful Caterpillars
This is a fantastic project for younger crafters or anyone looking for a simple, cheerful piece.
The Process
- Roll your balls: Roll small to medium-sized balls of clay. You’ll need several for the body segments.
- Shape the segments: Slightly flatten each ball to create a rounded segment shape.
- Join the segments: Use slip to join the segments together in a slightly curved line.
- Add features: Roll tiny balls for eyes and antennae. You can also add small indentations for legs if you wish.
- Decorate: Once dry and sealed, paint the caterpillar in vibrant colors. You can paint stripes, spots, or any pattern you like.
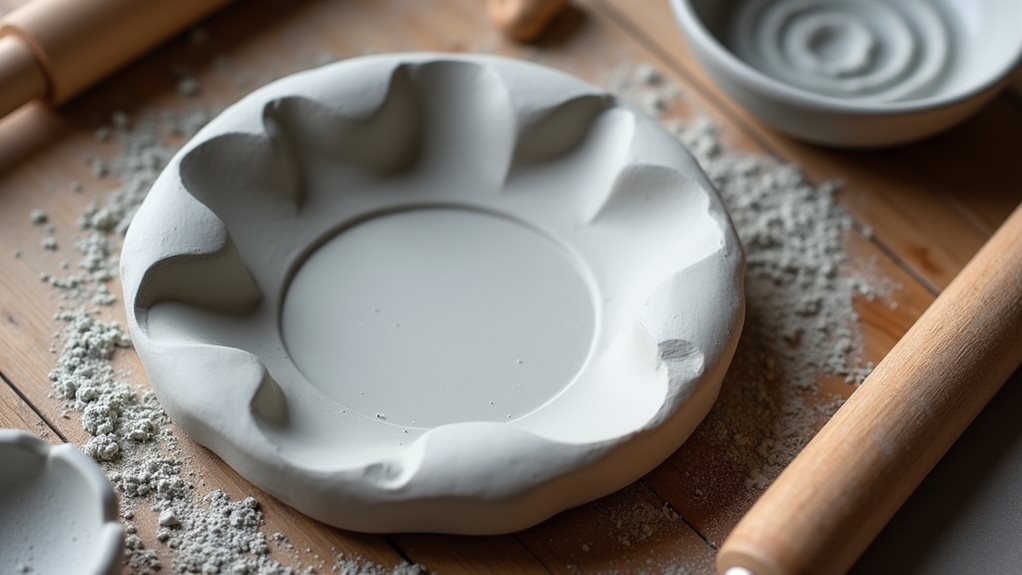
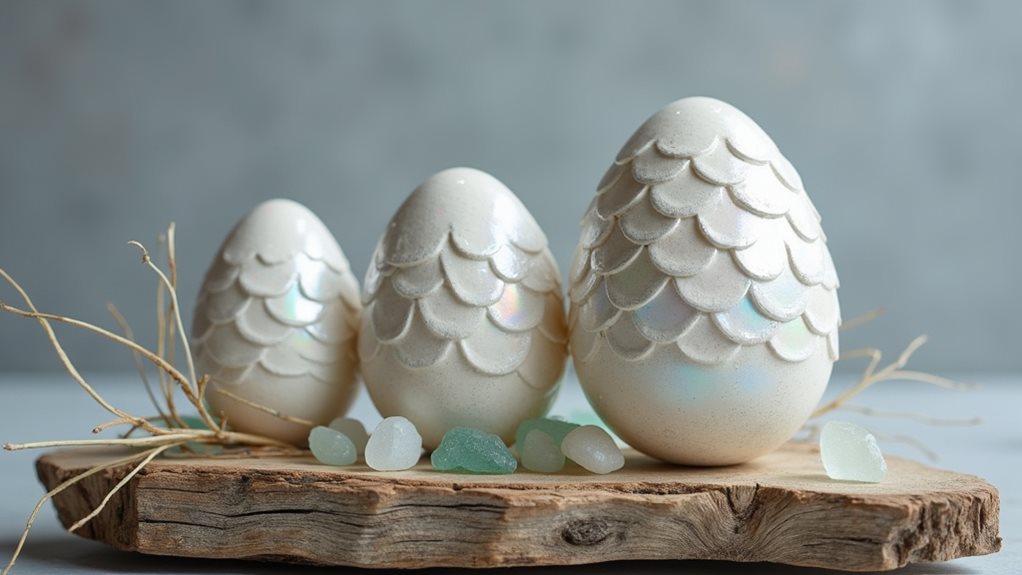
Floral Sculptures
Air-dry clay is perfect for creating delicate-looking flowers, which can be used for jewelry, embellishments, or standalone decorative pieces.
The Process
- Petal Power: Roll out a thin sheet of clay and use a petal-shaped cutter or freehand cut out petal shapes.
- Forming the flower: Gently shape the edges of each petal to make them more realistic. Use a little slip to attach the petals to a central core, overlapping them as you go.
- Leafy additions: Create simple leaf shapes and attach them to the base of the flower.
- Drying and finishing: Allow to dry thoroughly. You can then paint your flowers in natural or fantastical colors.
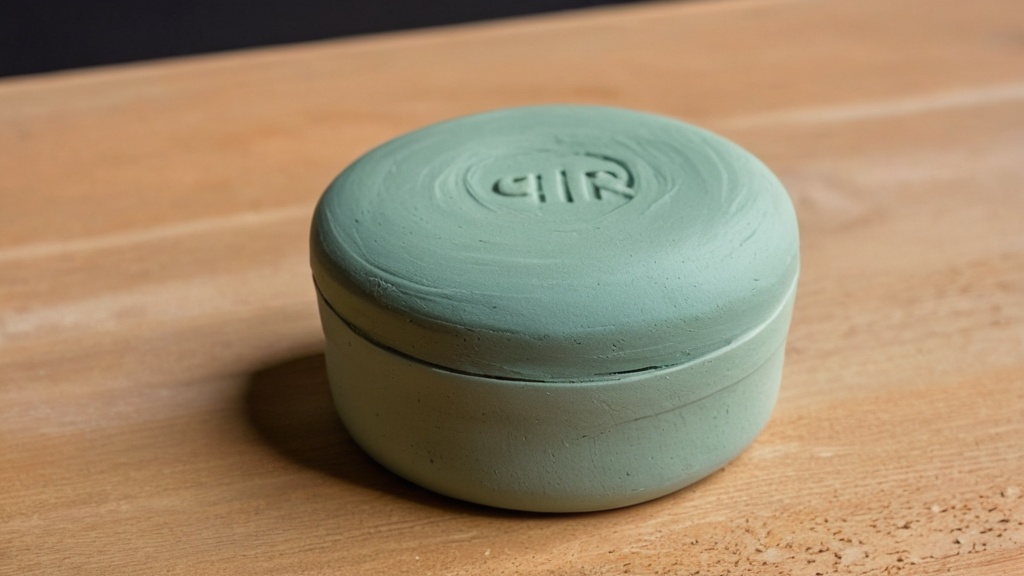
Decorative Boxes and Brooches
These are wonderful for practicing detailed work and creating functional art.
For Decorative Boxes:
- Base and Sides: You can either build a box from scratch by creating base and wall pieces and joining them with slip, or take an existing small box (like a cardboard jewelry box) and cover it entirely with a thin layer of air-dry clay.
- Decoration: Once the clay is dry, you can paint intricate designs, add small sculpted elements like miniature animals or patterns, or even press textures into the clay before it dries.
- Lid Embellishment: Don’t forget to decorate the lid! This could be a flat surface to paint or a more 3D sculpted element.
For Brooches:
- Shape Creation: Decide on your brooch shape – a simple circle, an abstract design, a heart, or even a small sculpted animal.
- Adding Detail: You can press textures into the clay, add small dots or lines, or sculpt basic features.
- Attaching the Pin Back: Once your clay piece is completely dry and sealed, you’ll glue a brooch pin back to the reverse side using a strong adhesive like super glue or E6000.
Functional Home Decor Items
Think beyond purely decorative items. Air-dry clay can be used for practical pieces too.
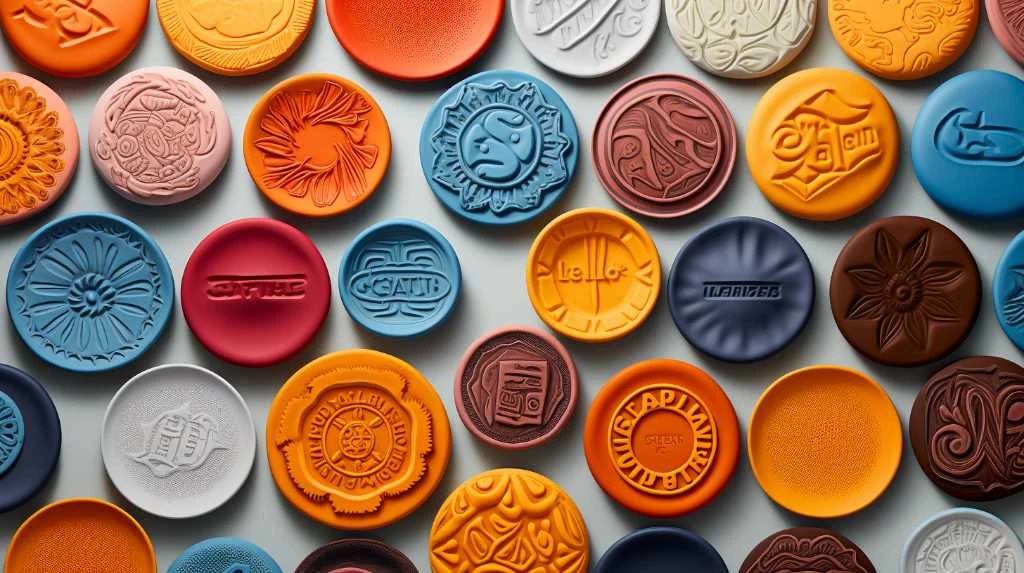
Coasters:
- Shape and Thickness: Roll out a sheet of clay to your desired thickness for coasters (around 1/4 inch is good). Use a round or square cutter to create your shapes.
- Texture and Design: Before drying, press textures into the clay using stamps, fabric, or found objects.
- Sealing is Key: Since coasters will be exposed to moisture, thorough sealing with a waterproof sealant is essential.
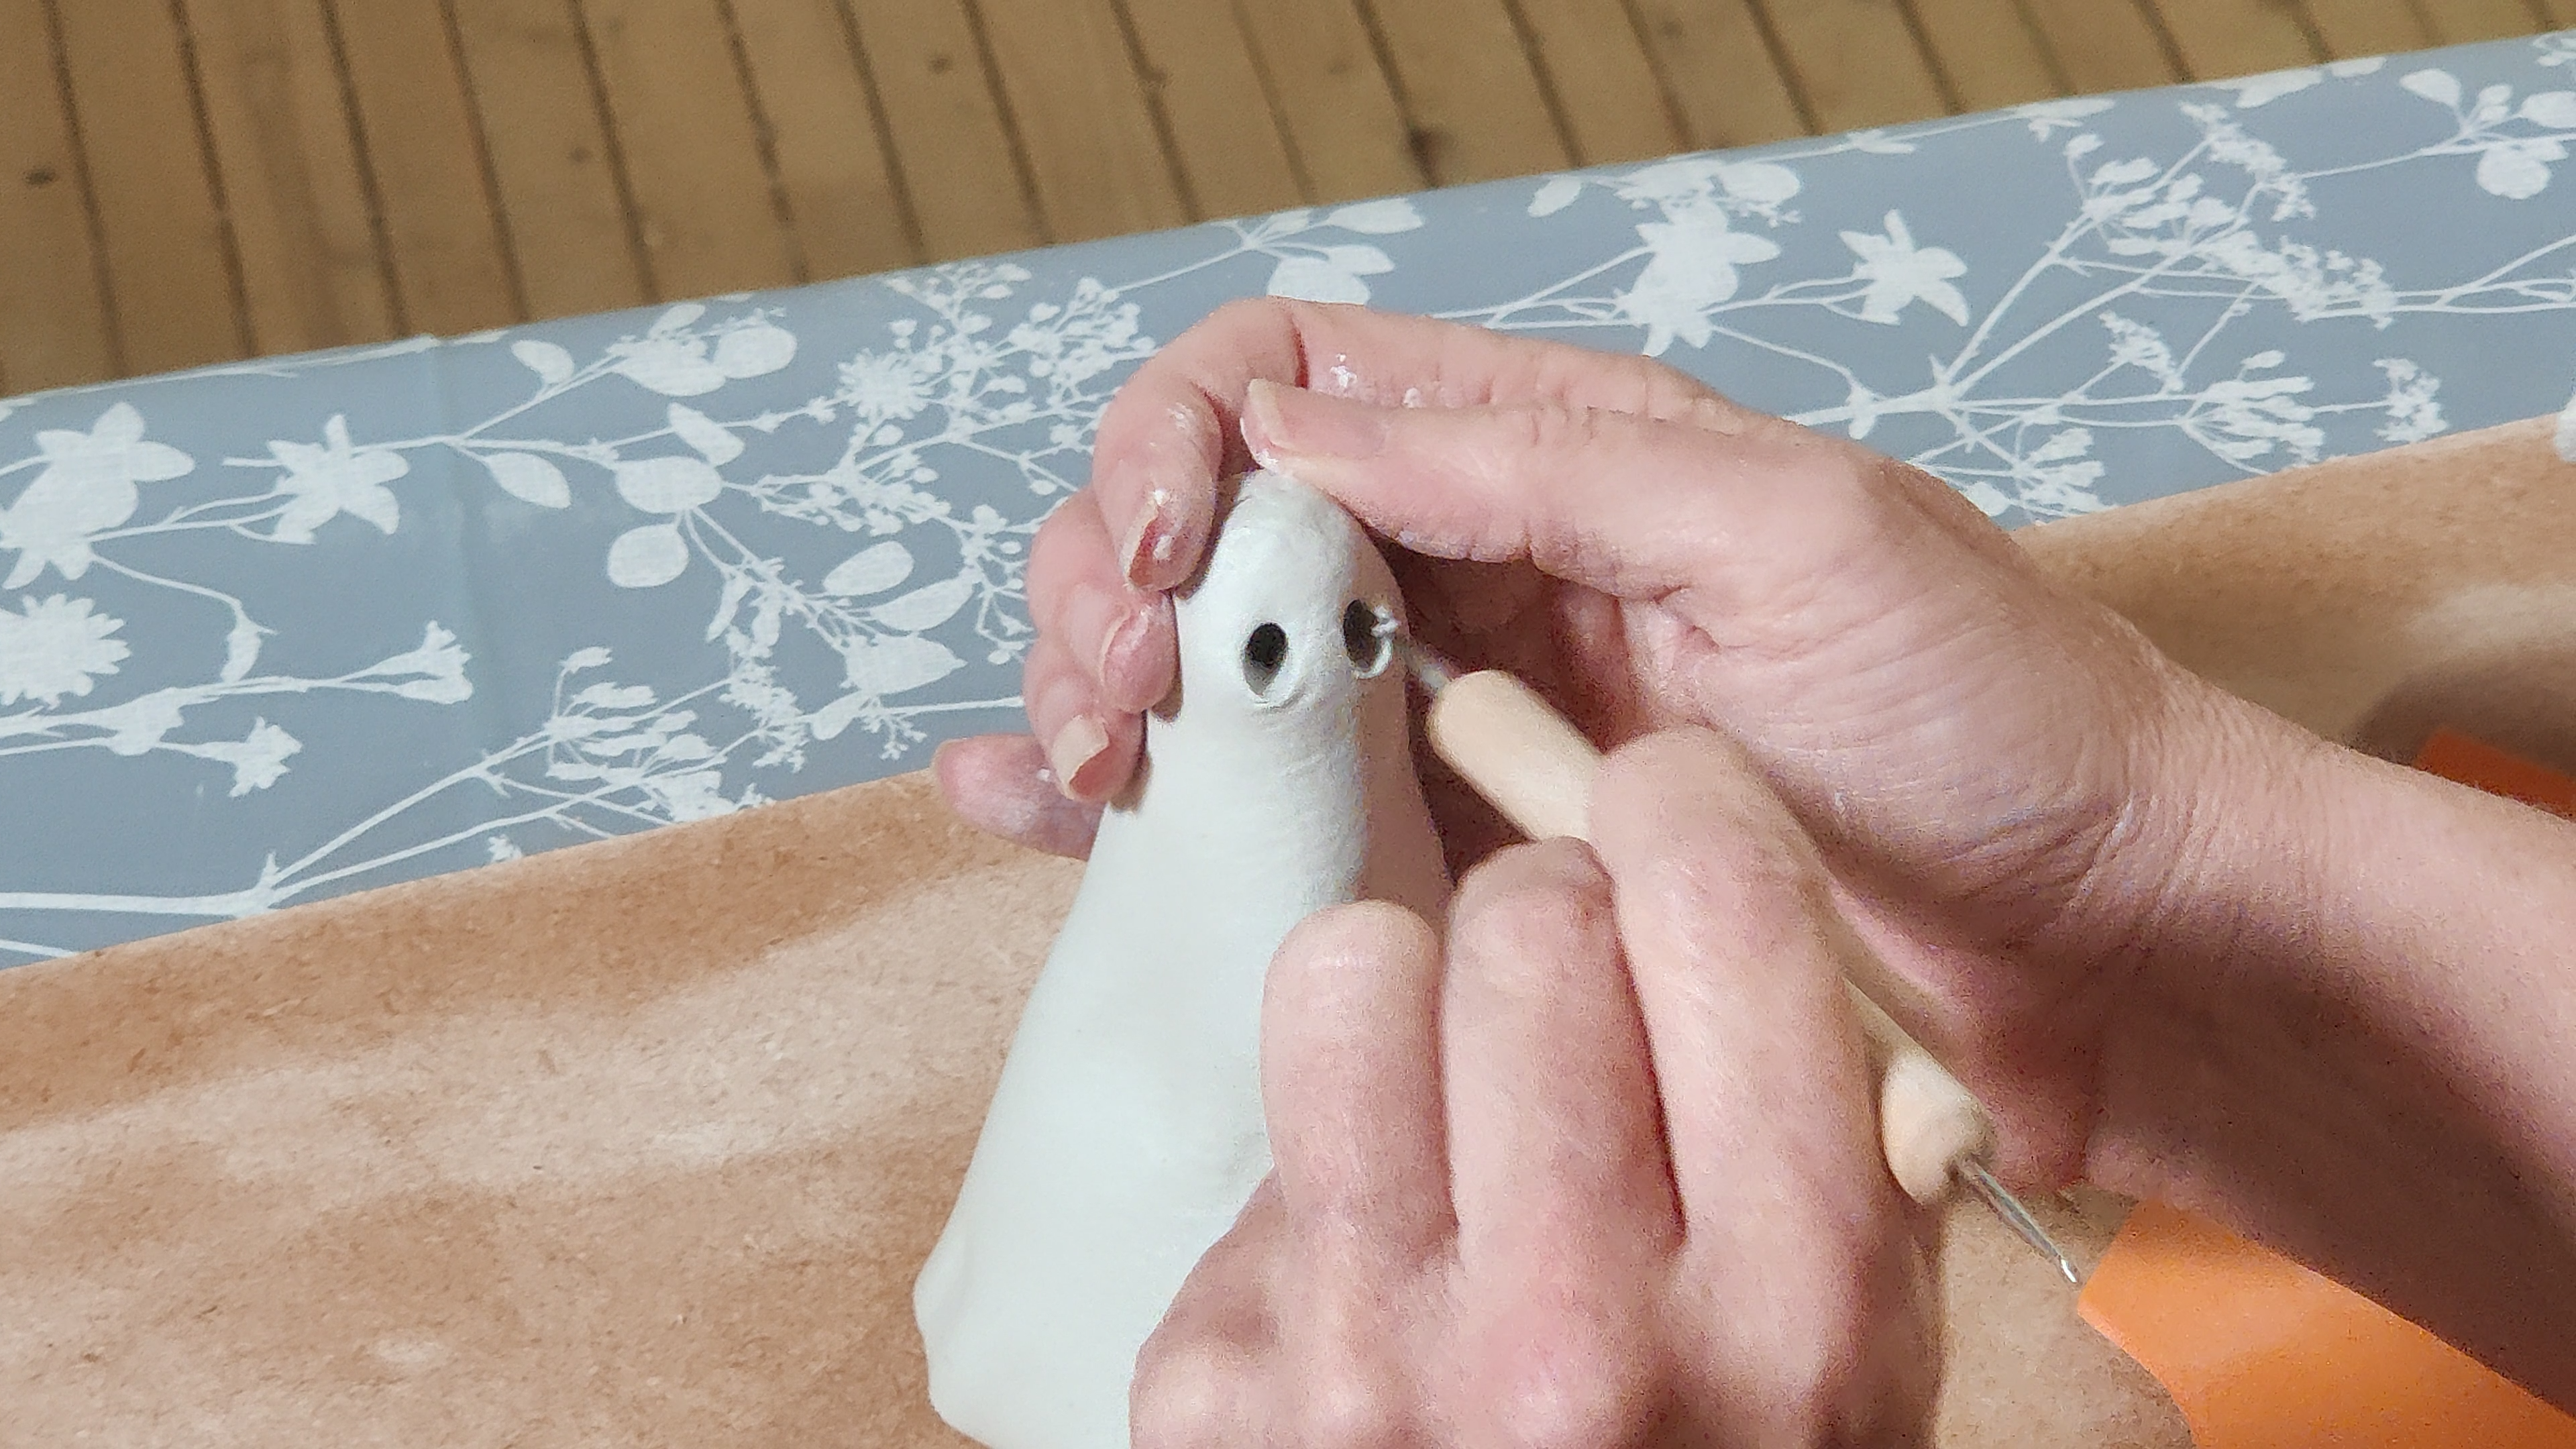
Small Vases or Ring Holders:
- For Vases: You can sculpt a basic vase shape, ensuring a hollow interior. Remember to use slip to join any sections. For true water-holding capacity, you might consider placing a small glass jar inside the clay shell.
- For Ring Holders: A simple cone shape or a sculpted hand with extended fingers is perfect for holding rings. Ensure the base is stable so it won’t tip over.
The Advantages of Air-Dry Clay Over Ceramic Clay
You might be wondering why you’d choose air-dry clay over traditional ceramic clay. While both have their merits, air-dry clay offers a unique set of advantages that make it a superior choice for beginners and many experienced crafters alike. If you’re looking for a more accessible and forgiving sculpting experience, air-dry clay delivers.
Unlimited Working Time and Repairability
One of the most significant benefits is how forgiving air-dry clay is. Unlike ceramic clay, which begins to dry out once exposed to air and can become difficult to work with, air-dry clay remains pliable for a considerable time.
Adding to Dry Clay
If your piece has dried for a while and you want to add more to it, fresh air-dry clay can be added without issues. You’ll still want to use slip to ensure a strong bond, but you won’t encounter the separation or drying incompatibilities that can happen with ceramic clay.
Fixing Cracks with Ease
We’ve discussed crack prevention, but what if a crack does appear? With air-dry clay, it’s a simple fix. You can use fresh slip and a bit of new clay to fill in the crack, smooth it over, and re-dry. For ceramic clay, larger cracks can be problematic and might require extensive repair or even rebuilding.
The Kiln-Free Creative Journey
As mentioned earlier, the absence of a kiln is a huge plus.
No Specialized Equipment Needed
You don’t need to invest in an expensive kiln or find a local firing service. Your home becomes your studio. This dramatically lowers the barrier to entry for anyone wanting to explore sculpting.
Faster Project Completion
The ability to air-dry your creations means a much faster turnaround time for projects. You can go from raw clay to a finished, painted piece in a matter of days, rather than waiting for kiln firings which can add weeks to the process.
Embracing Imperfection and Experimentation
Air-dry clay encourages a more relaxed approach to creation. Its forgiving nature means you can experiment without the fear of ruining expensive materials. If a piece doesn’t turn out exactly as planned, it’s often easier to adapt or repair it. This freedom fosters creativity and allows for more intuitive sculpting.
Finding Your Tribe: Learning Resources for Air-Dry Clay Enthusiasts
You’re not on this journey alone! The world of air-dry clay is vast, and there are numerous resources available to help you learn, grow, and connect with other creators. Whether you prefer visual learning, structured instruction, or hands-on practice, you’ll find something to suit your style.
Visual Learning: Step-by-Step Video Tutorials
In today’s digital age, video tutorials are an invaluable asset.
YouTube and Crafting Platforms
Platforms like YouTube are brimming with free air-dry clay tutorials. You can find videos covering everything from basic techniques to specific project builds. Search for “air dry clay beginners,” “how to make slip,” or “air dry clay projects.” Watching someone demonstrate a technique can be incredibly helpful in understanding the nuances and proper execution. Pay attention to how they handle the clay, apply slip, and control the drying process.
Specific Channels and Creators
Many channels are dedicated to crafting and sculpting. Explore different creators to find styles and voices that resonate with you. Look for videos with clear audio and good lighting so you can easily follow along.
Structured Learning: Classes and Workshops
For a more in-depth and interactive learning experience, consider enrolling in classes.
Local Art Centers and Craft Stores
Many community art centers, craft stores, and even some libraries offer introductory classes in sculpting or working with air-dry clay. These classes provide hands-on guidance from experienced instructors and the opportunity to ask questions in real-time.
Online Courses
Numerous online platforms offer comprehensive courses taught by professional sculptors and artists. These can range from short project-based workshops to longer, more in-depth training programs. Online courses often provide downloadable resources, community forums, and personalized feedback.
Hands-On Experience: Project-Based Learning
Ultimately, the best way to learn air-dry clay is by doing.
Trial and Error
Don’t be afraid to experiment. Start with simple projects and gradually tackle more complex ones. Embrace the learning process, including any mistakes you make along the way. Every project, successful or not, will teach you something new about the material and your own creative process.
Joining Online Communities
Many online forums, Facebook groups, and Instagram communities are dedicated to air-dry clay. Engaging with these communities can provide a wealth of information, inspiration, and support. You can share your work, ask for advice, and see what others are creating.
Your adventure into air-dry clay is just beginning. With its ease of use, forgiving nature, and the endless creative possibilities it offers, you’re well on your way to producing beautiful and unique creations. Remember to store your clay properly, be patient with the drying process, and most importantly, have fun! The world of air-dry clay is waiting for your unique touch.
FAQs
What is air dry clay?
Air dry clay is a type of modeling clay that hardens as it dries in the air, without the need for baking or firing in a kiln. It is a popular choice for beginners and experienced artists alike due to its ease of use and accessibility.
How is air dry clay different from other types of clay?
Air dry clay differs from other types of clay, such as polymer clay or traditional pottery clay, in that it does not require high temperatures to cure. This makes it a convenient option for those without access to a kiln or oven.
What can you make with air dry clay?
Air dry clay can be used to create a wide range of projects, including sculptures, jewelry, ornaments, and decorative objects. It is a versatile medium that can be shaped, molded, and carved to achieve various textures and details.
How do you work with air dry clay?
Working with air dry clay is relatively simple. It can be shaped and sculpted using basic tools, such as sculpting tools, rolling pins, and cookie cutters. Once the desired form is achieved, the clay should be left to dry thoroughly before painting or sealing.
What are some tips for beginners working with air dry clay?
For beginners working with air dry clay, it is important to keep the clay moist while working to prevent it from drying out too quickly. Additionally, it is helpful to work on a smooth, clean surface and to use a light touch when shaping the clay to avoid creating air pockets or cracks.