To make air dry clay at home, you only need a few simple ingredients, including flour. This homemade version of air dry clay is perfect for DIY projects and can be a fun activity for both kids and adults.
To make air dry clay with flour, start by mixing flour and salt in a bowl. Then, add water and mix until a dough-like consistency is formed. Knead the dough until it becomes smooth and pliable, and then you’re ready to start creating.
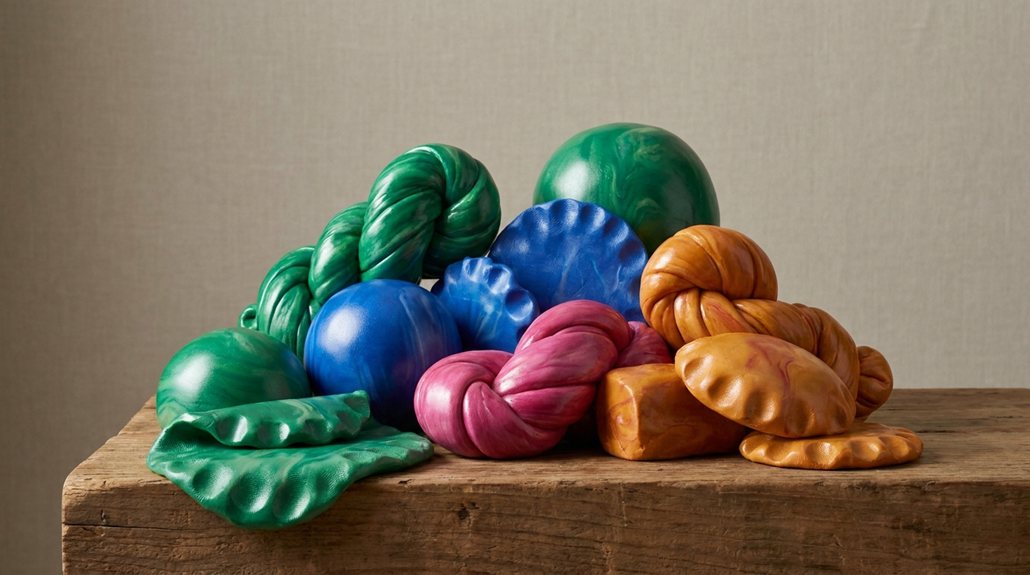
Using homemade air dry clay is a great way to save money and have fun at the same time. Plus, you can customise the colour by adding food colouring or paint to the mixture. With this simple recipe, you can easily make air dry clay at home and start creating your own unique projects.
Ingredients for Homemade Air Dry Clay
Main Ingredients
To make homemade air dry clay with flour, you will need the following main ingredients:
- Flour: All-purpose flour is the most commonly used type of flour for making air dry clay. It is affordable and easily available in most grocery stores.
- Salt: Salt helps to preserve the clay and prevent it from spoiling. You can use table salt or sea salt.
- Water: Water is used to mix the ingredients together and create the clay.
- Oil: Oil helps to keep the clay moist and prevents it from cracking. You can use any type of oil, such as vegetable oil or baby oil.
Substitute Ingredients
If you don’t have the main ingredients, you can use the following substitutes:
- Cornstarch: Cornstarch can be used instead of flour to make the clay. It creates a smoother texture and dries faster than flour.
- White glue: White glue can be used instead of flour to make the clay. It creates a smoother texture and dries faster than flour.
- Baking soda: Baking soda can be used instead of salt to preserve the clay. It also helps to reduce the clay’s odour.
- Food coloring: Food coloring can be used to add color to the clay. You can use liquid or gel food coloring.
- Vinegar: Vinegar can be used to preserve the clay and prevent it from spoiling.
- Baby oil: Baby oil can be used instead of vegetable oil to keep the clay moist and prevent it from cracking.
That’s all you need to know about the ingredients for making homemade air dry clay with flour. Now let’s move on to the next step.
Equipment Needed
To make air dry clay with flour, you will need a few basic items that you may already have in your kitchen. Here’s what you’ll need:
- A large mixing bowl: You’ll need a bowl big enough to mix all of the ingredients together. A plastic or metal bowl will work fine.
- Measuring cups: You’ll need measuring cups to measure out the flour, salt, and water. Make sure you have both dry and liquid measuring cups.
- A non-stick pot: You’ll need a non-stick pot to cook the mixture on the stove. This will help prevent the mixture from sticking to the pot and burning.
It’s important to have all of these items ready before you start making your air dry clay. Once you have everything you need, you can begin the process of making your clay.
To summarise, you’ll need a large mixing bowl, measuring cups for both dry and liquid ingredients, and a non-stick pot to cook the mixture. With these items, you’ll be ready to make your own air dry clay with flour.
Step-by-Step Guide to Making Air Dry Clay
Mixing the Dry Ingredients
To make air dry clay with flour, you will need to start by mixing the dry ingredients. Here’s what you’ll need:
- 2 cups of plain flour
- 1 cup of salt
- 1 tablespoon of cream of tartar
Mix these ingredients together in a large bowl until they are well combined. The cream of tartar will help to make your clay smoother and more pliable.
Adding the Wet Ingredients
Next, it’s time to add the wet ingredients. Here’s what you’ll need:
- 2 tablespoons of vegetable oil
- 1 and 1/2 cups of boiling water
Add the vegetable oil to the dry ingredients and mix well. Then, gradually add the boiling water, stirring constantly. Keep mixing until the mixture comes together to form a dough.
Kneading the Clay
Once your dough has formed, it’s time to knead it. Turn it out onto a clean surface and knead it for around 10 minutes. This will help to make the clay smoother and more pliable.
Storing the Clay
After you’ve finished kneading your clay, it’s important to store it properly. Place it in an airtight container or wrap it in plastic wrap to keep it from drying out. This will help to ensure that your clay stays soft and pliable for as long as possible.
And that’s it! Follow these simple steps and you’ll have your very own air dry clay made from flour.
Tips for Working with Homemade Clay
When working with homemade air-dry clay made with flour, there are a few tips that can help you achieve the best results.
Preventing and Fixing Cracks
One common issue with air-dried clay is cracking. To prevent this, make sure to knead the clay thoroughly before use to ensure it is evenly mixed. Additionally, you can add a small amount of lotion to the mixture to help prevent cracking. If your clay does crack, don’t worry – it can usually be fixed. Simply add a small amount of water to the cracked area and smooth it out with your fingers.
Softening Air-Dried Clay
If your air-dried clay has become too hard, there are a few ways to soften it back up. One method is to add a small amount of water and knead the clay until it reaches the desired consistency. Another option is to wrap the clay in a damp cloth and let it sit for a few hours. This will allow the moisture to seep into the clay and soften it up.
Remember, working with homemade air-dry clay can be a fun and rewarding experience. By following these tips, you can ensure that your clay is easy to work with and produces beautiful results.
Creative Uses for Your Homemade Clay
Crafting with Clay
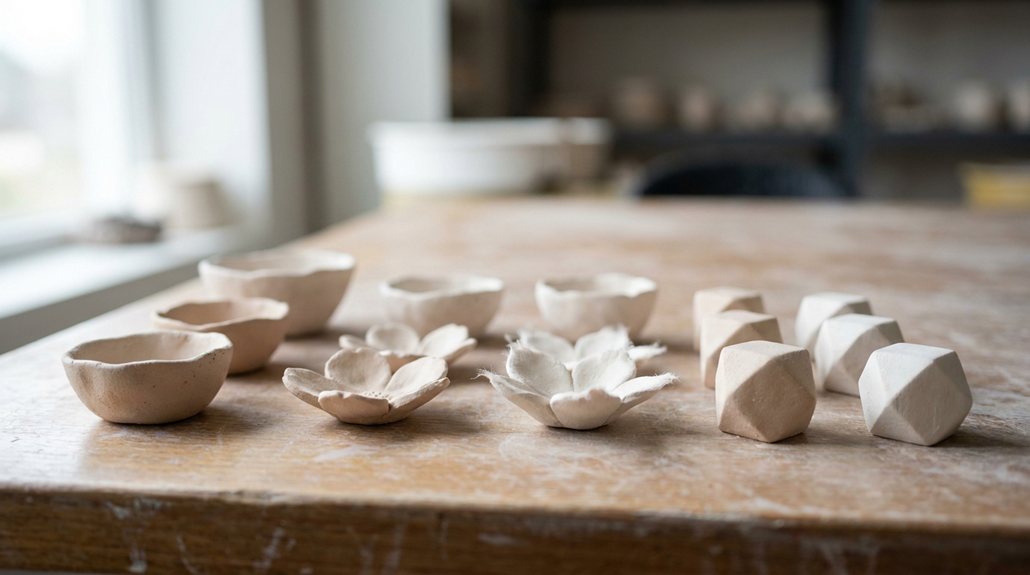
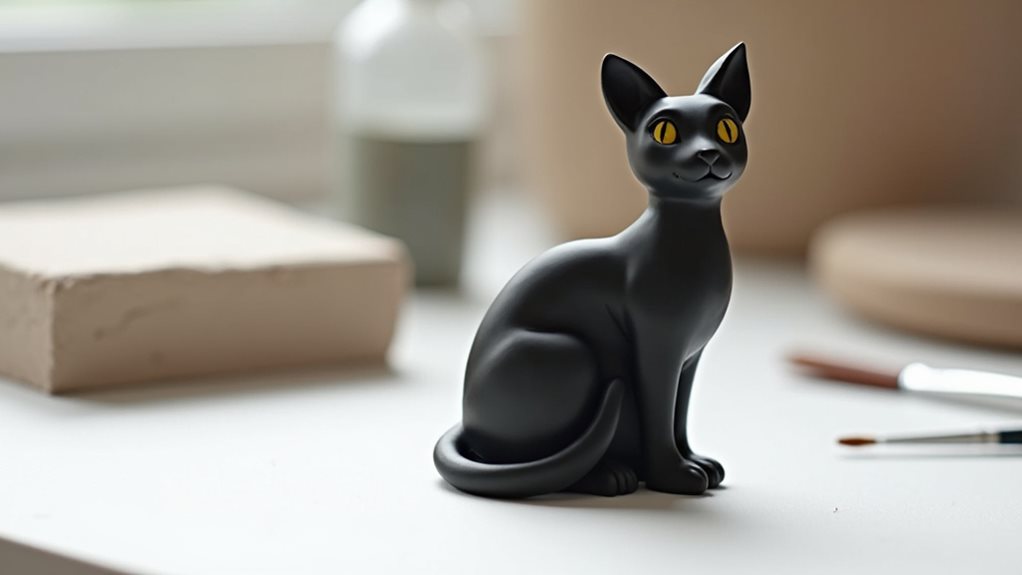
Now that you have made your own air dry clay with flour, it’s time to get creative! There are endless possibilities when it comes to crafting with clay. Whether you are a seasoned crafter or new to the crafting experience, working with clay is a fun and rewarding activity.
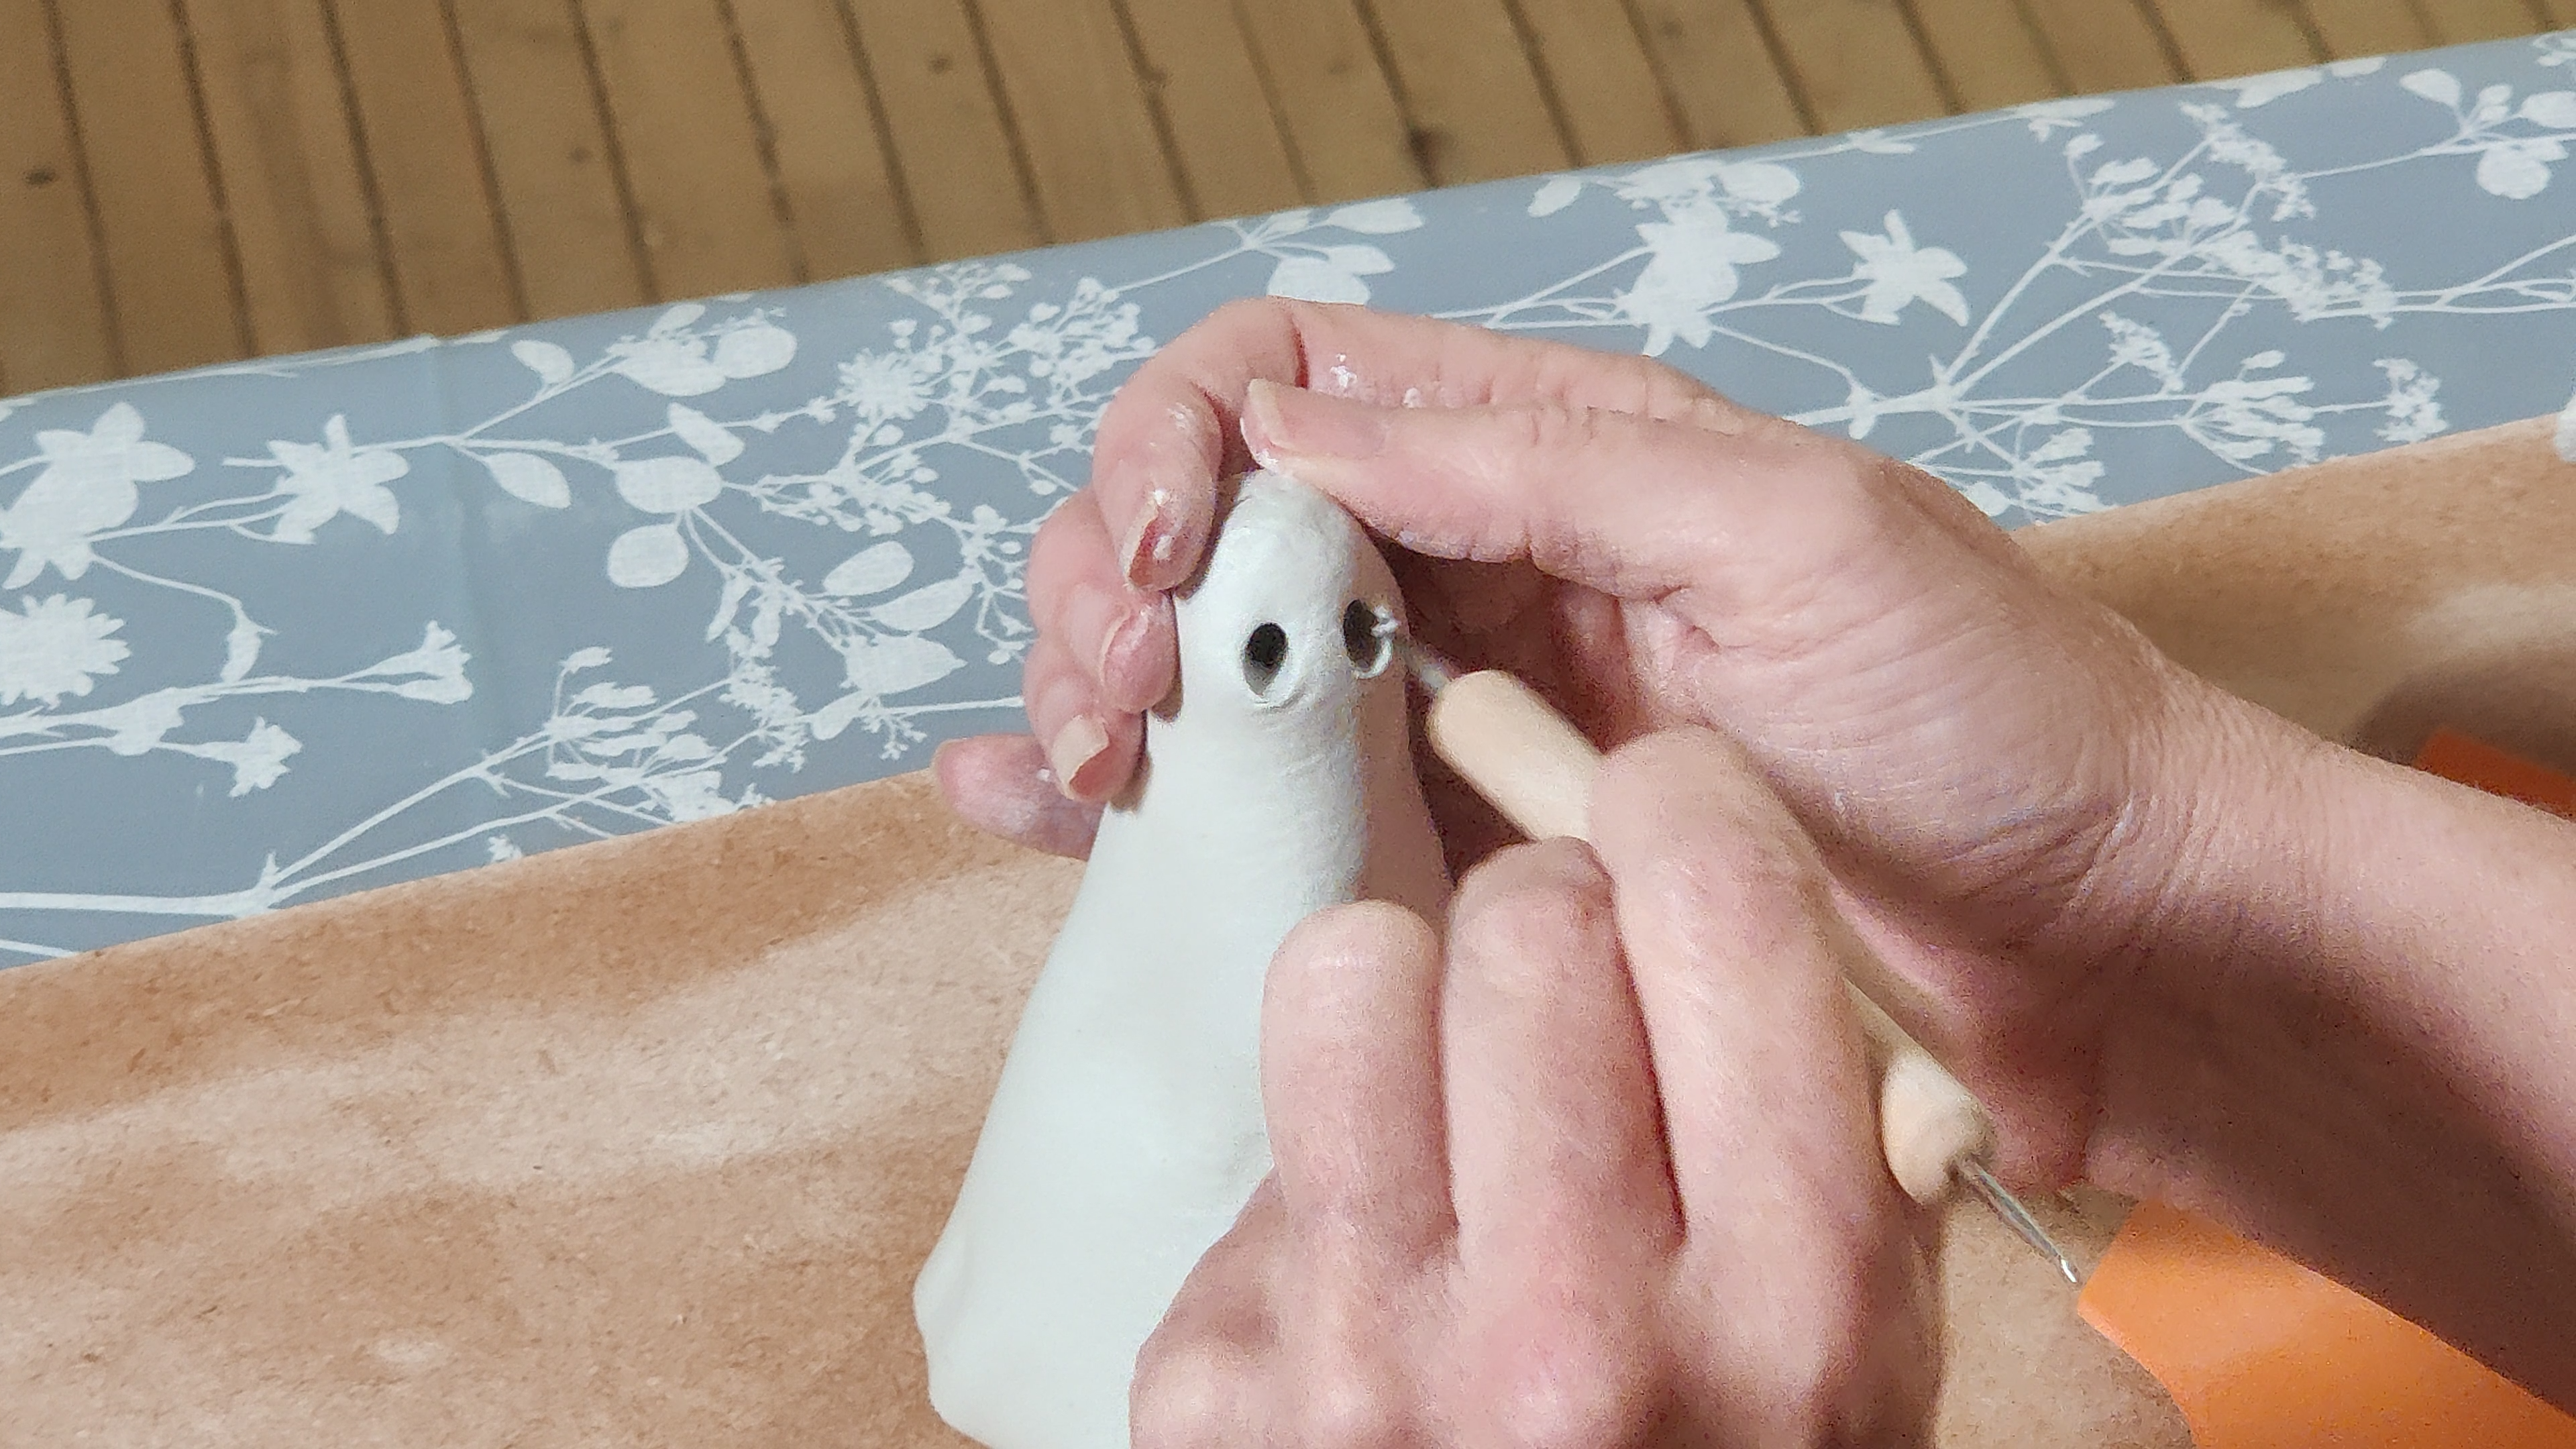
One of the best things about air dry clay is that it can be moulded into any shape you desire. You can create figurines, jewellery, bowls, vases, and so much more. The only limit is your imagination!
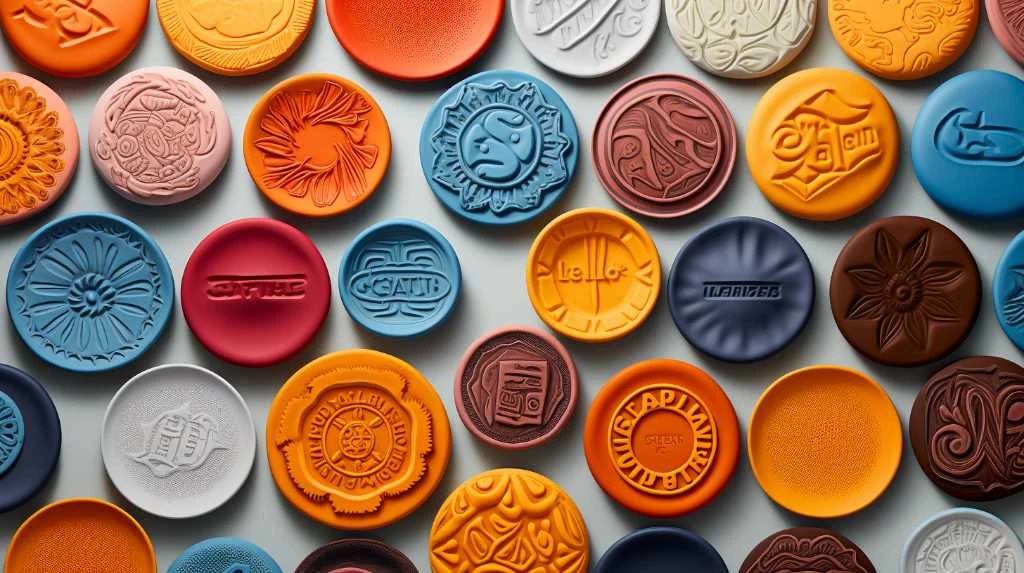
To get started, try using cookie cutters to create different shapes. You can also use moulds to create more intricate designs. Once your clay has dried, you can paint it with acrylic paint or decorate it with glitter, beads, or other embellishments.
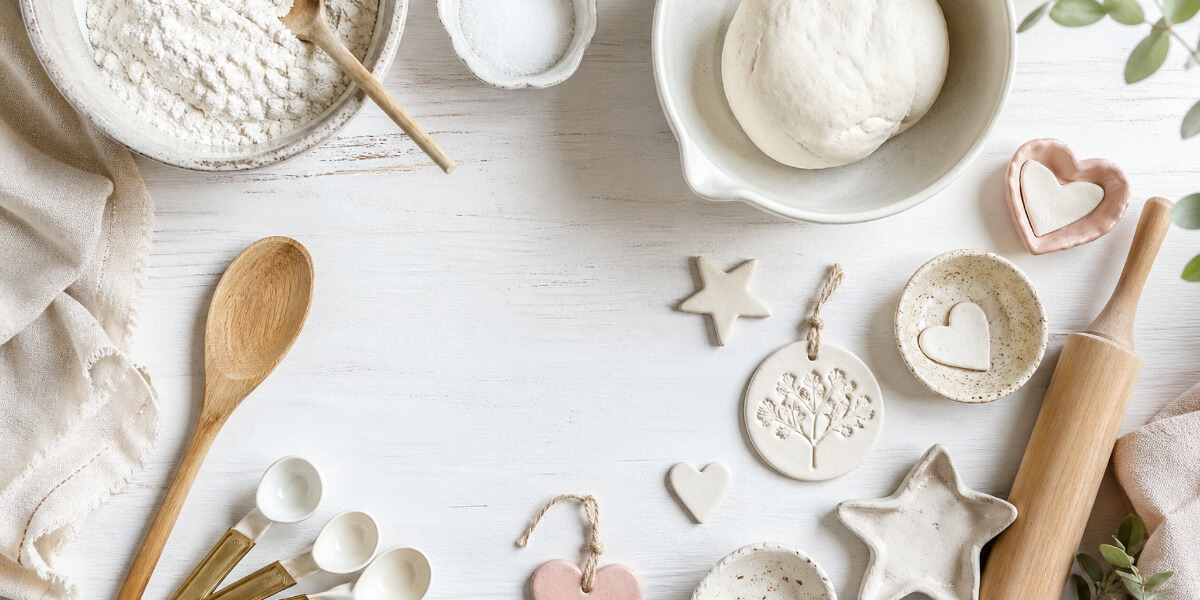
Making Christmas Ornaments
One of the most popular uses for air dry clay is making Christmas ornaments. Homemade ornaments are a great way to add a personal touch to your holiday decorations. Plus, they make great gifts for friends and family!
To make Christmas ornaments with your homemade clay, start by rolling the clay into a ball and then flattening it with a rolling pin. Use cookie cutters or moulds to create different shapes, such as stars, snowflakes, or Christmas trees.
Once your ornaments have dried, you can paint them with festive colours and add glitter or other embellishments. You can also use a marker to write the year or a special message on the back of the ornament.
Overall, making air dry clay with flour is an easy and affordable way to create custom decorations and gifts. Whether you are new to crafting or have years of experience, working with clay is a fun and rewarding activity that can be enjoyed by people of all ages.
Painting and Finishing Your Clay Creations
Using Acrylic Paint
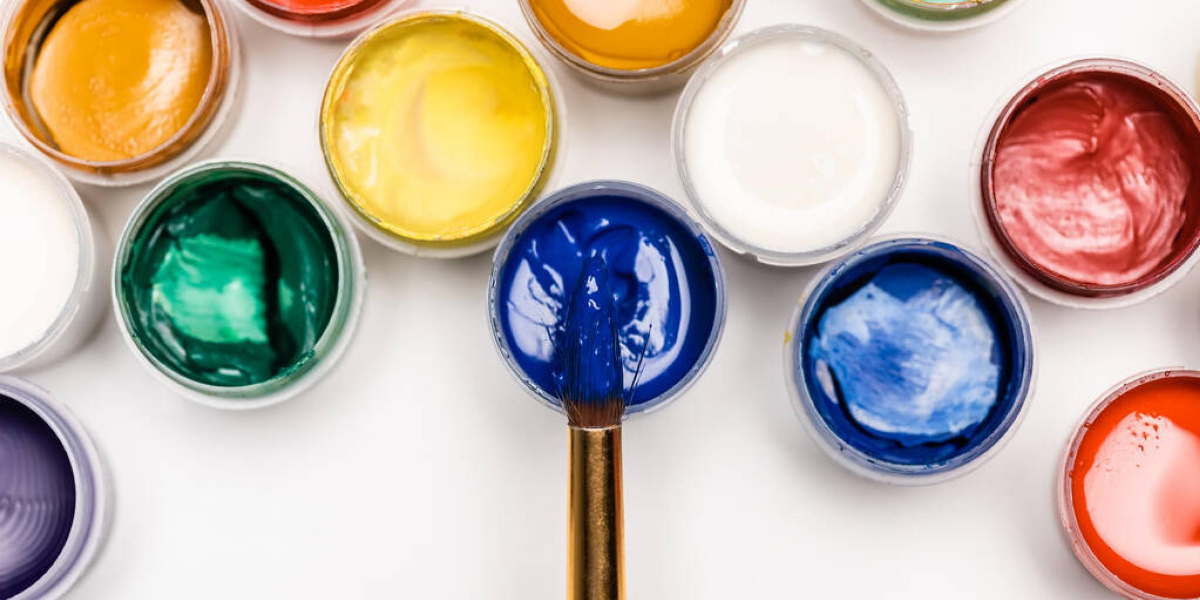
Once your air dry clay creation has fully dried, it’s time to add some colour! Acrylic paint is a great option for painting your clay creations as it is water-based, dries quickly and is easy to use. Here’s how to paint your clay creations with acrylic paint:
- Choose your colours: Acrylic paint comes in a wide range of colours, so choose the colours that you want to use for your creation. You can mix colours together to create new shades.
- Prepare your workspace: Lay down some newspaper or a plastic sheet to protect your workspace from any paint spills.
- Apply the paint: Use a small paintbrush to apply the paint to your clay creation. Start with the lighter colours first and work your way up to the darker colours. You may need to apply two or three coats of paint to get a solid colour.
- Allow the paint to dry: Acrylic paint dries quickly, so your creation should be ready to handle within a couple of hours.
Varnishing Your Creations
Once your clay creation is painted, you may want to protect it with a varnish. Varnish will give your creation a protective layer, which will help to prevent any paint from chipping or fading. Here’s how to varnish your clay creations:
- Choose your varnish: There are two types of varnish – matte and glossy. Matte varnish will give your creation a more natural look, while glossy varnish will give it a shiny finish. Choose the one that best suits your creation.
- Prepare your workspace: Lay down some newspaper or a plastic sheet to protect your workspace from any varnish spills.
- Apply the varnish: Use a small paintbrush to apply the varnish to your clay creation. Start with a thin coat and work your way up to a thicker coat. Allow each coat to dry before applying the next one.
- Allow the varnish to dry: Varnish can take up to 24 hours to dry fully, so be patient and don’t handle your creation until it’s completely dry.
That’s it! With these simple steps, you can paint and varnish your air dry clay creations to give them a professional finish.
Alternative Homemade Clay Recipes
If you don’t have all the ingredients to make air dry clay with flour, don’t worry! There are other homemade clay recipes you can try. Here are three alternative options:
Salt Dough Recipe
Salt dough is a popular homemade clay recipe that is easy to make with just three ingredients: flour, salt, and water. Here’s how you can make salt dough:
- Mix 2 cups of flour and 1 cup of salt in a bowl.
- Slowly add 1 cup of water, mixing the ingredients together until you form a dough.
- Knead the dough on a floured surface until it becomes smooth and pliable.
- Use the salt dough to create your desired shapes or sculptures.
- Allow the salt dough to air dry for at least 24 hours before painting or decorating.
Salt dough is a great option for creating ornaments or small sculptures. However, it is not as durable as air dry clay and is not recommended for larger projects.
Cold Porcelain Recipe
Cold porcelain is a homemade clay recipe that is similar to air dry clay, but it is made with glue instead of flour. Here’s how you can make cold porcelain:
- Mix 1 cup of white glue, 1 cup of cornstarch, 1 tablespoon of vinegar, and 1 tablespoon of cooking oil in a saucepan.
- Heat the mixture over low heat, stirring constantly, until it thickens and forms a dough.
- Remove the dough from the saucepan and allow it to cool.
- Knead the dough on a cornstarch-dusted surface until it becomes smooth and pliable.
- Use the cold porcelain to create your desired shapes or sculptures.
- Allow the cold porcelain to air dry for at least 24 hours before painting or decorating.
Cold porcelain is a great option for creating delicate sculptures or decorations. However, it is not as strong as air dry clay and may crack or break if not handled carefully.
Paper Clay Recipe
Paper clay is a homemade clay recipe that is made with shredded paper and glue. Here’s how you can make paper clay:
- Soak shredded paper in water for at least 30 minutes.
- Drain the water from the paper and squeeze out any excess liquid.
- Mix the paper with 1 cup of white glue and 1/4 cup of cornstarch in a bowl.
- Knead the mixture on a cornstarch-dusted surface until it becomes smooth and pliable.
- Use the paper clay to create your desired shapes or sculptures.
- Allow the paper clay to air dry for at least 24 hours before painting or decorating.
Paper clay is a great option for creating textured sculptures or decorations. However, it is not as strong as air dry clay and may not be suitable for larger projects.
Overall, these alternative homemade clay recipes offer different options for creating sculptures and decorations. Each recipe has its own unique properties and is suitable for different types of projects.
Safety and Precautions When Making and Using Homemade Clay
When making and using homemade clay, it is important to take certain safety precautions to ensure that you and those around you stay safe. Here are some things to keep in mind:
- Always wear gloves when working with the clay to avoid getting it on your skin.
- Make sure to work in a well-ventilated area to avoid inhaling any dust or particles that may be released during the process.
- If you have any allergies or sensitivities to certain ingredients, make sure to check the recipe and avoid using any that may cause a reaction.
- Keep the clay away from children and pets, as it may be harmful if ingested.
- If you plan on using the clay to create food-safe items, make sure to use only natural, food-safe ingredients and follow proper food safety guidelines when handling and storing the finished products.
By following these simple precautions, you can ensure that your homemade clay-making experience is a safe and enjoyable one.
Conclusion
Congratulations! You have successfully made your own air dry clay with flour. This DIY clay recipe is easy to follow and uses simple ingredients that you probably already have in your kitchen.
By making your own homemade air dry clay, you have the advantage of being able to create any shape or texture you desire. You can also add food colouring to create your own unique colours. Plus, this recipe is much cheaper than store-bought clay.
One of the best things about this homemade playdough is that it dries to a pure white finish. This makes it perfect for creating ornaments, figurines or any other craft project that you want to paint or decorate.
Overall, making your own clay with flour is a fun and easy activity that you can do with your kids. It’s a great way to encourage creativity and imagination, and it’s a lot of fun too.
So, go ahead and try out this homemade air dry clay recipe. You won’t be disappointed!