You’ve embarked on the fascinating journey of working with air dry clay, a versatile and accessible medium that allows you to bring your creative visions to life without the need for a kiln. However, as you gain experience, you’ll inevitably encounter a common and often frustrating phenomenon: cracks. These fissures can mar your carefully crafted pieces, turning a satisfying artistic endeavor into a disheartening experience. But fear not, for understanding why your air dry clay cracks is the first step towards preventing it and ensuring your creations stand the test of time. This guide will delve into the root causes of air dry clay cracking, providing you with practical insights and actionable strategies to achieve beautiful, crack-free results.
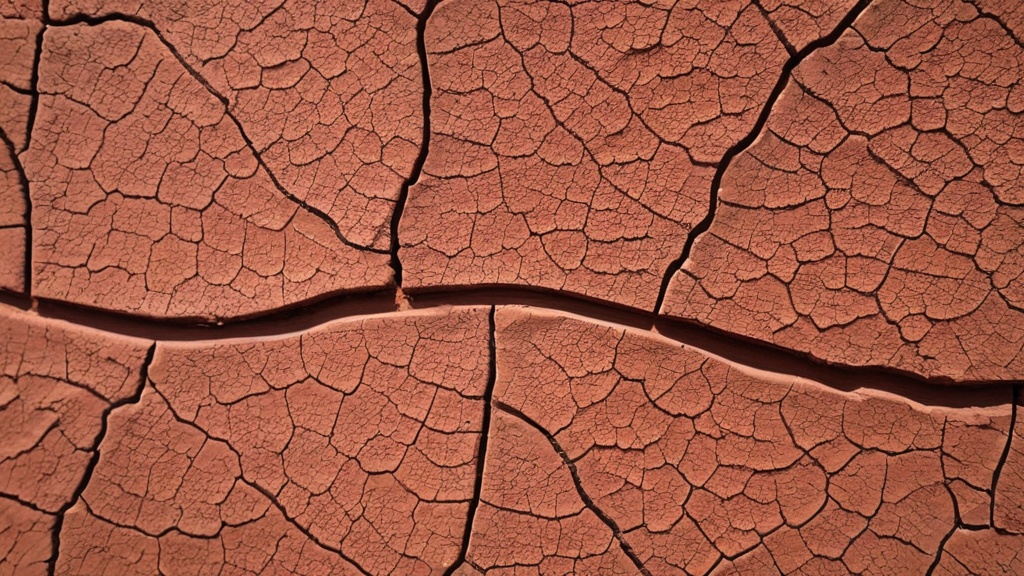
At the heart of almost every air dry clay crack lies one primary issue: uneven drying. Imagine a sponge that’s been squeezed and then allowed to dry. The thinner parts will become stiff and brittle quickly, while the thicker areas remain damp and pliable for much longer. Air dry clay behaves in a similar fashion, and this differential drying is the genesis of many problems. You see, as clay dries, it shrinks. When different parts of your sculpture shrink at different rates, internal stresses build up, eventually exceeding the clay’s tensile strength and leading to—you guessed it—cracks.
Why Uneven Drying Happens
Several factors contribute to this uneven drying, and recognizing them is crucial for prevention.
Inconsistent Thickness
Perhaps the most common manifestation of uneven drying is when your piece has varying thicknesses. Consider a sculpture with delicate limbs and a robust torso. The thinner limbs, with more surface area relative to their volume, will naturally shed moisture faster than the bulkier torso. As the limbs rapidly dry and contract, the still-wet and semi-pliable torso resists this shrinkage, creating tension at the junctions. This tension often manifests as cracks where thin meets thick, or even within the thicker sections attempting to conform to the faster-shrinking areas. You might observe fine hairline cracks propagating from these transition points, or deeper, more significant fissures emerging as the disparity in drying rates becomes pronounced.
Exposed vs. Covered Surfaces
Think about a sphere of clay partially covered by another element, or a piece resting directly on a surface. The exposed surfaces, those directly in contact with the ambient air, will dry much quicker than the surfaces that are covered, shaded, or in contact with a non-porous material. This difference in exposure creates a moisture gradient across your piece. The exposed parts shrink rapidly, pulling away from the still-moist, slower-shrinking areas. This can lead to cracks forming along the edges of where a piece meets its drying surface, or wherever there’s a significant difference in air flow and exposure. For instance, the top surface of a bowl will dry faster than its base if the base is directly on a non-absorbent drying mat, leading to cracks around the rim or where the bowl transitions to its base.
External Environmental Factors
The environment in which your clay dries plays a significant role in dictating the evenness of the drying process. A drafty room, a sunny windowsill, or even proximity to a running fan can accelerate drying on one side of your piece while the other side remains relatively undisturbed. Such localized accelerated drying exacerbates the problem of uneven shrinkage, pushing your clay towards cracking. You might notice cracks appearing predominantly on the side facing a heat source or an air current, as that area attempts to dry much faster than its counterparts.
The Peril of Excessive Thickness
While uneven drying is the primary culprit, excessive thickness, particularly when unmanaged, significantly amplifies the risk of cracking, even if drying appears relatively uniform on the surface.
Internal Stress Buildup
When you create a voluminous piece of air dry clay, the outer layers are exposed to the air and begin to harden and shrink first. However, the core of the piece, insulated by the surrounding clay, retains its moisture for a much longer period. This differential drying creates a classic “shell” effect. The strong, rigid outer shell tries to shrink, but the still-wet, soft interior cannot keep up with this contraction. As the exterior hardens, it effectively locks in internal stresses. Eventually, as the interior finally begins to dry and shrink, it pulls inward against the hardened, static exterior. This tug-of-war frequently results in deep, structural cracks that can run the entire length or width of your piece, often appearing well after the exterior seems dry to the touch. These aren’t just superficial surface cracks; they can compromise the entire integrity of your sculpture.
Insufficient Moisture Evaporation from the Core
Imagine trying to wick moisture out of a dense, thick block. It takes time. The thicker your clay piece, the longer it will take for the moisture from its core to migrate to the surface and evaporate. If external drying conditions (like air temperature or humidity) are such that the surface dries rapidly, then the path for internal moisture to escape is effectively sealed off by a hard, impermeable layer. This trapped moisture eventually attempts to escape by any means necessary, often exerting pressure that contributes to internal fracturing and cracking as the piece tries to equalize its moisture content.
Accelerating the Cracking Process: Drying Too Fast
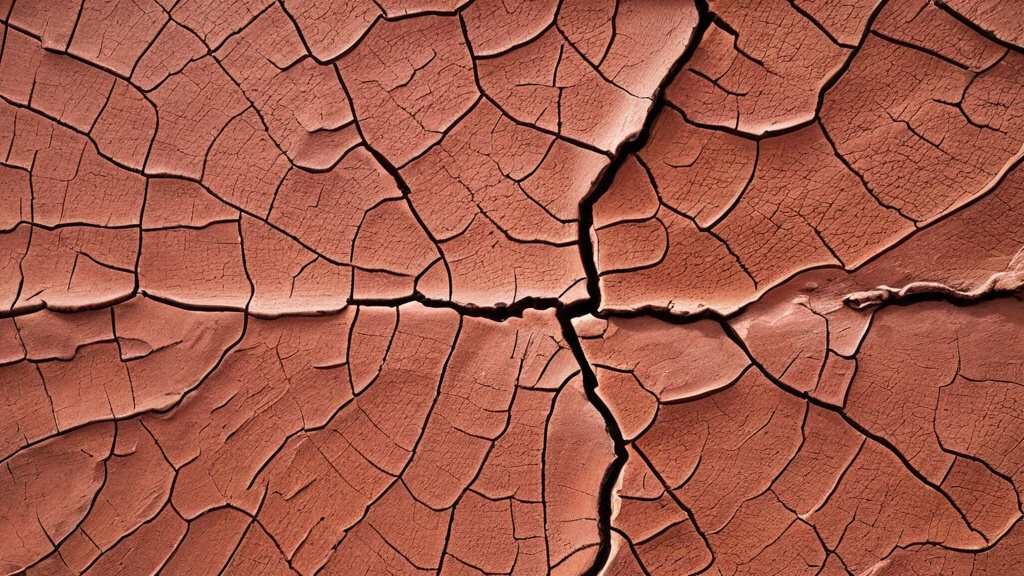
In your eagerness to see your finished piece, you might be tempted to speed up the drying process. However, this is a common pitfall that dramatically increases the likelihood of cracking. Patience, in this context, is truly a virtue.
The Impact of Heat Sources
Placing your air dry clay directly on a radiator, near a space heater, or even in direct sunlight might seem like an efficient way to dry it. However, these methods introduce intense, localized heat that causes the surface of your clay to dry and harden at an accelerated rate. While the exterior rapidly sheds moisture and shrinks, the interior lags far behind. This creates an extreme form of uneven drying, where the surface becomes brittle very quickly, effectively “sealing” the moisture within the core. The resulting tension, as the inner clay eventually shrinks against the rigid outer shell, inevitably leads to deep, often jagged cracks that are difficult, if not impossible, to repair seamlessly. You’ll often see these cracks appear as the piece comes off the heat source or cools down, representing the internal stresses finally giving way.
Low Humidity Environments
Humidity in the air plays a critical role in controlling the rate of evaporation. In a very dry environment (low humidity), moisture is drawn out of your clay much faster. While this might sound desirable for drying, it’s actually detrimental. Rapid evaporation from the surface causes quick shrinkage, again leading to the surface hardening prematurely. If your workspace is naturally arid, or if you’re using a dehumidifier nearby, be acutely aware that this environment will aggressively pull moisture from your clay, increasing its susceptibility to cracking. The key is a gradual and controlled loss of moisture, not a rapid desiccation.
Direct Airflow (Fans, Drafts)
A fan blowing directly on your clay, or placing your piece in a strong draft, can also accelerate drying in an undesirable way. Much like heat, concentrated airflow rapidly evaporates moisture from the exposed surfaces. This localized acceleration creates significant moisture gradients across your piece. One side might be rapidly firming up and shrinking, while the other side remains relatively wet and pliable. The resulting uneven stress and tension between these rapidly drying and slower-drying areas will almost certainly lead to cracks, often propagating from the side facing the direct airflow.
The Hidden Danger of Excess Water While Smoothing
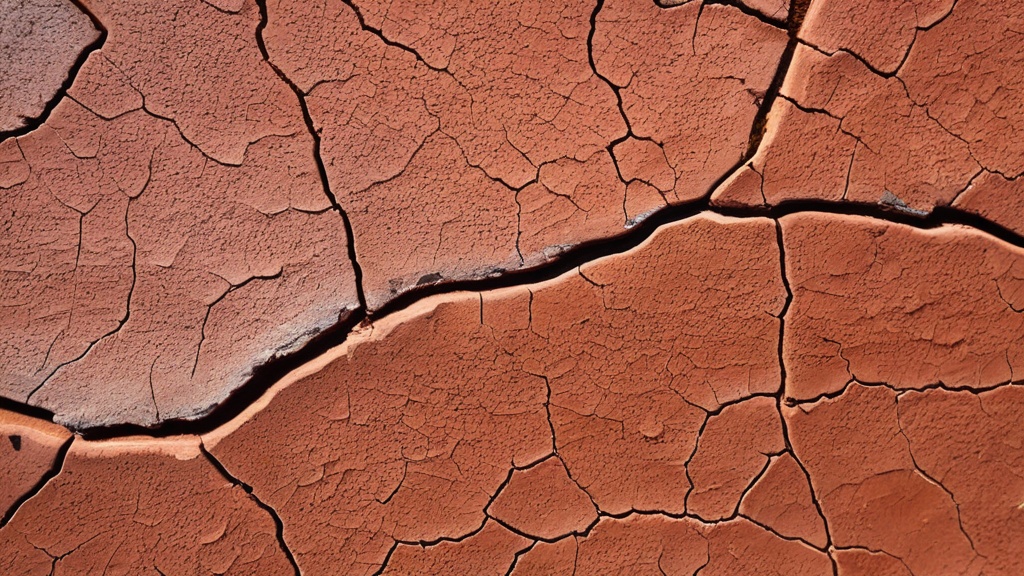
You strive for a perfectly smooth finish on your clay pieces, and often, water is your tool of choice for achieving this. However, using too much water during the smoothing process can have unexpected and detrimental consequences that contribute to cracking.
Weakening the Surface Layer
When you liberally apply water to the surface of your clay for smoothing, you’re not just wetting it; you’re often creating a slurry or slip of thin, dilute clay on the surface. While this might feel smooth at the time, this over-saturated top layer is significantly weaker than the underlying, more compacted clay. It has a higher water content and less structural integrity. As this super-saturated surface layer dries, it shrinks more dramatically and rapidly than the clay beneath it. This exaggerated shrinkage can cause the surface to tear or crack, often manifesting as fine, spiderweb-like cracks or peeling layers, even if the underlying clay is structurally sound. You’ve essentially created a fragile skin that is unprepared for the stresses of drying.
Differential Shrinkage Exacerbation
Beyond weakening, excessive surface water can contribute to differential shrinkage in another way. Areas that have been repeatedly or heavily wetted during smoothing will have absorbed more moisture than other parts of the piece. As these wetter areas dry, they will shrink more than the less saturated areas. This subtle but significant difference in water content leads to localized uneven drying and shrinkage, creating internal tensions that can result in cracks appearing precisely in the areas you worked hardest to smooth. It’s a double-edged sword: you want smoothness, but you must achieve it judiciously.
Structural Integrity: Poor Support and Shifting Armatures
| Reasons for Cracking | Solutions |
|---|---|
| Insufficient kneading | Knead the clay thoroughly to remove air bubbles |
| Too thick clay layer | Roll the clay to an even thickness |
| Rapid drying | Allow the clay to dry slowly and evenly |
| Overworking the clay | Handle the clay gently and avoid excessive manipulation |
Not all cracks are solely due to drying issues. Sometimes, the genesis of a crack lies in the fundamental support system or the very structure of your sculpture. These are structural cracks, and they require a different approach to prevention.
Insufficient Armature Support
For larger or more complex air dry clay sculptures, an internal armature provides essential support, especially during the initial stages when the clay is still wet and pliable. If your armature is too flimsy, not adequately anchored, or incorrectly positioned, it won’t be able to bear the weight of the clay. As the clay begins to dry and lose a fraction of its moisture, it also gains slight rigidity. However, if the armature is not strong enough to hold the form, the clay can sag, bend, or even twist under its own weight or the pull of gravity. This mechanical stress, where the clay is literally deforming before it’s fully solidified, can lead to cracks that are structural in nature, often appearing at stress points or unsupported areas. You might see these cracks even before significant drying shrinkage has occurred.
Armatures with Different Expansion/Contraction Rates
When using an armature (e.g., wire, foil, wood, or even plastic bottles), it’s crucial to consider its material properties relative to the clay. Different materials expand and contract at different rates due to changes in temperature and humidity. As your clay dries and shrinks, it pulls tightly around the armature. If the armature material itself expands or contracts differently from the clay (perhaps due to changes in ambient temperature during the drying process), it can exert internal pressure or cause the clay to pull away from it. This differential movement between the clay and the armature can cause significant cracks to form, particularly along the lines of the armature’s presence, as the clay struggles to adhere to or accommodate the shifting support. For example, if you use a wooden armature that absorbs moisture and swells slightly while the clay dries and shrinks, it could internally stress the clay.
Poorly Adhered or Shifting Internal Forms
Sometimes, you might incorporate internal forms or “filler” materials (like crumpled paper or foil) into larger pieces to reduce the amount of clay needed or to create bulk. If these internal forms are not securely packed, adequately sized, or properly adhered to the surrounding clay, they can shift or settle as the clay dries. Even a slight internal movement of these forms can displace or deform the still-malleable clay walls, inducing stress and eventually causing cracks to appear on the surface. These cracks are not about moisture evaporation but about physical movement and internal instability. Ensure any internal filler is tightly packed and integrated into the surrounding clay structure.
The Path to Perfection: Prevention Through Controlled Drying
Now that you’re well-versed in the causes of cracking, you’re empowered to implement preventative measures. The overarching theme here is control: control over drying speed, consistency, and environment.
Slow and Even Drying: Your Golden Rule
You must understand that air dry clay needs to dry slowly and evenly. This is the single most important principle to avoid cracks. Think of it like taking a long, leisurely walk rather than a frantic sprint.
Consistent Thickness Throughout the Piece
As you sculpt, make a conscious effort to keep the thickness of your clay as uniform as possible across your entire piece. If you have sections that absolutely must be thicker or thinner, try to make the transitions gradual and smooth, rather than abrupt. Gradual transitions distribute drying stresses more effectively. For very thick sections, consider hollowing them out once the clay is leather-hard (firm enough to handle without deforming, but still retaining some moisture). This reduces internal mass, allowing for more uniform drying. You’ll literally be giving the interior a better chance to catch up with the exterior.
The Power of Plastic Wrap and Damp Cloths
These are your best friends in the fight against rapid drying.
Gradual Unwrapping and Covering
After you’ve finished sculpting, a common and highly effective technique is to partially cover your piece with plastic wrap. You don’t want to hermetically seal it, but rather create a micro-environment that slows down moisture evaporation. For the first few days, you might cover it almost completely, leaving a small opening for very slow air exchange. As the piece begins to firm up, you can gradually expose more of it. Think of it as a staged reveal. This allows the internal moisture to slowly migrate outwards, giving both thin and thick sections a chance to dry at more comparable rates. You can also cover it at night, or when you’re away, to protect it from drafts or environmental changes.
Damp Cloths for Targeted Slowing
If you notice a particular area (say, a thin arm or delicate finger) drying much faster than the rest of your sculpture, you can gently place a small, damp (not soaking wet) piece of cloth or paper towel over that specific area. This local application increases the humidity immediately around that section, slowing down its drying process and allowing the thicker parts to catch up. Monitor these areas carefully, and re-dampen the cloth as needed. This targeted approach is excellent for rebalancing drying rates.
Finding the Right Drying Spot
Choose a location for your drying clay carefully. Avoid direct sunlight, radiators, air vents, or any area with strong, direct airflow (e.g., open windows with drafts, fans). A shaded, ambient room with stable temperature and moderate humidity is ideal. If your home is very dry, consider placing a bowl of water near your drying clay (but not so close that it could splash!) to slightly increase localized humidity. You can also place your drying clay inside a cardboard box with the lid slightly ajar to create a more controlled, humid environment.
Maintaining Consistent Moisture During Creation
Prevention doesn’t just start after you finish sculpting; it starts while you’re working.
Avoiding Excessive Water During Sculpting/Smoothing
As discussed, too much water on the surface can weaken it and contribute to cracking. When smoothing, use minimal water. A lightly dampened sponge or fingertip is usually sufficient. Work quickly and efficiently, and try to achieve your desired smoothness without continually re-wetting the surface. If you need to rehydrate slightly dried-out portions to work them, use a fine mist sprayer rather than directly applying drops of water, and then immediately work that moisture back into the clay. The goal is to work the clay until it’s just pliable enough.
Keeping Clay Consistent While Working
If you’re working on a large or intricate piece that takes multiple sessions, always keep your in-progress work covered with damp cloths and sealed in plastic wrap between sessions. This prevents the clay from drying out too much and becoming brittle, which would make it difficult to rejoin or add new sections without creating stress points. You want the clay to remain at a relatively consistent moisture level throughout your working process.
The Art of Repair: Mending the Damage
Despite your best preventative efforts, sometimes cracks still appear. Don’t despair! Many cracks, especially smaller ones, can be successfully repaired. The key is to wait until your piece is fully dry before attempting repairs.
Repairing Small Cracks
For hairline cracks or smaller fissures, you have a couple of options:
Using Fresh Clay
Once your piece is completely dry, you can prepare a very small amount of fresh air dry clay. Mix it with a tiny bit of water to create a soft, workable paste or slip. Carefully press this paste into the cracks using a sculpting tool, your fingertip, or even a toothpick. Work it in thoroughly, ensuring it fills the entire crack. Why completely dry? If you try to fill a crack while the original piece is still drying and shrinking, the newly applied wet clay will also dry and shrink, potentially re-opening the crack or even creating new ones. By allowing the piece to fully dry, all shrinkage has occurred, and the new clay will simply bond to a stable, non-shrinking surface.
Applying Adhesives
For very fine cracks, or if you prefer not to use fresh clay, certain adhesives can be effective. A good quality craft glue, wood glue (PVA glue), or even specific pottery glues can work. Apply a small amount directly into the crack, wiping away any excess immediately. Some artists also find success with a thin layer of epoxy resin for structural cracks once fully hardened. Always test a small, inconspicuous area first if you’re unsure how the adhesive will react with your clay or desired finish.
Post-Repair Drying and Finishing
After applying your repair material, whether it’s fresh clay or an adhesive, you must allow the repaired area to completely dry again. For fresh clay, this means another period of slow, controlled drying, just as you would with a new piece. Once everything is fully dry, you may want to gently sand the repaired area with fine-grit sandpaper to achieve a smooth, seamless finish that blends in with the original surface. This prepares your piece for painting or sealing. Remember, surface flaws can often be disguised during the painting and finishing stages, so a perfect repair might not always be necessary, but a structurally sound one is paramount.
By understanding the forces at play – uneven drying, excessive thickness, rapid desiccation, and structural failures – and arming yourself with preventative measures and repair techniques, you can overcome the challenge of cracking air dry clay. Embrace patience, diligence, and these proven strategies, and you’ll consistently create beautiful, durable, and crack-free works of art. Happy sculpting!
FAQs
What is air dry clay?
Air dry clay is a type of clay that hardens without the need for a kiln or oven. It is a popular choice for craft projects and sculpting because it is easy to work with and does not require special equipment for curing.
Why does air dry clay crack?
Air dry clay can crack due to a few different reasons, including improper storage, overworking the clay, and not properly sealing the finished piece. Cracking can also occur if the clay is too thin or if it dries too quickly.
How can I prevent air dry clay from cracking?
To prevent air dry clay from cracking, it is important to store it properly in an airtight container when not in use. Additionally, avoid overworking the clay and make sure to seal the finished piece with a sealant or varnish. Keeping the clay at an even thickness and allowing it to dry slowly can also help prevent cracking.
Can cracked air dry clay be fixed?
Cracked air dry clay can sometimes be fixed by using a small amount of water to smooth out the cracks and then allowing the piece to dry again. However, if the cracks are too severe, it may be difficult to repair the piece.
Are there different types of air dry clay that are less prone to cracking?
There are different types of air dry clay available, and some may be less prone to cracking than others. For example, some brands offer air dry clay specifically formulated to be more pliable and less likely to crack. It is important to read the product descriptions and reviews to find a type of air dry clay that best suits your needs.