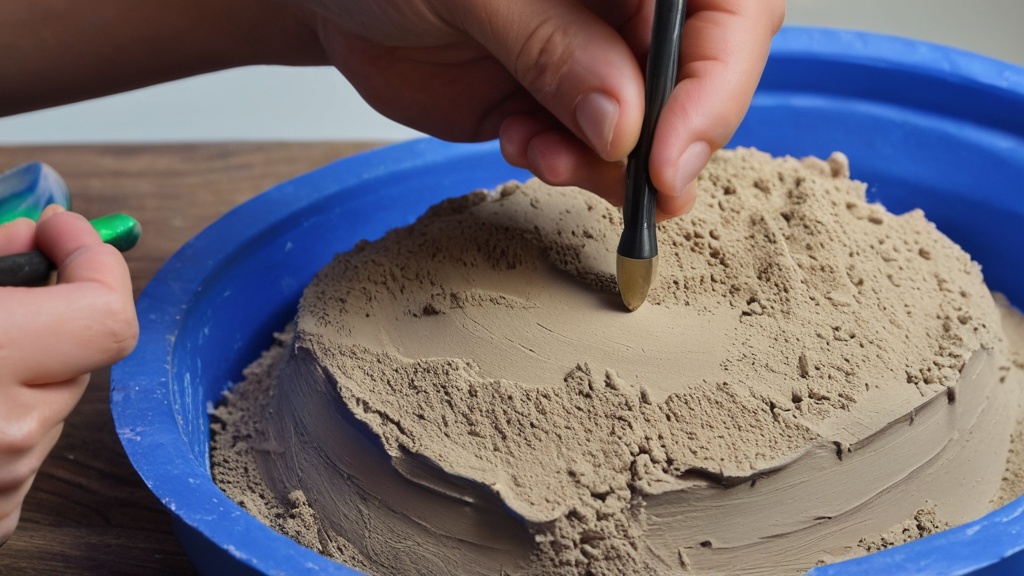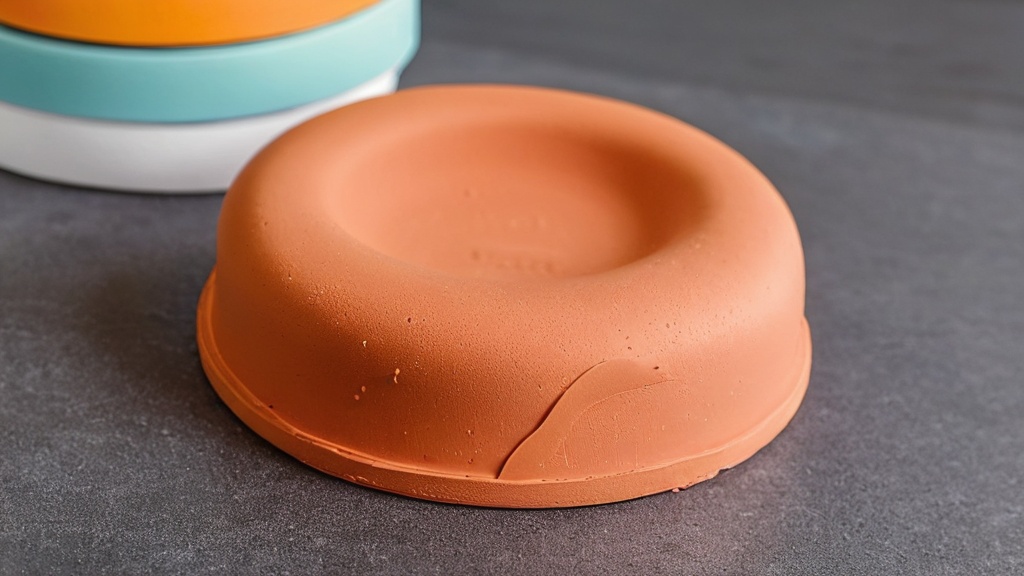
You’ve poured your heart and soul into a beautiful creation with air-dry clay. From delicate figurines to sturdy bowls, the possibilities are endless. But as you admire your handiwork, a nagging thought might creep in: what about moisture? You envision it sitting proudly on a shelf, perhaps near a window, or maybe even as a decorative piece in a slightly more humid environment. The very nature of air-dry clay, while convenient, also brings with it a certain vulnerability to water. You’ve heard the whispers, the forum discussions, the craft tutorials, all revolving around the concept of “waterproofing.” But here’s the crucial understanding you need to embrace right from the start: you cannot achieve true, absolute waterproofing with air-dry clay. The clay itself, composed of natural materials, will always have some inherent porosity. Instead, your goal is to make your creations water-resistant, effectively creating a barrier that shields them from the damaging effects of moisture. This distinction is vital, as it manages expectations and guides you towards the most effective methods.
Think of it like this: you can’t make a paper boat completely impervious to sinking, but you can apply layers of wax to make it float for a considerable time. Similarly, by applying the right sealants and techniques, you can transform your air-dry clay pieces from being susceptible to damage from spills or humidity into durable, resilient objects that can withstand a much greater degree of moisture exposure. This article will be your comprehensive guide to achieving that coveted water-resistant finish, walking you through the process step-by-step, and equipping you with the knowledge to choose the best sealants for your specific needs. You’ll learn what to do, what to avoid, and how to make your air-dry clay art last.
Before you dive headfirst into applying sealants, it’s imperative that you grasp the fundamental difference between true waterproofing and water resistance, especially in the context of air-dry clay. This understanding will save you time, effort, and potential disappointment. You’ve likely seen advertisements or heard terms that imply absolute waterproofing for various materials, but with air-dry clay, that’s simply not achievable in the strict sense. The raw material itself is porous. When it dries, it retains some of this porosity, making it naturally susceptible to absorbing moisture.
The Porous Nature of Air-Dry Clay
Air-dry clay, unlike ceramic clay fired in a kiln, hardens through evaporation. This drying process leaves behind a network of tiny pores within the clay structure. These pores are like tiny sponges, ready to absorb any liquid they come into contact with. Water can seep into these pores, causing the clay to soften, warp, or even crumble over time. This is why a fully unsealed air-dry clay piece left out in a damp environment or subjected to spills will eventually degrade. You might have already experienced this yourself, noticing a slight change in texture or even a softening of the clay after it’s been exposed to humidity.
The Goal: Creating a Protective Barrier
Your objective, therefore, is not to eliminate all possibility of moisture ingress, but to create a robust, impermeable layer on the surface of your clay that prevents water from reaching those vulnerable pores. This protective barrier acts as a shield, deflecting moisture and keeping your artwork intact. The effectiveness of this barrier depends on the type of sealant you choose, the number of coats you apply, and the thoroughness of your application. You are essentially building a defense system for your clay creation.
Why Absolute Waterproofing is Unrealistic
Think about it: even the most advanced waterproof clothing has its limits. Prolonged submersion or extreme pressure can eventually lead to water penetration. Air-dry clay, being a fundamentally different material, has even more inherent limitations. The goal of this article is to guide you towards the most effective water-resistant solutions, not to promise the impossible. By understanding this, you can set realistic expectations and focus on achieving a finish that will protect your creations for the long term under normal usage conditions. You’ll be aiming for a high level of protection, one that can handle everyday spills, moderate humidity, and even occasional outdoor exposure, but not necessarily prolonged submersion.
Preparing Your Air-Dry Clay for Sealing: The Foundation of Success
The most crucial step before you even think about applying any sealant is ensuring your air-dry clay piece is absolutely, unequivocally dry. This is non-negotiable. Applying a sealant to damp clay is like building a house on a shaky foundation – it’s destined for problems. You’ve put in the work to shape and create, and now you need to exercise patience to allow your artwork to reach its full potential of hardness and stability. Rushing this stage will undermine all your subsequent efforts to make it water-resistant.
The Importance of Complete Drying
You need to understand that “dry to the touch” is not the same as “completely dry.” Air-dry clay continues to lose moisture for days, even weeks, depending on the thickness of your piece, the humidity of your environment, and air circulation. A thicker piece will take significantly longer to dry than a thin one. Leaving it in a humid room will also prolong the drying process. You might observe that the outside feels dry, but the inner core still holds residual moisture. This internal moisture, if trapped by a sealant, can lead to problems later, such as mold growth or the sealant peeling away.
How to Ensure Your Piece is Thoroughly Dry
- Patience is Key: This is the most important advice. Allow ample time for drying. For average-sized pieces, this typically means at least 24-72 hours. For larger or thicker creations, you might need to wait a week or even longer. You can gauge dryness by weight – a completely dry piece will feel noticeably lighter than when it was first created.
- Good Air Circulation: Place your piece in a well-ventilated area. Avoid enclosed spaces or damp basements. If you live in a very humid climate, consider using a dehumidifier in the drying area. Turning the piece occasionally can help ensure even drying on all sides.
- Gentle Heat (Use with Caution): In some cases, you can use a very low-heat setting on a hairdryer or place the piece near a gentle heat source. However, be extremely cautious with heat. Too much heat can cause the clay to crack or warp. Always test this on a small, inconspicuous area or a scrap piece of clay first. You want to assist drying, not bake the clay.
- Listen to Your Piece: Sometimes, the clay itself will tell you when it’s dry. It will feel hard and less susceptible to indentations. If you tap it, it should sound solid, not hollow or soft.
Cleaning Off Dust and Debris
Once you are absolutely certain your piece is dry, you need to prepare its surface for the sealant. Dust and fine particles are the natural byproducts of the drying process. These particles can prevent the sealant from adhering properly, creating weak spots and an uneven finish.
- Gentle Brushing: Use a soft, dry brush (like a paintbrush or a makeup brush) to gently sweep away any loose dust or debris from the surface. Pay attention to intricate details and crevices.
- Damp Cloth (Sparingly): For stubborn dust, you can use a slightly damp (not wet!) lint-free cloth. Wipe the surface gently, ensuring you don’t saturate the clay. Immediately follow with a dry cloth to remove any residual moisture. Again, the goal is to remove dust, not to re-introduce significant moisture.
- Check for Smoothness: Run your fingers over the surface. If you feel any rough spots or imperfections, you can gently sand them down with fine-grit sandpaper (e.g., 220-grit or higher). After sanding, always brush away the dust thoroughly.
By investing time in thorough drying and meticulous cleaning, you are laying the groundwork for a truly water-resistant and durable air-dry clay creation. This preparatory stage is as vital as the choice of sealant itself.
Choosing Your Sealant: A Spectrum of Protection
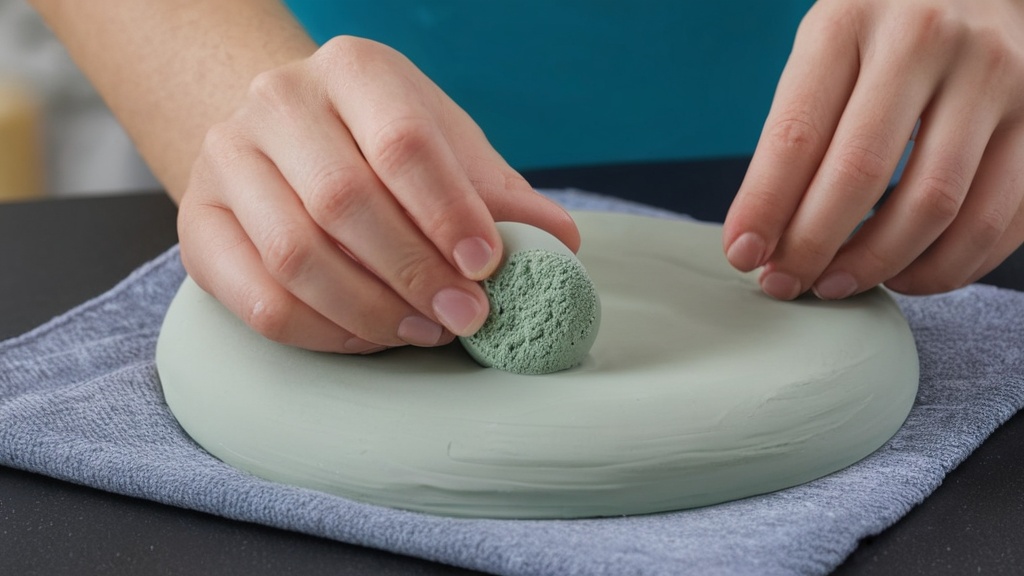
Now that your air-dry clay masterpiece is dry and prepped, the exciting part begins: selecting the right protective coating. The market offers a variety of options, each with its own strengths and weaknesses. Understanding these differences will help you make an informed decision based on the intended use and desired level of protection for your artwork. You are essentially choosing the armor for your creation.
The Go-To Options: Acrylic Varnish and Polyurethane
These are consistently recommended across crafting communities and tutorials for a reason: they offer a good balance of protection, ease of use, and availability.
Acrylic Varnish
- What it is: Acrylic varnish is a water-based acrylic polymer emulsion that dries clear and forms a protective, flexible layer. It’s widely used in various art forms.
- Pros: Easy to apply with a brush, dries relatively quickly, low odor, and comes in different finishes (matte, satin, gloss). You can often find water-based versions, which are easy to clean up.
- Cons: While good for general water resistance, it might not be the strongest option for prolonged or heavy moisture exposure. Multiple coats are essential for good protection.
- Application Tips: Apply thin, even coats. Allow each coat to dry completely before applying the next. This is crucial for building up a strong barrier. You can find sprays or brush-on versions.
Polyurethane
- What it is: Polyurethane is a synthetic polymer that forms a very durable and water-resistant film. It’s commonly used for wood finishing, which tells you a lot about its protective qualities.
- Pros: Offers excellent durability and water resistance. It’s tougher than acrylic varnish and provides a more robust barrier.
- Cons: Can have a stronger odor than acrylics, especially oil-based versions. Water-based polyurethane is generally preferred for crafts due to easier cleanup and lower VOCs. It can also be a bit thicker, requiring careful application to avoid brush marks.
- Application Tips: Similar to acrylics, multiple thin coats are key. You can use brush-on or spray versions. Ensure good ventilation when working with polyurethane. You’ll find both water-based and oil-based options; for air-dry clay, water-based polyurethane is generally the more practical and recommended choice due to ease of cleanup and lower toxicity.
Dedicated Air-Dry Clay Sealers
These products are specifically formulated for air-dry clay, often combining elements of acrylics and other sealants to provide effective protection.
- What they are: Brands often market sealers specifically for air-dry clay, promising enhanced durability and water resistance.
- Pros: Tailored for the material, often providing a good balance of protection and ease of use. They are designed to adhere well to air-dry clay.
- Cons: Availability can vary by region, and they might be more expensive than generic varnishes or polyurethanes.
- Application Tips: Follow the manufacturer’s instructions precisely. Typically, they are applied in thin coats with ample drying time between applications.
The Heavy-Duty Option: Epoxy Resin
For applications where maximum durability and water resistance are paramount, epoxy resin is the heavyweight champion.
- What it is: Epoxy resin is a two-part system (resin and hardener) that cures into a hard, glossy, and incredibly durable plastic-like surface.
- Pros: Provides the strongest waterproofing available for air-dry clay. It creates a thick, seamless, and virtually impenetrable barrier. It’s also very durable and resistant to scratching.
- Cons: More complex to work with. Requires precise mixing of two components, good ventilation, and careful handling due to its chemical nature. It can be more expensive and has a longer curing time. It can also yellow over time if exposed to UV light, though UV-resistant formulas are available.
- Application Tips: This is not for the faint of heart. You must follow the manufacturer’s instructions meticulously for mixing ratios and curing times. Apply in thin, even layers. You might need to pour it or use a brush specifically designed for resin. Ensure your workspace is well-ventilated and wear protective gloves and eyewear.
DIY Options: Budget-Friendly Water Resistance
While not as robust as commercial sealants, you can achieve a degree of water resistance with common household items.
PVA Glue (White Craft Glue) and Water Mixture
- What it is: Diluting standard white craft glue (like Elmer’s) with water.
- Pros: Inexpensive and readily available. Provides a basic level of water resistance, good for projects that won’t be exposed to heavy moisture.
- Cons: Not very durable and will not offer significant protection against spills or prolonged dampness. The finish might not be as smooth or consistent as commercial sealants.
- How to Make: Mix equal parts PVA glue and water. Stir thoroughly until well combined.
- Application Tips: Apply in multiple thin coats, allowing each to dry completely. This DIY approach is best for decorative items that you want to protect from light dust and minimal moisture.
Mod Podge: A Note of Caution
Mod Podge is a popular craft adhesive and sealant, but it’s important to understand its limitations regarding waterproofing.
- What it is: Mod Podge is a water-based acrylic sealant that also acts as an adhesive.
- Pros: Versatile, easy to use, and comes in various finishes.
- Cons: Recent craft sources and experienced users often note that Mod Podge offers only light protection and is not fully waterproof. While it can provide some water resistance, it’s not the best choice for items that will be in contact with significant moisture.
- Application Tips: If you do use Mod Podge, apply multiple thin coats, allowing ample drying time between them, to maximize its protective qualities. However, for genuine water resistance, you’ll want to consider stronger options.
When making your choice, consider the final destination and intended use of your air-dry clay creation. A decorative indoor piece might only need a few coats of acrylic varnish, while a garden ornament will require a much more robust, heavy-duty solution.
Application Techniques: The Art of Sealing
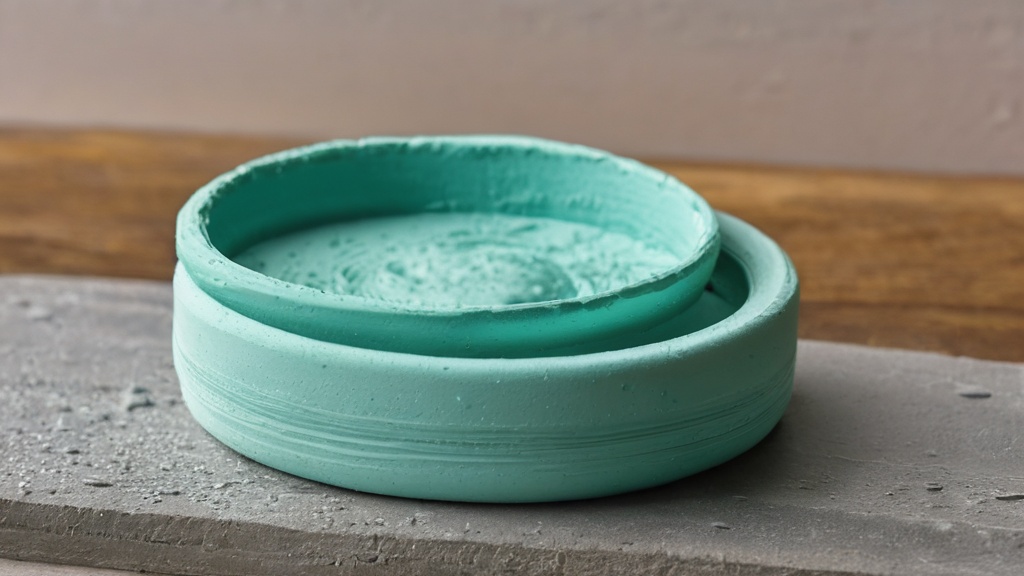
You’ve chosen your sealant, and your air-dry clay piece is perfectly dry and clean. Now comes the application, a step that requires patience, precision, and the right technique to ensure the most effective water-resistant finish. This is where you truly build the protective shield for your creation. Remember the golden rule: multiple thin coats are always better than one thick coat.
The Importance of Thin, Even Coats
You might be tempted to slather on a thick layer of sealant, thinking it will provide more protection. Resist this urge! Thick coats are prone to drips, runs, uneven drying, and can create a brittle finish that is more likely to crack. Thin, even coats, on the other hand, allow for better adhesion, a smoother finish, and a stronger, more flexible protective layer when built up over time. Think of it like applying layers of paint on a car – each thin coat contributes to a smooth, durable finish.
Brush-On Application
- Choosing Your Brush: Use a good quality synthetic brush for acrylics and water-based polyurethanes. For thicker sealants like resin, you might need specialized brushes or tools. Ensure your brush is clean and free of debris.
- Loading the Brush: Dip your brush into the sealant and gently wipe off any excess on the edge of the container. You want enough to cover the surface smoothly without overloading the brush.
- Applying the Sealant: Start in one area and work your way across the surface in smooth, overlapping strokes. Work in a consistent direction to avoid streaks. Pay close attention to edges and details. Don’t overwork the sealant, as this can create brush marks.
- Vertical Surfaces: When sealing vertical surfaces, apply from top to bottom.
Spray Application
- Preparation is Key: If you’re using a spray sealant, ensure your workspace is well-ventilated and protected from overspray. Cover any surrounding areas with newspaper or drop cloths.
- Shake Well: Always shake the spray can thoroughly according to the manufacturer’s instructions.
- Distance and Movement: Hold the can about 8-12 inches away from your piece. Use smooth, even strokes, moving your hand back and forth in a consistent motion. Overlap each stroke slightly to ensure full coverage.
- Avoid Pooling: Don’t spray too much in one spot, as this can lead to drips and uneven coverage. Multiple light coats are far more effective than one heavy spray.
The Crucial Drying Time Between Coats
This is where patience truly pays off. Each coat of sealant needs to dry completely before you apply the next. This allows the layers to bond properly and build up the protective barrier. Applying a new coat too soon can re-activate the previous layer, leading to a gummy, uneven finish, or a failure of the layers to adhere.
- Check Manufacturer’s Recommendations: Always refer to the product’s instructions for recommended drying times between coats. These can vary significantly depending on the type of sealant and environmental conditions.
- “Tacky” vs. “Dry”: You want each coat to be dry to the touch, meaning it’s no longer tacky or sticky. If it feels even slightly sticky, it’s not ready for the next layer.
- Environmental Factors: Drying times can be affected by humidity and temperature. In humid or cold conditions, drying will take longer. In dry, warm conditions, it will be faster.
- How to Test: Gently touch an inconspicuous area of the piece. If it doesn’t leave a fingerprint or feel sticky, it’s likely ready.
Number of Coats: Building the Defense
The number of coats you apply will directly impact the level of water resistance your air-dry clay piece achieves.
- Basic Protection (e.g., decorative shelf item): 2-3 thin coats of acrylic varnish or a comparable sealant might suffice for protection against light dust and minimal humidity.
- Moderate Moisture Exposure (e.g., kitchen counter item, slightly humid area): Aim for 2–3 coats of a stronger sealant like polyurethane or a dedicated air-dry clay sealer. Ensure complete drying between each coat.
- Heavier Moisture Exposure or Outdoor Use (e.g., garden ornament): You’ll need more layers and a more robust sealant. This might involve 3-5 (or more) thin coats of polyurethane or even a full epoxy resin coating. For outdoor pieces, you might even consider a combination of sealants as discussed in the “Outdoor-Oriented Methods” section.
Always err on the side of caution and apply more thin coats rather than fewer thick ones. You are building up a strong, impermeable barrier, and each layer contributes to its effectiveness.
Advanced Techniques and Special Considerations
| Method | Effectiveness | Application |
|---|---|---|
| Sealant Spray | Good | Easy, but may require multiple coats |
| Polyurethane Varnish | Excellent | Brush or dip application |
| Silicone Sealant | Good | Applied with a caulking gun |
While the basic principles of drying, cleaning, and applying thin coats are paramount, there are additional techniques and considerations that can further enhance the water resistance and durability of your air-dry clay creations, especially for specific environments or more demanding applications. You’re moving beyond the basics and into more specialized territory.
For Humid Environments and Kitchenware
If your air-dry clay piece is destined for an area with high humidity, like a bathroom or kitchen, or if it will come into contact with occasional splashes of water (e.g., a trinket dish for jewelry that might get wet), you’ll want to employ strategies that offer superior moisture protection.
- Water-Based Polyurethane: As mentioned, this is a strong contender for humid areas. Its durable finish can effectively repel moisture.
- Triple-Thick Glaze Sprays: These are often recommended in crafting communities for their ability to build up a thick, protective layer with just a few applications. The “triple-thick” nature suggests it lays down a substantial amount of sealant in each spray, potentially reducing the number of coats needed compared to standard sprays. Ensure good ventilation when using these.
- Multiple, Generous Coats: Even with the best sealants, applying extra thin coats (aiming for 4-6 or more) will significantly increase the water resistance. Allow ample drying time between each layer.
- Consider Sealing the Underside: For items like bowls or dishes, ensure you also seal the underside and any feet or bases to prevent moisture from being absorbed from the surface they sit on.
Outdoor-Oriented Methods for Durability
Creating air-dry clay pieces for outdoor display presents unique challenges, as they will be exposed to rain, sun, and fluctuating temperatures. Achieving significant water resistance and durability requires a multi-layered approach, often combining materials designed for outdoor use.
- Waterproof Wood Glue as a Base: Some craft tutorials suggest using waterproof wood glue as an initial sealant layer. Wood glue, especially waterproof formulations, is designed to withstand moisture and form a strong bond.
- Mortar for a Rugged Finish: For a more textured and robust finish, a thin layer of mortar can be applied over the dried clay. This adds a significant layer of protection and durability. Ensure the mortar is fully cured before proceeding.
- Exterior Paint for Color and Protection: Once the base layers are dry and cured, applying exterior-grade paint can add both color and an additional barrier against the elements. Choose paints formulated for outdoor use.
- Polyurethane Topcoat: The final, crucial step is applying several coats of a durable exterior-grade polyurethane. This will seal in the paint and provide the primary water-resistant layer. This combination of materials creates a formidable defense against outdoor conditions.
DIY: The “Waterproof” Wood Glue Approach
Building on the outdoor-oriented methods, you can also utilize waterproof wood glue on its own for a more straightforward, though still robust, DIY solution.
- How it Works: Waterproof wood glues are designed to create strong, water-resistant bonds, often using synthetic polymers that cure into a durable, flexible film.
- Application: Apply the waterproof wood glue in thin, even coats, similar to how you would apply a varnish. Allow each coat to dry thoroughly before applying the next. You will likely need at least 3-5 coats for good water resistance.
- Limitations: While strong, it might not offer the same level of extreme waterproofing as epoxy resin or specialized industrial sealants. However, it’s a significant improvement over basic PVA glue.
Addressing Concerns with Epoxy Resin
While epoxy resin offers unparalleled waterproofing, its application requires care and attention to detail.
- UV Resistance: If your piece will be exposed to sunlight, even indirectly, consider using a UV-resistant epoxy resin or applying a UV-protective topcoat over a standard epoxy. Unprotected epoxy can yellow over time.
- Bubbles: Trapped air bubbles are a common issue with resin. Techniques like using a heat gun or a torch (very briefly and carefully!) can help pop surface bubbles. Thorough mixing and slow pouring can minimize bubble formation.
- Health and Safety: Always work in a well-ventilated area, wear gloves and eye protection, and follow the manufacturer’s safety guidelines.
By understanding these advanced techniques and special considerations, you can tailor your sealing process to meet the specific demands of your air-dry clay projects, ensuring they are not only beautiful but also remarkably resilient.
Maintenance and Longevity: Keeping Your Creations Protected
You’ve diligently sealed your air-dry clay creations, transforming them into water-resistant works of art. But like any protective coating, the sealant itself can degrade over time and with continued exposure. Understanding how to maintain these finishes will ensure your creations remain protected and beautiful for years to come. Think of it as ongoing care for your artwork.
Regular Cleaning: Gentle is Best
The best way to maintain the water-resistant properties of your sealed air-dry clay is through regular, gentle cleaning.
- Dusting: For everyday dust, a soft, dry microfiber cloth or a soft brush is your best friend. This will remove surface dust without abrading the sealant.
- Light Wiping: If your piece gets a light spill or mark, you can gently wipe it with a slightly damp (not wet!) cloth. Use a soft, lint-free cloth. Immediately follow with a dry cloth to remove any residual moisture.
- Avoid Harsh Chemicals: Never use abrasive cleaners, solvents, or harsh detergents on your sealed air-dry clay. These can damage or break down the sealant, compromising its protective qualities.
Dealing with Minor Wear and Tear
Over time, even the most durable sealants can develop minor scuffs or scratches, especially on frequently handled items.
- Minor Scuffs: For very light scuffs on gloss finishes, you might be able to buff them out gently with a soft cloth.
- Addressing Small Areas: If you notice a small chip or scratch in the sealant, it’s best to touch it up rather than ignore it.
- Clean the Area: Gently clean the damaged area to remove any dirt or debris.
- Apply a Touch-Up Coat: Carefully apply a thin coat of the same sealant you originally used to the damaged spot. Feather the edges of the touch-up so it blends smoothly with the surrounding area.
- Allow to Dry Completely: Let the touch-up coat dry thoroughly before handling.
When Re-Sealing Might Be Necessary
While the goal is for your sealant to last, certain conditions might necessitate re-sealing.
- Significant Exposure: If your air-dry clay piece has been exposed to prolonged or intense moisture (e.g., left outside during a heavy rain shower, submerged in water for an extended period), the sealant might have been compromised. Look for any signs of softening, peeling, or discoloration in the clay itself.
- Visible Damage: If you notice significant chipping, peeling, or deep scratches in the sealant layer, it’s a sign that the protective barrier is no longer intact.
- Dullness or Fading: Some sealants, particularly those with gloss finishes, might lose their sheen over time. If you want to restore the original look, a fresh coat of sealant can help.
- How to Re-Seal:
- Clean Thoroughly: Clean the entire piece to remove any dust, grime, or old residue.
- Light Sanding (Optional): For better adhesion of new sealant to an old layer, you can very lightly sand the entire surface with fine-grit sandpaper. This is especially useful if the old sealant is very smooth or has a high gloss. Always brush away sanding dust thoroughly.
- Apply New Coats: Apply thin, even coats of your chosen sealant, following the same application techniques as before. Allow ample drying time between coats. You might not need as many coats as the initial application, but 2-3 good coats should be sufficient to refresh the protection.
By following these simple maintenance tips, you can significantly extend the lifespan of your air-dry clay creations and ensure they continue to bring joy and beauty to your space, no matter the environmental challenges they face. Your commitment to their care will be rewarded with lasting artistry.
FAQs
What is air dry clay?
Air dry clay is a type of modeling clay that hardens as it dries in the air, without the need for baking or firing in a kiln. It is a popular choice for craft projects and sculpting due to its ease of use and accessibility.
Why is it important to waterproof air dry clay?
Waterproofing air dry clay is important to protect the finished project from moisture, which can cause the clay to soften or break down over time. Additionally, waterproofing can help preserve the color and finish of the clay.
How can I waterproof air dry clay?
There are several methods for waterproofing air dry clay, including using sealants such as varnish or polyurethane, applying a waterproofing agent like Mod Podge, or using a waterproof paint or glaze.
What are some tips for waterproofing air dry clay effectively?
To effectively waterproof air dry clay, it is important to apply multiple thin layers of the chosen sealant or waterproofing agent, allowing each layer to dry completely before applying the next. It is also important to ensure that the entire surface of the clay is covered to provide complete protection.
How long does it take for waterproofing to dry on air dry clay?
The drying time for waterproofing on air dry clay can vary depending on the type of sealant or waterproofing agent used, as well as the thickness of the layers applied. In general, it is recommended to allow at least 24 hours for the waterproofing to dry completely before handling the finished project.