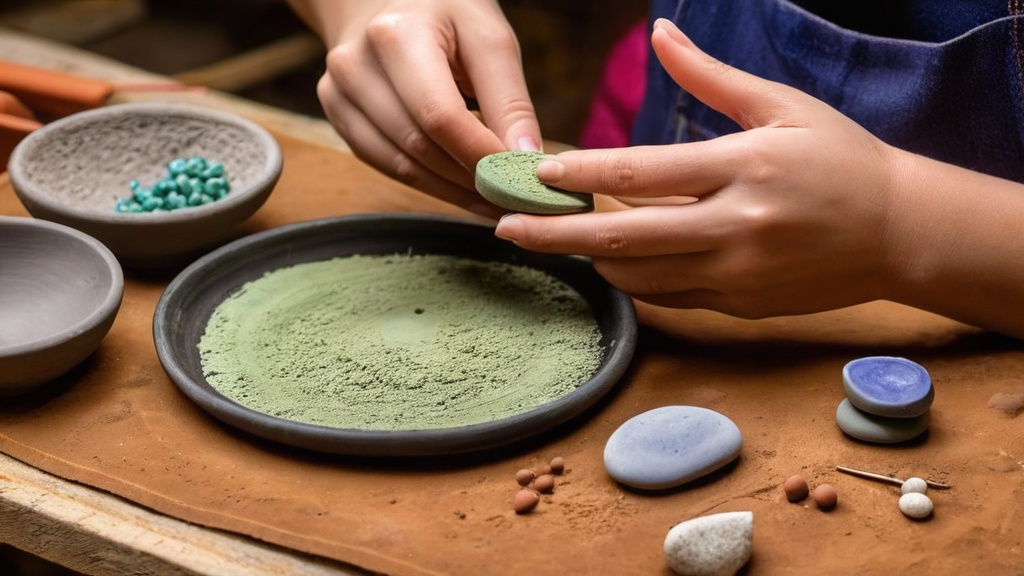
You’ve just unveiled your latest air-dry clay creation, a masterpiece in the making. But as you step back, you notice the tell-tale signs of your touch – fingerprints, slight imperfections, and a general unevenness that detracts from its intended glory. Don’t despair! Smoothing air-dry clay is an art in itself, and with the right techniques and a little patience, you can transform your rough-hewn sculpture into a flawlessly finished piece. This comprehensive guide will walk you through every step, from working with wet clay to refining a fully dried piece, ensuring your creations achieve the pristine surface they deserve.
Before you even touch your clay, a little preparation goes a long way. A well-organized and equipped workspace will not only make the smoothing process easier but also more enjoyable. Think of it as setting the stage for your creative journey.
Gathering Your Essential Tools
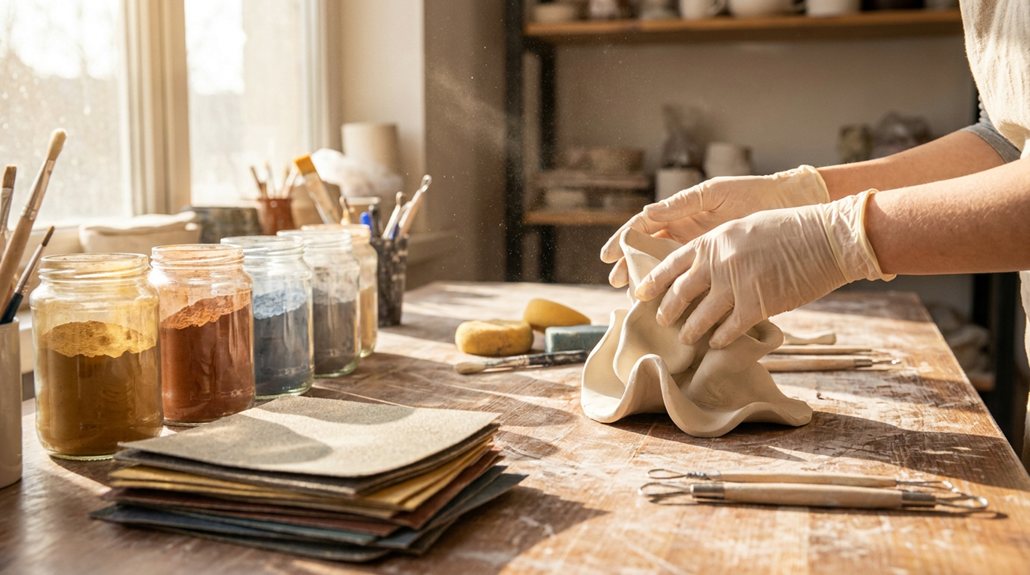
You don’t need an elaborate studio to achieve professional results, but a few key items are indispensable. Having these readily available will prevent interruptions and keep your workflow smooth.
The Indispensable Damp Sponge
This is perhaps your most vital tool. A simple kitchen sponge, cut into smaller, manageable pieces if desired, will become your best friend. Its absorbent nature allows you to apply moisture evenly and gently, crucial for effective smoothing. Remember, you want damp, not soaking wet.
Soft Brushes and Misting Bottles
For more delicate work or when you need to apply water with precision, a soft-bristle brush or a fine misting bottle is invaluable. These allow you to add just the right amount of moisture without saturating the clay. Think of it as a painter’s touch, but with water instead of paint.
Your Own Fingertips
Never underestimate the power of your own digits. Your fingertips are incredibly sensitive tools, allowing you to feel every bump and crevice. They are perfect for detailed work, especially when blending smaller areas or smoothing around intricate details.
Plastic Wrap and Damp Cloths
These are your clay’s best friends when you’re working in stages. Keeping unfinished areas covered prevents premature drying, which can lead to cracks and makes smoothing much more difficult later on. Think of it as a protective cocoon for your work in progress.
Fine-Grit Sandpaper
Once your clay is dry, sandpaper will be your go-to for tackling any remaining rough spots. Having a range of grits, from coarser to finer, will allow you to progressively refine the surface to a silky-smooth finish.
Setting Up Your Work Area
A clean and organized workspace is a happy workspace. You’ll want an environment that promotes focused attention and allows for efficient movement.
A Clean and Flat Surface
Ensure your work surface is clean, dry, and flat. This prevents any debris from inadvertently becoming embedded in your clay and provides a stable base for your sculpting. A non-stick mat can also be helpful.
Good Lighting
Adequate lighting is crucial for spotting imperfections. Natural light is often best, but if that’s not available, a good desk lamp that illuminates your work evenly will suffice. You need to see those tiny bumps and ridges to smooth them out effectively.
Easy Access to Water
Keep a small container of clean water readily accessible. This is for dampening your sponge, brush, or fingertips. Remember, you’ll be using water sparingly, so a small dish is all you need.
Smoothing While the Clay is Wet
This is your prime opportunity to tackle most imperfections. Working with wet clay is significantly easier and more effective than trying to fix issues once it’s dried. Think of it as preventative maintenance for a perfect finish.
Addressing Fingerprints and Rough Spots Early On
The moment you sculpt, you’re likely to leave your mark – literally. Those fingerprints and minor rough patches are best dealt with immediately. Procrastination in this stage will only create more work for you later.
The Gentle Touch of a Damp Sponge
Your damp sponge is your first line of defense. Gently wipe away fingerprints and minor surface irregularities. The key here is “gentle.” You’re not scrubbing; you’re caressing the surface. The moisture from the sponge helps to rehydrate the top layer of clay, making it pliable and easier to manipulate. Imagine you’re erasing pencil marks, not scrubbing a stubborn stain.
The Precision of Your Wet Fingertip
For smaller details, creases, or areas where the sponge might be too large, your wet fingertip comes into its own. Dip your finger in water, wipe off any excess, and gently rub the area you want to smooth. The warmth and pressure from your finger, combined with the subtle moisture, will help blend the clay seamlessly. This is particularly effective around joins or transitions between different sculpted elements.
Applying Water Sparingly and Strategically
This is a critical rule to remember: less is more when it comes to water. While water is essential for smoothing, too much can lead to a host of problems.
The Art of the Misting Bottle
For a fine, even application of water, a misting bottle is a godsend. A light spritz over an area can re-energize the clay surface without making it overly wet or sticky. This is especially useful for larger, flatter areas where you want uniform moisture. Think of it as a gentle morning dew for your clay.
The Soft Brush for Controlled Moisture
A soft-bristle brush, dipped lightly in water and then dabbed almost dry, allows for incredibly precise water application. You can target specific rough spots or blend seams without affecting surrounding areas. This method is ideal for intricate details or delicate surfaces where excess water could distort the form.
Why Too Much Water is a Problem
You might think more water equals easier smoothing, but this is a common misconception. Excessive water can turn your clay into a sticky, unworkable mess. It can also prolong the drying time significantly and even weaken the clay’s structure, making it more prone to cracking as it dries. Imagine trying to sculpt with mud – that’s what happens with too much water.
Working in Stages and Preventing Premature Drying
Air-dry clay, as its name suggests, begins to dry the moment it’s exposed to air. This means you need to be mindful of your working pace and protect your unfinished areas.
Covering Unfinished Sections with Plastic Wrap
If you’re working on a larger piece or a multi-day project, cover any areas you’re not actively working on with plastic wrap. This traps moisture and prevents the clay from drying out too quickly, keeping it pliable for future smoothing. It’s like putting a lid on a container to keep its contents fresh.
The Damp Cloth for Extended Protection
For even longer periods or for sections that are partially dry but still need smoothing, a damp cloth placed over the plastic wrap provides an extra layer of moisture protection. Ensure the cloth is damp, not dripping wet, to avoid saturating the clay.
Understanding the Risk of Rapid Drying
Rapid drying is the enemy of a smooth finish. When air-dry clay dries too quickly, it shrinks unevenly, leading to stress and, ultimately, cracks. By working in stages and keeping your clay adequately hydrated, you mitigate this risk and ensure a more stable and smooth final product.
Smoothing Larger Areas and Joins
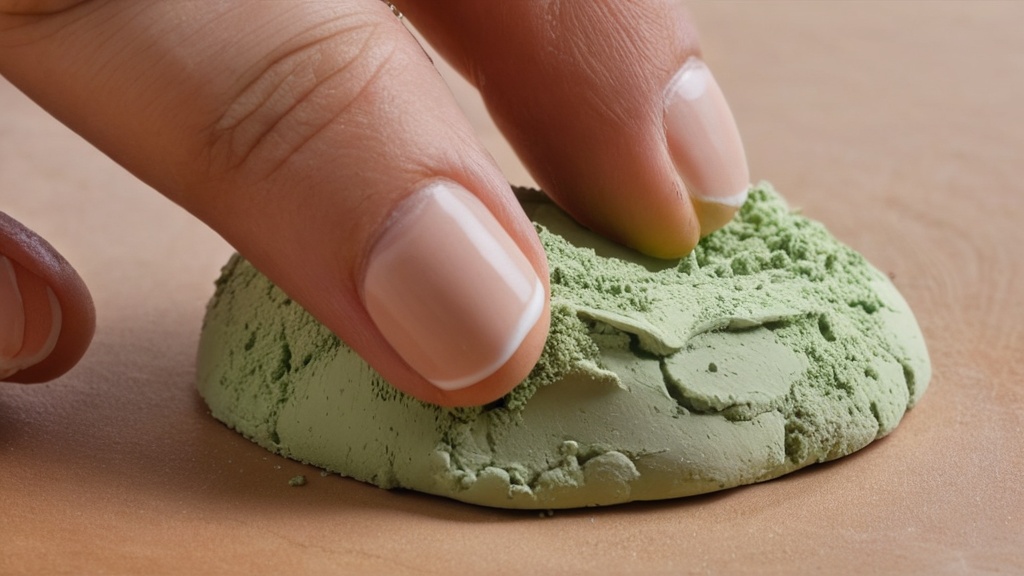
When your piece has more substantial surfaces or involves attaching different components, specific techniques are needed to achieve a flawless transition.
Gentle Sweeps with a Damp Sponge
For broad, flat, or gently curved areas, your damp sponge is again the hero. But instead of spot-smoothing, you’ll employ gentle, sweeping motions.
The Technique for Even Coverage
Lightly dampen your sponge and gently sweep it across the surface. The goal is to lightly rehydrate the top layer and physically smooth out any undulations or textures. Avoid pressing down hard; this can create new indentations or distort your form. Think of it as painting with a very soft brush, aiming for an even, consistent stroke.
Avoiding Poking and Pressing
Resist the urge to poke, prod, or press firmly into the clay with your sponge or fingers. While this might seem like a quick fix for a stubborn bump, it often leaves behind new marks or compresses the clay unevenly, which can be visible after drying. Patience and gentle, broad strokes are your allies here.
Seamless Joins and Repairs
Attaching clay pieces or repairing minor damage requires a specific approach to ensure a strong bond and an invisible seam.
The Score-and-Slip Method for Strong Bonds
Whenever you’re joining two pieces of clay, you must “score and slip.” Use a pointed tool to create cross-hatch marks on both surfaces where they will meet. This creates a rough texture that helps the pieces grip each other. Then, apply a small amount of “slip” – a creamy mixture of air-dry clay and water – to both scored surfaces. The slip acts like a glue, filling in the scoring and creating a strong bond.
Blending the Seam for an Invisible Transition
Once the pieces are joined, gently blend the seam with a wet fingertip or a soft sculpting tool. Use light, upward strokes to pull a tiny bit of clay from each side of the join over the seam, effectively “erasing” the line. This is where your careful water application and gentle touch are paramount. You want the joined pieces to appear as if they were always one continuous form.
Repairing Minor Cracks Before Drying
If you spot minor cracks appearing while the clay is still wet or semi-dry, don’t panic. You can often repair them. Rehydrate the area around the crack with a fine mist of water. Then, use a small amount of fresh, soft clay (or slip) to fill the crack. Gently smooth it in with a wet fingertip, blending it seamlessly into the surrounding surface. Catching these early prevents them from worsening and becoming much harder to fix after drying.
Drying Your Clay Properly
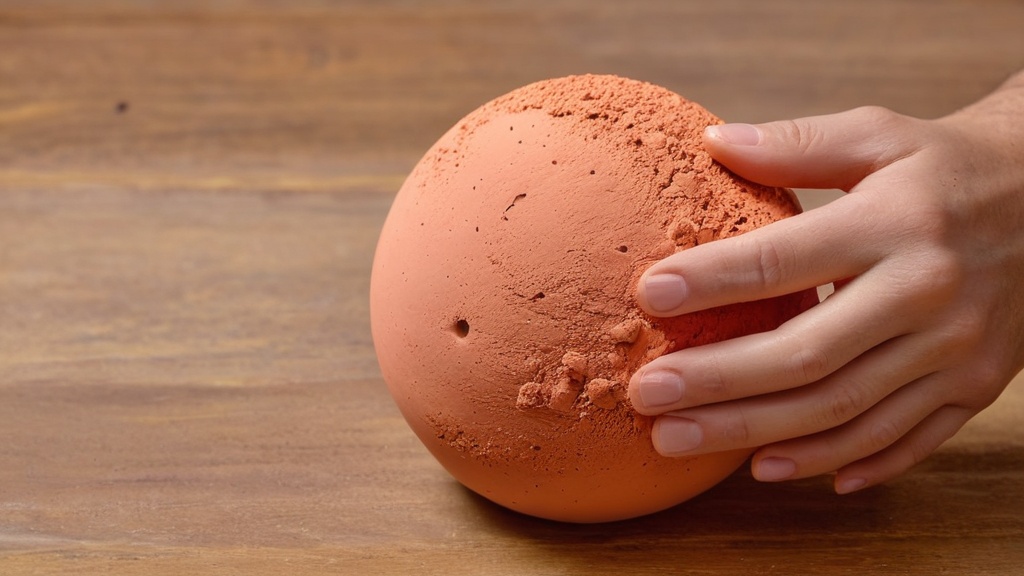
Even with the most meticulous smoothing while wet, improper drying can introduce new problems. This stage is crucial for ensuring the integrity and final smoothness of your piece.
The Importance of Room Temperature Drying
Resist the temptation to speed up the drying process. While a quick dry might seem appealing, it’s a recipe for disaster.
Avoiding Heat Sources at All Costs
Never, ever use a hair dryer, oven, microwave, or direct sunlight to dry your air-dry clay. These methods cause the clay to dry too quickly and unevenly, leading to severe cracking, warping, and often, complete destruction of your piece. The rapid evaporation of water from the surface while the interior is still saturated creates immense stress within the clay body.
Allowing for Natural Air Circulation
Your clay needs to dry slowly and evenly, which means allowing for natural air circulation around the entire piece. Place your creation on a ventilated surface, such as a wire rack, a piece of cardboard, or even just a clean sheet of paper on a table. This allows air to reach all sides, ensuring uniform drying.
The Dangers of Rapid Drying
Understanding why rapid drying is detrimental will reinforce the importance of patience during this stage.
Cracking and Warping
As mentioned, rapid drying is the primary cause of cracks. When the surface dries faster than the interior, it shrinks, creating tension that the still-wet interior cannot withstand. This results in unsightly cracks that are difficult, if not impossible, to fully repair. Warping can also occur as different sections dry at different rates, pulling the piece out of its intended shape.
Weakening the Clay Structure
Beyond visible cracks, rapid drying can also weaken the overall structure of the clay. The bonds within the clay particles don’t form as strongly, making the finished piece more fragile and prone to breaking even after it’s fully cured.
Post-Drying Smoothing and Finishing
| Step | Description |
|---|---|
| 1 | Prepare your work surface by covering it with wax paper or a plastic tablecloth. |
| 2 | Take a small amount of air dry clay and knead it in your hands to make it more pliable. |
| 3 | Roll out the clay to your desired thickness using a rolling pin or a smooth cylindrical object. |
| 4 | Use cookie cutters or a knife to cut the clay into your desired shapes. |
| 5 | Smooth the edges and surface of the clay with a damp sponge or your fingers to remove any imperfections. |
| 6 | Allow the clay to air dry completely before painting or decorating it. |
Once your air-dry clay is completely dry – which can take anywhere from 24 hours to several days, depending on thickness and humidity – you might still find some stubborn rough spots or minor imperfections. This is where your sandpaper comes in.
Sanding Rough Spots After Drying
Even with the best wet-smoothing techniques, a little post-drying refinement can elevate your piece from good to exceptional.
Starting with Coarser Grits (120-220)
For any noticeably rough areas, prominent bumps, or visible seam lines, begin with a coarser grit sandpaper, such as 120 or 180. This will effectively remove material and smooth out the major imperfections. Work gently and in small sections, applying even pressure. You can even wrap the sandpaper around a small block or your finger to get into specific contours.
Gradually Moving to Finer Grits
Once the main rough areas are addressed, progressively move to finer grits – 220, 320, and even higher (400, 600, or 800) for an ultra-smooth finish. Each finer grit will remove the tiny scratches left by the previous, coarser grit, resulting in a progressively smoother and more refined surface. This methodical approach is key to achieving that polished feel.
Wet Sanding for an Even Smoother Finish (Optional)
For an incredibly silky-smooth finish, you can try wet sanding. Once you’ve gone through the dry sanding process with your finer grits, lightly dampen your sandpaper (or use specific wet/dry sandpaper) and the clay surface. This can help prevent dust and create an even smoother result, particularly for pieces you intend to paint or seal with a glossy finish. Just be sure to let the clay fully dry again after wet sanding before proceeding to the next steps.
Cleaning and Sealing Your Masterpiece
After all that hard work, the final steps are to clean your piece and protect it.
Removing Dust and Debris
After sanding, your piece will likely be covered in fine clay dust. Use a soft brush, a damp cloth (barely damp!), or even a vacuum cleaner with a brush attachment to carefully remove all dust and debris. A clean surface is essential for proper sealant adhesion.
Applying a Sealant or Varnish
To protect your air-dry clay creation from moisture, dust, and general wear and tear, and to further enhance its finish, apply a sealant or varnish. There are many options available, including matte, satin, and glossy finishes. Choose one that complements your aesthetic vision. Apply in thin, even coats, following the manufacturer’s instructions. A good sealant will not only protect your piece but also deepen the colors and provide a more professional appearance.
By following these comprehensive steps, from meticulous wet-smoothing to patient drying and careful post-drying refinement, you will transform your air-dry clay projects into truly smooth, professional-looking works of art. Remember, patience and a gentle hand are your most valuable tools throughout this entire process. Happy sculpting!
FAQs
What is air dry clay?
Air dry clay is a type of clay that dries and hardens without the need for a kiln or oven. It is a popular choice for craft projects and sculpting because of its ease of use and accessibility.
How do you smooth air dry clay?
To smooth air dry clay, you can use a variety of tools such as sandpaper, a clay smoothing tool, or even your fingers. Gently sanding the surface or using a smoothing tool can help to remove any imperfections and create a smooth finish.
Can you add water to air dry clay to smooth it?
Yes, you can add a small amount of water to air dry clay to help smooth out any rough spots or cracks. However, it’s important to use water sparingly and to allow the clay to dry completely before adding any additional layers or details.
How long does air dry clay take to dry?
The drying time for air dry clay can vary depending on the thickness of the clay and the humidity of the environment. In general, air dry clay can take anywhere from 24-72 hours to dry completely.
Can you paint air dry clay after it has dried?
Yes, once air dry clay has dried completely, it can be painted using acrylic paints or other types of craft paints. It’s important to allow the clay to dry fully before painting and to use a primer or sealer if desired for a more polished finish.