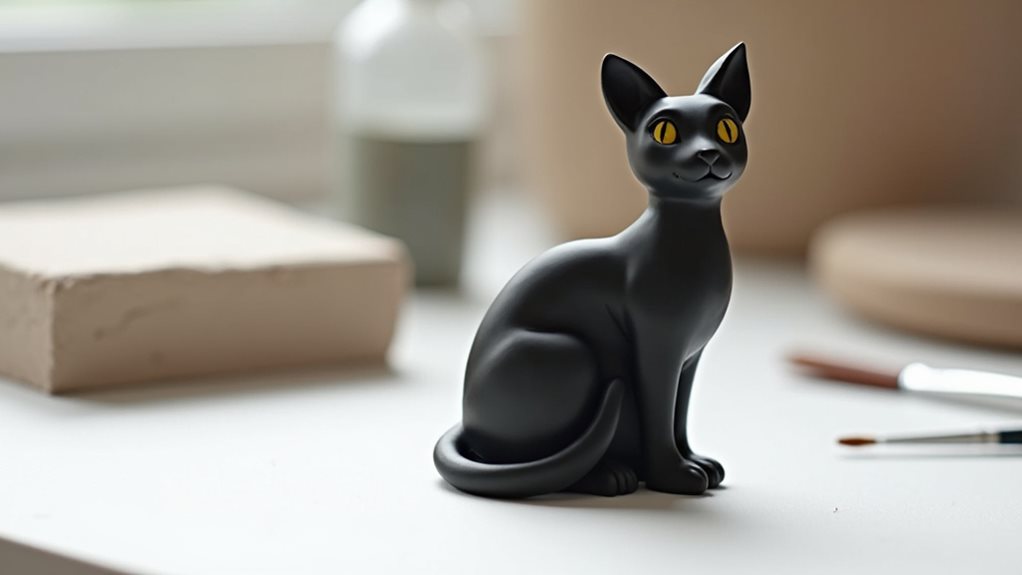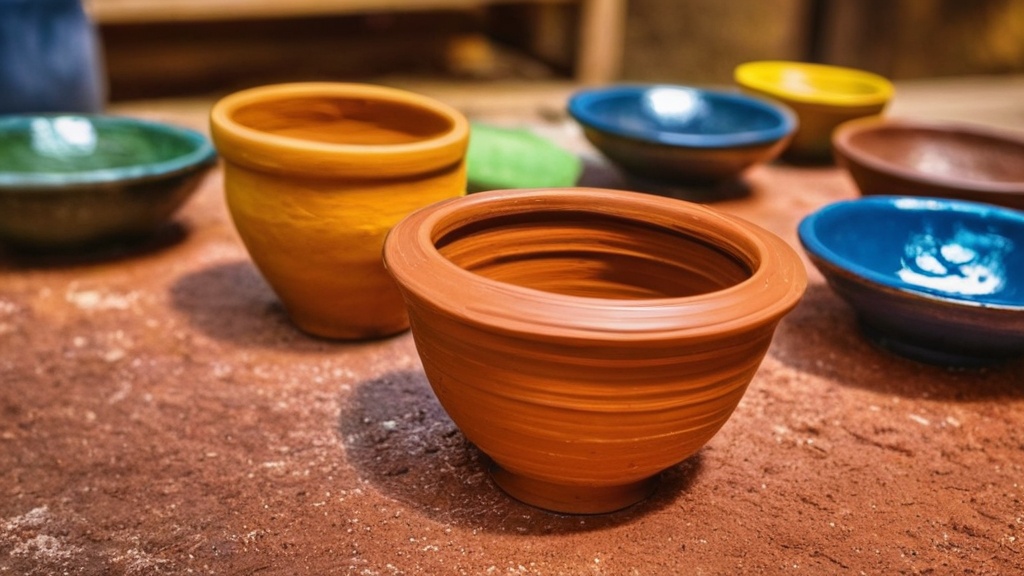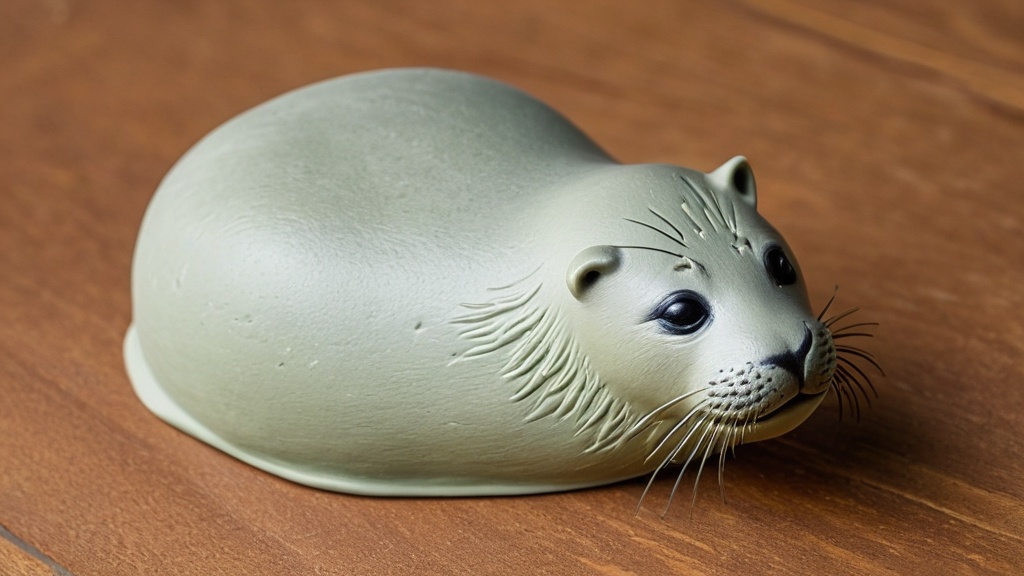
So, you’ve meticulously sculpted your masterpiece out of air-dry clay. You’ve poured your heart and soul into every curve and crevice, watched it slowly transform from a pliable lump into a solid form. But now comes the critical next step: protecting your creation. Without a proper seal, your air-dry clay art is vulnerable to moisture, dust, and general wear and tear. This guide will walk you through everything you need to know about sealing your air-dry clay, ensuring its longevity and preserving its beauty for years to come.
Before we dive into the “how-to,” let’s clarify the “why.” Air-dry clay, by its very nature, is porous. This porosity means it can absorb moisture from the air, from spills, or even from being handled. When it absorbs water, it softens, weakens, and can even revert to its original clay-like state. This is where sealing becomes your clay’s superhero cape.
The Vulnerabilities of Unsealed Clay
Imagine your beautiful sculpture, unsealed. It’s like a sponge waiting to soak up trouble.
- Moisture Absorption: This is the primary concern. Even humidity in the air can gradually weaken unsealed clay. A spilled drink? Catastrophe.
- Dust Accumulation: Unsealed clay surfaces can attract and hold onto dust, making your piece look dull and dirty over time.
- Surface Abrasion: Handling, moving, or even just sitting on a surface can cause chips, scratches, and general wear to unsealed clay.
- Fading and Staining: If you’ve painted your clay, unsealed paint can be more susceptible to fading from UV light or staining from contact with other materials.
The Protective Power of a Good Seal
A proper seal acts as a barrier, safeguarding your clay from these threats. It creates a protective layer that repels water, prevents dust from adhering, and strengthens the surface against minor abrasions. Think of it as giving your clay an invisible armor.
Essential Preparations Before Sealing
Before you even think about grabbing a brush or spray can, a few crucial steps need to be taken. Skipping these can lead to a less-than-perfect finish and compromised protection. Preparation is key to a successful seal.
Ensuring Your Clay is Fully Dry
This is perhaps the most important preliminary step. You absolutely must ensure your air-dry clay is completely, unequivocally dry.
- The Waiting Game: Air-dry clay can take anywhere from 24 hours to several days, or even a week or more, to dry completely, depending on the thickness of your piece and the ambient humidity. Thicker pieces take longer.
- Visual Cues: Look for a uniform color and a hard, solid feel. If any part of your piece still feels cool to the touch, or appears darker and damp, it’s not ready.
- The Tapping Test: Gently tap your piece. A hollow, resonant sound usually indicates it’s dry. A dull thud might mean there’s still moisture within.
- Patience is a Virtue: Resist the urge to rush this stage. Sealing damp clay will trap moisture inside, leading to mold growth, cracking, and a compromised seal. It’s like putting a bandage over a wet wound – it won’t heal properly.
Smoothing Rough Edges and Surfaces
Once dry, your clay might have some minor imperfections. Now is the time to address them.
- Sanding: Use fine-grit sandpaper (around 220-400 grit) to gently smooth out any rough patches, visible seam lines, or unwanted textures. Be gentle, as air-dry clay can still be somewhat brittle.
- Desired Finish: The smoother your surface is now, the smoother your sealed finish will be. If you desire a perfectly sleek look, take your time with this step. If you prefer a more rustic or textured appearance, you can skip extensive sanding.
Removing All Dust and Debris
After sanding, your clay piece will undoubtedly be covered in fine dust particles. These must be removed.
- Soft Brush or Cloth: Use a soft, dry brush (like a clean makeup brush) or a lint-free cloth to gently brush away all visible dust.
- Damp Cloth (Caution!): If absolutely necessary, you can lightly dampen a cloth (ensure it’s barely damp, almost dry) to wipe the surface, but immediately follow up with a dry cloth to ensure no moisture lingers. For most purposes, a dry method is safer.
- Compressed Air: A can of compressed air can also be effective for blowing away dust from intricate details.
- Why It Matters: Any dust left on the surface will be trapped under your sealant, creating an uneven, bumpy, or cloudy finish. It will look like tiny imperfections permanently embedded in your piece.
Choosing the Right Sealer for Your Project
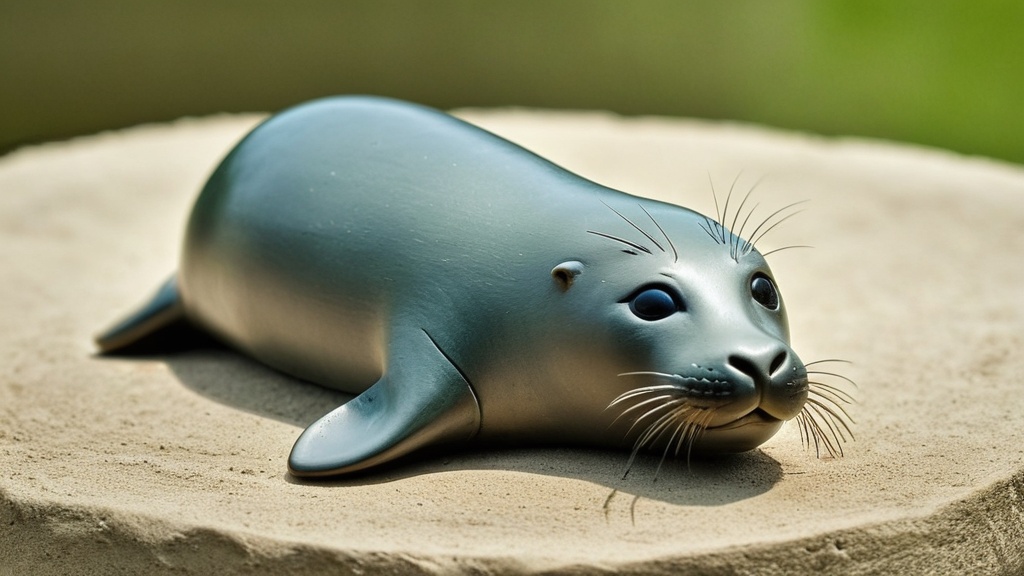
This is where your sealing journey takes a specific turn. The “best” sealer isn’t a one-size-fits-all answer; it depends on what you want your finished piece to be – decorative, semi-functional, or highly durable. Modern guidance points towards a few key players.
The Top Contenders: Polyurethane and Acrylic Sealers
For most air-dry clay projects, especially those requiring good durability and moisture protection, these two are your go-to options.
- Polyurethane:
- Durability and Water Resistance: This is often cited as the top choice for a strong, water-resistant seal. It creates a hard, protective layer that stands up well to wear and tear.
- Types: You’ll find both oil-based and water-based polyurethane.
- Water-based polyurethane is generally easier to clean up and has less odor, making it a popular choice for indoor projects. Many brands are specifically recommended for air-dry clay.
- Oil-based polyurethane offers a slightly tougher finish but has a stronger odor and requires mineral spirits for cleanup.
- Finish: Available in various finishes, from matte to satin to high gloss.
- Application: Typically brushed on.
- Humid Areas: Specifically recommended for humid areas due to its robust moisture protection.
- Acrylic Sealers (Brush-On and Spray):
- Versatility: Acrylic sealers are very popular and come in both brush-on and spray formats.
- Brush-On Acrylic Sealers: Offer good protection and are often easy to apply. They come in various finishes.
- Spray Acrylic Sealers: Excellent for decorative protection, especially for pieces with intricate details that might be hard to brush. They provide a quick, even coat. However, they might not offer the same heavy-duty water resistance as some polyurethanes.
- Ease of Use: Generally user-friendly and quick-drying.
Specialized and Alternative Sealers
Beyond the main contenders, you have other options for specific needs.
- Krylon Triple Thick Glaze Spray:
- High Gloss and Durability: This is a brand-specific recommendation, particularly noted for its ability to create a very high-gloss, durable finish.
- Humid Areas: Also highly recommended for pieces in humid environments due to its robust protective qualities.
- Application: Spray application.
- Mont Marte Natural Finish Clay Sealer:
- Brand-Specific for Air-Dry Clay: This is a newer, specialized option, specifically formulated as a water-based sealer for air-dry clay.
- Natural Finish: As the name suggests, it aims to provide a more natural look while still offering protection.
- User-Friendly: Being water-based, it’s generally easy to work with and clean up.
- Epoxy Resin:
- Ultimate Waterproofing and Durability: If your project requires the strongest possible waterproofing and an incredibly durable, hard finish (e.g., coasters, keychains that will see heavy use), epoxy resin is the choice.
- Application: A two-part system that requires careful mixing and application. It creates a thick, glass-like layer.
- Learning Curve: Has a steeper learning curve than other sealers due to its mixing requirements and curing process.
- Mod Podge:
- Light Protection and Decoupage: Mod Podge is a versatile craft glue and sealer, great for adding light protection and often used for decoupage.
- Not Fully Waterproof: Crucially, Mod Podge is not fully waterproof. It offers some water resistance but will not protect your clay from prolonged exposure to moisture or submersion. Use it for purely decorative items that won’t encounter much water.
- Finish: Available in matte, gloss, and satin.
Consider Your Project’s Intended Use
When making your choice, think about how your finished piece will be used:
- Purely Decorative (e.g., shelf display, ornament): Spray acrylic sealer, Mod Podge (for light protection), or any standard polyurethane/acrylic brush-on sealer.
- Functional (e.g., jewelry, small trinket dish, pen holder): Polyurethane (water-based is good), Mont Marte sealer, Krylon Triple Thick Glaze.
- Highly Functional/Water Exposed (e.g., coasters, outdoor decor – though air dry clay isn’t ideal for outdoors without extreme sealing): Epoxy resin is your best bet for maximum waterproofing.
The Sealing Process: Step-by-Step Application
You’ve prepped your clay and chosen your sealer. Now it’s time to apply! The basic process remains consistent across most sealers, emphasizing thin coats and patience.
Setting Up Your Workspace
Preparation extends to your environment.
- Ventilation: Work in a well-ventilated area, especially if using spray sealers or oil-based polyurethanes. Open windows, use a fan, or consider working outdoors.
- Protection: Lay down newspaper, cardboard, or a drop cloth to protect your work surface from spills or overspray.
- Tools: Gather your brushes (if using a brush-on sealer), gloves (recommended for all sealers, essential for epoxy resin), and a stand or elevated surface for easier access to all sides of your piece.
Applying the First Thin Coat
The mantra here is “thin and even.”
- Brush-On Sealers:
- Dip your brush into the sealer, wiping off excess so it’s not dripping.
- Apply a thin, even coat over the entire surface of your clay. Avoid puddling or thick spots, as these can take longer to dry and might dry unevenly or with bubbles.
- Work quickly but carefully to cover all areas.
- Spray Sealers:
- Hold the can 8-12 inches away from your piece.
- Use a sweeping motion, moving the can past the edges of your piece, to ensure even coverage without concentrating too much product in one spot.
- Apply a very light, misty coat. It’s better to do several thin coats than one thick, drippy one.
Allowing Adequate Drying Time Between Layers
Patience is a virtue, especially when it comes to drying time.
- Manufacturer’s Instructions: Always refer to the specific drying time recommendations on your sealer’s packaging. These can vary significantly between brands and types of sealer.
- General Guideline: Typically, you’ll need to wait at least 1-4 hours between coats for most water-based sealers, and possibly longer for oil-based polyurethanes or if the air is humid.
- Touch Test: The surface should be completely dry to the touch and not tacky before applying the next coat.
- Why It’s Important: Applying a new coat over a still-damp one can lead to cloudiness, tackiness, uneven drying, and a weaker overall seal.
Applying 2-3 Thin Coats for Optimal Protection
You’re aiming for robust protection, and that usually means multiple layers.
- Minimum of Two Coats: For most decorative items, two thin coats are a good starting point.
- Three Coats for Durability: For pieces that will be handled more, or if you want enhanced water resistance, aim for three thin coats.
- Even More for Extreme Protection: If using epoxy resin, you’ll likely only need one carefully applied, slightly thicker coat, or potentially two. For particularly exposed areas or high-wear items, you might even consider four coats of polyurethane/acrylic.
- Bottom of Your Piece: Don’t forget the bottom! Recent advice suggests sealing the underside of your pieces, especially if they will sit on furniture or other surfaces. This prevents the unsealed clay from rubbing off and leaving marks, and also provides a more complete moisture barrier.
Post-Sealing Care and Considerations
| Step | Description |
|---|---|
| 1 | Allow the air dry clay to completely dry before sealing. |
| 2 | Use a clear acrylic sealer to seal the air dry clay. |
| 3 | Apply the sealer in thin, even coats to avoid drips or pooling. |
| 4 | Let the sealer dry completely before handling the clay. |
| 5 | Consider using a brush-on sealer for more control over the application. |
You’ve successfully sealed your air-dry clay! But your work isn’t quite done. A few final steps and considerations will ensure your piece cures properly and remains protected.
Full Cure Time vs. Dry to Touch
There’s a big difference between “dry to the touch” and “fully cured.”
- Dry to Touch: This just means the surface isn’t tacky anymore, and you can safely apply the next coat or handle the piece gently.
- Fully Cured: This is when the sealer has reached its maximum hardness and protective properties. This can take much longer – anywhere from 24 hours to a week, or even more for some sealers (especially epoxy resin).
- Patience Again: Avoid exposing your freshly sealed piece to moisture, heavy handling, or extreme conditions until it has fully cured. Read your product’s label for specific cure times.
Maintaining Your Sealed Clay Creations
Even sealed pieces benefit from a little care.
- Cleaning: For most sealed air-dry clay, a gentle wipe with a soft, damp cloth is usually sufficient for cleaning. Avoid harsh chemicals or abrasive scrubbers, which could damage the sealed surface.
- Avoid Submersion: While some sealers offer excellent water resistance, air-dry clay is generally not designed for prolonged submersion in water. Even epoxy resin, while making the surface waterproof, doesn’t necessarily make the entire clay piece impermeable if it’s thick and has tiny internal air pockets.
- Storage: Store your pieces in a stable environment, avoiding extreme temperature fluctuations or excessive humidity, especially if you’re in a very humid area and didn’t use the strongest sealers.
- Re-Sealing: Over time, especially for frequently handled items, the sealer might wear down. You can often re-seal your piece by following the same steps – clean, dry, and apply thin coats.
Troubleshooting Common Sealing Issues
Sometimes things don’t go perfectly. Here’s what to do if you encounter common problems:
- Tacky Surface:
- Cause: Applied too thick, insufficient drying time between coats, or high humidity.
- Solution: Allow more time to dry in a well-ventilated area. If it remains tacky after a few days, you might need to gently sand off the tacky layer (if possible) and reapply.
- Cloudy or Milky Finish:
- Cause: Trapped moisture (clay wasn’t fully dry, or humidity was too high during application), or applying too thick.
- Solution: If the clay wasn’t fully dry, unfortunately, you might need to start over. If it was due to thickness or humidity, extra drying time might help. In some cases, a very light sanding and reapplication of a thinner coat can correct it.
- Bubbles in the Finish:
- Cause: Shaking the sealer bottle too vigorously, applying too quickly, or brushing too aggressively.
- Solution: For brush-on, try to pop bubbles with a pin or the tip of your brush immediately after application. For future coats, stir the sealer gently instead of shaking, and apply more slowly. For spray, ensure even sweeping motions. If dried, a light sanding and reapplication might be needed.
- Brush Strokes Visible:
- Cause: Using too thick a brush, applying too much pressure, or not using self-leveling sealer.
- Solution: Use a softer brush with finer bristles. Apply thinner coats and let the sealer self-level. You can gently sand very prominent brush strokes after drying and reapply.
By understanding the “why” and “how” of sealing, and carefully following these steps, you’ll be able to protect your air-dry clay creations effectively. Your beautifully crafted pieces will not only last longer but will also display a finished, professional look that truly honors your artistic effort. So go forth, seal with confidence, and let your air-dry clay art shine for years to come!
FAQs
What is air dry clay?
Air dry clay is a type of clay that dries and hardens without the need for a kiln or oven. It is a popular choice for craft projects and sculpting because of its ease of use and accessibility.
Why is it important to seal air dry clay?
Sealing air dry clay is important to protect the finished piece from moisture, dust, and other environmental factors. It also helps to enhance the appearance of the clay and make it more durable.
What are the different methods for sealing air dry clay?
There are several methods for sealing air dry clay, including using varnish, sealant spray, or a clear acrylic paint. Each method has its own advantages and can be chosen based on the specific needs of the project.
How do I apply sealant to air dry clay?
To apply sealant to air dry clay, first ensure that the clay is completely dry. Then, use a brush or spray to evenly coat the surface of the clay with the chosen sealant. Allow the sealant to dry completely before handling the clay.
Are there any tips for sealing air dry clay effectively?
To seal air dry clay effectively, it is important to apply multiple thin coats of sealant rather than one thick coat. This helps to prevent drips and uneven coverage. Additionally, be sure to follow the manufacturer’s instructions for the specific sealant being used.