Preparing Your Clay for Creation: The Importance of Conditioning
You’ve got your air-dry clay, your creative vision bubbling, and you’re eager to start sculpting. But before you dive into shaping that masterpiece, there’s a crucial step you absolutely must perform: conditioning your clay. Think of it as preparing your ingredients before you bake a cake. If your ingredients aren’t right, the final product will suffer. The same applies to air-dry clay. Conditioning isn’t just a suggestion; it’s the foundation of a successful and enjoyable sculpting experience. Without it, you’ll likely encounter frustrating issues like cracking, crumbling, and an inability to achieve the smooth, even surfaces you desire. By taking the time to properly condition your clay, you unlock its full potential, making it more pliable, workable, and significantly less prone to problems during both the shaping and drying stages. This article will guide you through the essential techniques and knowledge you need to master the art of conditioning air-dry clay, ensuring your creative journey is as smooth and satisfying as the clay itself.
The Fundamentals of Clay Conditioning
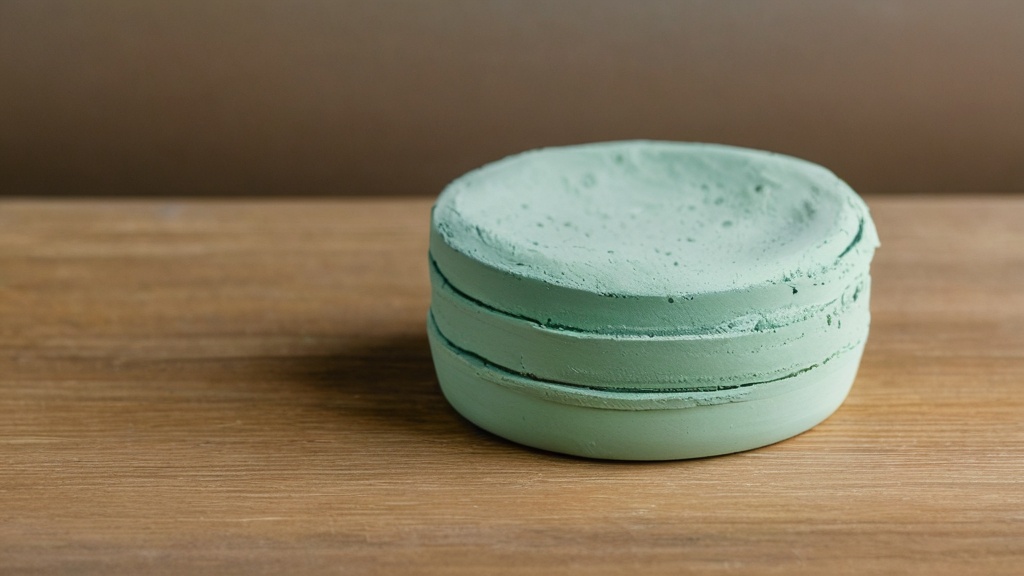
At its heart, conditioning air-dry clay is about transforming it from a potentially stiff, crumbly, or uneven material into a smooth, pliable, and consistent medium ready for your artistic touch. You’re essentially working out the air bubbles, evening out the moisture content, and breaking down any dry or hardened sections. This process makes the clay more responsive to your hands, allowing for finer details, smoother transitions, and a significantly reduced risk of developing unsightly cracks as it dries. It’s a hands-on approach, a tactile conversation between you and the clay, where you’re coaxing it into its most cooperative state. Neglecting this initial step is a common pitfall for beginners, often leading to disappointment down the line. Mastering these fundamental techniques is your first step toward creating professional-looking and durable air-dry clay projects.
The Initial Kneading Ritual
The very first and arguably most important step in conditioning your air-dry clay is the initial kneading. Before you even think about adding water or employing complex techniques, you need to get your hands on the clay and begin working it. Take a small piece of clay, perhaps the size you’d use for a single element of your sculpture. Your goal here is to simply work it with your hands, much like you would dough. You’ll press, fold, and roll the clay between your palms, using the warmth and pressure of your hands to soften it. This process starts to break down any initial stiffness and begins to homogenize the texture. You’ll feel the clay start to yield, becoming more flexible and less resistant. Continue this kneading until the clay feels noticeably smoother and more pliable. It should no longer feel chalky or prone to crumbling when you stretch it. This basic kneading action is the foundation upon which all other conditioning techniques are built. If your clay feels relatively soft and pliable right out of the package, this initial kneading might be all you need to get started. However, for many clays, especially those that have been stored for a while or have a naturally firmer consistency, this is just the beginning.
Assessing Your Clay’s Condition
Before you commit to extensive conditioning, it’s wise to assess the state of your air-dry clay. Gently pick up a piece and feel its texture. Is it dry and crumbly? Does it feel stiff and unyielding, resisting even gentle pressure? Or does it already have a decent level of pliability? Understanding its current condition will dictate the most effective conditioning methods. If it feels quite dry, you’ll know to incorporate moisture gradually. If it’s just a bit stiff, the warmth of your hands and some folding might be sufficient. Observing these initial characteristics will save you time and prevent over-conditioning, which can lead to stickiness. A quick assessment is your roadmap for the conditioning process.
Mastering Moisture: The Gentle Art of Hydration
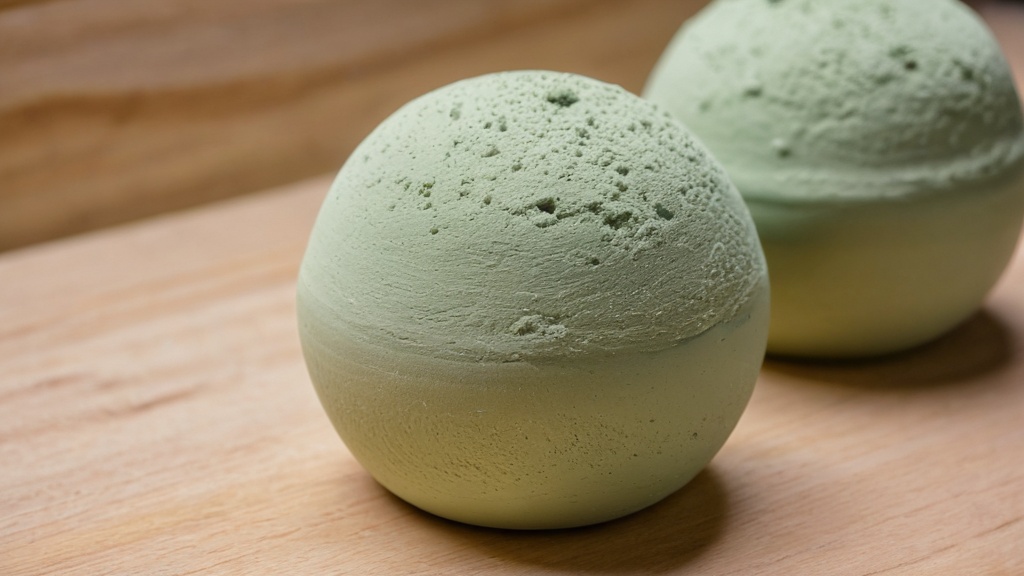
Air-dry clay requires a delicate balance of moisture. Too little, and it becomes brittle and difficult to work with. Too much, and you’ll find yourself with a sticky, unmanageable mess. The key is gradual addition and even distribution. This section will walk you through the best practices for introducing moisture to your clay, ensuring it reaches that perfect, pliable state without becoming overly wet.
Gradual Water Application
When your air-dry clay is stiff or dry, the temptation might be to drench it in water. Resist this urge! The most effective way to introduce moisture is gradually. Think in terms of tiny amounts. You can achieve this in several ways.
Using Damp Fingertips
This is a very direct and controlled method. Lightly dampen your fingertips with water. Then, as you knead the clay, gently rub your wet fingertips over its surface. You’re essentially transferring a very fine mist of water to the clay. Work the water in thoroughly by continuing to knead. You’ll feel the clay begin to soften and become more pliable. If it’s still too stiff, repeat the process with slightly damper fingertips, but always err on the side of less water. You can always add more, but removing excess water is significantly more challenging.
The Damp Sponge Technique
A slightly more efficient way to distribute moisture, especially for larger pieces of clay, is by using a damp sponge. Moisten a clean sponge and wring it out thoroughly so that it’s damp, not dripping wet. Then, gently rub the damp sponge over the surface of the clay as you knead it. This will impart a more even layer of moisture than just using your fingertips. Again, the key is to use a sponge that is only slightly damp. You’re aiming for a subtle increase in humidity, not to soak the clay.
Precision with a Spray Bottle
For a highly controlled and even application of moisture, a fine-mist spray bottle is an excellent tool. Fill a clean spray bottle with water. Hold the bottle about a foot away from your clay and give it a light spritz. Immediately begin kneading the clay to distribute the moisture evenly. You can also spray your hands lightly and then knead the clay. This method is particularly useful for larger batches of clay or when you want to ensure a very uniform moisture level. Be cautious with the number of sprays; a few light bursts are usually sufficient. Always knead the clay immediately after spraying to prevent water from pooling on the surface.
Recognizing and Rectifying Stickiness
Even with careful application, you might occasionally over-hydrate your clay, leading to a sticky, unmanageable texture. If your clay starts to feel gummy and adheres to your hands and work surface, you’ve added too much water. Don’t panic! There are ways to remedy this.
The Magic of Flour or Cornstarch (Use Sparingly)
A very small amount of flour or cornstarch can help absorb excess moisture and reduce stickiness. Sprinkle a tiny pinch onto your work surface and knead the sticky clay into it. Work it in thoroughly. Be extremely sparing with this – too much will change the clay’s properties and can make it crumbly when dry. This is a last resort and should be used with caution, as it can affect the clay’s final finish.
Air Drying (Carefully)
Sometimes, the best solution is to simply let the clay air out for a short period. Spread the sticky clay out on a non-stick surface (like parchment paper or a clean plastic mat) in a thin layer. Allow it to sit for a few minutes, turning it occasionally, until some of the surface moisture evaporates. You can also gently waft air over it with a piece of cardboard. Be vigilant; you don’t want it to dry out too much. As soon as it becomes less sticky and more workable, knead it again.
Adding More Dry Clay
If you’re working with a larger batch, adding a small amount of dry, unconditioned clay can also help to absorb excess moisture. Knead this dry clay into the sticky mass until it becomes manageable again. This method can be effective if you have extra clay on hand.
The Warming and Folding Technique: Enhancing Consistency
Once you’ve achieved a decent level of pliability, the next step in conditioning is to further refine the consistency of your air-dry clay through a combination of warming and folding. This process is about more than just softening; it’s about creating a uniform texture and ensuring all the elements within the clay are well-integrated.
The Rhythmic Dance of Rolling and Folding
This technique involves warming the clay in your hands and then folding it over on itself. You’ll repeat this process for several minutes. Start by gently rolling a piece of clay between your palms, feeling its warmth build. As it warms, it becomes even more malleable. Then, fold the clay in half or in thirds, pressing the edges together firmly. This folding action not only continues to knead the clay but also helps to distribute any remaining unevenness in moisture or texture. Continue rolling, warming, and folding. You’ll notice the clay becoming smoother, silkier, and more elastic with each repetition. The goal is to eliminate any little dry bits or lumps and achieve a consistent, homogenous texture throughout. This rhythmic process is deeply satisfying and is crucial for preparing the clay for intricate work.
Integrating Air Bubbles
As you fold and knead the clay, you’re also helping to release trapped air bubbles. Air bubbles are the enemy of smooth surfaces and can cause unsightly pockmarks or even cracks during the drying process. The folding and pressing action forces these bubbles to the surface, where they can escape, or it consolidates them into smaller, less problematic pockets within the clay. Imagine the clay as a loaf of bread; you knead it to develop its structure and release air. The same principle applies here. Consistent, thorough folding is your best defense against air bubble-related problems.
Tackling Stubborn Dryness: Advanced Conditioning Strategies
| Step | Action | Details | Time Required | Tips |
|---|---|---|---|---|
| 1 | Prepare Workspace | Clean and dry surface to work on | 5 minutes | Use a smooth, non-stick surface like wax paper or silicone mat |
| 2 | Break Clay into Smaller Pieces | Divide the block into manageable chunks | 2 minutes | Smaller pieces are easier to knead and condition |
| 3 | Knead the Clay | Use hands to soften and warm the clay | 5-10 minutes | Apply gentle pressure and fold repeatedly until pliable |
| 4 | Check Consistency | Ensure clay is soft and smooth without cracks | 1 minute | If still hard, continue kneading or add a small amount of water |
| 5 | Add Water (Optional) | Lightly moisten clay if too dry | 1-2 minutes | Add water sparingly to avoid stickiness |
| 6 | Roll and Fold | Roll clay into a log and fold repeatedly | 3-5 minutes | Helps distribute moisture evenly |
| 7 | Test Flexibility | Bend and shape a small piece | 1 minute | Clay should be flexible and not crack |
| 8 | Store Properly | Wrap unused clay in plastic wrap and seal in airtight container | 1 minute | Prevents drying out before use |
Sometimes, despite your best efforts, you’ll encounter air-dry clay that is particularly stubborn, dry, and resistant to conventional conditioning. This is where slightly more advanced techniques come into play, focusing on slow, controlled rehydration and patience.
The Damp Towel Method for Deeper Rehydration
For clay that is significantly dry or has started to harden around the edges, a damp paper towel or tea towel method can be highly effective. Take your stiff piece of clay and wrap it snugly in a damp (but not wet) paper towel or a clean tea towel. Ensure the towel is evenly damp. Once wrapped, place the clay package inside a plastic bag or an airtight container. This creates a humid environment that allows the moisture from the towel to slowly penetrate the clay over time.
Patience is Key: The Waiting Game
The success of this method hinges on patience. You can’t rush this process. Depending on how dry your clay is and the thickness of the towel, you might need to leave it to rest for anywhere from a few hours to overnight. Check the clay periodically. You’ll feel it gradually soften as it absorbs moisture. Once it reaches a point where it’s more pliable, you can remove it from the damp towel and proceed with kneading and warming as usual. If it’s still too stiff, re-wrap it in a fresh damp towel and continue the waiting period. This method is excellent for reviving old or neglected clay.
Monitoring Moisture Levels
It’s crucial to monitor the moisture level of the towel. If it dries out completely, the clay will stop rehydrating. If it becomes too wet, you risk making the clay excessively sticky, as discussed earlier. The goal is a consistently humid environment, not a saturated one. You might need to re-dampen the towel or replace it if it dries out during the resting period.
Preserving Your Work: Proper Storage for Unused Clay
The conditioning process isn’t just about preparing clay for immediate use; it’s also about ensuring that any unused clay remains in an optimal state for your next creative session. Improper storage is the fastest way to undo all your conditioning efforts and lead to dried-out, unworkable clay.
The Cling Film and Airtight Container Arsenal
The single most important rule for storing air-dry clay is to keep it airtight. As soon as you’re finished working with a portion of clay, or when you’re taking a break, immediately wrap it tightly in cling film (plastic wrap). Ensure there are no gaps where air can get in. For even better protection, especially for longer-term storage, place the cling-film-wrapped clay inside an airtight plastic bag or a sealed plastic container.
Preventing Dehydration
Air-dry clay, as its name suggests, dries when exposed to air. Even a small amount of exposure can begin to dry out the surface, leading to a crusty texture that will require re-conditioning. Cling film and airtight containers create a barrier that prevents moisture from escaping and air from entering, effectively halting the drying process until you’re ready to use the clay again.
Maintaining Optimal Workability
By properly storing your clay, you ensure that when you next reach for it, it will be in a similar state of pliability to when you last worked with it. This saves you time and effort, as you won’t have to undertake extensive re-conditioning every single time. It allows you to pick up where you left off, maintaining the flow of your creative process. Always remember to remove as much air as possible from the storage bag or container before sealing it.
FAQs
1. What is air dry clay?
Air dry clay is a type of modeling clay that does not require baking in a kiln or oven to harden. It dries and hardens when exposed to air over a period of time.
2. How long does it take for air dry clay to dry?
The drying time for air dry clay can vary depending on the brand and thickness of the clay. Generally, it can take anywhere from 24 hours to several days for the clay to fully dry and harden.
3. How can I speed up the drying process of air dry clay?
To speed up the drying process of air dry clay, you can place the clay in front of a fan or in a well-ventilated area. You can also use a hairdryer on a low heat setting to gently dry the clay.
4. Can I condition air dry clay if it becomes too dry or hard?
Yes, you can condition air dry clay if it becomes too dry or hard. To soften the clay, you can knead it with a small amount of water or clay softener until it reaches the desired consistency.
5. How should air dry clay be stored to prevent it from drying out?
To prevent air dry clay from drying out, it should be stored in an airtight container or sealed plastic bag when not in use. You can also wrap the clay in damp paper towels before storing it to keep it moist.