Understanding Crayola Air-Dry Clay Drying Times
You’ve just sculpted a masterpiece with Crayola Air-Dry Clay, and now you’re eager to see your creation harden and prepare it for painting. But how long exactly does it take for this magical clay to transform from pliable to permanent? It’s a common question, and the answer, while seemingly straightforward, involves several factors that you’ll need to consider. Generally speaking, your Crayola Air-Dry Clay project will feel dry to the touch within approximately 24 hours. This initial dryness allows you to handle it with care, but don’t be fooled – it’s far from fully cured. For complete and thorough drying, allowing your piece to sit for about 72 hours is typically recommended. This extended period ensures that all moisture, even from the deepest parts of your sculpture, has had ample time to evaporate, resulting in a robust and ready-to-finish creation. However, as you’ll soon discover, these are merely guidelines, and the actual drying duration can fluctuate based on a variety of environmental and project-specific conditions.
Initial Touch-Dry Period
When you’re working with Crayola Air-Dry Clay, one of the first milestones you’ll notice is when your project becomes “touch-dry.” This is the point where the surface of the clay no longer feels damp or sticky, and you can gently pick it up without leaving fingerprints or deforming its shape. For most projects, you can expect this to happen within a day, roughly 24 hours after you’ve finished sculpting. This initial drying phase is crucial because it indicates that the outer layer of the clay has begun to harden, forming a protective shell that helps maintain the shape of your work. While it might feel dry on the outside, remember that the internal structure of your clay still retains a significant amount of moisture. Therefore, even at this stage, handling your piece with care is important, as applying too much pressure could still cause cracks or distortions in the softer core.
Full Curing Timeframes
Beyond the initial touch-dry stage, the complete curing of Crayola Air-Dry Clay requires more time. For your project to be truly dry throughout, meaning all moisture has evaporated from both the surface and the interior, you should anticipate a drying period of around 72 hours. This three-day window is a general recommendation that allows the clay to fully harden and strengthen, ensuring its durability. This complete drying process is vital before you consider any further steps like painting or sealing. Rushing this stage can lead to problems later on, such as paint not adhering properly, the clay cracking as it continues to dry beneath the paint layer, or even mildew forming if moisture remains trapped. While 72 hours is a good benchmark, it’s essential to understand that this timeframe can be significantly influenced by various factors, which we will explore in detail.
Key Factors Influencing Drying Time
You might find that your Crayola Air-Dry Clay projects don’t always adhere strictly to the 24-hour touch-dry and 72-hour full-dry guidelines. This isn’t a fault with the clay or your technique; rather, it’s a testament to the dynamic interplay of several crucial factors that directly impact how quickly—or slowly—your sculpture will dry. Understanding these variables will allow you to better predict drying times and even optimize your environment for faster curing, should you need to. From the physical characteristics of your creation to the atmospheric conditions of its surroundings, each element plays a significant role in the overall drying process.
Project Size and Thickness
One of the most impactful factors on drying time is the physical dimension of your project. It makes intuitive sense: a larger and thicker piece of clay simply contains more moisture that needs to evaporate. A small, thin ornament, for example, will dry much faster than a thick, solid sculpture. While a thin, coin-sized piece might indeed be fully dry in 24-48 hours, a project that is several inches thick could easily take several days, and in some cases, even weeks, to fully cure. This extended drying time for substantial projects is due to the moisture needing to travel further from the core to the surface to evaporate. If you’re working on a particularly robust creation, patience is key. Avoid the temptation to accelerate drying for thick pieces, as rapid surface drying can lead to trapped moisture inside, potentially causing internal stresses and eventual cracking as the interior continues to shrink.
Environmental Conditions: Humidity and Temperature
The environment in which your clay project is drying plays an equally significant role. Both humidity and temperature directly affect the rate at which water evaporates from your clay.
Impact of Humidity Levels
High humidity is the nemesis of rapid drying for air-dry clay. When the air around your project is already saturated with moisture, there’s less capacity for the water from your clay to evaporate into the atmosphere. This essentially slows down the entire drying process, sometimes significantly. If you live in a particularly humid climate, or if you’re drying your clay during a rainy season, you should anticipate longer drying times, potentially extending well beyond the typical 72-hour mark. Conversely, a drier environment will facilitate quicker evaporation, helping your clay cure more efficiently. While you can’t control the weather, you can influence the immediate environment around your clay, perhaps by using a dehumidifier in the room if humidity is a consistent issue.
Influence of Ambient Temperature
Temperature also has a direct bearing on evaporation rates. Warmer temperatures generally accelerate the drying process because heat increases the kinetic energy of water molecules, making them more likely to escape from the clay into the air. Conversely, colder temperatures will slow down evaporation, prolonging the drying time. While a moderately warm room is beneficial, you should exercise caution. Extreme heat can cause the clay to dry too quickly on the surface while the interior remains wet, leading to stress cracks. Think of it like baking a cake at too high a temperature – the outside cooks quickly, but the inside remains gooey. A consistent, moderate room temperature is ideal for even drying. Avoid placing your clay directly in front of a heater or in direct sunlight for extended periods, as these conditions can lead to uneven drying and cracking.
Best Practices for Optimal Drying
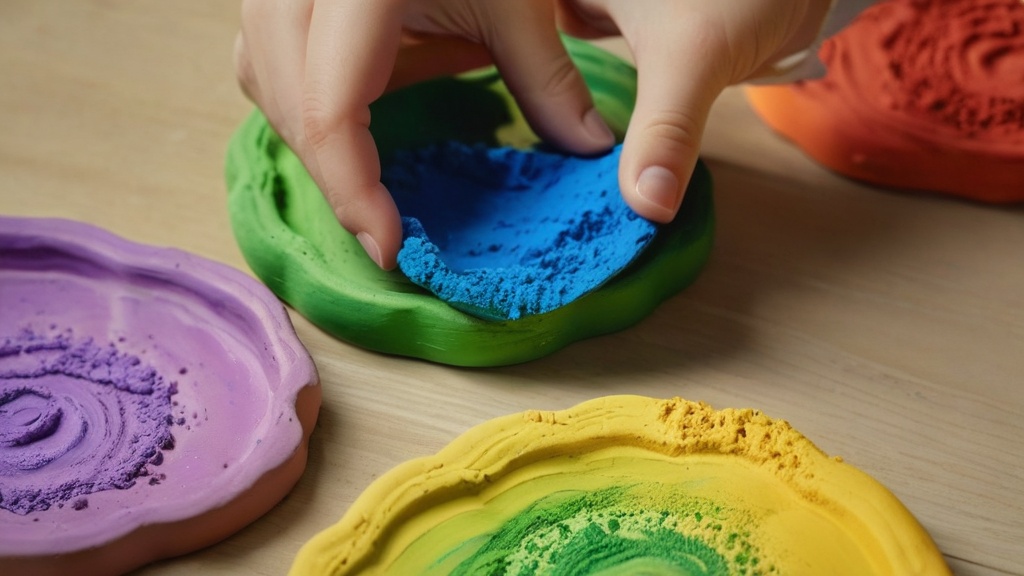
You’ve learned about the factors that can extend drying times, but what steps can you take to ensure your Crayola Air-Dry Clay dries as efficiently and effectively as possible? Implementing a few best practices can make a significant difference, helping you achieve a perfectly cured piece ready for its next stage. These strategies focus on creating an ideal environment and handling your projects in a way that promotes even and thorough drying.
Ensuring Proper Airflow
Good airflow is paramount for efficient drying. Stagnant air around your clay allows moisture to accumulate in the immediate vicinity of your project, slowing down evaporation. By contrast, circulating air continuously carries away evaporated moisture, allowing fresh, drier air to interact with the clay’s surface, thus speeding up the drying process.
Positioning Your Project for Ventilation
When placing your project to dry, consider its surroundings. Avoid putting it in an enclosed space like a cupboard or a box, as this traps moisture. Instead, choose an open area with good air circulation. Placing your piece on a wire rack or a raised mesh surface is highly recommended. This allows air to flow not only over the top and sides but also underneath the project, promoting more uniform drying. If your piece is sitting flat on a solid surface, the bottom will inevitably dry much slower than the top, potentially leading to warping or cracking. Periodically rotating your project, especially if it’s a larger piece, can also help ensure all sides are exposed to the air.
Utilizing Fans or Dehumidifiers (Cautiously)
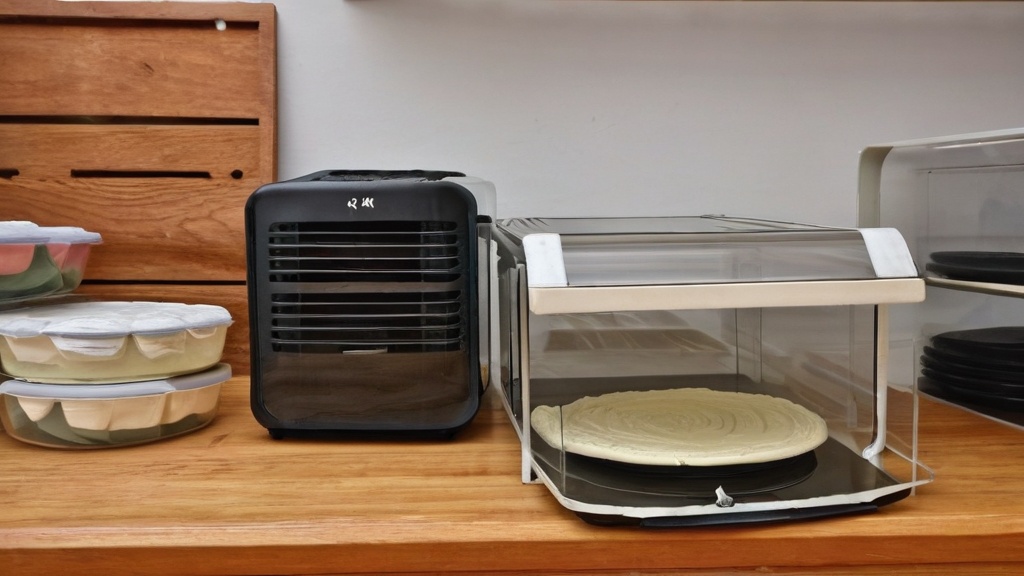
In particularly humid conditions or if you need to slightly accelerate drying, you might consider using a fan or a dehumidifier. A small fan placed a reasonable distance from your project can help move air and encourage evaporation. However, caution is crucial. Do not aim a fan directly at your clay on a high setting, as this can cause the surface to dry too rapidly, leading to cracking before the interior has had a chance to catch up. A gentle, indirect breeze is ideal. Similarly, a dehumidifier can significantly reduce ambient humidity, making the air more conducive to drying. If you use one, ensure it’s not positioned so close that it creates an overly dry, rapidly moving air current directly over your clay. The goal is a consistently dry atmosphere, not an aggressively fast one.
Patience is a Virtue
You’ve heard it before, and it holds especially true for air-dry clay: patience is key. Resisting the urge to rush the drying process is perhaps the most important “best practice” of all.
Avoiding Premature Painting or Sealing
Crayola and various retailers consistently advise allowing your air-dry clay projects to dry for at least 24-48 hours before you even consider painting or sealing them. This initial period ensures the surface is sufficiently hard. However, for optimal results and to prevent long-term issues, it is strongly recommended that you wait until your piece is fully dry. Painting or sealing a piece that still has trapped moisture can lead to a host of problems. The paint or sealant can act as a barrier, preventing the remaining moisture from evaporating. This trapped moisture can cause the clay to continue shrinking and cracking underneath the paint, leading to an unsightly finish. In severe cases, it can even foster mold growth within the piece. You’ll know it’s truly dry when it feels completely solid, and its color might be slightly lighter than when it was wet. A good rule of thumb: if in doubt, give it another day.
What to Avoid During the Drying Process
Just as there are best practices to encourage proper drying, there are also common pitfalls that you should actively avoid. These actions, often taken with good intentions to speed things up, can actually lead to irreversible damage or unsatisfactory results for your Crayola Air-Dry Clay project. Understanding what not to do is just as important as knowing what to do.
No Ovens, Microwaves, or Kilns
This is perhaps the most critical warning regarding Crayola Air-Dry Clay: it is designed to air-dry naturally, and attempting to accelerate this process with high heat is detrimental.
Risks of High Heat Exposure
Crayola Air-Dry Clay is fundamentally different from traditional ceramic clay that requires firing in a kiln. It is not formulated to withstand high temperatures. Placing it in an oven, microwave, or even a craft kiln will almost certainly lead to disaster. The intense, rapid heat will cause the water inside the clay to turn to steam much too quickly. This sudden expansion of steam will create immense pressure within the clay, resulting in severe cracking, warping, bubbling, or even an explosion of your project. Beyond the structural damage, high heat can also alter the chemical composition of the clay, making it brittle and crumbly, completely undermining the strength you’re trying to achieve. Remember, the “air-dry” in its name isn’t just a suggestion; it’s a fundamental characteristic of the product. Rely on natural air evaporation, not artificial heat, to cure your sculptures.
Avoiding Direct Sunlight or Forced Air Heat
While a moderate room temperature is beneficial, extreme natural heat or concentrated forced air heat can be just as damaging as an oven.
Why Even Natural Extreme Heat is Detrimental
Placing your air-dry clay project in direct, intense sunlight for extended periods, especially outdoors on a hot day or next to a window with strong sun, can create similar problems to using an oven, albeit on a slower scale. The direct sunlight will cause the surface of the clay to dry out much faster than the interior. This uneven drying leads to stress as the outer layer shrinks more rapidly than the still-wet core. The result is often hairline cracks, larger fissures, or warping as the clay struggles to adapt to the differential drying rates. Similarly, positioning your project directly in front of a heat vent, radiator, or a very strong hairdryer (even on a cool setting, the airflow can be too aggressive) can induce the same kind of surface-drying-first issues. The key is gentle, consistent, and even drying, not rapid, forceful dehydration.
Finishing Your Dried Clay Projects
| Drying Time | Condition | Thickness | Notes |
|---|---|---|---|
| 24 hours | Room temperature, thin layer (1/4 inch) | Up to 1/4 inch | Fully dry and ready to paint |
| 48 hours | Room temperature, medium thickness (1/2 inch) | Up to 1/2 inch | Dry through but may feel slightly soft inside |
| 72 hours or more | Room temperature, thick pieces (1 inch or more) | 1 inch or thicker | May require longer drying or air circulation for complete drying |
| Varies | Humidity and temperature dependent | All thicknesses | Higher humidity slows drying time |
You’ve patiently waited for your Crayola Air-Dry Clay to fully dry, resisting the urge to rush the process. Now that your masterpiece is hard, strong, and completely moisture-free, you’re ready for the exciting final steps: decorating and preserving your creation. One of the great advantages of air-dry clay is its versatility in accepting various finishes once it’s cured.
Painting and Decorating
Once your clay is fully dry, which typically takes around 72 hours (or longer for thicker pieces), it’s ready for its artistic transformation. The hard, porous surface of the dried clay is an excellent canvas for various types of paint.
Recommended Paint Types
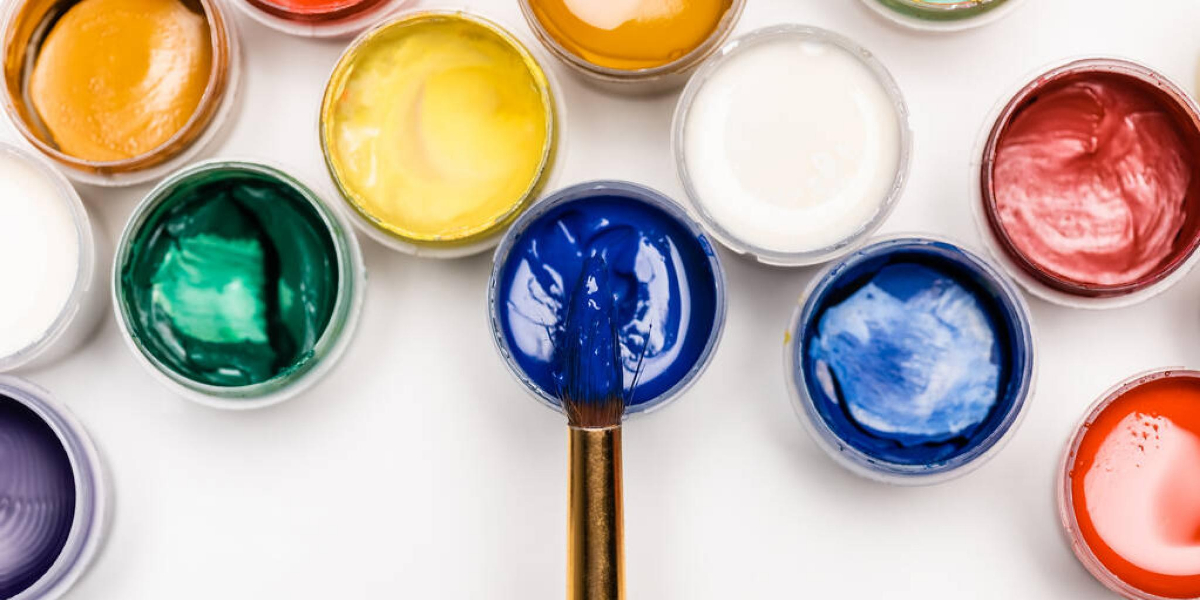
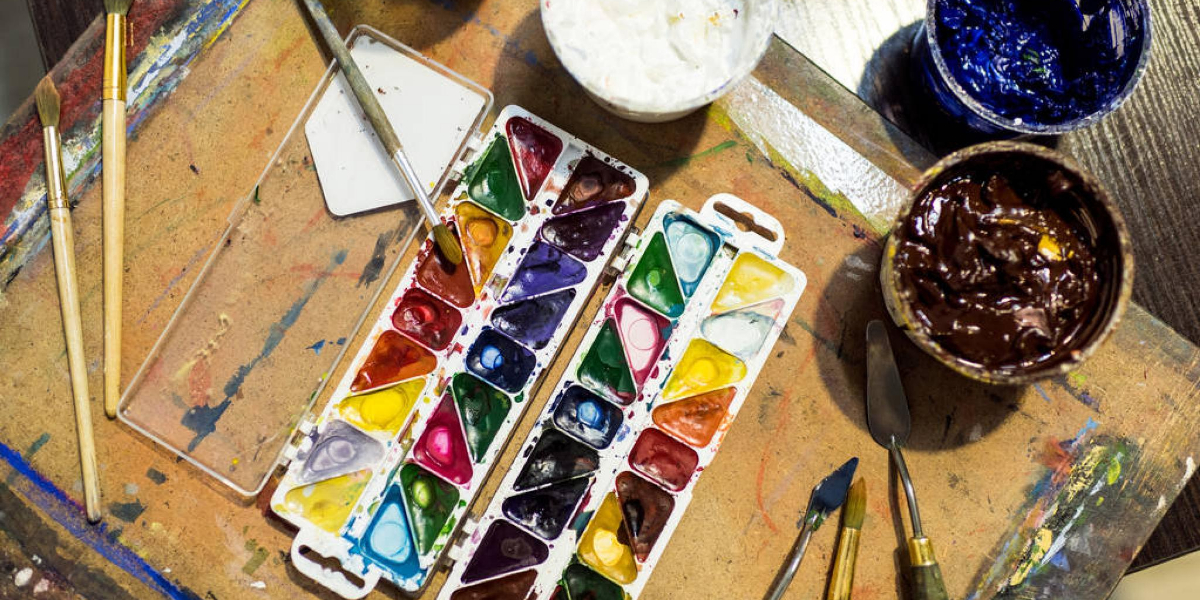
Crayola Air-Dry Clay is compatible with a wide range of paints, giving you creative freedom. You can confidently use tempera paints, which are excellent for bright, opaque colors and easy cleanup, making them a popular choice, especially for younger artists. Acrylic paints are another fantastic option; they offer vibrant colors, good coverage, and a durable, water-resistant finish once dry. For a softer, more translucent effect, watercolor paints can also be applied, though you might need to use more layers to achieve desired color intensity due to the clay’s absorbency. Before applying any paint, ensure your piece is completely free of dust or debris. You might even consider a thin layer of gesso, especially if you’re working with very porous clay or want to ensure true color representation without the clay absorbing too much pigment. Experiment with different brush types and techniques to bring your vision to life.
Sealing for Protection and Durability
After you’ve finished painting and your paint is completely dry, the final step is to seal your project. Sealing adds a protective layer that enhances durability, protects the paint from wear and tear, and can even provide a desired sheen.
Choosing the Right Sealant
There are several types of sealants suitable for Crayola Air-Dry Clay, each offering different finishes and levels of protection. Acrylic sealers (available in spray or brush-on form) are highly recommended. They create a clear, protective layer that can be water-resistant, and you can choose between matte, satin, or gloss finishes depending on the aesthetic you desire for your project. A matte finish offers a subtle, non-reflective look, while a gloss finish provides a shiny, polished appearance that can make colors pop. When applying a spray sealant, ensure you do so in a well-ventilated area, holding the can at the recommended distance and applying several thin, even coats rather than one thick one to prevent drips or bubbles. For brush-on sealants, use a soft brush and apply smooth, even strokes. Always allow each coat to dry thoroughly before applying the next, and follow the manufacturer’s instructions for curing times to ensure maximum protection. This final step not only safeguards your artistic effort but also prepares your piece for display and enjoyment for years to come.