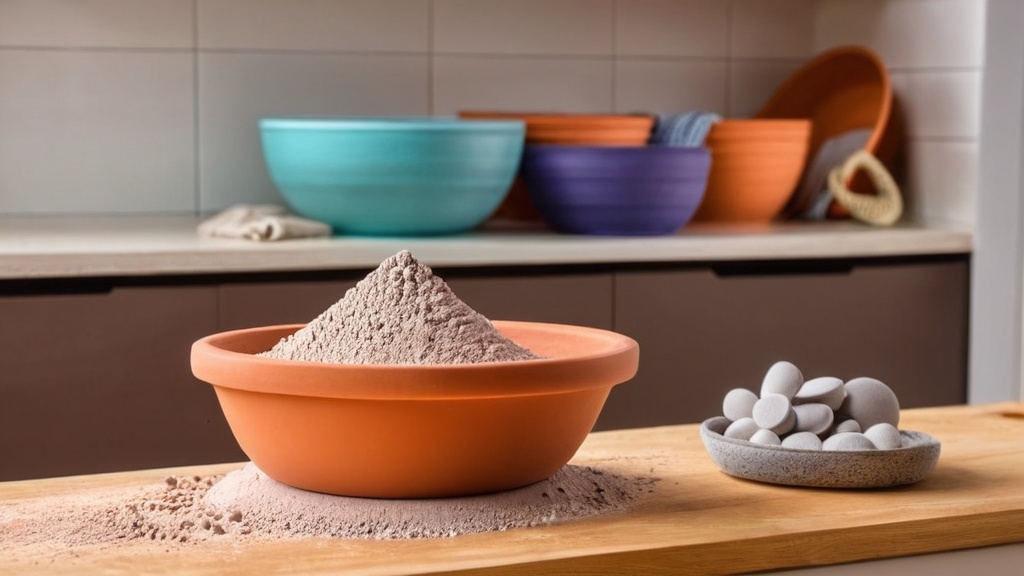
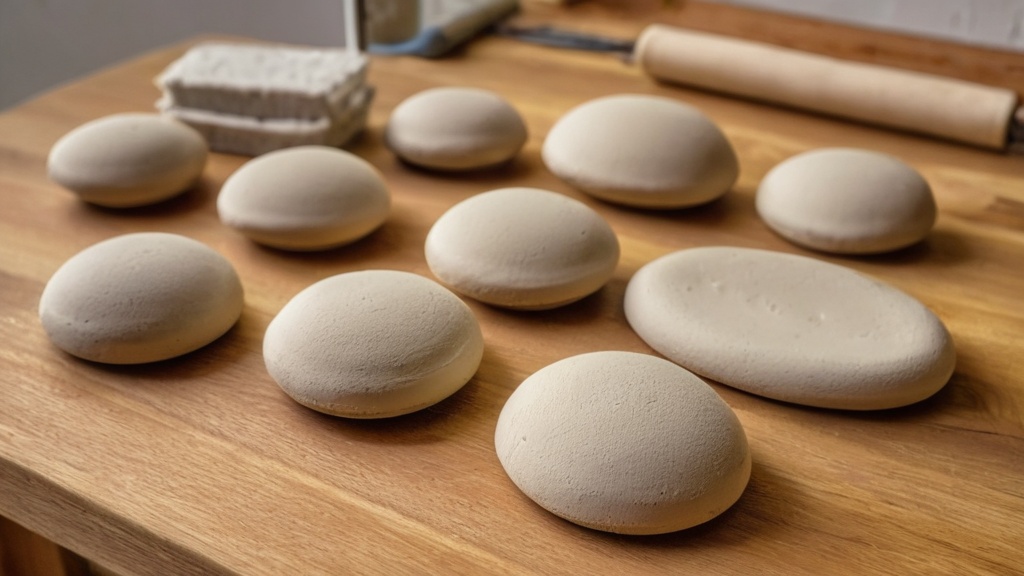
You’ve just sculpted a magnificent creature, a delicate trinket, or a functional piece of art from air-dry clay, and now the most common question arises: “How long until it’s actually hard?” This isn’t a simple “x hours” answer, as the drying process for air-dry clay is a delicate balance of thickness, environment, and even the specific type of clay you’re using. Understanding these factors is key to achieving a perfectly hardened, crack-free creation. While many sources might give you a quick estimate, a complete guide reveals a more nuanced timeline, ensuring your artistic efforts don’t crumble due to impatience or misunderstanding.
Understanding the Standard Drying Timeline
When you pick up a package of standard air-dry clay, you’ll often find a general guideline for hardening. This initial estimate is crucial for planning your projects and setting realistic expectations. Most standard air-dry clays harden in approximately 24–48 hours for typical small to medium projects, assuming normal room temperature and low to moderate humidity. This timeframe serves as your baseline, but it’s important to remember that it’s an average, not an absolute rule. Your specific project might fall outside this window for various reasons. Many brands, like Crayola Air-Dry Clay, will specify around 24 hours to be “touch-dry” but recommend waiting up to 72 hours for complete drying. Similarly, Mont Marte and other popular craft clays often suggest around 24 hours, always emphasizing that thicker models will require additional time.
Initial Hardening vs. Full Curing
It’s vital to differentiate between when your clay feels dry to the touch and when it is fully cured and at its maximum hardness. While your piece might feel solid and ready for handling after 24 hours, it may still contain moisture deep within, particularly in thicker sections. Many brands specify “dry to the touch” at around 24 hours, but advise waiting 48–72 hours, or even longer, for fully cured hardness. This distinction is crucial, especially if you plan to paint, sand, or otherwise manipulate your finished piece. Rushing the process can lead to issues like cracking, flaking paint, or a less durable final product. For example, a piece that feels firm at 24 hours might still be susceptible to minor dents or warping if subjected to stress, whereas after 72 hours, its internal structure will be far more stable.
Quick-Drying Clay Variants
While the 24-48 hour window is common for standard air-dry clays, some specialized formulations can significantly accelerate the drying process. Epoxy or two-part air-dry clays, for instance, are designed to harden much faster, sometimes within 2 hours to a few hours. These clays achieve their rapid cure through a chemical reaction rather than solely relying on evaporation, making them ideal for projects where time is a critical factor. However, these types of clays often come with their own specific handling instructions and may not have the same workability as traditional, water-based air-dry clays. If speed is your primary concern, exploring these quick-drying options might be beneficial, but always check the manufacturer’s instructions for exact hardening times.
The Paramount Role of Thickness
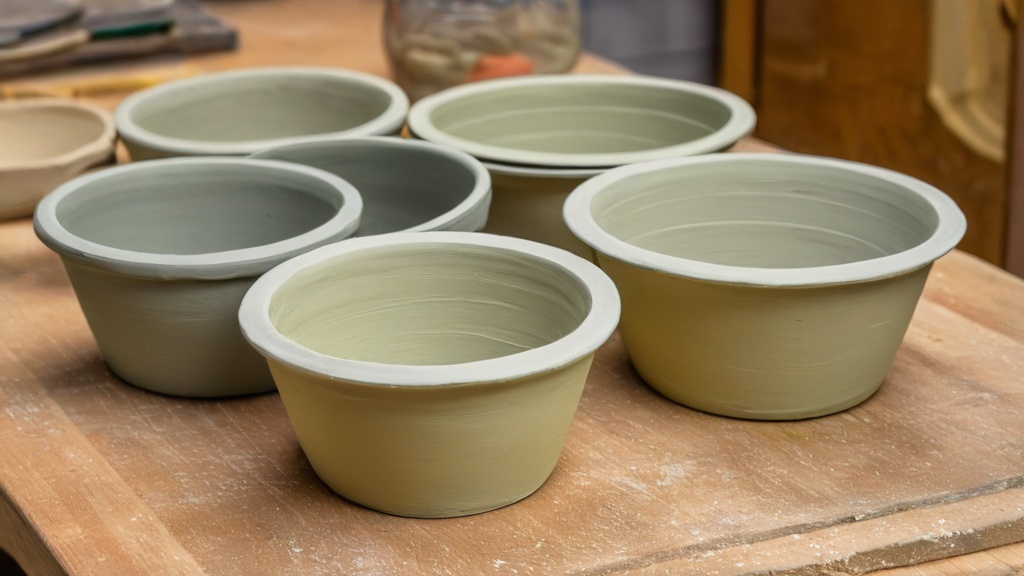
Without a doubt, the thickness of your air-dry clay creation is the single most significant factor influencing its drying time. This is a concept that cannot be overstated, as ignoring it is the quickest path to frustration, cracks, and incomplete hardening. Imagine a thick steak versus a thin slice; the thin slice cooks much faster because heat can penetrate it more easily. Similarly, moisture evaporates from thin clay much more readily than it does from a dense, thick sculpture.
Thin vs. Thick Sections
The difference in drying time between thin and thick sections of your project can be dramatic. Thin pieces, typically around 3–6 mm (1/8–1/4 inch), can often be fully dry within 1–3 days. These are the pieces that most closely align with the 24-48 hour general guideline. Think of small ornaments, flat embellishments, or thin-walled bowls.
However, once your clay piece exceeds about 1 cm (or over 1 inch for some clays), you’re entering a different league. Thicker creations may need several days, potentially up to a full week, to dry completely. This extended period is necessary because the internal moisture takes much longer to wick its way to the surface and evaporate. Furthermore, thicker pieces are significantly more prone to cracking if dried too quickly or unevenly. The outer layers dry and shrink faster than the inner layers, creating internal stresses that manifest as visible cracks on the surface. To mitigate this, patience is paramount when working with substantial amounts of clay.
Strategies for Drying Thick Pieces
When tackling a thick air-dry clay project, you need to employ specific strategies to ensure even and complete drying, thereby minimizing the risk of cracking.
Gradual Drying and Turning
Resist the urge to expose thick pieces to extreme heat or direct airflow immediately. Instead, allow them to dry gradually in a stable environment. Periodically turning your sculpture can help expose different surfaces to the air, promoting more uniform drying. For very thick pieces, you might even consider wrapping them loosely in plastic for the first day or two to slow down the initial surface drying, giving the interior a chance to catch up. This “slow and steady” approach helps prevent the exterior from hardening and shrinking too much before the inside has had a chance to dry sufficiently.
Hollowing Out Larger Forms
For large, sculptural forms, one of the most effective techniques is to hollow out the interior. This significantly reduces the overall mass of clay and creates internal surface area from which moisture can evaporate. You can sculpt your form in two halves, hollow them out, and then join them, or sculpt a solid form and carefully remove clay from the inside once it has reached a leather-hard stage (firm enough to handle without deforming but still pliable enough to carve). A piece that would take a week to dry when solid might dry in 3-4 days if it’s hollowed out to a reasonable thickness. Always aim for a uniform wall thickness, typically no more than 1-2 cm (about 0.5-0.75 inches), even for larger pieces.
Environmental Factors and Their Impact
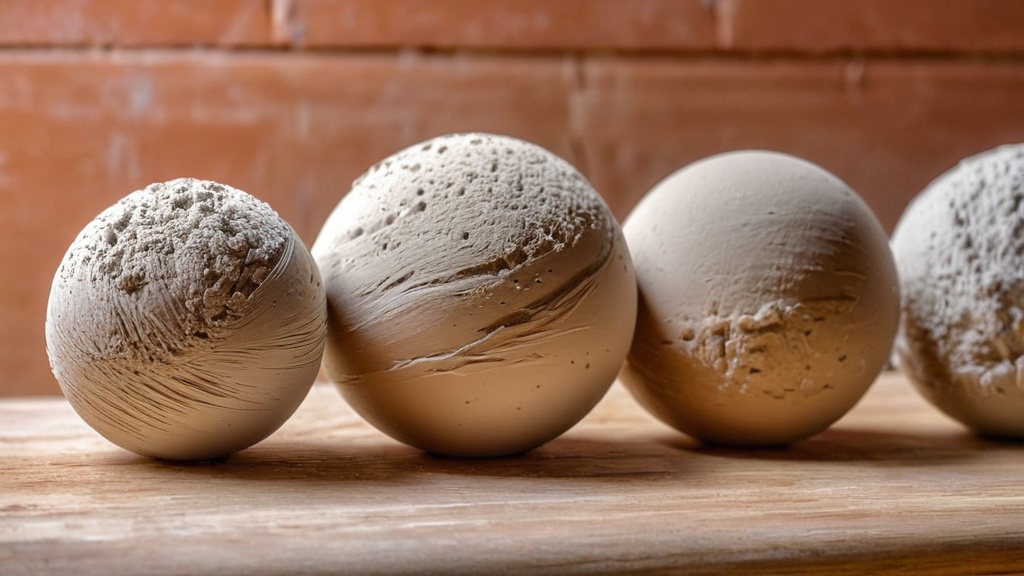
Beyond the physical attributes of your clay project, the surrounding environment plays a substantial role in determining how quickly and effectively your air-dry clay hardens. Temperature, humidity, and ventilation are the three key environmental factors you need to monitor and, ideally, control to optimize drying. An ideal drying environment can shave days off your waiting time, while a less-than-ideal one can prolong it significantly.
The Influence of Temperature and Humidity
Think of laundry drying on a clothesline. On a warm, dry, breezy day, it dries quickly. On a cold, damp, still day, it takes ages. The same principles apply to air-dry clay.
Warmth Speeds Evaporation
Warm temperatures accelerate the rate at which water evaporates from the clay. A room kept at a comfortable room temperature (typically around 20-25°C or 68-77°F) is generally ideal for drying air-dry clay. However, this doesn’t mean blasting your clay with a heat gun or placing it directly on a radiator, which can cause cracking due to overly rapid surface drying. Gentle warmth, such as that provided by a well-heated room, is beneficial. Very small, flat items, like tiny ornaments or charms, can sometimes feel hard in 8-24 hours, and on hot, dry days, some pieces may even be ready to paint in a single afternoon.
Humidity Hinders Drying
High humidity is the nemesis of air-dry clay drying. When the air is saturated with moisture, it has less capacity to absorb additional water evaporating from your clay. This drastically slows down the drying process, potentially pushing total drying time to several days or even over a week for thicker pieces. Conversely, a low-humidity environment allows moisture to escape from the clay more freely, speeding up hardening. If you live in a perpetually humid climate, consider using a dehumidifier in your drying room to create more favorable conditions.
The Importance of Ventilation
Good ventilation works hand-in-hand with temperature and humidity to optimize drying. Stagnant air around your clay piece can quickly become saturated with the moisture evaporating from the clay, effectively creating a localized high-humidity environment that slows further drying.
Airflow Promotes Consistent Drying
A gentle, consistent airflow helps to carry away the moist air from the clay’s surface, replacing it with drier air that can absorb more moisture. This prevents a localized “humidity bubble” from forming around your artwork. Placing your clay in a room with an open window or using a small, oscillating fan on a low setting can provide excellent ventilation. However, be cautious: strong, direct drafts can dry the surface too quickly, leading to cracking, especially with thicker pieces. The goal is gentle circulation, not a wind tunnel. Avoid placing your clay inside a sealed box or cupboard, as this traps humidity and will significantly prolong drying.
Even Exposure to Air
Ensure your clay piece is elevated on a mesh rack or a porous surface rather than directly on a flat, non-absorbent surface. This allows air to circulate around all sides of the piece, preventing the bottom from staying damp longer than the top. If your piece has a flat base, turning it periodically can help expose the underside to air for more even drying.
Stages of the Hardening Process
Understanding the different stages your air-dry clay goes through as it hardens can help you gauge its progress and know when it’s safe to move, carve, or apply finishes. These stages are often described using terminology borrowed from traditional ceramic pottery, reflecting the similar physical changes the clay undergoes as it loses moisture. These transitions aren’t always sharply defined but provide useful benchmarks.
From Pliable to Leather-Hard
When you first sculpt your clay, it’s completely pliable and wet. As it begins to dry, it starts to lose its plasticity but remains somewhat flexible.
Initial Setting (Pliable)
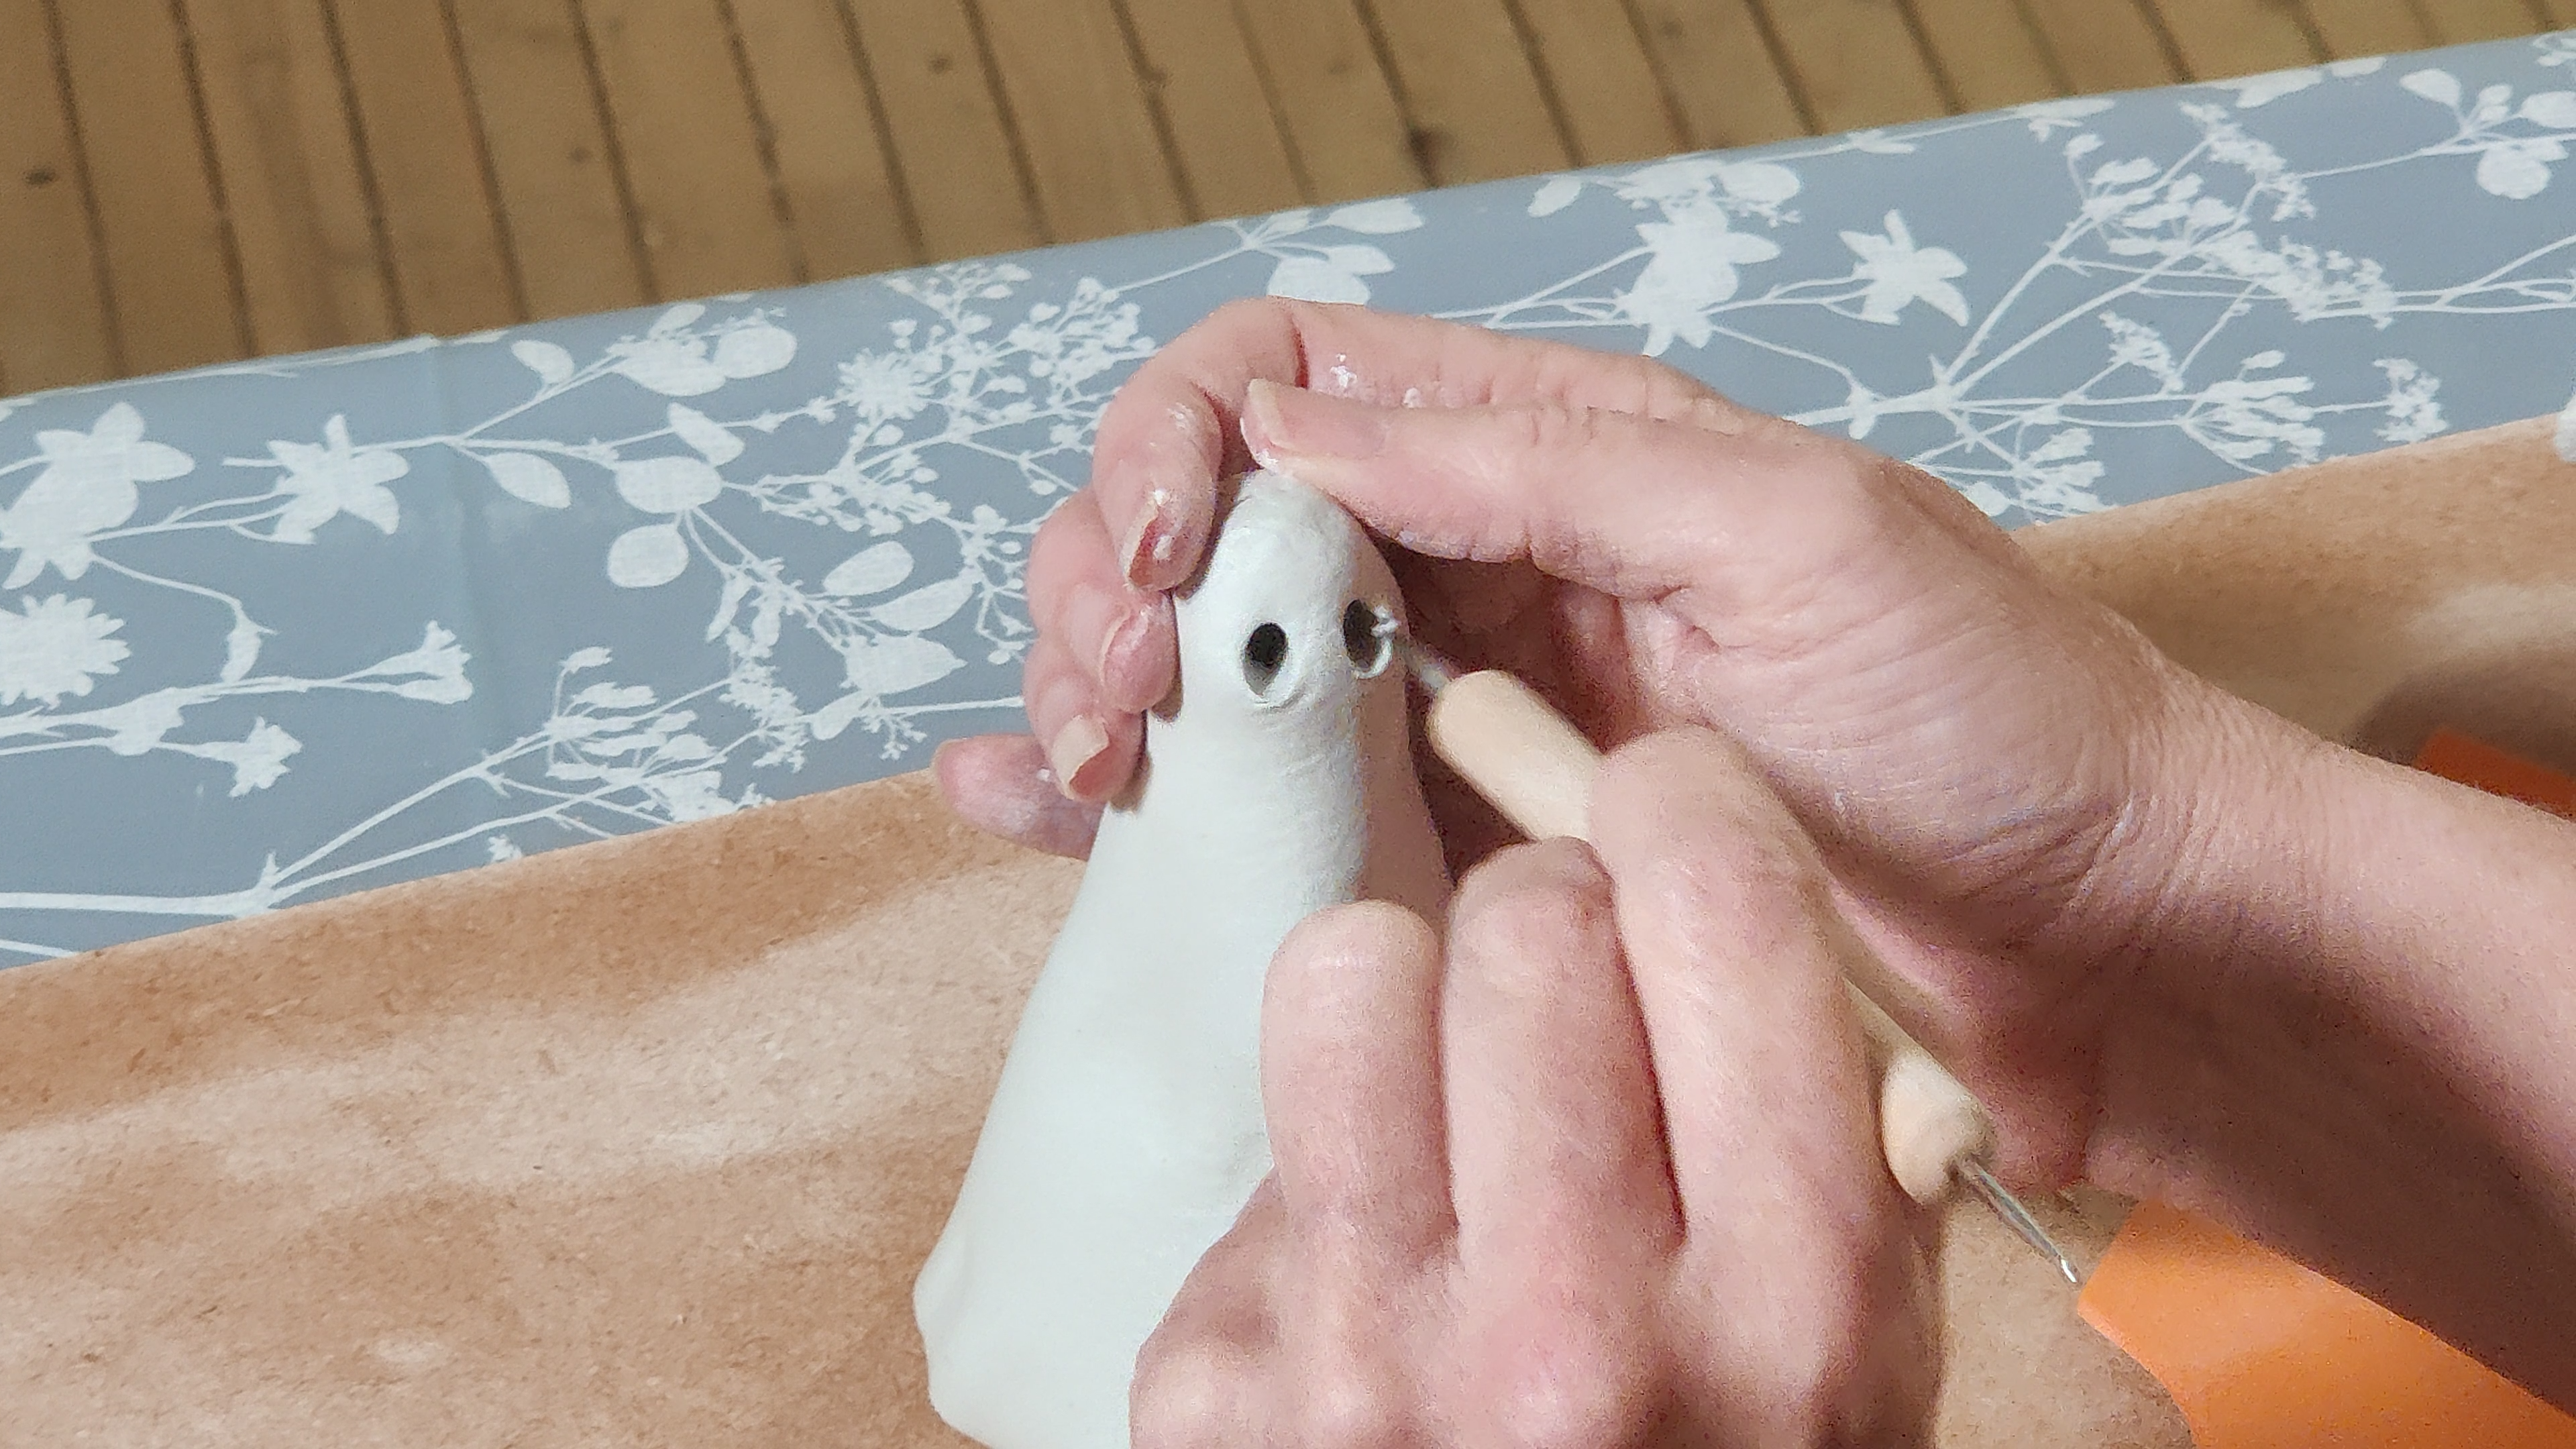
In the very first hours, the clay is still very soft. You can easily alter its shape, join pieces, and add fine details. This is the stage where most of your sculpting should occur. If you need to stop and resume later, wrapping your piece tightly in plastic wrap can keep it pliable for several hours or even a day, preventing premature drying.
Leather-Hard Stage
Within approximately 2–4 hours (for typical thicknesses and environments), your clay will reach what’s known as the leather-hard stage. At this point, the clay is firm enough to handle without deforming, but it still contains a good amount of moisture. It’s no longer pliable, but it’s often an ideal stage for carving, incising patterns, or refining details with a knife or sculpting tools. The surface will feel cool to the touch due to the evaporating moisture, but it won’t feel wet. You can sand it very lightly at this stage, but be careful not to create too much dust, as it’s still somewhat fragile.
From Leather-Hard to Bone-Dry
As drying continues, the clay loses more and more moisture, becoming progressively stiffer and more brittle.
Stiff Stage
After 6–12 hours, your clay will usually be in a stiff stage. It’s considerably harder than leather-hard and significantly less susceptible to accidental deformation. While you might still be able to do some very shallow carving, it will be much harder work, and the clay will be more prone to crumbling rather than cleanly cutting. At this point, the color of the clay might start to lighten slightly as the water evaporates. This is a good time to check for any minor warps or imperfections that might have developed during the initial drying.
Bone-Dry / Fully Hard Stage
The final and most crucial stage is bone-dry, also referred to as fully hard. This typically occurs at about 24–48+ hours, depending on the project’s thickness and environmental conditions. At the bone-dry stage, all the free water has evaporated from the clay. The piece will feel light, completely dry, and room temperature (no longer cool). Its color will be noticeably lighter than when it was wet. It will be rigid and brittle, meaning it can break if dropped or subjected to strong impact, but it will no longer deform under gentle pressure. This is the stage where your piece is ready for painting, sealing, or any other finishing treatments. Trying to paint or seal a piece that isn’t fully bone-dry can trap moisture inside, leading to mold growth, poor paint adhesion, or a less durable finish.
Tips for Optimal Drying and Troubleshooting
| Type of Air Dry Clay | Thickness | Drying Time | Notes |
|---|---|---|---|
| Standard Air Dry Clay | Up to 1/4 inch (6 mm) | 24 hours | Dry to touch; may take longer to fully cure inside |
| Standard Air Dry Clay | 1/4 inch to 1/2 inch (6-12 mm) | 48 hours | Ensure even drying to avoid cracking |
| Standard Air Dry Clay | Over 1/2 inch (12 mm) | 72 hours or more | May require turning and longer drying time |
| Lightweight Air Dry Clay | Up to 1/4 inch (6 mm) | 12-24 hours | Dries faster due to lighter composition |
| Modeling Air Dry Clay | Varies | 24-72 hours | Depends on brand and thickness |
| Factors Affecting Drying Time | N/A | N/A | Humidity, temperature, and ventilation impact drying speed |
Ensuring your air-dry clay dries optimally involves more than just waiting; it requires proactive management and knowing how to troubleshoot common issues. From preparing your workspace to addressing cracks, these tips will help you achieve the best possible results.
Preparing Your Drying Environment
The right setup can make a world of difference in the drying process.
Choose a Stable Location
Select a location for drying that is out of direct sunlight and away from direct heat sources like radiators or forced-air vents. These can cause uneven and rapid drying, leading to cracks. A shelf or table in a room with consistent temperature and good ambient ventilation is ideal. Avoid areas with extreme temperature fluctuations.
Use Proper Drying Surfaces
Never place your wet clay directly on a non-porous surface like plastic, glass, or varnished wood, as this will prevent the bottom of your piece from drying. Instead, use a wire rack, a piece of untreated wood, cardboard, or an unglazed ceramic tile. These materials allow air to circulate underneath and can absorb some moisture from the clay, promoting more even drying. If your piece has a large flat base, periodically lift and turn it to expose different sides to the air.
Protect From Dust and Debris
While your clay is drying, it’s susceptible to collecting dust, pet hair, or other airborne debris on its surface, which can then become permanently embedded. To prevent this, you can lightly cover your drying pieces with a loose sheet of paper or a very light, breathable fabric, ensuring there’s still plenty of airflow. Avoid using plastic, as this will trap humidity.
Troubleshooting Common Drying Problems
Even with the best intentions, you might encounter issues during the drying process. Here’s how to address them.
Dealing with Cracks
Cracks are the most common and frustrating problem when drying air-dry clay, almost always a result of uneven or too-rapid drying.
Repairing Minor Cracks
If you notice small cracks developing, especially in thicker sections, you might be able to repair them. Slightly dampen the area around the crack with a small brush and a tiny amount of water. Then, take a bit of fresh, soft clay, mush it into a paste with a drop of water, and use it to fill the crack. Smooth it out carefully. Be gentle, as forcing too much wet clay into a dry piece can exacerbate the problem. You might need to repeat this process if the crack reappears. For very deep cracks, it might be challenging to achieve an invisible repair.
Preventing Future Cracks
The best defense against cracks is prevention. Always allow thick pieces to dry slowly and evenly, potentially covering them loosely with plastic wrap for the first 12-24 hours to slow down surface drying. Ensure good ventilation, but avoid direct strong drafts. Hollowing out thick sections is another excellent preventative measure. When joining pieces of clay, score and slip the surfaces thoroughly to create a strong bond, reducing stress points where cracks might form.
Addressing Uneven Drying
If one part of your piece is drying faster than another, it can lead to warping or cracking.
Slowing Down Fast-Drying Areas
If a thin section is drying too quickly compared to a thicker adjacent section, you can gently cover the faster-drying part with a small piece of plastic wrap or a damp paper towel for a few hours. This will temporarily slow its drying, allowing other parts to catch up. Monitor it closely to avoid making that section too wet again.
Promoting Drying in Slow Areas
For areas that seem stubbornly damp, ensure they are fully exposed to air. Elevate the piece, turn it periodically, and make sure airflow isn’t being blocked. If using a fan, direct the gentle breeze towards the damp area without creating an aggressive current.
When Your Clay Won’t Harden
If after several days, your clay still feels soft or damp, re-evaluate your drying environment.
Check Humidity and Ventilation
High humidity is the most common culprit. If your room is humid, consider using a dehumidifier. Ensure there’s adequate, gentle airflow around the entire piece. If it’s on a non-porous surface, move it to a wire rack.
Verify Clay Type
Double-check that you are indeed using air-dry clay. Some oil-based clays or modeling compounds never fully harden and remain pliable. If you’ve accidentally used one of these, it simply won’t dry.
By understanding the nuances of drying time, recognizing the critical impact of thickness and environment, and knowing how to troubleshoot, you can confidently create stunning air-dry clay projects that harden beautifully and stand the test of time. Patience, as with many creative endeavors, is truly a virtue when working with air-dry clay.
FAQs
How long does air dry clay typically take to harden?
Air dry clay usually takes between 24 to 72 hours to fully harden, depending on the thickness of the piece and the humidity levels in the environment. Thicker pieces may take longer to dry completely.
Does humidity affect the drying time of air dry clay?
Yes, humidity can significantly affect the drying time of air dry clay. In high humidity conditions, the drying process may take longer, while in low humidity, the clay may dry faster.
Can I speed up the drying process of air dry clay?
While it’s not recommended to use heat sources like ovens or hair dryers, you can speed up the drying process by placing the clay in a well-ventilated area or using a fan to circulate air around it.
What happens if air dry clay is not fully hardened before painting?
If air dry clay is not fully hardened before painting, the moisture can cause the paint to crack or peel. It’s best to wait until the clay is completely dry to ensure a smooth and durable finish.
Is there a way to tell if air dry clay is fully hardened?
You can tell if air dry clay is fully hardened by checking its firmness and weight. Fully dried clay will feel solid and lightweight, while damp clay will feel cool and heavier. Additionally, you can gently press on the surface; if it feels hard and does not leave an impression, it is likely fully dried.