Understanding DAS Air Dry Clay Drying Times
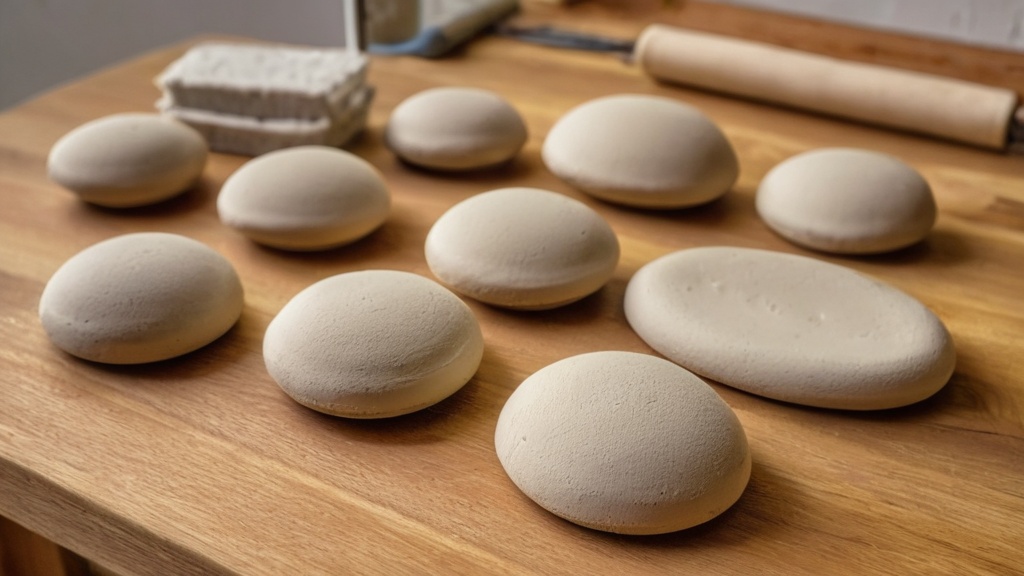
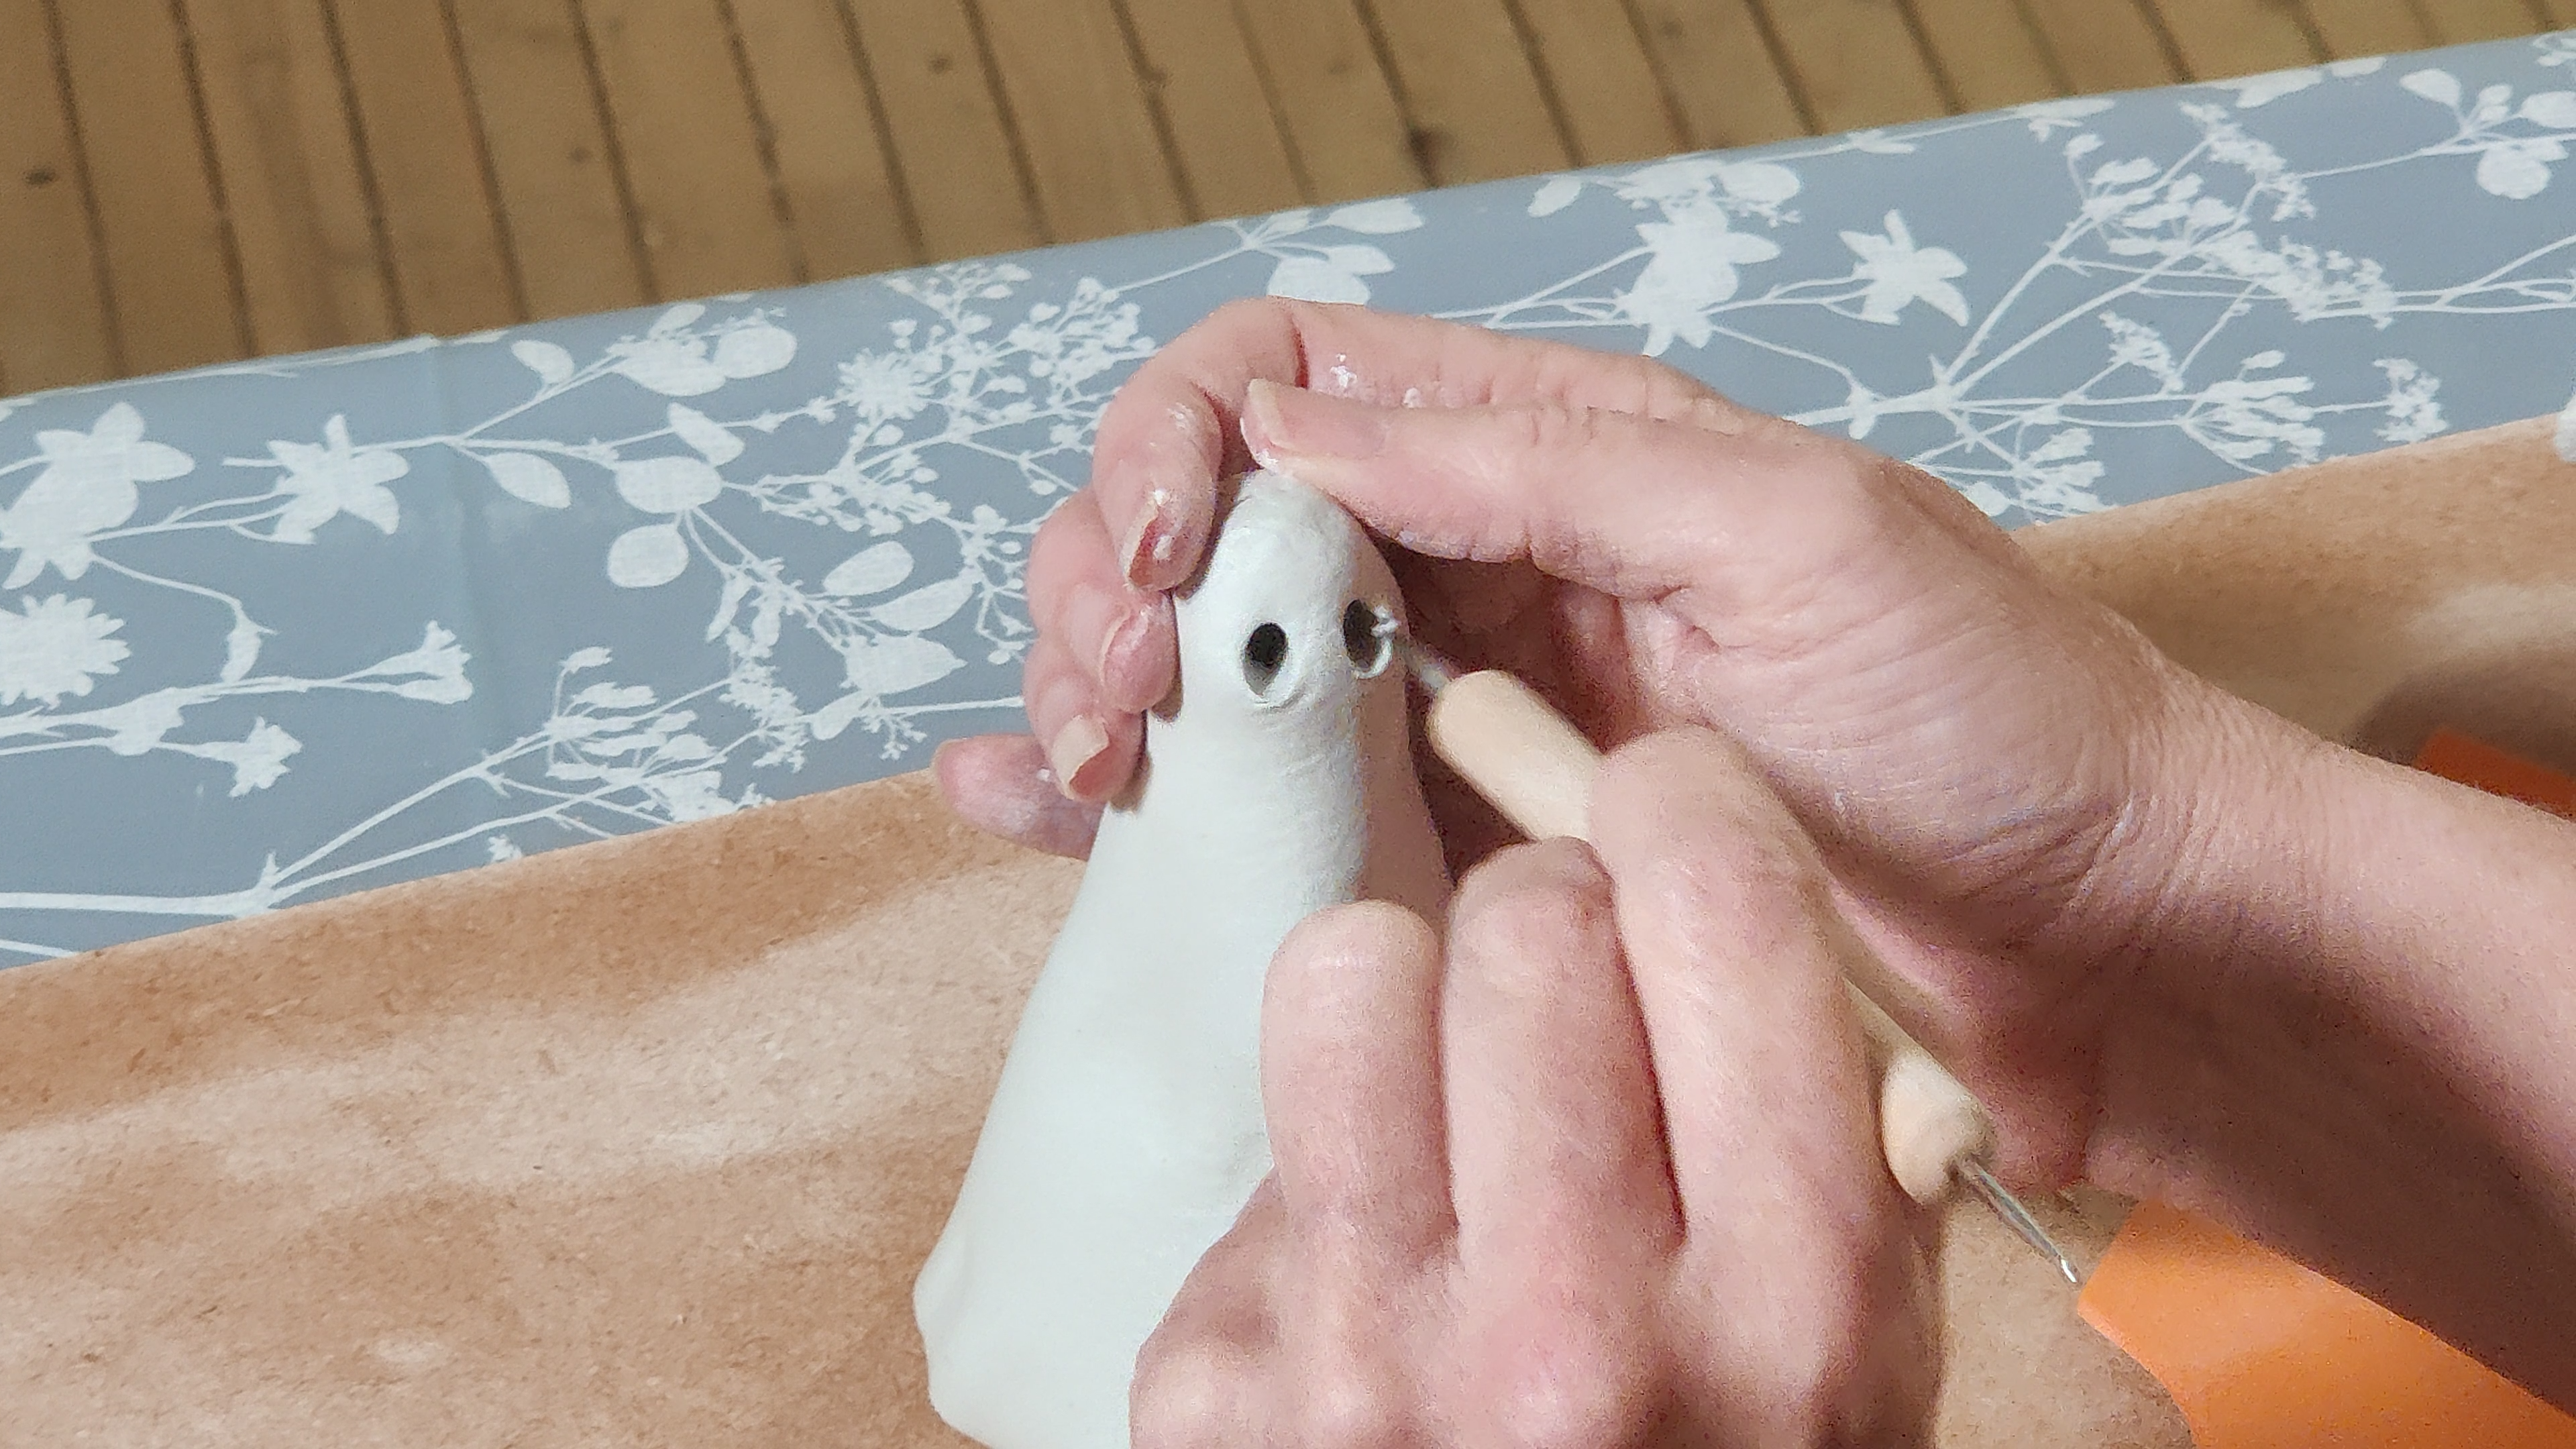
You’ve just sculpted a magnificent creation with DAS air dry clay, and now the burning question is: how long until you can admire your fully dried masterpiece, paint it, or even handle it without worry? The drying time for DAS air dry clay is a common point of curiosity and, frankly, a crucial piece of information for any crafter. It’s not as simple as a one-size-fits-all answer, as various factors come into play. Generally speaking, you should anticipate a significant waiting period. Most DAS air dry clay, in typical room temperature conditions, will take approximately 24–48 hours to dry to the touch, or at least enough to be handled carefully. However, this is just the beginning of understanding the full curing process. For your piece to be truly ready for decoration, heavy handling, or to be considered completely dry all the way through, especially for thicker sections, the timeline extends considerably. A good rule of thumb that you’ll encounter frequently is to allow about 24 hours per 1 cm of thickness for your pieces to fully dry internally. This means a sculpture that’s 3 cm thick could easily take three full days to reach a fully cured state. This initial waiting period is critical; impatience at this stage can lead to cracks, uneven drying, or issues with subsequent finishing steps like painting. So, settle in and understand that patience is truly a virtue when working with DAS air dry clay.
The Nuance of “Dry”
When we talk about clay being “dry,” it’s important to distinguish between different stages of dryness. A piece might feel dry to the touch on its surface, but this doesn’t necessarily mean it’s fully dry all the way through. This distinction is paramount, particularly with air dry clays like DAS.
Surface Dry Versus Fully Cured
Many small or thin items made with DAS air dry clay will feel surface-dry within approximately 24 hours. This means that if you gently touch the exterior, it will no longer feel cool, damp, or sticky. The surface will have hardened, and it will likely hold its shape well. At this point, you might be tempted to start painting or applying sealants. However, for thicker pieces, while the exterior might feel firm, the core of the clay can still be quite moist. This internal moisture needs time to evaporate. If you paint or seal a piece that is only surface-dry, you risk trapping the remaining moisture inside. This can lead to a host of problems, including cracking as the internal moisture eventually tries to escape, mold growth, or even the paint failing to adhere properly or peeling off over time. Thicker pieces can indeed take several days to be completely dry inside, extending beyond the initial 48-hour surface dry estimate. The full curing process, where all internal moisture has evaporated and the clay has reached its maximum hardness and stability, is what you’re truly aiming for before applying any finishes or subjecting the piece to stress.
Factors Influencing DAS Clay Drying Time
You’ve learned that DAS air dry clay requires a significant amount of time to dry, but it’s not a rigid timeline. Several environmental and physical factors actively influence how quickly, or slowly, your creation will reach its fully cured state. Understanding these factors allows you to better estimate drying times and even, to some extent, control the process to suit your needs, though often the best approach is simply patience.
Thickness of the Clay Object
This is arguably the most significant factor affecting drying time. The thicker your clay piece, the longer it will take to dry. Think of it like a sponge: a thin sponge dries out much faster than a thick one. The moisture in the clay needs to travel from the interior to the surface and then evaporate into the air. With thicker pieces, this journey is longer and more arduous. As mentioned earlier, a reliable rule of thumb provided by DAS and many experienced crafters is to allow approximately 24 hours for every 1 cm of thickness. This means a small, flat ornament that’s only 0.5 cm thick might dry completely in about 12 hours, while a chunky sculpture that measures 5 cm at its thickest point could require five full days or even more to be thoroughly dry all the way through. Attempting to rush this process, especially for thick items, is a common cause of cracks, as the exterior dries and shrinks faster than the interior, creating internal stress.
Environmental Conditions
The environment in which your clay piece is drying plays a critical role in the evaporation process. You can’t just put your clay anywhere and expect consistent results; optimizing the drying environment can help, though never eliminate the need for sufficient time.
Room Temperature and Humidity
Temperature and humidity are intertwined when it comes to drying. Warmer temperatures generally accelerate evaporation, while cooler temperatures slow it down. However, extreme heat can cause the clay to dry too quickly on the surface, leading to cracking, especially if the interior is still very wet. Therefore, room temperature (typically around 20-25°C or 68-77°F) is generally recommended for drying DAS clay. Equally important is humidity. A high-humidity environment means the air is already saturated with moisture, making it harder for water to evaporate from your clay. In very humid conditions, drying times can extend significantly. Conversely, a low-humidity environment will speed up drying. While you want some air movement, a bone-dry, super-low humidity environment can also contribute to cracking by pulling moisture out too rapidly. Aim for a moderate, consistent indoor humidity level.
Airflow and Ventilation
Good airflow is essential for efficient drying. Stagnant air around your clay piece means the air immediately surrounding it quickly becomes saturated with moisture, slowing down further evaporation. Gentle, consistent airflow helps to carry away the evaporated moisture, allowing fresh, drier air to interact with the clay’s surface. Placing your artwork in a well-ventilated room, perhaps near an open window (but out of direct drafts that could dry it too quickly), or using a small fan on a low setting, can significantly aid the drying process. Just be wary of strong, direct drafts, as they can cause uneven drying and potential cracking. Distribute your pieces to ensure air can circulate freely around all sides. If you place a wet piece directly on a non-porous surface, the bottom will dry much slower than the top. Using a raised mesh rack or turning your piece periodically can help ensure even drying.
Official Guidance and Brand Recommendations
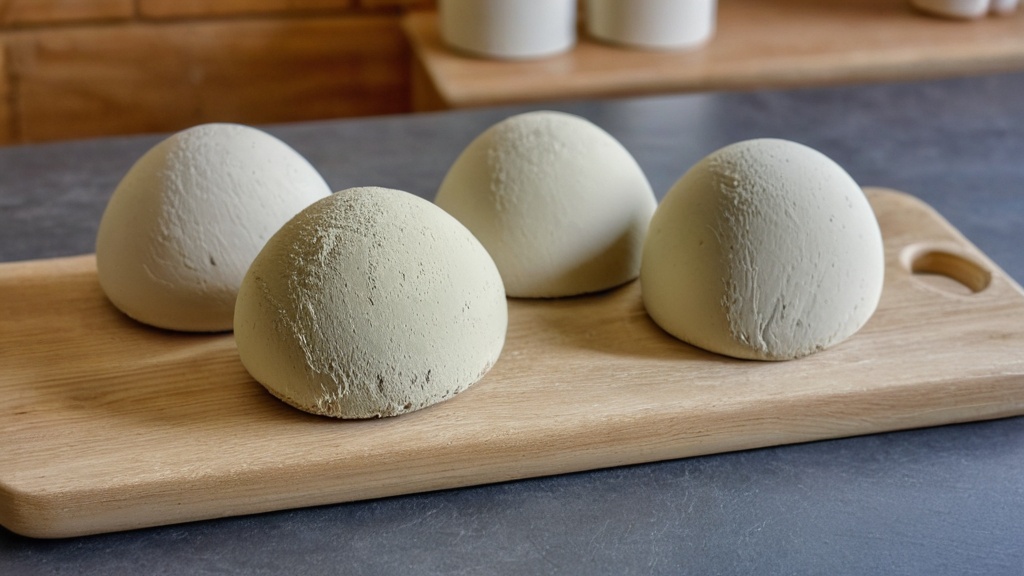
When you’re working with a specific product like DAS air dry clay, it’s always wise to consult the manufacturer’s recommendations and the advice from reputable retailers. This official guidance provides a consistent baseline for expectations regarding drying times and care, helping you achieve the best results with your creations.
DAS and Retailer Statements
DAS, along with major retailers, consistently provides clear instructions regarding drying times for their air dry clay. The most common and widely cited recommendation you’ll encounter is “24 hours per cm in shade”. This reinforces the critical role of thickness in the drying process, as discussed earlier. For instance, if your sculpture is 2 cm thick at its widest point, you should expect it to take at least 48 hours to fully dry internally. The instruction to dry “in shade” is important; it cautions against direct sunlight, which can cause the surface to dry too rapidly, leading to cracking and an uneven cure. Instead, a sheltered, consistent environment is preferred. Furthermore, you will often find advice to wait a few days before painting thicker work. This aligns perfectly with the distinction between surface dry and fully cured. Even if a thick piece feels firm to the touch after 24-48 hours, the internal moisture still needs more time to dissipate completely before you introduce paints or sealants, which could trap residual moisture and lead to problems down the line. Following this guidance ensures that your underlying clay structure is stable and ready for subsequent decorative steps.
Specialized DAS Variants
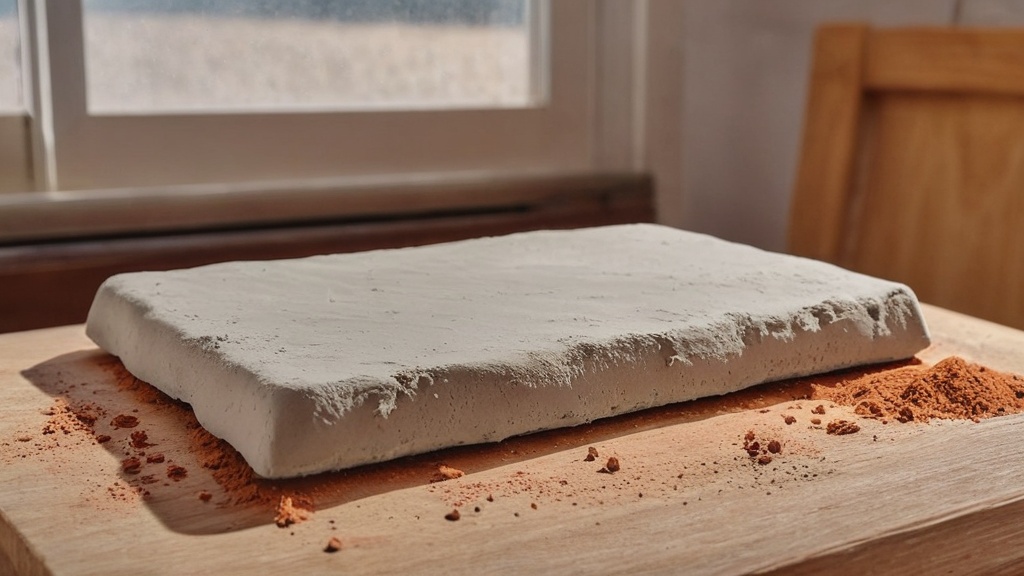
It’s also worth noting that while the general guidelines apply to most standard DAS air dry clay, some specialized versions may have slightly different characteristics. For example, some stone-effect DAS clays have been observed to note a potentially faster drying time. For typical small pieces made with these variants, they might dry within 12–24 hours. However, it’s crucial to understand that even with these potentially faster-drying formulations, the core principles still apply. Their drying time is still significantly affected by the thickness of the piece and the prevailing airflow in the drying environment. A thick piece of stone-effect DAS will still take longer to dry than a thin one, and good ventilation will still be beneficial. Always check the specific packaging or product description for any particular DAS variant you are using, as manufacturers may provide tailored instructions for their specialized products. However, when in doubt, default to the more conservative general guidelines, especially for thickness.
User Experiences and Practical Insights
While official guidelines provide a great starting point, the real-world experiences of hobbyists and artists working with DAS air dry clay offer invaluable practical insights. These user reports often confirm the official advice while also highlighting common challenges and reinforcing the need for patience.
Common User Observations
Many hobby users consistently find that DAS air dry clay “takes a while to dry”, a sentiment that resonates deeply with anyone who has waited patiently for a larger project to cure. This is especially true for thick projects, where the drying time can feel considerably longer than initially anticipated. Users frequently confirm that the ~24 hours per cm rule is indeed a realistic and practical guideline in normal indoor conditions. This collective experience reinforces the manufacturer’s advice, showing that it’s not just a technical specification but an observed reality in home studios and crafting spaces.
The Patience Factor
One of the most common takeaways from user experiences is the absolute necessity of patience. It’s easy to get excited and want to rush to the painting or finishing stages, but almost every experienced DAS user will advise against it. Trying to speed up drying with excessive heat, direct sunlight, or strong fans often leads to cracks and warping, which can ruin hours of careful sculpting. Instead, allowing the clay to dry naturally and gradually in a suitable environment is universally recommended. Users often share stories of pieces that appeared dry on the outside but developed issues later because they hadn’t waited long enough for the interior to fully cure. This consistent feedback underscores that the quoted drying times are minimums, and sometimes, especially with larger or more complex forms, adding a bit more buffer time is a wise decision.
Troubleshooting Drying Issues
When issues do arise, such as cracks forming during drying, user forums and communities often provide helpful troubleshooting tips, many of which loop back to the drying conditions. Common advice includes wrapping parts of a drying piece in plastic wrap if it’s drying too fast in one area and cracking, or using a very light mist of water to rehydrate a surface that’s cracking due to overly rapid drying. This kind of intervention is usually a last resort, however, and most problems are best avoided by simply adhering to the recommended slow and steady drying process. Observing how different thicknesses and shapes react in your specific environment over time will also build your personal intuition about DAS drying, allowing you to anticipate and plan for optimal curing.
Best Practices for Drying DAS Air Dry Clay
| Drying Condition | Thickness of Clay | Approximate Drying Time | Notes |
|---|---|---|---|
| Room Temperature (20-22°C / 68-72°F) | 1 cm (0.4 inch) | 24 hours | Standard drying time for thin pieces |
| Room Temperature (20-22°C / 68-72°F) | 2 cm (0.8 inch) | 48 hours | Thicker pieces require longer drying |
| Room Temperature (20-22°C / 68-72°F) | 3 cm (1.2 inch) or more | Up to 72 hours or more | May require turning to dry evenly |
| Forced Air Drying (Fan) | 1 cm (0.4 inch) | 12-18 hours | Speeds up drying but avoid direct heat |
| Humidity: High (above 70%) | Any thickness | Extended drying time (up to 50% longer) | Humidity slows drying process |
| Humidity: Low (below 40%) | Any thickness | Normal or slightly faster drying | Ideal for air drying clay |
To ensure your DAS air dry clay creations dry effectively, evenly, and without issues, adopting a set of best practices is crucial. These practices combine the official guidance, user experiences, and scientific understanding of evaporation to give your artwork the best chance of a perfect cure.
Preparing Your Sculpture for Drying
The drying process essentially begins the moment you stop sculpting. How you prepare your piece at this stage can significantly impact the outcome.
Ensuring Even Thickness
Whenever possible, try to maintain a relatively even thickness throughout your sculpture. While this isn’t always feasible for organic or complex shapes, large disparities in thickness within a single piece are a major cause of cracking. Thinner sections will dry much faster than thicker ones, causing differential shrinkage that can pull the piece apart. If you must have significantly thicker areas, consider hollowing them out during the sculpting process. Hollowing large, thick sections reduces the amount of clay that needs to dry, thereby decreasing overall drying time and minimizing the risk of internal moisture trapping and cracking. For instance, if you’re sculpting a solid sphere, consider hollowing it out to a consistent wall thickness of about 1-2 cm. This not only lightens the piece but also promotes more uniform drying.
Proper Support and Placement
How you position your piece for drying is also critical. Placing a wet clay sculpture directly on a flat, non-porous surface like a plastic sheet or tabletop will prevent air from reaching the bottom, causing it to dry much slower than the top and sides. This uneven drying can lead to warping or cracking. Instead, place your creations on a raised, porous surface. A wire rack, mesh screen, or even a piece of cardboard (which can absorb some moisture) works well. This allows air to circulate around all sides of the piece, promoting more even drying. For irregularly shaped items, you might need to gently turn them periodically (once they are firm enough to handle without damage) to ensure all surfaces are exposed to the air. For delicate or intricate pieces, consider creating temporary supports out of crumpled foil or soft cloth to maintain their shape during the initial, most vulnerable stages of drying.
Optimizing the Drying Environment
Beyond the initial preparation of your sculpture, actively managing the drying environment is key to a successful cure. Your goal is to create conditions that allow for steady, controlled moisture release.
Stable, Ventilated Space
Choose a location for drying that is stable in temperature and humidity. Avoid direct sunlight, which can dry the surface too quickly and lead to cracking. Similarly, steer clear of extremely drafty areas, such as directly in front of an open window during a breezy day, or near a strong heating vent, as these can also cause rapid, uneven drying. Instead, aim for a well-ventilated room with a consistent ambient temperature, ideally around typical room temperature (20-25°C or 68-77°F). Gentle air circulation is beneficial. You can achieve this by ensuring the room isn’t completely sealed or by using a small fan on its lowest setting, placed a good distance from your clay, so it creates a gentle ambient breeze rather than a direct blast. This subtle airflow helps to remove moisture-laden air from around the clay, allowing drier air to take its place and continue the evaporation process.
Patience and Observation
Ultimately, the most important practice you can adopt when drying DAS air dry clay is patience. Resist the urge to rush the process. Continuously check your piece over the recommended drying period, remembering the “24 hours per cm” rule. While it might feel dry to the touch on the surface after 24-48 hours, especially for thinner items, assume that thicker sections still require more time to fully cure internally. Only when the piece feels uniformly hard, light for its size (as moisture adds significant weight), and shows no signs of coolness or dampness to the touch (even on interior surfaces if accessible) should you consider it fully dry. Trust the process, observe your creations, and allow nature to take its course for the best, most durable results. Attempting to accelerate drying beyond sensible limits often leads to disappointment and a compromised final product.
FAQs
How long does DAS air dry clay take to dry completely?
DAS air dry clay typically takes about 24 to 72 hours to dry completely, depending on the thickness of the piece and the environmental conditions such as humidity and temperature.
Can I speed up the drying process of DAS air dry clay?
While it’s not recommended to use heat sources like ovens or hair dryers, you can speed up the drying process by placing the clay in a warm, dry area with good airflow. However, be cautious as rapid drying can lead to cracking.
Does the drying time of DAS air dry clay vary with thickness?
Yes, the drying time of DAS air dry clay varies significantly with thickness. Thicker pieces will take longer to dry, while thinner pieces may dry in as little as 24 hours.
What factors can affect the drying time of DAS air dry clay?
Several factors can affect the drying time of DAS air dry clay, including the thickness of the clay, the humidity level in the environment, the temperature, and the airflow around the piece.
Can I paint or seal DAS air dry clay before it is fully dry?
It is best to wait until DAS air dry clay is fully dry before painting or sealing it. Applying paint or sealant too early can trap moisture and lead to issues such as bubbling or peeling.