Unveiling the World of Polymer Clay: Your Creative Journey Begins
So, you’ve heard whispers of polymer clay, seen dazzling creations online, and felt a tiny spark ignite within you. You’re curious, a little intrigued, and perhaps a touch intimidated. Well, let me assure you, diving into the vibrant world of polymer clay is not only incredibly rewarding but also surprisingly accessible. Forget the masterpieces you’ve seen; those are for later. Right now, we’re focusing on the joy of creation, the satisfaction of making something with your own hands, and the sheer fun of experimenting with this versatile medium. This guide is designed specifically for you, the absolute beginner, to demystify polymer clay and lead you through a series of exciting, easy-to-follow projects. Get ready to unleash your inner artist, even if you’ve never considered yourself one!
Polymer clay isn’t like traditional pottery clay; it’s an oven-bake modeling material, meaning it remains soft and pliable until you bake it in a conventional oven. This gives you ample time to sculpt, reshape, and perfect your creations without worrying about them drying out. The colors are vibrant, the possibilities are endless, and the only limit is your imagination. You don’t need a fancy studio or expensive equipment; just a few basic tools and a willingness to explore. We’ll start with the essentials, then move on to some truly delightful projects that will build your confidence and leave you with some fantastic handmade items.
Gathering Your Essential Toolkit
Before you dive into the colorful clay, let’s talk about the absolute necessities. You don’t need to break the bank, and many of these items you might already have lying around your home. Investing in good quality polymer clay, however, is a smart move. Brands like Sculpey, Fimo, and Premo are popular choices and readily available at craft stores and online. They offer a wide range of colors and varying firmness, so don’t be afraid to try a few different types to see what you prefer.
The first and most crucial item is, of course, the polymer clay itself. Start with a few basic colors like white, black, red, blue, and yellow. You can mix these to create a vast spectrum of other hues, which is a project in itself! Next, you’ll need a clean, smooth work surface. A ceramic tile, a glass cutting board, or even a piece of parchment paper on your kitchen counter works perfectly. Avoid working directly on wood or porous surfaces, as the plasticizers in the clay can sometimes react with them.
For shaping and cutting, a craft knife or a dedicated polymer clay blade is invaluable. These are sharper and thinner than regular utility knives, allowing for precise cuts. A roller is also essential for conditioning your clay and creating even sheets. You can use a dedicated acrylic roller, a smooth glass bottle, or even a PVC pipe. Just ensure it’s clean and won’t transfer any residue to your clay.
To ensure your projects bake properly and safely, an oven thermometer is a small but mighty investment. Oven temperatures can fluctuate, and an accurate reading will prevent under-baking (which leaves your clay brittle) or over-baking (which can cause burning or discoloration). Finally, gloves are optional but highly recommended, especially if you have sensitive skin or want to avoid transferring fingerprints to your finished pieces. Disposable nitrile gloves are perfect for this.
Beyond these essentials, a few other items will prove incredibly useful as you progress. Parchment paper is excellent for baking your creations on, preventing sticking and providing an even surface. Small sculpting tools, like a needle tool or a dental pick, can help with intricate details, but a toothpick can serve as a great substitute for many beginner projects. For smooth finishes, a small sanding block or fine-grit sandpaper can be used after baking. And finally, for adding shine and protection, a polymer clay glaze or varnish can elevate your finished pieces. Don’t feel pressured to buy everything at once; start with the basics and expand your toolkit as your skills and interests grow.
Simple Jewelry: Adorning Yourself with Handmade Charms
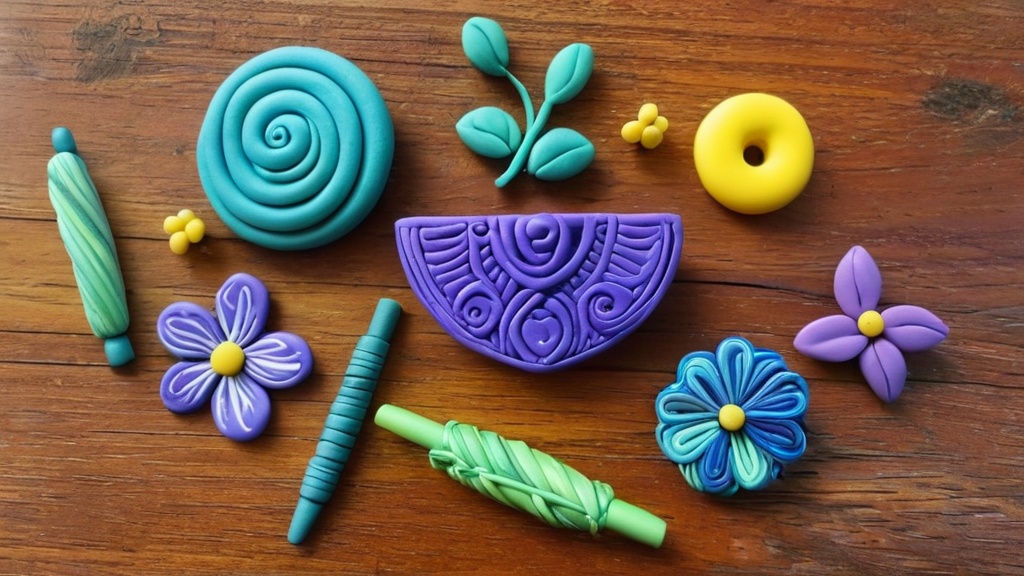
Creating your own jewelry is a fantastic entry point into polymer clay. It allows for small, manageable projects that yield immediate, wearable results. Imagine the satisfaction of pointing to a pair of earrings and saying, “I made these!” It’s incredibly empowering. We’ll focus on some of the easiest and most popular options: earrings, pendants, and bead bracelets. These projects teach fundamental techniques like conditioning, shaping, and attaching findings, which are the metal components that turn your clay creations into wearable art.
Dainty Drop Earrings
Earrings are a perfect starting point because they’re small and require minimal clay. You can create simple studs or elegant dangle earrings. For dangle earrings, you’ll need earring hooks (also called ear wires) and jump rings, which are small metal loops that connect the clay piece to the hook.
To begin, choose two complementary colors of clay. Condition each color by kneading and rolling it until it’s pliable and smooth. This step is crucial for preventing cracks during baking. Once conditioned, roll out two small, even balls of each color. You can flatten these into disks, or use a small cookie cutter to create shapes like hearts, stars, or simple circles. For a marbled effect, gently twist two conditioned colors together and then roll them out. The key is to keep them roughly the same size and thickness for a balanced pair.
Once you have your desired shapes, use a needle tool or a toothpick to carefully poke a small hole near the top edge of each piece. This hole will be where you attach the jump ring. Ensure the hole is large enough for the jump ring to pass through but not so large that it compromises the integrity of the clay. Bake your clay pieces according to the manufacturer’s instructions, paying close attention to temperature and time. Once cooled, use a pair of jewelry pliers to open a jump ring, thread it through the baked clay piece, and then attach it to an earring hook. Close the jump ring securely. Repeat for the second earring, and voilà! You have a personalized, handmade pair of earrings ready to wear or gift.
Personalized Pendants and Necklaces
Pendants offer a slightly larger canvas for your creativity. You can create a focal point for a necklace that reflects your personality. The process is very similar to making earrings, but with a few minor adjustments.
Start by conditioning your chosen clay colors. You can roll out a larger flat piece and use cookie cutters for shapes, or sculpt a unique design freehand. Think about simple geometric shapes, an initial, a tiny animal, or even a mosaic of different colored clay pieces. If you’re feeling adventurous, you can embed small items like glitter, microbeads, or even tiny dried flowers into your clay before baking, ensuring they are compatible with oven temperatures.
Once you’ve sculpted your pendant, make sure to create a hole at the top for the jump ring. For larger pendants, you might want to create a slightly larger or reinforced hole to ensure it’s sturdy enough to hang. Bake the pendant as directed. After baking and cooling, attach a jump ring through the hole. You can then thread a necklace chain or a piece of cord through the jump ring to complete your necklace. These make excellent gifts and are a wonderful way to showcase your newfound skills.
Beaded Bracelets with Custom Clay Beads
Making your own beads for bracelets adds a truly unique touch. This project is meditative and allows for a lot of color play. You’ll need some elastic cord or jewelry wire for stringing your beads, along with any pre-made beads you might want to incorporate.
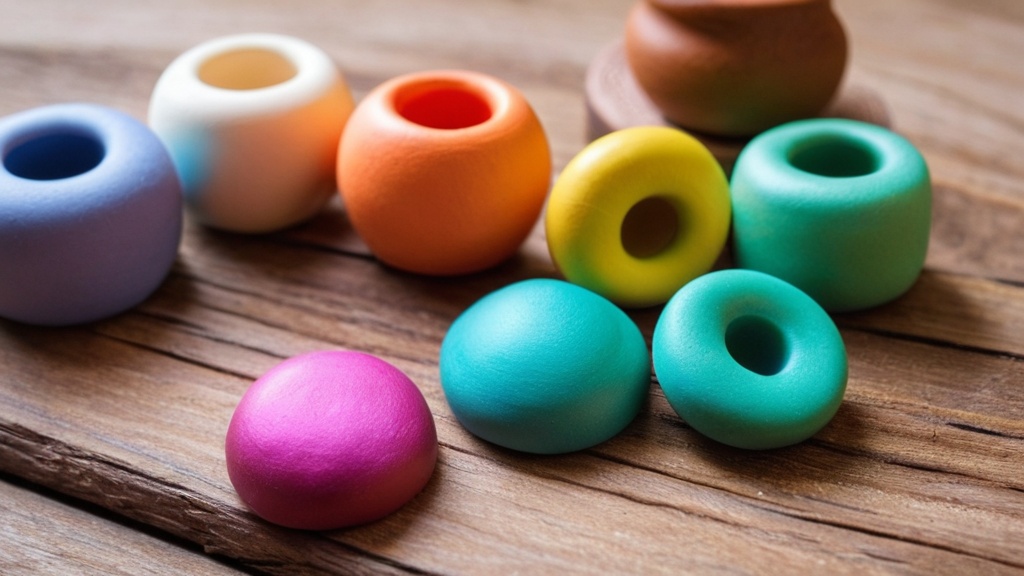
Condition your clay thoroughly. Now comes the fun part: shaping your beads! You can roll small balls, cylinders, cubes, or even more intricate shapes. Experiment with different sizes and textures. For example, you can roll a ball of clay and then gently press it against a textured surface (like a piece of lace or a rubber stamp) to create a pattern. Or, swirl two colors together to create marbled beads.
Once you have your desired bead shapes, use a needle tool or a thin skewer to carefully poke a hole through the center of each bead. Twist the tool gently as you push it through to create a clean, round hole. Ensure the hole is wide enough for your elastic cord or wire to pass through easily after baking. Arrange your beads on a piece of parchment paper, making sure they don’t touch each other, and bake them according to the clay manufacturer’s instructions.
Once baked and cooled, you can optionally sand your beads with fine-grit sandpaper for a super smooth finish, and then apply a glaze for shine and protection. String your handmade clay beads onto your elastic cord, interspersed with any other decorative beads you’ve chosen. Tie the cord securely (a surgeon’s knot is recommended for elastic cord) and trim any excess. Now you have a beautiful, custom-made beaded bracelet that reflects your personal style.
Charming Creations: Tiny Treasures and Functional Flair
Polymer clay isn’t just for adornment; it’s also perfect for creating delightful little objects that bring a smile to your face or add a touch of whimsy to your everyday life. Think small, think cute, and think functional! These projects are quick, satisfying, and fantastic for using up leftover bits of clay.
Adorable Charms and Keychains
Charms are like miniature sculptures, offering endless possibilities for creativity in a compact form. Keychains take those charms and make them practical, adding a personal touch to your keys or bag.
Fruity Delights: Miniature Fruit Charms
Creating miniature fruit slices or whole fruits is a classic polymer clay project that looks incredibly impressive but is surprisingly simple. For fruit slices, like lemons, limes, or watermelons, you’ll employ a technique called “cane making.”
To make a lemon slice, for example, condition a block of yellow clay and roll it into a cylinder. Condition a small amount of white clay, flatten it, and wrap it around the yellow cylinder. Then, condition an even smaller amount of pale yellow clay, divide it into several small wedges, and press them gently into the white layer, radiating from the center. Finally, wrap a thin layer of yellow clay around the entire cane. Gently and evenly reduce the diameter of the cane by rolling and squeezing it until it’s the desired thickness. Now, carefully slice thin rounds from the cane with a sharp blade. You’ll reveal perfect little lemon slices!
For whole fruits like strawberries or apples, sculpt the basic shape from colored clay, then add details with contrasting colors. For a strawberry, sculpt a red cone, then add tiny dots of black clay for seeds. For an apple, sculpt a sphere, then add a tiny brown stem and a small indentation at the bottom. Once your fruit charms are complete, use a needle tool to create a small hole for a jump ring, bake them, and then attach them to a keychain ring or use them as phone charms.
Sweet Sentiments: Heart Charms and Flat Keychains
Heart charms are always popular and incredibly easy to make. Simply condition a block of your favorite color clay, roll it flat, and use a small heart-shaped cookie cutter. Or, if you don’t have a cutter, roll a small ball of clay, flatten it slightly, and then use your finger or a tool to indent the top center and pull out the bottom point to form a heart.
Flat keychains offer more surface area for personalization. You can create a simple rectangle, circle, or even an abstract shape. Use alphabet stamps to emboss your name, a significant date, or a favorite word into the clay before baking. You can also press small texture sheets onto the clay for interesting patterns. Remember to poke a hole for your keychain hardware before baking. These are fantastic for gifting, party favors, or just to make your own keys a little more cheerful.
Home Decor Accents: Functional and Beautiful
Polymer clay can elevate everyday items into unique pieces of home decor. These projects are not only fun to make but also serve a practical purpose, adding a personal touch to your living space.
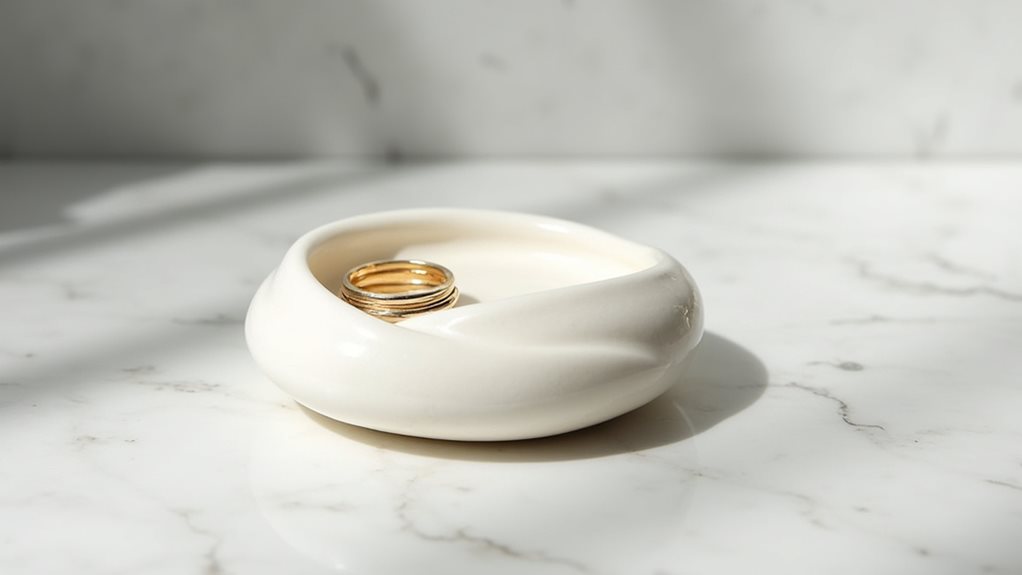
Elegant Ring Dishes and Trinket Trays
A handmade ring dish or trinket tray is a wonderful way to keep your small valuables organized while adding a decorative element to your bedside table or dresser. These typically involve rolling out a flat sheet of clay and then shaping it.
Condition a larger block of clay, and roll it out evenly to a thickness of about 1/8 to 1/4 inch. You can use a dedicated clay machine for perfectly even sheets, or simply rely on your roller and some patience. Once you have a flat sheet, you can cut out a circle, square, or irregular organic shape. To create the dish shape, gently press the clay sheet into a heat-safe bowl that’s been lined with parchment paper or foil. This bowl will act as your mold during baking. Ensure the clay is evenly pressed against the curves of the bowl. Alternatively, you can gently pinch up the edges of your flat clay shape to create a raised rim.
For added visual interest, experiment with marbling different colors together before rolling out the sheet, or embed small pieces of gold leaf or glitter. You can also use rubber stamps or texture sheets to create patterns on the surface of the clay. Bake the dish while it’s still in the mold, if you’re using one, to help it retain its shape. Once cooled, you can sand the edges for a smooth finish and apply a glaze for protection and shine. These make thoughtful gifts and are a beautiful addition to any home.
Stylish Coasters and Small Bowls
Coasters are another fantastic beginner project that combine utility with artistic expression. Similar to trinket trays, you’ll start by rolling out a flat sheet of clay. Cut out circles or squares, ensuring they are thick enough to be sturdy (around 1/4 inch). You can make a set of matching coasters or create a collection of eclectic designs.
Consider using mica powders to add shimmer to your clay before baking, or create intricate patterns by combining different colors in geometric designs. After cutting your coaster shapes, you can even use a small stamp or a textured rolling pin to create an embossed design. Bake them flat on parchment paper. Once baked and cooled, you might want to apply a layer of resin for extra durability and water resistance, or simply a polymer clay glaze.
Small bowls are a natural progression from ring dishes. You can create them using the same mold technique, using a slightly larger heat-safe bowl. Or, for a more organic, free-form look, you can shape them by hand. Roll out a thick sheet of clay, cut out a circular shape, and then gently begin to cup and pinch the edges upwards, creating a bowl form. Experiment with different sizes and depths. These bowls can be used for holding keys, office supplies, or even just as decorative accents.
Playful Projects: Magnets and Miniature Worlds
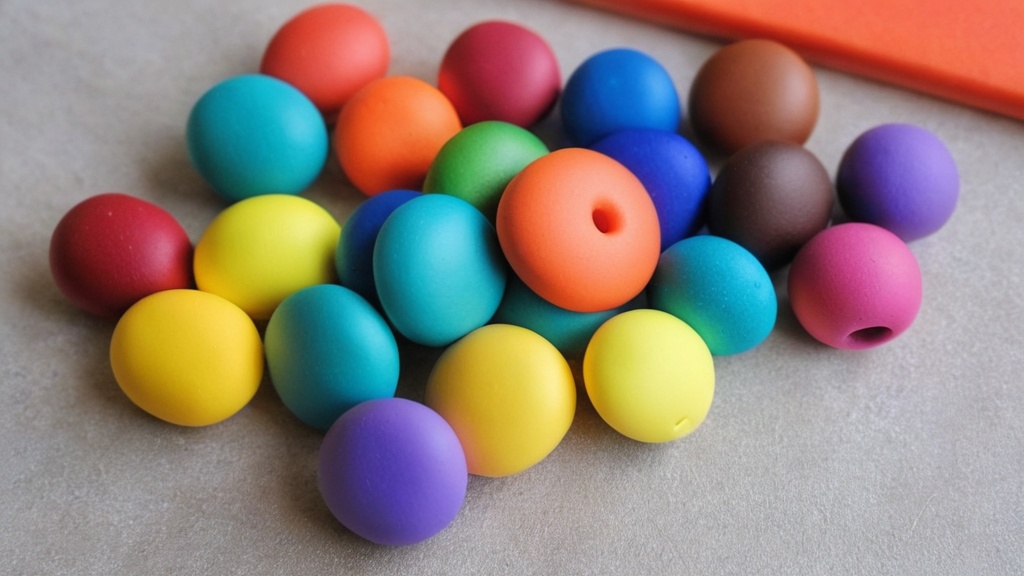
Polymer clay’s versatility extends to creating whimsical and practical items that add a touch of personality to your surroundings. These projects are particularly quick, making them perfect for a burst of creative energy or for crafting with younger enthusiasts.
Magnet Mania: Fridge Fun
Fridge magnets are a fantastic way to display your personality and add a pop of color to your kitchen. They’re small, quick to make, and require minimal clay, making them ideal for beginners and using up scraps.
Custom Fridge Magnets
To make custom fridge magnets, start by conditioning your clay. You can then sculpt any shape you desire: a tiny smiling sun, a fluffy cloud, a cartoon animal, a slice of pizza, or even your initial. Roll out a flat sheet and use cookie cutters for perfectly uniform shapes. For something truly unique, try creating abstract swirls of color or embedding tiny beads for texture.
Once your clay shape is complete, you’ll need to decide how to attach the magnet. For flat magnets, you can simply bake your clay piece, and once it’s cooled, glue a small neodymium magnet (these are strong and flat) to the back using a strong adhesive like E6000 or super glue. Ensure the magnet is positioned centrally for balance. For thicker or more sculptural magnets, you can sometimes press the magnet directly into the back of the raw clay before baking, but you must ensure the magnet is oven-safe and won’t demagnetize at polymer clay baking temperatures (most small craft magnets are not). The safest and most common method is to glue the magnet on after baking. These personalized magnets are perfect for holding up photos, notes, or just brightening your fridge door.
Button-Style Magnets
Button-style magnets are incredibly simple and charming. Condition your chosen clay color and roll it into small, even balls. Flatten each ball slightly to create a disc shape, resembling a button. You can leave them plain, or for a classic button look, use a toothpick or a needle tool to poke two or four small holes in the center. These holes are purely decorative for a magnet; you won’t be sewing them.
You can also create patterns on these button-style magnets. Press a small rubber stamp onto the surface, or gently swirl two different colors together before forming the disc. Bake your button shapes according to the instructions. Once cooled, glue a small magnet to the back of each clay button. These are delightful for a memo board or as small gifts.
Cute Mini Figures: Your Own Tiny World
Creating miniature figures is a delightful way to explore sculptural techniques and unleash your imagination. These small creations often have a lot of character and are surprisingly achievable for beginners.
Whimsical Tiny Mushrooms
Tiny mushrooms are a classic and beloved polymer clay project. They are simple in form but can be incredibly charming. You’ll primarily need red, white, and a little bit of brown or tan clay.
For the mushroom cap, condition a small ball of red clay and flatten it slightly into a dome shape. For the stem, condition a small amount of white or tan clay and roll it into a cylinder. Gently press the stem into the center of the underside of the cap. For added detail, roll tiny balls of white clay and press them onto the top of the red cap to create the classic polka-dot look of a toadstool. You can even add a tiny, thin ring of white clay around the stem, just under the cap, for an extra touch of realism.
Once assembled, carefully bake your mushrooms. These tiny figures can be used as decorative accents in miniature scenes, glued onto hairpins, or even incorporated into jewelry designs. They bring a touch of woodland magic wherever they go.
Adorable Animal Companions
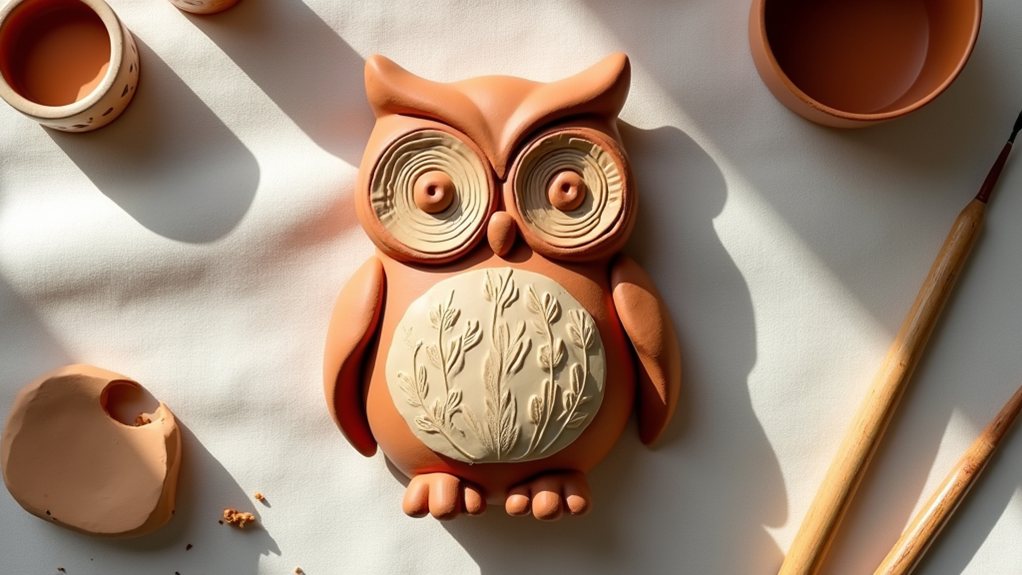
Sculpting small, simple animals is another fantastic beginner project. Think about basic shapes: spheres for heads and bodies, cylinders for limbs. Animals like cats, dogs, birds, or even fantastical creatures can be simplified into cute, manageable forms.
For a simple cat, for example, sculpt a small oval for the body and a smaller sphere for the head. Attach them, then add two tiny triangles for ears. Roll out thin “snake” shapes for the legs and tail. Use a needle tool to gently score eyes and a mouth. For a simple bird, sculpt an egg shape for the body, then add a tiny sphere for the head, a small cone for the beak, and flattened teardrop shapes for wings.
The key with mini figures is to focus on the overall form and charming details rather than striving for hyper-realism. Exaggerate features to give them personality. Bake your finished animal figures. These make wonderful desk companions, or you can attach eye pins (small metal loops with a long wire) before baking to turn them into charms or pendants.
Functional Flair: Everyday Objects with a Clay Twist
Polymer clay isn’t just for decorative items; it can also be used to enhance and personalize functional accessories, making everyday objects a little more special and unique. These projects allow you to integrate your craft into your daily life.
Personalized Accessories: Style and Utility
Adding a polymer clay element to your accessories is a fantastic way to showcase your creativity in a practical context. These projects are often quick and can transform a plain item into something distinctly yours.
Chic Hairpins and Bookmarks
Hairpins are a wonderful canvas for small, decorative polymer clay pieces. You can create tiny flowers, bows, geometric shapes, or even small charms like those discussed earlier.
To make a hairpin, sculpt your desired clay embellishment. For instance, roll several small balls of clay in different colors, flatten them, and layer them to create a tiny flower. Or, sculpt a small, elegant leaf shape. Bake your clay piece separately. Once cooled, use a strong adhesive to glue your baked clay creation onto a plain metal hairpin blank (these are readily available at craft stores). This allows you to create a matching set for an outfit or a unique statement piece.
Bookmarks are another excellent opportunity for personalization. You can create a decorative top piece for a metal bookmark blank, or even create an entire polymer clay bookmark if you make it thin and flexible enough (though metal blanks are often more durable for this purpose). For a decorative top, sculpt a shape like a feather, a charming character, or an initial. Attach an eye pin to the top of your clay design before baking if you want it to dangle from a ribbon. Once baked and cooled, glue your clay piece onto the top of a metal bookmark blank, or attach it to a ribbon that can be used with a simple cardstock bookmark.
Tech Touch-Ups: Phone Decorations and Pen Wraps
Bring some handmade charm to your tech! Polymer clay can be used to create small, decorative elements for your phone or to personalize your writing instruments.
For phone decorations, think about making flat-backed charms that can be glued onto phone cases. Tiny fruit slices, mini animals, or even abstract patterns can add a playful touch. Ensure the clay pieces are relatively flat and lightweight so they don’t add too much bulk or weight to your phone. Bake your designs, then use a strong adhesive to attach them securely to a plain phone case. Remember to clean the phone case thoroughly before applying any glue. You can also create small charms that dangle from a phone strap if your case has a loop for one.
Pen wraps are a unique way to transform an ordinary pen into a work of art. This involves conditioning clay, rolling it into a thin sheet, and then carefully wrapping it around the barrel of a pen.
To do this, choose a sturdy, inexpensive pen. Condition a block of clay and roll it out into a thin, even sheet. Measure the length and circumference of the pen barrel you want to cover. Cut a strip of clay that matches these dimensions. Carefully wrap the clay strip around the pen, gently smoothing out any seams or overlaps. You can create patterns, swirl colors, or embed tiny details into the clay before wrapping. Be sure to leave the tip and the clicker/cap end of the pen clear so it remains functional. You’ll need to remove the ink cartridge and any plastic components from the pen before baking, as they are not oven-safe. Bake the clay-wrapped pen barrel according to the clay manufacturer’s instructions. Once cooled, reassemble your pen. This results in a truly custom writing tool that’s both beautiful and comfortable to hold.
Embracing the Journey: Tips for Continued Success
| Project Idea | Skill Level | Estimated Time | Materials Needed | Difficulty | Outcome |
|---|---|---|---|---|---|
| Simple Beads | Beginner | 30-60 minutes | Polymer clay, toothpick, string | Easy | Wearable jewelry |
| Miniature Food Charms | Beginner | 1-2 hours | Polymer clay, sculpting tools, glaze | Easy to Medium | Keychains or pendants |
| Simple Animal Figures | Beginner | 1-2 hours | Polymer clay, sculpting tools | Medium | Decorative figurines |
| Textured Coasters | Beginner | 1-1.5 hours | Polymer clay, texture sheets, roller | Easy | Functional home decor |
| Simple Flower Pendants | Beginner | 45 minutes – 1 hour | Polymer clay, pendant bails, glaze | Easy | Jewelry pieces |
As you embark on your polymer clay adventure, remember that every artist, no matter how skilled, started as a beginner. There will be moments of frustration, designs that don’t quite turn out, and perhaps even a few burnt pieces. That’s all part of the learning process! Don’t let imperfections deter you; instead, see them as opportunities to learn and grow.
One of the most important tips for success is to read your clay’s instructions thoroughly. Baking times and temperatures can vary between brands, and adhering to them is key to producing durable, long-lasting pieces. An oven thermometer, as mentioned earlier, is your best friend here. Always ensure your work surface and hands are clean to prevent lint and dust from embedding in your clay. Keep a small container of rubbing alcohol and cotton swabs handy for cleaning your tools and work area.
Experimentation is at the heart of polymer clay. Don’t be afraid to mix colors, try different textures, or combine techniques. What might seem like a “mistake” could lead to a beautiful, unexpected discovery. Watch online tutorials, browse craft blogs, and join online communities dedicated to polymer clay. There’s a wealth of inspiration and knowledge out there waiting for you.
Finally, remember to have fun! Polymer clay is a wonderfully forgiving medium that encourages creativity and self-expression. There’s no right or wrong way to create, especially when you’re just starting out. Enjoy the tactile experience of shaping the clay, the excitement of seeing your creations emerge from the oven, and the satisfaction of knowing you made something unique with your own hands. This is just the beginning of your polymer clay journey, and the possibilities are truly limitless. So, grab some clay, roll up your sleeves, and let your imagination soar!
FAQs
What are some easy polymer clay beginner project ideas?
Some easy polymer clay beginner project ideas include making simple jewelry like earrings or pendants, creating keychains, sculpting small figurines, and making decorative magnets.
What tools are essential for working with polymer clay?
Essential tools for working with polymer clay include a rolling pin, cutting tools like blades or cookie cutters, a work surface like a smooth tile or glass, a baking tray, and an oven for baking the clay.
Can polymer clay projects be painted or decorated after baking?
Yes, polymer clay projects can be painted or decorated after baking. Acrylic paints, markers, and other decorative materials can be used to add color and details to the clay creations.
How should polymer clay projects be baked?
Polymer clay projects should be baked according to the manufacturer’s instructions, typically at a low temperature (around 275°F or 130°C) for a specific amount of time. It is important to monitor the baking process to prevent burning or overcooking the clay.
Are there any safety precautions to keep in mind when working with polymer clay?
When working with polymer clay, it is important to wash hands thoroughly after handling the clay, avoid using clay tools for food preparation, and ensure proper ventilation when baking the clay in the oven to prevent inhaling fumes.