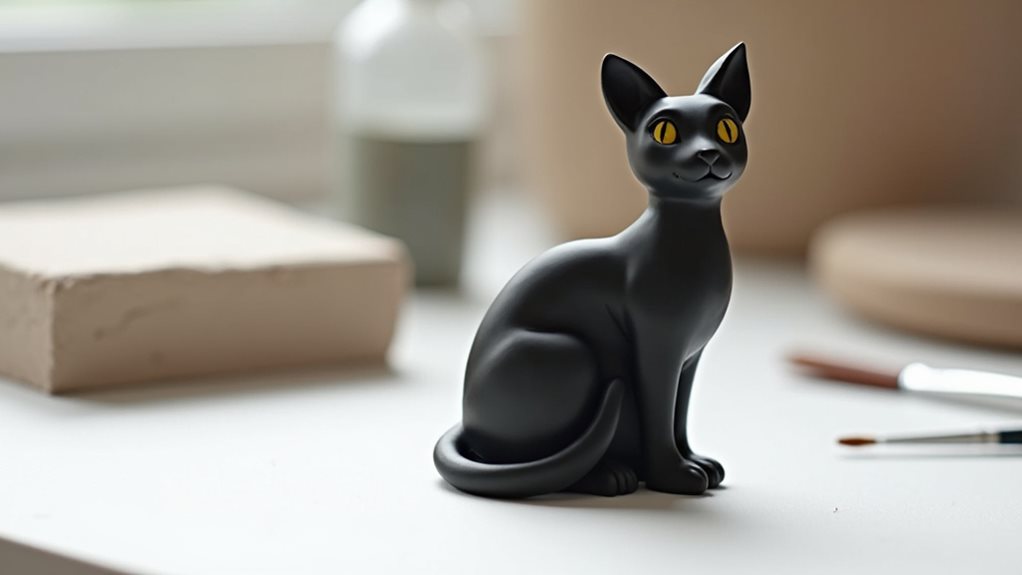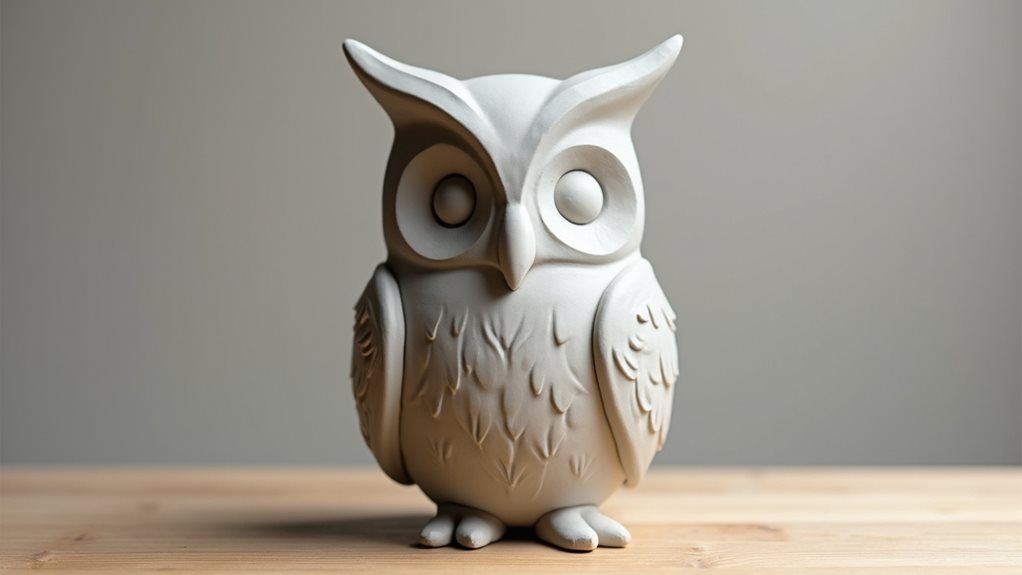
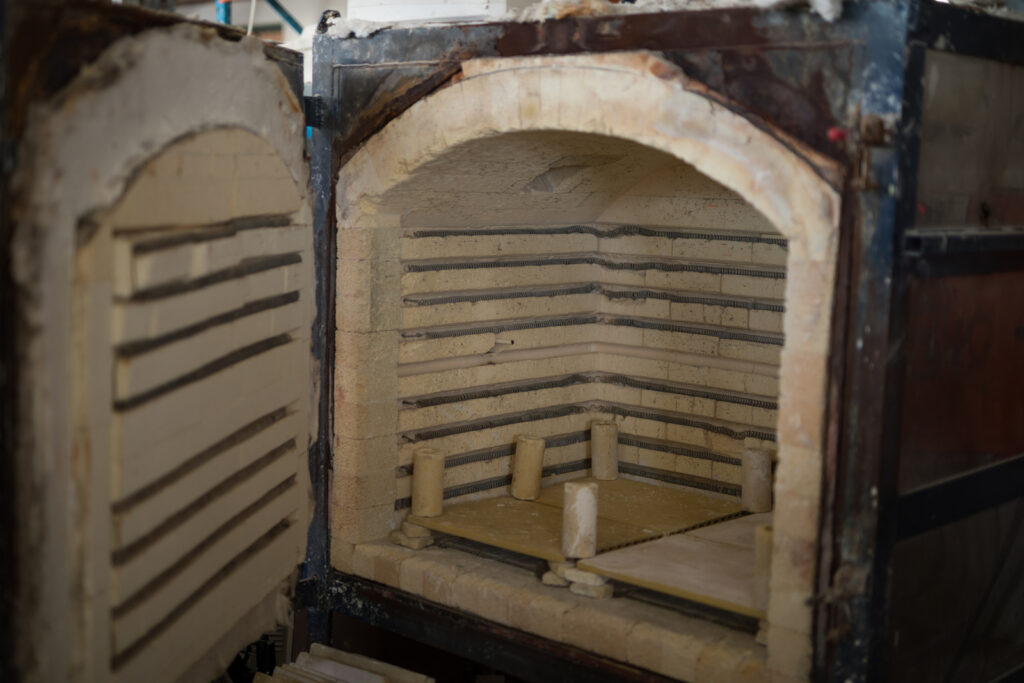
Air drying clay is a wonderful option for those looking to take up pottery but who don’t have the space or money to invest in kiln, or the option to use a local kiln. The kiln is used to ‘bake’ traditional clay so it becomes hard, you might therefore be wondering if you should bake air dry clay in the oven to help it set.
Air dry clay does not require baking, as a self hardening clay it will dry naturally and placing your items in an oven can result in cracks being caused by rapid shrinking.
Of course just because you shouldn’t do something doesn’t mean you can’t do it, and while it’s recommended you leave your projects to dry naturally it is possible to use your kitchen oven, let’s first understand what the drying process is.
What’s the difference between regular pottery clay and air dry clay?
If you’re new to pottery and sculpting you might think clay is clay, but in fact different types of clay have different drying methods.
Regular clay, such as porcelain, requires a firing in a kiln at high temperatures which causes the water inside the clay to evaporate leaving behind minerals that make the clay strong and durable. Air dried clay does not require this kind of heat treatment as its natural moisture content allows it to dry without cracking.
Once dry both can be glazed, regular clay would require a second kiln firing and air drying clay would need to be left out to dry.
Air drying items are more fragile than their traditionally fired counterparts.

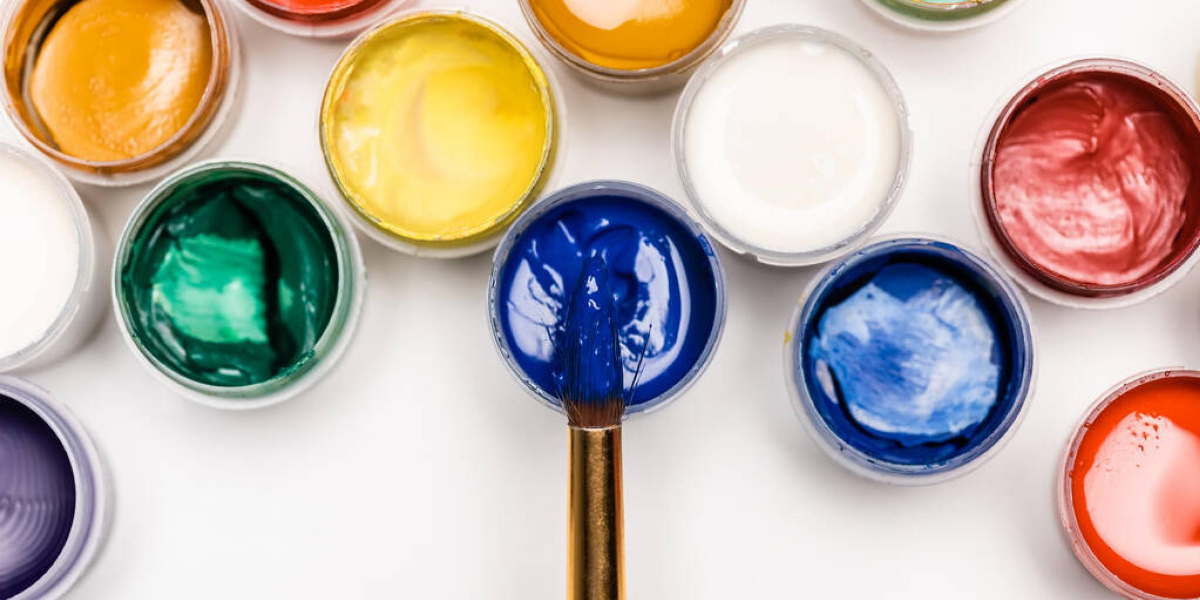
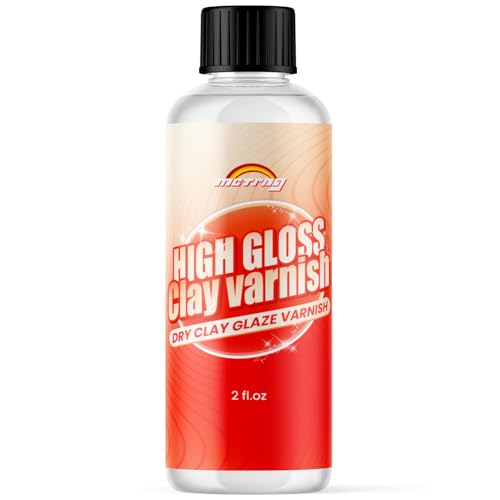
Clay Glaze Air Dry: Air dry clay paint Prevents air drying clay from drying out cracks, scratches, scuffs and abrasions on the clay, glaze for air dry clay is also waterproof and fireproof, and Transparent high gloss finish after drying

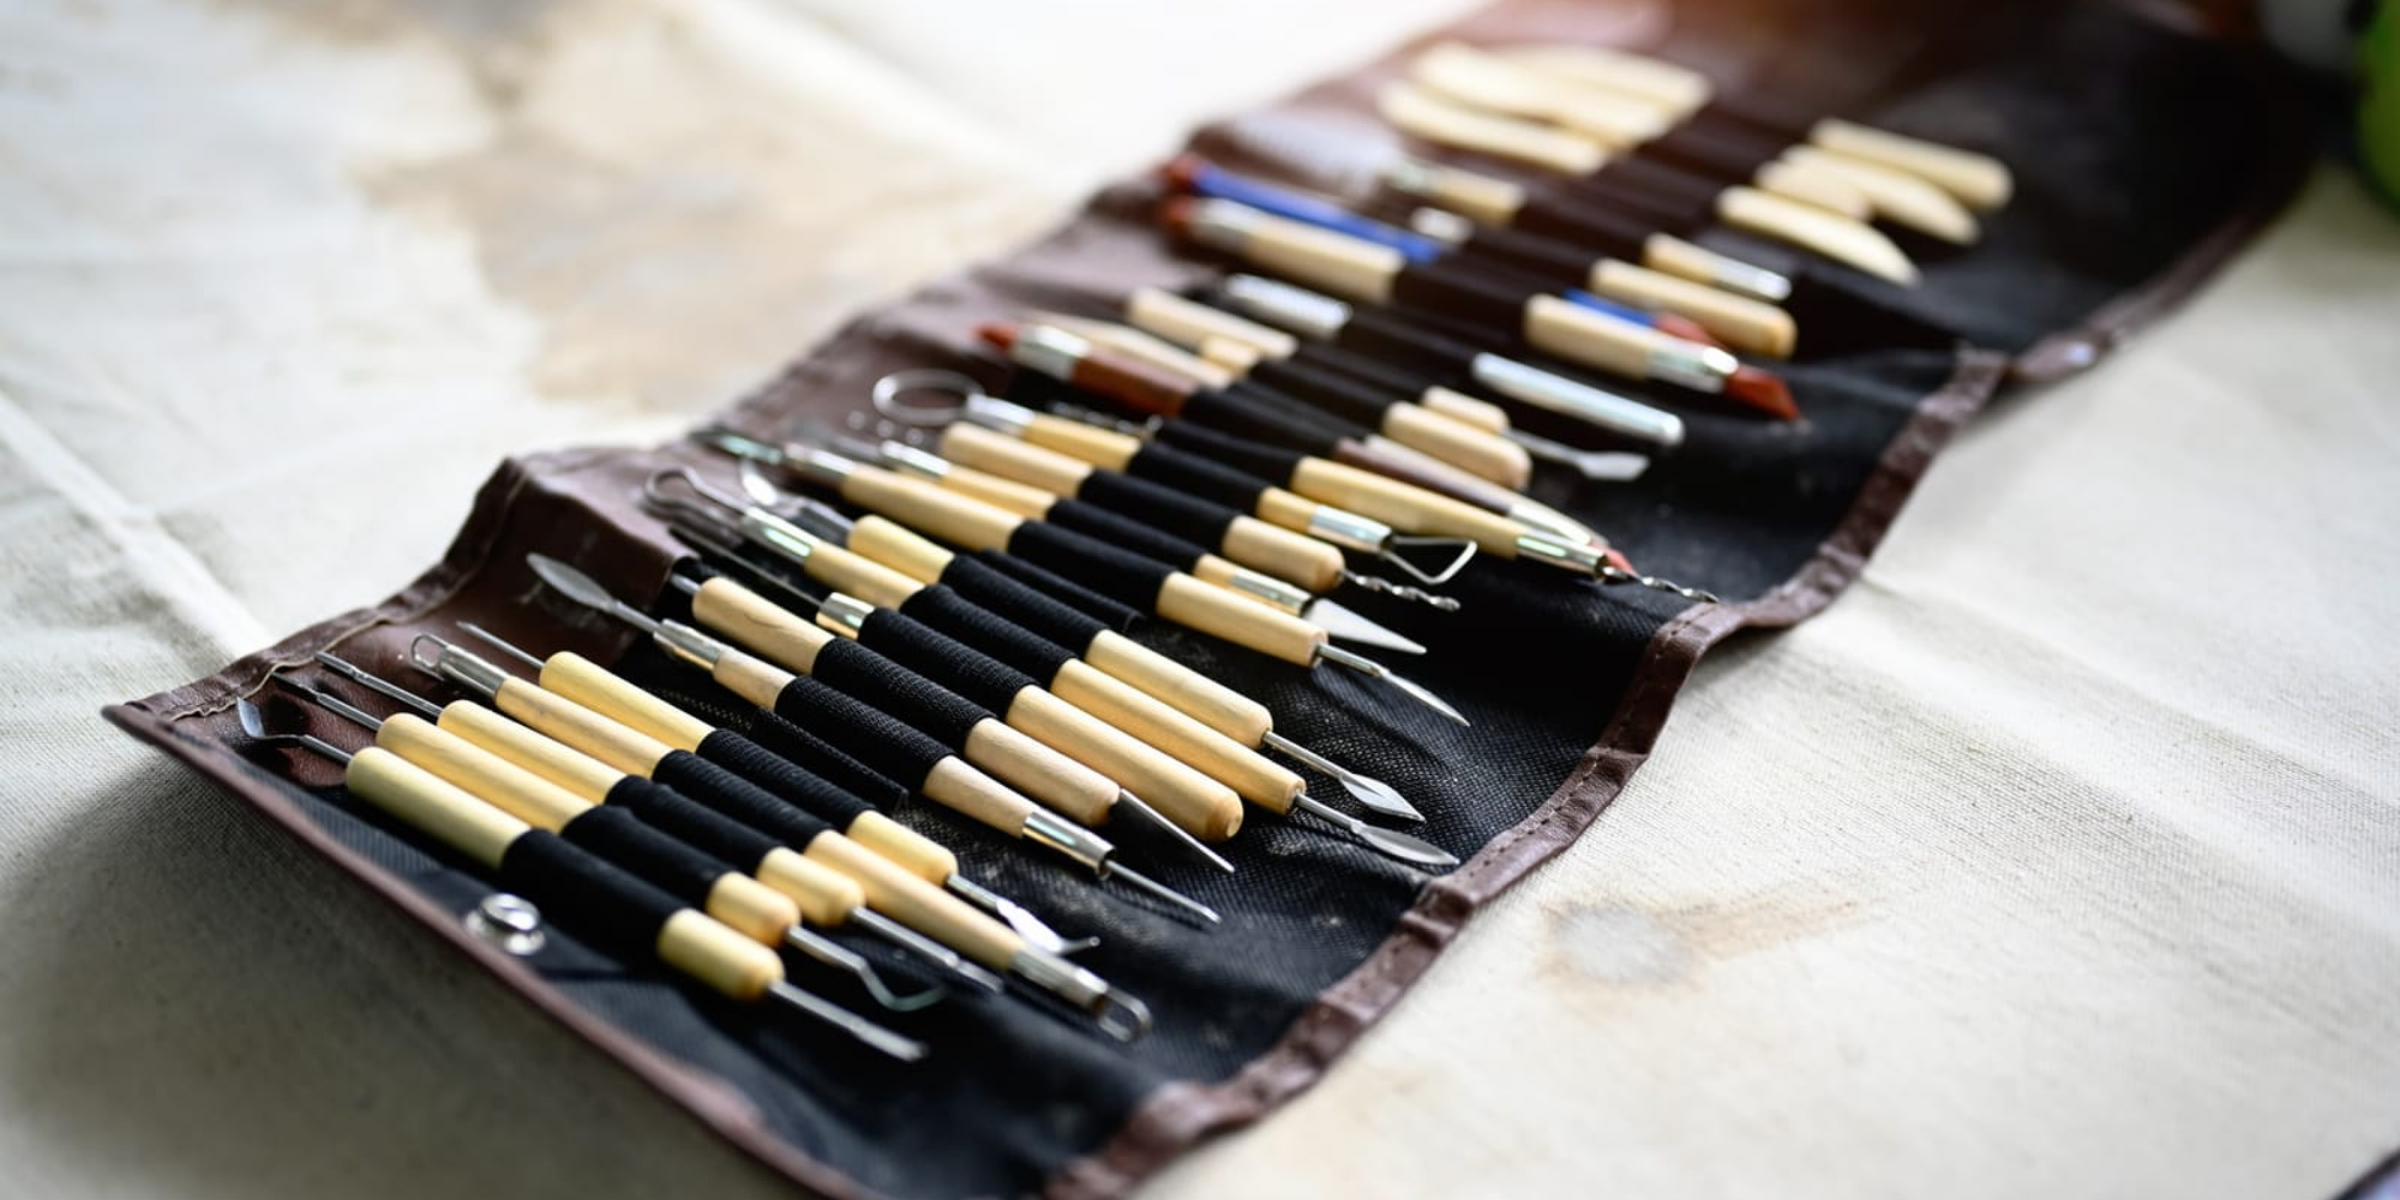
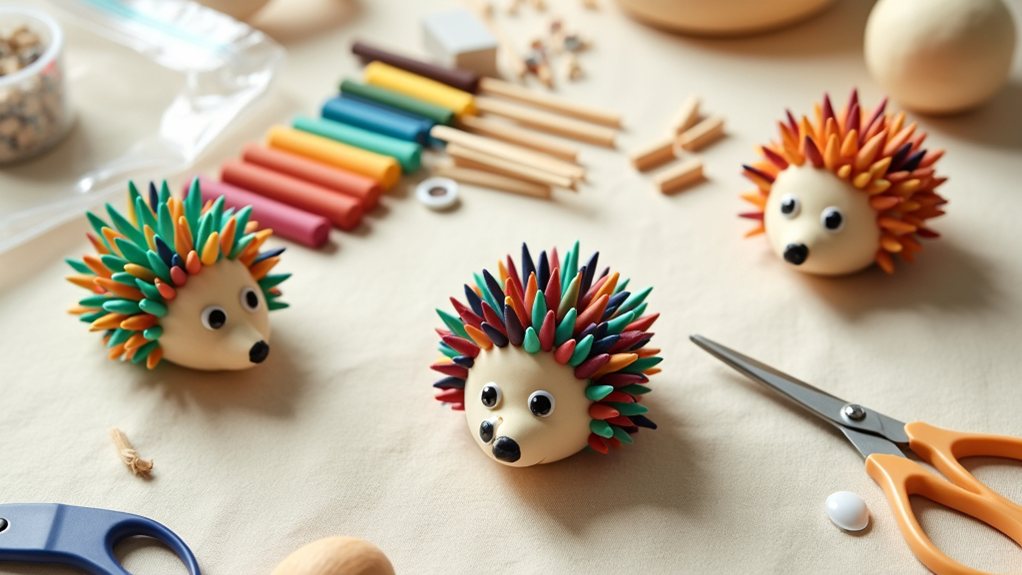
Colorful Air Dry Clay Kit:Our clay set contains 90 brightly colored air-dry clays , 3 practical clay sculpting tools plus bonus sealable bag and an instruction booklet. 90 colors of clay can meet most of your creative needs, and you can also mix different colors of clay together to create new colors.

What’s included? What shapes can I make?Dessert-themed gift set: ARTPAR air dry clay kit comes in a gift box – includes 12 sealed tins (4 color compartments each), 4 Modeling Clay Sculpting tools, and an illustrated guide (12 dessert projects). Make detailed models of cake, macaron, lollipop, Swiss roll, and more.
How does air dry clay work?
Air dry clay is designed to hardened once it has been exposed to air. The clay contains moisture and while moist it continues to be pliable, but if left exposed all the moisture will eventually evaporate from this type of clay without any additional firing and the clay can no longer be manipulated.
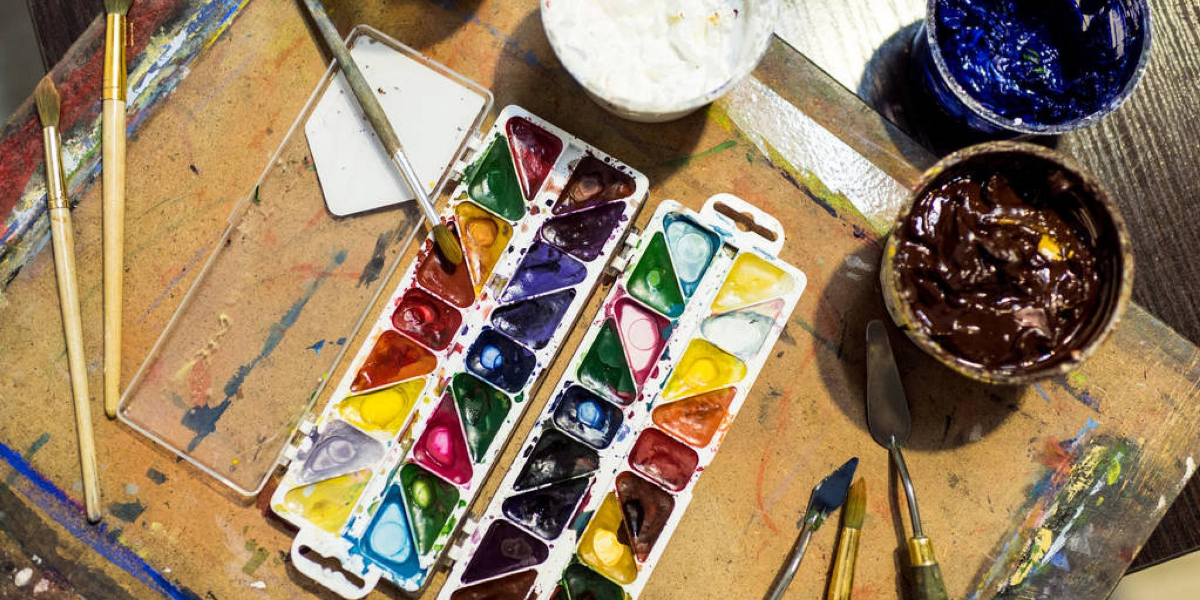
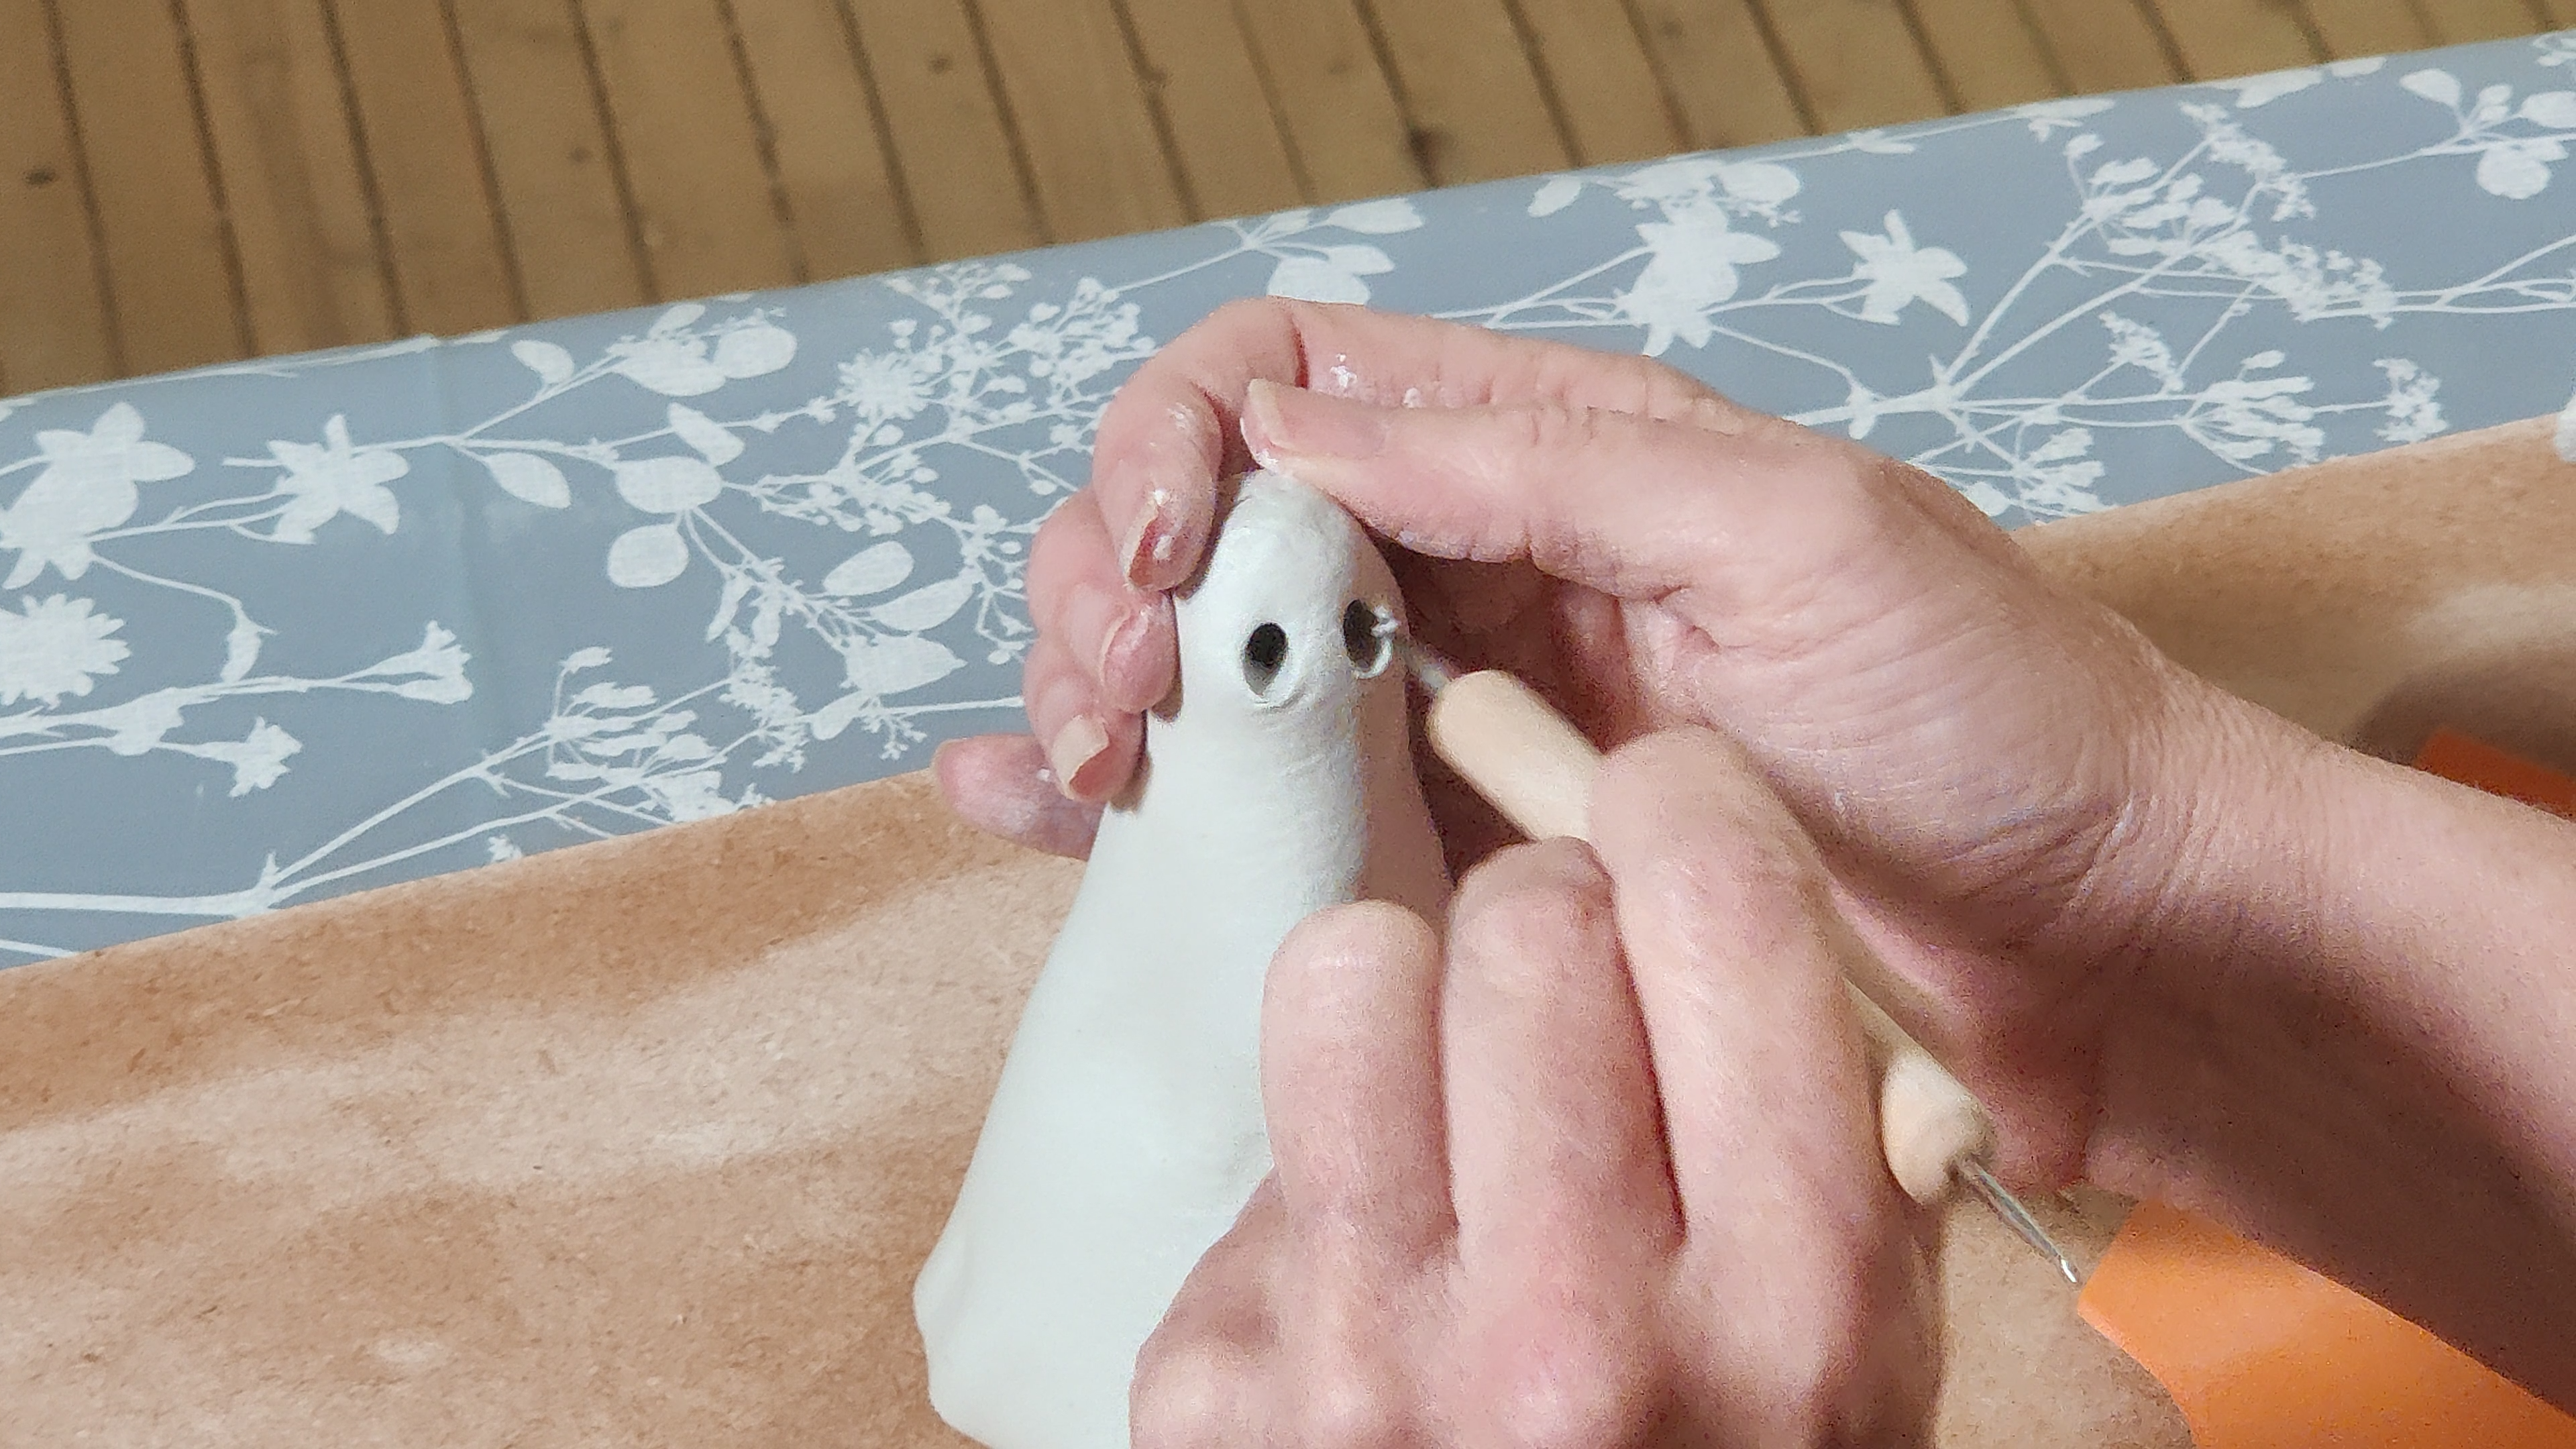
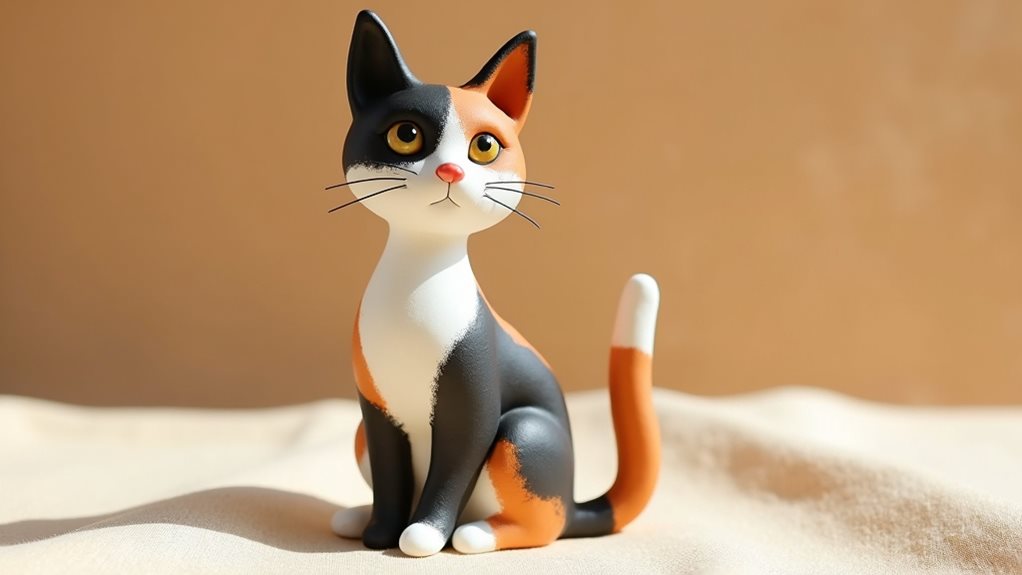
For those looking for a low cost entry into pottery air drying clay is the perfect option. It starts out as clay you can manipulate, pull, stretch, squash, shape, join and carve until you’re finished sculpture is ready. Once you’re finished you leave it exposed and after a few days it stops being pliable and becomes a hard item, it doesn’t need a firing like traditional clay.
I think it important to remember this point, you don’t need to oven bake clay that is designed to be left out, with self hardening clay you just need to be patient as the process can take several days.
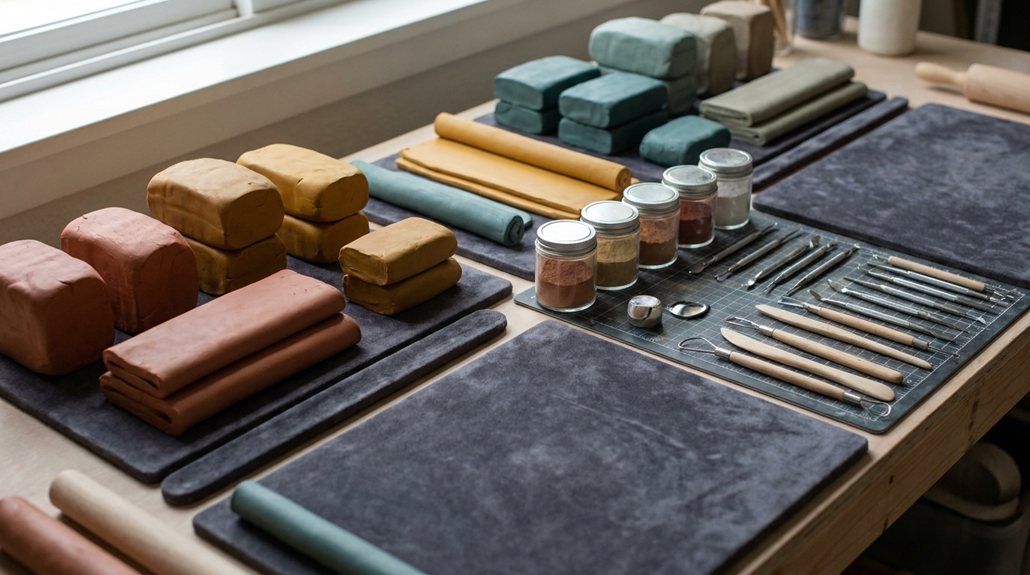
This is also why it’s very important to store any leftover clay in something that is airtight, such as a container or wrapped in cling film, as this will keep the moisture from evaporating.
Don’t worry, unused clay in your workspace won’t harden immediately, just be sure to properly pack it away when you’re finished for the day.
Can you bake air dry clay in an oven?
As air drying clay is self hardening it doesn’t require an oven, however one can be used to speed up the drying process as long as you’re careful and take the following steps:
- Line a tray with a non-stick backing paper or aluminium foil
- Add your project to the tray and play into a cold oven
- Set the oven to a low setting, around 200°F / 100°C
- Leave for around 20 minutes, then turn the oven off and allow everything to cool down
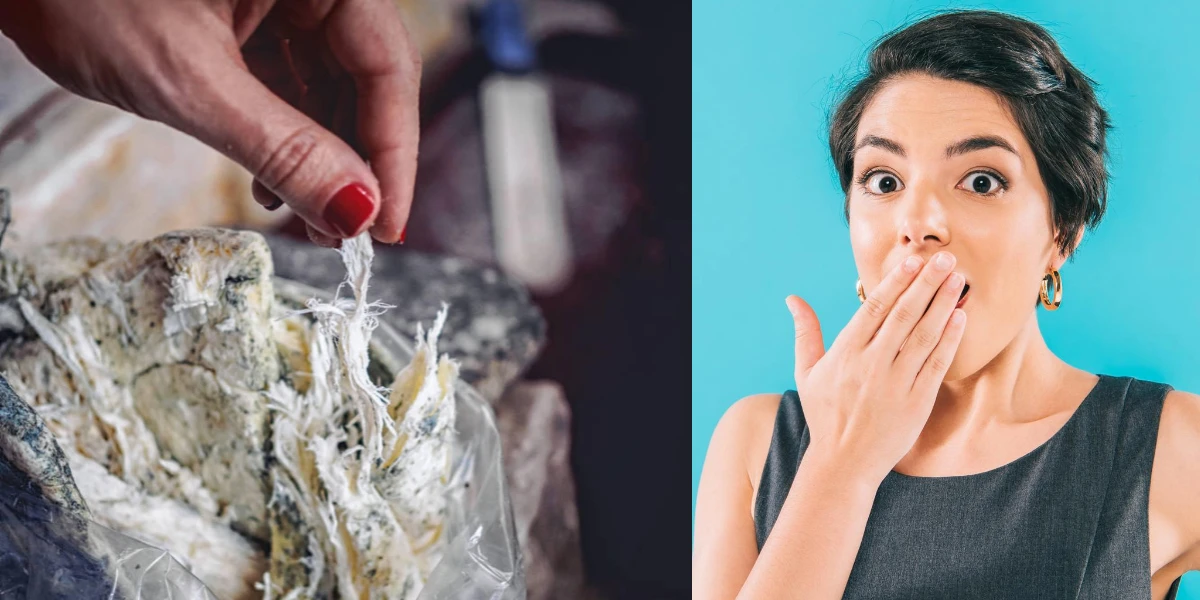
It is vital you use a low temperature and place the item in when the oven is cold. Placing your project in a heated oven will likely create cracks due to the item being dried out too quickly, as will setting the a high temperature.
The reverse is also true, if you don’t allow everything to cool down before removing your item you run the risk of creating shock cracks by quickly moving your project from a warm environment to a cooler environment. Who knew clay could be as tricky as baking a cake?
While this method helps reduce drying time you still need to be patient and if you’re concerned about damaging your item the best thing to do is allow it to dry out naturally.
If you find your piece isn’t fully dry once it’s cooled down either leave it to dry out naturally or give it a second round in the oven, but do not increase the temperature, use the same method described above.

No oven or kiln needed - Air dries in 24 hours, perfect for classrooms, camps or anytime you want to create without using an oven!
Instantly Creats Food-Safe Glaze: For air dry & polymer clay. MCTRHG food safe clay glaze dries fast to a hard, clear glossy finish in minutes; food-safe, waterproof, no cracking; for clay ware, utensils, ring dish, wavy tray, children's crafts

Abundant in Quantity: you will get 5 pieces of gas stove liners in the package, not easy to tear, enough for daily use and replacement needs, suitable for sharing with your family and friends
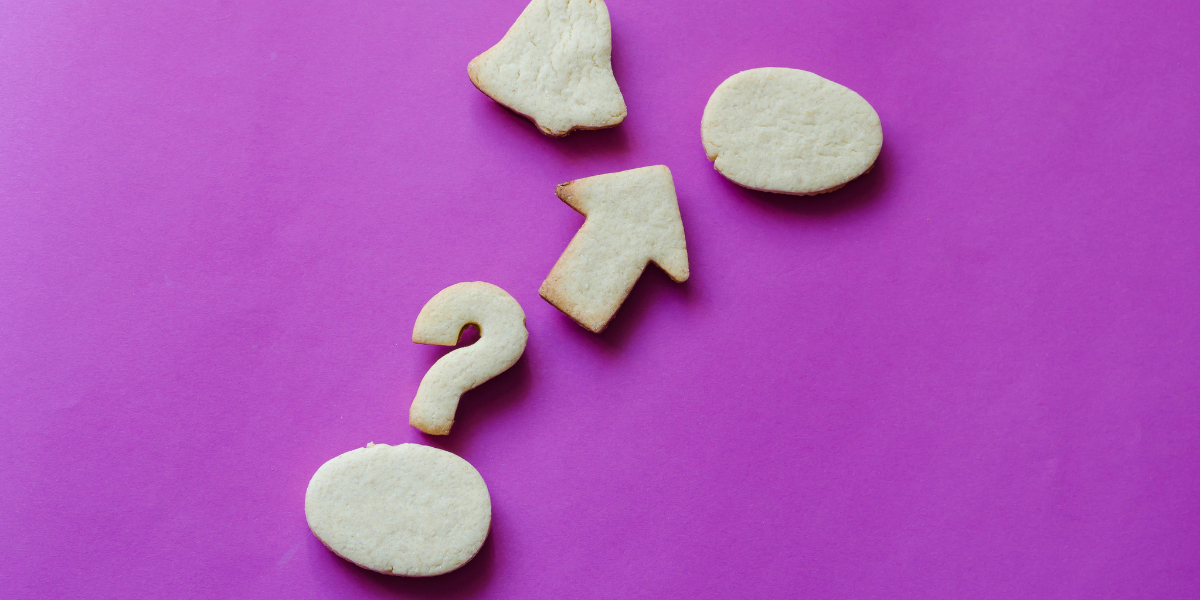
How Do You Fix Cracks in Air-Dry Clay?
Even taking a cautious approach to speeding things up can result in unwanted cracks, but it’s not the end of the world, most cracks can be repaired using ‘slip’.
Slip is a clay and water mixture used as a glue and to help repair cracks. To make slip, mix 1 part clay with 2 parts water until smooth.
When adding to the water pinch the clay to make it as thin as possible, this helps it break up in the water. Adding thicker pieces will leave you waiting a long time!
It’s a good idea to leave it for at least an hour, potentially overnight, after which you should be able to fully mix with ease.
The mixture should not be too runny or thin. If it’s too thick, add some more water; if it’s too thin, leave it for 30 to 60 minutes to allow some water to evaporate (add more water if it goes too hard).
Once mixed, apply the slip onto the crack and gently apply pressure either side of the crack. This may sound like a lot of work, but it really isn’t! Once you get the hang of this it takes very little time, you’ll soon have no problem repairing even large cracks.

CRAYOLA AIR DRY CLAY: Includes 5 pounds of Crayola Sculpting Clay in a re-sealable bucket.

Super Clay Set: 36 Colors air dry clays set with Sculpting Tools. (Attention: Packaging upgrade, alternating delivery of old and new packaging)

Air Dry Clay Varnish: Clay varnish Prevents air drying clay from drying out cracks, scratches, scuffs and abrasions on the clay, glaze for air dry clay is also watertight and fireproof, and dries to transparent, high gloss finish