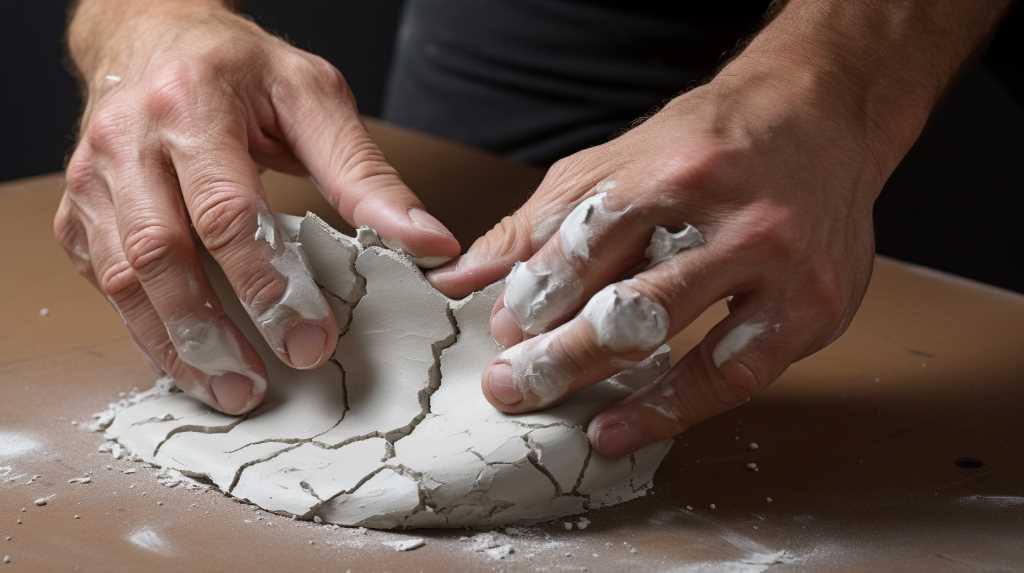
You’ve spent hours meticulously crafting your air dry clay masterpiece, only to discover unsightly cracks marring its surface.
Don’t despair! In this guide, we’ll show you how to fix those cracks and restore your creation to its former glory.
With a few simple techniques and the right tools, you’ll have your clay looking flawless again in no time.
Follow our step-by-step instructions and regain the freedom to create without the worry of cracks.
Let’s get started!
Repair Techniques
To fix cracks in air dry clay, you can easily patch them up by smoothing out the clay and blending it together again.
Air dry clay is a popular choice for many artists due to its unique properties. It’s easy to use, dries without the need for firing, and allows for creative freedom.
However, cracks can occur during the drying process, which can be frustrating. The most common causes of cracks in air dry clay are inadequate drying time, uneven drying conditions, and improper clay thickness.
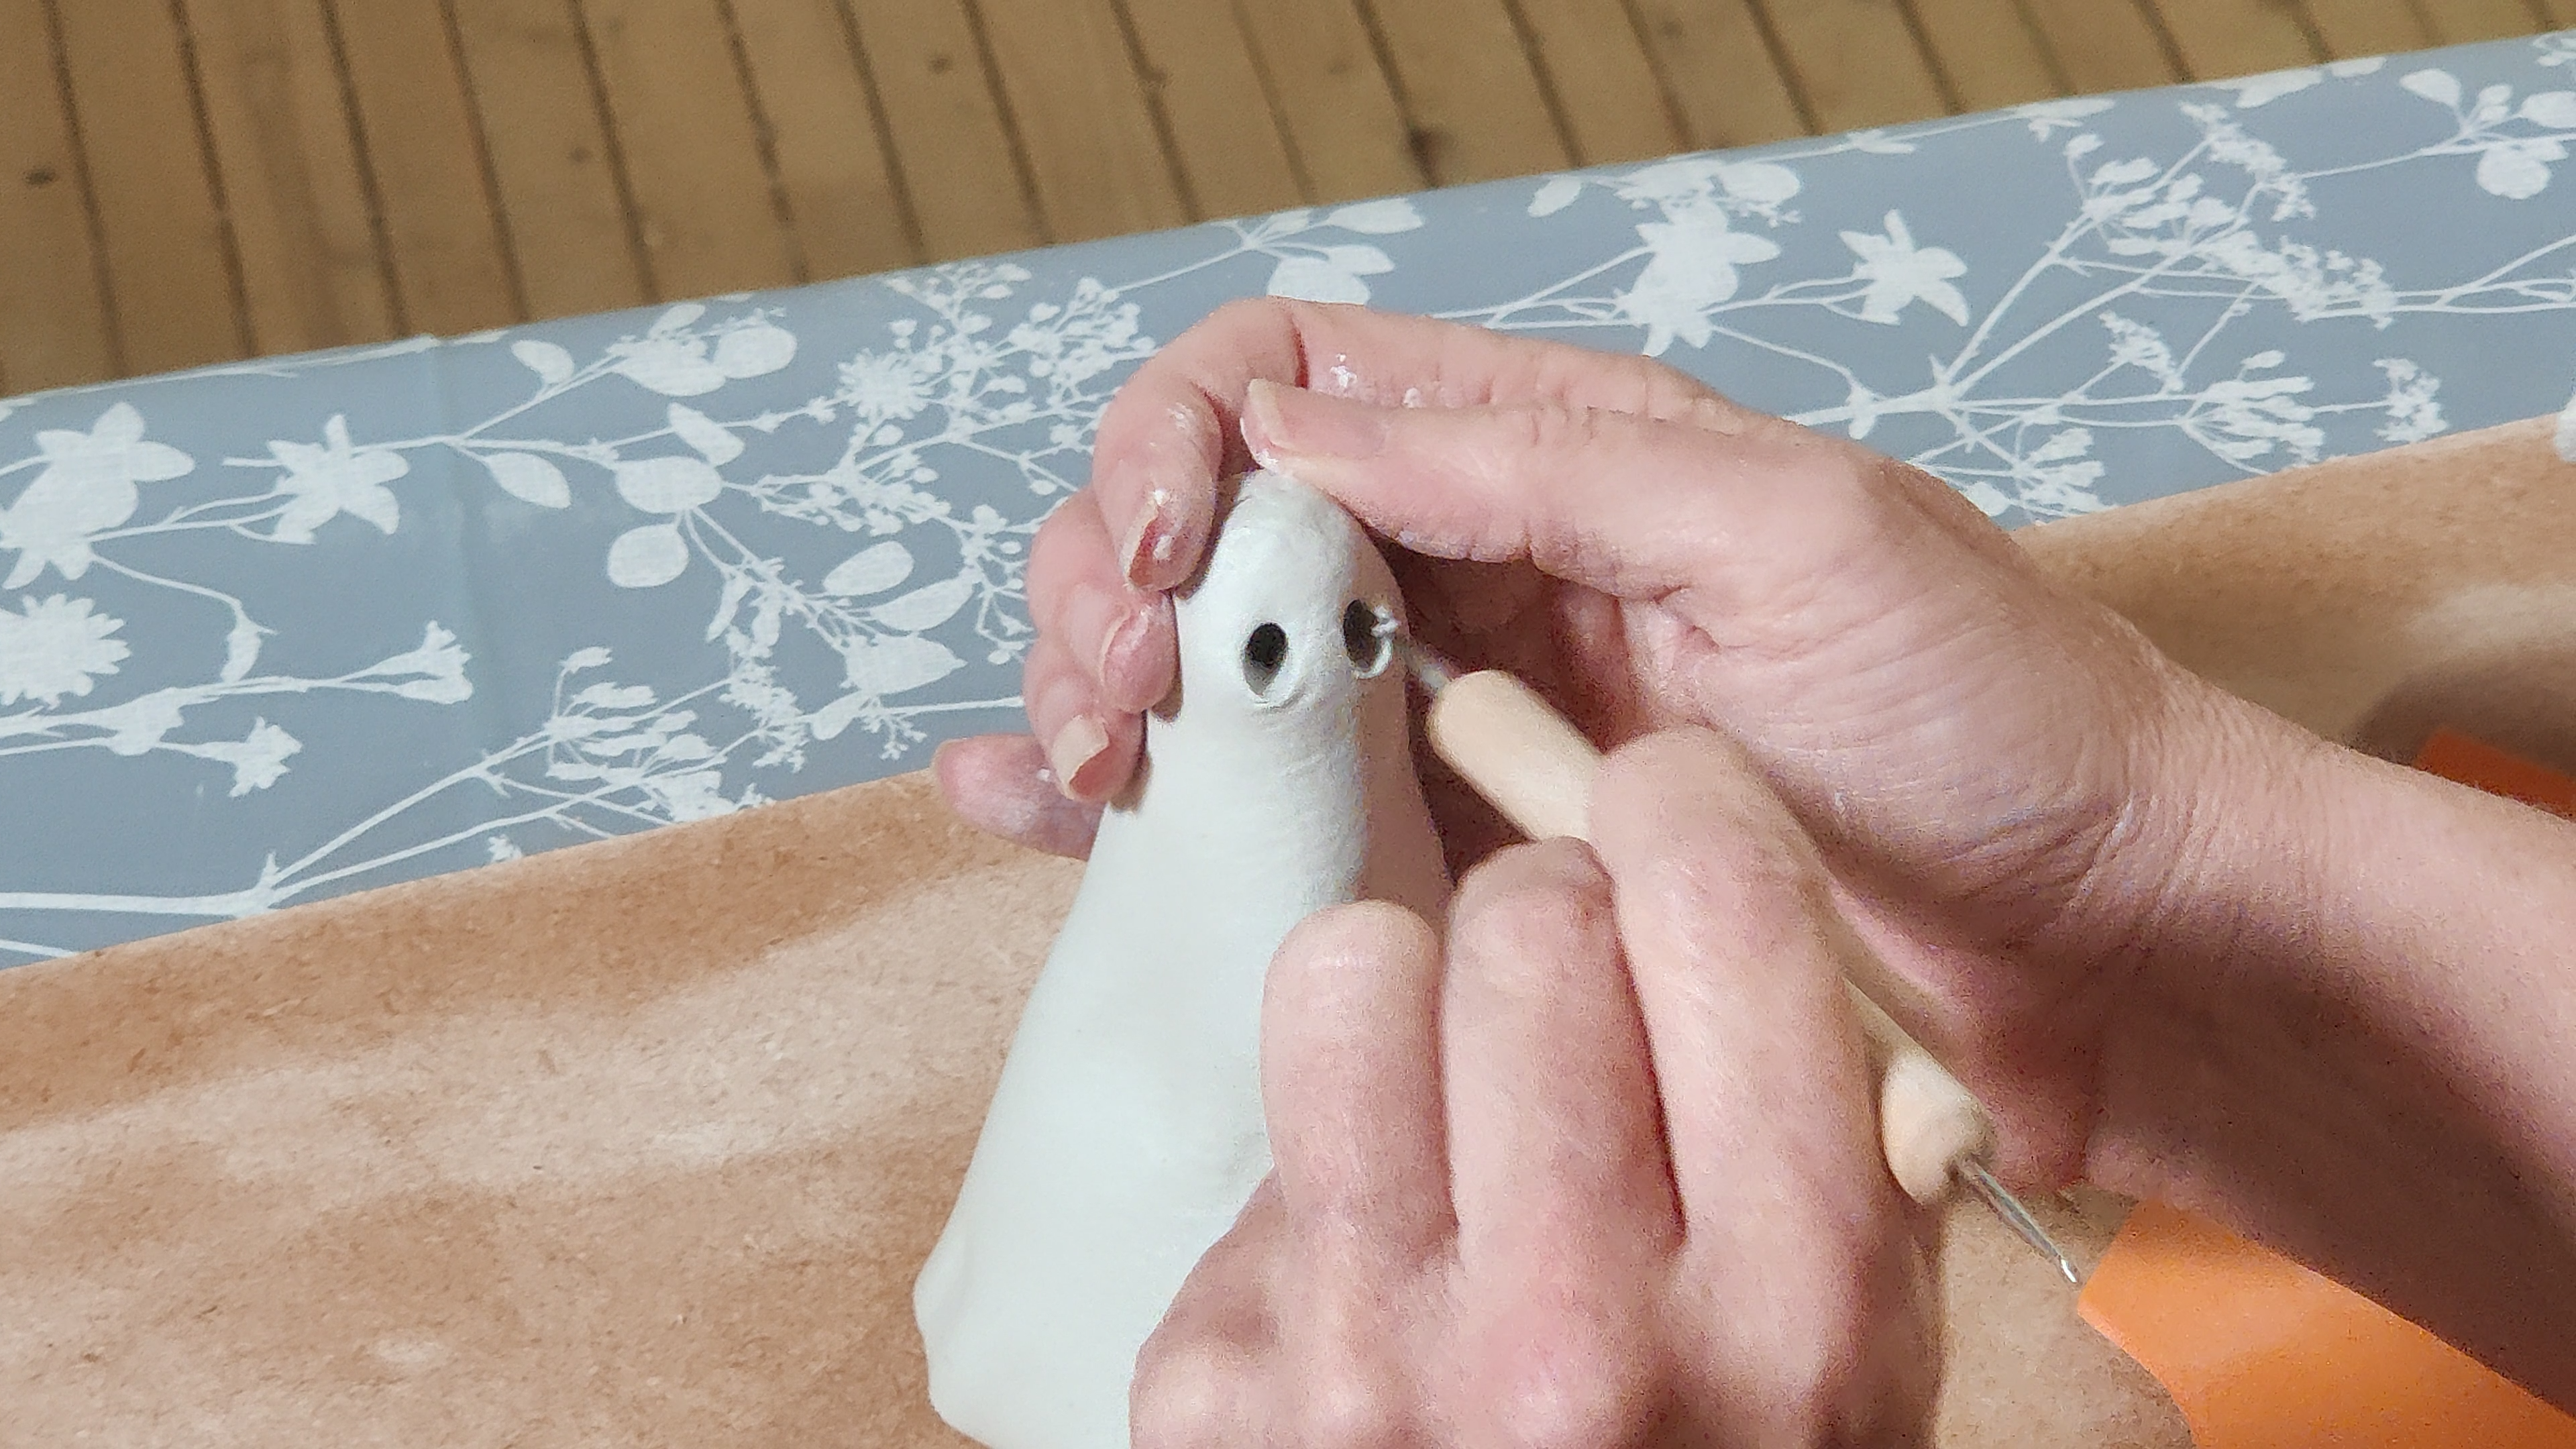
To repair these cracks, start by gently smoothing the clay surface with your fingers or a damp sponge. Then, blend the cracked areas by lightly pressing and kneading the clay together until the cracks disappear.
This technique will ensure a seamless finish and restore the integrity of your air dry clay creation.

CRAYOLA AIR DRY CLAY: Includes 5 pounds of Crayola Sculpting Clay in a re-sealable bucket.

VIBRANT CLAY KIT - Our air dry clay kit includes 32 different colors,3 sculpting tools,and extra sealing bags.You can also mix and match any way you like to create your desired colors
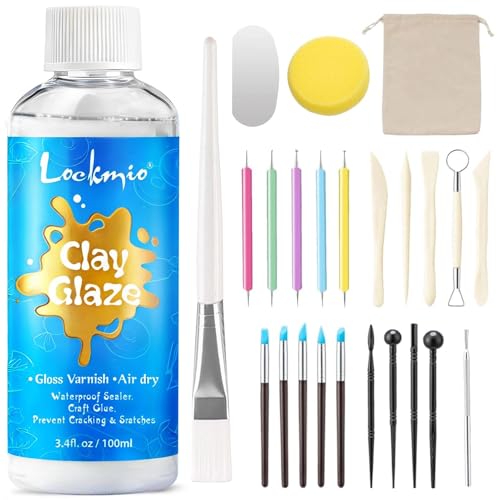
Complete Clay Tools Kit: This versatile air dry clay tools includes 25 essential sculpting tools for stippling, carving, molding, and shaping—ideal for everyone from beginners to professionals working with polymer clay or air dry modeling projects
Prevention Tips
To prevent cracks in air dry clay, ensure that the clay is fully dry before handling or painting it. When the clay isn’t completely dry, it becomes more susceptible to cracking. Here are some prevention tips to help you avoid cracks in your clay creations:
- Store clay properly: Keep your air dry clay in an airtight container or sealed bag to prevent it from drying out too quickly or absorbing moisture from the air.
- Avoid overworking the clay: Excessive kneading or manipulating the clay can introduce air bubbles, which can lead to cracks as the clay dries.
- Use proper thickness: Ensure that your clay is evenly rolled or shaped to a consistent thickness throughout. Uneven thickness can cause stress points and result in cracks.
- Allow for proper drying time: Give your clay creations enough time to thoroughly dry before handling or moving them. Rushing the drying process can lead to cracks.
Necessary Tools
To successfully fix cracks in air dry clay, you’ll need a few essential tools. These tools include:
- A clay knife for precise cutting and shaping
- A fine grit sandpaper to smooth out rough edges
- A damp sponge or brush to blend and soften the clay
Having these tools on hand will ensure that you can effectively prevent clay cracks, repair any existing cracks, and mend your clay projects with ease.

Ultimate Air Dry Clay Kit for Creative Kids! Dive into a world of creative fun with our complete air dry clay kit! This all-in-one set lets kids create 12 adorable food-themed pastries like cupcakes and donuts. Each of the 12 individual cups comes pre-filled with 4 vibrant modeling clay colors, making it the perfect arts and crafts activity for boys & girls aged 3-12 and beyond.

Multicolor & More Fun: The air dry clay set contains 66 colors,with 1 instruction booklet, 4 sculpting tools and extra ziplock bags.Kids can mix and match, creating their unique hues while developing fine motor skills. This modeling clay kit is synonymous with infinite enjoyment for kids

What’s included? What shapes can I make?Dessert-themed gift set: ARTPAR air dry clay kit comes in a gift box – includes 12 sealed tins (4 color compartments each), 4 Modeling Clay Sculpting tools, and an illustrated guide (12 dessert projects). Make detailed models of cake, macaron, lollipop, Swiss roll, and more.
Clay Crack Prevention
Prevent clay cracks by utilizing essential tools and techniques. To ensure a crack-free clay masterpiece, equip yourself with the following tools and follow these expert tips:
- Flexible clay rib: Use this tool to gently smooth out any air pockets or uneven areas in your clay. Its flexibility allows for precise shaping without causing stress on the clay.
- Misting spray bottle: Keep your clay moist during the sculpting process to prevent it from drying too quickly and cracking. Mist the clay periodically to maintain its moisture level.
- Clay softener: If your clay starts to dry out and become brittle, add a small amount of clay softener to restore its pliability. This will prevent cracks caused by dryness.
- Proper storage containers: Store your clay in airtight containers to prevent it from drying out. This will ensure that your clay remains workable and crack-free.
Repairing Clay Cracks
To effectively repair cracks in air dry clay, you’ll need a few essential tools. When it comes to repairing clay sculptures or fixing clay pottery, having the right equipment is crucial for achieving a seamless finish.
Start by gathering a sharp craft knife or scalpel, which will allow you to carefully remove any loose or damaged clay.
Next, you’ll need some sandpaper or a file to smooth out the edges and create a seamless surface.
Additionally, a small paintbrush and water will be necessary for blending and smoothing the repaired area.
Finally, having some air dry clay or clay slip on hand will help you fill in the cracks and restore the integrity of your clay piece.
With these tools at your disposal, you’ll be well-equipped to tackle any cracks that may arise in your air dry clay creations.
Essential Clay Mending
When repairing cracks in air dry clay, you’ll need essential tools for mending the clay effectively. Here are four necessary tools that will help you in your clay mending journey:
- Clay Knife: A clay knife is a versatile tool that allows you to remove any excess clay around the crack and create a clean surface for repair.
- Water Spray Bottle: Keeping the clay moist is crucial for successful repair. A water spray bottle will help you moisten the clay and prevent it from drying too quickly.
- Fine Sandpaper: To achieve a smooth and seamless finish, sandpaper is essential. It allows you to gently sand down the repaired area and blend it with the surrounding clay.
- Sculpting Tools: Sculpting tools come in various shapes and sizes, making them perfect for intricate repairs. They allow you to shape and mold the clay, ensuring a flawless restoration.
Step-By-Step Instructions
To fix cracks in air dry clay, gather the necessary materials and follow these step-by-step instructions.
First, prepare the cracked area by cleaning it with a soft brush or cloth. This will remove any dust or debris that could interfere with the crack filling process.
Next, choose a suitable crack filling technique based on the size and depth of the crack. For small cracks, use a thin layer of air dry clay mixed with a few drops of water to create a paste-like consistency. Apply the paste to the crack, smoothing it out with a tool or your fingers.
For larger cracks, consider using a strong adhesive or epoxy resin to ensure a more secure repair. Allow the filled cracks to dry completely before proceeding to the next step.

Super Clay Set: 36 Colors air dry clays set with Sculpting Tools. (Attention: Packaging upgrade, alternating delivery of old and new packaging)
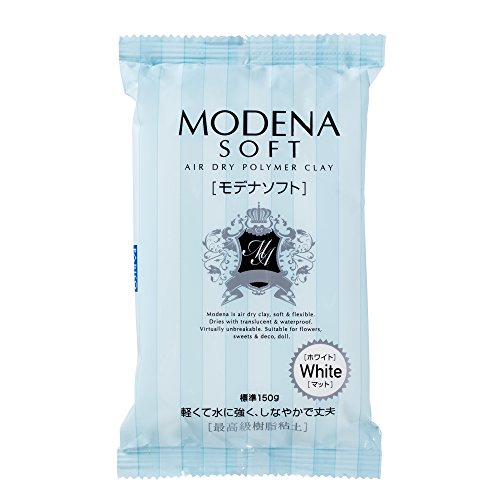
A unique, soft and flexible, translucent modeling polymer clay that creates a fascinating see-through object when dry. Easy to work by hand or tool, takes details very well.

【One-time shaping & Simple operation】Effortlessly moldable sealing clay requires no tools or mixing. Simply knead, press into cracks, wall holes, or drain pipes, and smooth for an instant, waterproof seal. Dries to a permanent, flexible finish within 3-5 days.
Filling Cracks With Additional Clay
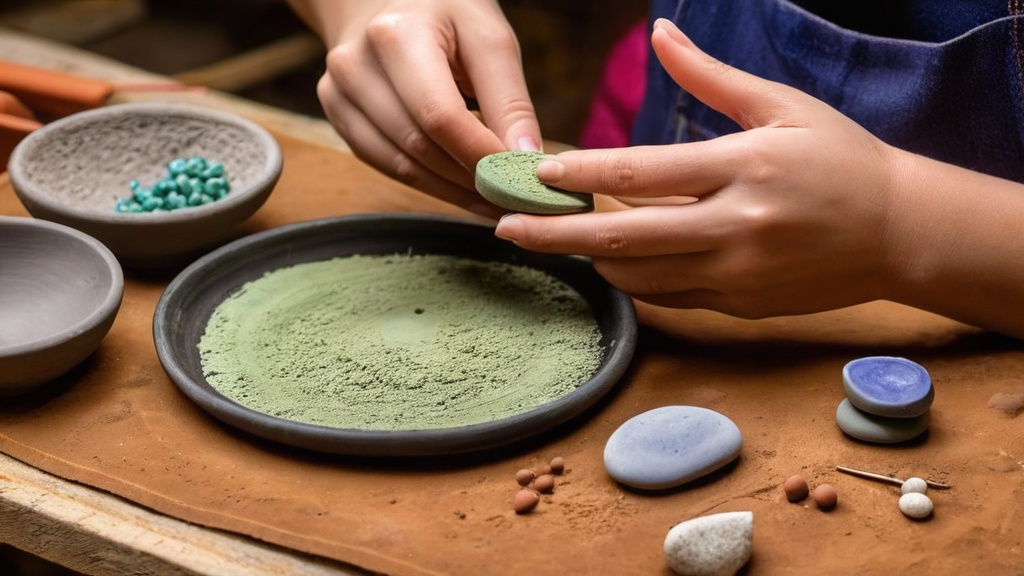
To prevent cracks in air dry clay, it’s crucial to ensure that the clay is properly conditioned and free of air bubbles.
When filling cracks with additional clay, it’s important to use the same type of clay and to blend it seamlessly with the existing clay surface.
This will ensure optimal adhesion and minimize the visibility of the repaired area.
Clay Crack Prevention
To prevent cracks in air dry clay, fill any existing cracks with additional clay using a thin layering technique. This method is an effective crack repair solution that will help maintain the integrity of your clay projects. By adding more clay to the cracks, you’re reinforcing the structure and preventing further damage.
Here are some key tips to keep in mind when filling cracks with additional clay:
- Gently clean the crack with a soft brush or cloth before filling it.
- Roll out a thin coil of clay and press it into the crack, ensuring it’s firmly attached to the surrounding clay.
- Smooth out the surface using a clay tool or your fingers.
- Allow the clay to dry completely before applying any further finishes or decorations.
Optimal Clay Crack-Filling
To achieve optimal clay crack-filling, continue reinforcing the structure of your air dry clay projects by adding additional clay into the cracks using a thin layering technique. This technique ensures that the cracks are filled completely and the structural integrity of the clay is restored.
When cracks appear in air dry clay, it’s essential to address them promptly, as they can weaken the overall structure of the project. By adding more clay into the cracks, you’re effectively sealing them and preventing further damage. This method also helps to prevent future cracks from forming, as the additional clay reinforces the weaker areas.
Remember to smooth out the surface after applying the additional clay to ensure a seamless finish. By following this crack-filling technique, you can maintain the freedom and artistic expression that comes with working with air dry clay while ensuring the longevity of your projects.
Using Glue or Adhesive for Crack Repair
To repair cracks in air dry clay, there are several effective methods you can use. One option is to use an appropriate glue or adhesive. Epoxy resin is a reliable choice as it provides a strong bond and helps reinforce the clay structure.
Another method is to use paper mache. This involves applying layers of paper and adhesive to the cracked area, creating a sturdy and durable patch.
For small cracks, cyanoacrylate glue, commonly known as super glue, can be used. Its fast-drying properties allow for quick repairs.
Lastly, clear-drying white glue can also be used to fill in and seal small cracks.
It’s important to choose the right adhesive for the size and severity of the crack to ensure a successful repair.
Smoothing Out Surface Imperfections
Smooth the surface imperfections of your air dry clay by using sandpaper or a clay smoothing tool. Surface smoothing is an essential step in achieving a flawless finish for your clay projects.
To begin, gently rub the sandpaper over the rough areas, applying light pressure in circular motions. This will gradually smooth out the surface, removing any bumps or unevenness.
Alternatively, you can use a clay smoothing tool, such as a rubber rib or a metal scraper, to gently scrape away imperfections. Be sure to work in small sections and blend the smoothed areas with the surrounding clay for a seamless finish.
Applying a Protective Sealant
To protect your air dry clay project and prevent further cracking, apply a protective sealant. This step is crucial in ensuring the longevity and durability of your creation.
Here are some options for sealants that you can use:
- Protective spray: A quick and convenient solution, protective sprays create a clear and protective barrier over your clay surface. They’re easy to apply and dry quickly, providing a glossy finish.
- Paint sealer: If you want to add color to your project, consider using a paint sealer. This type of sealant not only protects the clay but also enhances the colors and adds a beautiful sheen to your creation.
- Polyurethane varnish: Known for its durability, polyurethane varnish provides a strong protective coating that guards against moisture, heat, and UV rays. It’s available in matte, satin, and glossy finishes, allowing you to choose the desired look for your project.
- Epoxy resin: Ideal for larger or more intricate pieces, epoxy resin forms a hard and durable coating that protects the clay from damage. It gives a glossy and professional finish, making your project stand out.
Proper Drying and Curing Methods
For optimal results, ensure that you thoroughly dry and cure your air dry clay project. Proper drying and curing methods are crucial to prevent cracks in your clay creations.
To begin, allow your project to air dry completely before moving on to the curing process. The drying time can vary depending on the size and thickness of the project, so be patient and avoid rushing the process. Additionally, make sure to place your project in a well-ventilated area to promote even drying. Uneven drying can lead to cracks in the clay.
Once the project is fully dry, you can proceed with the curing process. This involves placing the project in an oven or using a heat gun to further harden the clay.
Following these steps will help minimize the chances of cracks and ensure the longevity of your air dry clay creations.
Conclusion
Congratulations! You’re now a master of fixing cracks in air dry clay. With the help of our repair techniques and prevention tips, you can easily mend those pesky cracks and imperfections.
Armed with the necessary tools and following our step-by-step instructions, you’ll be filling cracks with additional clay, using glue or adhesive, and smoothing out surface imperfections like a pro.
Finish off with a protective sealant and proper drying methods, and your air dry clay creations will be crack-free and ready to impress.
Happy crafting!