So, you’ve decided to dive into the wonderful world of clay! Perhaps you’ve been captivated by the fluidity of a spinning wheel, or the tactile satisfaction of shaping something with your own hands. Maybe you’re dreaming of crafting intricate jewelry or simply want a creative outlet that delivers tangible results. Whatever your inspiration, congratulations on taking the first step! Choosing the right clay as a beginner can feel like navigating a labyrinth of terminology and options, but don’t fret. This guide is here to illuminate your path, helping you understand the nuances of different clays so you can make an informed decision and embark on your artistic adventure with confidence.
You’re poised at the beginning of a truly rewarding creative pursuit. Clay isn’t just a medium; it’s a journey into patience, problem-solving, and the sheer joy of creation. But before you can mold masterpieces, you need to understand your fundamental building block: the clay itself. This isn’t a one-size-fits-all situation. The “best” clay for you depends entirely on what you want to achieve. Let’s break it down, focusing on making your entry into this art form as smooth and enjoyable as possible.
Understanding Your Project: The Cornerstone of Clay Selection
Before you even think about clay types, you need to ask yourself a crucial question: What do you want to make? This isn’t just about a general idea; it’s about the specific techniques you envision employing. Will you be building intricate sculptures, throwing graceful vessels on a pottery wheel, or crafting delicate jewelry? Your end goal is the compass that will guide your clay selection.
Handbuilding and Sculpting: Your Tactile Playground
If your vision involves shaping clay with your hands, building up forms, or creating three-dimensional figures without the aid of a pottery wheel, you’re looking at handbuilding or sculpting. This is a wonderfully accessible entry point, as it requires minimal specialized equipment.
Air-Dry Clay: Immediate Gratification for Simple Projects
For many beginners, especially those with children or who are simply exploring the medium without committing to a kiln, air-dry clay is an excellent starting point. Think of it as your low-commitment, high-reward option.
The Allure of Simplicity
The primary advantage of air-dry clay is right in its name: it dries in the air, without the need for a kiln. This instantly eliminates a significant barrier to entry, as kilns are expensive, require specific electrical setups, and need careful operation. You can sculpt your piece, let it dry for 24-72 hours (depending on thickness and humidity), and then it’s ready for painting, sealing, or decorating. This immediacy is incredibly satisfying for beginners.
Best for Non-Functional Items
It’s important to understand the limitations of air-dry clay. While it hardens, it’s not as durable as kiln-fired clay. It’s generally not food-safe or waterproof, making it unsuitable for items like cups, bowls, or vases that will hold liquids. However, for decorative sculptures, miniatures, jewelry beads (that won’t be exposed to water), ornaments, or school projects, it’s perfect. Its ease of use makes it a fantastic option for experimenting with form and texture without the pressure of firing.
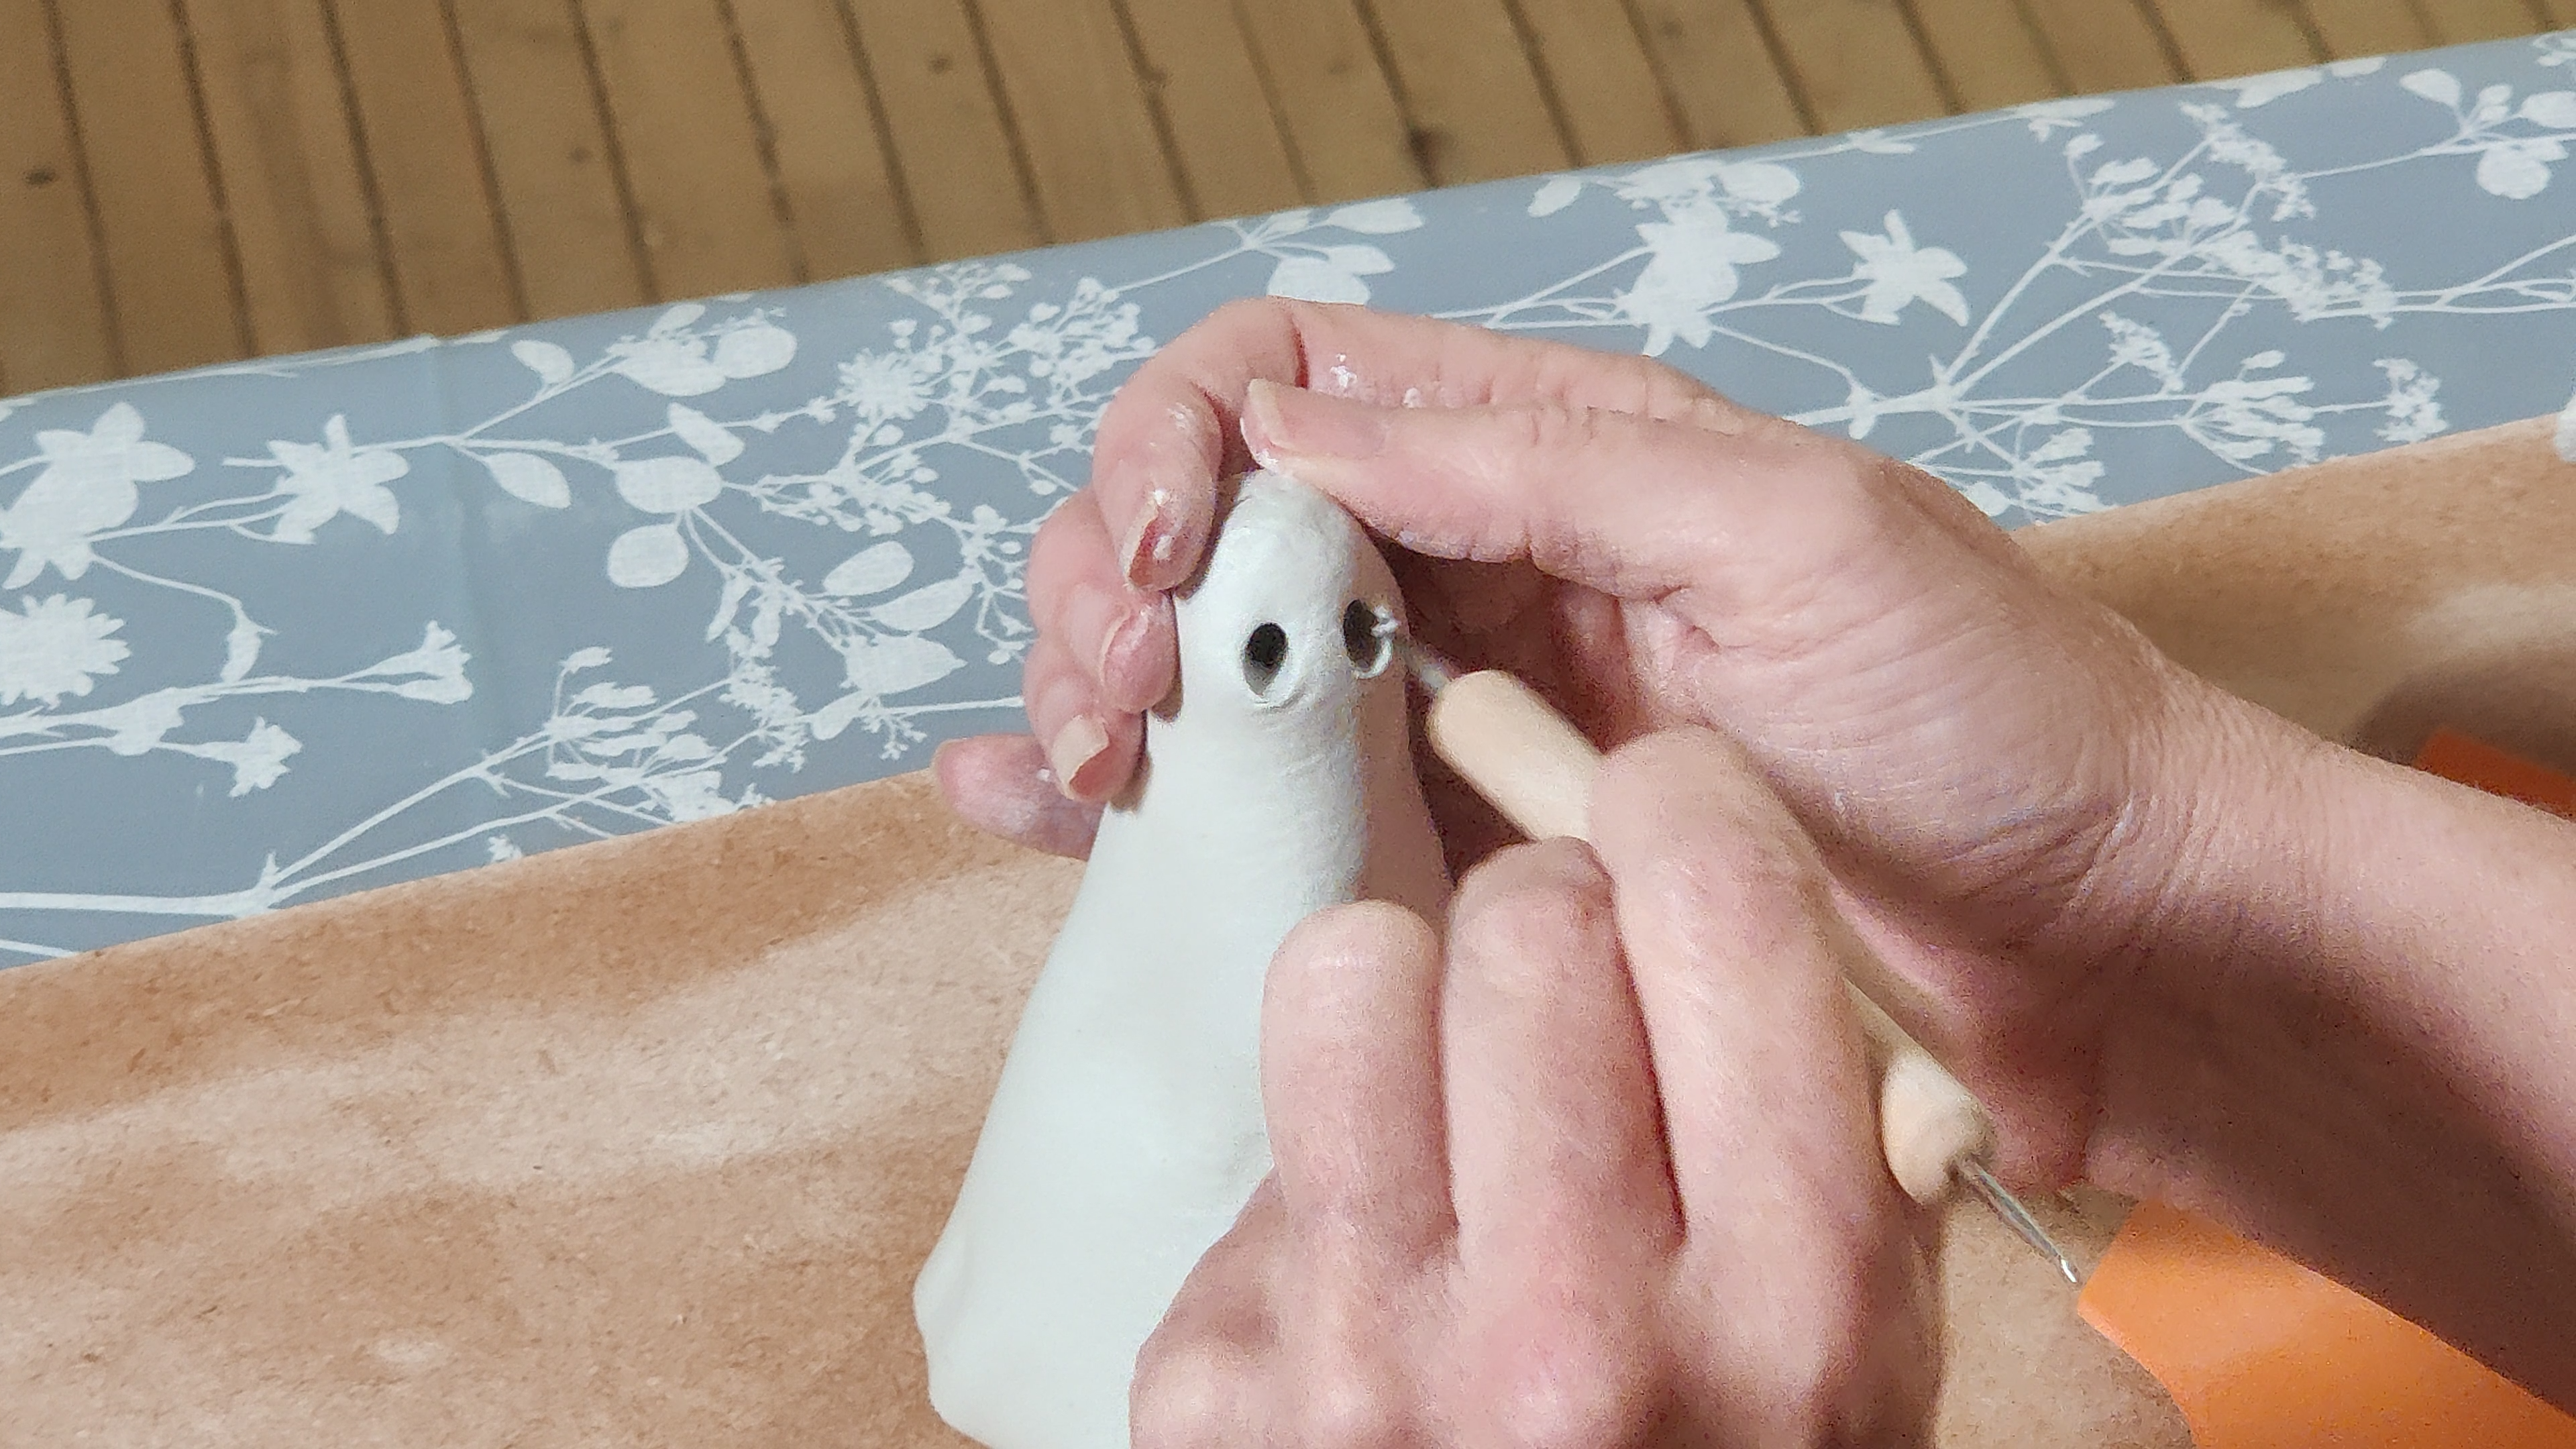
Working with Air-Dry Clay
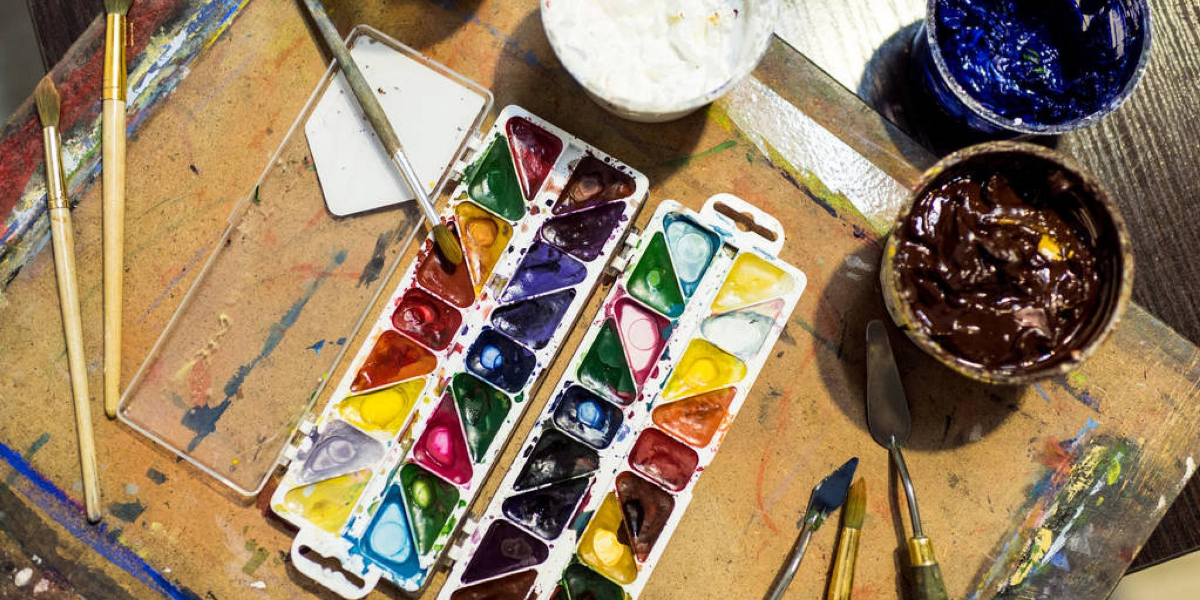
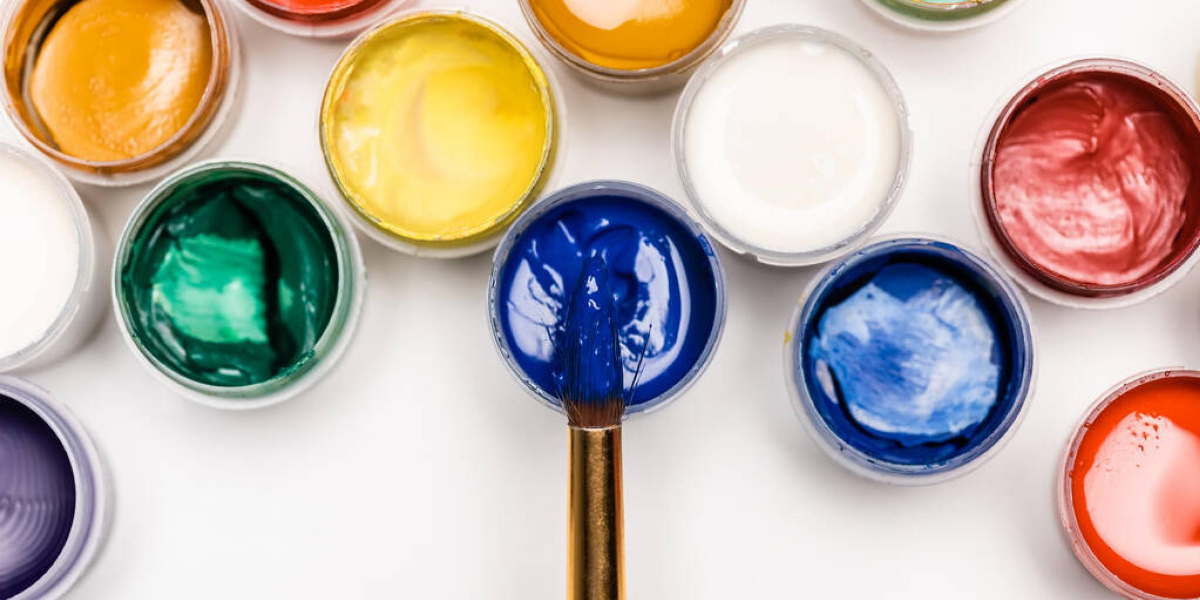
When working with air-dry clay, you’ll find it soft and pliable. Keep a spray bottle of water handy to mist your clay if it starts to dry out while you’re working. Once dry, you can sand it, paint it with acrylics or tempera, and then seal it with a varnish for added protection and a finished look.
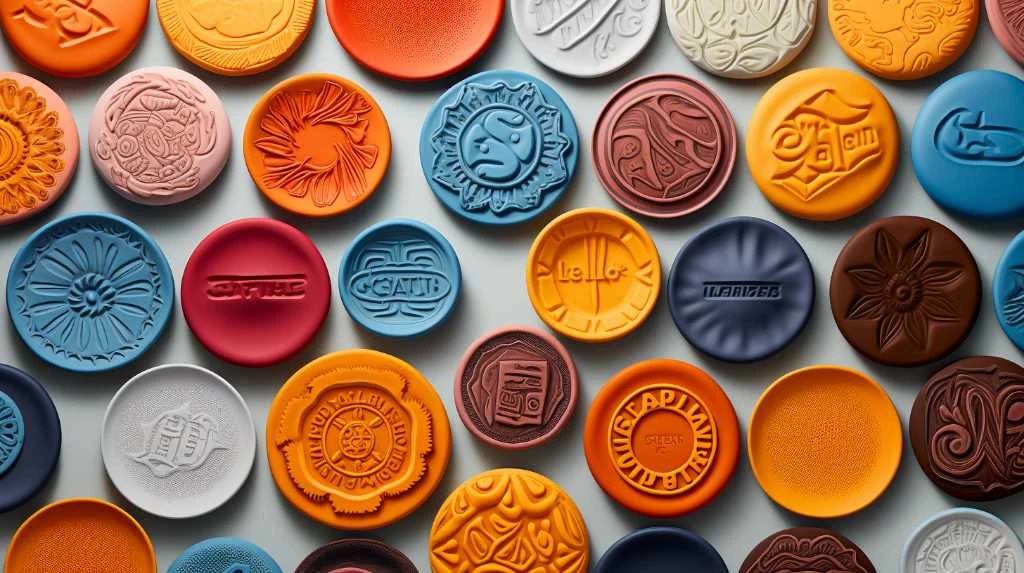
Polymer Clay: Versatility for Jewelry and Small-Scale Wonders
Another fantastic option for handbuilding, particularly if you’re interested in small-scale, detailed work like jewelry, figurines, or miniature food, is polymer clay. This is a synthetic, plastic-based modeling material that hardens when baked in a conventional oven, not a high-temperature kiln.
Beginner-Friendly Polymer Brands
When you’re just starting out with polymer clay, you want something that’s easy to condition (soften and make pliable) and holds its shape well. You’ll find repeated recommendations for specific brands:
Original Sculpey and Sculpey III: Your Go-To Soft Starts
Original Sculpey and Sculpey III are consistently highlighted as excellent choices for beginners. They are known for their exceptional softness, which means less effort is required for conditioning before you can start shaping. This is a huge advantage when you’re still developing your hand strength and technique. You can easily knead, roll, and mold these clays without feeling like you’re fighting the material. They also come in a wide array of vibrant colors, eliminating the need for complex painting post-baking if you’re going for solid hues.
Exploring All-Purpose Brands
As you gain confidence, or if you prefer a slightly firmer, more durable clay from the outset, several all-purpose polymer brands are highly regarded. Brands like Cernit, Premo, Pardo, or Fimo Professional are excellent “reliable single choices” if you want a clay that offers a good balance of pliability, strength after baking, and color retention. These clays are often favored by more experienced crafters but are still manageable for beginners looking for higher quality results. They tend to be a bit firmer than Sculpey III, requiring a little more conditioning, but they offer greater detail retention and are less prone to breaking after baking.
The Baking Process
Polymer clay bakes at relatively low temperatures (usually between 230°F and 275°F or 110°C and 135°C) in a standard home oven. It’s crucial to follow the manufacturer’s instructions for baking time and temperature precisely. Overbaking can cause brittleness or scorching, while underbaking can leave your pieces fragile.
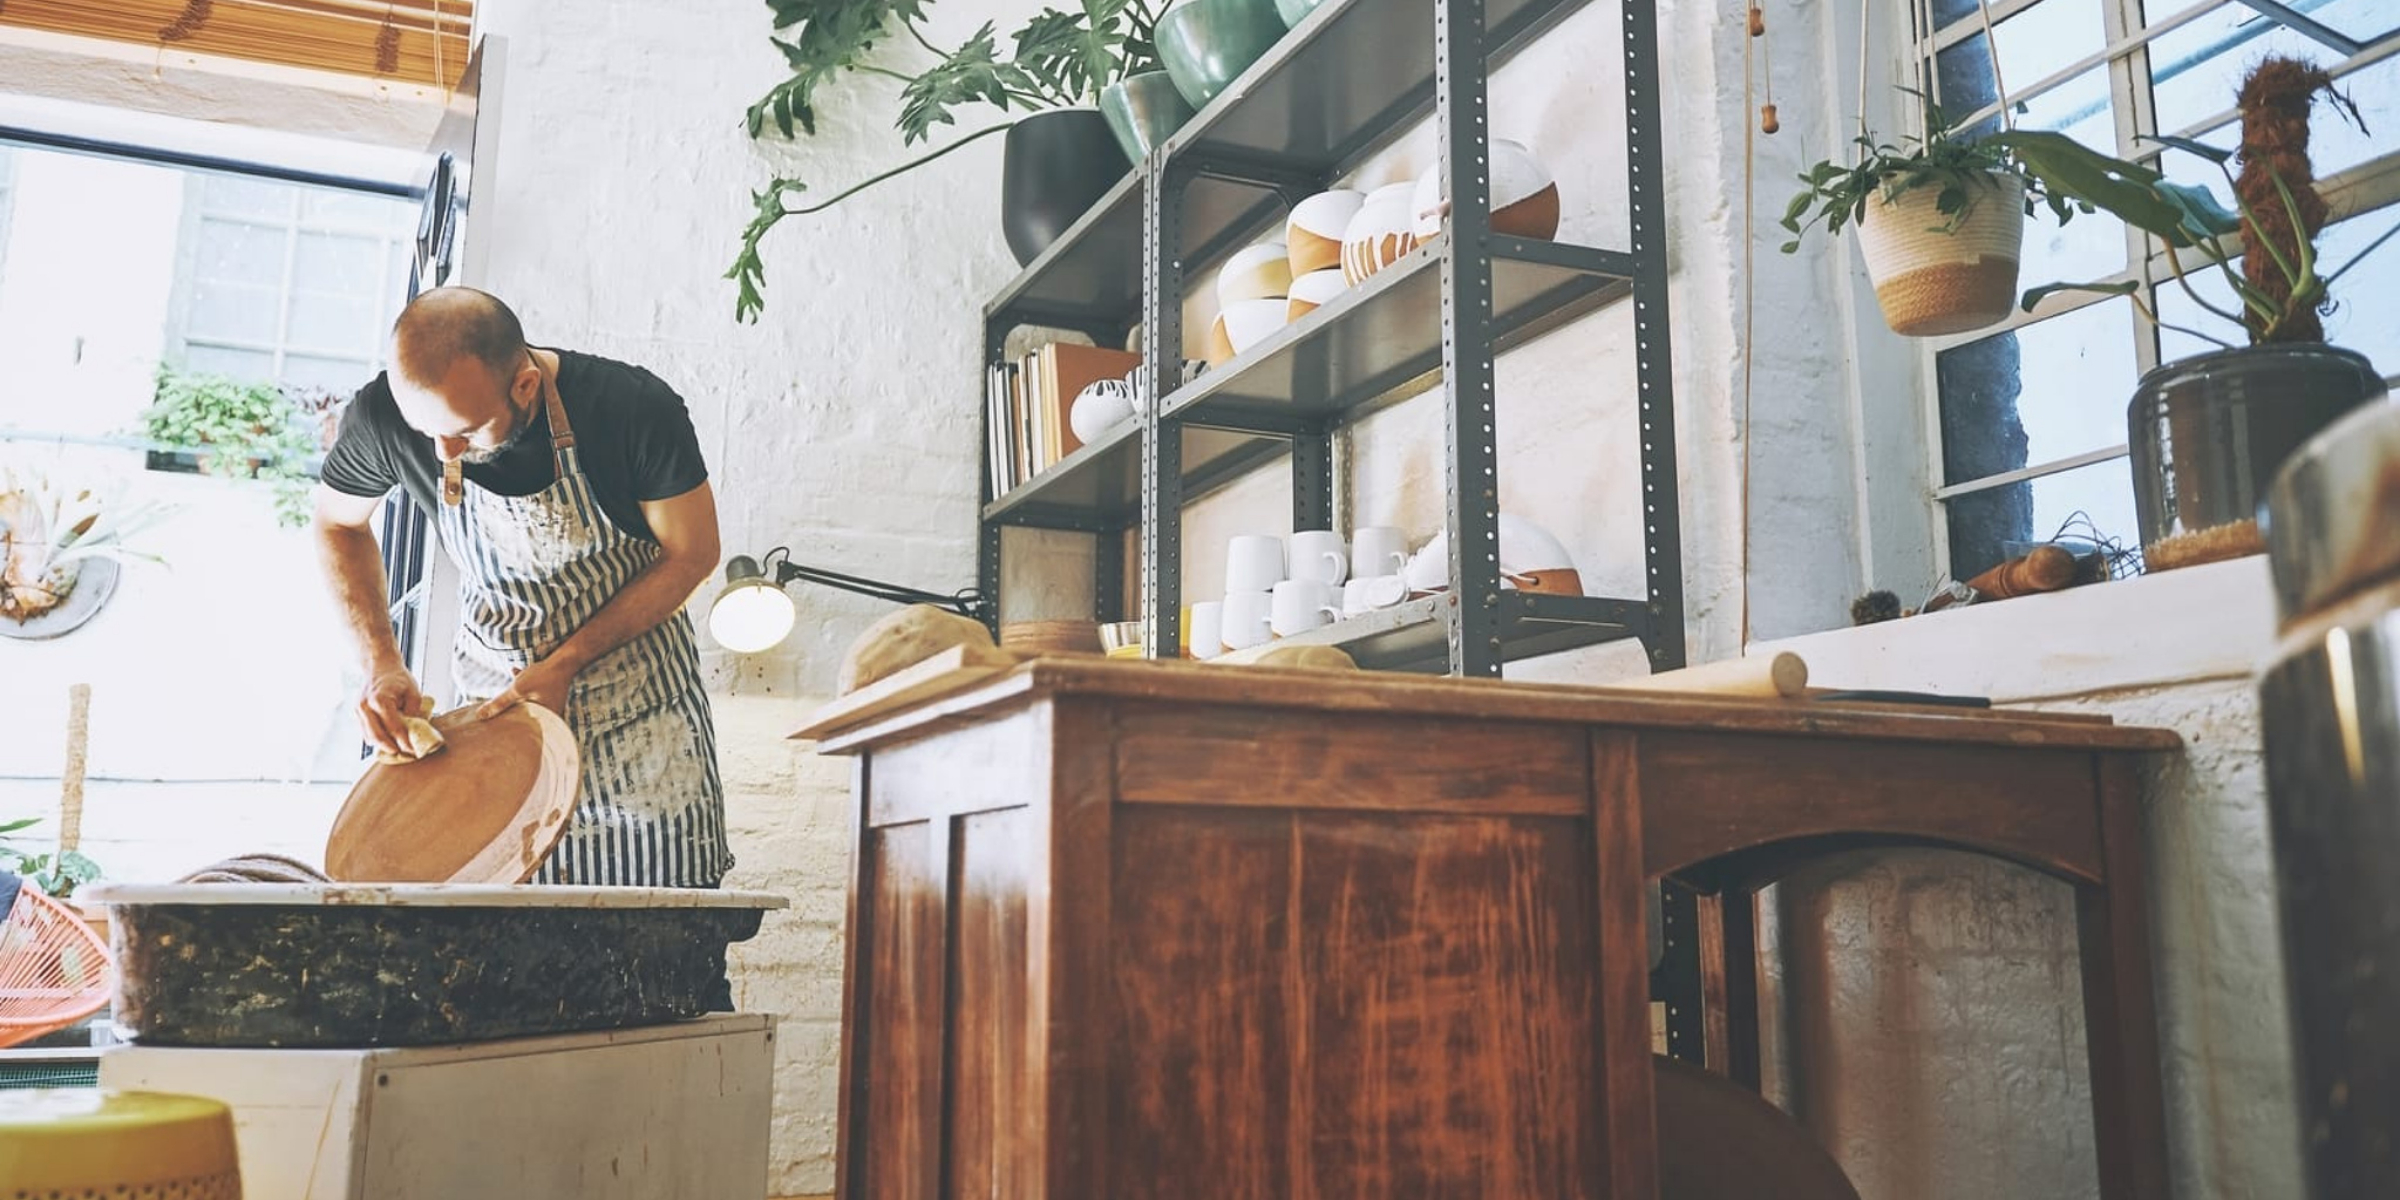
Throwing on the Wheel: The Art of Centering and Form
If your artistic leanings are towards the mesmerizing dance of clay on a spinning wheel, then you’re ready to explore throwing. This technique is incredibly rewarding but does have a steeper learning curve, primarily around the skill of centering the clay.
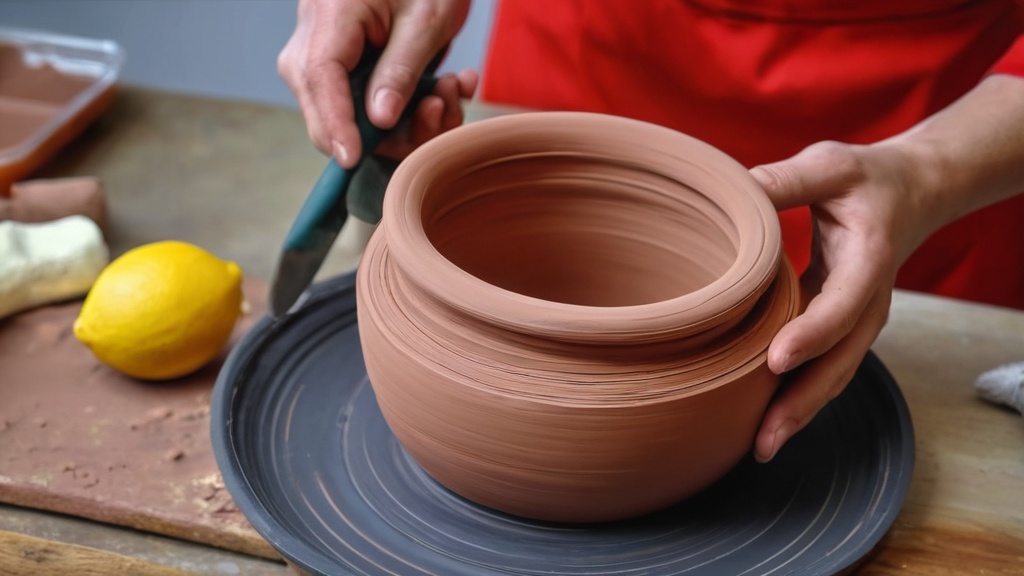
Mid-Fire Stoneware: Your Forgiving Partner
For aspiring potters taking their first spin on the wheel, the consensus is clear: smooth or lightly grogged mid-fire stoneware is your ideal companion.
Smooth or Lightly Grogged: The Texture Advantage
Why Smoothness Matters for Beginners
When you’re learning to center and pull up walls, the last thing you need is clay that fights you. Smooth clay glides easily through your hands, allowing you to feel the subtle movements and adjustments needed to control the form. Highly grogged clays (clays with a high content of coarse, pre-fired clay particles) can feel gritty, abrade your hands, and even cause tearing in thin walls – all challenges you don’t need when you’re mastering the basics. A “lightly grogged” clay offers just enough structure to prevent slumping without being overly abrasive.
Forgiving Nature on the Wheel
The term “forgiving” is key here. Mid-fire stoneware generally has a good plasticity, meaning it can be stretched and manipulated without tearing or cracking easily. This allows you more time to work the clay on the wheel, giving you a greater margin for error as you learn to bring the clay up into various shapes. It’s less likely to collapse on you if your technique isn’t perfect, which is a massive confidence booster when you’re starting out.
Mid-Fire: Matching Your Studio’s Range
The Importance of Cone Range
This is a critical point that beginner potters often overlook: always, always check your firing setup first, particularly the cone range your studio or local pottery co-op uses. Clay is designed to be fired to a specific temperature range, indicated by cone numbers (e.g., Cone 04, Cone 6, Cone 10). Mid-fire stoneware typically fires to Cone 5 or 6. If you buy a low-fire clay and your studio only fires to high-fire temperatures, your clay will melt into a puddle. Conversely, high-fire clay won’t vitrify (become dense and strong) adequately at low-fire temperatures. Buying mid-fire stoneware is a safe bet as it’s a very common firing range in community studios.
Durability and Versatility
Once fired to maturity (typically Cone 5-6), mid-fire stoneware is incredibly durable, chip-resistant, and becomes vitrified, making it food-safe and suitable for functional items like mugs, bowls, and plates. This means your early successes on the wheel can become cherished items for daily use.
The Firing Factor: Kilns, Ovens, and Air
Understanding how your clay will harden is perhaps the most fundamental aspect of your initial decision-making. This dictates not only the necessary equipment but also the suitability of the clay for various projects.
Kiln-Dependent Clays: Ceramics’ Traditional Path
If you’re delving into traditional pottery – be it earthenware, stoneware, or porcelain – you’re committing to a kiln. This is where the magic of vitrification happens, transforming soft clay into hard, durable ceramic.
Earthenware vs. Stoneware vs. Porcelain
Earthenware: Lower Firing, Porous Body
Earthenware typically fires to lower temperatures (Cone 04-06) and remains porous after firing, meaning it’s not waterproof without glazing. It’s known for its earthy red or buff colors. While easier to fire due to lower temperatures, its porosity means it’s less durable for functional items unless carefully glazed.
Stoneware: The Workhorse of Pottery
As discussed, stoneware (mid-fire to high-fire, Cone 5-10) is incredibly popular for its strength and durability. It becomes non-porous (vitrified) when fired to maturity, making it ideal for functional items. Its robustness makes it very forgiving for beginners to work with on the wheel or for handbuilding larger, sturdier pieces.
Porcelain: The Zenith of Refinement
Porcelain is a high-firing clay (Cone 8-10) known for its incredible whiteness, translucency, and fine texture. While beautiful, it’s notoriously difficult for beginners due to its “short” (less plastic) nature, tendency to warp, and high shrinkage. It requires a significant amount of skill to work with. Save this for when you’ve mastered other clays.
Oven-Baked Clays: Accessible Curing at Home
As you’ve learned, polymer clay hardens in a standard home oven. This accessibility is a major draw for many beginners.
Temperature Control and Ventilation
Following Instructions Precisely
The key to successful polymer clay baking is strict adherence to the manufacturer’s instructions for time and temperature. Use an oven thermometer to ensure accuracy, as home ovens can vary significantly.
Ventilation is Key
While polymer clay is generally safe, it’s wise to ensure good ventilation when baking, especially if you’re sensitive to odors. Using a dedicated toaster oven for polymer clay can be a good option to avoid mixing with food preparation.
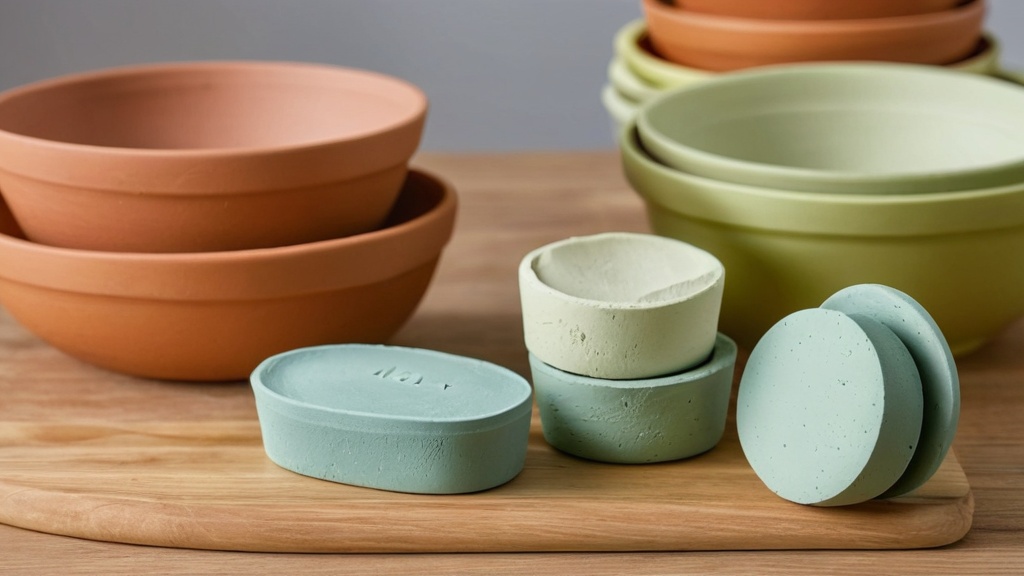
Air-Dried Clays: No Heat Required
Air-dry clay is the ultimate in convenience, requiring no external heat source to harden.
Drying Time and Humidity
Patience is a Virtue
The drying time for air-dry clay varies based on thickness, humidity, and airflow. Thicker pieces can take several days to fully dry. Avoid trying to rush the drying process with heat, as this can lead to cracking.
Sealing for Durability
Once fully dry, air-dry clay can be brittle. Sealing it with a varnish or sealant will significantly increase its durability and provide a protective layer against moisture.
Beyond the Basics: Advanced Clay Considerations (for when you’re ready)
While focusing on beginner-friendly options is paramount, it’s helpful to be aware of other factors that influence clay choice as you progress. These are things you’ll consider once you’ve successfully completed a few projects and have a better sense of your artistic direction.
Shrinkage Rates and Warping
All clays shrink as they dry and fire. Different clays have different shrinkage rates. Polymer clay, for example, shrinks very little, while some high-fire clays can shrink up to 15-20%. Understanding this is crucial for projects requiring precise dimensions or multiple, fitted components.
Glaze Compatibility
Once you’re into kiln-fired ceramics, you’ll enter the world of glazes. Glazes are chosen to mature at specific cone temperatures, just like clay. Ensuring your chosen clay and glaze are compatible in their firing range is essential for preventing issues like crawling, blistering, or an improper fit between glaze and clay body.
Clay Color and Texture
The natural color of fired clay varies from white and buff to earthy reds and dark browns. This natural color will significantly impact the appearance of translucent glazes. Similarly, the texture – from ultra-smooth to heavily grogged – will affect how your piece feels and how glazes adhere to its surface.
Your First Step: Embrace Experimentation
Ultimately, the “best” clay for you as a beginner isn’t a definitive answer in a textbook; it’s the clay that allows you to start creating with the least frustration and the most joy. If you’re unsure, try a small block of air-dry clay or a beginner-friendly polymer clay like Sculpey III for handbuilding and sculpting. If you’re drawn to the wheel, seek out a studio that offers smooth or lightly grogged mid-fire stoneware.
Don’t be afraid to experiment! The beauty of art is in the process, and every failed attempt is a step closer to understanding your material. With a little guidance and a willingness to get your hands dirty, you’ll soon be shaping beautiful objects and discovering the immense satisfaction that comes from bringing your creative visions to life through clay. Happy molding!
FAQs
What are the different types of clay for beginners?
There are several types of clay suitable for beginners, including air-dry clay, polymer clay, and ceramic clay. Each type has its own unique properties and is suitable for different projects.
What is air-dry clay and why is it good for beginners?
Air-dry clay is a type of clay that hardens when exposed to air, eliminating the need for baking or firing. It is good for beginners because it is easy to work with, does not require special equipment, and is relatively inexpensive.
What is polymer clay and why is it good for beginners?
Polymer clay is a type of synthetic clay that can be cured in a home oven. It is good for beginners because it is versatile, comes in a wide range of colors, and is easy to work with. It is also durable and can be used for a variety of projects.
What is ceramic clay and why is it good for beginners?
Ceramic clay is a natural clay that requires firing in a kiln to harden. It is good for beginners because it allows for more intricate details and can be used for both sculpting and pottery. However, it does require access to a kiln and some experience with firing.
Which type of clay is best for beginners?
The best type of clay for beginners depends on the individual’s preferences and the specific project they have in mind. Air-dry clay is a good option for those who want a simple and mess-free experience, while polymer clay offers more versatility and color options. Ceramic clay is best for those interested in traditional pottery and have access to a kiln.