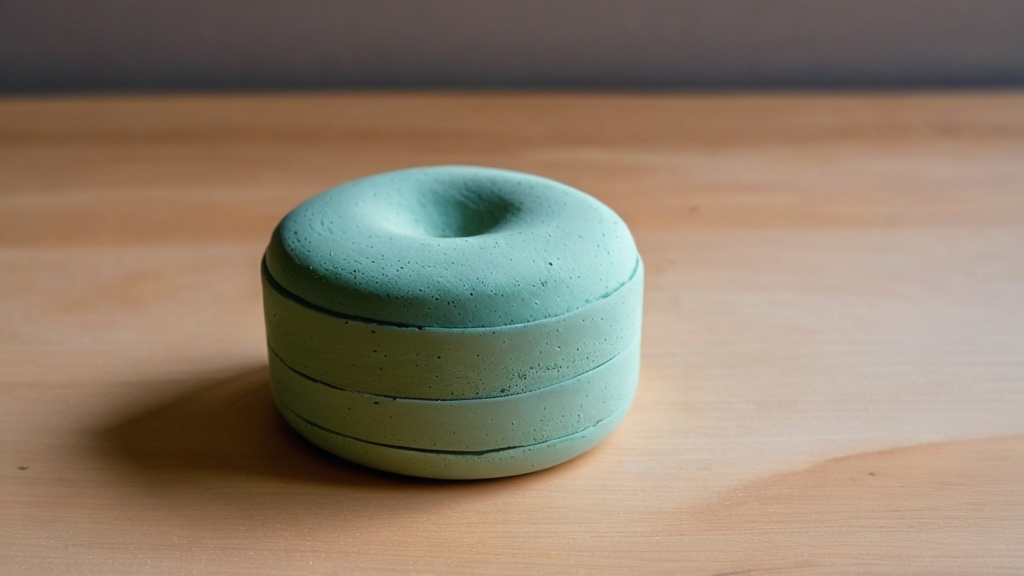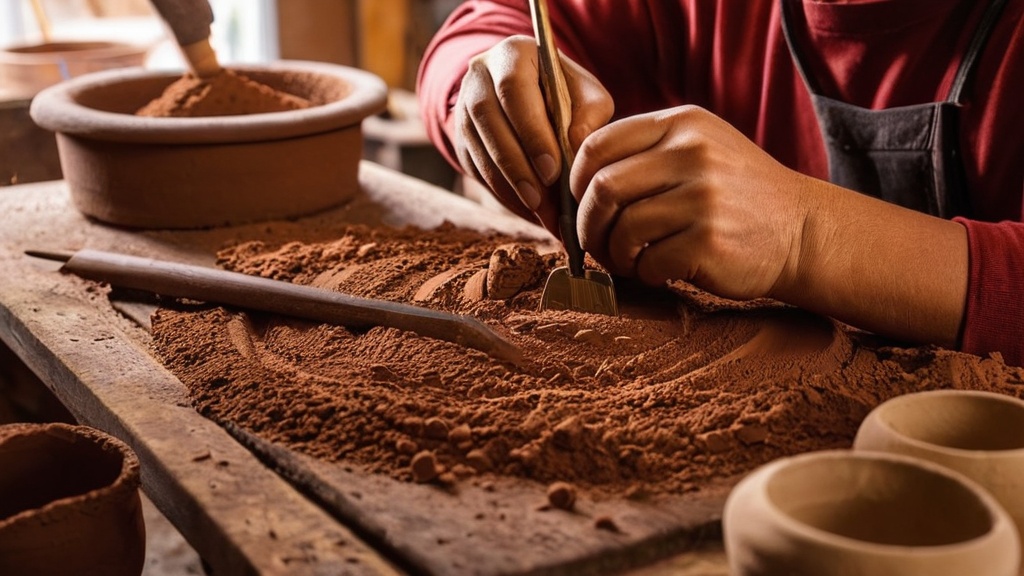
You’ve decided to dive into the wonderful world of air dry clay, a medium that’s as forgiving as it is versatile. Whether you’re aiming to craft intricate miniatures, durable home decor, or playful sculptures, having the right tools can elevate your experience from frustrating fumbles to satisfying masterpieces. Forget about expensive kilns or complicated setups; air dry clay liberates you to create anywhere, anytime. But what do you really need to get started, and what can take your creations to the next level? Let’s explore the essential tools that will become your trusted companions on this creative journey.
Embarking on any new craft can feel overwhelming with the sheer volume of tools available. However, for air dry clay, you don’t need to break the bank to begin. A few fundamental items will serve as the backbone of your toolkit, allowing you to cut, shape, and smooth your way to your first successful project. Think of these as your non-negotiables, the tools you’ll reach for constantly.
Craft Knife: Precision at Your Fingertips
A sharp craft knife, often recognized as an X-Acto knife, is an indispensable tool in your air dry clay arsenal. It’s not just for paper; its fine, pointed blade allows for incredibly precise cuts, shaping, and trimming of your clay.
- Why You Need It: Imagine needing to trim excess clay from an edge, cut a perfectly straight line, or create a sharp angle. A craft knife makes these tasks simple and satisfying. It allows you to refine the outlines of your pieces, ensuring crisp definitions that might be challenging with a blunt tool.
- Choosing the Right One: Look for a knife with a comfortable grip and easily replaceable blades. A sharp blade is paramount for clean cuts; a dull blade will drag and distort your clay, leading to frustrating results. Always exercise caution when using a craft knife due to its sharpness.
Rolling Pin: Achieving Uniform Thickness
Uniformity is key in many air dry clay projects, from intricate jewelry components to flat decorative pieces. This is where your rolling pin comes into play.
- Importance of Even Thickness: Unevenly rolled clay can lead to problems during drying, such as cracking or warping, particularly if thin sections dry faster than thick ones. A rolling pin ensures your clay is consistently thick, promoting even drying and structural integrity.
- Types of Rolling Pins: You don’t necessarily need a specialized pottery rolling pin. A small, lightweight wooden or plastic rolling pin designed for baking works perfectly. Some crafters even use PVC pipes or sturdy bottles as effective alternatives. The key is a smooth, non-stick surface to prevent the clay from tearing or clinging.
- Technique Tips: For best results, roll your clay slowly and evenly, rotating the clay periodically to ensure consistent thickness across the entire sheet. You can also use guides (such as two equally thick wooden dowels placed on either side of your clay) to guarantee precise thickness.
Thin Blade: Mastering Straight Lines and Details
While your craft knife excels at precision cuts, a thin blade – sometimes referred to as a cutting wire or a simple, sturdy blade – offers a different kind of utility, especially for larger, straighter cuts.
- Beyond the Craft Knife: Think about slicing a block of clay to create a flat base, or dividing a larger slab into smaller, uniform pieces. A thin blade, often with a handle on both ends, allows you to pull through the clay smoothly, creating exceptionally straight lines without deforming the material.
- Versatility: This tool is also excellent for lifting pieces of clay from your work surface without distorting them, or for gently shaving away thin layers of clay to refine a surface.
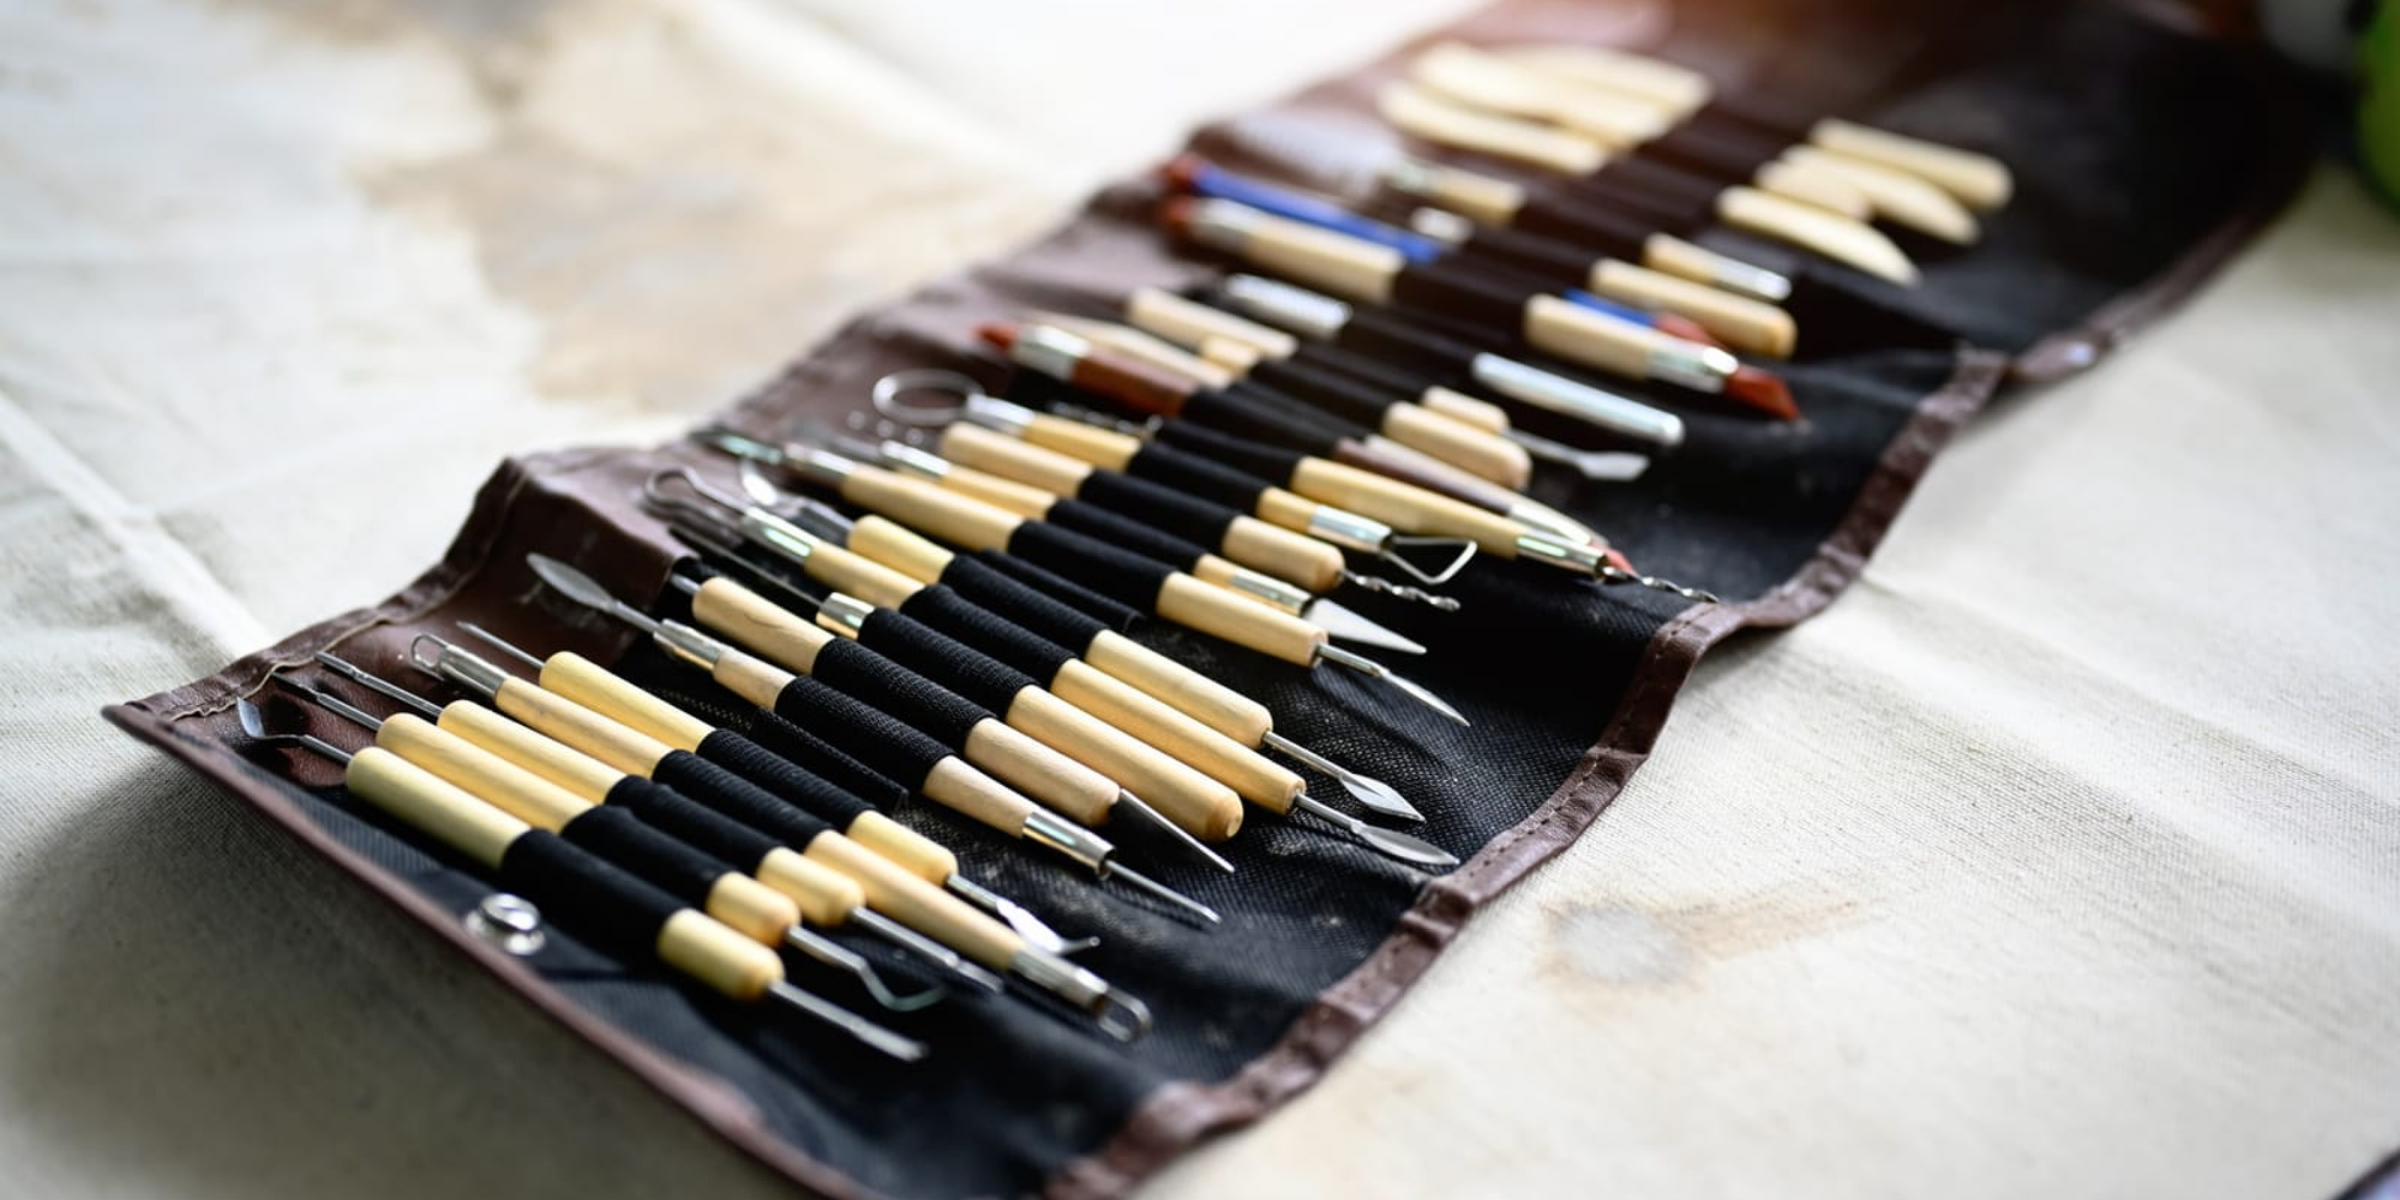
Basic Modeling Tools: Shaping Your Vision
No clay work is complete without tools to shape, sculpt, and refine. A set of basic modeling tools, whether made of wood, metal, or silicone, will be your primary sculptors.
- Wood Tools: These are often among the first tools crafters acquire. Wooden tools come in various shapes – pointed, rounded, flattened, and angled – allowing you to push, pull, indent, and smooth your clay. They are excellent for general shaping and creating organic textures.
- Metal Tools: Offering more precision and durability than their wooden counterparts, metal modeling tools (often with pointed, loop, or flat ends) are fantastic for detailed work. They can create sharper lines, smaller indentations, and are superb for carving into the clay.
- Silicone-Tipped Tools: These are a game-changer for smoothing, blending, and applying subtle pressure without leaving tool marks. Silicone tips are flexible, non-stick, and ideal for working with delicate details or for gently pushing clay into place. They come in various shapes and offer a soft, brush-like application.
- How They Work Together: You’ll find yourself reaching for these interchangeably. Start with an appropriate wooden tool for broad shaping, move to a metal tool for detailing, and finish with a silicone tool for blending and smoothing.
Polishing Your Pieces: Top Smoothing Tools
Once you’ve got your basic shape down, the next step is perfecting the surface. Air dry clay, like any sculpting medium, can retain fingerprints, tool marks, and minor imperfections. Achieving a smooth, polished finish can elevate your work from handmade to professional.
Damp Pottery Sponge: Your First Line of Defense
A damp pottery sponge is arguably the most effective and often-overlooked tool for smoothing air dry clay.
- The Magic of Moisture: Air dry clay responds beautifully to a touch of moisture. A slightly damp sponge, not soaking wet, allows you to gently rub away imperfections, blend seams, and create a uniform surface. The fine pores of the sponge pick up tiny clay particles, effectively “sanding” the surface without creating dust.
- Applications: Use it to remove fingerprints, smooth out slight bumps, soften edges, and prepare the surface for painting or sealing. It’s particularly useful when joining two pieces of clay; a damp sponge can help blend the seam seamlessly.
- Technique: Wring out the sponge thoroughly so it’s just damp, not dripping. Gently glide it over the clay surface in small, circular motions or in the direction of the desired smoothness. Be careful not to oversaturate the clay, as too much water can make it gummy or weaken its structure.
Feather-Tipped Brushes: For a Flawless Finish
For those incredibly delicate areas or when you need an even smoother, streak-free finish, feather-tipped brushes are your secret weapon. These aren’t just any brushes; they possess a unique quality that makes them ideal for clay.
- Beyond the Sponge: While sponges are great for general smoothing, they can sometimes leave very subtle textural marks. Feather-tipped brushes, with their incredibly soft bristles, allow for an almost imperceptible smoothing action.
- How They Work: Slightly dampen the brush – think barely moist – and gently brush over the clay surface. The fine bristles can reach into small depressions and corners that a sponge might miss, evening out the surface and removing any lingering imperfections.
- Why Feather-Tipped: The key is the softness and flexibility of the bristles. This prevents them from digging into the clay or leaving brush strokes, instead achieving a continuous, polished look. This is especially useful for facial features, intricate details, or areas where you want a truly refined surface.
Creative Economizing: Versatile DIY Alternatives
Specialized tools are fantastic, but you don’t always need to buy them. Many everyday household items can be repurposed into highly effective sculpting tools, proving that creativity isn’t limited by your budget. These DIY alternatives are not just for beginners; even experienced crafters often reach for them.
Toothpicks: Miniature Detail Master
The humble toothpick is a powerhouse for adding intricate details to your air dry clay projects.
- Fine Lines and Engravings: Its sharp point is perfect for drawing fine lines, engraving patterns, or creating delicate textures. Think about adding hair strands, veins on leaves, or tiny stitches.
- Tiny Indentations: Use the tip to create small dots, stippling effects, or to make miniature holes for attaching small elements after drying.
- Sculpting Small Features: For very small sculptures, a toothpick can act as a miniature modeling tool, pushing and shaping tiny bits of clay.
Straws: Perfecting Clean Holes
Ever struggled to create a perfectly round hole in your clay? Look no further than a common drinking straw.
- Uniform Circular Shapes: A straw, with its hollow, cylindrical shape, is ideal for punching out clean, precise holes. Simply press the end of the straw into your clay and twist slightly.
- Various Sizes: Keep a variety of straw sizes on hand – from thin coffee stirrers to wider smoothie straws – to create different diameter holes. This is particularly useful for making beads, buttonholes, or openings for hanging decorations.
- Beyond Holes: You can also use the rim of a straw to create subtle circular indentations or textures on your clay surface.
Old Paintbrushes: More Than Just for Paint
Don’t discard those old, worn-out paintbrushes! They have a second life as versatile clay tools.
- Softening and Blending: A soft, dry paintbrush can gently brush away loose clay crumbs or dust from your work surface. A slightly damp brush, as mentioned with feather-tipped brushes, can be used for very light smoothing and blending, particularly in hard-to-reach areas.
- Texture Application: The bristles of a paintbrush can also be used to create textures. Dab a stiff-bristled brush onto the clay for a stippled effect, or drag a fine brush for hair-like textures.
- Applying Slip: If you’re using slip (a thin mixture of clay and water) to join clay pieces, an old paintbrush is excellent for applying it neatly and precisely.
Elevating Your Craft: Advanced Shaping Gear
As you progress in your air dry clay journey, you might find yourself yearning for more specialized tools that streamline your workflow and enable more complex designs. These advanced tools are often favored by professional sculptors for a reason – they offer efficiency, precision, and greater control.
Banding Wheels: The Sculptor’s Turntable
A banding wheel is a rotating platform that becomes indispensable when you’re working on three-dimensional sculptures or anything that requires you to view and work on all sides of your piece without constantly picking it up.
- Effortless Rotation: Imagine constantly having to rotate your sculpture by hand, risking smudges or accidental damage. A banding wheel allows you to smoothly spin your piece with minimal effort, providing a continuous, even surface for sculpting, carving, or decorating.
- Consistent Application: When adding details, trimming, or smoothing, the ability to rotate your piece evenly ensures consistency all around. This is especially crucial for symmetrical forms or when applying continuous textures.
- Stability: Good banding wheels are weighty and have smooth bearings, providing a stable, level surface for your work. This reduces wobbles and keeps your focus on the clay.
Wire Cutters: Cleanly Dividing Blocks
While a thin blade is excellent for flat cuts, wire cutters (usually specifically designed for clay, with a comfortable grip and a sturdy wire) are fantastic for more robust tasks, particularly for dividing larger blocks of clay.
- Dividing Bulk Clay: When you’re dealing with a large block of air dry clay, a wire cutter allows you to cleanly slice off manageable sections without crushing or deforming the remaining clay. This is much more efficient than trying to cut through a thick block with a knife.
- Removing Excess Material: For larger sculptures, a wire cutter can be used to roughly remove significant portions of clay from the interior or from areas that need to be thinner, laying the groundwork for more detailed sculpting with other tools.
- Precision for Larger Forms: While it seems counterintuitive for a tool that’s for “cutting blocks,” the straight pull of a tensioned wire ensures a flatter, more even cut surface compared to the potential bowing you might get with a knife on a thick piece.
Filbert-Shaped Brushes: Detailing in Tight Spaces
You’ve heard about feather-tipped brushes for smoothing, but a filbert-shaped brush offers a distinct advantage for specific detailing. A filbert brush has a flat ferrule but with an oval or rounded tip, making it incredibly versatile.
- Blending and Refining: The rounded edge of a filbert allows you to blend clay seamlessly, especially in tight corners or concave areas, without leaving sharp lines. It’s soft yet firm enough to gently push and shape small amounts of clay.
- Feathering Edges: This brush is perfect for softening sharp edges, creating gradual transitions, or achieving a “feathered” effect on textured surfaces.
- Applying Slip or Water: Like other brushes, a filbert is excellent for applying a small amount of water for smoothing or slip for joining, especially in intricate areas where precise application is needed. Its shape prevents oversaturation of delicate details.
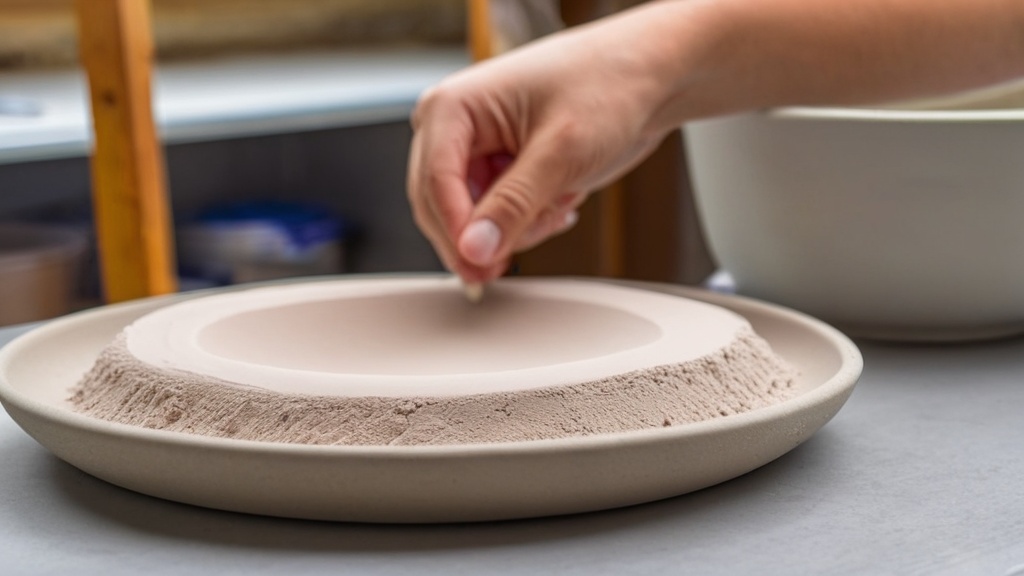
Protecting Your Workspace: The Importance of a Cutting Mat
| Tool | Description |
|---|---|
| Clay Roller | A tool used to roll out air dry clay to an even thickness. |
| Modeling Tools | Various tools used for shaping, carving, and detailing the clay. |
| Cutting Tools | Tools such as knives or blades used for cutting and trimming the clay. |
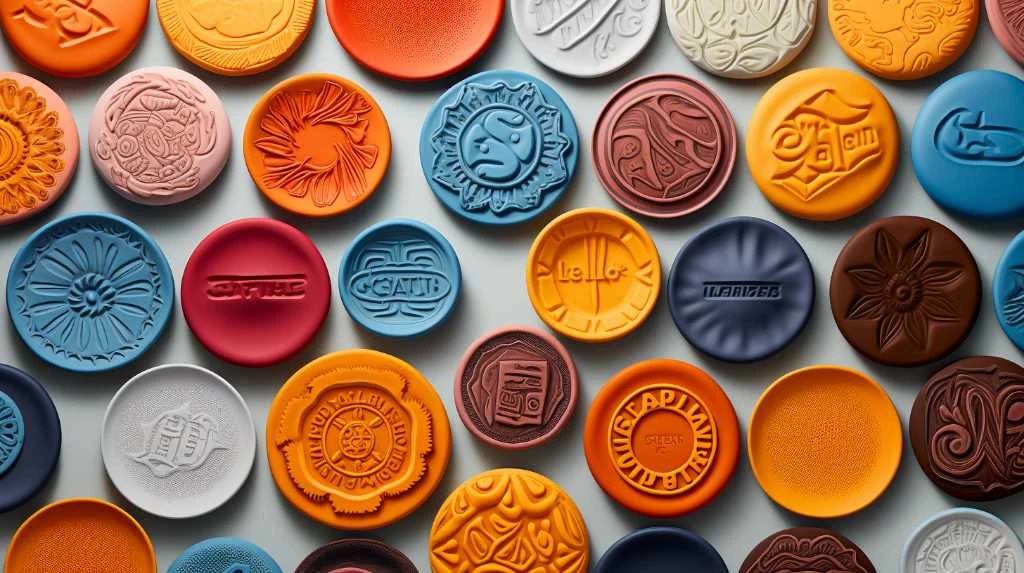
| Texture Plates | Plates with various textures used to create patterns on the clay surface. |
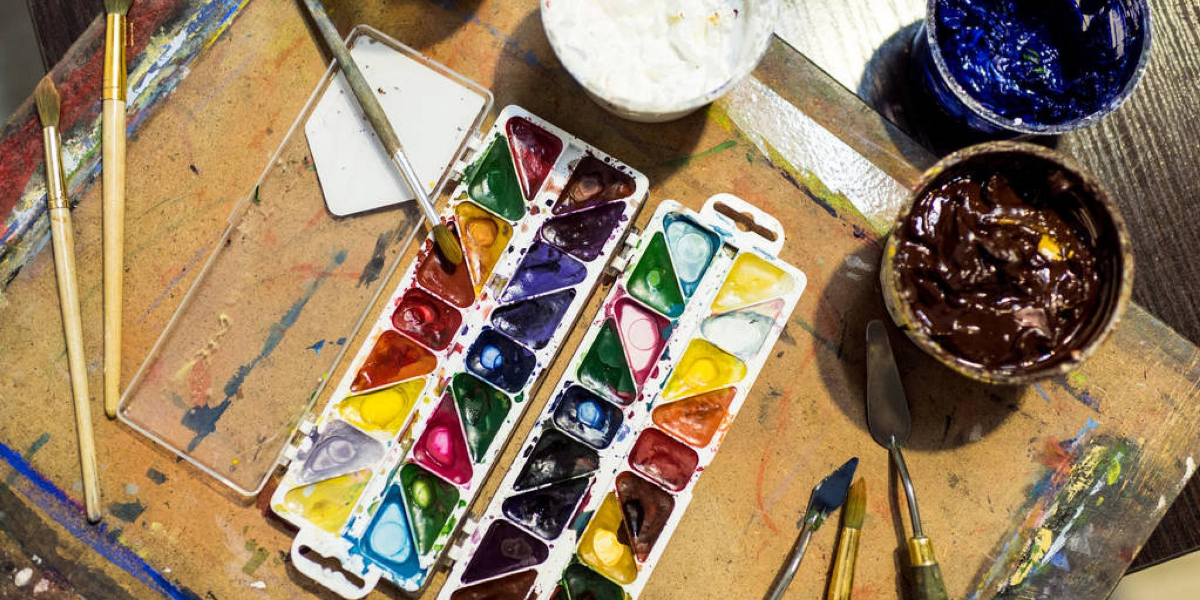
| Paints and Brushes | Used for adding color and details to the dried clay creations. |
Working with clay, especially when using sharp tools, can be messy and potentially damaging to your work surfaces. A good surface protector isn’t just about cleanliness; it’s about preserving your tools and ensuring a smooth workflow.
Self-Healing Cutting Mat (A3–A4 Size): An Essential Investment
A self-healing cutting mat is not just recommended; it’s practically essential for anyone regularly working with air dry clay and sharp tools.
- Protecting Your Surfaces: The primary function is to shield your tables, desks, and countertops from cuts, scratches, and clay residue. This means you can cut and sculpt freely without worrying about damaging your furniture.
- Extending Blade Life: When you cut directly onto a hard surface, your craft knife blades rapidly dull. A self-healing mat offers a softer, forgiving surface that allows the blade to cut cleanly without immediate wear and tear. This saves you money on replacement blades and ensures your cuts are always crisp.
- Measuring and Grids: Most cutting mats come with a printed grid, ruler markings, and angle guides. This is incredibly useful for ensuring your clay pieces are appropriately sized, squared, or angled, adding precision to your projects.
- Variety of Sizes: While mats come in many sizes, A3 to A4 are highly practical for most air dry clay projects. An A3 mat (roughly 11.7 x 16.5 inches) offers a generous workspace without being overly cumbersome, while A4 (8.3 x 11.7 inches) is perfect for smaller projects or if you have limited space.
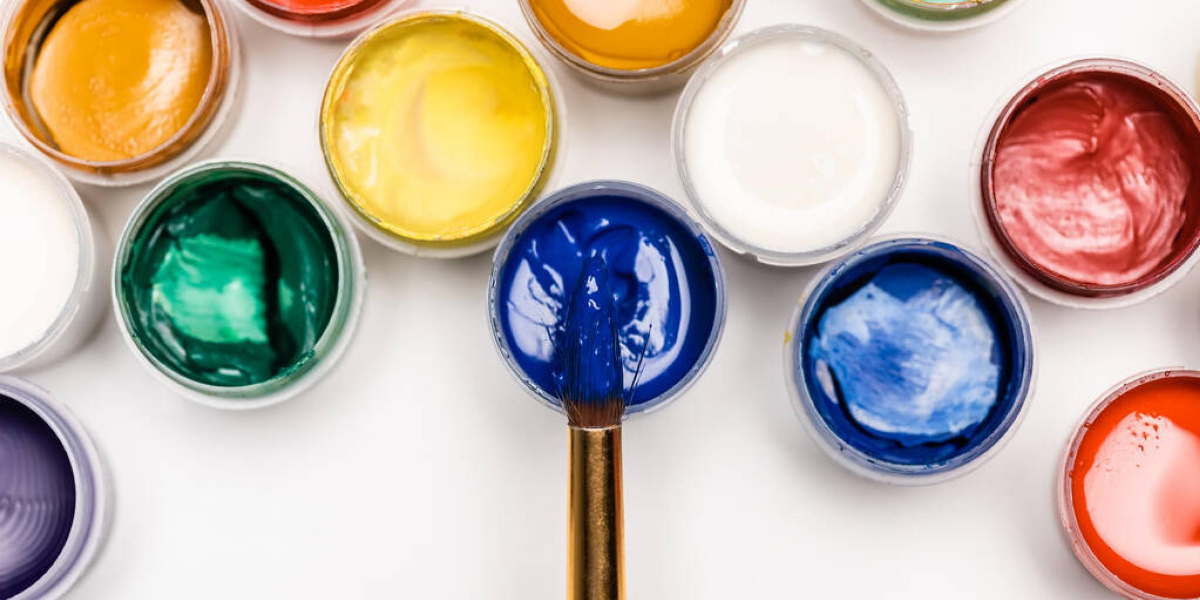
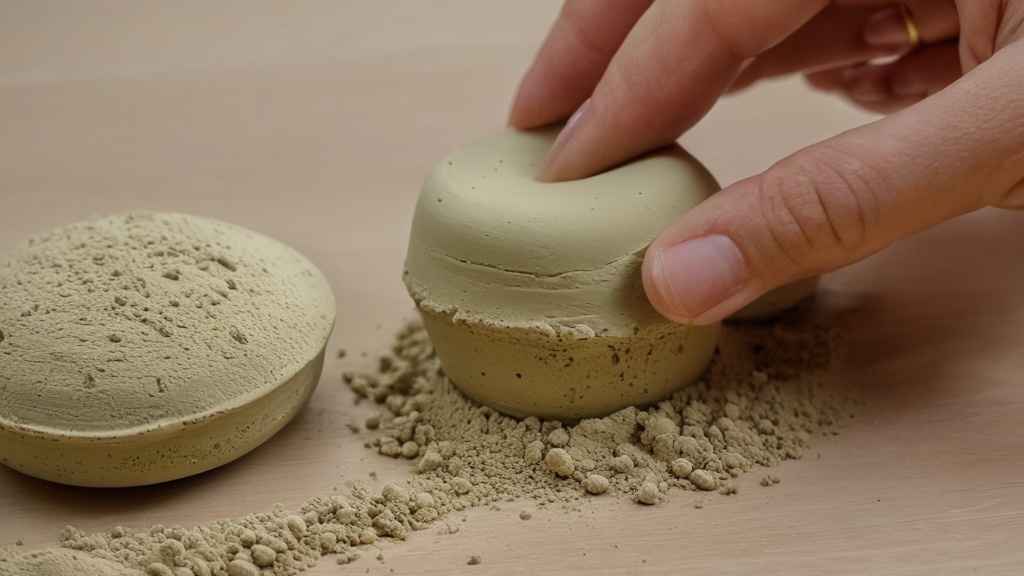
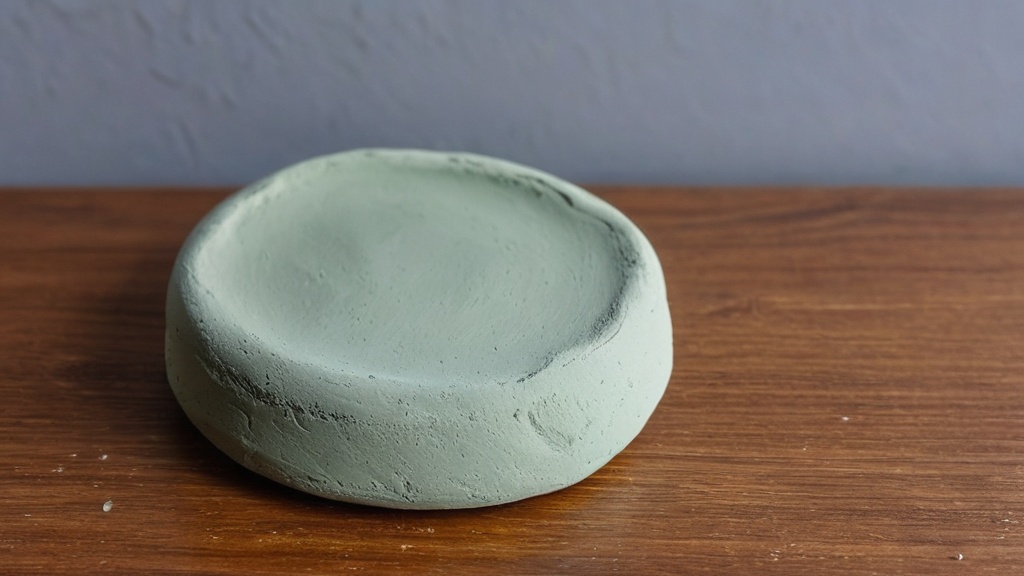
The Finishing Touches: Sealing & Finishing
Once your magnificent air dry clay creation has fully dried (which can take anywhere from 24-72 hours, depending on thickness and humidity), it’s ready for its grand finale: sealing and finishing. This crucial step not only enhances its appearance but, more importantly, protects it.
Matte or Satin Varnish (e.g., Liquitex or Golden MSA): The Essential Protector
To ensure water resistance and protect your artwork from dust, dirt, and general wear and tear, sealing your finished air dry clay piece is non-negotiable.
- Why Seal?: Air dry clay, left unsealed, is inherently vulnerable. It can re-absorb moisture, soften, and eventually degrade. Sealing creates a protective barrier, making your piece water-resistant (though rarely 100% waterproof for submersion). It also locks in any paintwork and prevents brittleness.
- Matte vs. Satin:
- Matte Varnish: This finish offers a subtle, non-reflective look, preserving the natural, unglazed appearance of clay. It’s excellent for rustic, earthy, or contemporary pieces where you want a sophisticated, understated finish. Products like Liquitex Matte Varnish or Golden MSA Varnish (Matte) are highly recommended for their durability and consistent finish.
- Satin Varnish: A satin finish provides a soft sheen, somewhere between matte and glossy. It offers a slight reflection that can enhance colors and details without being overly shiny. This is a popular choice for many, as it adds a touch of elegance without being distracting. Liquitex Satin Varnish or Golden MSA Varnish (Satin) are excellent choices here.
- Application Tips:
- Ensure your clay is completely dry before sealing. Any residual moisture can be trapped, leading to mold or cracking.
- Apply in thin, even coats with a soft brush. Allow each coat to dry completely before applying the next. Two to three coats are generally recommended for optimal protection.
- Work in a well-ventilated area.
- If you’ve painted your piece, ensure the paint is also thoroughly dry before varnishing.
Adding Depth and Intrigue: Texture & Detail
Beyond basic shaping and smoothing, there’s a whole world of possibilities for adding character and intricate details to your air dry clay. These tools allow you to carve, score, and impress textures that bring your creations to life.
Sculpting Needles: Precision Carving and Scoring
A sculpting needle (also known as a detailing needle or fettling knife with a needlepoint) is a small but mighty tool for adding precision.
- Fine Lines and Etching: The super-sharp, fine point of a sculpting needle makes it perfect for drawing incredibly delicate lines, creating intricate patterns, or etching details like facial features, fur, or textile weaves.
- Scoring: When joining two pieces of clay, scoring the surfaces (making small cross-hatches with the needle) and applying slip helps create a stronger bond. The needle is ideal for this precise scoring.
- Cutting Small Pieces: For very small, precise cuts or removal of tiny clay bits from crevices, the needle is indispensable.
- Creating Holes: Similar to a toothpick but often sturdier, a sculpting needle can create very fine holes for stringing, wiring, or attaching minuscule elements.
Metal Loop Tools (Ribbon Tools): Shaping and Carving Hollows
Metal loop tools, often called ribbon tools due to their characteristic ribbon-like wire loops, are essential for carving, removing small amounts of clay, and shaping concave surfaces.
- Hollowing Out: These tools are brilliant for removing excess clay from the interior of a sculpture to make it lighter, help it dry more evenly, and prevent cracking. They come in various sizes and shapes (round, square, teardrop) to suit different needs.
- Carving and Shaping: The sharp edges of the metal loops allow you to carve precise grooves, define contours, and create textures. They are excellent for refining anatomical features like eye sockets, lips, or the subtle curves of organic forms.
- Trimming and Smoothing Curves: For trimming excess clay from curved edges or smoothing out the interiors of bowls or vessels, a well-chosen ribbon tool can achieve a seamless finish. The curved loops follow natural forms, preventing flat spots.
- Variety is Key: Having a set with different loop shapes and sizes will give you the versatility to tackle a wide range of carving and hollowing tasks, from tiny details to larger sculptural forms.
By integrating these tools into your air dry clay practice, you’ll find your creative possibilities expanding exponentially. Remember, while specific tools are useful, the most important ingredient is your imagination and a willingness to experiment. Happy sculpting!
FAQs
What is air dry clay?
Air dry clay is a type of clay that hardens without the use of a kiln or oven. It is a popular choice for craft projects and sculpting because it is easy to work with and does not require special equipment for drying.
What are the best tools for working with air dry clay?
Some of the best tools for working with air dry clay include clay modeling tools, rolling pins, cutting tools, texture mats, and shaping tools. These tools can help with shaping, smoothing, and adding texture to the clay.
What are some essential tools for beginners working with air dry clay?
For beginners working with air dry clay, essential tools include a basic set of clay modeling tools, a rolling pin, and a cutting tool. These tools will help beginners get started with shaping and sculpting their clay creations.
Are there any specialized tools for advanced air dry clay artists?
Advanced air dry clay artists may benefit from specialized tools such as fine detail sculpting tools, specialized texture mats, and precision cutting tools. These tools can help advanced artists create intricate and detailed clay sculptures.
Where can I purchase air dry clay tools?
Air dry clay tools can be purchased at art supply stores, craft stores, and online retailers. There are many options available, ranging from basic tool sets for beginners to specialized tools for advanced artists.