So, you’ve decided to dive into the wonderfully tactile world of air-dry clay. That’s fantastic! You’re about to embark on a creative journey that’s accessible to everyone, offering instant gratification without the need for a kiln. But as with any new craft, there are a few fundamental techniques that will elevate your experience from potentially frustrating to immensely rewarding. Think of this as your essential toolkit, the secrets that will help you transform a lump of clay into something you’ll be proud to display. We’re going to cover the absolute must-knows, the techniques that will prevent common pitfalls and unlock your creative potential right from the get-go.
Before you even think about shaping your masterpiece, there’s a crucial first step that many beginners overlook: preparing your clay. Skipping this can lead to a host of problems down the line, from difficult-to-work-with clay to unsightly cracks.
Understanding Your Clay
Air-dry clay is a wonderfully versatile material. Unlike traditional fired clays, it hardens through exposure to air, making it incredibly convenient. However, it can also be prone to drying out too quickly or becoming brittle if not handled correctly. Understanding its nature is the first step to mastering it.
The Kneading Ritual: Conditioning Your Clay
This is arguably the most important technique for any beginner. You’ve likely opened a fresh package of air-dry clay, and it might feel a bit firm, a little stiff, or even crumbly. This is where kneading, or “conditioning,” comes in. Think of it like kneading dough for bread; you’re working the clay to make it more pliable and uniform.
Why Kneading Matters
Kneading breaks down any air pockets trapped within the clay. These air pockets are a major culprit for cracks during the drying process. When the clay dries and shrinks, the air pockets expand and can cause the clay to break apart. Kneading also disperses the moisture evenly throughout the clay, making it smoother and easier to shape.
How to Knead Effectively
Begin by taking a manageable portion of clay. You don’t need to condition the entire package at once. Fold the clay over onto itself, then push down and away with the heels of your hands. Rotate the clay and repeat this folding and pressing motion. You’ll feel the clay gradually become softer, more elastic, and less prone to tearing. Continue kneading until the clay feels smooth, supple, and has a consistent texture throughout. It should be soft enough to press your thumb into without resistance but firm enough to hold its shape. If your clay feels too dry or is still crumbly after a good kneading, you can add a tiny amount of water, a drop or two at a time, and knead it in thoroughly. Be very sparing with water, as too much will make the clay sticky and difficult to manage.
The Art of Joining: Making Your Pieces Whole
One of the most common challenges for beginners is attaching two pieces of clay together securely. Simply pressing them together often results in a weak bond that can separate during drying or handling. This is where the “score and slip” technique becomes your best friend.
Understanding the Bond: Why Simple Pressing Fails
When you press two smooth surfaces of clay together, they essentially just sit on top of each other. There’s no real intermingling of the clay particles to create a strong, unified bond. As the clay dries and shrinks, this superficial connection easily gives way.
The “Score and Slip” Secret Weapon
This technique is not just for air-dry clay; it’s a fundamental ceramic technique used for centuries, and for good reason. It’s about creating a strong, molecular bond between the two pieces of clay.
Scoring: Creating a Surface for Grip
The first step is “scoring.” This involves scratching or roughening up the surfaces of both pieces of clay that you intend to join. You can use a dedicated scoring tool, a small fork, a craft knife, or even the edge of a plastic tool. The goal is to create a cross-hatched pattern of small grooves or scratches on both surfaces. This increases the surface area and provides a rough texture for the “slip” to adhere to.
Slip: The Clay Adhesive
“Slip” is essentially a watery mixture of clay. You can make your own by taking a small amount of your air-dry clay and mixing it with water until it has the consistency of thick cream or yogurt. You can also buy pre-made slip, but making your own is simple and ensures compatibility with your clay. Apply a thin layer of this slip to both scored surfaces.
The Marriage of Clay: Pressing and Smoothing
Now, with both scored surfaces coated in slip, firmly press the two pieces together. You want to ensure good contact. Once they are pressed together, gently but firmly smooth the seam where the two pieces meet. You can use your fingers, a damp sponge, or a clay tool to blend the edges of the seam. This smoothing action not only reinforces the bond but also removes any excess slip that might otherwise cause a shiny or weakened area once dried. The goal is for the seam to appear as if it was always one continuous piece of clay.
Building for Strength: Thickness and Structure
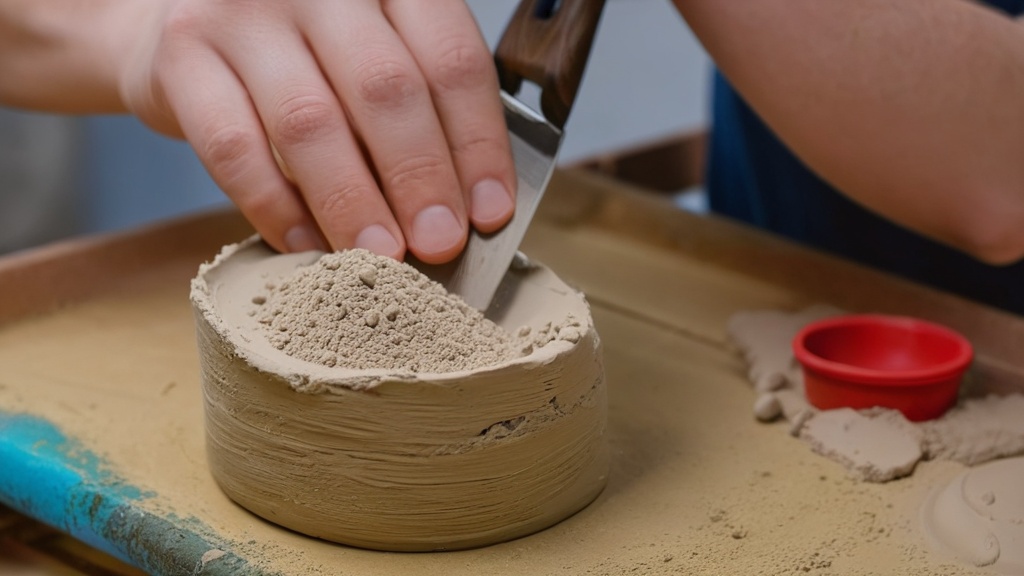
The thickness of your clay is a critical factor in the success of your projects. Many beginner pieces break or warp because they are too thin in some areas and too thick in others. Achieving an even thickness provides structural integrity.
The Perils of Uneven Thickness
When clay dries, it shrinks. If one part of your project is significantly thinner than another, it will shrink at a faster rate. This differential shrinkage can create stress within the clay, leading to warping, curling, or even outright breakage. Think of it like trying to stretch a rubber band that’s thicker on one side – it’s going to twist and distort.
Achieving Uniformity: Best Practices
Slab Construction: The Even Foundation
If you’re working with slabs of clay (flat sheets), try to roll them out to a consistent thickness. Using a rolling pin with guides or even two dowel rods of the same diameter on either side of your clay can help you achieve this. If you’re cutting shapes from a slab, ensure the slab itself is even to begin with.
Sculptural Forms: Wall Thickness Matters
For hollow forms or sculpted pieces, pay close attention to the thickness of your walls. Avoid making parts of your sculpture paper-thin, as these will be the most vulnerable. Aim for a consistent wall thickness throughout. If you’re building up a form, ensure each layer you add is blended smoothly into the existing clay, maintaining an even thickness. You can use a thin, flat tool to gently scrape away excess clay from thicker areas or add small amounts to thinner areas to achieve uniformity.
The “Rib” Test: Feeling for Evenness
A simple yet effective method is to use your fingers to feel the thickness of your walls. Gently press your thumb on the inside and your fingers on the outside, and feel for any significant variations. Tools like clay ribs can also be used to smooth and equalize the surface, indirectly helping with thickness.
The Smoothing Stage: Pristine Surfaces Before the Cure
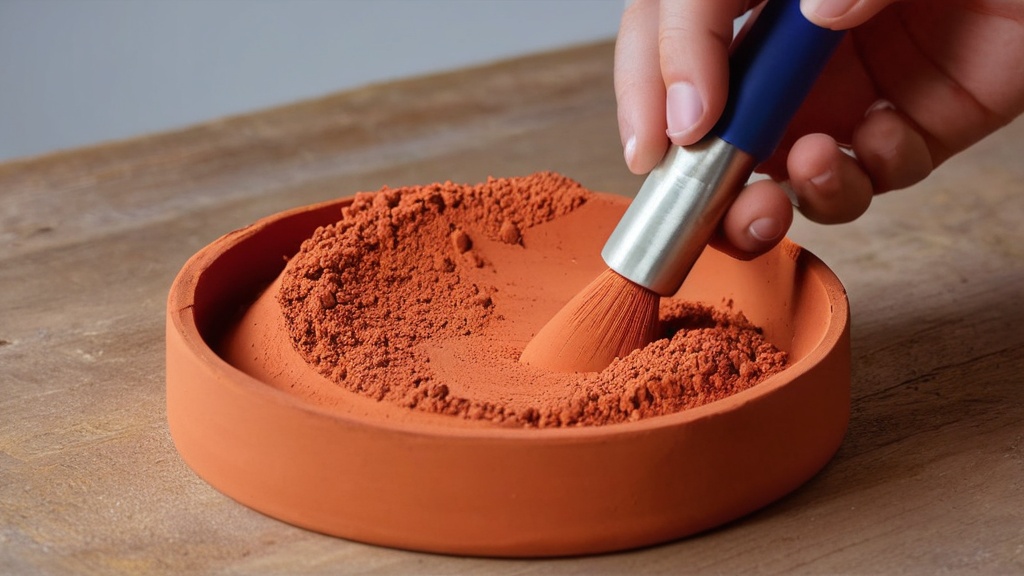
This is where you refine your work and achieve that polished look. Smoothing while the clay is wet is much easier and more effective than trying to sand down a dried, rough surface.
The Importance of Wet Smoothing
As air-dry clay begins to dry, it becomes more difficult to manipulate and smooth without leaving marks or damaging the details. Working with wet clay allows you to easily blend seams, remove fingerprints, and fix minor imperfections.
Your Smoothing Toolkit: Simple and Effective
Damp Fingers: The Direct Approach
Your own fingers are often the best tools for smoothing. After shaping and joining, gently run damp fingertips over the surface. The moisture helps to blend any rough edges or tool marks. Be careful not to use too much water, as this can make the clay sticky and cause it to lose its shape.
The Humble Sponge: A Watery Whisper
A small, slightly damp sponge is another excellent smoothing tool. You can use it to gently wipe away excess clay, blend seams, and remove any fuzziness that might appear on the surface. Again, the key is “slightly damp,” not soaking wet. You can also use a very fine-grit sandpaper on very lightly dampened clay for an almost porcelain-like finish, but this requires a delicate touch.
Water Droplets: Precision Touch-Ups
For small imperfections or to revive a slightly dried area, a tiny drop of water applied with a fine brush or the tip of your finger can work wonders. Work the water into the clay gently until the surface is smooth.
Clay Tools: For Detail and Refinement
Beyond basic smoothing, various clay tools can help with refining surfaces, especially in detailed areas. Ribs, loop tools, and even the flat side of a craft knife can be used to create smooth planes or blend specific areas without disturbing the overall form.
The Patience Game: Drying Your Creation
| Technique | Description |
|---|---|
| Pinching | Creating pottery by pinching the clay with your fingers to form the shape. |
| Coiling | Building pottery by rolling out coils of clay and stacking them on top of each other. |
| Slab Building | Constructing pottery by rolling out flat slabs of clay and cutting and joining them together. |
| Sculpting | Creating three-dimensional forms by shaping and molding the clay with your hands and tools. |
| Texturing | Adding texture to the clay surface using various tools and techniques to create visual interest. |
This is where your hard work pays off, but it also requires the most patience. How you dry your air-dry clay is paramount to preventing cracks and ensuring the longevity of your finished piece.
The Enemy of Drying: Speed and Unevenness
Rushing the drying process or exposing your clay to uneven drying conditions is the primary cause of cracks. Think of it as controlled evaporation. Any sudden changes or inconsistencies can lead to stress fractures.
Slow and Steady Wins the Race: Optimal Drying Strategies
Gradual Air Exposure: The Gentle Approach
The most important rule is to let your clay dry slowly and gradually. Avoid placing your piece in direct sunlight, near a heater, or in a drafty area. These conditions will cause the outer layers of the clay to dry and shrink much faster than the inner layers, creating tension and cracks.
Flipping for Evenness: The Art of Balance
Once the surface of your piece feels dry to the touch (this might take several hours, depending on the size and thickness), it’s a good idea to carefully flip it over. This ensures that the underside also gets adequate air circulation and dries evenly. You might need to prop up the piece gently with small cushions or crumpled paper to allow air to flow underneath.
Airflow is Key: The Natural Environment
Ensure there’s good airflow around your piece, but avoid strong drafts. A well-ventilated room is ideal. The goal is consistent, ambient air exposure.
The Waiting Game: Time and Observation
The drying time for air-dry clay can vary significantly. Small, thin pieces might dry in 24-48 hours, while larger, thicker pieces can take several days, even up to a week, to dry completely. You’ll know your piece is dry when it feels uniformly hard and has lost its coolness to the touch. Don’t be tempted to speed things up; patience is your greatest asset here.
Dealing with Drying Challenges: The Inevitable Crack
Despite your best efforts, a small crack may sometimes appear during the drying process. Don’t despair! This is a common occurrence with air-dry clay, and it’s usually fixable.
Repairing with Freshness: The Second Chance
If you spot a crack, you can repair it with fresh clay or slip. For small cracks, apply a bit of your prepared slip into the crack and gently press it in. For larger cracks, you might want to push some fresh, softened clay into the crack. Once filled, smooth the area with your fingers or a tool to blend it in. Then, allow the repaired area to dry completely, along with the rest of your piece.
Keeping Your Shape: Supports for Success
For irregularly shaped pieces or those with delicate elements, using supports during the drying process can be a lifesaver.
Molds and Armatures: The Unsung Heroes
If you’re working with a mold, the mold itself provides the support. For free-form sculptures, you can create simple armatures using crumpled newspaper, cardboard, or even wire (though be mindful of rust with wire). These supports help maintain the integrity of the shape as the clay dries and shrinks.
Coil Supports: Gentle Foundations
For bowls or vases, you can create a foundation of rolled coils to support the base and prevent it from collapsing inwards as it dries. These can be removed once the clay is sufficiently firm.
Finishing Touches: Protecting and Enhancing Your Art
Once your air-dry clay piece is completely dry, you have a blank canvas for further decoration and protection.
The Purpose of Sealing
While air-dry clay is hard, it’s not inherently waterproof or as durable as fired ceramics. Sealing your finished work provides several benefits: it protects against moisture and wear, enhances the colors of paints and finishes, and gives it a more professional and durable appearance.
Your Sealing Options: A Protective Shield
Water-Based Varnishes: The Versatile Choice
Water-based craft varnishes are an excellent option for beginners. They are readily available, easy to use, and come in various finishes, from matte to glossy. They provide a good level of protection against dust and light handling.
Acrylic Varnishes: Enhanced Durability
Acrylic varnishes offer a slightly more durable finish than standard craft varnishes. They are also water-based and easy to clean up. Look for outdoor or heavy-duty acrylic varnishes for maximum protection.
Air-Dry Glazes: For a Ceramic Look
Some manufacturers offer specific “air-dry glazes” that are designed to give air-dry clay a look similar to fired glazed ceramics. These can add a beautiful sheen and a layer of protection.
How to Apply Your Sealant
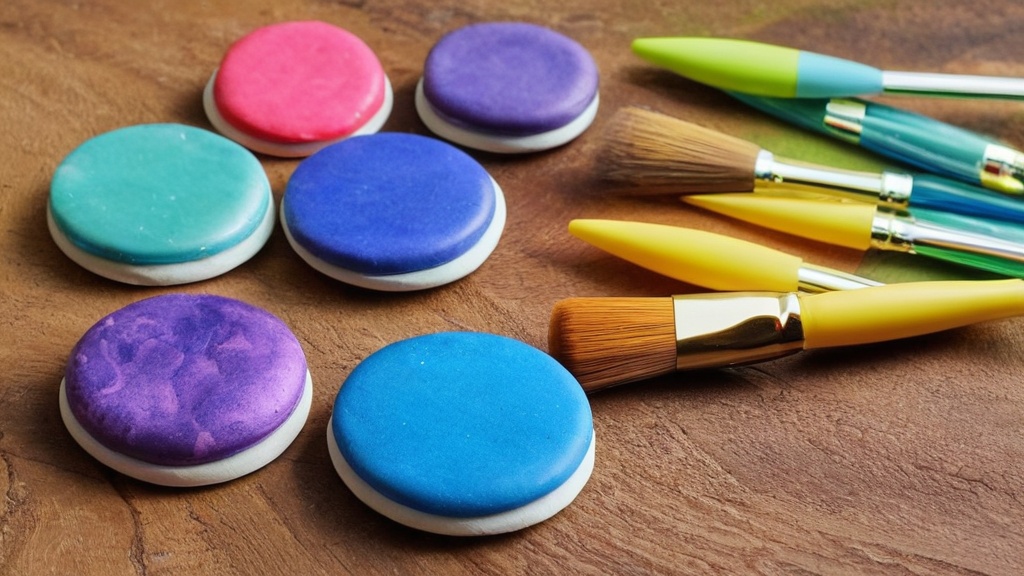
Ensure your clay piece is completely dry and free of any dust or debris. Apply your chosen sealant with a clean brush in thin, even coats. Allow each coat to dry thoroughly before applying the next. For varnishes, two to three coats are usually sufficient for good protection.
By mastering these fundamental air-dry clay techniques, you’ll be well on your way to creating beautiful, durable, and unique pieces. Remember that practice makes perfect, so don’t be afraid to experiment and discover what works best for you. Happy sculpting!
FAQs
What is air dry clay?
Air dry clay is a type of clay that hardens without the use of a kiln or oven. It is a popular choice for beginners and hobbyists because it is easy to work with and does not require special equipment for drying.
What are some basic techniques for working with air dry clay?
Some basic techniques for working with air dry clay include hand-building, sculpting, and using molds. Hand-building involves shaping the clay with your hands, while sculpting involves carving and shaping the clay to create detailed designs. Using molds allows you to create consistent shapes and designs.
How long does air dry clay take to dry?
The drying time for air dry clay can vary depending on the thickness of the clay and the humidity of the environment. In general, air dry clay can take anywhere from 24 hours to several days to dry completely.
What are some tips for painting air dry clay?
Before painting air dry clay, it is important to make sure the clay is completely dry and free of any dust or debris. It is recommended to use acrylic paints or water-based paints, as they adhere well to the surface of the clay. Additionally, sealing the painted clay with a clear varnish can help protect the paint and give the finished piece a glossy finish.
Can air dry clay be used for functional items?
While air dry clay is not as durable as kiln-fired clay, it can still be used to create functional items such as bowls, vases, and jewelry. However, it is important to note that air dry clay items may be more prone to breakage and should be handled with care.