Understanding Sculpey Air-Dry Clay Drying Times
You’ve just sculpted a masterpiece, your fingers are caked with clay, and your imagination is soaring. Now comes the waiting game: how long will it take for your Sculpey Air-Dry creation to become a solid, finished piece? This guide will walk you through everything you need to know about the drying process, ensuring your projects turn out perfectly. You’ll learn about the factors that influence drying time, specific recommendations for different Sculpey Air-Dry variants, and even how to strategically use your oven to accelerate the process. Understanding these nuances will help you plan your projects effectively and avoid common pitfalls like cracking or warping.
Factors Influencing Drying Speed
When you’re working with Sculpey Air-Dry clay, the idea of a fixed drying time is often an oversimplification. Several environmental and physical factors play a significant role in how quickly your creation transitions from pliable to fully hardened. Recognizing these variables allows you to better predict drying durations and take proactive steps to optimize the process.
Humidity and Temperature
The air around your clay piece is a major player in its drying journey. You’ll find that humidity, or the amount of moisture in the air, directly impacts how quickly water can evaporate from your clay. In a low-humidity environment, water molecules can escape the clay more readily, leading to faster drying times. Conversely, if you’re working in a humid climate, your clay will absorb moisture from the air or release its own moisture more slowly, extending the drying period significantly. Think of it like drying laundry – on a dry, sunny day, clothes dry quickly, but on a damp, rainy day, they take much longer.
Temperature also plays a role, though perhaps less pronounced than humidity for air-drying. Warmer temperatures generally encourage faster evaporation, which can slightly reduce drying times. However, extreme heat without careful monitoring can also lead to rapid surface drying while the interior remains wet, potentially causing cracks. The ideal scenario for air-drying is a room with low humidity and a comfortable room temperature.
Thickness and Density of Your Sculpture
Beyond the environment, the physical characteristics of your sculpture itself are critical. You’ll quickly discover that a thin, flat piece of Sculpey Air-Dry clay will dry much faster than a thick, solid sculpture. This is because water has a shorter distance to travel to the surface to evaporate from thinner pieces. For example, a delicate leaf or a thin coaster will likely be fully dry within 24 hours.
However, if you’re building a more substantial piece, like a solid figurine or a multi-layered structure, the drying time will naturally extend. The moisture in the core of a thick piece takes much longer to migrate to the surface and evaporate. Dense builds, where the clay is compacted tightly, also tend to hold onto moisture longer than more porous structures. For these types of projects, you should anticipate needing 24-48 hours, or even longer, especially if there are significant variations in thickness within the same piece. You might notice the surface feeling dry to the touch, but the core could still be damp, which can lead to issues if you try to paint or handle it too soon.
Surface Contact and Airflow
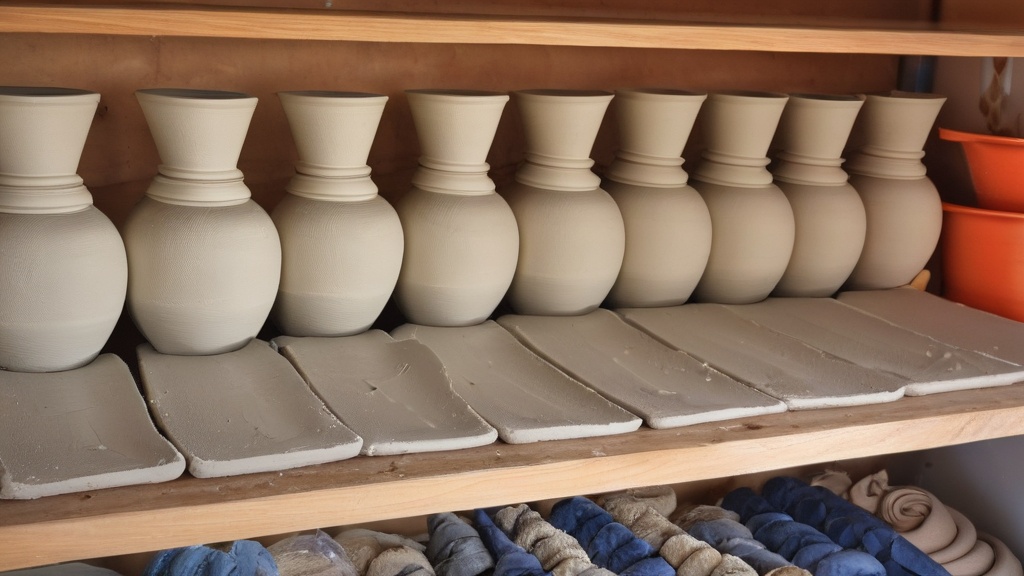
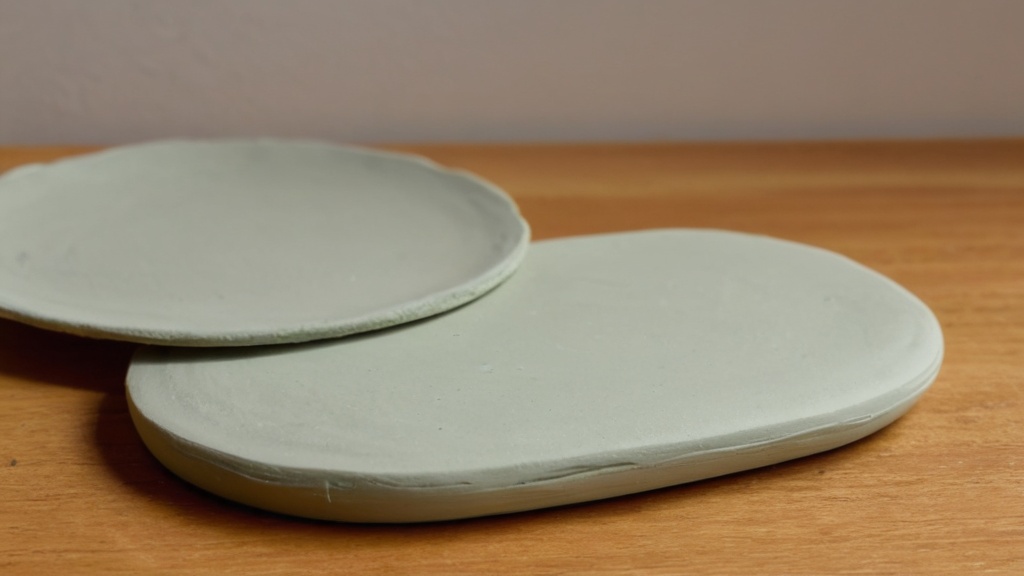
The surface your clay rests on and the amount of airflow around your piece are also important considerations. You’ll want to place your drying clay on a smooth, non-porous surface. Materials like parchment paper, a plastic cutting board, or even a ceramic tile work well. Porous surfaces, such as newspaper or cardboard, can absorb moisture from the clay unevenly, potentially leading to warping or sticking.
Good airflow around your piece is equally important. Ensure your sculpture isn’t placed in an enclosed space where air can’t circulate. Instead, find an open area where air can move freely around all sides of your creation. For flat pieces, you might even consider periodically turning them over. This helps to ensure even drying on both sides, preventing one side from drying faster than the other, which can lead to curling or warping. By managing these factors, you give your Sculpey Air-Dry projects the best chance for a smooth, crack-free dry.
Drying Times for Standard Sculpey Air-Dry Clay
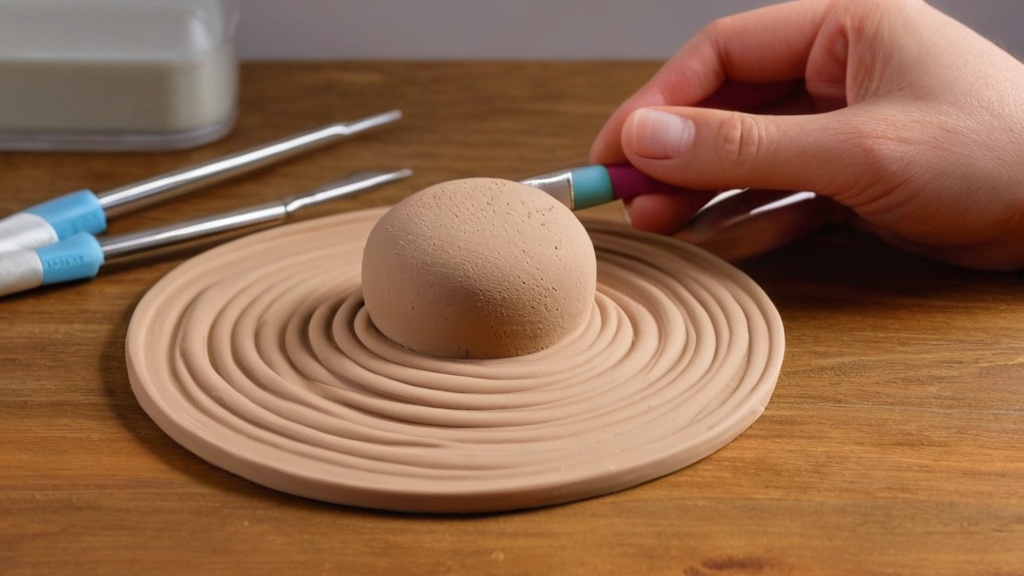
When you’re using the standard Sculpey Air-Dry™ Modeling Clay, you’ll find it’s quite forgiving, but understanding its specific drying characteristics is key to achieving the best results. This variant is popular for its ease of use and versatility, making it a go-to for many crafters.
Surface Dry and Initial Setting
You’ll typically notice that the surface of your standard Sculpey Air-Dry clay will begin to feel dry to the touch relatively quickly. For small, untouched pieces placed on a non-porous surface in a low-humidity environment, you can expect the surface to be dry or “set” within about two hours. This initial setting means the outer layer has hardened enough that you can gently touch it without leaving an impression or deforming the shape. However, it’s crucial to remember that “surface dry” is not the same as “fully dry.” While it might feel firm on the outside, the interior of your sculpture will still contain a significant amount of moisture. You shouldn’t attempt any rigorous handling or further manipulation at this stage, as the piece is still fragile and susceptible to damage.
Full Hardening for Typical Projects
For your typical small to medium-sized projects made with standard Sculpey Air-Dry clay, you should plan for full hardening at room temperature within approximately 24 hours. This timeframe applies to pieces that aren’t excessively thick or intricately layered. Many Sculpey project tutorials consistently recommend allowing an “overnight” drying period, or about 24 hours, before you proceed with painting, sealing, or any other finishing touches. This waiting period is critical because it ensures that the moisture content throughout the entire piece has sufficiently evaporated, making the clay strong enough to withstand further handling and decoration without risk of cracking, warping, or crumbling. Rushing this stage can lead to disappointment later when your paint cracks or the piece feels flimsy. Always err on the side of caution and give your projects ample time to fully cure.
Specifics for Sculpey Air-Dry Porcelain Clay
When you switch to Sculpey Air-Dry™ Porcelain Clay, you’ll notice a distinct difference in its drying requirements compared to the standard modeling clay. This variant is prized for its smooth finish and porcelain-like qualities, but these attributes come with a need for a more patient drying process.
Extended Drying for Porcelain Clay
You should be prepared for a longer drying period when working with Sculpey Air-Dry Porcelain Clay. Due to its unique composition, which gives it that fine, smooth texture and durability, it generally requires more time for the moisture to completely evaporate from the body of the clay. You can expect project completion and full drying to take anywhere from 2 to 4 days. This range is dependent on factors like the ambient temperature, humidity levels in your drying area, and, of course, the thickness of your specific sculpture. Thicker pieces will always lean towards the longer end of this spectrum, potentially even exceeding 4 days in very humid conditions.
This extended drying time is essential to prevent internal stresses that could lead to cracking or warping as the clay cures. Rushing the process with porcelain clay is particularly risky, as its fine particle structure is more susceptible to these issues if not dried properly and thoroughly. You’ll find that patience is your greatest ally when working with this beautiful medium.
Initial Setting and Handling
Even with its longer overall drying time, you’ll still want to allow your Sculpey Air-Dry Porcelain Clay pieces to remain undisturbed for approximately 24 hours after sculpting. This initial period is crucial for the outer layers to set and harden sufficiently. During these first 24 hours, the clay undergoes its most significant initial stiffening, which helps to lock in your sculpted shape.
Leaving your pieces undisturbed during this critical phase ensures they acquire enough structural integrity before you even consider handling them or beginning any decorating. Attempting to move or manipulate the clay too soon, even if the surface feels firm, can compromise its internal structure and potentially lead to deformations or cracks that only become apparent as it continues to dry. After this initial 24-hour setting period, you can carefully move the piece to a new drying spot if necessary, but you should still plan for the additional days needed for full, through-body drying before any final embellishments or strenuous handling.
Expediting Drying with Your Oven
| Type of Sculpey Air Dry Clay | Thickness | Drying Time | Notes |
|---|---|---|---|
| Sculpey Air-Dry Clay Original | 1/4 inch (6 mm) | 24 hours | Drying time may vary with humidity and temperature |
| Sculpey Air-Dry Clay Original | 1/2 inch (12 mm) | 48 hours | Thicker pieces require longer drying time |
| Sculpey Air-Dry Clay Original | 1 inch (25 mm) | 72 hours or more | Ensure even drying by turning piece periodically |
| Sculpey Air-Dry Clay Plus | 1/4 inch (6 mm) | 24-36 hours | More durable when dry |
| Sculpey Air-Dry Clay Plus | 1/2 inch (12 mm) | 48-72 hours | May require longer drying in humid conditions |
While air-drying is the traditional method for Sculpey Air-Dry clays, you might find yourself in situations where you need your project to dry faster. The good news is that Sculpey confirms you can indeed use your oven to speed up the process. However, this method requires careful attention and adherence to specific guidelines to prevent damage to your creation.
Recommended Oven Temperature and Duration
If you decide to use your oven, you should set it to a low temperature. Sculpey recommends baking air-dry clay at 200 °F (approximately 93 °C). It’s crucial not to exceed this temperature, as higher heat can cause the clay to dry too quickly on the surface while the interior is still wet, leading to significant cracking, warping, or even scorching. Always ensure your oven thermometer is accurate if you’re unsure about your oven’s calibration.
The duration for baking depends heavily on the thickness of your clay piece. For thin pieces, such as delicate leaves, small beads, or flat embellishments, you can expect a minimum baking time of 20 minutes. However, for thicker pieces, you’ll need to bake them for longer. It’s imperative that you check your pieces frequently throughout the baking process. You’ll want to inspect them every 10-15 minutes, especially for larger items, to ensure even drying and to catch any signs of cracking early. The goal is to gently warm the clay to accelerate evaporation, not to cook it.
Precautions for Oven Drying
Using the oven can be a great time-saver, but it comes with several precautions you must observe. Firstly, never place very wet or freshly sculpted clay directly into a hot oven. It’s often beneficial to let the piece air-dry for an hour or two first to allow some initial surface moisture to evaporate. This reduces the shock of rapid heat exposure.
Secondly, ensure your clay piece is placed on an oven-safe surface, such as a ceramic tile, parchment-lined baking sheet, or aluminum foil. Avoid putting clay directly on a metal baking sheet, as direct contact with hot metal can cause uneven heating.
Thirdly, pay close attention to the development of cracks. If you notice small hairline cracks starting to form, it’s often a sign that the clay is drying too quickly, or that it was too thick to begin with. In such cases, you might try removing the piece from the oven, allowing it to cool and air-dry for a while, and then gently moistening the cracks with a tiny bit of water to try and smooth them out before attempting further oven drying at an even lower temperature or slower pace. Over-drying in the oven can lead to brittle pieces that are prone to breaking. The oven should be used as a tool to accelerate drying, not as a substitute for careful monitoring and a gradual process. Always prioritize the integrity of your sculpture over speed.
Best Practices for Optimal Drying
To ensure your Sculpey Air-Dry projects dry successfully, without warping, cracking, or becoming flimsy, adopting a few best practices will serve you well. These habits apply regardless of the specific Sculpey Air-Dry variant you’re using, focusing on creating the most conducive environment for curing.
Selecting the Right Drying Surface
You’ll find that the surface you choose for drying plays a surprisingly crucial role in the outcome of your project. The best practice is to always dry your Sculpey Air-Dry pieces on a smooth, non-porous surface. Think along the lines of parchment paper, a plastic cutting board, a ceramic tile, a glass pane, or even waxed paper. These materials prevent the clay from sticking and, more importantly, ensure that moisture can evaporate evenly from all exposed surfaces of the clay.
Avoid porous materials like newspaper, bare wood, cardboard, or unfinished terra cotta. These surfaces can absorb moisture from the clay unevenly, leading to one side drying faster than the other. This differential drying is a common culprit behind warping, where your flat pieces might curl up at the edges or your three-dimensional sculptures might distort. Furthermore, porous surfaces can sometimes leach dyes or fibers into your clay, potentially marring your finished piece. Starting with the right surface sets the foundation for a problem-free drying process.
Ensuring Even Airflow and Turning Pieces
Even airflow around your sculpture is critical for consistent drying. You should place your projects in an area where air can circulate freely around them, rather than in an enclosed space like a box or a cupboard. A well-ventilated room, perhaps near an open window (but out of direct drafts that could dry it too quickly), is ideal.
For flat items, such as coasters, plaques, or jewelry components, it’s best practice to periodically turn them over. You might do this every few hours during the initial drying phase, and then once or twice a day for thicker items. Turning flat pieces helps to expose both sides evenly to the air, preventing one side from drying and shrinking faster than the other, which is a primary cause of warping. If you notice a flat piece starting to curl, gently turning it and perhaps placing a light, flat object on top (once it’s firm enough) can sometimes help to correct the issue as it continues to dry.
For three-dimensional pieces, try to position them so that as much surface area as possible is exposed to the air. If part of your sculpture is resting directly on the drying surface, consider elevating it slightly using small props or carefully rotating it once it has sufficiently hardened to avoid flat spots or uneven drying in those contact areas.
Monitoring for Cracks and Warping
Throughout the entire drying process, you’ll need to act as a vigilant observer, checking your pieces regularly for any signs of cracking or warping. Early detection allows for potential intervention. Small hairline cracks often appear as a result of uneven drying, especially if a piece is very thick or has sudden changes in thickness. If you spot tiny cracks forming, you can sometimes mend them by gently moistening the area with a small amount of water on your finger or a soft brush, and then carefully smoothing the clay back together. This is most effective when the cracks are superficial and the clay isn’t fully hardened.
Warping, as mentioned, is often due to differential drying. If a flat piece starts to curl, turning it over and ensuring even airflow can help. For larger pieces, if you notice significant distortion, you might try to gently reshape it while it’s still somewhat pliable, but this needs to be done with extreme care to avoid further damage.
Remember that a slow, consistent dry in a stable environment is always preferable to rapid drying. By providing a suitable drying surface, ensuring good airflow, and regularly checking your projects, you significantly increase your chances of achieving perfectly cured, durable Sculpey Air-Dry creations. Patience and observation are your most valuable tools here.
Quick Reference for Sculpey Air-Dry Clay Drying
To help you quickly determine drying times for your projects, here’s a concise rule-of-thumb guide that consolidates the key information you’ve learned. This will allow you to confidently plan your creative process, from initial sculpt to final embellishment, ensuring your Sculpey Air-Dry pieces achieve optimal durability and finish.
Small, Thin Pieces
When you’re working on small or thin creations with standard Sculpey Air-Dry clay, you can generally plan for a complete drying time of 24 hours. This applies to items like thin jewelry components, small decorative embellishments, flat cut-outs, or delicate figures that don’t have significant bulk. These pieces have less moisture to release and a larger surface-area-to-volume ratio, allowing for quicker evaporation. While the surface might feel dry within a couple of hours, giving it the full 24 hours ensures that the entire piece, including its core, has sufficiently hardened and strengthened, making it ready for painting, sealing, or careful handling without risk of damage.
Larger, Thicker, or Layered Builds
For projects that involve larger dimensions, significant thickness, or multiple layers of standard Sculpey Air-Dry clay, you should extend your drying timeline. Plan for 24–48+ hours. This longer duration is crucial because the moisture trapped within the deeper sections of the clay needs more time to migrate to the surface and evaporate. If you’re in a humid room, you should anticipate leaning towards the longer end of this scale, or even adding more time, as high humidity significantly slows down the evaporation process. Layered builds also require extra consideration, as each layer needs to dry thoroughly to prevent internal moisture pockets that can lead to cracking or softening later on. It’s always better to allow too much drying time than too little for these more substantial creations.
Porcelain Variant and Intricate Work
If your artistic vision leads you to use Sculpey Air-Dry Porcelain Clay or if you’re creating very intricate pieces with any air-dry clay, you’ll need to allocate an even more generous drying period. For the porcelain variant, or for highly detailed and delicate work, allow 2–4 days for safe, through-body drying. The unique composition of porcelain clay and the potential for delicate structures in intricate work necessitate this extended period. This ensures that the clay fully cures, developing its intended strength and smooth finish without any internal stresses that could lead to cracks or breakage. For very thick porcelain pieces, or in particularly humid conditions, you might even consider allowing an extra day or two beyond this general guideline to guarantee complete drying. Patience truly pays off when working with these more refined clays.
FAQs
How long does Sculpey air dry clay take to dry completely?
Sculpey air dry clay typically takes about 24 hours to dry completely, depending on the thickness of the piece and the humidity levels in the environment. Thicker pieces may take longer to dry, while thinner pieces may dry faster.
Can I speed up the drying process of Sculpey air dry clay?
Yes, you can speed up the drying process by placing the clay in a warm, dry area or using a fan to circulate air around it. However, avoid using direct heat sources like hair dryers or ovens, as they can cause the clay to crack.
What factors can affect the drying time of Sculpey air dry clay?
Several factors can affect the drying time, including the thickness of the clay, the humidity and temperature of the environment, and the airflow around the piece. Higher humidity can slow down the drying process, while warmer temperatures can speed it up.
Is it safe to paint or seal Sculpey air dry clay before it is fully dry?
It is recommended to wait until Sculpey air dry clay is fully dry before painting or sealing it. Applying paint or sealant too early can trap moisture, leading to potential issues like bubbling or peeling.
What should I do if my Sculpey air dry clay piece cracks while drying?
If your Sculpey air dry clay piece cracks while drying, you can repair it by mixing a small amount of fresh clay with water to create a paste. Apply the paste to the cracks and smooth it out, then allow it to dry again.