Air-Dry Clay: An Accessible Medium for Every Classroom
You, as a dedicated educator, are constantly seeking innovative and engaging ways to bring art into your classroom, especially if you lack access to a kiln or extensive art supplies. Air-dry clay emerges as a fantastic solution, offering unparalleled accessibility, versatility, and a wealth of creative possibilities for students of all ages. This remarkable material hardens simply by exposure to air, eliminating the need for specialized equipment and making it a budget-friendly option for your art curriculum. From simple pinch pots to intricate sculptures and even functional gifts, air-dry clay provides a tactile, hands-on experience that fosters fine motor skills, spatial reasoning, and imaginative thinking. You’ll find that incorporating air-dry clay projects not only enriches your art lessons but can also serve as a powerful tool for cross-curricular integration, allowing your students to explore concepts from science, history, and literature through a creative lens.
Why Choose Air-Dry Clay for Your Students?
When considering art materials for your classroom, you’ll discover that air-dry clay stands out for several compelling reasons. Its ease of use and forgiving nature make it ideal for students, from preschoolers to older learners, who are developing their dexterity and creative confidence. You don’t need to worry about the complexities of kiln firing, which often requires significant training, space, and a substantial budget. Instead, you can focus purely on the creative process and the educational outcomes.
Accessibility and Cost-Effectiveness
One of the primary benefits you’ll appreciate about air-dry clay is its remarkable accessibility. It’s readily available from a wide range of suppliers, both online and in physical craft stores, and generally comes at a much lower cost per pound than traditional ceramic clay. This makes it an excellent choice if you’re working with a limited art budget, allowing you to provide a rich, three-dimensional art experience without financial strain. You can even find grant opportunities, such as the DonorsChoose project “Air-Dry Clay & Paint: Pinch Pot Dessert Sculptures” [5], which specifically requests AMACO air-dry clay and acrylics, demonstrating its widespread recognition as a valuable classroom material. This type of project can serve as an excellent model for you to emulate when seeking funding for your own classroom clay initiatives.
Versatility and Diverse Project Potential
The versatility of air-dry clay is truly astounding. You can mold it, sculpt it, roll it, cut it, and even combine it with other materials once dry. This opens up a vast array of project possibilities for your students, far beyond simple modeling. For instance, a new art-ed article from The Art of Education University [1] highlights innovative ideas like stitched clay panels, where students pierce and sew yarn through dried clay, or shadow-casting abstract forms. Imagine your students creating faux “fossil” fragments mounted on board or inventing their own organisms, as suggested in the same article. These ideas showcase how air-dry clay can be pushed beyond traditional expectations, allowing for truly unique and engaging outcomes. Furthermore, for younger learners, an Edutopia feature recently highlighted outdoor learning activities using air-dry clay, such as creating “tree faces” by sticking clay pancakes to trunks and decorating them with natural materials, or crafting stick-and-clay hedgehogs [12]. These types of projects demonstrate the material’s adaptability to various learning environments and age groups.
Enhancing Fine Motor Skills and Sensory Development
Working with air-dry clay is a profoundly tactile experience, which is incredibly beneficial for your students’ development. As they manipulate the clay, they are constantly engaging their fine motor skills, strengthening their hand muscles, and improving their hand-eye coordination. The sensory input from the clay—its cool temperature, pliable texture, and earthy scent—also contributes to a rich sensory experience that can be calming and focusing for many learners. You’ll observe students developing greater dexterity and control as they pinch, roll, coil, and sculpt, skills that transfer to other areas of their learning.
Essential Techniques and Classroom Management
To successfully integrate air-dry clay into your curriculum, you’ll want to familiarize yourself with some basic techniques and consider practical classroom management strategies. Preparing your students and your workspace effectively will ensure a smooth and enjoyable creative process for everyone. You’ll find that with a little planning, even large groups of students can engage in clay projects with minimal fuss.
Basic Clay Handling and Preparation
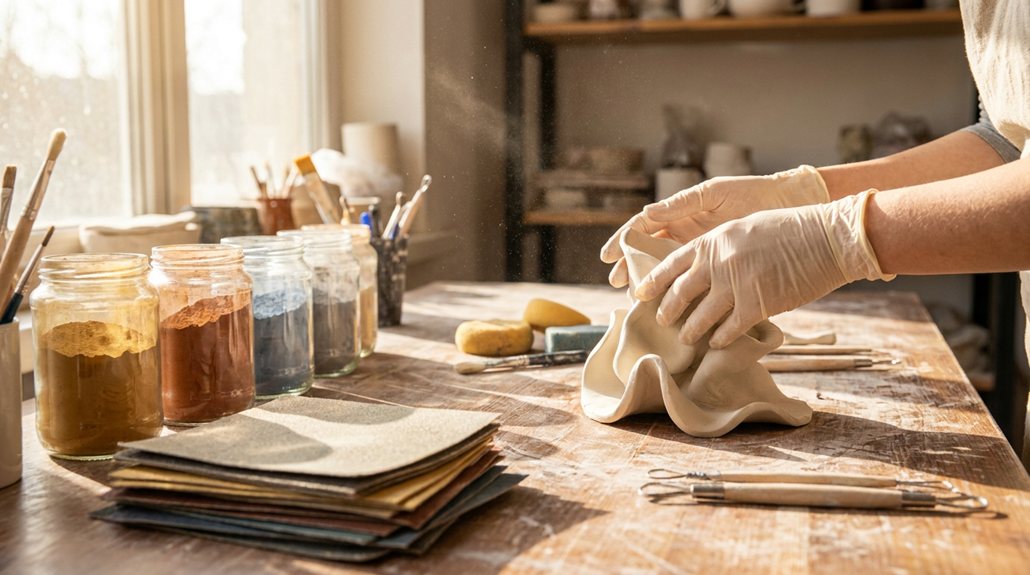
Before your students even touch the clay, a brief introduction to its properties and basic handling techniques will be invaluable. You can demonstrate how to condition the clay, which involves gently kneading it to make it more pliable and remove any air bubbles. This step is crucial for preventing cracks later.
Keeping Clay Workable
One of the most common challenges you might encounter is the clay drying out too quickly. You can easily mitigate this by teaching your students to keep their hands slightly damp (but not wet) while working. Provide small cups of water for them to dip their fingers into. When students need to take a break or store their unfinished pieces overnight, instruct them to wrap their work tightly in plastic wrap or place it in an airtight container. For larger chunks of unused clay, store them in sealed plastic bags, perhaps with a damp paper towel if they feel a bit stiff.
Joining Clay Pieces
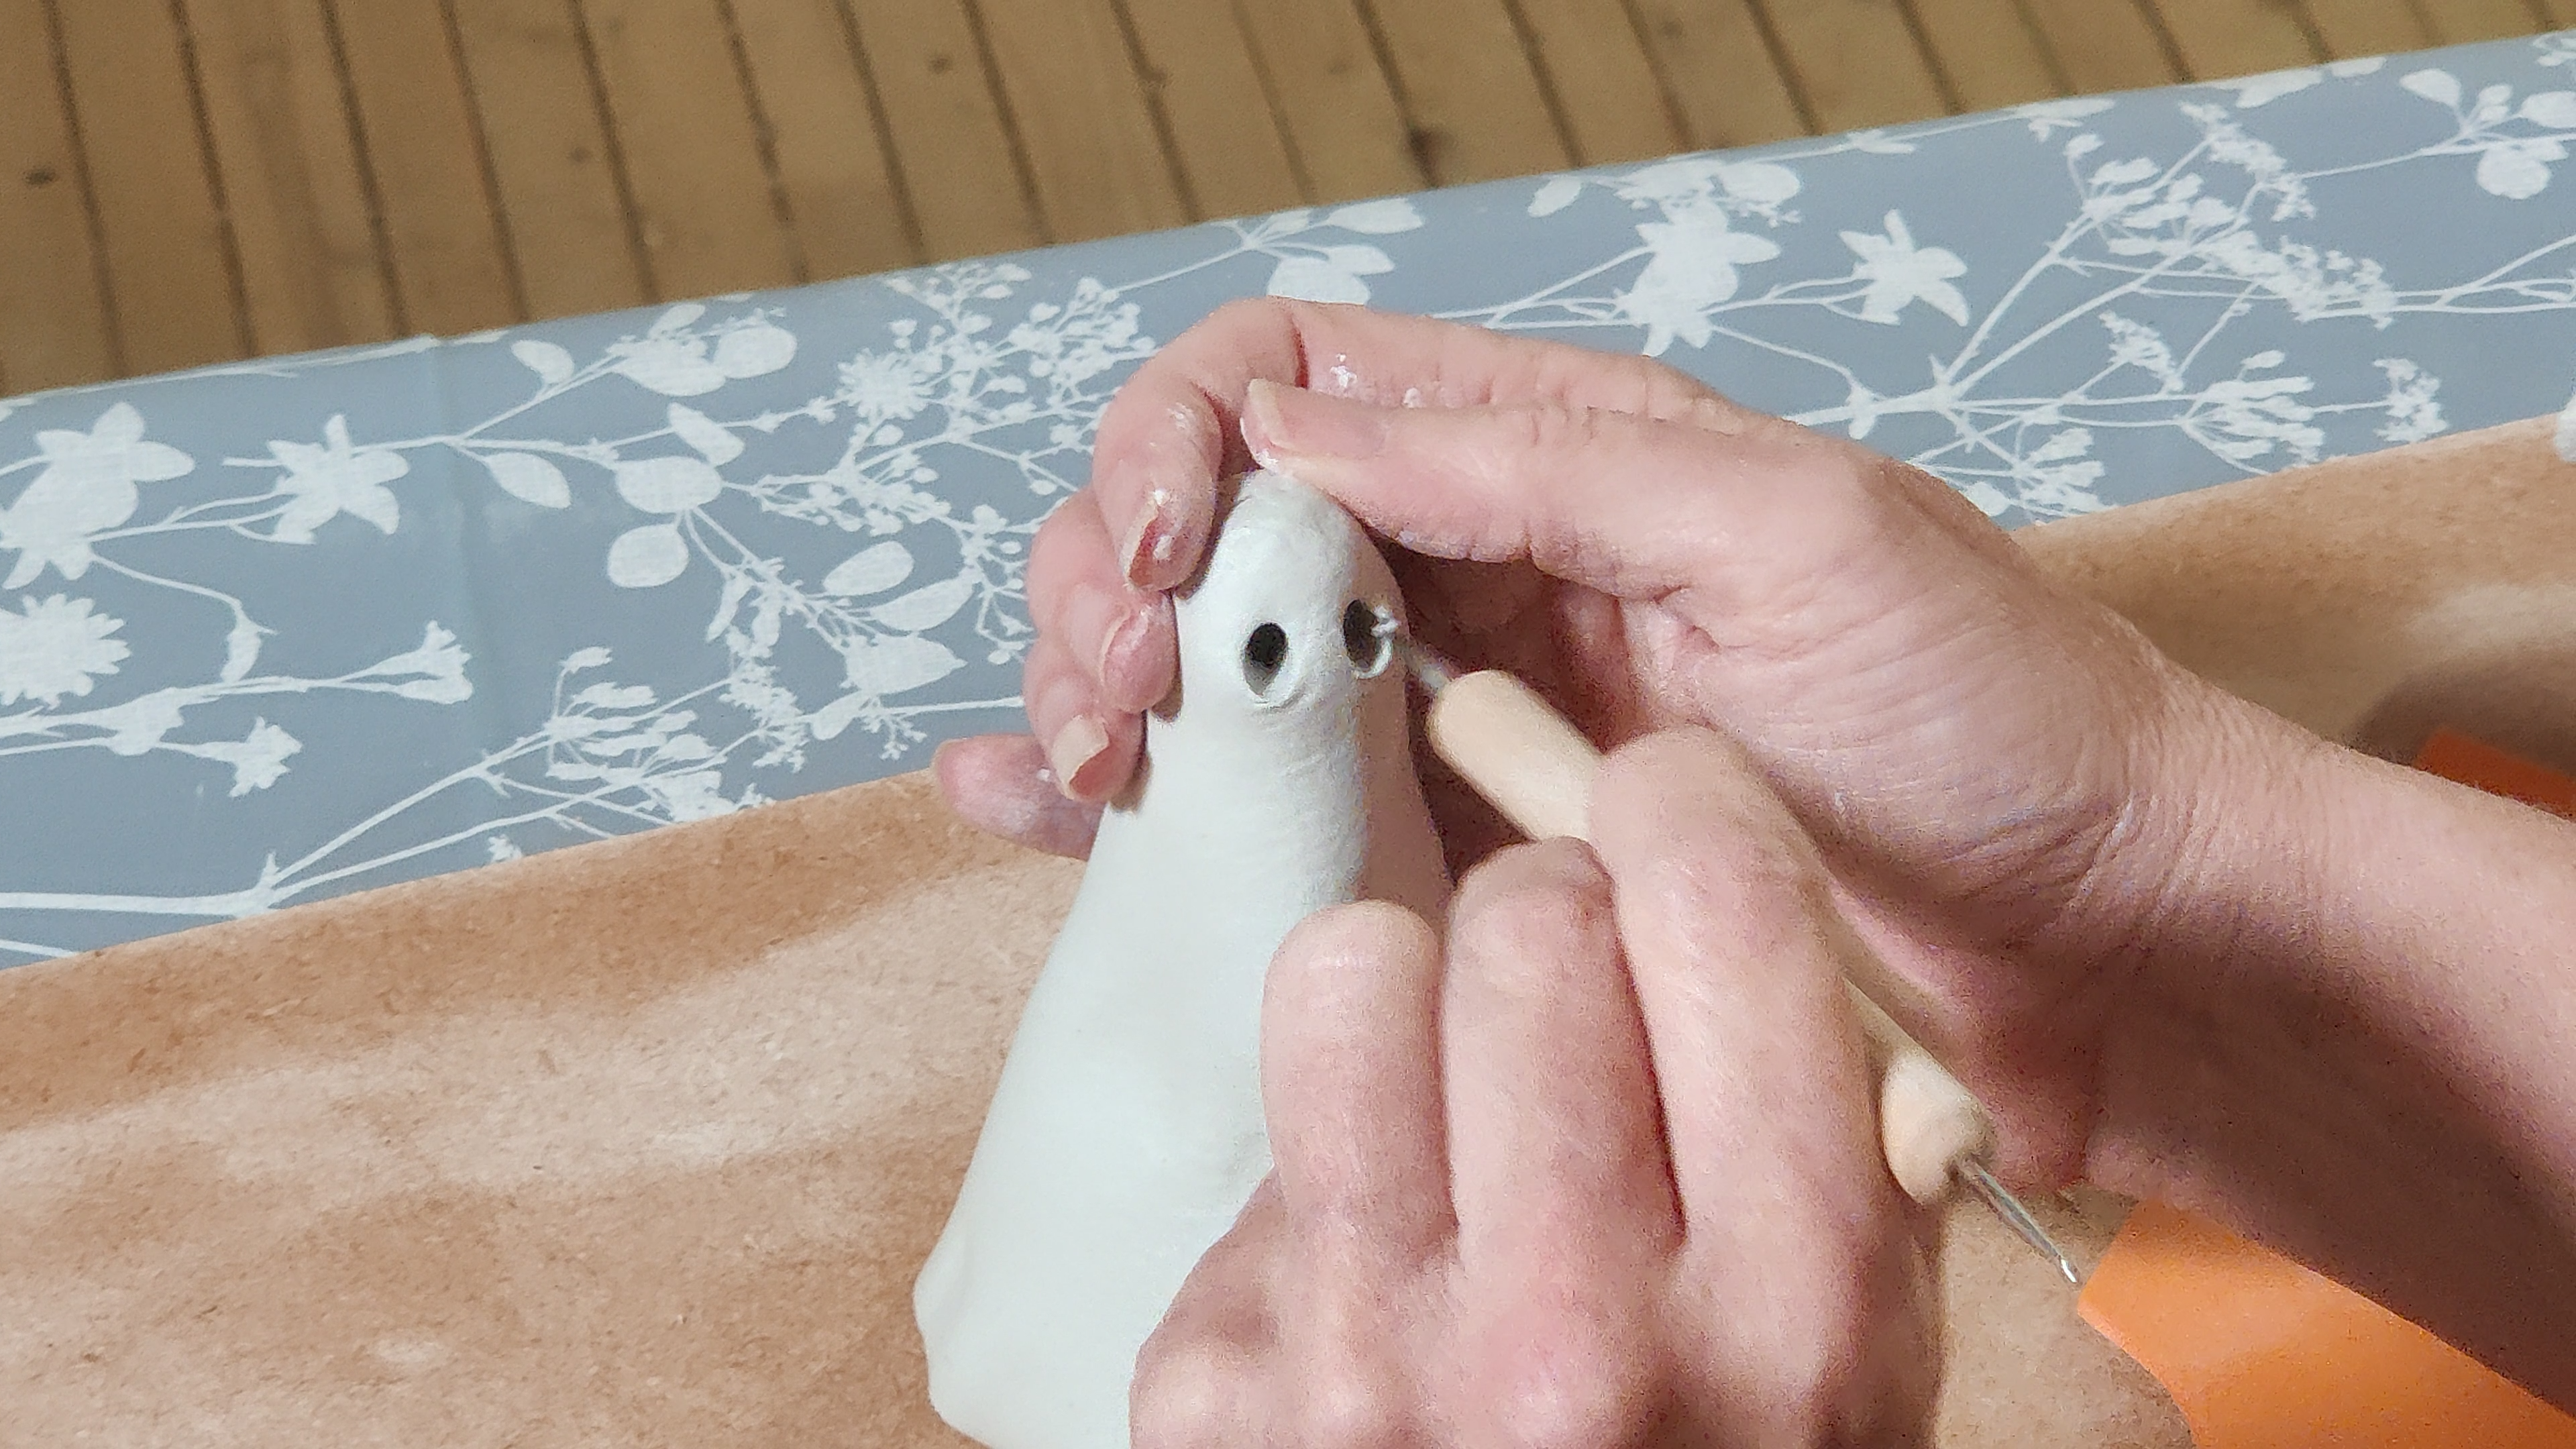
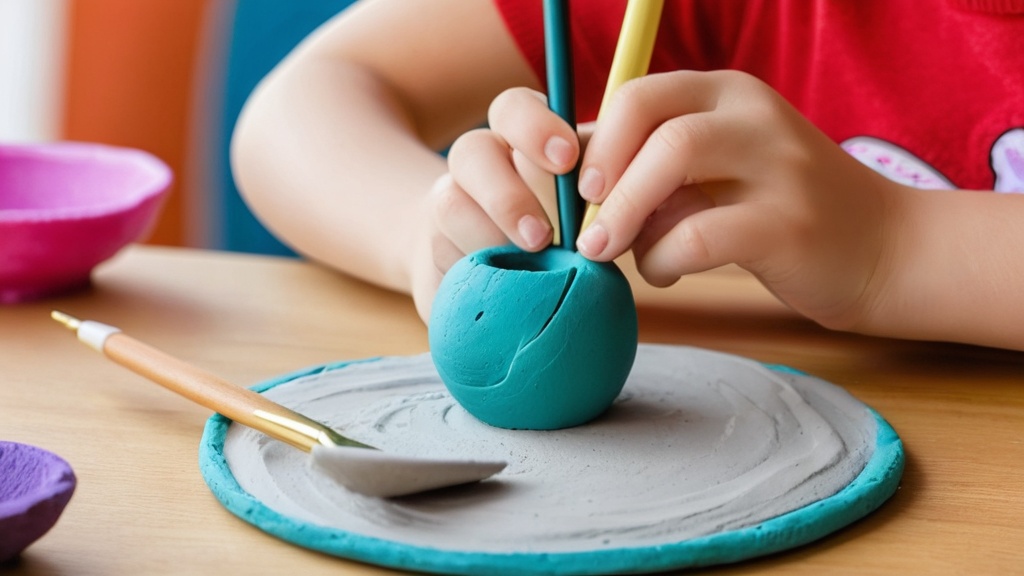
When your students are constructing more complex forms, they’ll need to know how to join two pieces of clay securely. The fundamental technique is called “score and slip.” You’ll demonstrate how to scratch crisscross lines (score) on both surfaces that are to be joined, then apply a small amount of “slip” (a watery clay mixture, which you can easily make by mixing a bit of clay with water) to the scored areas. Finally, press the pieces firmly together, gently blending the seam. This creates a strong bond, reducing the likelihood of pieces breaking off once dry.
Drying and Finishing Your Clay Creations
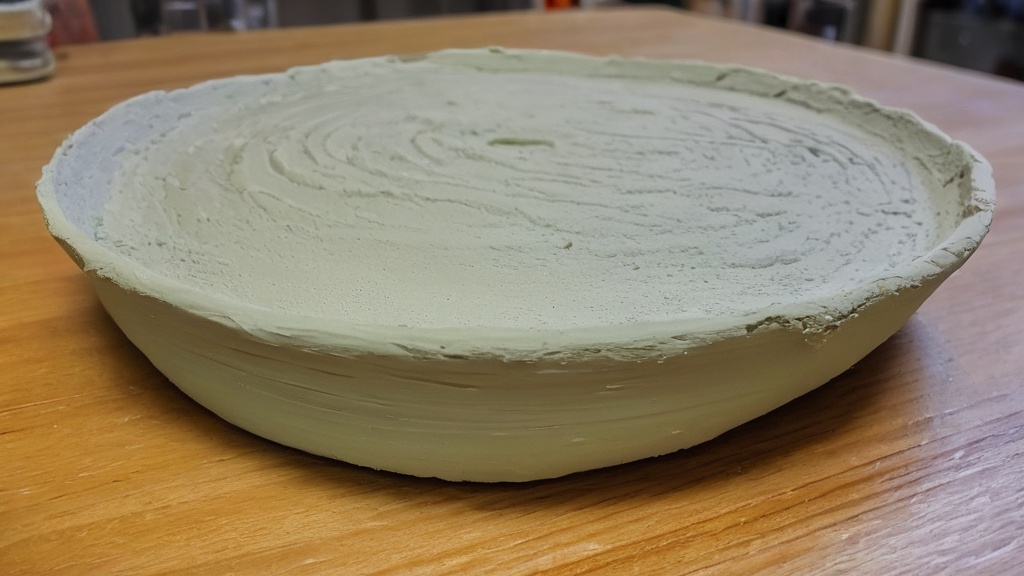
The drying process is where air-dry clay lives up to its name. Patience is key here, as rushing the drying can lead to cracks. Once completely dry, your students’ creations are ready for the exciting stage of embellishment.
The Drying Process Explained
Explain to your students that air-dry clay needs to dry slowly and evenly. Suggest placing their finished pieces on a wire rack or an absorbent surface (like newspaper or cardboard) in a well-ventilated area, away from direct sunlight or heat sources, which can cause rapid, uneven drying and subsequent cracking. The drying time will vary depending on the thickness of the piece and the humidity of your environment, but typically takes 24-72 hours, or even longer for very thick pieces. Emphasize that the clay needs to feel completely cool to the touch and uniform in color before it is considered fully dry. Once dry, some air-dry clays may feel slightly lighter in weight.
Painting and Sealing
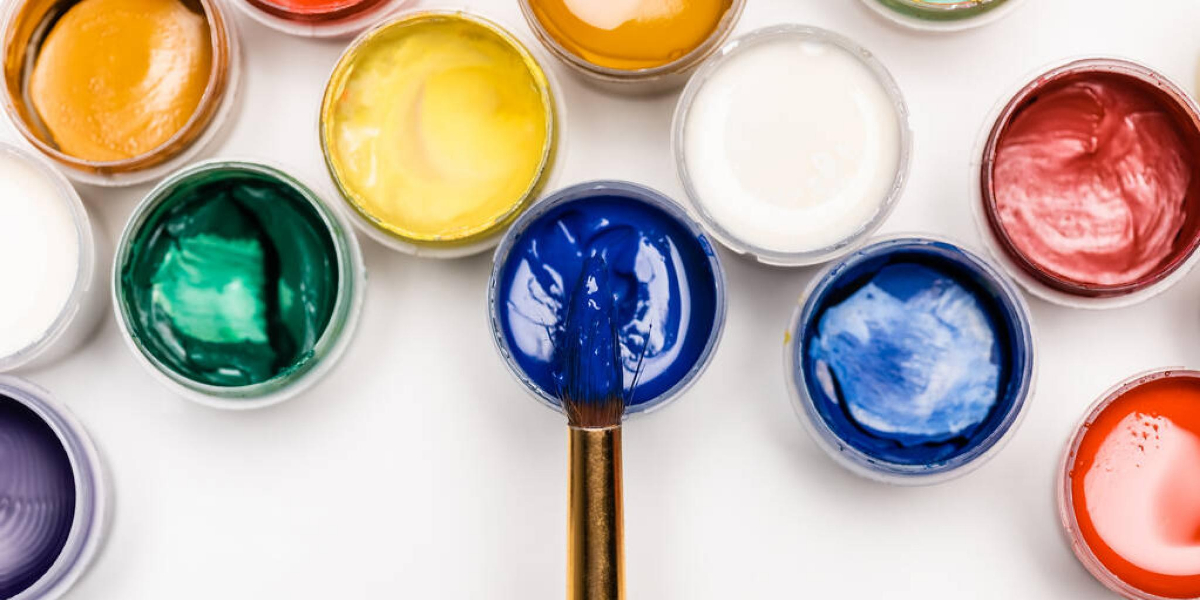
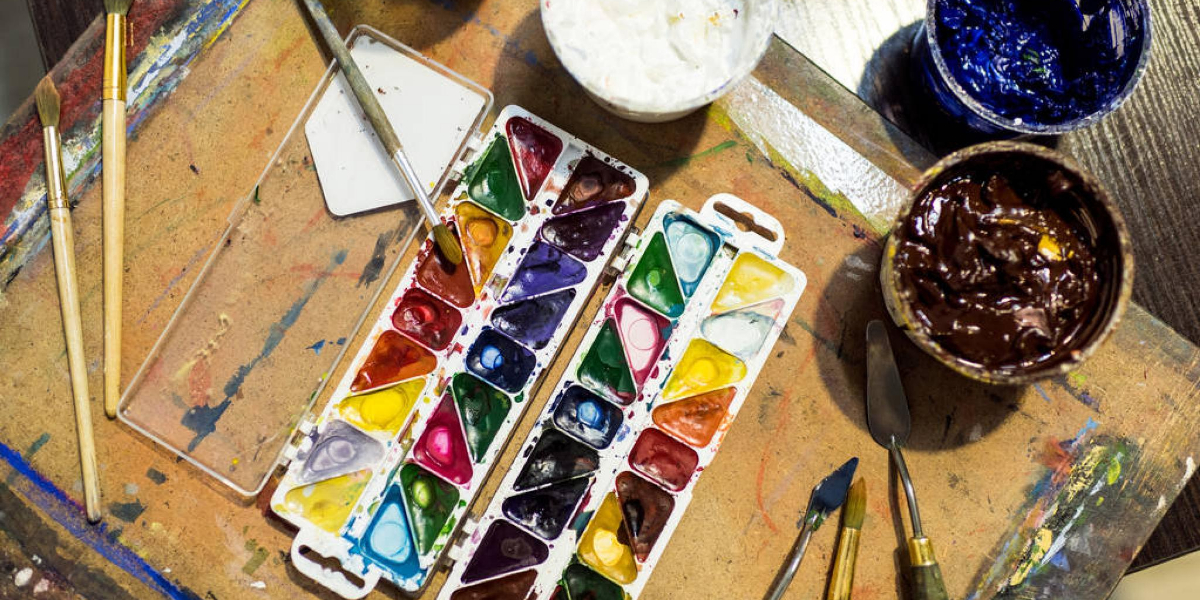
After the clay is bone dry, it’s ready for decoration! Acrylic paints are an excellent choice because they adhere well to air-dry clay, are vibrant, and are water-resistant once dry. You can encourage your students to experiment with color mixing, as seen in the “Pinch Pot Dessert Sculptures” project [5]. For a durable finish, especially if the piece will be handled frequently or needs a slight sheen, you can apply a clear sealant. Mod Podge, clear acrylic spray, or brush-on varnishes work well. Remind students that air-dry clay is generally not food-safe or waterproof, so it’s best suited for decorative or non-functional items unless specifically labeled otherwise. ArtsIntegration.com even offers video resources for teachers, focusing on embellishments like marker designs on small sculptures and beads [14], showing that paint isn’t the only option for adding color.
Engaging Air-Dry Clay Projects for All Ages
Now that you’re equipped with the basics, let’s explore some inspiring air-dry clay projects that you can implement in your classroom. These ideas cater to different age groups and learning objectives, ensuring that you’ll find something suitable for your students. Remember, the goal is to foster creativity and provide a meaningful hands-on experience.
Projects for Younger Students (Pre-K to 2nd Grade)
For your younger learners, focus on projects that are simple, emphasize sensory exploration, and allow for immediate creative expression without too much pressure for perfection.
Nature-Inspired Sculptures
Connecting art with nature is a wonderful way to engage young children. As highlighted by Edutopia, you can have your students create “tree faces” by pressing flat pieces of air-dry clay onto tree trunks (or even onto large pieces of cardboard in the classroom) and then decorating them with natural materials they collect, such as leaves, twigs, seeds, and small stones [12]. Another delightful outdoor learning idea is to create stick-and-clay hedgehogs by pressing small pieces of clay onto sticks to form a body, then adding smaller sticks for quills. These activities encourage observation, fine motor skills, and an appreciation for the natural world.
Simple Pinch Pot Animals
Pinch pots are a fundamental clay technique and a perfect starting point for young sculptors. Teach your students to roll a ball of clay, then gently press their thumb into the center, pinching outwards to create a bowl shape. From this basic form, they can transform their pinch pots into animals by adding coils for tails, small balls for ears, or flattened pieces for wings. For example, they could make a “pinch pot frog” or a “pinch pot owl.” This project introduces basic sculptural concepts while allowing for imaginative animal creations. The “Pinch Pot Dessert Sculptures” project [5] is a slightly more advanced version of this for elementary students, where they create dessert-themed pinch pots and learn color mixing, which you could adapt for younger grades by simplifying the dessert elements.
Projects for Elementary and Middle School Students (3rd to 8th Grade)
For older students, you can introduce more complex techniques and project concepts, encouraging them to think more deeply about form, texture, and narrative.
Invented Organisms and Faux Fossils
Drawing inspiration from The Art of Education University’s suggestions [1], challenge your students to invent their own organisms. This project can be linked to science, encouraging them to consider adaptations, habitats, and unique characteristics. They can sculpt creatures with multiple eyes, unusual limbs, or unique textures. Alternatively, you can guide them in creating faux “fossil” fragments. Have them press various textured objects (leaves, shells, toys, small plastic animals) into slabs of air-dry clay, then carefully remove the objects to reveal an imprint. They can then cut these slabs into irregular “fossil” shapes, allowing them to dry, paint them with earthy tones, and perhaps even mount them on small boards to simulate a museum display. This connects to paleontology and geological concepts.
Stitched Clay Panels and Abstract Forms
Another innovative idea from The Art of Education University [1] is stitched clay panels. Students can roll out a slab of clay, allow it to become leather-hard, and then carefully pierce holes along its edges or in a design using a skewer or needle tool. Once the clay is completely dry, they can use colorful yarn or embroidery floss to “stitch” through the holes, creating a unique mixed-media piece. This introduces elements of fiber art and design. For abstract forms, encourage students to sculpt non-representational shapes that explore balance, tension, or movement. A particularly intriguing idea is creating shadow-casting abstract forms [1], where the piece is designed to cast interesting shadows when light shines upon it, integrating principles of light and optics into the art project.
Integrating Air-Dry Clay Across the Curriculum
Air-dry clay is not just for art class; it’s a powerful tool for cross-curricular integration, allowing you to reinforce concepts from other subjects in a hands-on, creative way. You, as a teacher, can leverage this versatility to make learning more engaging and memorable for your students. ArtsIntegration.com offers video resources for teachers on air-dry clay projects specifically aimed at integrating hands-on making across subjects [14], demonstrating the widespread recognition of its potential.
Connecting Art with History and Culture
You can use air-dry clay to bring historical and cultural topics to life. Imagine your students reconstructing historical artifacts or representing cultural symbols.
Ancient Artifacts and World Cultures
If you’re studying ancient civilizations, your students can create replicas of artifacts such as Egyptian scarabs, Greek pottery fragments, or Roman coins using air-dry clay. They can research the original artifacts, then attempt to recreate their forms and decorations. This helps them visualize and understand the material culture of different societies. Similarly, when exploring world cultures, students can create small sculptures representing animals, symbols, or masks relevant to a specific culture they are studying, like African masks or indigenous animal totems. This deepens their appreciation for global diversity and introduces them to the rich artistic traditions of various peoples.
Historical Figures and Events
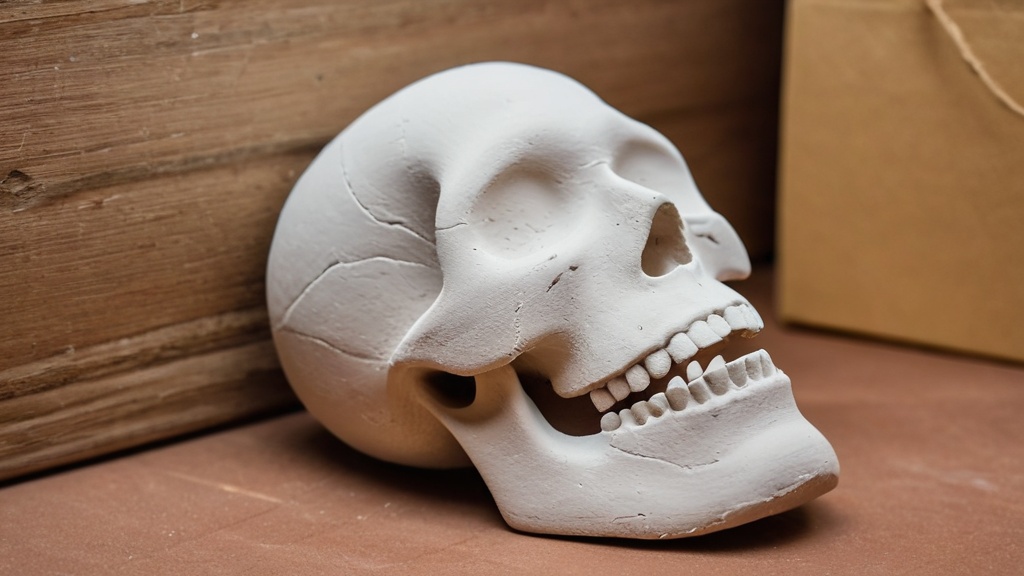
Challenge your students to create small busts or relief sculptures of historical figures they are learning about. This requires them to research the individual’s appearance and significance, translating that knowledge into a three-dimensional form. Alternatively, they could create dioramas or small scene elements depicting key historical events, like a model of a specific landmark or an important battle scene. This makes history more tangible and interactive, moving beyond textbook learning.
Science, Literature, and Math Through Clay
The tactile nature of clay makes it an excellent medium for exploring scientific principles, illustrating literary concepts, and even demonstrating mathematical ideas.
Scientific Models and Ecosystems
In science class, you can have your students sculpt models of cells, organs, or even molecules. This helps them visualize complex structures in a tangible way. For environmental science, they could create models of different ecosystems (forest, desert, ocean) complete with clay representations of plants and animals. This fosters a deeper understanding of biological concepts and ecological relationships. The invented organisms project [1] also ties directly into biology, encouraging students to consider evolutionary adaptations and biodiversity.
Literary Character Sculptures and Storytelling
When reading a novel or short story, ask your students to sculpt a key character, an important object from the story, or even a setting. This encourages them to visualize and interpret the text in a creative way, bringing the characters and narrative to life. They can share their sculptures and explain their artistic choices, deepening their understanding of literary analysis and symbolism. You could also have them create a series of small clay pieces that tell a story, acting as three-dimensional illustrations.
Geometric Forms and Measurement
For mathematics, air-dry clay can be used to construct various geometric solids, such as cubes, spheres, pyramids, and cylinders. Students can explore the properties of these shapes, count their faces, edges, and vertices, and even measure their dimensions. This provides a hands-on approach to geometry, making abstract concepts more concrete. They could also experiment with creating symmetrical designs or patterns, reinforcing concepts of symmetry and repetition.
Celebrating Student Creations and Practical Considerations
| Project Name | Grade Level | Estimated Time | Materials Needed | Skills Developed | Class Size Suitability |
|---|---|---|---|---|---|
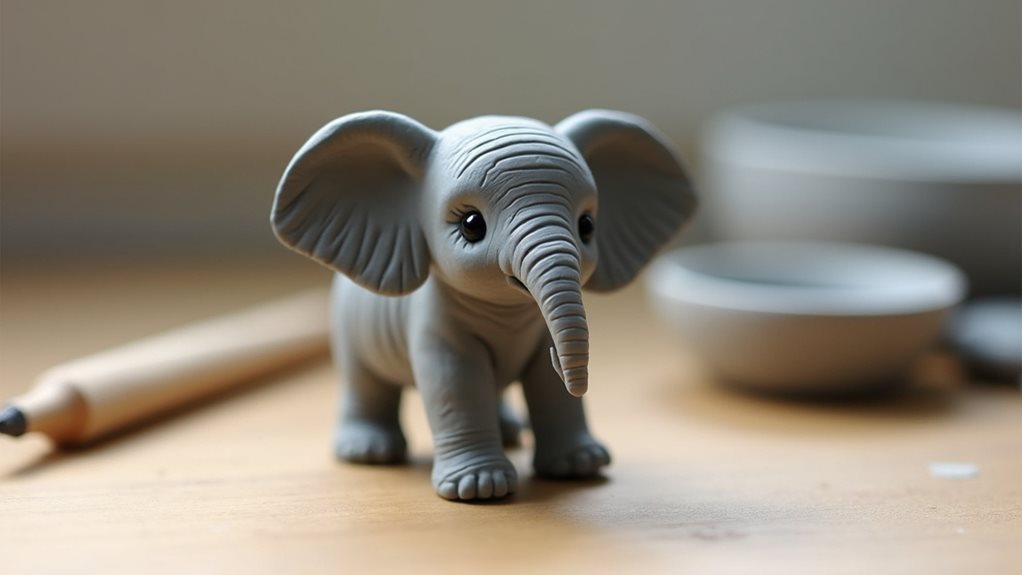
| Animal Figurines | 1-3 | 45 minutes | Air dry clay, paint, brushes | Fine motor skills, creativity | Small to medium |
| Decorative Bowls | 4-6 | 1 hour | Air dry clay, rolling pin, paint, sealant | Hand-eye coordination, design | Medium |
| Personalized Name Tags | 2-5 | 30 minutes | Air dry clay, letter stamps, paint | Letter recognition, creativity | Large |
| Holiday Ornaments | 3-6 | 1 hour | Air dry clay, cookie cutters, paint, string | Creativity, planning | Medium |
| Miniature Food Models | 5-8 | 1.5 hours | Air dry clay, sculpting tools, paint | Detail work, patience | Small to medium |
Once your students have poured their creativity into their air-dry clay projects, it’s essential to celebrate their achievements and consider practical aspects like storage and potential uses for their finished pieces. You’ll find that these final steps are just as important for fostering a positive and enriching art experience.
Displaying and Appreciating Student Work
Showcasing student art is crucial for building self-esteem and creating a vibrant learning environment. You can create a temporary “gallery” in your classroom or school hallway, inviting others to admire the hard work and creativity of your students. Encourage students to write a short artist’s statement about their piece, describing their inspiration, techniques, or what they learned. This develops their reflective skills and helps them articulate their creative process.
Turning Projects into Gifts
Air-dry clay projects offer a wonderful opportunity for students to create meaningful gifts. Retail craft inspiration pages now highlight air-dry clay teacher gifts, such as handmade perpetual calendars and trinket dishes [10]. You can adapt these ideas for your students, allowing them to create personalized gifts for parents, guardians, or other teachers. Imagine students crafting small decorative bowls, picture frames, or even holiday ornaments. For instance, weekly-updated project idea hubs often feature seasonal projects like Christmas ornaments and quick 30-minute builds [11], which can be ideal for student-made gifts. These projects not only provide an artistic outlet but also teach the value of thoughtful giving and appreciation. The “2026-branded class gift packs” using soft air-dry clay for “build your own snowman” kits [4] also provide inspiration for festive, gift-oriented projects you can adapt for your classroom.
Curriculum Planning and Resource Management
Integrating air-dry clay successfully into your teaching requires some thoughtful planning regarding curriculum and managing your resources effectively.
Ready-Made Curriculum and Project Ideas
You don’t have to start from scratch when planning air-dry clay projects. There are excellent ready-made resources available. For example, an “Air Dry Clay Elementary Art Curriculum” download [3] offers 2 units and 14 projects, covering skills from basic molding and pinch pots to coils and small sculptures. This can be an invaluable starting point, providing structured lessons and clear objectives for your students. Beyond full curricula, many craft-education sites maintain weekly-updated air-dry clay idea lists [11], foregrounding seasonal projects and quick 30-minute builds that can be easily slotted into your classroom schedule for a burst of creativity. The Art of Education University’s article with “4 Unique Air-Dry Clay Project Ideas” [1] is another fantastic source for fresh, inspiring concepts.
Smart Storage and Supply Organization
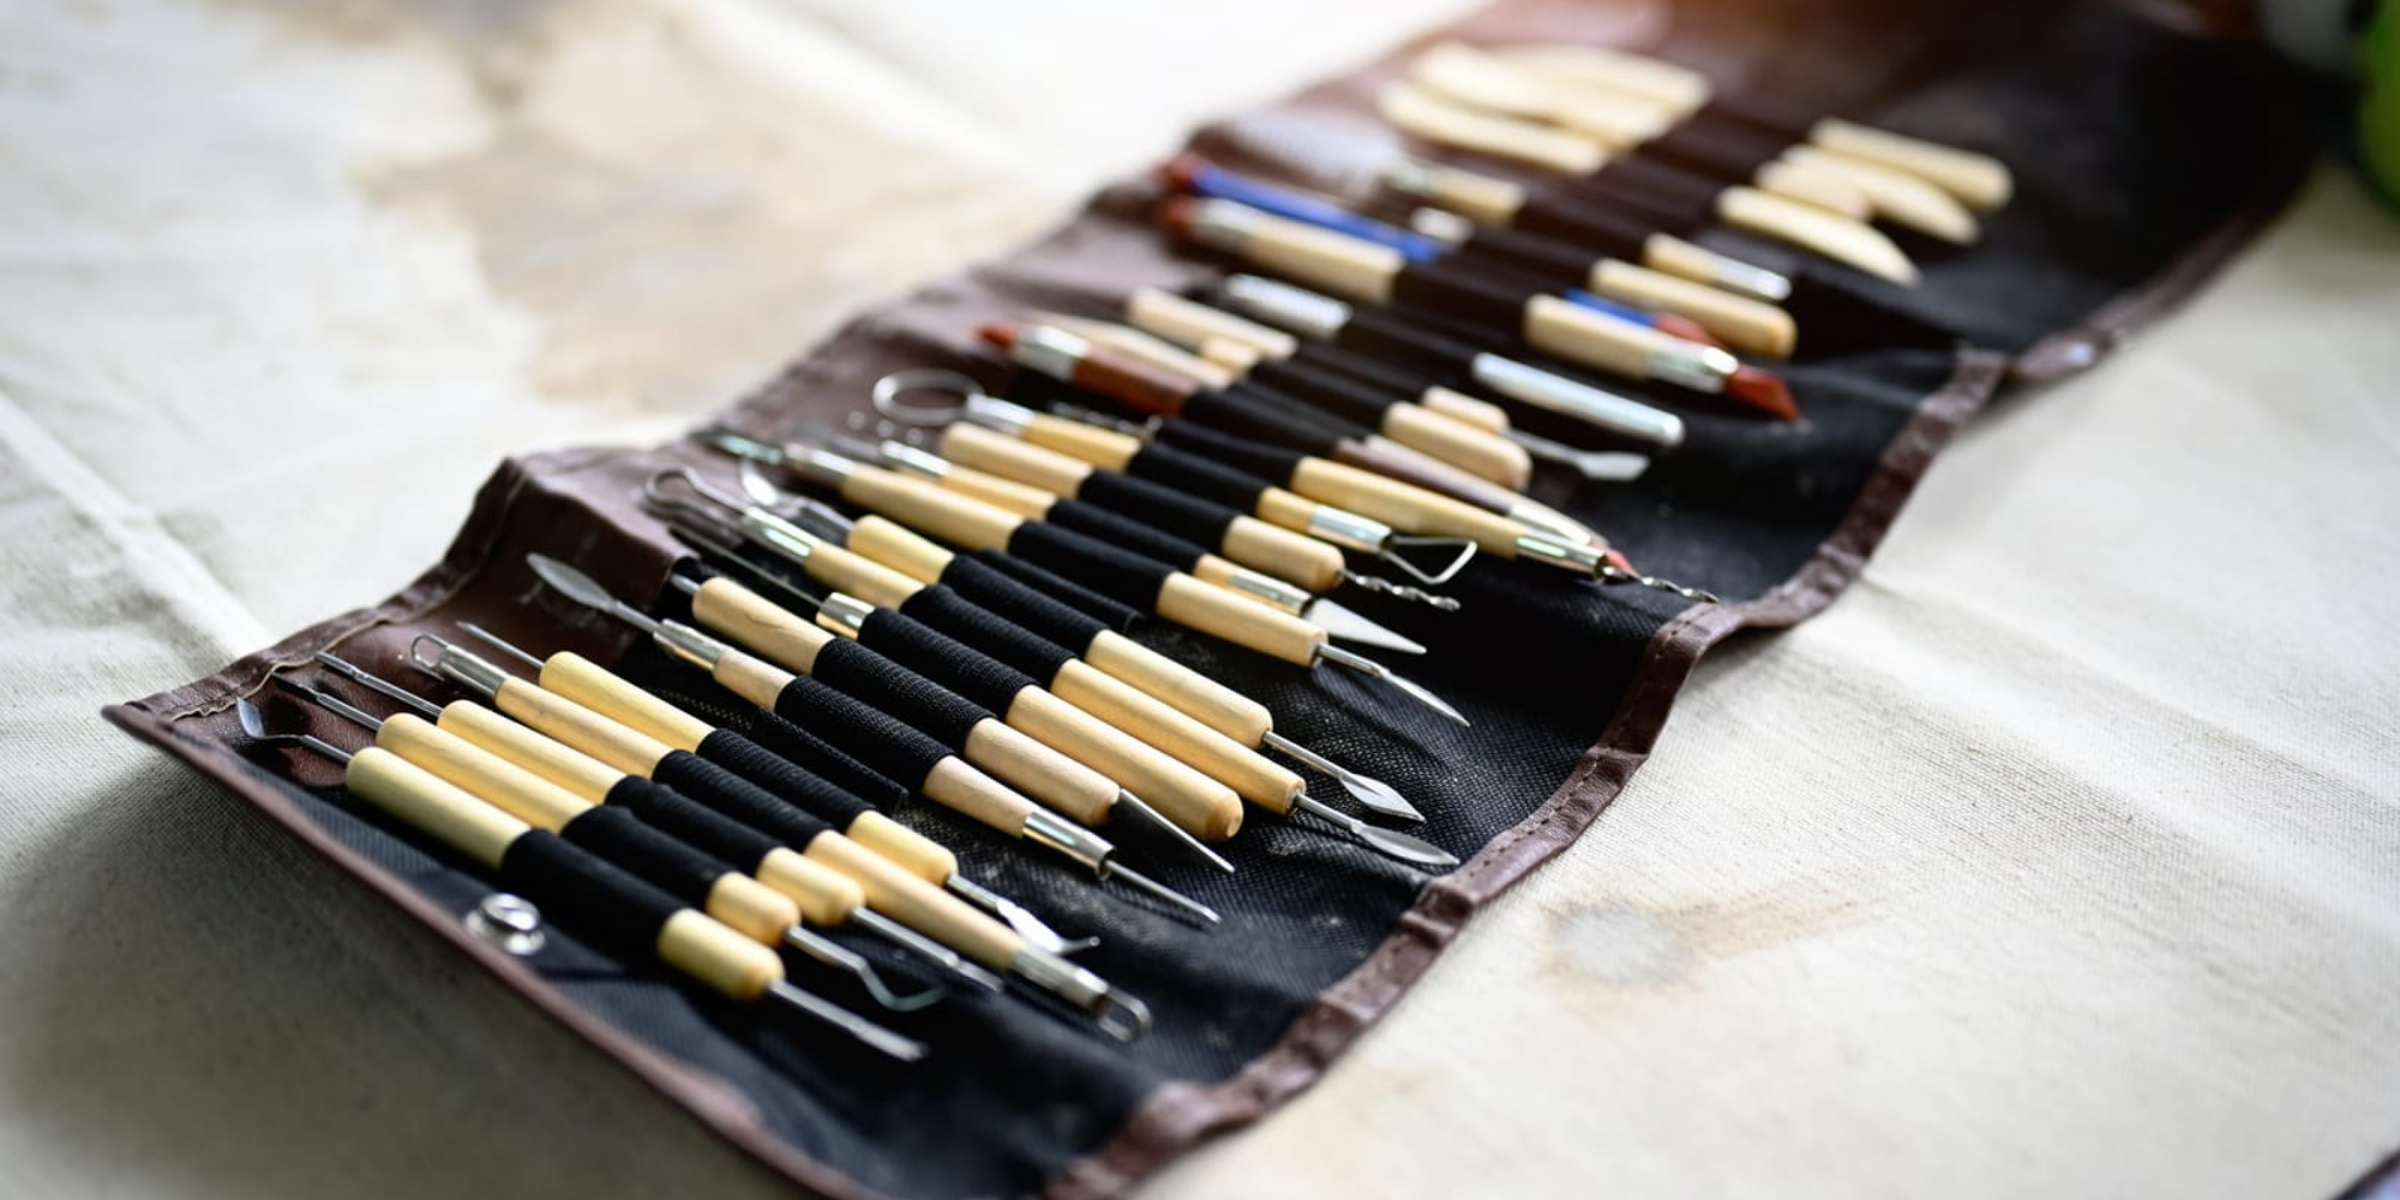
To ensure your air-dry clay lasts and your classroom remains organized, consider a few practical storage tips. Always keep unused clay in airtight containers or heavy-duty plastic bags to prevent it from drying out prematurely. If the clay does become a bit stiff, you can often revive it by kneading in a few drops of water or wrapping it in a damp paper towel overnight inside a sealed bag. For tools, a designated container for each group of students or a central caddy will keep things tidy. Have a clear system for storing wet creations as they dry, perhaps on labeled trays or designated shelves. By managing your supplies efficiently, you’ll maximize your investment in air-dry clay and make the creative process more streamlined for both you and your students.
FAQs
What is air dry clay?
Air dry clay is a type of modeling clay that hardens when exposed to air, eliminating the need for baking or firing in a kiln. It is typically made from natural materials and is non-toxic, making it suitable for use in classrooms and by children.
What are some benefits of using air dry clay in the classroom?
Using air dry clay in the classroom encourages creativity, fine motor skills development, and hands-on learning. It allows students to express themselves artistically while also learning about concepts such as texture, form, and design. Additionally, it is easy to clean up and can be used for a variety of projects across different subjects.
What types of projects can teachers create with air dry clay?
Teachers can create a wide range of projects with air dry clay, including sculptures, decorative items, functional pottery, and educational models. Examples include making animal figures, creating relief maps, designing personalized name tags, or crafting seasonal decorations for holidays.
How long does it take for air dry clay to dry?
The drying time for air dry clay can vary depending on the thickness of the piece and the humidity in the environment. Generally, thinner pieces may dry within 24 hours, while thicker items can take several days to fully harden. It is important to allow adequate drying time to prevent cracking.
Can air dry clay be painted or decorated after it dries?
Yes, air dry clay can be painted or decorated after it dries. Acrylic paints are commonly used for this purpose, and once the paint is dry, a sealant can be applied to protect the finished piece. Other decoration methods include using markers, glazes, or adding embellishments like beads or fabric.