Understanding Mod Podge and Air Dry Clay
You’ve just finished a beautiful piece crafted from air dry clay, and now you’re wondering how to protect your creation. A common question that arises is, “Can I seal air dry clay with Mod Podge?” The simple answer is yes, you absolutely can. Mod Podge is a versatile craft staple that offers a convenient way to add a protective layer and a desired finish to your air dry clay projects. However, it’s crucial to understand its capabilities and limitations to achieve the best results.
Think of Mod Podge as a multi-purpose crafting medium. It functions as an all-in-one glue, sealer, and finish, making it a popular choice for various artistic endeavors, including decoupage, collage, and, of course, sealing air dry clay. When applied correctly, it can significantly enhance the durability and appearance of your clay pieces. But remember, while it provides a good protective barrier, it’s not an impenetrable shield, especially concerning water. You’ll find that it’s best suited for decorative items and projects that won’t face rigorous use or constant exposure to moisture. Its primary role in this context is to offer a light protective finish, adding a layer of resilience that plain, unsealed air dry clay lacks. This makes it ideal for many common air dry clay applications, from small figurines to decorative bowls and jewelry.
What is Mod Podge Exactly?
To truly appreciate its utility, let’s break down what Mod Podge is. At its core, it’s a water-based acrylic sealer, glue, and finish. Its composition allows it to dry clear and, depending on the specific product, to a matte, satin, or glossy finish. This acrylic base is what provides the protective qualities, forming a thin, somewhat flexible film over your clay. Because it’s water-based, it’s generally easy to work with, cleans up readily with water, and is non-toxic, making it suitable for crafters of all ages, including children.
You’ll notice Mod Podge comes in various formulations, each designed for slightly different applications. For sealing air dry clay, the basic matte, gloss, or satin finishes are usually sufficient. However, understanding that it’s an acrylic means you’re applying a plastic-like coating that cures as it dries. This curing process is what hardens the surface and gives it its sealing properties, protecting the clay from minor scratches, dust, and light moisture.
The Nature of Air Dry Clay
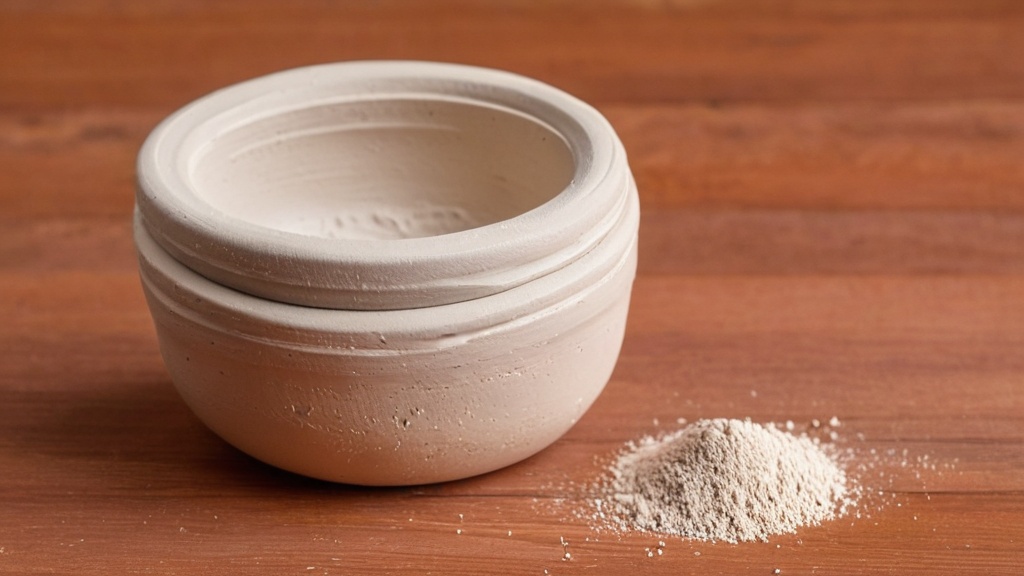
Before we dive deeper into sealing, it’s beneficial to briefly consider the nature of air dry clay itself. Unlike oven-bake or kiln-fired clays, air dry clay hardens through evaporation. As the water within the clay body evaporates, the clay particles bind together, resulting in a solid form. This process can take anywhere from 24 to 72 hours, or even longer for thicker pieces, depending on humidity and environmental conditions.
The key characteristic of air dry clay, relevant to sealing, is its porous nature. Even when fully dry, it retains a certain degree of absorbency. This porosity is why it’s susceptible to damage from water; unsealed air dry clay can re-absorb moisture, causing it to soften, swell, or even disintegrate. Sealing, therefore, becomes a crucial step to mitigate this vulnerability. When you apply Mod Podge, you’re essentially creating a non-porous barrier on the surface, preventing liquids from penetrating the clay body.
Essential Preparations Before Sealing
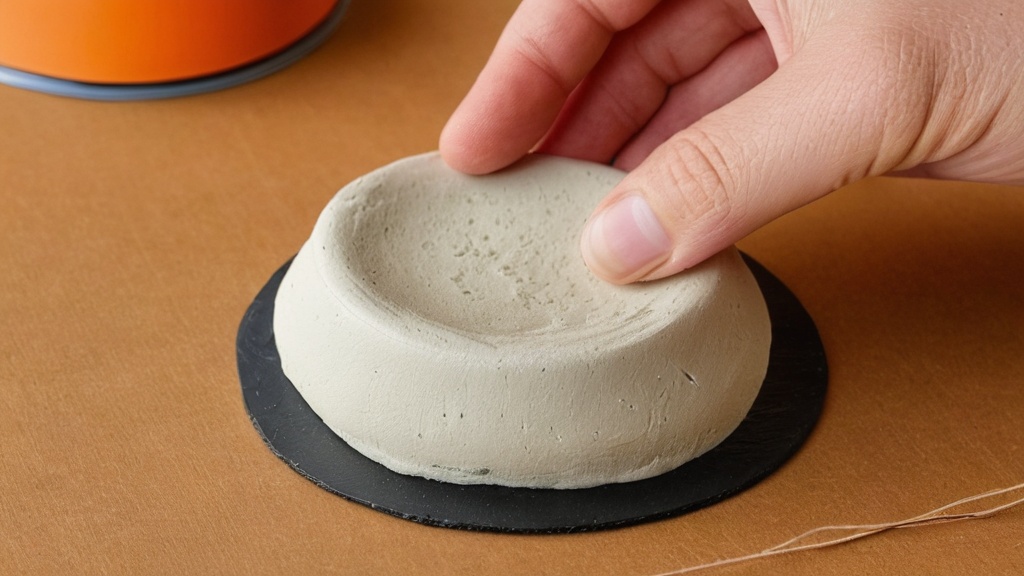
Sealing your air dry clay with Mod Podge isn’t just about grabbing a brush and slathering it on. There are critical steps you must take beforehand to ensure the Mod Podge adheres properly, dries evenly, and provides the best possible protection. Rushing this stage can lead to frustrating results, like tackiness, uneven finishes, or even premature peeling.
Ensuring Your Clay is Completely Dry
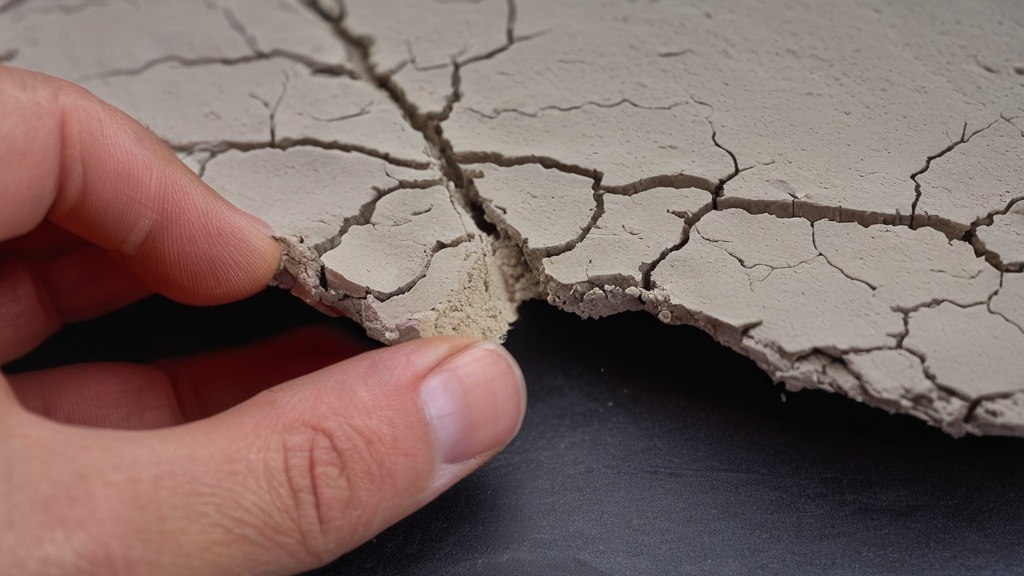
This is perhaps the most crucial step in the entire process: you must ensure your clay is absolutely, unequivocally dry before applying Mod Podge. Applying Mod Podge to clay that still contains moisture is a recipe for disaster. Why? Because the trapped moisture will eventually try to escape, potentially causing the Mod Podge to bubble, peel, or become permanently tacky. Moreover, applying a sealer over damp clay can promote mold growth underneath the sealed surface, ruining your project.
How do you know if your clay is truly dry?
- Visual Inspection: Look closely at your piece. Is the color consistent throughout? Air dry clay often lightens in color as it dries. Any darker patches usually indicate remaining moisture.
- Touch Test: Feel the piece all over. It should feel lightweight and solid. Cold spots can signal trapped moisture.
- Sound Test: For thicker pieces, gently tap the clay. A dull thud might mean it’s still damp, whereas a clear, resonant sound suggests it’s fully dry.
- Waiting Period: Err on the side of caution. Even if a piece feels dry to the touch after 24 hours, thicker areas might still be curing internally. It’s often recommended to wait at least 48 to 72 hours, especially for items with varying thicknesses, or even longer in humid environments. Patience here truly pays off. You’re better off waiting an extra day than having to redo your entire sealing process.
Cleaning the Surface
Once your clay is dry, the next step is to ensure its surface is clean and free of any debris. Dust, lint, fingerprints, or tiny clay crumbs can become permanently trapped under the Mod Podge, creating an unsightly finish.
- Gentle Brushing: Use a clean, dry, soft-bristled brush (like a makeup brush or a soft paintbrush) to gently sweep away any loose dust or particles.
- Damp Cloth (Carefully!): If there are stubborn spots or smudges, you can lightly wipe the surface with a barely damp cloth. However, be extremely careful not to re-introduce significant moisture to the clay. Immediately after wiping, let the piece air dry again for a short period to ensure any surface moisture has evaporated.
- Avoid Oils: Ensure your hands are clean and free of lotions or oils before handling the dried clay, as these can transfer to the surface and interfere with Mod Podge adhesion.
Preparing Your Workspace and Tools
A clean and organized workspace will make the sealing process much smoother.
- Protect Your Surface: Lay down newspaper, craft paper, or a plastic sheet to protect your work surface from drips and spills.
- Gather Your Tools: You’ll need your chosen Mod Podge (matte, gloss, or satin), a clean, soft brush or foam brush, and a small container for pouring a small amount of Mod Podge (to avoid contaminating the entire bottle). You might also want a small piece of cardboard or a stand to elevate your piece for easier application and drying, especially if you’re sealing all sides.
- Good Ventilation: While Mod Podge is non-toxic, it’s always a good idea to work in a well-ventilated area, especially if you are sensitive to smells.
By meticulously completing these preparatory steps, you’re setting yourself up for a successful and satisfying sealing experience.
Applying Mod Podge: Techniques for Success
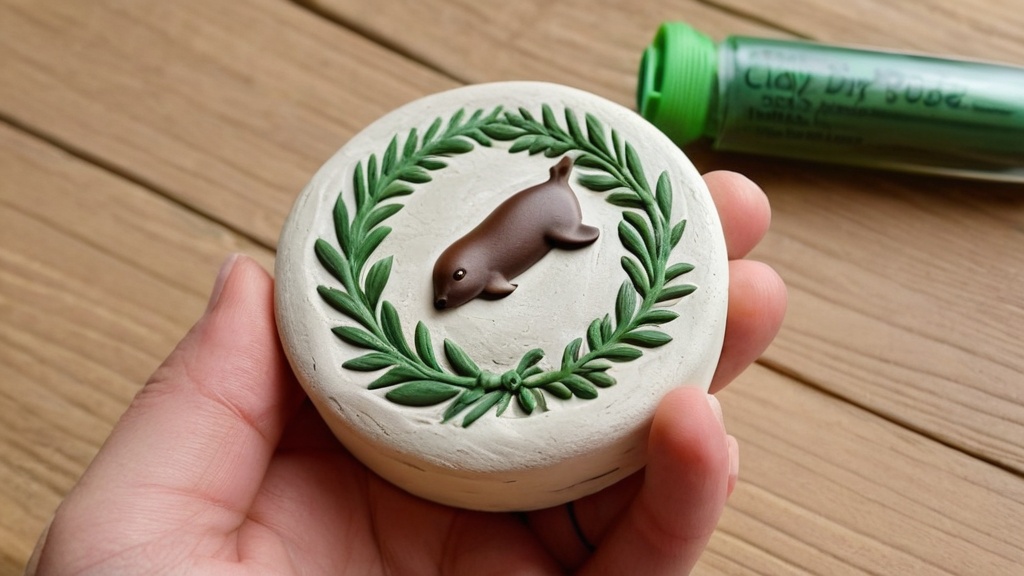
Now that your air dry clay piece is perfectly dry and clean, and your workspace is ready, it’s time to apply the Mod Podge. The technique you use here will significantly impact the final look and feel of your sealed project. The goal is to achieve an even, smooth finish without drips, streaks, or excessive tackiness.
The Importance of Thin, Even Coats
This is perhaps the most critical piece of advice for working with Mod Podge: always apply thin, even coats. This cannot be stressed enough. Think of it like painting; multiple thin layers are always better than one thick, gloopy layer.
- Why thin coats? Thick coats of Mod Podge tend to dry unevenly, creating cloudy patches, visible brush strokes, and, most commonly, a persistent tacky feeling even after hours or days of drying. They can also trap air bubbles more easily. Thin coats, on the other hand, dry more uniformly, cure harder, and result in a much smoother, professional-looking finish.
- Application Method: Pour a small amount of Mod Podge into a separate container. Dip your brush, ensuring you don’t overload it. Wipe any excess Mod Podge off the brush on the rim of the container.
- Brush Strokes: Apply the Mod Podge in smooth, overlapping strokes. Work systematically across your piece, ensuring complete coverage. Try to maintain a consistent direction with your brush strokes for a smoother appearance, especially with gloss finishes. A high-quality soft brush or a foam brush will help minimize brush marks. Foam brushes are particularly good for achieving a smooth, streak-free application.
Drying Between Coats
Another non-negotiable step is to let each coat dry fully before adding another. This isn’t just a suggestion; it’s essential for proper curing and adhesion.
- Drying Time: While ambient conditions vary, a general guideline is to allow each thin coat to dry for approximately 15 to 30 minutes. You’ll know it’s dry when it’s clear to the touch and no longer feels tacky. If you live in a humid environment, you might need to extend this drying time.
- Visual Check: The Mod Podge will often appear milky white when wet but will become transparent as it dries. Wait until this milky appearance is completely gone before applying the next layer.
- Patience is Key: Rushing this step and applying a new coat over still-wet Mod Podge will prevent the underlying layer from curing properly, leading to tackiness, cloudiness, and a weaker overall seal. It can also trap moisture, causing the same problems as sealing damp clay.
Recommended Number of Coats
For most decorative air dry clay pieces, two to three thin coats of Mod Podge are usually sufficient to provide a good protective finish and achieve your desired sheen.
- First Coat: Apply a very thin, even layer. This layer acts as a primer and helps seal the porous surface of the clay.
- Subsequent Coats: Once the first coat is completely dry, apply a second thin coat. If you desire a stronger protective layer or a more pronounced sheen (especially with gloss Mod Podge), a third thin coat can be applied after the second has fully dried.
- Avoid Over-Applying: There’s a point of diminishing returns. Applying too many coats can lead to a thick, gummy appearance and increase the likelihood of tackiness. Stick to the recommended two or three coats for most applications. If you’re looking for heavy-duty protection, Mod Podge might not be your best bet, and you should consider a more robust sealer.
Sealing Different Sides
When sealing, you’ll naturally need to cover all exposed surfaces.
- Working in Sections: For objects that sit flat, seal one side, allow it to dry completely, then flip it over and seal the other side.
- Using a Stand/Prop: For three-dimensional objects like figurines, you might find it easier to place them on a raised stand or use a skewer to hold them by a less visible part while you apply the Mod Podge. This allows you to coat more of the surface in one go without touching wet areas. If you can’t coat the entire object at once, seal a manageable section, let it dry, and then rotate to seal the next section, carefully blending the seams.
By following these application techniques, you’ll ensure your air dry clay project receives the best possible protective and decorative finish from your Mod Podge.
Understanding Mod Podge’s Limitations
While Mod Podge is a fantastic and accessible sealer for air dry clay, it’s vital to have a realistic understanding of its limitations. Misconceptions about its capabilities can lead to disappointment if you expect it to perform beyond its intended scope.
Not Truly Waterproof
This is perhaps the most significant limitation you need to be aware of: Mod Podge is not truly waterproof. It offers some water resistance, meaning it can withstand light splashes, humidity, or a quick wipe with a damp cloth without immediately dissolving or degrading. However, it is absolutely not ideal for submersion or heavy moisture exposure.
- What it can handle: Think of objects that might get a few drops of water on them, like a decorative coaster that catches condensation, or a figurine displayed in a room with normal humidity levels. It can protect against dust and minor spills.
- **What it cannot handle:** Do not expect Mod Podge to protect your air dry clay piece if it’s left outdoors in the rain, placed in a constantly damp environment (like a shower), or used as a functional dish that will be washed regularly. Prolonged contact with water will eventually cause the Mod Podge to become tacky, cloudy, or even begin to soften and peel, compromising the underlying clay.
- Consequences of Overexposure: If a Mod Podge-sealed item gets thoroughly wet, the water can penetrate the acrylic film over time, or find its way through any tiny imperfections in the seal, eventually reaching and softening the porous air dry clay underneath. This can lead to the piece losing its structural integrity.
Therefore, for items that need genuine waterproofing, such as outdoor garden decor, birdbaths, or functional tableware, you will need to seek out specialized, heavy-duty sealers specifically designed for such purposes.
Best for Decorative and Kids’ Projects
Given its properties, Mod Podge truly shines when used for decorative pieces and kids’ projects.
- Decorative Items: This includes figurines, ornaments, small decorative bowls (not for food), jewelry (necklaces, earrings, pins – though avoid rings or bracelets that will experience constant hand washing), wall hangings, and other purely aesthetic objects. For these items, Mod Podge provides sufficient protection against dust, light wear, and adds a pleasing finish. It helps to consolidate any painted surfaces and prevents paint from flaking off.
- Kids’ Projects: Its non-toxic, water-based nature, and ease of cleanup make it a perfect choice for sealing children’s air dry clay creations. It adds durability to their masterpieces, allowing them to be handled and displayed without quickly falling apart. It’s a great way to preserve their artistic efforts.
- Basic Durability: While it doesn’t make your clay indestructible, it does add a layer of basic durability. It can prevent minor nicks and scratches that unsealed air dry clay might easily sustain. It also helps to bind any loose particles on the surface, making the piece feel more substantial and finished.
Not Ideal for High-Contact or Functional Items
Extending from the previous point, Mod Podge is generally not the best choice for functional or high-contact items.
- Functional Items: Think of things that will be regularly handled, used, or exposed to varying conditions. Examples include coasters that will have hot or cold drinks placed on them repeatedly, keychains that get tossed around, plant pots that will be watered, or any item intended for food use. The constant friction, temperature changes, or prolonged moisture exposure associated with these items will quickly degrade the Mod Podge seal.
- High-Contact Items: If an item is going to be frequently touched, rubbed, or subjected to stress, the Mod Podge can become tacky over time or wear away. For instance, a frequently handled sculpture might start to feel sticky where it’s touched often, or the seal might simply rub off, exposing the clay.
- Food Safety: It’s important to note that Mod Podge is generally not considered food-safe, even the dishwasher-safe varieties are typically for glass, not porous materials like clay which will eventually absorb moisture. Therefore, you should never use Mod Podge on items intended to directly contact food or beverages.
For these types of projects, you would be much better served by researching specialized sealers such as epoxy resins, marine-grade varnishes, or food-safe coatings designed for ceramic or porous surfaces. These offer superior durability, waterproofing, and chemical resistance where needed.
Mod Podge Finishes and Advanced Tips
| Aspect | Details |
|---|---|
| Material | Air Dry Clay |
| Sealing Product | Mod Podge |
| Purpose of Sealing | Protect surface, add shine, prevent moisture absorption |
| Mod Podge Type Recommended | Glossy, Matte, or Satin finish (depending on desired look) |
| Application Method | Brush on thin, even coats; allow drying between coats |
| Number of Coats | 2-3 coats recommended for best protection |
| Drying Time | 15-20 minutes per coat; fully cured in 24 hours |
| Effect on Air Dry Clay | Seals and hardens surface; may darken color slightly |
| Water Resistance | Provides moderate water resistance but not waterproof |
| Additional Tips | Ensure clay is fully dry before sealing; test on small piece first |
Beyond the basic application, understanding the different types of Mod Podge available and incorporating a few advanced tips can further elevate your air dry clay projects. The right finish can significantly alter the aesthetic of your piece, and proper care ensures its longevity.
Choosing Your Desired Finish
Mod Podge isn’t a one-size-fits-all product; it comes in a variety of finishes, allowing you to customize the look of your sealed clay. The finish you choose will largely depend on the aesthetic you’re aiming for.
- Gloss Finish: This is perhaps the most common and recognizable Mod Podge finish. It provides a shiny, reflective surface that can make colors appear more vibrant and give your clay a more “finished,” almost glazed look. If you want your piece to sparkle and catch the light, gloss Mod Podge is the way to go. Be aware that gloss finishes tend to show brushstrokes more readily, so meticulous application is even more important here.
- Matte Finish: For a more understated, natural, or modern look, matte Mod Podge is an excellent choice. It dries to a non-reflective, flat surface, which can be ideal for mimicking unglazed ceramics or for pieces where you don’t want any shine to detract from the texture or intricate details. Matte finishes are also often more forgiving of minor imperfections or brushstrokes.
- Satin Finish: A satin finish provides a middle ground between gloss and matte. It has a subtle sheen, a soft luster that isn’t as reflective as gloss but isn’t completely flat like matte. This can be a sophisticated choice for many projects, offering a touch of elegance without being overly shiny.
- Specialty Mod Podge: Beyond these primary finishes, Mod Podge also offers various specialty formulations, such as “Outdoor,” “Dishwasher Safe,” “Hard Coat,” or “Super Gloss.” While some of these might sound appealing for air dry clay (especially “Outdoor” or “Hard Coat”), remember that even these enhanced versions still typically build upon the same acrylic base and inherit many of the same limitations regarding true waterproofing and heavy-duty use on porous materials like air dry clay. “Outdoor” might offer better UV resistance and slightly enhanced water resistance for some materials, but for air dry clay, it’s still not a substitute for dedicated exterior sealers. Always read the product description carefully and consider the inherent properties of air dry clay. For most air dry clay applications, the standard matte, gloss, or satin will suffice.
Avoiding Common Pitfalls
Even with the best intentions, you might encounter issues. Knowing how to prevent them can save you time and frustration.
- Tackiness: This is one of the most common complaints about Mod Podge. It almost always stems from applying coats that are too thick or not allowing enough drying time between layers. If your piece feels perpetually tacky, try placing it in a well-ventilated area with low humidity for an extended period (even a few days). Sometimes, a very light dusting of talcum powder or cornstarch can help reduce surface tackiness, though this will affect the finish (especially gloss). The best prevention is proper application.
- Brush Strokes: Visible brush strokes are more noticeable with gloss finishes. Use a high-quality, soft-bristled brush or a foam brush. Apply Mod Podge in one consistent direction, and avoid overworking the area. For a super smooth finish, some crafters use a very fine-grit sandpaper (e.g., 2000 grit) to lightly sand between fully dry coats (if the Mod Podge is robust enough), wiping off all dust, before applying the final layer. However, this is advanced and not usually necessary for most air dry clay projects.
- Bubbles: Small bubbles can form during application. To minimize them, avoid shaking the Mod Podge bottle vigorously before use, as this introduces air. When applying, use gentle, even strokes and don’t “whip” the brush. If you see bubbles, you can often gently “pop” them with the tip of your brush before the Mod Podge starts to dry.
- Cloudiness: This usually happens when Mod Podge is applied too thickly, especially in humid conditions, or if moisture is trapped underneath. Ensure your clay is bone dry and your coats are thin. If cloudiness occurs, sometimes a thin, additional clear coat of a different, non-Mod Podge acrylic sealer can help reduce it, but it’s not a guaranteed fix. Prevention is key.
Long-Term Care for Sealed Projects
Even though your air dry clay is sealed with Mod Podge, it still requires some basic care to maintain its appearance and integrity over time.
- Dusting: Regularly dust your pieces with a soft, dry cloth or a feather duster. Avoid abrasive cleaners or cloths that could scratch the Mod Podge surface.
- Cleaning: If necessary, you can gently wipe the surface with a barely damp cloth. Do not use harsh chemical cleaners, as these can react with the acrylic Mod Podge and cause damage, discoloration, or tackiness. Avoid scrubbing.
- Storage: Store your sealed air dry clay projects in a stable environment, away from extreme temperature fluctuations and high humidity. Excessive heat can sometimes make Mod Podge temporarily tacky, and high humidity can contribute to cloudiness or softening over a very long period.
- Avoid Direct Sunlight: Prolonged exposure to direct sunlight can cause the Mod Podge to yellow over time, especially with older formulations or lower-quality types. While some Mod Podge versions have UV resistance, it’s generally best to keep your creations out of harsh, direct sunlight to preserve their original colors and finish.
By understanding these nuances and applying these tips, you’ll be well-equipped to use Mod Podge effectively and confidently seal your air dry clay projects, ensuring they look great and last for years to come (within their intended decorative scope).
FAQs
1. Can I seal air dry clay with mod podge?
Yes, you can seal air dry clay with mod podge. Mod podge is a popular sealer that can be used on various surfaces, including air dry clay, to protect and give a glossy finish to your creations.
2. How do I seal air dry clay with mod podge?
To seal air dry clay with mod podge, simply apply a thin, even layer of mod podge using a brush or sponge. Allow it to dry completely before applying additional coats if desired. Make sure to follow the instructions on the mod podge bottle for best results.
3. Will sealing air dry clay with mod podge make it waterproof?
Sealing air dry clay with mod podge can help make it more water-resistant, but it may not make it completely waterproof. It is recommended to avoid prolonged exposure to water or moisture to maintain the integrity of your sealed air dry clay creations.
4. Can I paint over mod podge-sealed air dry clay?
Yes, you can paint over mod podge-sealed air dry clay. Once the mod podge has dried completely, you can use acrylic paints or other compatible paints to add color and details to your sealed clay creations.
5. How long does it take for mod podge to dry on air dry clay?
The drying time for mod podge on air dry clay can vary depending on the thickness of the application and environmental conditions. In general, mod podge dries to the touch within 15-20 minutes, but it is recommended to allow it to cure fully for 24 hours before handling or adding additional layers.