Creating air dry snowflakes offers both artistic expression and practical crafting skills, while bringing winter’s magic indoors. You’ll discover how this versatile project transforms simple white clay into delicate ornaments that can adorn your home throughout the holiday season. Whether you’re a seasoned crafter or a curious beginner, these handmade decorations combine traditional charm with modern simplicity. Let’s explore how you can craft these enchanting pieces that capture winter’s fleeting beauty in lasting form.
Key Takeaways
- Air-dry clay snowflakes require minimal materials: clay, rolling pin, cookie cutter, drinking straw, and optional paint for decoration.
- Roll clay to 1/4 inch thickness, cut shapes with snowflake cookie cutter, and create hanging holes before drying.
- Store finished snowflakes wrapped in tissue paper in a temperature-controlled environment to prevent damage and scratching.
- Air-dry clay snowflakes make versatile decorations for Christmas trees, gift wrapping, or wall displays throughout winter seasons.
- The drying process requires no baking or special equipment, making it accessible for crafters of all skill levels.
History
While the exact origin of decorative clay snowflakes remains unclear, the tradition of crafting winter-themed ornaments from clay dates back to ancient civilizations, with the earliest known examples appearing in Nordic countries during the 17th century.
You’ll find that these early artisans used local clay deposits to create festive decorations during the long winter months, often incorporating regional symbols and patterns into their designs.
In the late 19th century, you’d see a surge in clay ornament popularity as Victorian-era crafters embraced the medium for holiday decorating.
They’d often gather for social crafting sessions, where they’d share techniques and patterns.
When air-dry clay was introduced in the mid-20th century, it revolutionized the craft by eliminating the need for kilns, making snowflake creation accessible to home crafters everywhere.
Project
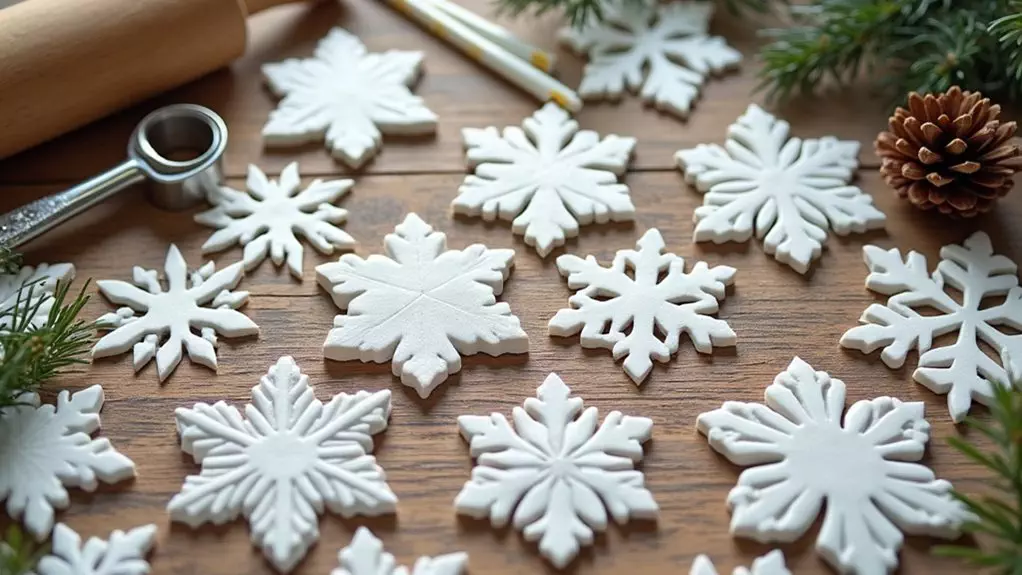
Creating delicate snowflake ornaments from air dry clay allows crafters to capture the enchanting beauty of winter in a lasting form. These versatile decorations can grace Christmas trees, enhance holiday gift wrapping, or form stunning wall displays that bring a touch of frost-kissed elegance to any room.
The process of crafting these snowflakes is straightforward yet rewarding, making it an ideal project for both beginners and experienced crafters. Each snowflake becomes a unique piece of handmade art that can be customized through painting and decorative techniques, ensuring no two pieces are exactly alike.
Materials:
- White air dry clay (8 oz / 225g)
- Rolling pin (12-inch / 30cm)
- Snowflake cookie cutter (3-inch / 7.6cm)
- Drinking straw
- Acrylic paint (optional)
Begin by working the clay in your hands until it becomes pliable, then roll it out on a clean, smooth surface to a thickness of 1/4 inch (6mm). Using the snowflake cookie cutter, press firmly to create clean shapes, then immediately use the drinking straw to punch a hanging hole at the top of each snowflake.
Transfer the cut shapes carefully to a parchment-lined surface, smooth any rough edges with your fingertip, and allow them to dry undisturbed for 24-48 hours.
For optimal results, position the drying snowflakes in a warm, dry area away from direct sunlight or heat sources that could cause uneven drying or warping. Ensure the surface remains completely flat throughout the drying process, and avoid touching or moving the pieces until they’re fully hardened.
Once dried, the snowflakes can be left natural or decorated with acrylic paint, but should be stored in a moisture-free environment to maintain their integrity over time.
Project Steps
Let’s start your air dry clay snowflake project by gathering white air dry clay, a rolling pin, snowflake cookie cutter, drinking straw, and optional acrylic paint.
You’ll need to work the clay in your hands until it’s soft and pliable, then roll it out to a quarter-inch thickness on a smooth surface.
After cutting your snowflake shapes with the cookie cutter, you’ll use the drinking straw to create hanging holes at the top of each snowflake before setting them aside to dry.
Step 1. Gather Required Project Materials

Success in crafting air dry snowflakes begins with assembling the essential materials before you start.
You’ll need a package of white air dry clay (8 ounces), which you can find at most craft stores or online retailers. Gather a 12-inch rolling pin for achieving even thickness, and select a 3-inch snowflake cookie cutter to create consistent shapes.
Don’t forget to include a standard drinking straw, which you’ll use to make hanging holes in your snowflakes.
If you’re planning to add color to your creations, you’ll want to pick up some acrylic paint in your chosen colors.
While optional, having parchment paper on hand will prevent your snowflakes from sticking to your work surface during the drying process, and it’ll make cleanup much easier.
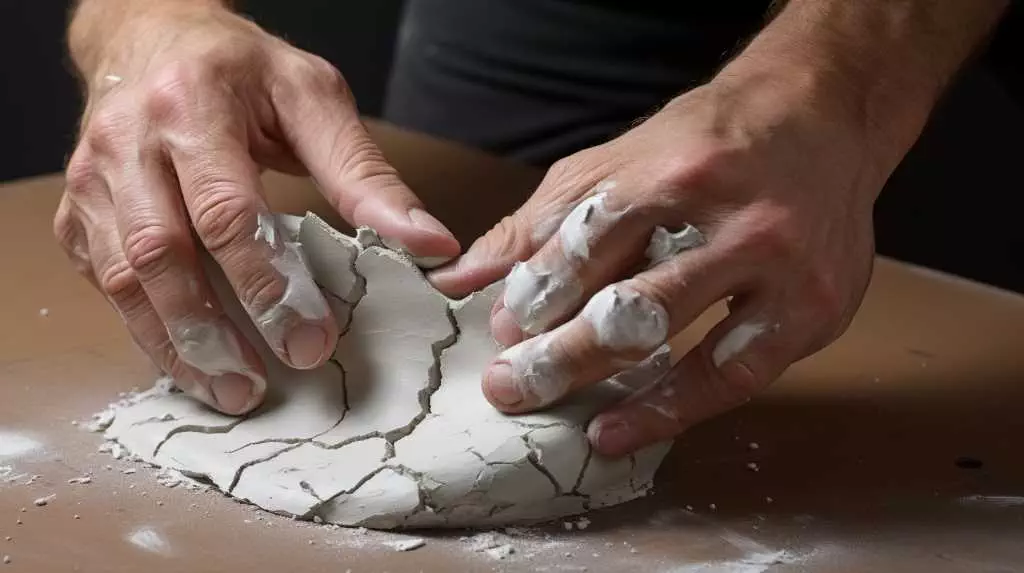
Step 2. Condition Clay Until Pliable

With your materials ready, the first step involves proper clay conditioning – a technique that transforms stiff clay into a smooth, workable medium.
Begin by breaking off a portion of clay that’s about the size of your palm, then press and knead it between your hands. You’ll want to work the clay for 3-5 minutes, applying steady pressure as you fold and compress it repeatedly.
As you continue conditioning, you’ll notice the clay becoming warmer and more pliable. If you’re working with cold clay, this process might take a few extra minutes.
Don’t rush this step – properly conditioned clay should feel smooth and uniform throughout, without any hard spots or air pockets. When the clay maintains its shape without crumbling, you’re ready to move forward.
Step 3. Roll Clay to Thickness

Place your conditioned clay on a smooth, non-stick surface, positioning your rolling pin at the center of the clay mass. Apply even pressure as you roll outward from the center, working in different directions to maintain uniform thickness.
You’ll want to achieve approximately 1/4 inch thickness throughout the entire piece.
Keep checking your progress by gently running your fingertips across the clay’s surface to detect any uneven spots. If you notice thicker areas, focus your rolling efforts there while maintaining consistent pressure.
Don’t worry if you need to gather and re-roll the clay several times to achieve the desired results.
Once you’ve reached the proper thickness, ensure the clay’s surface remains smooth and free from creases or air bubbles before moving on to cutting your snowflake shapes.
Step 4. Cut Out Snowflake Shapes

Once your clay reaches the ideal thickness, carefully position your snowflake cookie cutter on the rolled-out surface. Press down firmly and evenly to create clean, precise cuts through the clay.
If you’re making multiple snowflakes, space them about an inch apart to maintain their shape when you remove the excess clay.
After cutting each snowflake, gently remove the surrounding clay and set it aside for reuse. Don’t forget to create hanging holes at the top of each snowflake using your drinking straw – this step is crucial if you’ll be displaying them later.
You’ll want to work efficiently during this phase, as air dry clay begins to firm up when exposed to air. If you notice the clay starting to stiffen, simply knead it again to restore its pliability.
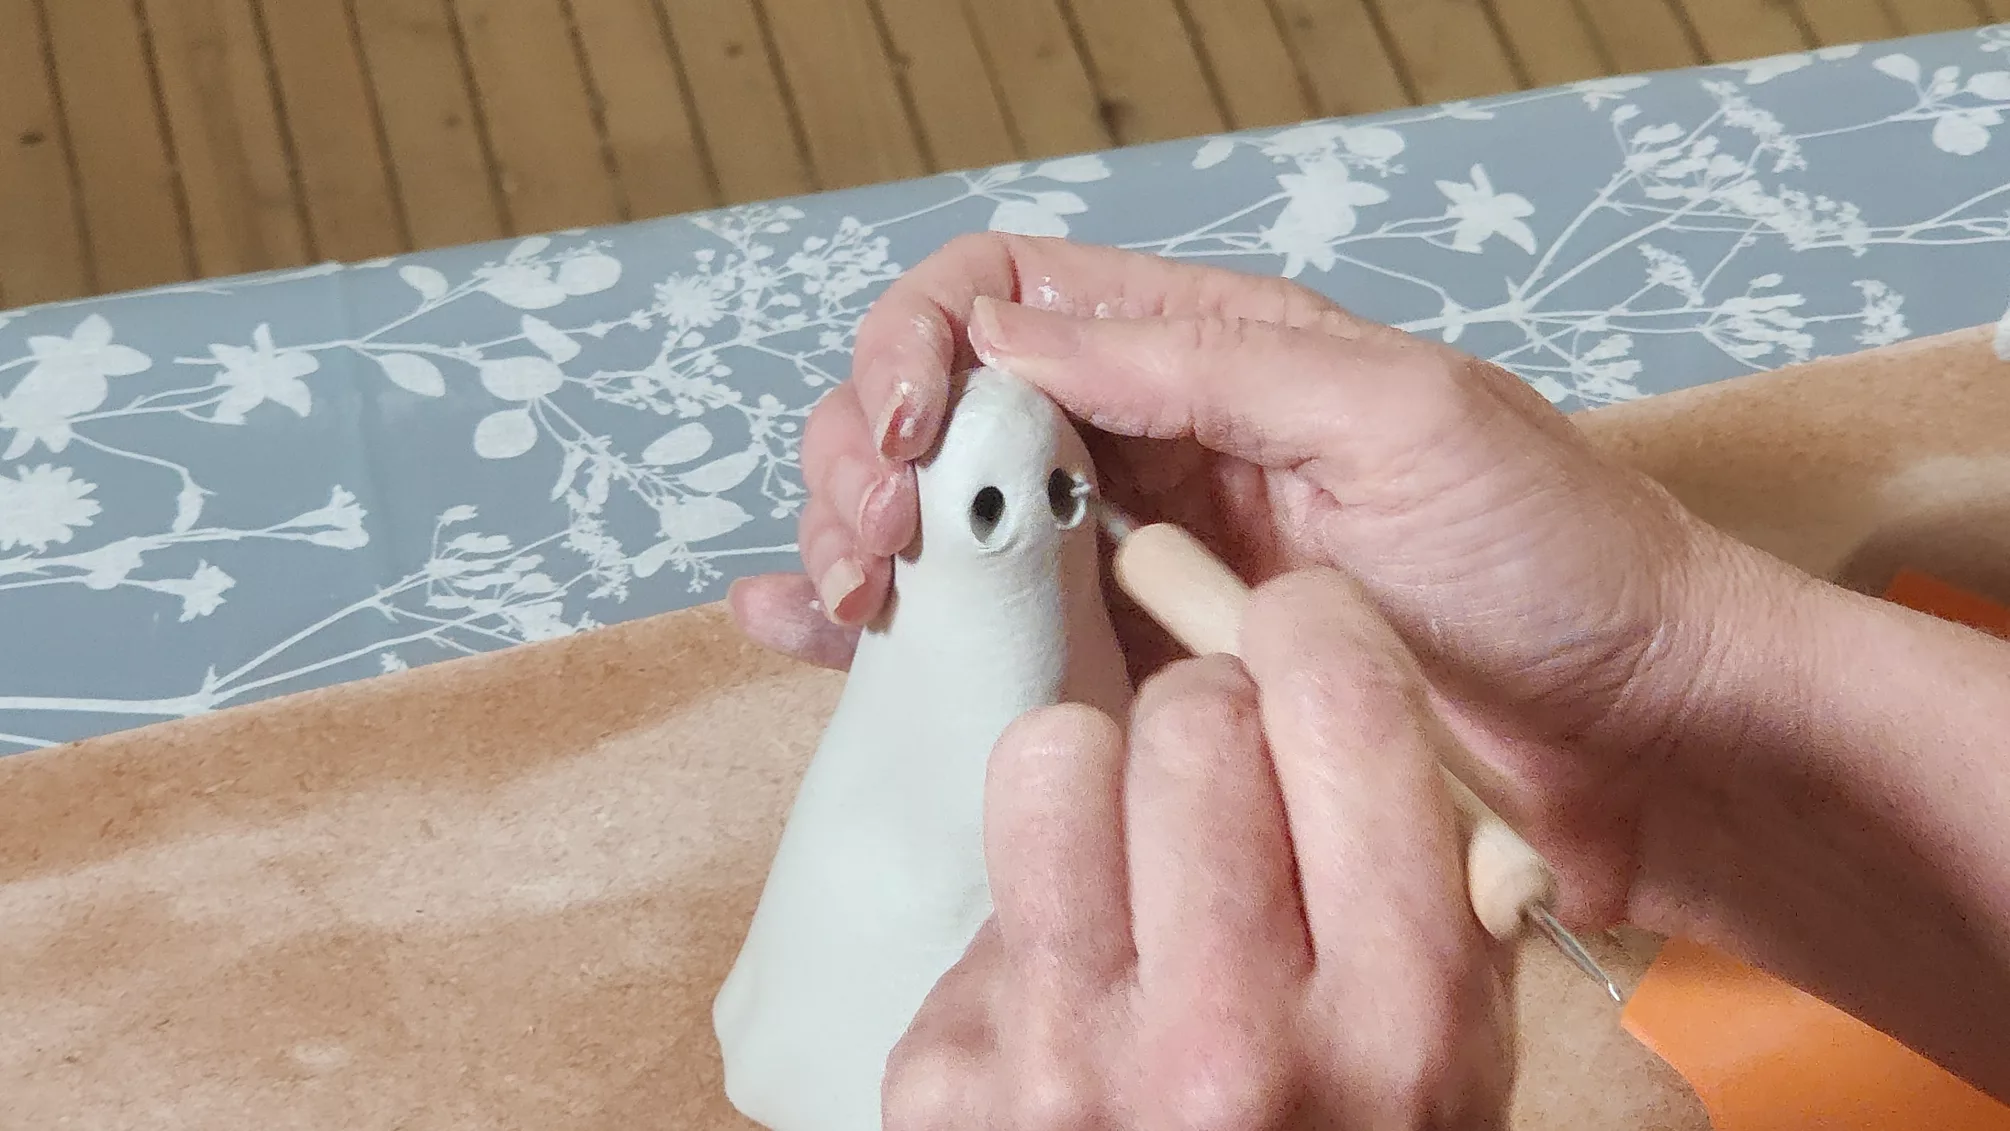
Step 5. Create Hanging Holes
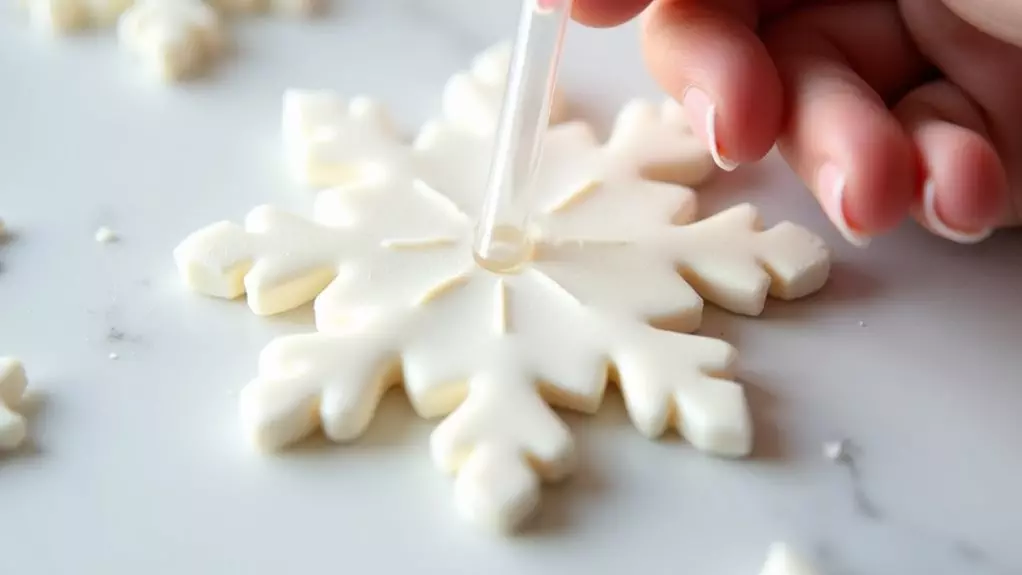
Creating proper hanging holes stands as one of the most crucial steps in your snowflake project. Before your clay snowflakes begin to dry, you’ll need to make holes that will allow you to hang them as decorations.
Take your drinking straw and press it firmly into the top portion of each snowflake, about 1/4 inch from the edge, making sure the hole goes completely through the clay.
You’ll want to twist the straw slightly as you remove it to ensure a clean hole without distorting the snowflake’s shape. If you notice any clay stuck inside the straw, clear it out before making the next hole.
Position your holes thoughtfully, considering how the snowflakes will hang and ensuring they’ll remain balanced when suspended.
Final Thoughts
Making these delightful clay snowflakes offers a wonderful opportunity to create lasting winter decorations that you’ll treasure for years to come.
You’ll discover that each piece becomes uniquely yours, reflecting your creative touch while bringing a timeless charm to your holiday décor. Once you’ve mastered the basic technique, don’t hesitate to experiment with different sizes, patterns, and finishes to expand your collection.
Remember to store your finished snowflakes carefully in a dry, temperature-controlled environment, preferably wrapped in tissue paper to prevent scratching or damage.
While they’re relatively durable, these handcrafted pieces deserve gentle handling to maintain their beauty through multiple holiday seasons. Consider making extra snowflakes to share as meaningful gifts or to replace any that might become damaged over time.