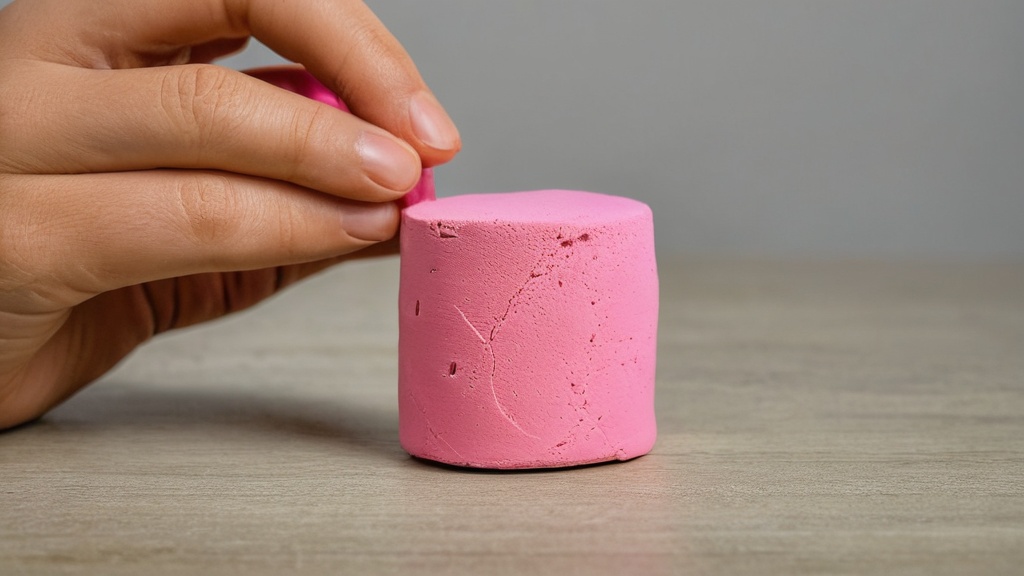
You’ve just invested your time and creativity into sculpting a beautiful piece with air dry clay. Perhaps it’s a delicate figurine, a charming bowl, or a whimsical ornament. The last thing you want is for your creation to crumble or crack with the slightest knock. Air dry clay, while wonderfully accessible and easy to work with, isn’t inherently as robust as kiln-fired ceramics. But don’t despair! With the right techniques and a little forethought, you can significantly increase the strength and longevity of your air dry clay masterpieces. This guide will walk you through essential steps, from initial preparation to final sealing, ensuring your art stands the test of time.
Before we dive into strengthening techniques, it’s helpful to understand what air dry clay is and how it behaves. Unlike traditional ceramic clays that undergo a chemical transformation at high temperatures, air dry clay hardens through the evaporation of water. This process leaves behind a network of solid particles, but without the vitrification of kiln firing, the material can remain somewhat porous and brittle. Your goal, therefore, is to optimize this drying process and reinforce the material structure wherever possible.
The Trade-offs of Convenience
The convenience of air dry clay – no kiln required, easy cleanup, and immediate gratification – often comes with a trade-off in ultimate strength. This doesn’t mean your pieces will be flimsy; it just means you need to be more strategic in your approach to design, construction, and finishing. Think of it as building a house without cement; you need to be meticulous about your framework and protection.
Common Weaknesses and How to Avoid Them
The most common issues you’ll encounter with air dry clay are cracking during drying and breakage after hardening. Cracks usually stem from uneven drying, rapid drying, or significant variations in thickness within a single piece. Breakage is often due to the inherent brittleness of the dried material, especially in thin or unsupported sections. By addressing these weaknesses proactively, you set your piece up for success.
Reinforcing Your Clay from Within
One of the most effective ways to strengthen your air dry clay is to build reinforcement into the material itself, or use structural supports to buttress your design. Think of it as adding rebar to concrete – it provides internal resilience that the base material might lack.
Integrating PVA Glue for Enhanced Durability
You might be surprised to learn that a common household item can dramatically improve your clay’s strength.
Mixing Glue Directly into the Clay
A fantastic method to boost durability is to add PVA/white glue directly into the clay. As you knead and work your clay, you can incorporate a small amount of PVA glue (like Elmer’s Glue-All or similar white craft glue). Start with a small amount – perhaps a teaspoon for a golf-ball sized piece of clay – and thoroughly knead it in until it’s evenly distributed. The glue acts as a binder, creating a stronger, more cohesive matrix within the clay. This helps reduce brittleness and can make the dried piece less prone to chipping. Be careful not to add too much, as it can make the clay excessively sticky and difficult to sculpt. A good indication is when the clay feels slightly more pliable and cohesive without becoming tacky.
Using Glue-Water Mix While Sculpting
Alternatively, or in addition to direct mixing, you can use a glue-water mix while sculpting. Instead of plain water to moisten your fingers or smooth surfaces, use a diluted solution of PVA glue and water (e.g., 1 part glue to 3-4 parts water). This subtly infuses the surface and shallow layers of your clay with extra bonding power, particularly useful when joining pieces or smoothing out seams. This approach is less invasive than direct mixing and can be applied strategically during the sculpting process.
Employing Armatures for Structural Integrity
For larger, more complex, or delicate shapes, an internal support system is indispensable.
Building Wire Frameworks
If you’re creating a sculpture with limbs, thin projections, or a complex form, consider using an armature or internal reinforcement like wire. Aluminium wire is excellent as it’s easily bendable but holds its shape. Create a basic skeletal structure for your piece, and then build the clay up around it. This provides a strong core that prevents breakage, especially in areas that would otherwise be fragile. Ensure the wire is completely encapsulated by clay to avoid rust or an unsightly appearance.
Utilizing Foil or Paper for Volume and Support
For bulkier forms, or to reduce the amount of clay needed, foil or paper can serve as an effective armature. Crumple aluminium foil into the general shape of your piece, or wad up newspaper and tape it securely. Then, sculpt your air dry clay over this core. This not only provides support but also reduces the overall weight of your sculpture and, crucially, allows you to maintain a consistent, thinner clay layer throughout, which is vital for preventing cracks. Always ensure the armature is firm and won’t compress or shift during the drying process.
Strategic Sculpting for Durability
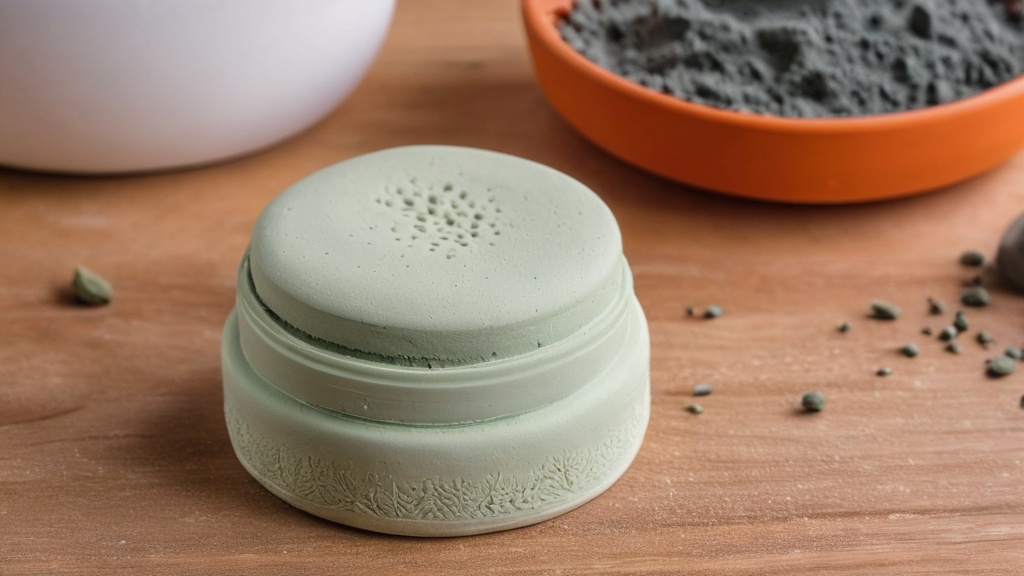
The way you sculpt your piece plays a crucial role in its eventual strength. Thoughtful construction can prevent many common weaknesses.
Maintaining Consistent Thickness
This is perhaps one of the most critical rules for air dry clay. Keep pieces thin and even; several sources recommend about 0.25–0.5 inch (6–10 mm). And crucially, avoid thick sections to reduce cracking. The reason for this is simple: thick areas dry slower than thin areas. When different parts of your sculpture dry at different rates, they shrink unevenly, creating internal stress that often results in cracks. Aim for a relatively uniform thickness throughout your design.
The Dangers of Uneven Drying
Imagine a piece with a chunky base and delicate, thin arms. The arms will dry and shrink quickly, while the base remains wet and expands slightly. This differential creates tension, and the clay, unable to stretch, will crack at its weakest points. By keeping everything within that recommended thickness range, you minimize this risk.
Designing for Strength
When conceptualizing your piece, try to design shapes that naturally lend themselves to consistent thickness. If you absolutely must have a thicker section, consider hollowing it out partially from the inside, if possible, to aid in even drying.
Mastering Scoring and Slipping Techniques
Joining separate pieces of air dry clay can be a weak point if not done correctly. You need to ensure a strong bond between the new and existing surfaces.
Creating a Strong Mechanical Bond
Always score and slip joints before attaching parts so seams bond more strongly. “Scoring” involves roughing up the surfaces that will be joined using a sculpting tool, a needle tool, or even a toothpick. You want to create a cross-hatch pattern on both surfaces. “Slipping” means applying a thin layer of clay slip (clay mixed with water to a creamy consistency) to the scored areas. This slip acts like a glue, filling in the scoring marks and creating a unified surface when the pieces are pressed together.
Blending Seams Effectively
After scoring and slipping, firmly press the pieces together and then blend the seam using your fingers or sculpting tools. This physically joins the clay particles across the divide, making the connection seamless and robust. Don’t just stick pieces together; they will almost certainly fall apart after drying. This technique creates a true bond, not just an adhesion.
Optimizing the Drying Process
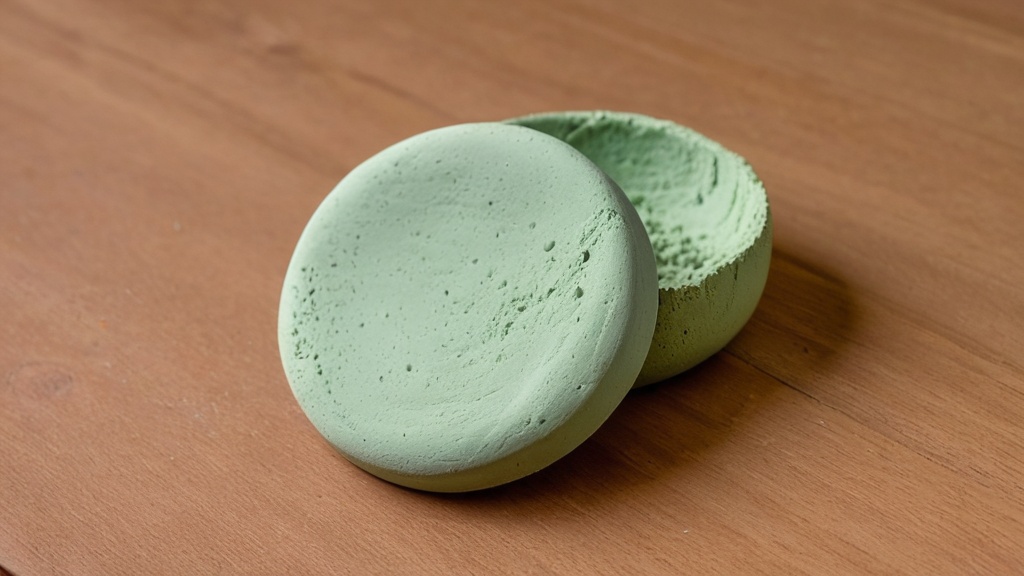
The drying stage is a critical period where many air dry clay pieces are either made or broken. Rushing this process is a recipe for disaster.
The Importance of Slow, Even Drying
You’ve heard it before, and it bears repeating: dry slowly in a ventilated space away from direct heat or sunlight; slow drying is linked to fewer cracks. This is perhaps the single most impactful piece of advice for preventing cracks.
Why Fast Drying is Detrimental
Rapid drying causes the surface of your clay to harden and shrink much faster than the interior. As the interior continues to dry and shrink, the already hardened surface can’t accommodate the change, leading to cracks. Think of it like a desert floor cracking in the intense sun.
Creating the Ideal Drying Environment
Find a spot in your home that is cool, dry, and has good air circulation, but is not directly in front of a fan, heater, or sunny window. A shaded shelf or a cupboard with the door slightly ajar can work well. You might even consider covering your piece loosely with plastic wrap for the first day or two, especially if your environment is very dry, leaving a small opening for air exchange. This helps to slow down the initial drying rate, allowing the moisture to equalize more gradually throughout the piece.
Managing and Repairing Cracks During Drying
Despite your best efforts, sometimes small cracks can appear. The good news is, you can often fix them if you catch them early.
Early Intervention is Key
Smooth and repair cracks early with water or slip before full drying, since early fixes hold better. As soon as you spot a hairline crack, gently moisten the area with a small amount of water using a fingertip or a soft brush. Then, gently rub and compress the clay around the crack to close it. For larger cracks, you might need to apply a tiny bit of fresh, soft clay or a thicker slip, then blend it seamlessly.
The Risk of Late Repairs
Attempting to repair cracks on a fully dry piece is far more challenging and often less successful. The new clay won’t bond as effectively to the completely hardened surface, and the repair itself might crack as it dries. Therefore, regular checks during the drying process are essential.
Enhancing Post-Drying Strength and Longevity
| Method | Strength Improvement |
|---|---|
| Use less water | Results in a stronger clay |
| Add glue or cornstarch | Increases the strength of the clay |
| Bake the clay in the oven | Hardens the clay and makes it stronger |
| Add salt | Improves the strength of the clay |
Once your air dry clay piece is fully dry – a process that can take several days to a week or more, depending on size and humidity – you can take further steps to protect it and increase its strength.
Sealing for Surface Protection and Durability
This final step creates a protective barrier, making your artwork more robust and less susceptible to environmental damage.
Choosing the Right Sealer
Seal the finished piece with primer, acrylic sealer, polyurethane varnish, or similar coatings to improve surface strength and moisture resistance. There are several excellent options:
- Acrylic Sealer: This is a popular choice. Available in matte, satin, or gloss finishes, acrylic sealers provide a good level of protection against moisture and light handling. They are easy to apply and clean up. You can find them in spray cans or brush-on formulas.
- Polyurethane Varnish: For a higher level of durability, especially for pieces that might experience more wear and tear, polyurethane varnish is an excellent option. It creates a very hard, protective layer. Again, choose your desired finish.
- Primer: If you plan to paint your piece, applying a coat of acrylic primer first can help seal the porous surface of the clay, provide a better adhesion for your paint, and offer an initial layer of protection. After painting, you would then apply a topcoat sealer.
The Benefits of Sealing
Sealing does several things:
- Increases Surface Hardness: It creates a hard shell, making the surface less prone to scratches, dents, and chipping.
- Provides Moisture Resistance: Air dry clay is inherently porous and will absorb moisture, which can soften it or even cause it to degrade over time. A sealer creates a barrier, protecting it from humidity, spills, and condensation. Note: “Moisture resistant” does not mean “waterproof.” Do not immerse sealed air dry clay in water.
- Enhances Appearance: Sealers can deepen colors and provide a uniform finish, from matte to high gloss, enhancing the overall aesthetic of your piece.
Painting and Finishing Touches
While not directly a strengthening technique, how you approach painting and finishing can indirectly contribute to the perceived durability and longevity of your piece.
Using Acrylic Paints
Acrylic paints are generally recommended for air dry clay because they are water-based and flexible. They adhere well and don’t require any special treatment after drying other than a topcoat sealer.
Applying Multiple Thin Coats
Whether you’re priming or sealing, apply multiple thin coats rather than one thick coat. Thin coats dry more evenly, reduce the risk of drips or pooling, and build up a stronger, more even protective layer. Allow each coat to dry thoroughly according to the manufacturer’s instructions before applying the next.
Final Considerations for Durability
Even with all these techniques, remember that air dry clay will never be as durable as kiln-fired ceramics. It’s a wonderful medium for decorative pieces, light-use items, and educational projects, but it’s not ideal for items that will hold liquids, be exposed to the elements long-term, or endure heavy impact.
Proper Handling and Display
Once your piece is complete and sealed, handle it with care. Display it in a stable location where it won’t be easily knocked over or subjected to extreme temperature fluctuations. Dust it gently with a soft brush or cloth.
The Value of Practice
Like any artistic medium, your proficiency with air dry clay will grow with practice. Don’t be discouraged by initial cracks or breakages. Each piece is a learning opportunity. As you become more adept at understanding the clay’s properties and applying these strengthening techniques, you’ll find your creations becoming increasingly robust and beautiful.
By following these comprehensive steps – from incorporating internal reinforcement and strategic sculpting to careful drying and robust sealing – you can transform your air dry clay projects from fragile artistic endeavors into sturdy, long-lasting works of art that you can proudly display and cherish for years to come. Your creativity deserves to be preserved, and with these methods, you’re giving it the best possible chance to endure.
FAQs
What is air dry clay?
Air dry clay is a type of clay that dries and hardens without the need for a kiln or oven. It is a popular choice for crafting and sculpting projects.
How can I make air dry clay stronger?
To make air dry clay stronger, you can mix it with a small amount of white glue or acrylic medium. Kneading the clay thoroughly and allowing it to dry completely can also help increase its strength.
Can I strengthen air dry clay after it has dried?
Yes, you can strengthen air dry clay after it has dried by applying a thin layer of white glue or acrylic medium to the surface. This will help reinforce the clay and make it more durable.
What are some tips for working with air dry clay to make it stronger?
Some tips for working with air dry clay to make it stronger include using proper storage techniques to prevent it from drying out too quickly, adding armature or support structures to larger projects, and allowing the clay to dry slowly and evenly.
Are there any alternative methods for strengthening air dry clay?
In addition to mixing air dry clay with white glue or acrylic medium, you can also reinforce it by adding small amounts of paper pulp or cellulose fibers to the clay. These materials can help improve the clay’s strength and reduce the likelihood of cracking or breaking.