Studies show that over 60% of art students begin their sculpting journey with animal figures, and cats rank among the top three subjects chosen. You’ll find that creating a sitting cat sculpture offers an excellent entry point into the world of three-dimensional art, combining basic techniques with room for creative expression. As you explore this project, you’ll discover how simple shapes transform into a charming feline companion, while mastering fundamental skills that’ll serve you well in future sculptural endeavors.
Key Takeaways
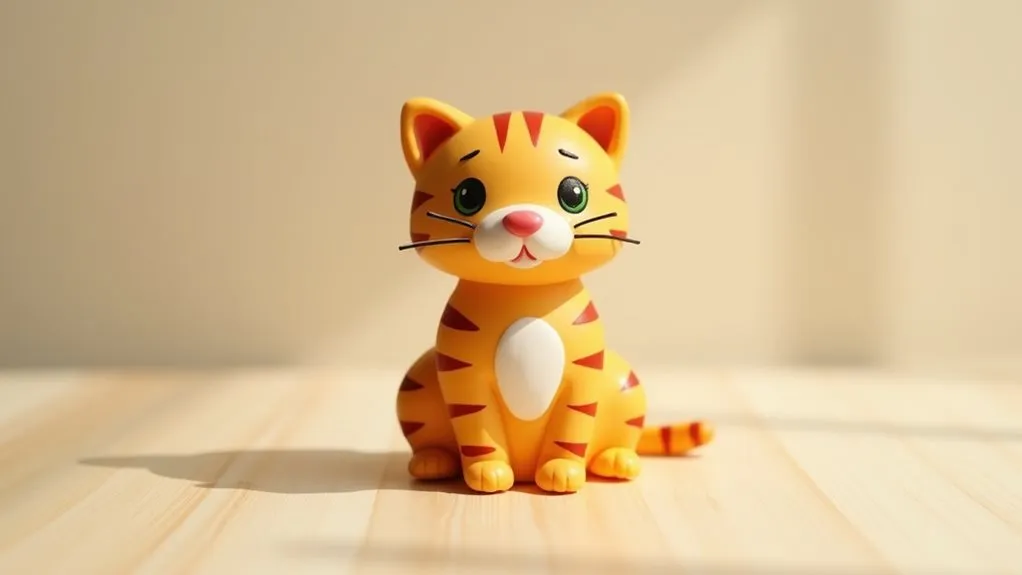
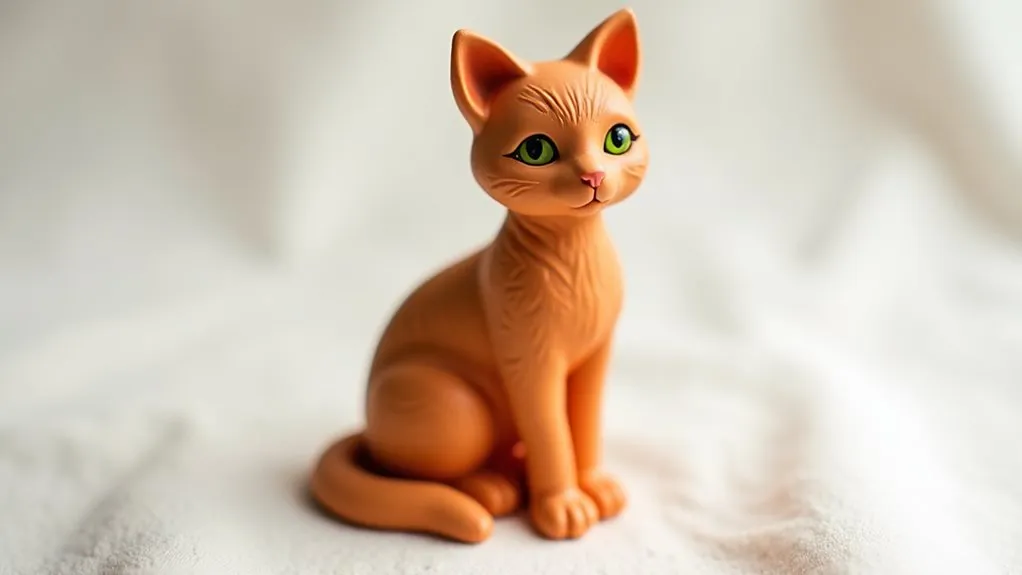
- A sitting cat’s basic body shape resembles an egg form with a flattened bottom for stability.
- Cats typically sit with their tail wrapped around their body or extended for balance.
- The head position in a sitting cat is usually upright and alert, with triangular ears pointing forward.
- When sitting, cats maintain a straight back posture with front paws placed close together.
- Sitting cats often tuck their paws underneath their body, creating a compact and symmetrical silhouette.
History
While clay cat sculptures have existed for thousands of years, with ancient Egyptians creating some of the earliest known examples to honor their feline deities, the modern craft of making decorative clay cats has evolved significantly.
You’ll find that during the Art Nouveau period of the late 19th century, ceramic cats became popular home decorations, leading to mass production of various designs.
In the 1950s, you’d see a surge in handcrafted clay cats as hobby ceramics gained momentum. The introduction of air-dry clay in the 1960s made the craft more accessible, as you didn’t need a kiln for firing.
Today, you can choose from numerous clay types and techniques, with online tutorials and workshops making it easier than ever to create your own sitting cat sculpture, continuing a tradition that spans millennia.
Project
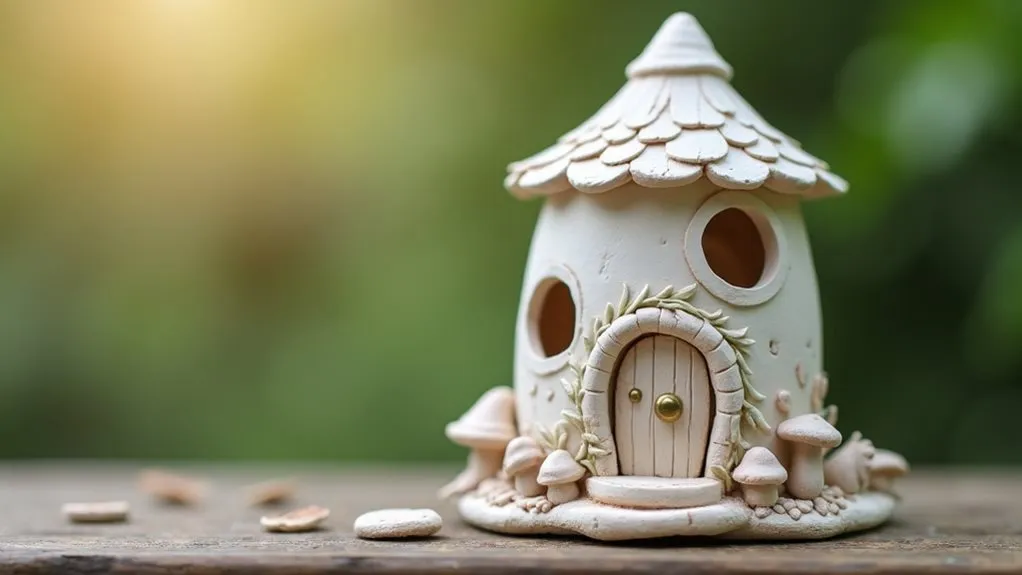
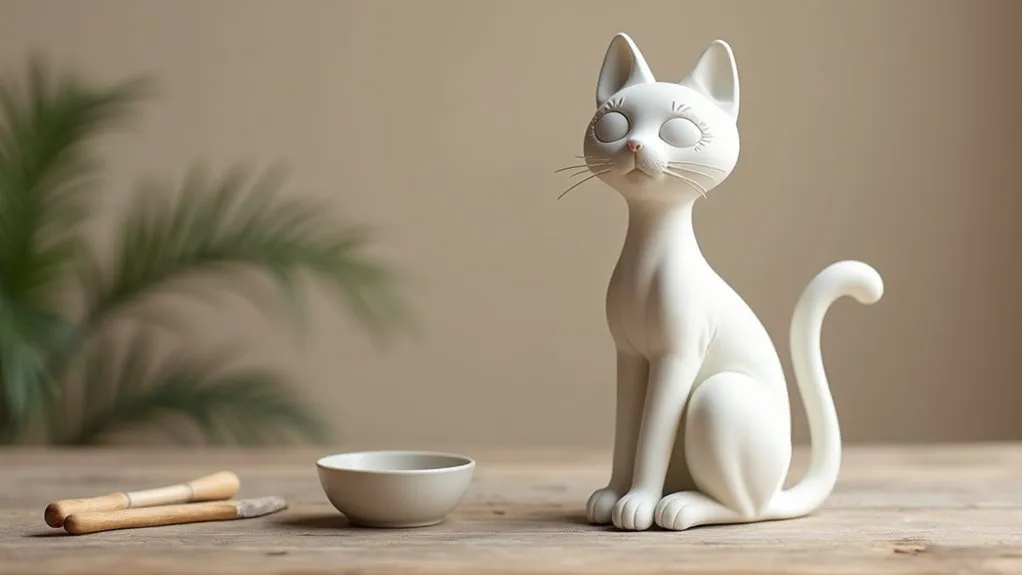
Crafting a sitting cat from air dry clay is a delightful beginner-friendly project that captures the graceful essence of a feline companion. This simple yet elegant sculpture stands approximately 4 inches tall when completed and serves as a charming decorative piece for any room.
The entire sculpting process takes about 2-3 hours to complete, followed by a 24-48 hour drying period. This project focuses on basic sculpting techniques that anyone can master, making it an ideal introduction to working with air dry clay while creating a piece that maintains a professional appearance.
- Air dry clay (8 oz / 225g)
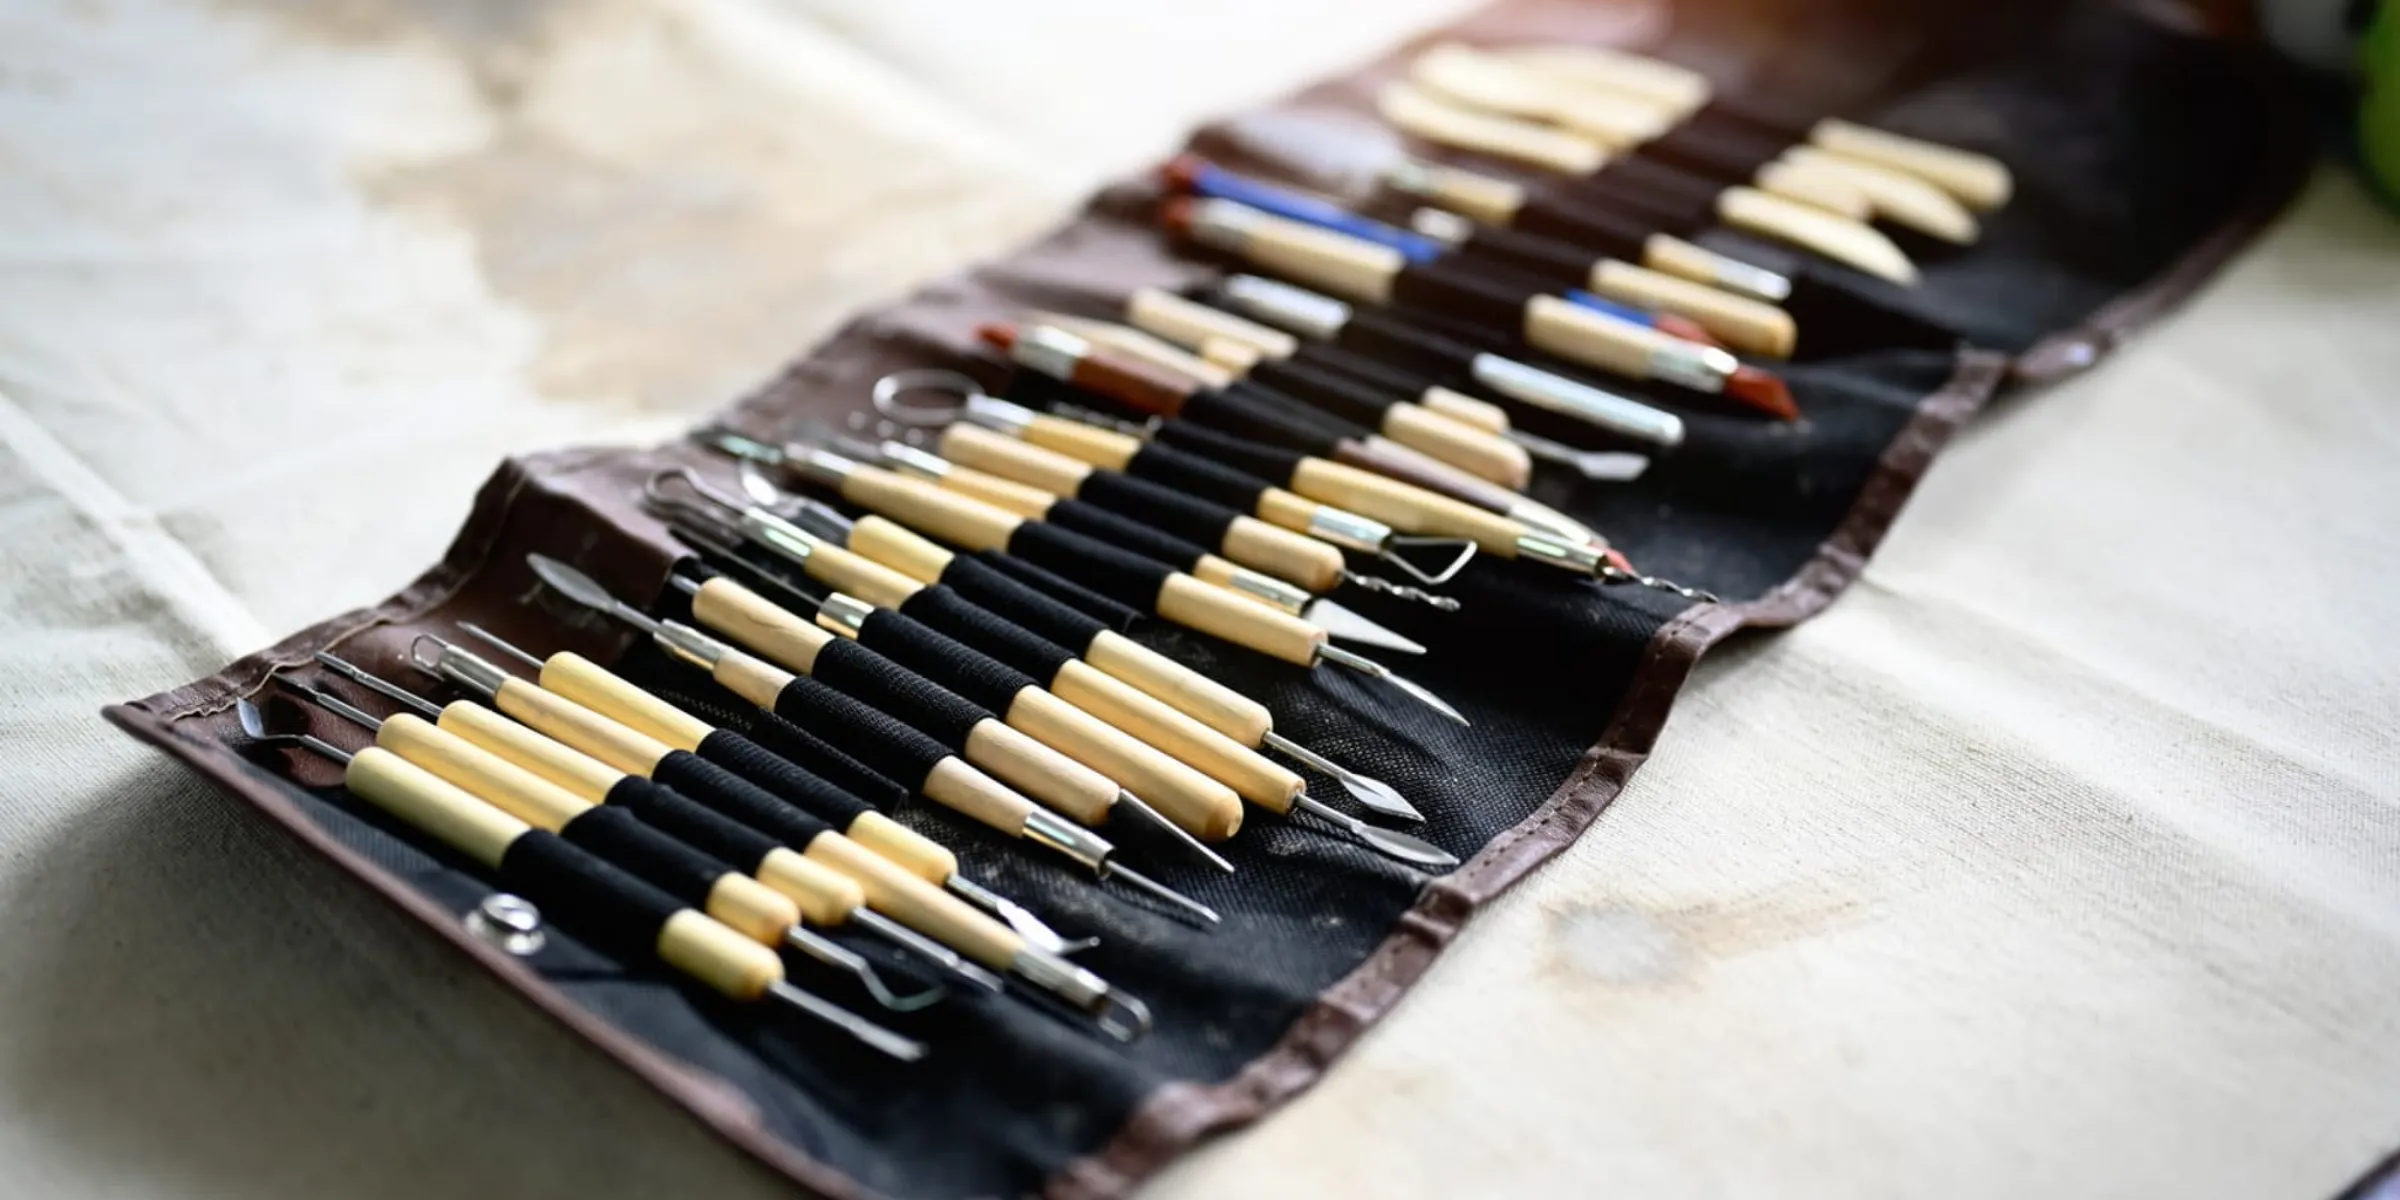
- Wooden sculpting tool or plastic knife
- Small bowl of water
- Smooth work surface (tile or plastic board)
- Sandpaper (220 grit)
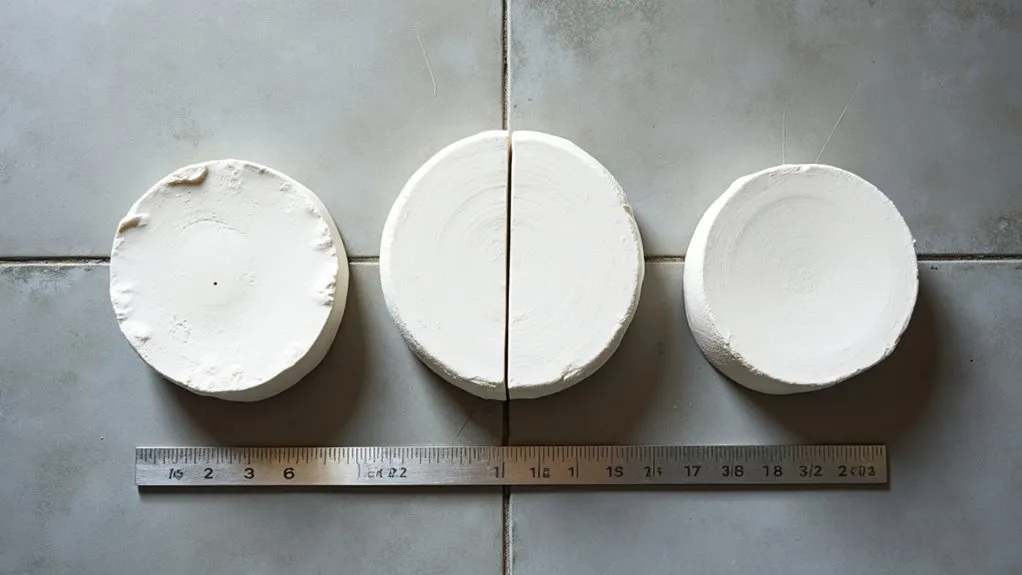
Divide the clay into three portions: half for the body and two quarters for the head and tail. Shape the body portion into an egg form and flatten the bottom slightly for stability. Create the head by rolling a ball and pinching out triangular ears, then use your sculpting tool to detail the face.
Score both surfaces where the head will join the body, apply water, and press firmly to attach. Form the remaining clay into a curved tail, attach it to the back using the same scoring technique, and add fur texture using light scratches with your sculpting tool.
Keep your clay workable by covering unused portions with plastic wrap and maintain a slightly damp cloth nearby during sculpting. Avoid overworking the clay, as this can create unwanted fingerprints and loss of detail.
When drying, place the sculpture in a draft-free area away from direct sunlight and heat sources to prevent cracking. If cracks appear during drying, they can be filled with a clay slip made by mixing small amounts of clay with water until it reaches a cream-like consistency.
Project Steps
You’ll begin your sitting cat sculpture by dividing your clay into three essential portions: one half for the body and two quarters for the head and tail.
Next, you’ll shape the body portion into an egg form, flatten its bottom slightly for stability, and then create the head by forming a round ball with pinched triangular ears.
Finally, you’ll connect the head to the body using water as a bonding agent, shape the remaining clay into a graceful tail, and add realistic fur texture using your sculpting tool.
Step 1. Divide Clay Into Portions
The first essential step in creating your clay cat sculpture requires dividing the clay into three distinct portions.
You’ll need to separate your 8-ounce block of air dry clay into one large piece that’s half the total amount (about 4 ounces) for the body, and two smaller, equal portions of about 2 ounces each for the head and tail.
Using clean hands, pull the clay apart firmly but carefully, ensuring each piece separates cleanly.
Before you begin shaping these portions, briefly knead each piece to warm it up and remove any air bubbles.
If you’re working in a dry environment, you might notice the clay feeling slightly firm – that’s perfectly normal, and you can soften it by working it between your palms for a few moments.
Step 2. Shape Body Into Egg
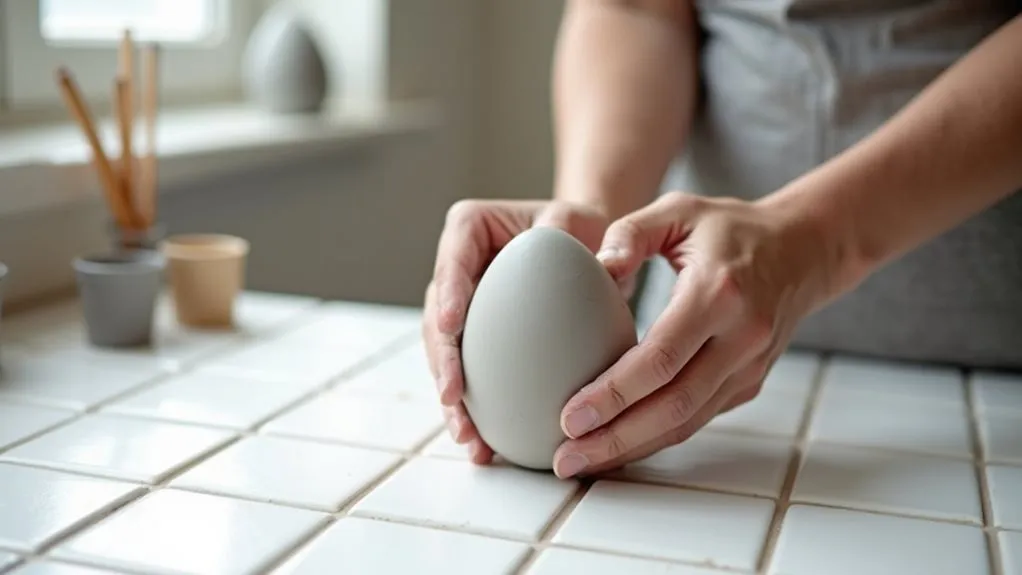
With your large body portion ready, begin rolling the clay between your palms using gentle, circular motions to create an elongated sphere. Continue shaping until you’ve achieved an egg-like form that’s slightly wider at the base than the top, measuring approximately 2.5 inches in height.
Press one side of your egg shape gently against your work surface to create a flat bottom that’ll help your cat sit securely. Don’t press too hard – you’re aiming for stability while maintaining the natural curve of the cat’s body.
Next, use your thumb to create a slight depression where the neck will connect to the head. Smooth any uneven areas with your fingertips, keeping them slightly damp to prevent the clay from sticking.
Step 3. Shape Head and Ears
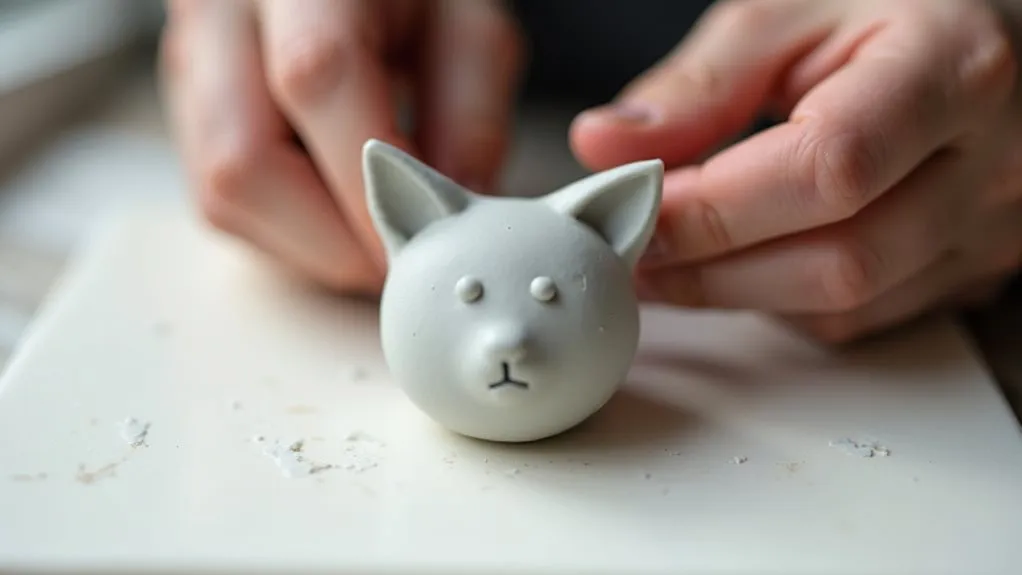
Starting with your small clay portion for the head, gently roll it between your palms to form a sphere roughly one-third the size of the body.
Position your thumbs at the top of the sphere and press gently to create two distinct points that will become the cat’s ears. Using your fingertips, refine these points into triangular shapes, angling them slightly outward for a natural feline appearance.
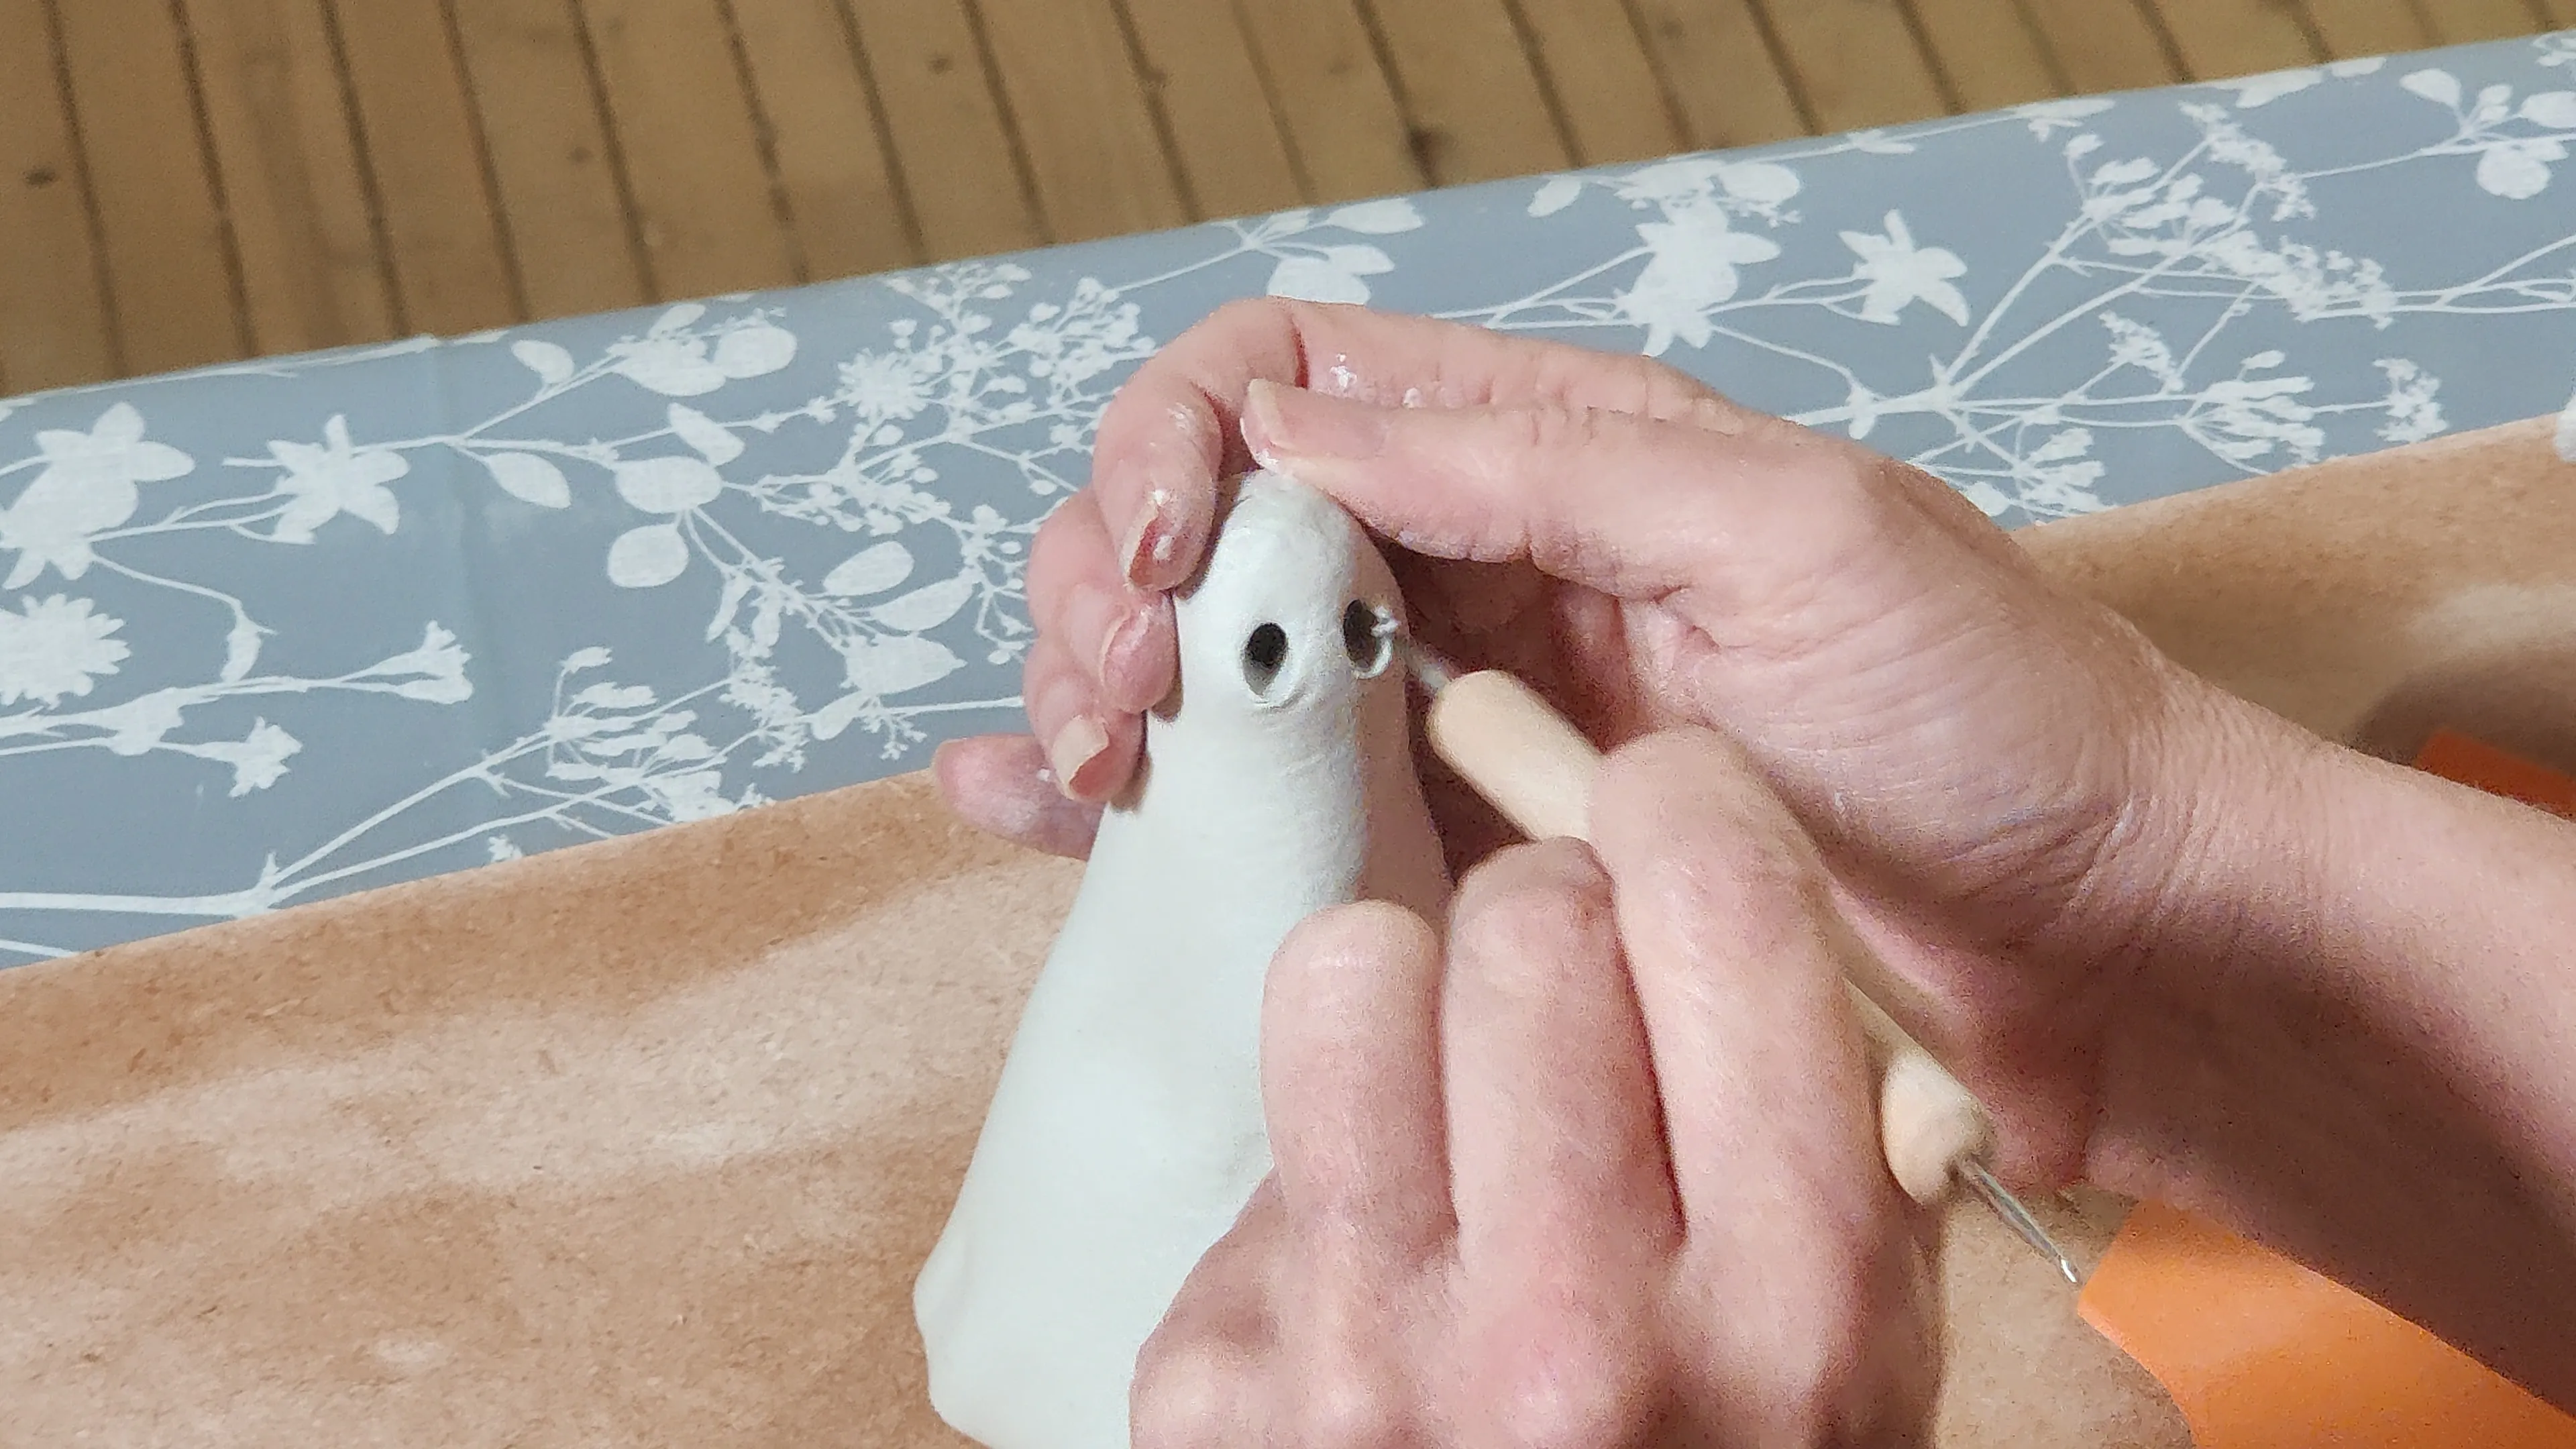
With your sculpting tool, carefully score a light horizontal line across the middle of the face to indicate where the eyes will sit.
Below this line, create a small triangular nose by pressing the tip of your tool into the clay. Don’t forget to add subtle indentations on either side of the nose to suggest whisker pads, giving your cat’s face more character.
Step 4. Attach Head and Body
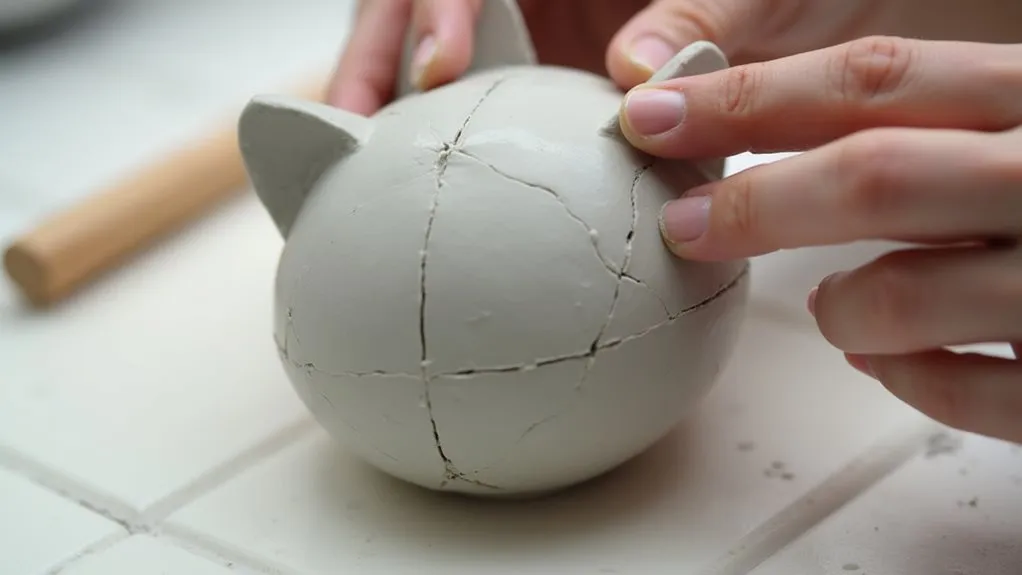
Carefully score cross-hatch patterns into both the neck area of your body piece and the bottom of the head using your sculpting tool, creating rough surfaces that’ll help the pieces bond securely.
Dip your finger in water and lightly moisten both scored surfaces, being careful not to over-saturate the clay.
Position the head at a slight angle, pressing it firmly onto the body while maintaining the natural feline posture.
Use your thumbs to blend the clay where the head and body meet, smoothing the joint to create a seamless connection.
You’ll want to work the clay in a circular motion, gradually feathering out the edges until they’re completely integrated.
If any excess clay builds up during this process, remove it with your sculpting tool to maintain clean lines.
Step 5. Shape Tail and Add Texture
The final portion of clay transforms into your sculpture’s expressive tail through deliberate shaping and texturing. Roll the remaining clay into a tapered cylinder, thicker at the base and gradually thinning toward the tip.
Curve the tail into a gentle C-shape or S-shape, positioning it naturally against the cat’s body. Score both connection points before attaching the tail with a small amount of water.
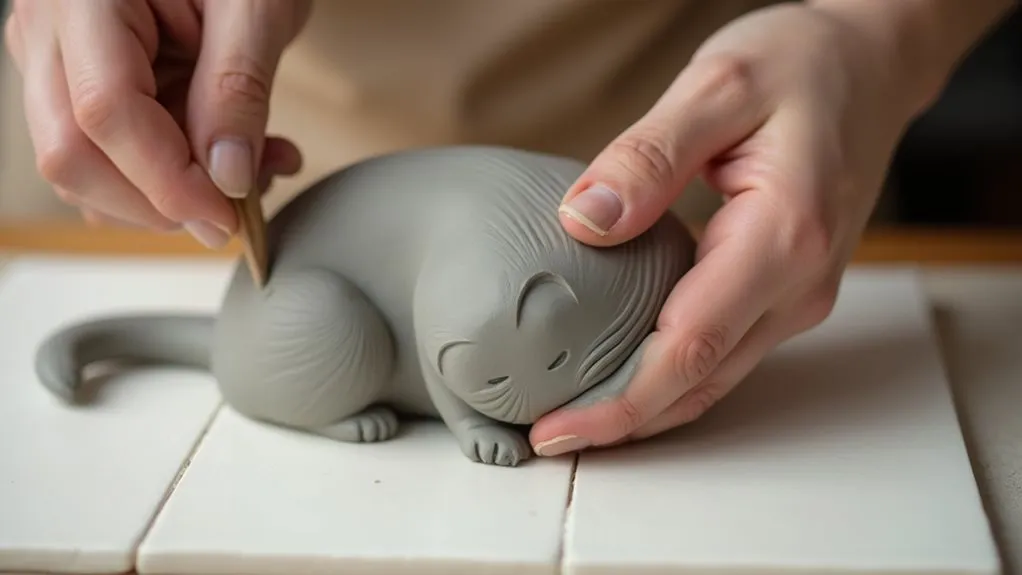
Now, use your sculpting tool to create fur texture across the entire sculpture. Make light, directional scratches that follow the natural flow of a cat’s fur – downward on the body, outward on the tail.
Pay special attention to the face, creating shorter strokes around the ears and cheeks. Smooth any rough areas with a slightly damp finger, being careful not to erase your texture work.
Final Thoughts
While creating a sitting cat sculpture might seem challenging at first, you’ll find that this project offers a rewarding introduction to the art of clay sculpting.
As you follow the steps and develop your technique, you’ll gain confidence in handling air dry clay and understanding basic sculptural forms.
Remember to take your time with each detail, from shaping the body to adding those final textural elements.
Don’t worry if your cat doesn’t look exactly like someone else’s – each piece will have its own unique character.
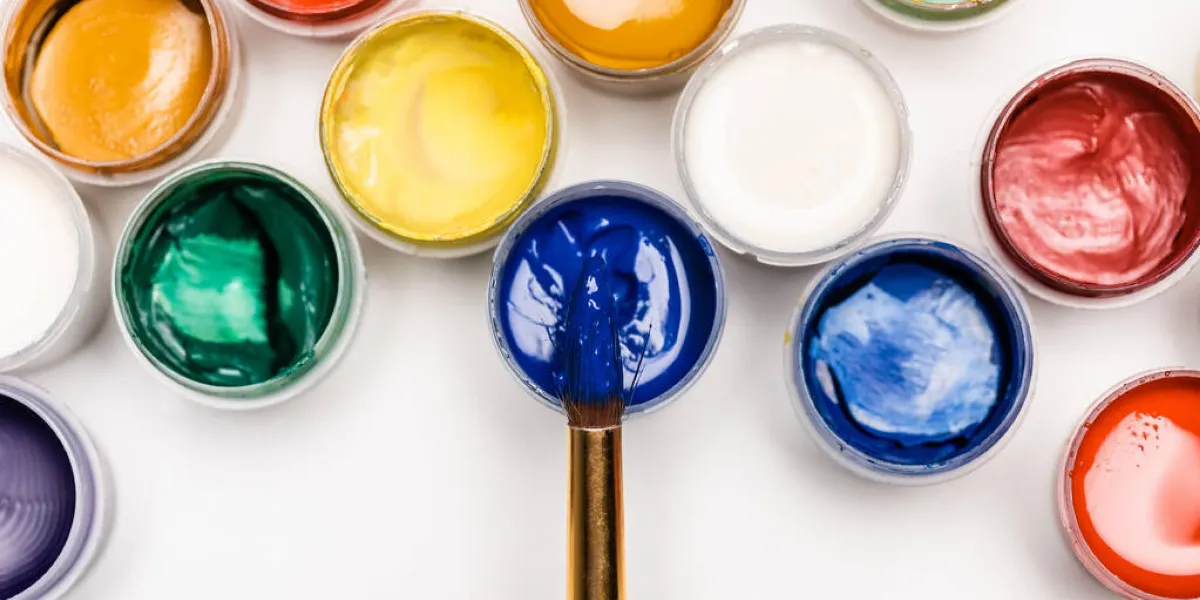
Once your sculpture has dried completely, you can choose to enhance it with paint or preserve its natural clay finish.
With practice, you’ll discover that this simple project can lead to more complex sculptures as your skills improve.