Millions of crafters turn to air-dry clay annually for sculptural projects that require no kiln or special equipment. You’ll find that creating clay birds offers a rewarding way to develop artistic skills while producing decorative pieces for your home or gifts. The process combines basic sculpting techniques with accessible materials, though several critical steps determine whether your finished bird will look polished or amateur—steps we’ll explore in detail.
Key Takeaways
- Shape air-dry clay into a smooth ball for the body, keeping water nearby to maintain workability and prevent cracking.
- Create wings and tail using teardrop shapes, score surfaces with a wooden skewer, then bond with water before pressing firmly.
- Add head details like eye dimples using a toothpick to establish expressive features and facial character for your bird.
- Allow twenty-four hours drying in a warm location, then sand rough spots and apply primer before painting with thin coats.
- Seal the finished bird with Mod Podge or varnish after painting dries completely for moisture protection and lasting durability.
History
Though clay bird figures might seem like a modern craft invention, they’re actually rooted in humanity’s earliest artistic traditions. You’ll find evidence of these sculptures throughout prehistoric archaeological sites, where ancient civilizations crafted birds as toys and spiritual talismans for thousands of years.
Birds held profound cultural significance in antiquity, symbolizing everything from protection to spiritual connection across diverse societies.
Fast-forward to the 20th century, and you’ll discover that air dry clay emerged through collaborative experimentation by multiple inventors rather than a single creator.
Early versions developed in Argentina using cold porcelain clay mixed with cornstarch and glue.
Meanwhile, European and American craft labs created polymer alternatives and paper clay formulas by incorporating cellulose fibers into traditional clay.
These innovations transformed bird crafting, making it accessible to everyone without requiring a kiln. Today, air dry clay and Crayola Model Magic have become the standard materials for children’s clay bird projects in educational settings.
Project
Creating air dry clay birds is a delightful craft project that combines sculpture and painting into one engaging activity. Whether you’re looking for a fun weekend project or a decorative piece to display in your home, these charming birds are perfect for crafters of all skill levels.
The beauty of using air dry clay is that you don’t need a kiln or oven—just time and your creativity.
This project uses simple materials you likely already have on hand, making it an accessible and affordable craft. By building a basic styrofoam armature and covering it with clay, you’ll create a sturdy foundation that’s easy to shape and paint.
The result is a personalized bird sculpture that makes a wonderful gift or addition to any room’s décor.
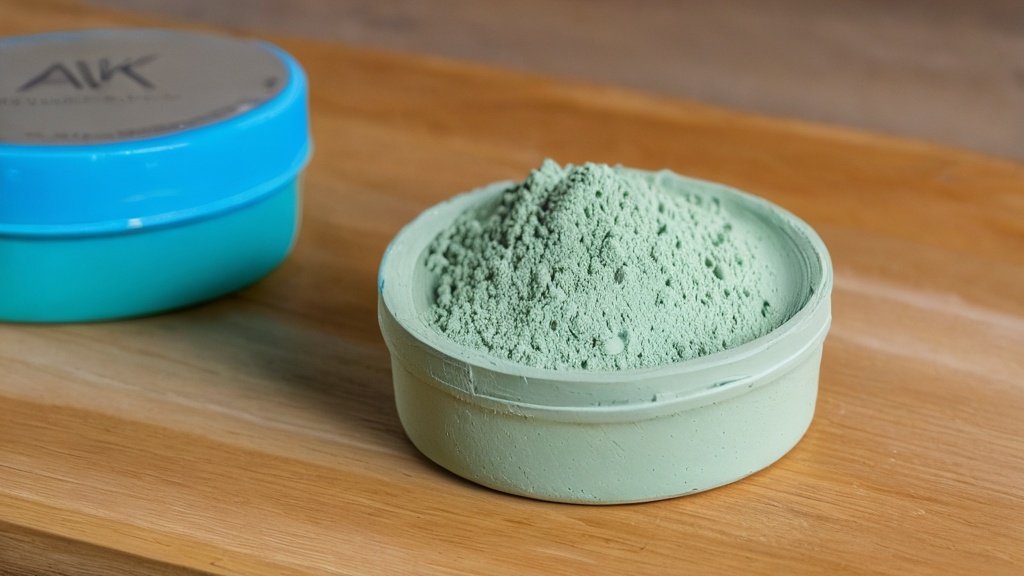
Materials:
- Air dry clay or Crayola Model Magic (454g or 1 lb package)
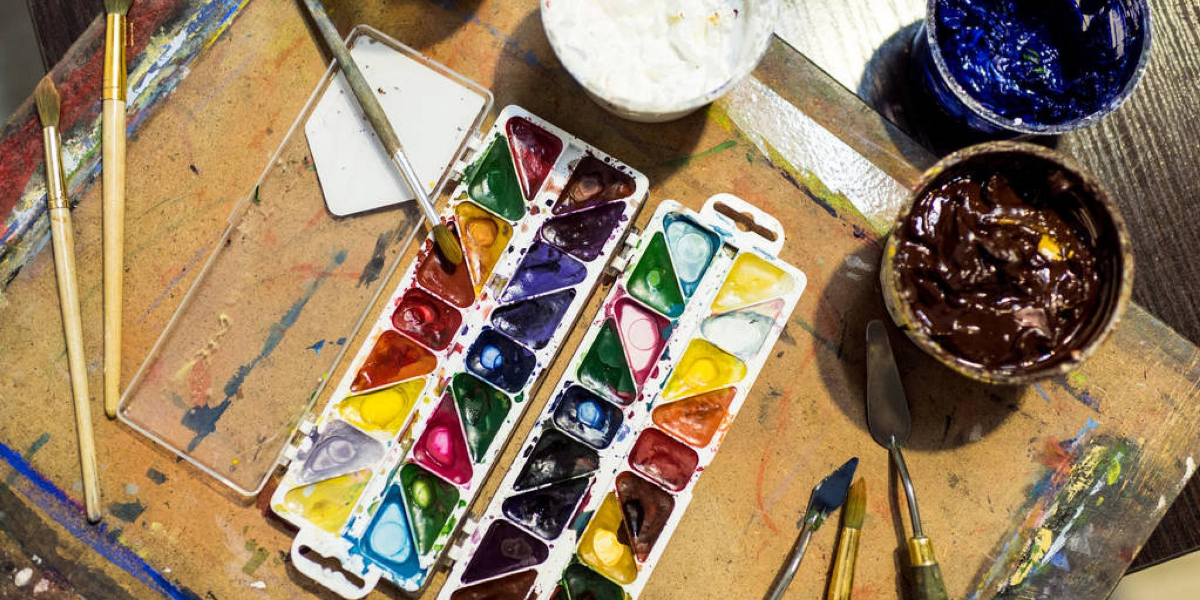
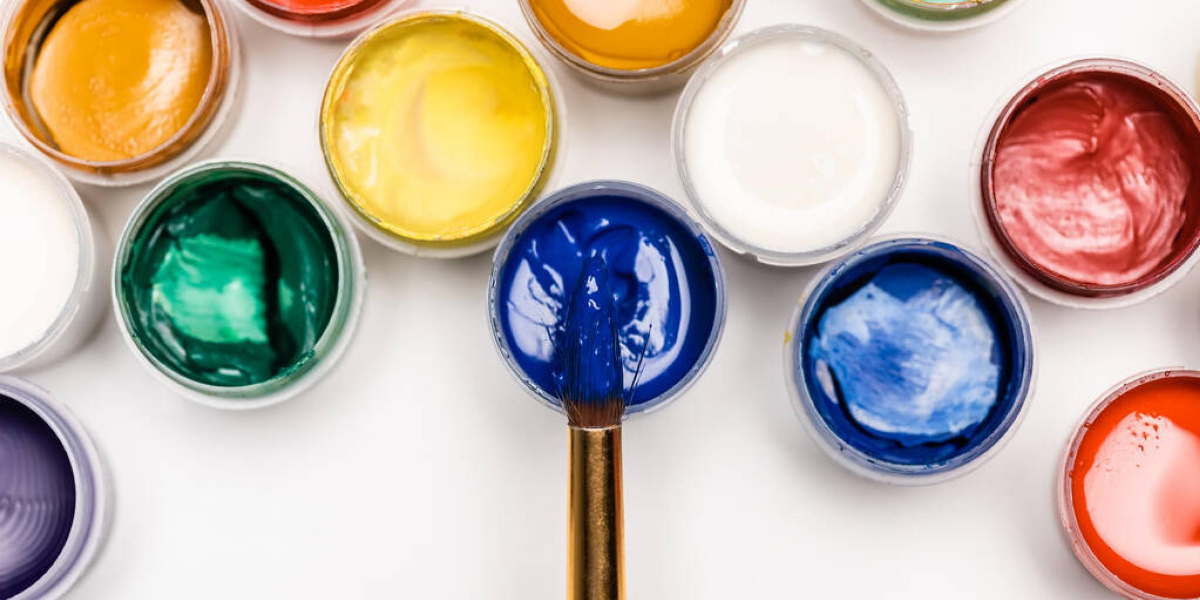
- Tempera or acrylic paints (standard 2 oz/59 ml bottles)
- Paintbrushes (variety pack with multiple sizes)
- Googly eyes or small beads for decoration
- Craft glue or hot glue gun adhesive
Instructions:
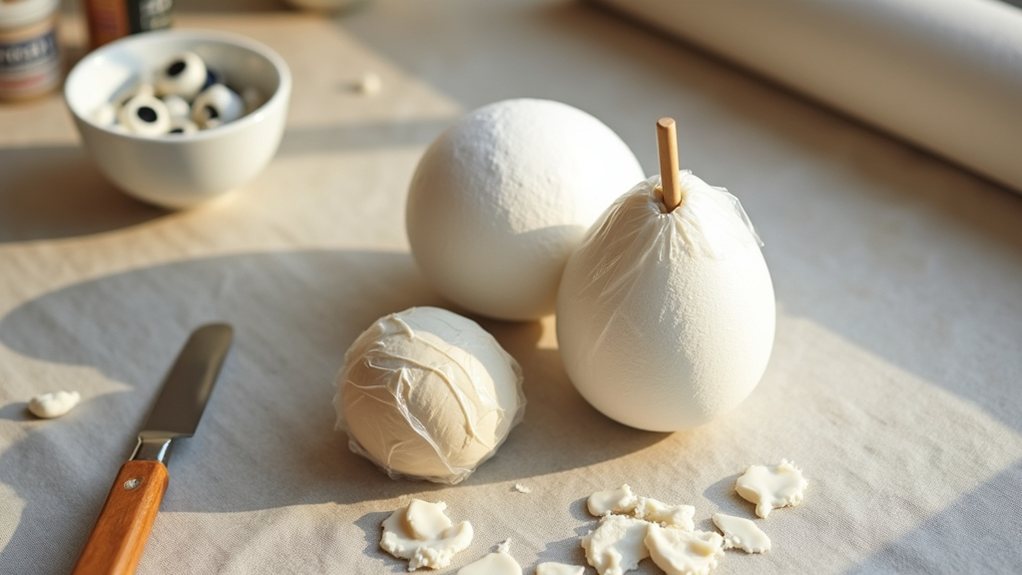
Begin by selecting a styrofoam egg for the body and a smaller styrofoam ball for the head, wrapping each piece in plastic wrap to prevent clay from sticking directly to the foam.
Attach the head to the body using a stick pushed through both pieces, then cover the entire armature with air dry clay, smoothing it into a bird shape with your hands.
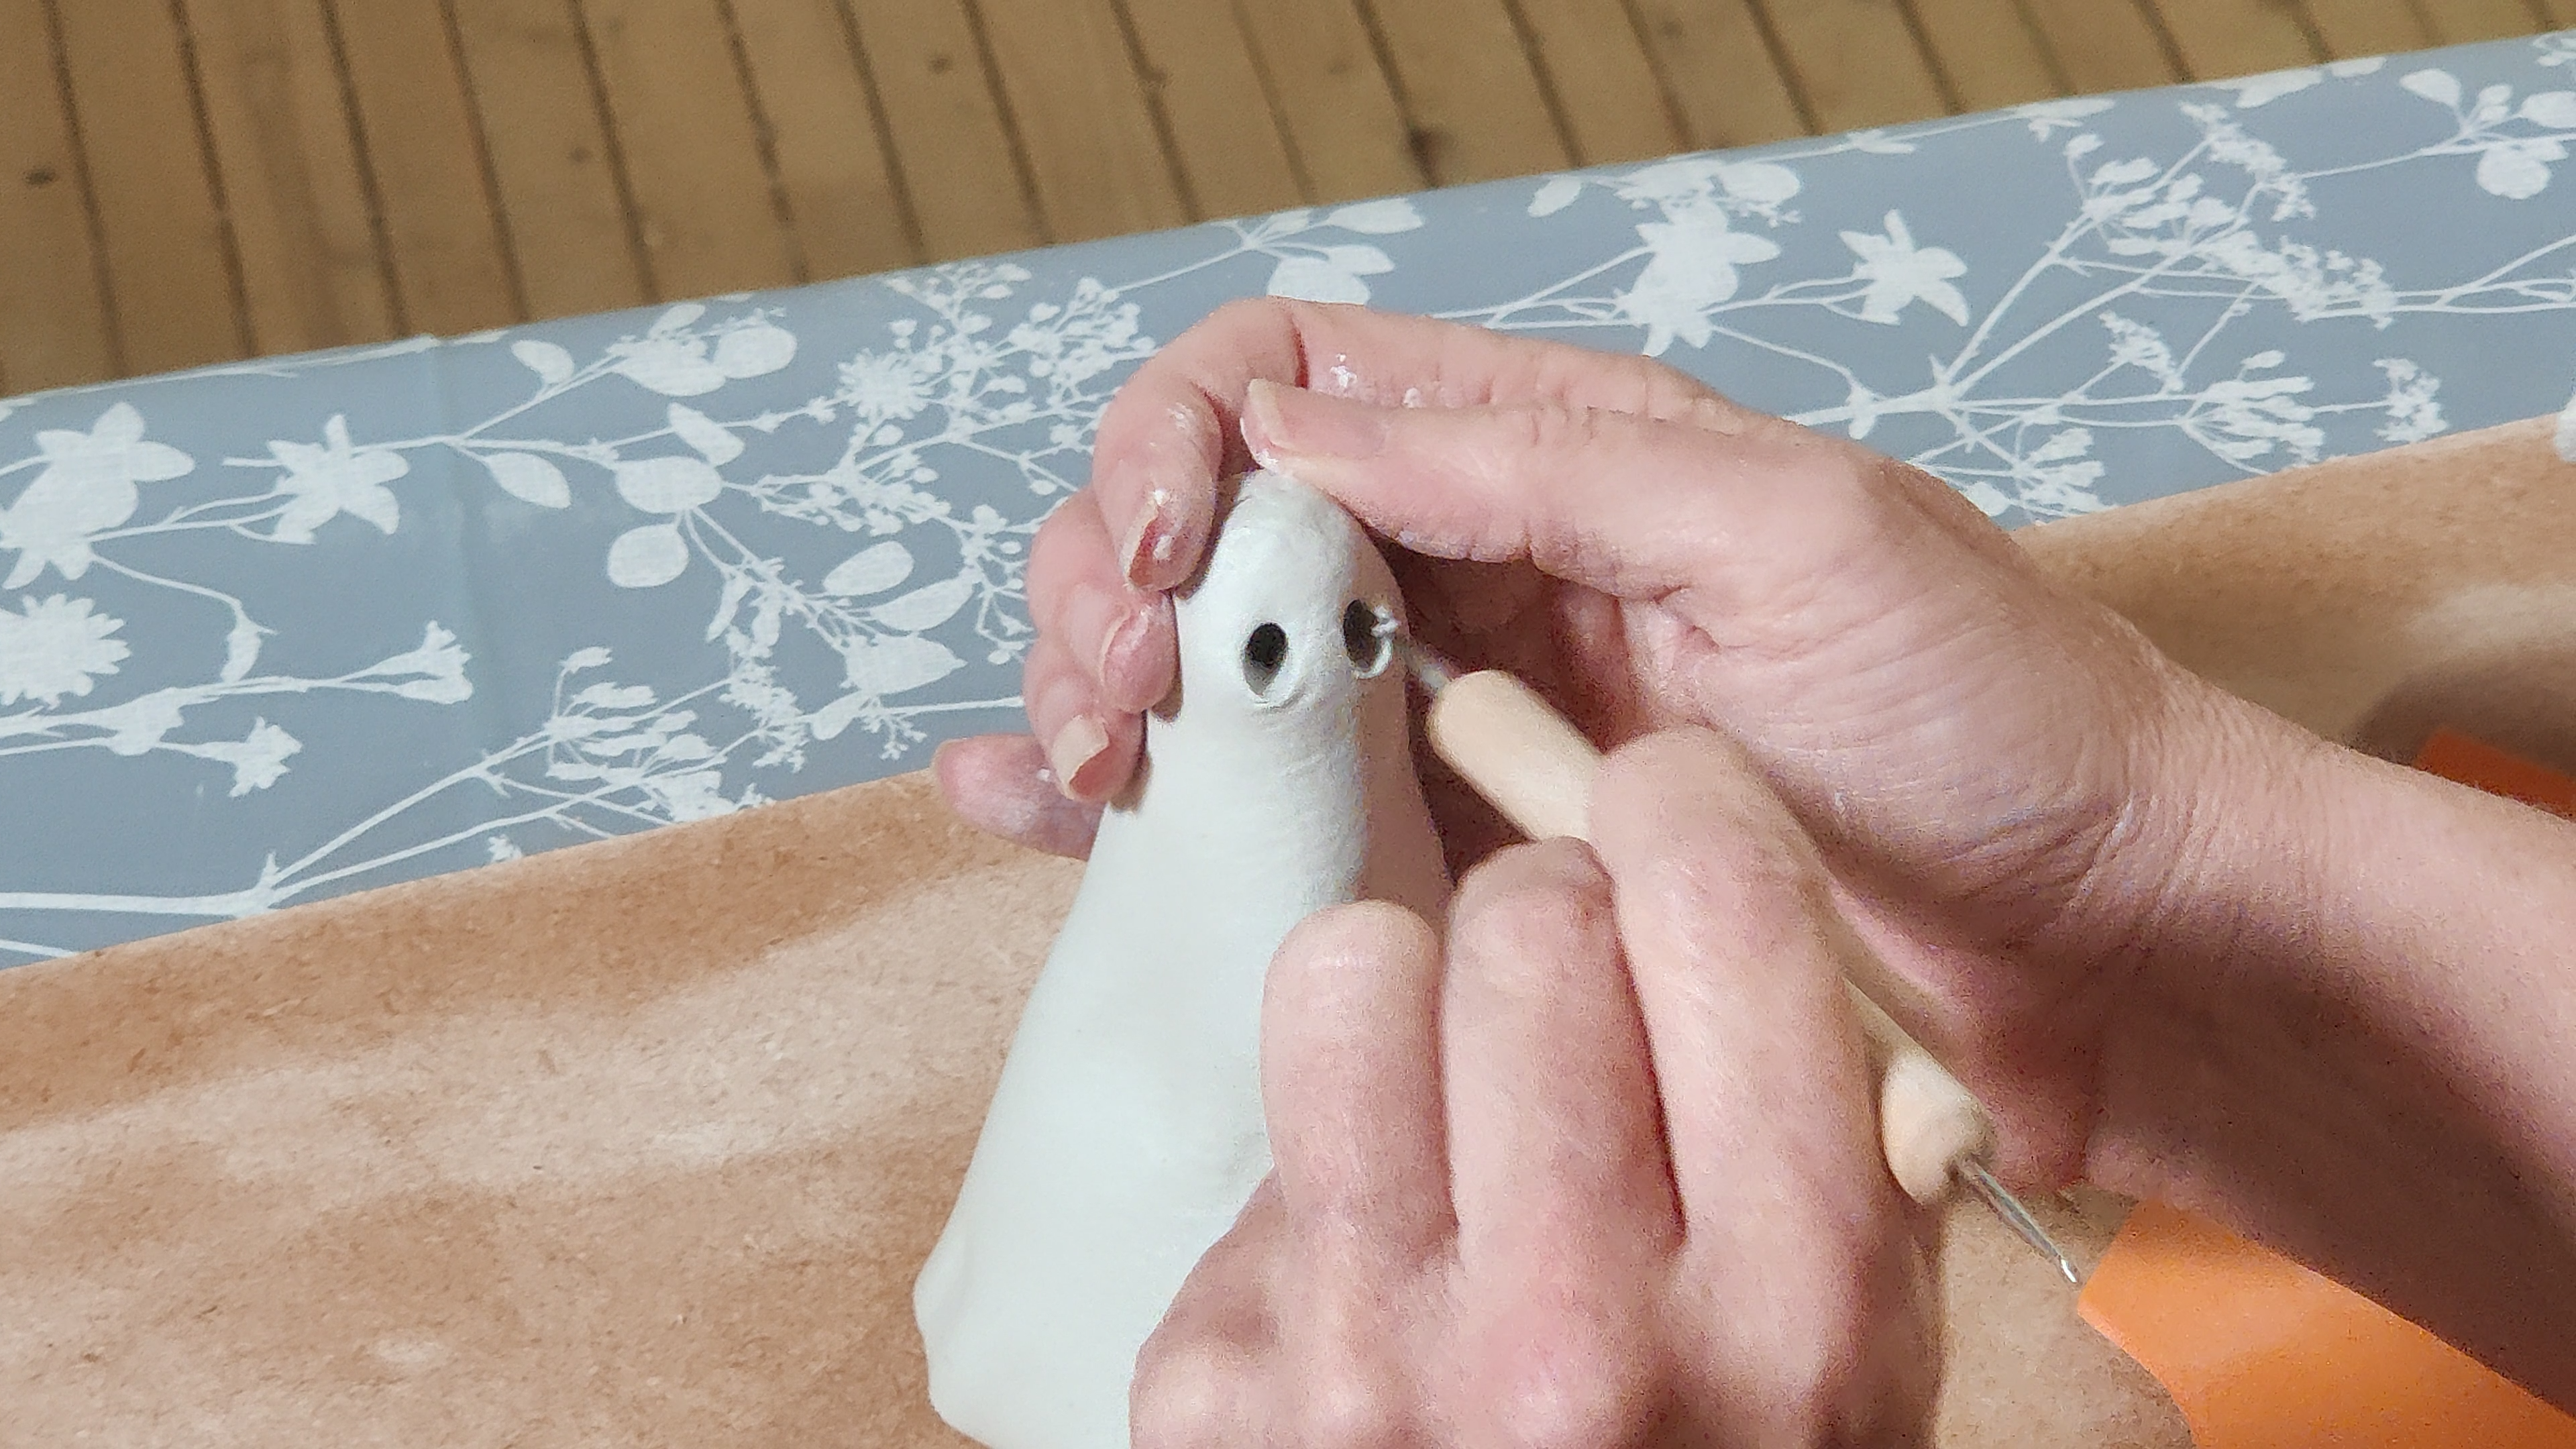
Create a small ‘+’ shaped cut where you want the eyes and embed your googly eyes or beads into the openings.
Use extra clay to sculpt feathers along the wings and tail, creating texture with a craft knife or your fingernail.
Allow the clay to dry for a full 24 hours in a warm location, then sand any rough spots, paint with your chosen colors, and seal with Mod Podge for added durability. Cracking and shrinking are common challenges during the drying process, so patience and proper curing time are essential for successful results.
Pro Tips:
Work in a warm, dry environment to speed up drying time, and avoid placing your bird near direct heat sources or fans, which can cause uneven drying and cracking.
If cracks do appear during the drying process, simply pinch fresh clay into the gaps and allow it to dry again.
When painting, apply thin coats rather than one thick coat to prevent paint from cracking as the clay underneath continues to settle.
Store leftover clay in an airtight container between work sessions to keep it fresh and workable for future projects.
Project Steps
Now you’ll bring your clay bird to life by working through the essential steps: shaping the body as your foundation, crafting wings and a tail to establish the bird’s form, adding distinctive head features that give your creation personality, assembling all the individual pieces into a cohesive structure, and finally painting and sealing your finished sculpture for a polished, protective finish.
Each step builds upon the previous one, so you’ll want to follow them sequentially to ensure your bird holds together properly and achieves the look you’re envisioning. To secure each component firmly, score the connection areas with a toothpick and apply a small amount of water before pressing the pieces together.
Pay close attention to how you attach each component, as proper assembly determines both the durability and visual appeal of your air dry clay bird.
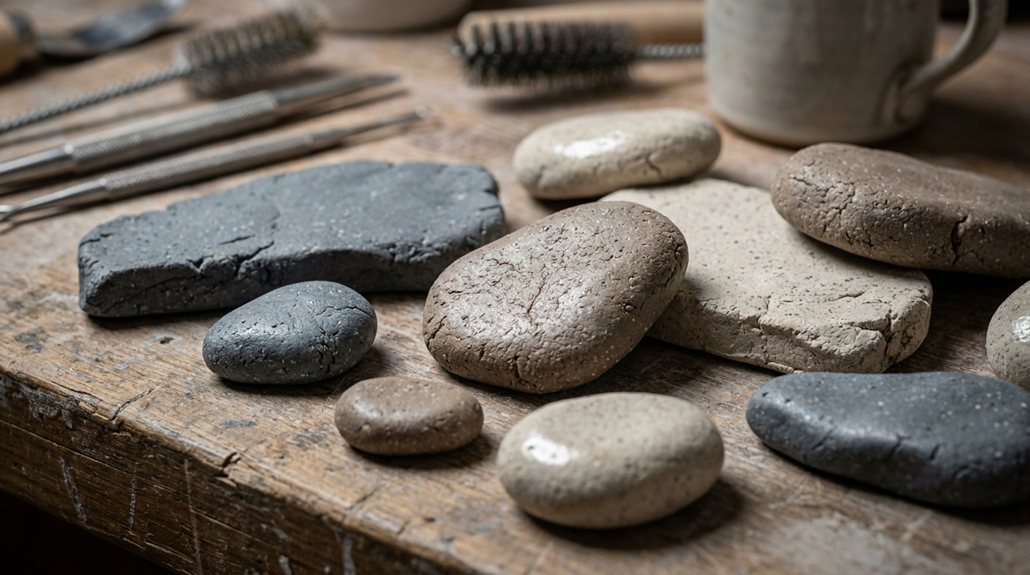
Step 1. Shape Clay Into Body
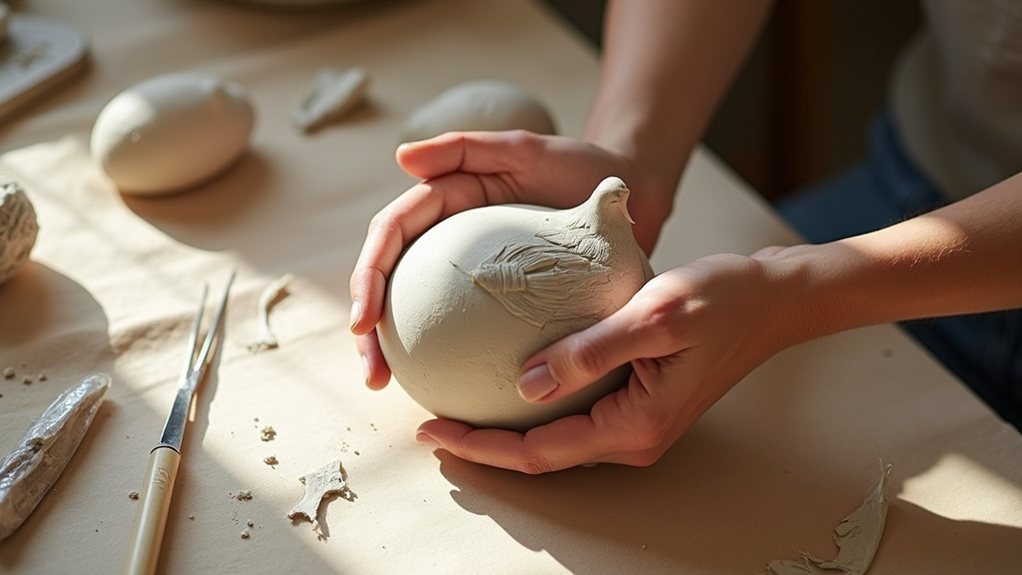
When you’re ready to form your bird’s foundation, start by taking a palm-sized amount of air dry clay and rolling it between your hands until you’ve created a smooth, even ball—this simple sphere becomes the core of your bird’s body. This initial shaping step establishes your sculpture’s proportions, so you’ll want to consider the specific bird species you’re creating and adjust the ball’s size accordingly.
For larger birds requiring extra support, you can embed a foam core or styrofoam block inside the clay before fully closing it, which provides internal structural reinforcement.
Ensure you’ve thoroughly established body dimensions at this stage, as correcting proportions later becomes increasingly difficult. Keep water nearby during the shaping process to keep the clay wet and workable, reducing cracks as you smooth and refine the bird’s form.
This foundational work directly influences how realistically your finished bird appears.
Step 2. Create Wings and Tail
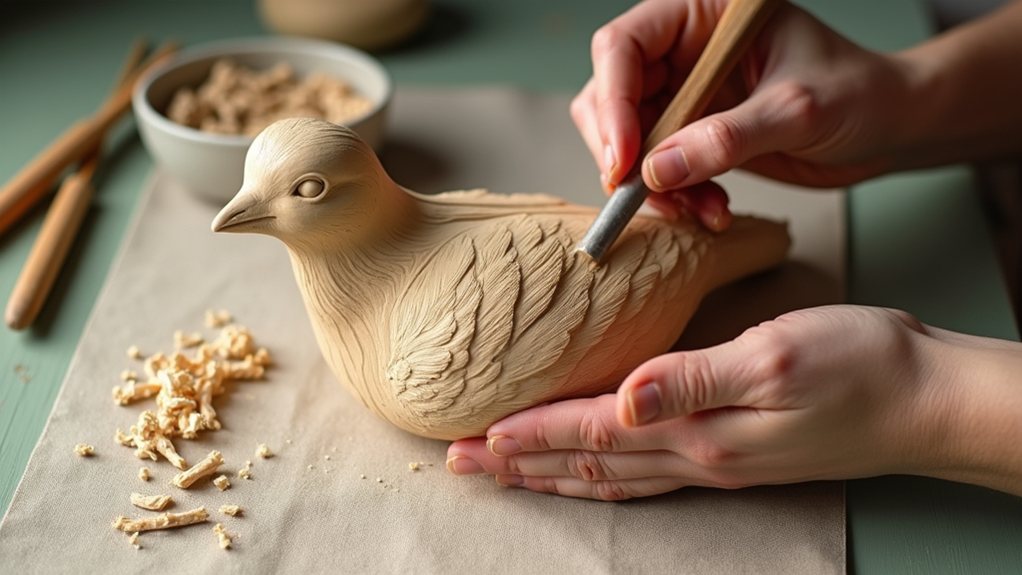
With your bird’s body firmly established, you’re ready to construct the wings and tail—the features that’ll truly bring your clay sculpture to life.
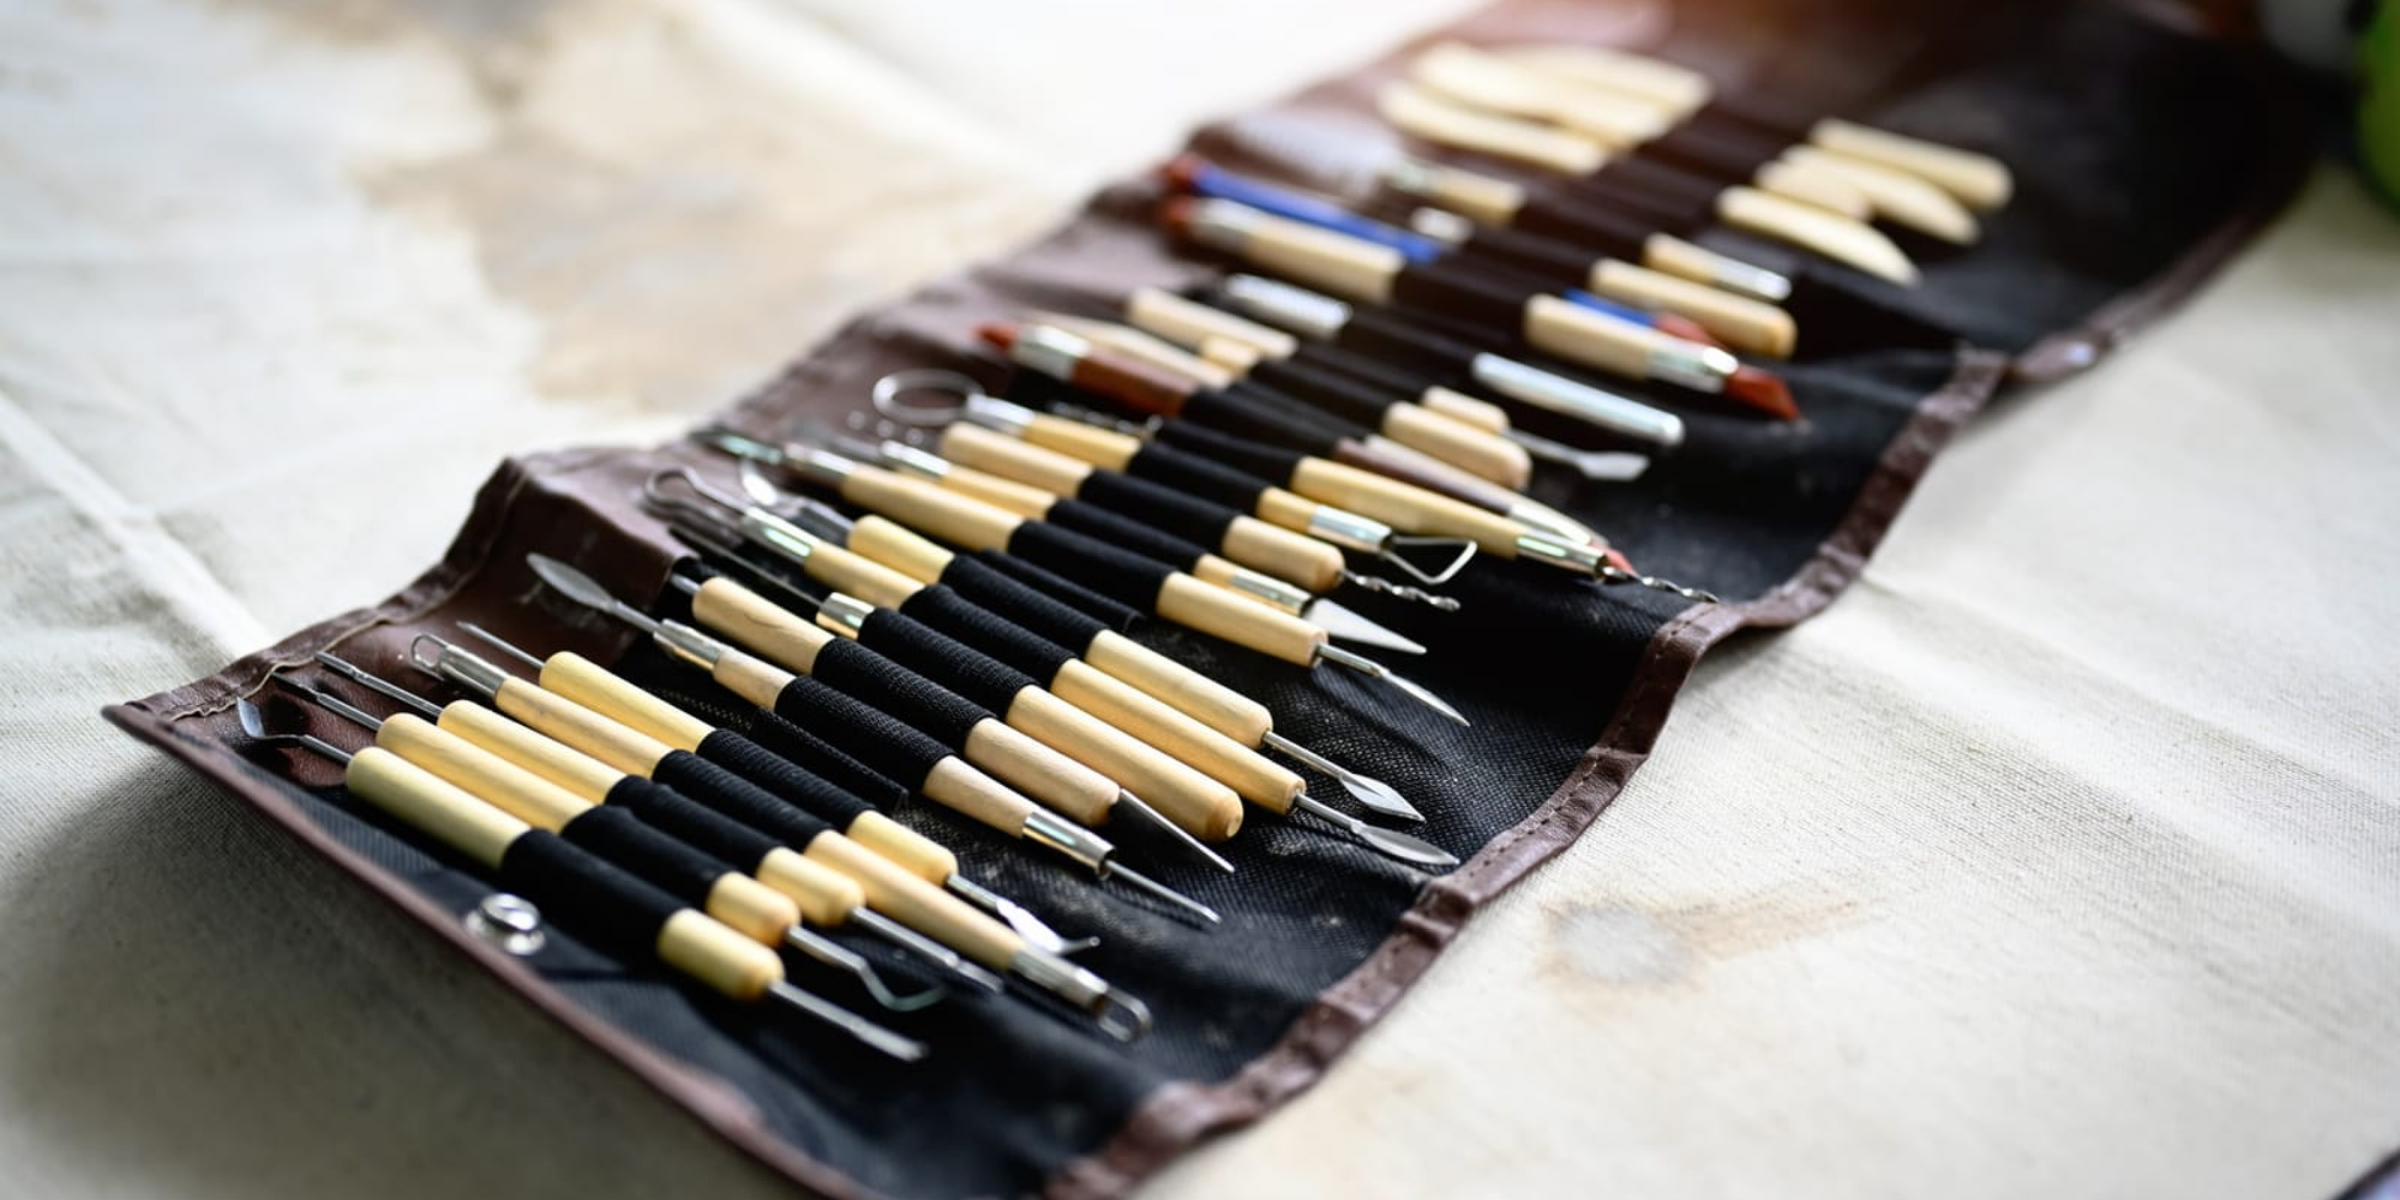
Roll clay into flat teardrop shapes for wings, then cut precise outlines using a needle tool.
For the tail, you can either pinch the clay body’s backside to form feathers or roll additional clay into a tapered coil for an elongated effect.
Score both wing and body surfaces with a wooden skewer, then apply water as slip to bond them together.
Press wings firmly onto the body, ensuring even placement on both sides.
Blend the seams smoothly using your finger, and use small clay patches to mend any attachment cracks that develop during this process. Remember that creativity is encouraged when shaping these features, as there is more than one way to sculpt a bird and your unique design will bring personality to your creation.
Step 3. Add Details to Head

Your bird’s body, wings, and tail are now complete, so you can focus on sculpting the head—the feature that’ll give your clay bird its distinctive character and personality.
Start by attaching a small ball of clay to the body as your foundation. Roll a slightly smaller ball for the actual head, then score both meeting areas with a toothpick to create texture. Dampen the scored spots with water, press the head firmly onto the body, and smooth the seams using a damp finger. Keep your clay workable with water by spraying it lightly whenever it begins to feel hard or dry.
For species-specific details, add crest feathers by flattening a small ball into a fan shape and pressing it onto the head. Finally, poke two small dimples with your toothpick for eye sockets, establishing your bird’s expressive gaze.
Step 4. – Assemble and Attach Parts
Now that you’ve sculpted individual components—body, head, wings, tail, and beak—you’ll bring them together to create a cohesive bird sculpture. Start by gluing your styrofoam ball head into the carved socket on the body, ensuring symmetrical placement for balanced proportions.
Apply water to both clay pieces, then press and wiggle them together securely, using small clay pinches to mend any cracks that form. For a more durable connection, consider using air-hardening modelling clay to reinforce the joined areas.
Insert your cardboard beak into the line cut on the head and your pointy tail into the body slot.
Attach the teardrop-shaped wings by pressing them firmly onto the body sides.
Position your legs with popsicle sticks inserted into the base for standing support.
Allow your assembled bird to dry completely for twenty-four hours in a warm location before adding final details.
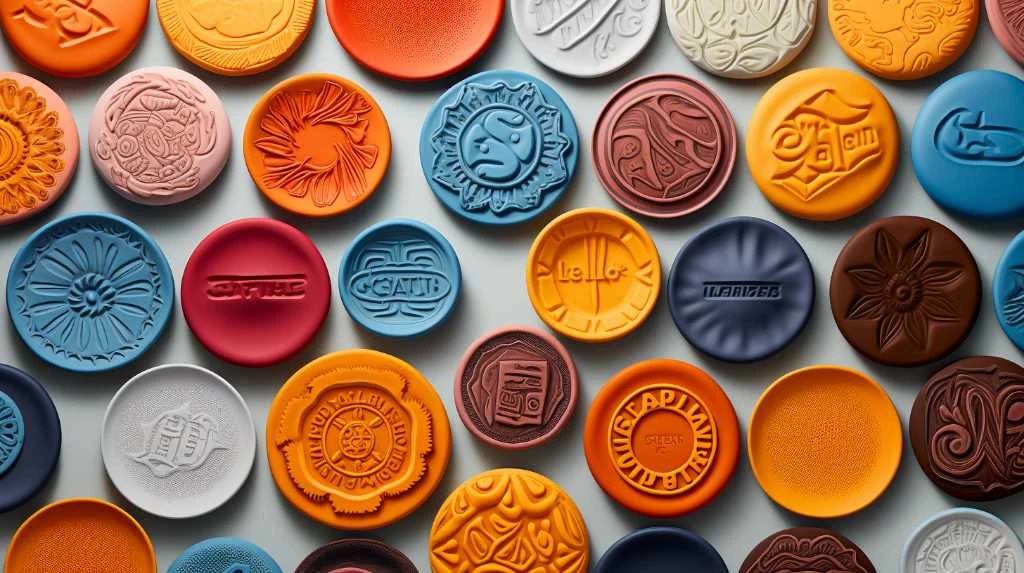
Step 5. Paint and Seal Finished Bird
Before you’ll be ready to paint your bird sculpture, you’ll need to ensure the air dry clay has fully cured. This typically takes twenty-four hours in a warm location but can extend up to five days in humid conditions.
Once dried, gently sand any rough spots and apply a white primer to enhance paint adhesion. Wipe away dust thoroughly before starting your base coat.
Use acrylic paint for optimal results, applying a uniform foundation across the entire surface.
After the base coat dries completely, add detailed colors for feathers and features, allowing each layer to dry fully before proceeding. Thin layers rather than thick applications will give you better control and prevent cracking.
Consider markers for eyes and fine patterns.
Finally, seal your finished bird with Mod Podge or varnish after twenty-four hours to protect it from moisture and ensure longevity.
Final Thoughts
Making air dry clay birds combines creativity with accessible craftsmanship, and you’ve now learned the essential techniques that transform simple materials into charming decorative pieces.
Your finished birds deserve proper care to maintain their beauty and durability for years to come. Store them away from direct sunlight to prevent your sealant from yellowing, and keep them in a cool, dry environment.
Whether you’ve created a single decorative piece or an entire collection, these sculptures make meaningful gifts and personalized home décor.
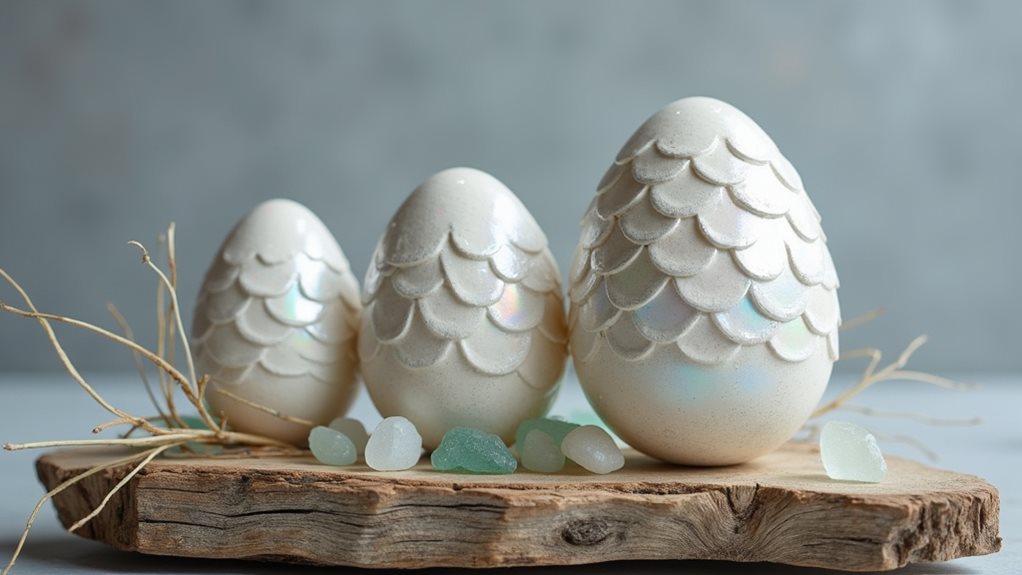
Consider displaying your birds in recycled paper bag nests with clay eggs, or perch them on houseplants for seasonal charm. You can enhance your display by using wooden skewers hot glued to the bottom of each bird to anchor them securely in plant soil.
As you continue crafting, experiment with different painting techniques, scales, and creative applications. Your newfound skills open endless possibilities for artistic expression and handmade gifts.