Understanding Crayola Air-Dry Clay Drying Times
You’ve just sculpted a masterpiece with Crayola Air-Dry Clay – perhaps a quirky animal, a delicate flower, or a sturdy little pot. Now comes the waiting game. How long does it actually take for your creation to transform from soft, pliable clay into a solid, durable piece? This is a question many crafters, parents, and educators ponder, and the answer, while straightforward in its basics, has a few nuances you’ll want to understand. You’re not baking this clay; you’re simply letting nature do its work. The process relies on evaporation, where the water content slowly leaves the clay, causing it to harden. Unlike traditional kiln-fired clay, there’s no high heat involved, which makes it safe and accessible for all ages and skill levels. However, this also means that factors like air circulation and environmental conditions play a much more significant role in the overall drying time. You want your piece to dry evenly and thoroughly to prevent cracks and ensure its longevity. Rushing the process or exposing it to improper conditions can lead to disappointing results. Let’s dive into the specifics so you can plan your projects accordingly and achieve the best possible outcome for your Crayola Air-Dry Clay creations.
Initial Drying vs. Complete Hardening
When you talk about clay drying, it’s important to distinguish between “to the touch” dryness and complete, full hardening. These are two distinct stages in the drying process, and understanding the difference is crucial for knowing when your piece is truly ready for the next steps, such as painting or sealing.
Drying to the Touch
You’ll typically find that your Crayola Air-Dry Clay project will be dry to the touch in about 24 hours [1][5][6]. This means that the surface of your sculpture will no longer feel cool, damp, or tacky. When you gently poke it, your finger won’t leave an impression, and the clay won’t stick to your skin. At this stage, the piece is firm enough to handle without fear of deforming it. It might feel relatively solid, but don’t be fooled into thinking it’s fully cured. The interior of the clay, especially in thicker sections, is still likely to contain a significant amount of moisture. While you can move the piece carefully and perhaps even admire its new firmness, it’s not yet ready for vigorous handling, painting, or sealing. Prematurely adding paint could trap moisture inside, leading to issues like cracking or a softer interior over time. Think of it as the first major milestone in the drying journey, indicating that the bulk of the surface moisture has evaporated.
Full Curing and Maximum Hardness
For your Crayola Air-Dry Clay to achieve its full strength and maximum hardness, it generally needs to dry completely, which typically takes about 72 hours [1][7]. This extended period allows the remaining moisture deep within the clay to evaporate thoroughly. When the clay is fully cured, it will feel lightweight and solid throughout. You won’t feel any cool spots, and the color might even appear slightly lighter and more uniform compared to when it was first dry to the touch. It’s during this complete drying phase that the clay reaches its optimal structural integrity. It’s only after this 72-hour window that the clay is truly ready for painting and sealing [1][7]. Attempting to paint or seal it sooner can impede the final stages of moisture evaporation, potentially compromising the piece’s long-term durability and appearance. For intricate or thicker pieces, you might even find that waiting a bit longer than 72 hours is beneficial, just to be absolutely certain every molecule of water has departed. Patience is definitely a virtue when aiming for the best results with air-dry clay.
Factors Influencing Drying Time
While the general guidelines of 24 hours to the touch and 72 hours for full drying are useful, they are, as you might expect, averages. The actual time your specific creation takes to dry can fluctuate considerably based on several environmental and structural factors. Understanding these variables will empower you to either speed up the process (within safe limits) or simply set realistic expectations for when your project will be ready. You’re essentially creating a miniature ecosystem around your clay, and every element plays a role in how quickly water escapes its structure.
Humidity Levels
One of the most significant environmental factors affecting drying time is humidity [1][3][6]. Imagine trying to dry your laundry on a muggy, rainy day versus a crisp, sunny one. The same principle applies to your clay. When the air around your clay is already saturated with moisture (high humidity), it has less capacity to absorb the moisture evaporating from your project. This means the water leaves the clay at a much slower rate.
High Humidity Conditions
If you live in a perpetually humid climate, or if you’re crafting on a particularly damp day, you should anticipate a longer drying period. The 72-hour benchmark might easily stretch to several days, or even longer, especially for thicker pieces. In very high humidity, you might even notice that the clay feels perpetually cool or slightly tacky, struggling to achieve that “dry to the touch” stage. While you can’t control the weather, you can influence the immediate environment around your clay. Consider placing your drying project in a room with a dehumidifier or air conditioning to reduce ambient moisture. Avoid drying your clay in bathrooms or basements, which often have higher humidity levels.
Low Humidity Conditions
Conversely, in arid environments or during dry seasons, your clay will likely dry much faster. The dry air readily pulls moisture from the clay, accelerating the evaporation process. While this might seem ideal, extremely rapid drying can sometimes lead to problems. If the surface dries too quickly while the interior is still saturated, the outer layer can shrink and harden prematurely, leading to stress and cracking. You want a steady, even drying process, not a rushed one.
Ambient Temperature
Temperature is another critical environmental factor [1][3][6]. Heat generally accelerates the evaporation of water. Think about how quickly a puddle dries on a hot sidewalk versus a cold one.
Warmer Environments
Placing your clay in a warm room (but not excessively hot, as we’ll discuss) will help speed up the drying process. The increased kinetic energy of water molecules at higher temperatures means they are more likely to escape the clay and turn into vapor. A comfortable room temperature, around 20-25°C (68-77°F), is generally ideal. This provides enough warmth to encourage evaporation without being so hot that it causes the surface to dry too quickly.
Cooler Environments
If your clay is drying in a cool or cold room, expect the process to take considerably longer. The water molecules move more slowly and are less likely to evaporate efficiently. Avoid placing your clay in drafty, cold areas or directly next to open windows during cold weather, as this will only prolong the wait.
Thickness and Size of the Project
This is perhaps the most intuitive factor, but one that is frequently underestimated [1][3][6]. The sheer volume and dimensions of your clay piece directly correlate with how much water needs to evaporate.
Thin and Small Pieces
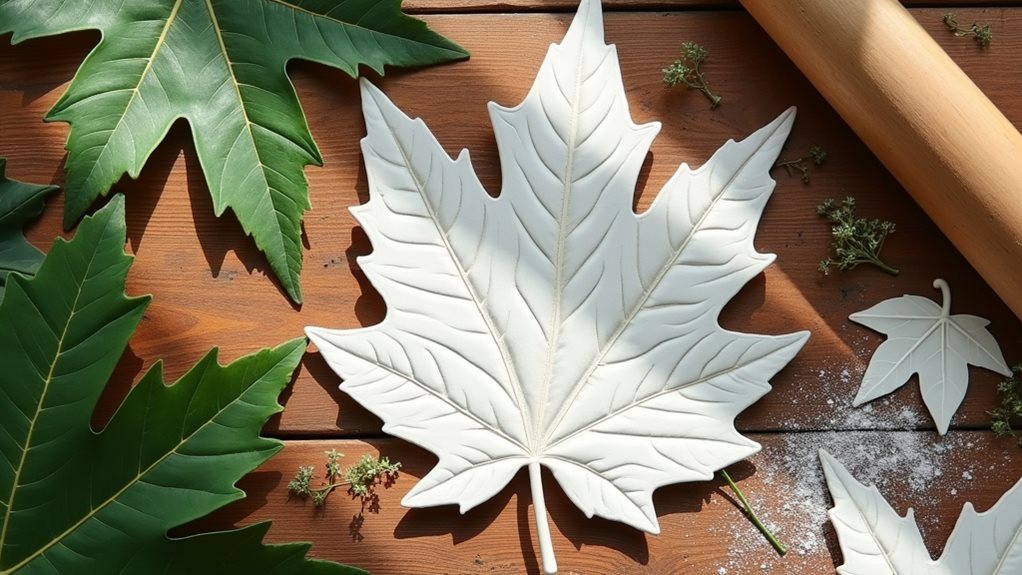
A thin, flat piece – like a small charm, a leaf, or a very slender ornament – will naturally dry much faster. There’s less internal mass for the water to escape from, and a greater surface area in proportion to its volume, allowing for quicker evaporation. These pieces might genuinely feel dry to the touch in less than 24 hours and fully cure much closer to the 48-hour mark.
Large or Thick Sculptures
For larger or thicker projects, you must be prepared for a significantly longer drying period [2][6]. A solid sculpture, a chunky vase, or any piece with substantial bulk could take several days to weeks to dry completely [2][6]. Imagine a thick book versus a single page; the book takes far longer to completely dry if it gets wet. The water deep within a thick piece has a longer journey to reach the surface and evaporate. If the outside dries too quickly, it can form a hard shell, trapping moisture inside and potentially leading to cracking or a soft, unstable interior. This is a common pitfall, so patience is paramount for substantial creations. For very thick pieces, you might even consider hollowing out parts of the sculpture (if structurally feasible) while it’s still wet, to reduce the overall mass and provide more internal surface area for moisture to escape.
Best Practices for Drying Crayola Air-Dry Clay
Now that you understand the factors influencing drying time, let’s explore the best strategies you can employ to ensure your Crayola Air-Dry Clay project dries efficiently, evenly, and without issues. Your goal is to create an environment that promotes steady, consistent evaporation, minimizing the risk of cracks or incomplete drying.
Choosing the Right Drying Location
The spot where you place your clay to dry is more important than you might think. It needs to balance temperature, humidity, and air circulation.
Flat, Non-Porous Surface
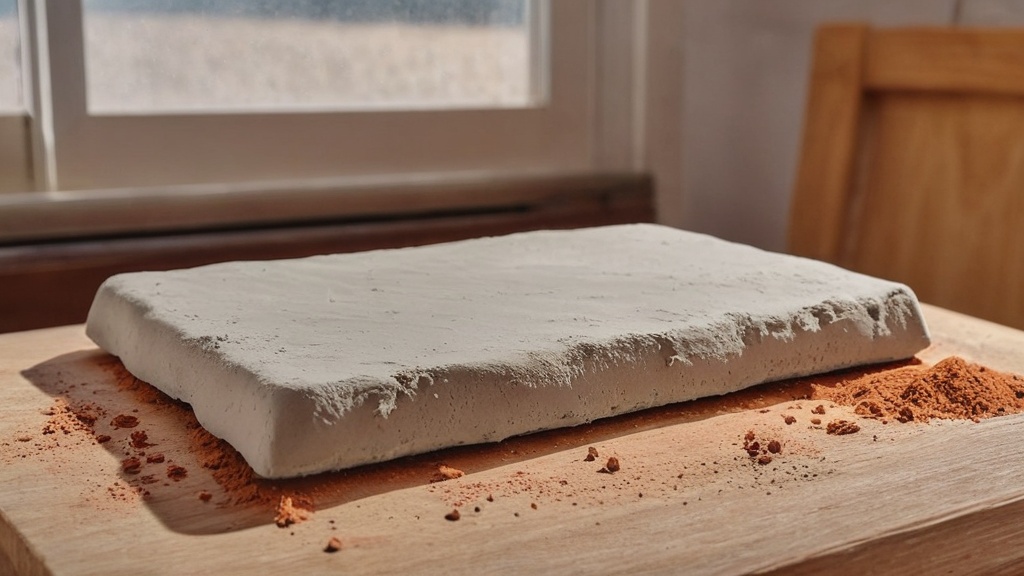
Always place your clay on a flat, non-porous surface. Wax paper, parchment paper, a plastic cutting board, or even a ceramic tile are excellent choices. Avoid absorbent surfaces like unfinished wood, cardboard, or fabric, as these can draw moisture out too quickly from one side, leading to uneven drying and potential warping or cracking. They can also stick to the clay. A non-porous surface ensures that moisture only evaporates from the exposed surfaces of your clay.
Room Temperature and Good Ventilation
An ideal drying environment is a room with a stable, comfortable room temperature (around 20-25°C or 68-77°F) and good ventilation [1][3][6]. You want air to circulate freely around your piece to carry away the evaporating moisture. Avoid sealed containers or highly enclosed spaces. If a room feels stuffy, open a window slightly or use a small fan set on a low setting, ensuring it’s not blowing directly onto the clay. Direct, strong airflow can dry the surface too quickly, leading to cracks. Instead, aim for gentle, ambient air movement.
Avoiding Extremes
Steer clear of extreme temperatures. Don’t place your clay directly in strong sunlight, near a heat vent, radiator, or in a very hot attic or garage. While warmth helps, intense direct heat will cause the surface to dry much faster than the interior, almost guaranteeing cracks. Similarly, avoid very cold or damp basements, as they will significantly prolong drying time and could even encourage mold growth in extremely high humidity.
Turning and Rotating Your Piece
To ensure even drying, especially for three-dimensional sculptures, you need to turn and rotate your piece periodically.
Consistent Air Exposure
Think of it like baking a cake; you don’t just cook one side. As the clay dries, moisture escapes from all exposed surfaces. If your piece is resting on one side for an extended period, that bottom surface will dry much slower than the top and sides, which are fully exposed to the air. This uneven drying can lead to warping, particularly in flatter pieces, or stress within the clay that results in cracking.
Preventing Flat Spots
Gently turn your sculpture every 12-24 hours during the initial drying phase. This allows all sides to be exposed to the air, promoting more uniform moisture evaporation. For pieces with a flat base, turning it upside down for a period can help dry the bottom more thoroughly. Be very gentle during these rotations, especially before the clay is dry to the touch, as it will still be fragile and susceptible to dents or deformations.
Preventing Cracking
Cracking is one of the most common frustrations when working with air-dry clay. It usually occurs when different parts of the clay dry at different rates, leading to uneven shrinkage and internal stress.
Even Thickness
One of the best preventative measures is to aim for even thickness throughout your sculpture. If you have very thin sections connected to very thick sections, the thin parts will dry and shrink much faster, pulling away from the thicker, still-wet parts. While creating varying thicknesses is sometimes unavoidable for artistic reasons, try to transition gradually between them. If a piece absolutely requires significant differences in thickness, consider hollowing out the thicker sections from the inside while the clay is still wet to reduce their overall mass and encourage more even drying.
Slow and Steady Drying
As counterintuitive as it might seem, sometimes you need to slow down the drying process to prevent cracking, especially for larger or thicker pieces. If you notice the surface drying extremely rapidly or developing hairline cracks, you can try to slightly slow down the evaporation. One method is to loosely cover the piece with a plastic bag or plastic wrap, leaving plenty of gaps for air circulation. This creates a slightly more humid microclimate around the clay, allowing the interior to catch up with the surface. You’re not sealing it off entirely, just gently modulating the drying speed. Another technique is to lightly mist the surface of the clay with a fine spray of water if it seems to be drying too quickly, though this should be done sparingly and only in extreme cases.
Post-Drying Steps
Once your Crayola Air-Dry Clay project has successfully navigated its drying journey and achieved full hardness, you’re ready for the exciting final stages: decorating and protecting your creation. These steps not only enhance its appearance but also contribute to its longevity.
Painting Your Clay Creations
After waiting the full 72 hours for complete drying, your clay piece is finally ready for a splash of color [1][7]. You’ll notice that the fully dried clay has a firm, lightweight feel and a consistent, often lighter, color compared to when it was wet.
Recommended Paint Types
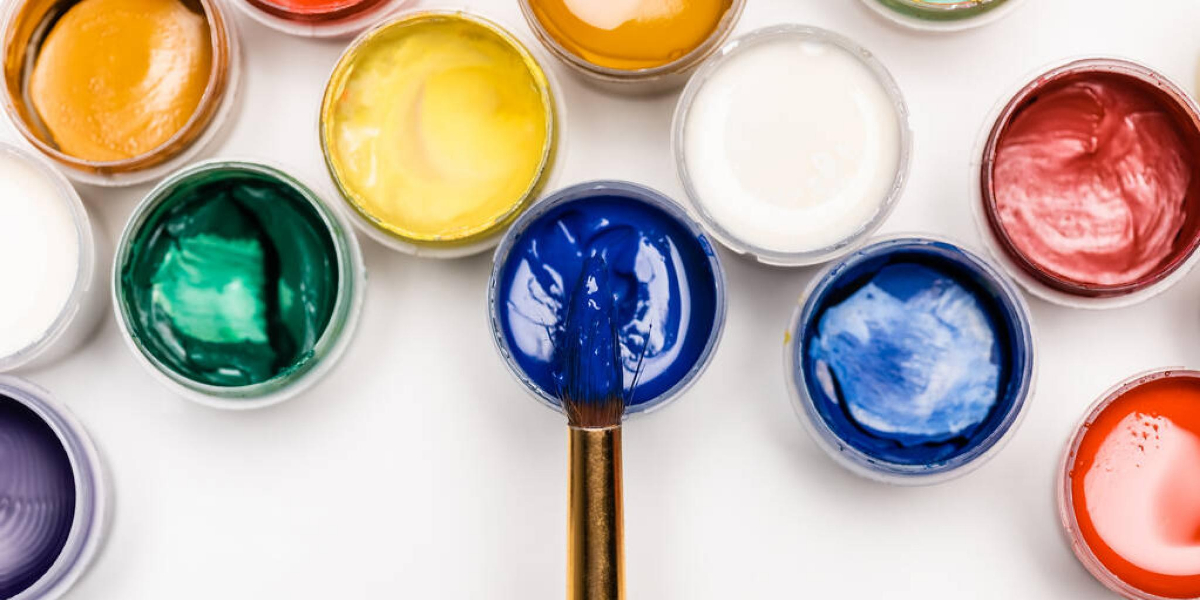
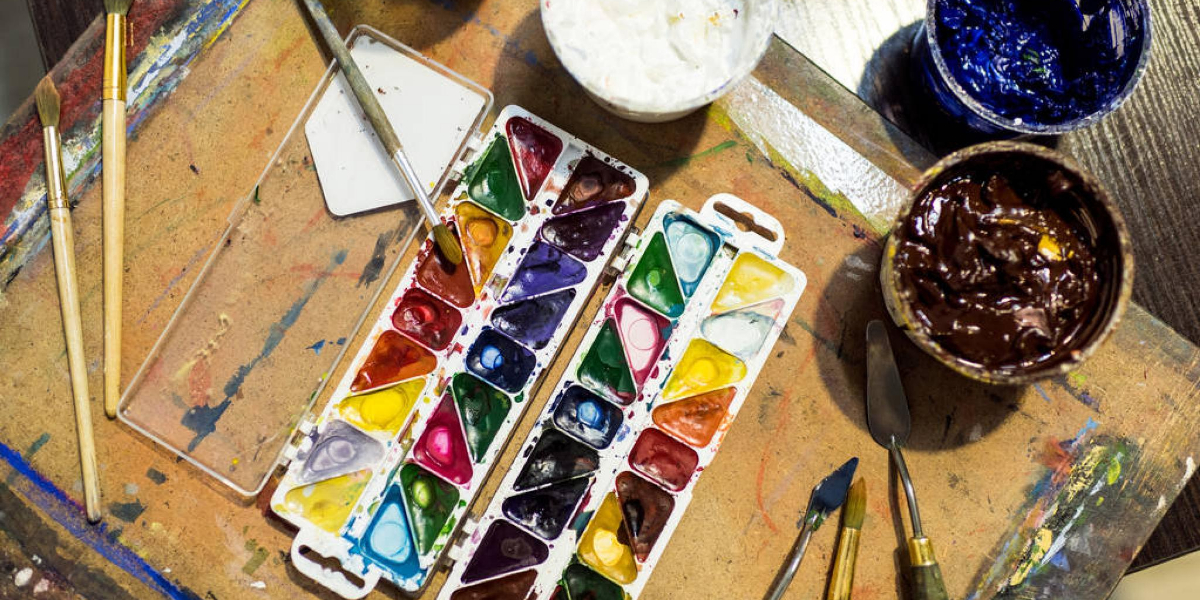
Crayola Air-Dry Clay is quite versatile when it comes to paint. Acrylic paints are generally the go-to choice for their vibrant colors, good coverage, and quick drying time. They adhere well to the dry clay surface and are widely available. Tempera paints can also be used, especially for younger artists, as they are non-toxic and easy to clean up. However, tempera paints are less durable and may require more coats or a stronger sealant for lasting vibrancy. For more advanced projects, you might even experiment with craft enamel paints or even permanent markers for fine details. Always test a small, inconspicuous area first if you’re unsure about a particular paint type.
Application Tips
Ensure your brushes are clean and apply paint in thin, even coats. Multiple thin coats are always better than one thick coat, as thick applications can sometimes reintroduce moisture to the clay or obscure delicate details. Allow each coat of paint to dry thoroughly before applying the next. If you’re using multiple colors, clean your brushes well between colors to prevent muddying. Don’t be afraid to experiment with different techniques like sponging, stippling, or dry brushing to add texture and depth to your piece.
Sealing for Protection and Durability
Sealing your painted (or unpainted, if you prefer a natural look) clay creation is a crucial step that enhances its durability, protects the paint, and can give it a desired finish [1][7]. You can typically seal your piece after 72 hours of initial drying and after any paint has fully dried [1][7].
Why Seal?
Sealing provides several benefits:
- Protection: It creates a protective barrier against dust, dirt, moisture, and UV rays, which can fade colors over time.
- Durability: It makes the surface more resistant to scratches and general wear and tear.
- Finish: Sealants come in various finishes (matte, satin, gloss), allowing you to achieve the exact look you desire for your artwork. A glossy sealant can make colors pop, while a matte finish gives a more subdued, natural appearance.
Types of Sealants
Acrylic varnishes are highly recommended for sealing Crayola Air-Dry Clay [1][7]. These are widely available at craft stores and come in brush-on or spray forms.
- Brush-on Varnishes: Offer excellent control, allowing you to get into crevices and apply even coats. Multiple thin coats are generally recommended, allowing each to dry completely before applying the next.
- Spray Varnishes: Are quicker to apply for larger pieces and can provide a very even finish with less risk of brush strokes. When using spray varnishes, always work in a well-ventilated area, preferably outdoors, and follow the manufacturer’s instructions for distance and application.
Other options include clear craft sealants designed for various materials. Avoid water-based glues as sealants, as they can sometimes re-introduce too much moisture or dry tacky. Some artists also use a clear sealant specifically designed for decoupage.
Application Process
Whether brush-on or spray, ensure the clay and paint are completely dry before sealing. Apply the sealant in thin, even coats, allowing sufficient drying time between applications as per the product instructions. Usually, 2-3 coats are sufficient for good protection. For pieces that might encounter occasional moisture (though air-dry clay is not truly waterproof), a waterproof sealant or a higher number of coats might offer marginally better protection, but remember air-dry clay is not designed for prolonged water exposure.
Troubleshooting Common Drying Issues
| Factor | Drying Time | Notes |
|---|---|---|
| Thickness (1/4 inch) | 24 hours | Standard drying time for thin layers |
| Thickness (1/2 inch) | 48 hours | Thicker pieces require longer drying |
| Thickness (1 inch or more) | Up to 72 hours or more | May require additional drying time or hollowing |
| Humidity | Varies | High humidity slows drying process |
| Temperature | Varies | Warmer temperatures speed up drying |
| Air Circulation | Varies | Good airflow helps clay dry faster |
Even with the best intentions and adherence to guidelines, you might encounter some common issues during the drying process of your Crayola Air-Dry Clay. Knowing how to identify and potentially mitigate these problems can save your project from becoming a disappointment.
Dealing with Cracks
Cracks are perhaps the most common and frustrating issue with air-dry clay. They typically occur due to uneven drying and subsequent uneven shrinkage.
Causes of Cracking
- Too Rapid Drying: The surface dries and hardens too quickly, while the interior is still saturated with moisture. As the interior eventually dries and shrinks, it pulls away from the already rigid surface, causing stress and cracks.
- Uneven Thickness: As discussed earlier, dramatic differences in thickness within a single piece lead to parts drying and shrinking at different rates, resulting in stress points where cracks appear.
- Lack of Uniformity: If you’ve joined multiple pieces of clay together and they weren’t thoroughly blended, the seam can be a weak point where cracks develop. Similarly, if the clay wasn’t uniformly kneaded, pockets of air or uneven moisture distribution can cause issues.
Repairing Small Cracks
For minor surface cracks, you can often perform a simple repair. Once the piece is mostly dry, but before it’s fully cured, you can re-wet a very small amount of fresh Crayola Air-Dry Clay, turning it into a paste or slip. Gently press this paste into the cracks using a finger or a fine tool. Smooth it over carefully. You might need to re-apply a few times as it dries and shrinks again. For very fine hairline cracks, sometimes just gently rubbing the area with a wet fingertip can help blend them out if the clay isn’t completely hard yet. After repair, allow the piece to dry slowly and completely. Be aware that larger, deeper cracks are much harder to repair invisibly and might compromise the structural integrity of the piece.
Addressing Warping
Warping occurs when a piece of clay bends or twists out of its intended shape during drying. This is particularly common with flatter pieces.
Causes of Warping
- Uneven Drying Surface: If your clay is resting on an absorbent surface (like cardboard) or on an uneven surface, moisture might be drawn out from one side faster, or parts of the clay might be unsupported, causing it to curl or warp as it shrinks.
- Uneven Air Exposure: If air can only reach one side of your piece effectively, that side will dry faster and shrink more, pulling the clay out of shape.
- Lack of Support: Very thin or long pieces, especially if unsupported across their length, can sag or twist under their own weight as they dry.
Preventing and Correcting Warping
- Proper Drying Surface: Always use a flat, non-porous surface like wax paper or plastic.
- Turn and Rotate: For flatter pieces, gently turn them over every 12-24 hours to ensure both sides are exposed to the air.
- Gentle Pressure: For pieces that show slight warping, you might be able to gently press them flat between two heavy, flat objects (like books, protected by wax paper) once they are dry to the touch but not fully hardened. Apply pressure gradually and check frequently. This method works best for minor bends.
- Internal Support: For long or delicate structures, consider incorporating an armature (an internal support made of wire or foil) while sculpting. This provides structural integrity during drying and beyond.
Mold Growth
Mold is a less common issue, but it can occur, particularly in very high humidity or if the clay is stored improperly before drying.
Causes of Mold
- Excessive Humidity: If the environment is extremely humid and the clay takes an unusually long time to dry, mold spores in the air can settle and begin to grow on the damp surface.
- Lack of Air Circulation: A completely stagnant, humid environment is a breeding ground for mold.
- Contaminated Water/Tools: While rare, using contaminated water or tools could introduce mold spores.
Addressing Mold
If you notice small spots of mold on your drying clay:
- Isolate and Clean: Immediately move the piece to a well-ventilated, drier area. Gently wipe away any visible mold with a dry cloth or a cotton swab. Do NOT re-wet the area excessively.
- Increase Airflow: Ensure there is good, gentle air circulation around the piece.
- Patience: Continue drying the piece. Once fully dry and hard, the mold should cease to be an active problem, as mold requires moisture to thrive.
- Seal: After it’s fully dry and you’ve removed all visible mold, paint and seal the piece thoroughly. The sealant will encapsulate the surface and help prevent future growth, though the underlying issue of high humidity should be addressed for future projects.
By understanding these common issues and implementing preventative measures, you can significantly increase your chances of successfully drying your Crayola Air-Dry Clay projects and enjoying your finished creations.
FAQs
How long does Crayola air dry clay take to dry completely?
Crayola air dry clay typically takes about 24 hours to dry completely, depending on the thickness of the piece and the environmental conditions such as humidity and temperature.
Can I speed up the drying process of Crayola air dry clay?
While it’s not recommended to use heat sources like ovens or hair dryers, you can speed up the drying process by placing the clay in a well-ventilated area or near a fan to promote air circulation.
What factors can affect the drying time of Crayola air dry clay?
Several factors can affect the drying time, including the thickness of the clay, the humidity level in the air, the temperature of the environment, and whether the clay is exposed to direct sunlight.
Is it possible to paint Crayola air dry clay before it is fully dry?
It is best to wait until the clay is fully dry before painting it, as painting on wet or partially dry clay can lead to cracking or uneven finishes.
What should I do if my Crayola air dry clay piece cracks while drying?
If your clay piece cracks during the drying process, you can try to repair it by gently moistening the cracked areas with a little water and smoothing them out with your fingers or a tool before allowing it to dry again.