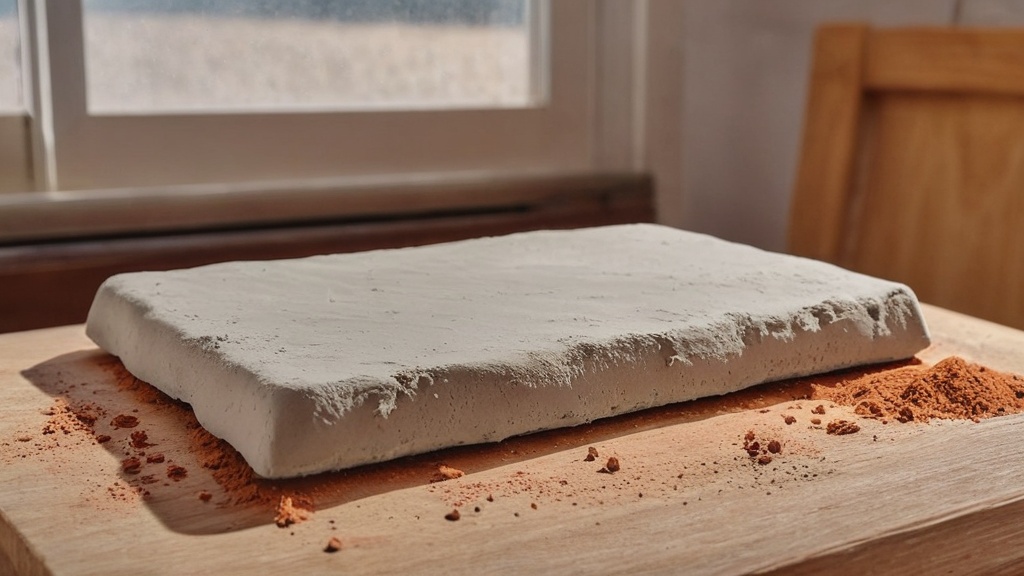
Understanding Air Dry Clay’s Nature
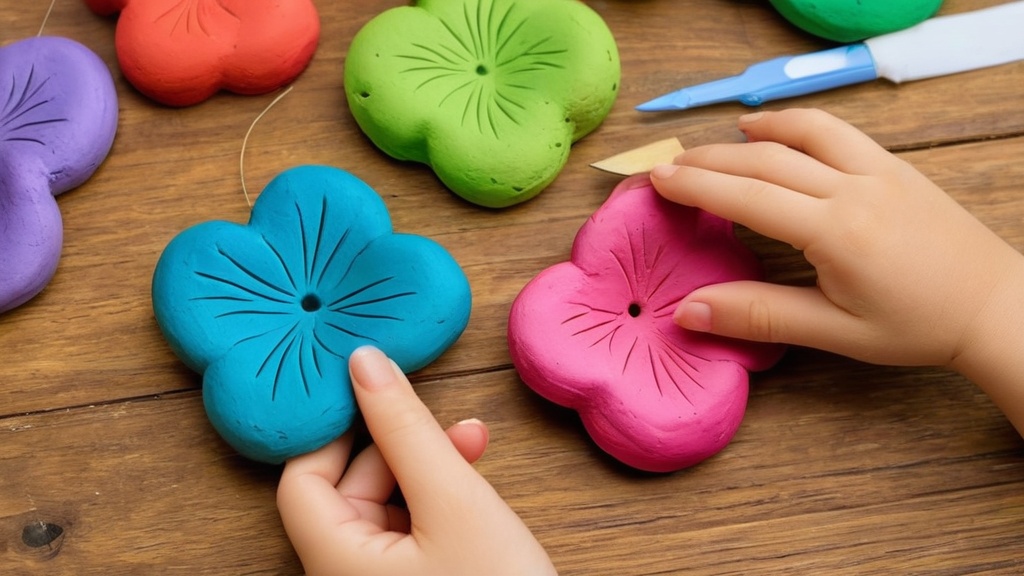
You’ve just sculpted a magnificent creation out of air dry clay, and now the anticipation sets in: how long until you can admire your fully hardened masterpiece? Air dry clay, unlike its kiln-fired counterparts, cures simply by exposure to air, allowing the water within it to evaporate. This makes it incredibly accessible for crafters of all ages and skill levels, as you don’t need specialized equipment like a kiln. However, this convenience comes with a trade-off – you need to understand the drying process to ensure your projects harden properly without cracking or warping.
The beauty of air dry clay lies in its simplicity. You don’t need to worry about firing schedules, cone temperatures, or glazes that react unpredictably in extreme heat. Instead, you’re relying on the natural forces of evaporation to transform a soft, pliable material into a rigid, durable object. This process, while seemingly straightforward, is influenced by several critical factors, which we will explore in detail. Understanding these variables will empower you to predict drying times more accurately and troubleshoot any issues that may arise during the curing phase. Your patience and attention to detail during this period will directly impact the final quality and longevity of your air dry clay creations.
The Science of Evaporation
At its core, air dry clay drying is a process of dehydration. The clay material is suspended in water, which gives it its plasticity and workability. As the water evaporates into the surrounding air, the clay particles draw closer together, forming a solid, interlocking structure. This shrinking process is entirely normal, and it’s why it’s crucial to allow your clay to dry slowly and evenly. Rapid drying can cause the outer layers to shrink much faster than the inner core, leading to stress and ultimately, cracks.
The rate of evaporation is governed by several environmental factors. Temperature, humidity, and airflow all play significant roles. Think of it like drying laundry: a warm, breezy, and low-humidity day will dry your clothes much faster than a cold, still, and damp day. The same principles apply to your air dry clay. The water molecules need to absorb enough energy to transition from a liquid to a gaseous state, and then those gaseous molecules need to be carried away from the clay’s surface to allow more water to evaporate. Without this continuous removal of moist air, the air immediately surrounding your project can become saturated, slowing down or even halting the drying process.
Types of Air Dry Clay
While the general principles of air drying apply to most air dry clays, there can be subtle differences between brands and formulations. Some clays might have finer particles, which can affect how quickly water is released, or they might contain different binders that influence flexibility and final hardness. For example, popular brands like Crayola air dry clay are known for their consistent performance and predictable drying times. However, other brands might offer different textures, colors, or specialized properties, such as being more lightweight or having a smoother finish.
It’s always a good idea to familiarize yourself with the specific recommendations provided by the manufacturer of the air dry clay you are using. While this guide provides general advice, individual product variations can exist. Some clays might be designed for ultra-fast drying, while others might prioritize a longer working time. Understanding these nuances will help you select the best clay for your project and manage your expectations regarding drying. Ultimately, regardless of the brand, the fundamental mechanism of water evaporation and particle bonding remains the same, making the core principles discussed here broadly applicable.
General Drying Timelines and Factors

You’re eager to know: how long exactly will this take? While there’s no single, universal answer that applies to every single air dry clay project, you can certainly establish a solid expectation based on common experience and established drying dynamics. Generally speaking, you can anticipate your air dry clay to be dry to the touch within 24 hours. This means the surface will feel firm and no longer sticky or cool. However, don’t be fooled by this initial dryness; the core of your piece will likely still contain a significant amount of moisture. For your project to be completely dry and fully cured, it typically takes around 72 hours. This three-day window allows for thorough evaporation of water from the deepest parts of your sculpture.
This general timeframe of 24 hours to the touch and 72 hours for complete drying is a reliable benchmark, particularly for commonly used brands like Crayola. However, it’s crucial to understand that this is an average. Many guides also suggest a range of 24–48 hours for full drying for standard-sized pieces. The key takeaway here is patience. Rushing the process or assuming a piece is fully dry just because the surface feels hard can lead to disappointment later on, as internal moisture can still cause issues with painting, sealing, or overall structural integrity.
Project Size and Thickness
This is arguably the most critical factor influencing drying time. Imagine trying to dry a thin sheet versus a thick block of material; the thin sheet will naturally dry much faster because water has less distance to travel to the surface. The same principle applies directly to your air dry clay projects. Thicker projects will always take significantly longer to dry than thinner ones. A small, thin ornament might dry within 8-24 hours under ideal conditions. In contrast, a robust, chunky sculpture could easily require several days, possibly even up to a week, to dry completely.
If you’re creating a piece with varying thickness, the thickest part will dictate the overall drying time. For instance, a figurine with delicate limbs but a solid torso will still need to dry for as long as it takes for the torso to cure fully. Attempting to speed up the drying of a thick piece excessively can lead to surface cracking while the interior remains wet. This uneven drying causes stress within the clay as different parts shrink at different rates. Always err on the side of giving thicker projects more time than you think they need. If your project has areas of extreme thickness, consider hollowing out the interior during the sculpting phase to reduce drying time and prevent cracking.
Environmental Humidity
Humidity is a major unseen player in the drying game. Think about trying to dry clothes on a muggy, rainy day – they simply don’t dry efficiently. This is because the air is already saturated with water vapor, making it difficult for more moisture to evaporate from your clothes. The same applies to air dry clay. High humidity will significantly slow down the drying process. If your crafting space is naturally damp or if it’s a particularly humid season, you can expect your clay to take longer to dry.
Conversely, dry, well-ventilated air speeds up the drying process. When the air is dry, it has a greater capacity to absorb moisture from your clay. Good ventilation ensures that the moist air immediately surrounding your project is constantly replaced with drier air, maintaining a favorable evaporation gradient. If you live in a humid environment, consider using a dehumidifier in your drying area or placing your projects in a room with a ceiling fan or open window (provided it’s not raining outside!). However, remember that “speeding up” should not translate to “forcing.” While a little extra airflow is good, extreme measures can still lead to problems.
Airflow and Ventilation
Closely related to humidity is airflow. Even in a relatively dry environment, stagnant air can create a microclimate of high humidity right around your clay piece. As water evaporates, it adds moisture to the air immediately surrounding your project. If this moist air isn’t moved away, it quickly becomes saturated, effectively putting a brake on further evaporation. This is why good airflow and ventilation are crucial for efficient drying.
Placing your clay projects in an open space, rather than inside a closed box or cupboard, is highly recommended. A gentle fan set on a low speed, directed at the general area rather than directly at the clay, can be beneficial, especially for larger pieces or in humid conditions. Ensure your projects are not touching each other and have space for air to circulate all around them. Avoid placing them in direct drafts, which can cause one side to dry much faster than another, leading to warping or cracking. The goal is consistent, even exposure to circulating air.
Optimizing the Drying Process

You want your air dry clay projects to dry efficiently and without issues, right? There are several proactive steps you can take to create an optimal drying environment. These aren’t just about speeding things up; they’re also about ensuring a smooth, even cure that prevents common problems like cracking and warping. Think of it as providing the best possible conditions for your clay to do its job.
Choosing the Right Drying Spot
The location where you choose to dry your air dry clay makes a substantial difference. You should look for a spot that is:
- Room Temperature: Avoid extreme heat or cold. A comfortable room temperature (around 68-75°F or 20-24°C) is ideal. Too hot, and the surface can dry too quickly, leading to cracks. Too cold, and the evaporation process will be significantly slowed down.
- Well-Ventilated: As discussed, good airflow is key. An open shelf, a table in an airy room, or near an open window (if weather permits) are good choices. Avoid enclosed spaces like cabinets or plastic containers.
- Out of Direct Sunlight: While warmth is good, direct sunlight can be too intense. The intense heat from direct sun can cause the surface of your clay to dry and shrink much faster than the interior, almost guaranteeing cracks. It can also unevenly heat one side of your project.
- Away from Direct Heat Sources: Similarly, avoid placing your clay near radiators, heating vents, or fireplaces. These can also cause rapid, uneven drying and lead to cracking.
- Protected from Dust and Pets: While drying, your clay will still be somewhat soft and can easily pick up dust, pet hair, or be disturbed by curious animals. Choose a spot where it can dry undisturbed.
Proper Placement for Air Circulation
It’s not enough to just pick a good spot; how you place your clay project within that spot also matters significantly. The goal is to maximize the surface area exposed to air.
- Elevate Your Project: Don’t just place your clay directly on a flat surface. This prevents air from circulating underneath. Instead, use a cooling rack, a piece of cardboard elevated on small blocks, or even wooden skewers inserted into the base of your project (for items like figurines) to lift it. This ensures 360-degree air exposure.
- Space Out Your Pieces: If you’re drying multiple projects, make sure there’s ample space between them. Overlapping or crowding pieces will impede airflow and prolong drying times for all of them.
- Rotate Periodically (for larger pieces): For larger or thicker sculptures, gently rotating them every 12-24 hours can promote more even drying. This exposes different sides to the circulating air, helping to prevent one side from drying significantly faster than another, which can cause warping. Be very gentle, especially when the clay is still somewhat pliable.
Humid Environments and Solutions
If you live in a naturally humid climate or during a particularly damp season, you might feel like your clay projects take an eternity to dry. Don’t despair, there are solutions!
- Dehumidifier: The most effective solution for high humidity is a dehumidifier. Running one in the room where your clay is drying will actively remove moisture from the air, creating a much more favorable drying environment.
- Air Conditioning: Air conditioning units also remove a significant amount of moisture from the air, so drying your clay in an air-conditioned room can be very beneficial.
- Gentle Fan: As mentioned earlier, a fan on a low setting, aimed generally at the area (not directly at the clay), can help move moist air away from your projects and bring in drier air. This is especially helpful if you don’t have a dehumidifier.
- Patience is Key: Even with these measures, expect drying to take longer in humid conditions. Resist the urge to use extreme heat or forced air directly on your projects, as this will likely cause more problems than it solves.
Addressing Common Drying Problems
Despite your best efforts, sometimes issues can arise during the air dry clay drying process. The most common problems are cracking and warping, both of which can be frustrating after putting so much effort into your creation. Understanding why these occur and how to mitigate them is crucial for successful air dry clay crafting.
Preventing Cracks
Cracks are perhaps the most common and disheartening issue faced by air dry clay users. They typically form when different parts of your clay project shrink at different rates, creating internal stress that the material cannot withstand.
- Uneven Drying: This is the primary culprit. If the surface of your clay dries much faster than the interior, the outer layer will shrink rapidly while the wet core remains expanded. This differential shrinkage pulls the surface apart, resulting in cracks.
- Solution: Slow and even drying is your best defense. Avoid direct heat, direct sunlight, or strong drafts. Ensure good, but not excessive, airflow all around the piece. If you notice the surface drying too quickly, you can try lightly misting it with water or loosely covering it with plastic wrap for a few hours to slow down surface evaporation.
- Excessive Thickness: As discussed, very thick sections are prone to cracking because the moisture trapped deep within takes a long time to escape.
- Solution: When sculpting thick pieces, consider hollowing them out. This creates a more uniform thickness throughout the piece, allowing it to dry more evenly and reducing the overall drying time. For example, if you’re making a solid ball, cut it in half, hollow out the interiors, and then score and slip the halves back together.
- Insufficient Wedging/Kneading: Air bubbles trapped within the clay can cause weaknesses. As the clay dries and shrinks, these air pockets can create stress points, leading to cracks.
- Solution: Always thoroughly wedge or knead your air dry clay before sculpting. This homogenizes the clay, removes air bubbles, and ensures a consistent texture.
- Adding Wet Clay to Dry Clay: If you try to attach a very wet piece of clay to an already partially dried piece, the two parts will shrink at vastly different rates, almost certainly causing a crack at the join.
- Solution: Try to complete your sculpture in one session. If you need to add elements later, ensure both pieces are at a similar stage of dryness, or re-wet the partially dry section slightly before attaching new, wetter clay using scoring and slip techniques.
Avoiding Warping
Warping occurs when your clay project bends or distorts out of its intended shape during drying. This is also a consequence of uneven drying and differential shrinkage.
- Uneven Drying: If one side of a flat or thin piece dries much faster than the other, that faster-drying side will shrink more quickly, pulling the entire piece into a curve or twist.
- Solution: Ensure even air circulation all around your project. For flat pieces, try to elevate them on a cooling rack so air can reach both the top and bottom simultaneously. You can also gently flip them over after they’ve dried to the touch, or place a flat, heavy (but not too heavy) object on top of them for the initial stages of drying to help keep them flat, checking periodically.
- Gravity and Weight: For larger or more elaborate sculptures, gravity can play a role while the clay is still somewhat soft. Overhanging parts or thin supports might sag under their own weight.
- Solution: Provide adequate support for your sculptures during the initial drying phase. You can use crumpled aluminum foil, wadded paper towels, or even improvised armatures to hold delicate parts in their intended position until the clay gains enough rigidity to support itself.
Repairing Minor Imperfections
Not all cracks are catastrophic! Small surface cracks or minor imperfections can often be repaired.
- During Drying: If you notice small cracks forming while the clay is still somewhat pliable (but not fully dry), you can often “heal” them. Lightly dampen your fingertip with water and gently rub the crack, working some of the surrounding clay into the gap. You can also mix a tiny amount of fresh air dry clay with a drop of water to create a paste (slip) and use that to fill the crack, blending it in with a tool or fingertip.
- After Drying: Once fully dry, repairing cracks becomes more challenging but still possible. You can use a bit of fresh air dry clay mixed with a little water to form a thick paste. Apply this paste into the crack, smooth it with a tool or fingertip, and allow it to dry completely. You might need to sand the area once dry for a smooth finish. Alternatively, wood filler or a strong craft glue (like PVA glue) can also be used to fill cracks, especially if you plan to paint over the repair.
- Sanding: Once your project is fully dry, minor bumps, rough spots, or slight imperfections can often be smoothed out with fine-grit sandpaper (around 220-400 grit). Always sand gently and in a well-ventilated area, as air dry clay dust can be fine.
The Final Touches: Curing and Finishing
| Clay Thickness | Drying Time | Drying Conditions | Notes |
|---|---|---|---|
| 1/4 inch (6 mm) | 24 hours | Room temperature, low humidity | Thin pieces dry faster and evenly |
| 1/2 inch (12 mm) | 48 hours | Room temperature, low humidity | May require flipping for even drying |
| 1 inch (25 mm) | 72 hours or more | Room temperature, low humidity | Thicker pieces risk cracking if dried too fast |
| Small beads or thin shapes | 12-24 hours | Room temperature, low humidity | Dry quickly, handle gently |
| Large sculptures | Several days to 1 week | Room temperature, low humidity | May require slow drying and occasional moistening |
Once your air dry clay project has passed the test of time and is undeniably fully dry – firm, lightweight, and no longer cool to the touch – you’ve reached an exciting stage: finishing! This is where you transform your dried clay into a durable, beautiful, and lasting piece.
Confirming Full Dryness
How do you know for sure your clay is completely dry? This isn’t just about feeling the surface; it’s about checking the entire piece.
- Visual Inspection: Look for a uniform color. Wet clay often appears darker or has a slightly different shade than dry clay. If you see patches of darker color, especially in thicker areas, it’s likely still wet.
- Tactile Test: The entire piece should feel hard and solid, with no give or flexibility. It should also feel lightweight. Water adds significant weight, so a fully dehydrated piece will be noticeably lighter than when it was wet.
- Temperature Test: Wet clay feels cool to the touch because of the evaporating moisture. Fully dry clay will be at room temperature, no longer feeling cool. This is a subtle but reliable indicator.
- The “Knock” Test: For hollow or relatively thin pieces, a gentle tap can sometimes help. Dry clay will often produce a clearer, more resonant sound, whereas wet or partially dry clay will sound duller.
- Time: Ultimately, trust the established drying times. If it’s a small piece, 24-48 hours should suffice. For larger, thicker items, allow the full 72 hours, or even up to a week, especially in less-than-ideal drying conditions. Don’t rush this stage; premature finishing can lead to trapped moisture, which can cause mold, paint peeling, or structural weakness later.
Sanding and Smoothing
Once fully dry, your air dry clay project can often benefit from some light sanding.
- Purpose: Sanding helps to remove any small imperfections, tool marks, rough spots, or slight textural inconsistencies from your sculpting. It creates a smoother surface that is more receptive to paint and sealant.
- Technique: Use fine-grit sandpaper (typically 220-400 grit is a good starting point, possibly even finer for very smooth finishes). Sand gently and in circular motions, or along the contours of your piece. Always sand in a well-ventilated area, and you might consider wearing a dust mask, as air dry clay dust can be very fine.
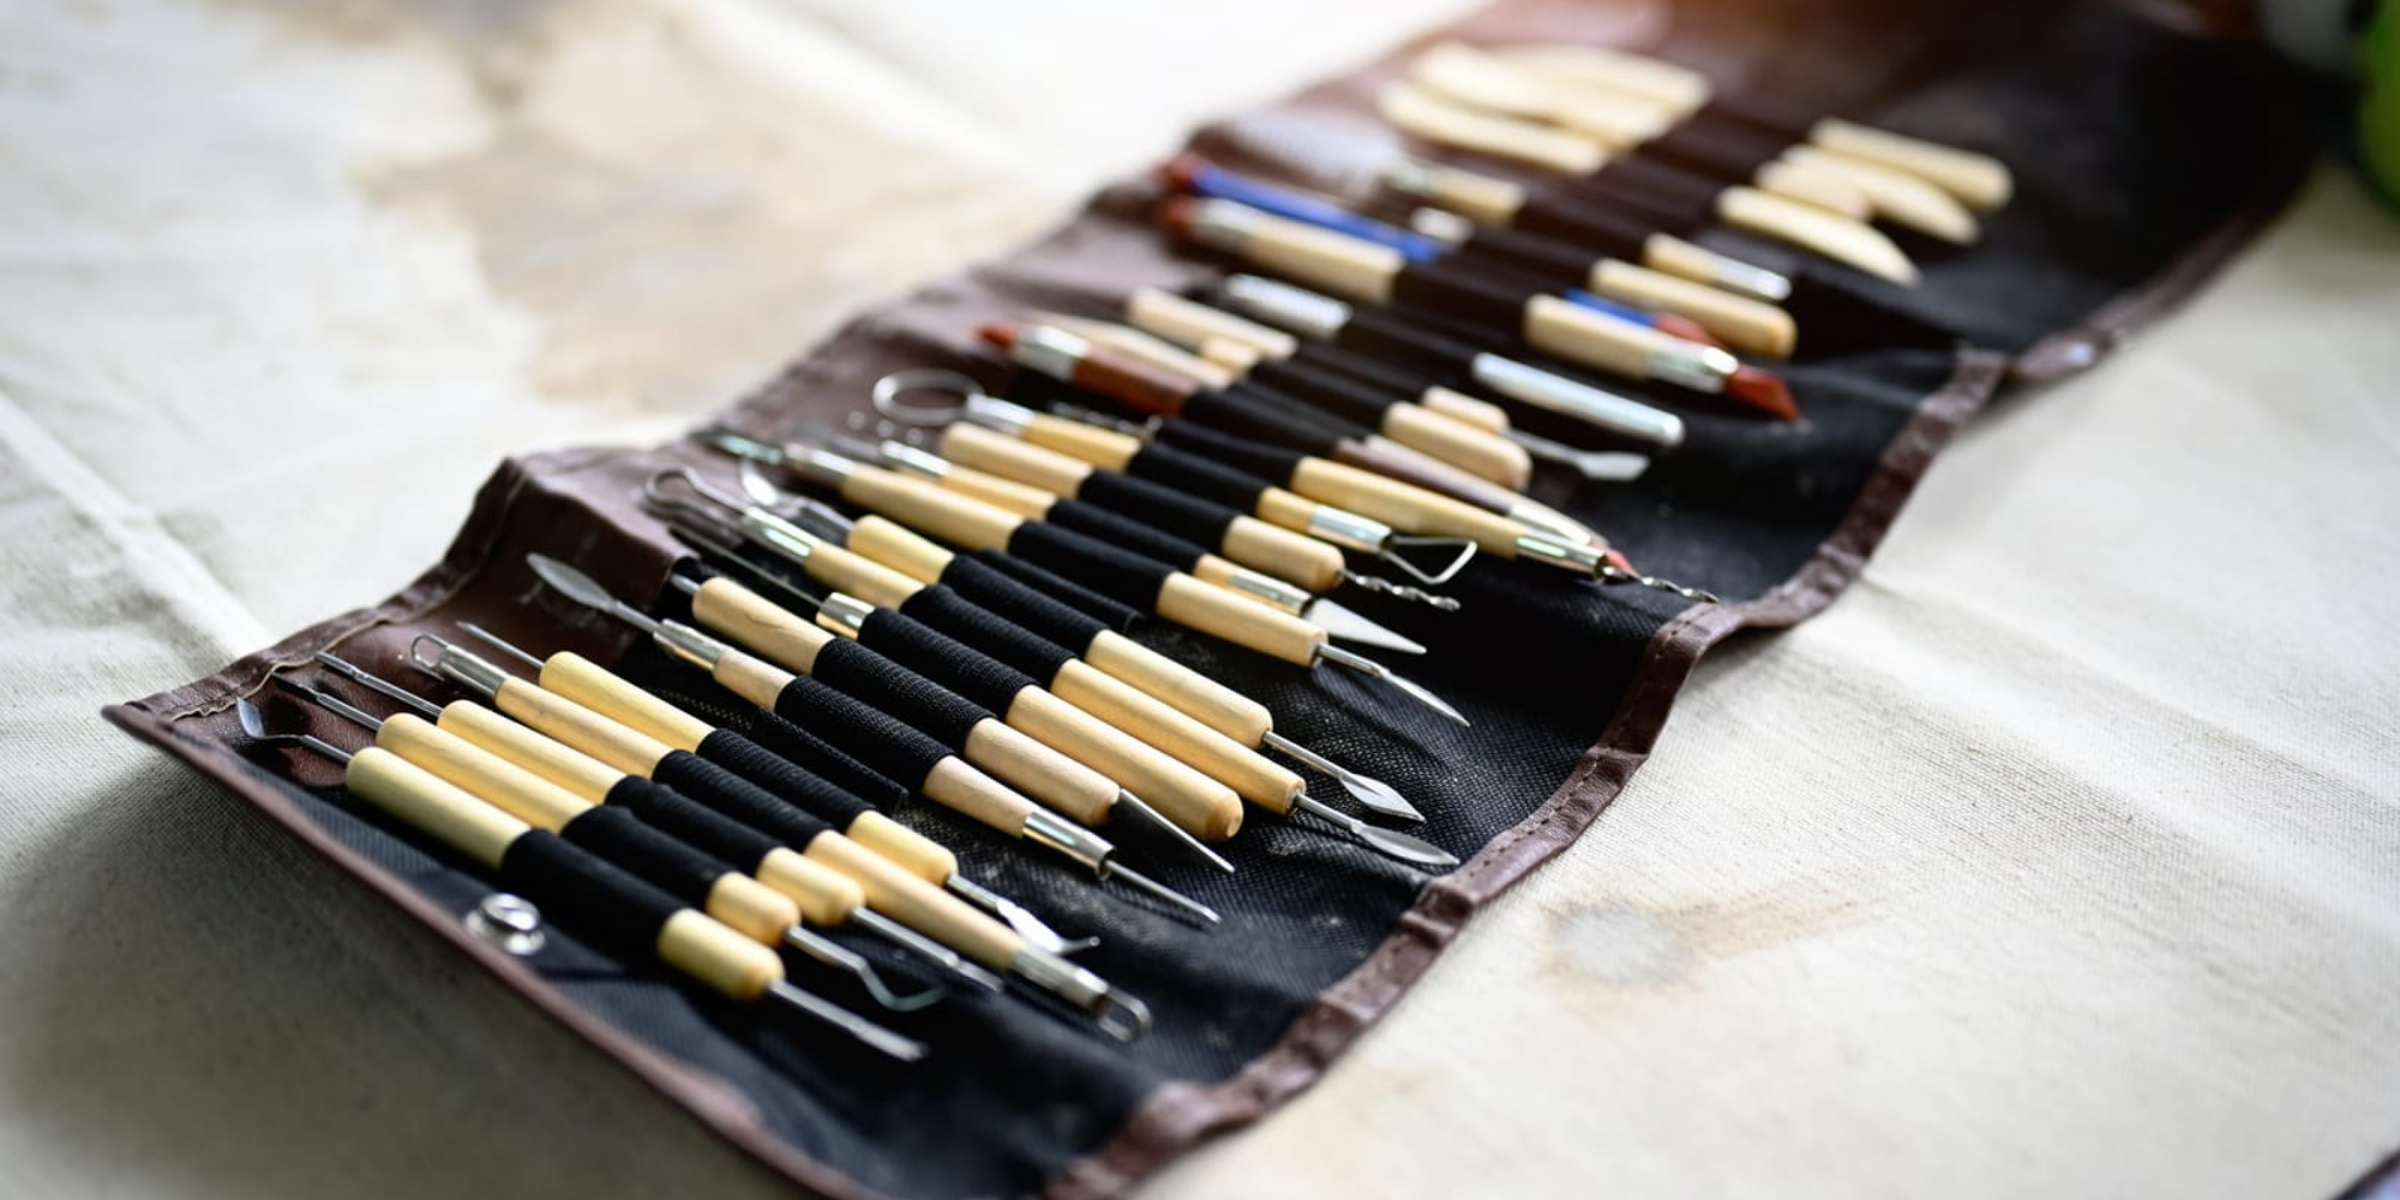
- Detail Work: For intricate details or tight corners, you can use sanding sticks, nail files, or even very fine-grit emery boards.
- Cleaning: After sanding, wipe down your project with a dry, soft cloth or a slightly damp (but not wet) sponge to remove all dust particles. Any residual dust can interfere with paint adhesion and sealant performance.
Painting and Decorating
This is where your creation truly comes to life! Air dry clay is incredibly versatile when it comes to finishing.
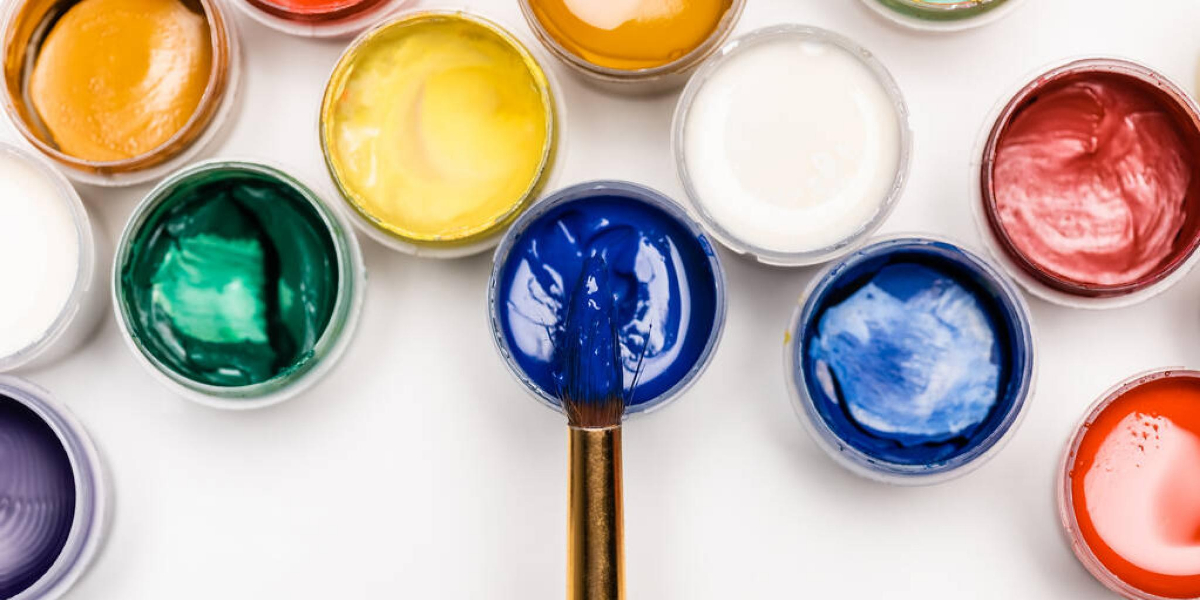
- Suitable Paints: Most water-based paints work wonderfully on air dry clay. Acrylic paints are a popular choice due to their versatility, wide color range, quick drying time, and durability. Tempera paints and poster paints can also be used, though they might require more layers and a more robust sealant. Avoid oil-based paints unless you are confident in their application and understand that they will require a different type of sealant.
- Application: Apply paint in thin, even coats. Multiple thin layers are always better than one thick layer, as thick layers can obscure details and may chip more easily. Allow each coat to dry completely before applying the next.
- Detailing: Use fine brushes for intricate details. You can also use paint pens, markers, or even decoupage techniques (like applying patterned paper with Mod Podge) for unique effects.
- Other Decorations: Consider adding embellishments like glitter, beads, rhinestones, or even embedding small objects into the clay before it’s fully dry. Just remember that anything you add will need to be properly adhered and possibly sealed.
Sealing for Durability and Protection
Sealing your air dry clay project is a crucial final step. It protects your artwork from moisture, dust, and general wear and tear, and enhances its longevity.
- Why Seal? Air dry clay, even when fully dry, is not waterproof. Moisture can re-soften it over time. A good sealant provides a protective barrier against humidity, spills, and everyday handling. It also helps to prevent paint from chipping or fading.
- Types of Sealants:
- Acrylic Sealers (Spray or Brush-On): These are perhaps the most common and versatile. They come in various finishes (matte, satin, gloss) and are typically water-based. Spray sealants offer an even coat and are great for intricate pieces, while brush-on sealants allow for thicker, more controlled application.
- PVA Glue (like Mod Podge): While often used as an adhesive, Mod Podge also works as a decent sealant, especially for lighter use items or projects where you want a slightly softer finish. It comes in various finishes.
- Varnishes: Craft varnishes, particularly acrylic-based ones, provide a very durable and protective finish. They are excellent for items that will see a lot of handling or need extra protection.
- Application: Apply sealants in thin, even coats. For brush-on sealants, use a clean, soft brush and try to avoid visible brush strokes. For spray sealants, hold the can at the recommended distance (usually 8-12 inches) and use sweeping motions to apply light, even coats.
- Multiple Coats: For best protection, especially for items that might come into contact with moisture or be handled frequently, apply 2-3 coats of sealant, allowing each coat to dry completely according to the manufacturer’s instructions before applying the next.
- Curing Time for Sealant: Even after the sealant feels dry to the touch, it may require a longer “cure time” to reach its full hardness and protective capabilities. Always refer to the sealant manufacturer’s instructions for complete curing times, which can sometimes be several days. During this time, handle the project gently.
By following these steps for confirming dryness, preparing the surface, painting, and finally sealing, you can ensure your air dry clay creations are not only beautiful but also durable and long-lasting, ready to be displayed and enjoyed for years to come.
FAQs
How long does air drying clay typically take to dry?
Air drying clay usually takes between 24 to 72 hours to fully dry, depending on the thickness of the piece and the humidity levels in the environment. Thicker pieces may take longer to dry, while thinner pieces can dry more quickly.
What factors can affect the drying time of air drying clay?
Several factors can influence the drying time of air drying clay, including the thickness of the clay, the ambient temperature, humidity levels, and airflow in the drying area. Higher temperatures and lower humidity can speed up the drying process, while cooler and more humid conditions can prolong it.
Can I speed up the drying process of air drying clay?
Yes, you can speed up the drying process by placing the clay in a warm, dry area with good airflow. Using a fan or a heat source, such as a hairdryer on a low setting, can also help, but be cautious not to apply too much heat, as it may crack the clay.
Is it safe to paint or seal air drying clay before it is completely dry?
It is not recommended to paint or seal air drying clay before it is completely dry, as this can trap moisture inside and lead to cracking or mold growth. It is best to wait until the clay is fully dry before applying any paint or sealant.
What should I do if my air drying clay piece cracks while drying?
If your air drying clay piece cracks while drying, you can try to repair it by mixing a small amount of fresh clay with water to create a paste and applying it to the cracks. Once the paste is dry, you can sand it down and repaint the area if necessary.