You have just encountered the versatile medium of air dry clay, a material that offers an accessible entry point into the world of three-dimensional art. Unlike traditional ceramic clays, it requires no Kiln, making it an ideal choice for crafters of all skill levels, particularly those new to sculpting. This guide will equip you with the foundational knowledge and practical techniques to begin your air dry clay journey.
Air dry clay, in its essence, is a polymer-based or natural mineral-based modeling material that hardens when exposed to air. Its workability and subsequent rigidity make it suitable for a vast array of projects, from simple trinkets to intricate sculptures.
Types of Air Dry Clay
You will encounter several varieties of air dry clay, each possessing distinct characteristics that influence its workability and final appearance.
- Polymer-Based Clay: This category often includes clays like “Model Magic” or similar synthetic formulations. They are typically lightweight, pliable, and available in a spectrum of colors. Their texture is often spongy or foamy, making them suitable for children’s crafts and projects requiring a less dense material. คุณลักษณะเด่นรวมถึงความยืดหยุ่นก่อนการแห้งและน้ำหนักเบาหลังการแห้ง.
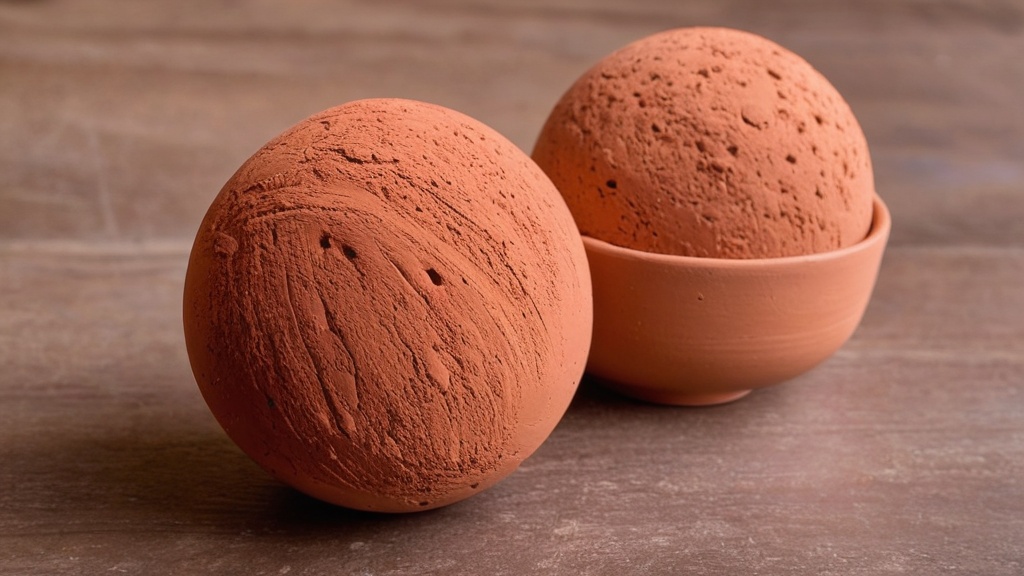
- Natural Mineral-Based Clay (Earthenware-like): These clays, often marketed as “air dry sculpting clay,” resemble traditional earthenware in texture and appearance. They typically dry to a stone-like hardness and can be sanded, painted, and sealed. Their natural earth tones often form an excellent base for painting. You will find that these clays offer a more authentic ceramic feel without the need for firing.
- Paper Clay: As the name suggests, this clay incorporates paper fibers, lending it a unique fibrous texture. It is exceptionally lightweight when dry, dries very quickly, and is less prone to cracking. This makes it an excellent choice for delicate structures or projects where weight is a concern. Its surface often benefits from sanding to achieve smoothness.
Key Properties of Air Dry Clay
Before you begin, understanding these inherent properties will help you anticipate and manage your creative process.
- Drying Process: The primary mechanism by which air dry clay hardens is evaporation. As the water within the clay body dissipates into the surrounding atmosphere, the material solidifies. This process can take anywhere from 24 hours to several days, depending on the thickness of your creation, the humidity of your environment, and the specific type of clay you are using. Patience is a virtue here; rushing the drying process can lead to cracking.
- Shrinkage: All air dry clays experience some degree of shrinkage as they dry. This is a natural consequence of water evaporating from the material. The amount of shrinkage varies between brands and types, but it is a factor you must consider when designing your piece, particularly if you are sculpting an item that needs to fit precisely.
- Porosity: Once dry, air dry clay is inherently porous. This means it will absorb liquids. For functional items or pieces intended for outdoor display, you must seal your finished work to protect it from moisture and environmental elements.
- Brittleness: While dry air dry clay can be quite hard, it is generally more brittle than fired ceramic. Thin, unsupported sections are particularly susceptible to breaking. Designing with structural integrity in mind will save you later heartache.
If you’re new to working with air dry clay and looking for some creative inspiration, you might find this article on making miniature succulent pots particularly helpful. It offers step-by-step instructions that are perfect for beginners, allowing you to create charming decorations for your home or gifts for friends. To explore this fun project, check out the article here: How to Make Air Dry Clay Miniature Succulent Pots.
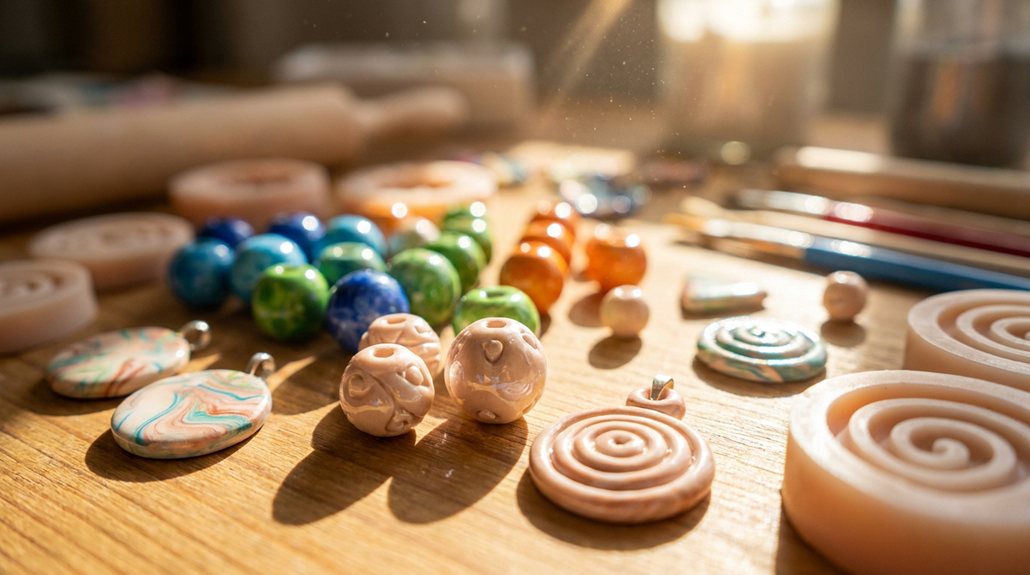
Essential Tools and Materials
embarking on any craft project, having the right tools at your disposal streamlines the creative process and enhances the quality of your finished work. For air dry clay, the tools are generally inexpensive and readily available.

What’s included? What shapes can I make?Dessert-themed gift set: ARTPAR air dry clay kit comes in a gift box – includes 12 sealed tins (4 color compartments each), 4 Modeling Clay Sculpting tools, and an illustrated guide (12 dessert projects). Make detailed models of cake, macaron, lollipop, Swiss roll, and more.

Multicolor & More Fun: The air dry clay set contains 66 colors,with 1 instruction booklet, 4 sculpting tools and extra ziplock bags.Kids can mix and match, creating their unique hues while developing fine motor skills. This modeling clay kit is synonymous with infinite enjoyment for kids

ARTPAR Air Dry Clay All-in-One Animal Modeling Kit for Creative Play: 12 reusable tins with 4 vibrant clay colors + sculpting tools in each box. Step-by-step tutorials for 12 animals (chicken, dog, owl, bear ,deer etc.) with extra clay for original creations. Perfect starter kit for clay crafts and 3D art projects.
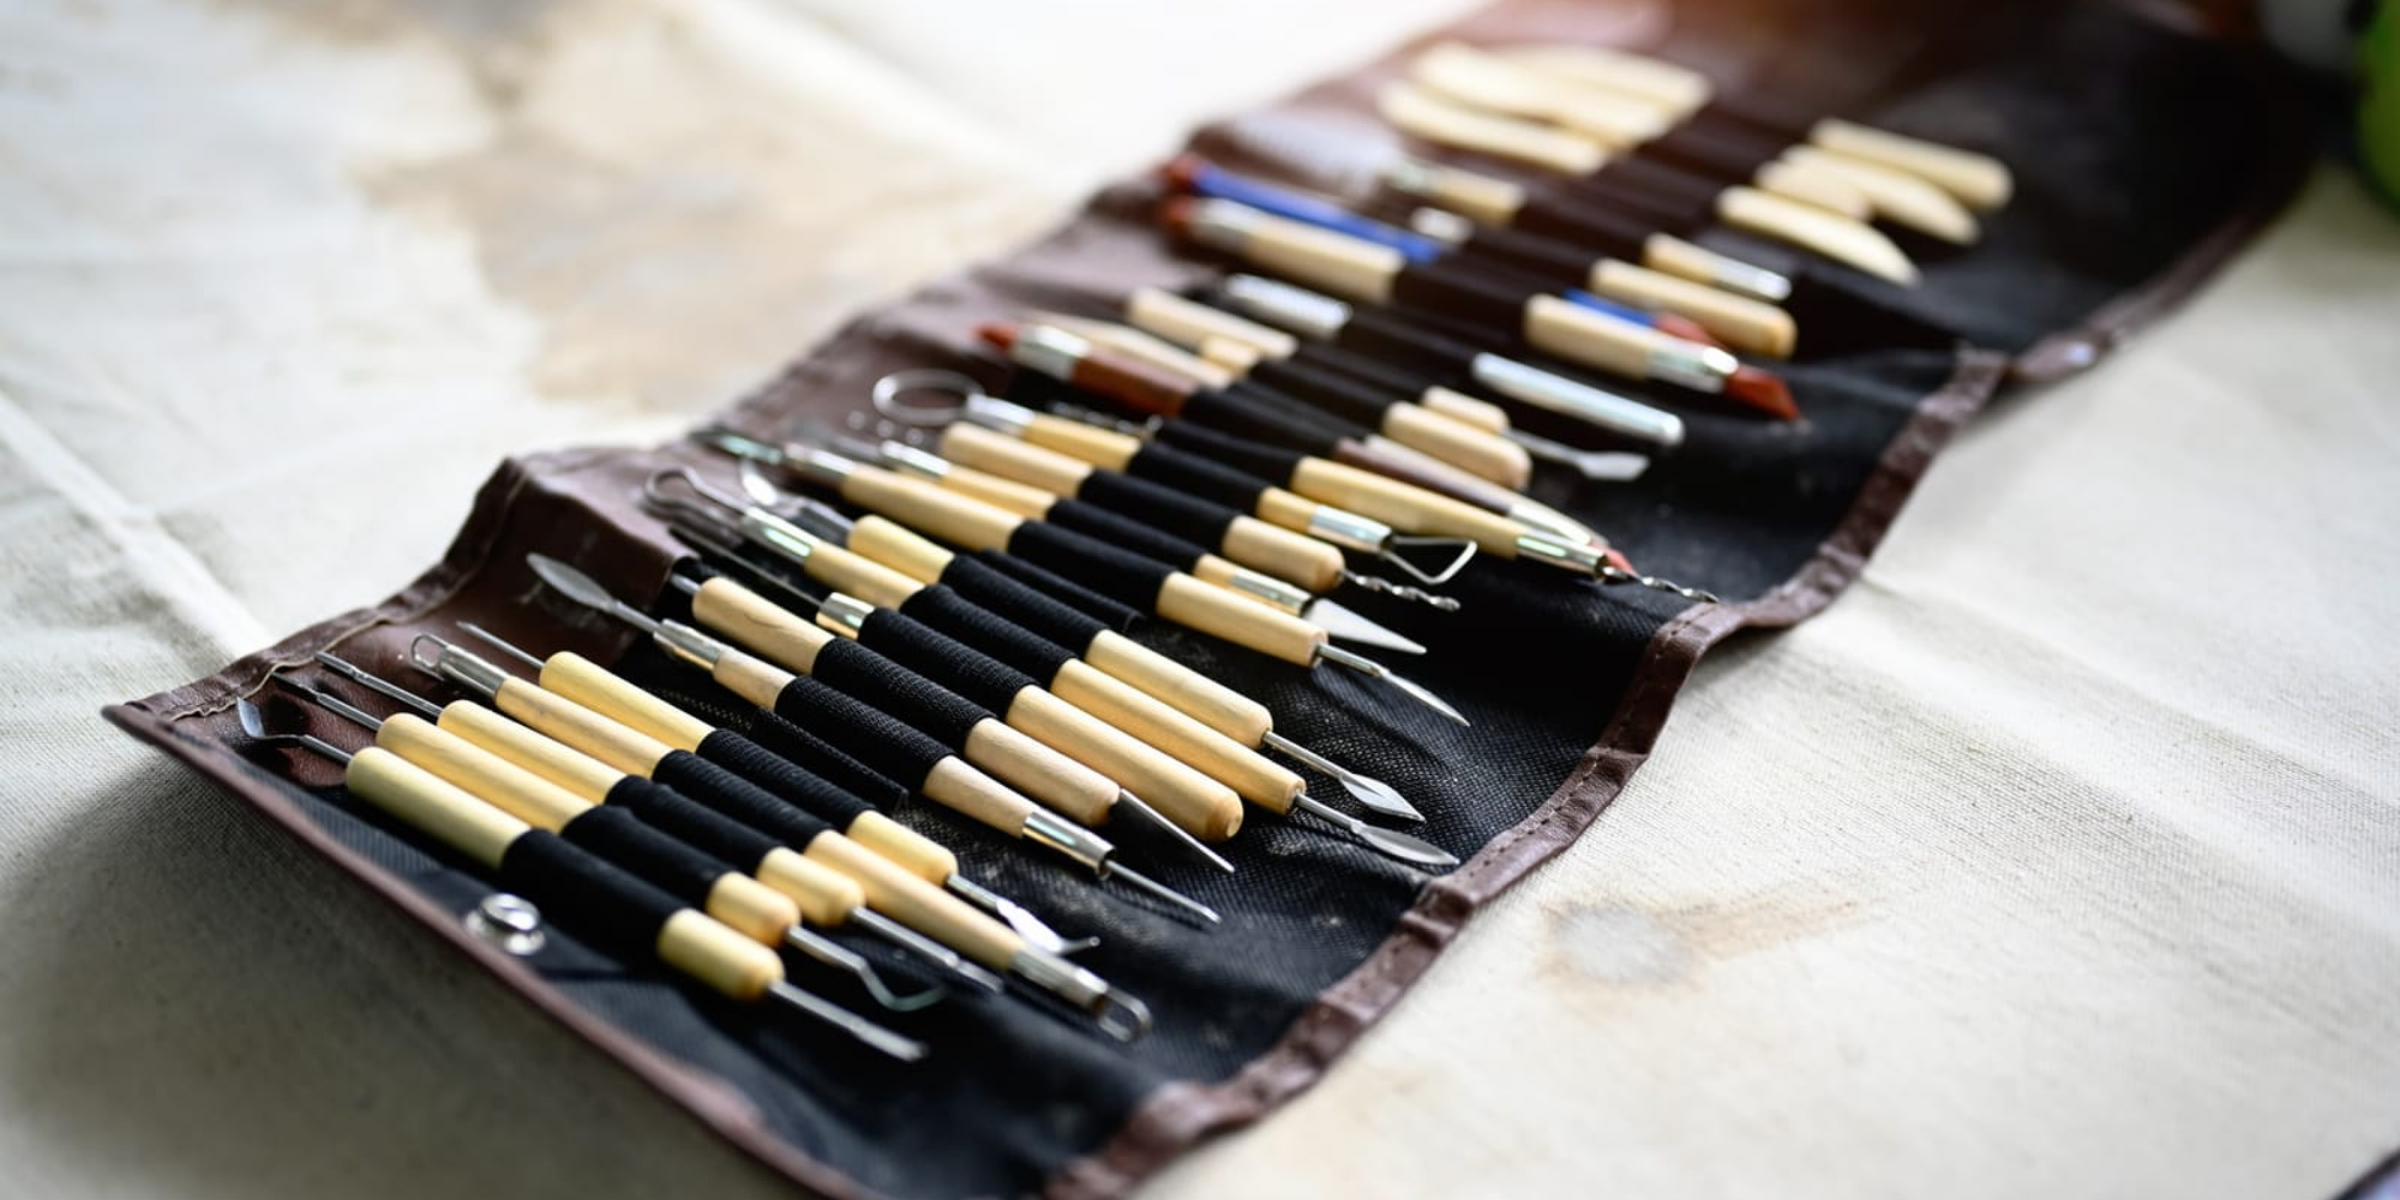
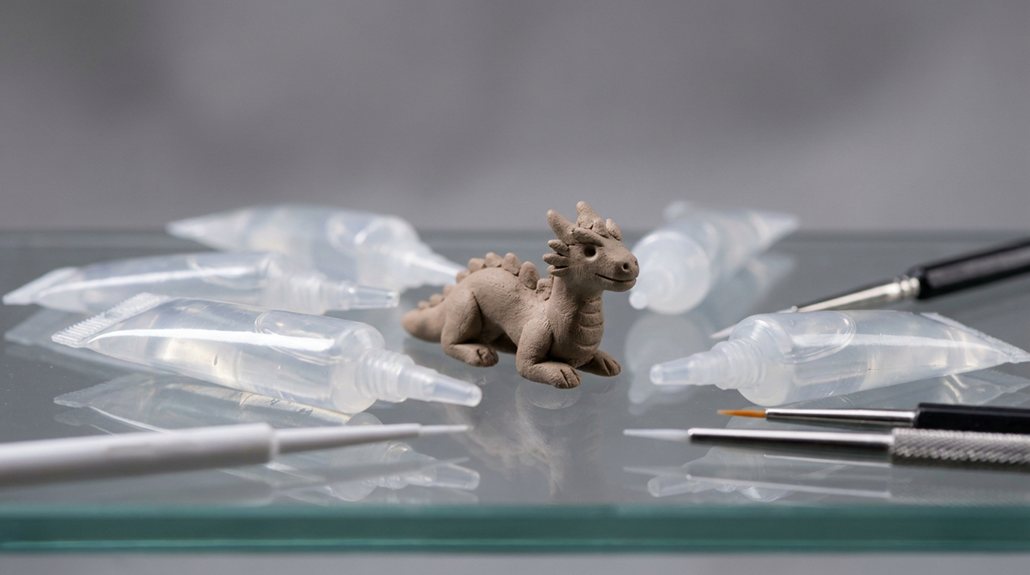
Basic Sculpting Tools
You will find that a few fundamental implements will cover most of your sculpting needs. Think of these as extensions of your own hands.
- Rolling Pin: Indispensable for flattening clay into even sheets, much like a baker uses a rolling pin for dough.
- Cutting Tools: A plastic or metal knife, a craft knife, or even a dental pick can be used for precise cuts, trimming excess clay, or incising details. You may also find that cookie cutters are surprisingly useful for creating consistent shapes.
- Sculpting Tools (Wooden or Plastic): These often come in sets and feature various shapes and points. They are invaluable for adding texture, smoothing surfaces, creating indentations, and refining details. A ball stylus, for instance, is excellent for indentations, while a flat-edged tool can smooth seams.
- Water Spray Bottle: A fine mist of water can rehydrate clay that is becoming too dry to work with, smooth surfaces, and aid in joining pieces. However, use it sparingly; too much water can make the clay excessively sticky and difficult to handle.
Work Surface Preparation
A proper work surface is crucial for both ease of crafting and protecting your surroundings.
- Non-Stick Mat or Wax Paper: This prevents the clay from adhering to your table. A silicone mat is ideal as it is reusable and easy to clean. You can also use a clean placemat or a sheet of wax paper.
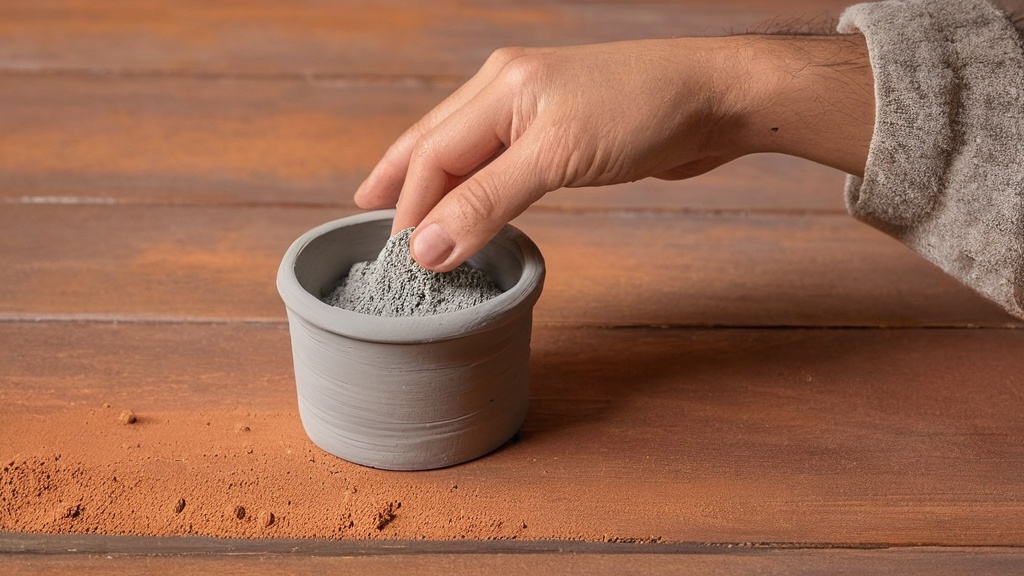
- Plastic Baggies or Airtight Container: Unused clay must be kept sealed to prevent it from drying out prematurely. A Ziploc bag is a simple and effective solution. If you are working on a project over several sessions, wrapping the unfinished piece in plastic wrap and placing it in an airtight container will keep it pliable.
Finishing Supplies
Once your creation has dried, you will likely want to enhance its appearance and durability.
- Sanding Paper/Sponge: Fine-grit sandpaper (180-220 grit) can be used to smooth out any rough patches or imperfections after the clay has completely dried. A sanding sponge conforms to curves more easily.
- Paints: Acrylic paints are the most common and versatile choice for air dry clay. They come in a vast array of colors, dry quickly, and are generally water-resistant once dry. You can also experiment with tempera or gouache for different effects, though these will require more robust sealing.
- Sealants/Varnishes: To protect your painted or unpainted clay piece from moisture, dust, and general wear and tear, you must apply a sealant. Mod Podge (matte or gloss), acrylic varnish, or spray sealants are all viable options. Consider the intended use of your object when choosing a sealant; a clear, waterproof varnish is essential for anything that might come into contact with liquids.
Basic Techniques for Working with Air Dry Clay
Like learning a new language, mastering air dry clay involves understanding its fundamental vocabulary of techniques. These building blocks will empower you to translate your ideas into tangible forms.
Conditioning the Clay
Think of conditioning as warming up before exercise; it prepares the material for optimal performance.
- Kneading: Before you begin sculpting, thoroughly knead the clay. This process removes air bubbles, increases pliability, and creates a more consistent texture. You will find that well-kneaded clay is less prone to cracking during drying and is easier to manipulate. If your clay is particularly stiff, a few drops of water worked in during kneading can help revive it.
Forming Basic Shapes
The ability to create fundamental geometric forms will serve as the foundation for more complex sculptures.
- Coiling: This technique involves rolling clay into long, snake-like coils. These coils can then be stacked and joined to build up forms, much like stacking rings to create a column. It is an excellent method for creating bowls, vases, and organic shapes.
- Pinching: Start with a ball of clay and use your thumb and fingers to gradually thin and expand the walls, creating a hollow form. Pinch pots are a common beginner project that teaches direct manipulation and control over the clay’s thickness.
- Slab Building: This involves rolling out flat sheets of clay (slabs) and then cutting them to shape and joining them together. This method is ideal for creating structured, angular forms like boxes, picture frames, or geometric figures. Ensuring even thickness of your slabs is crucial for consistent drying and preventing structural weaknesses.
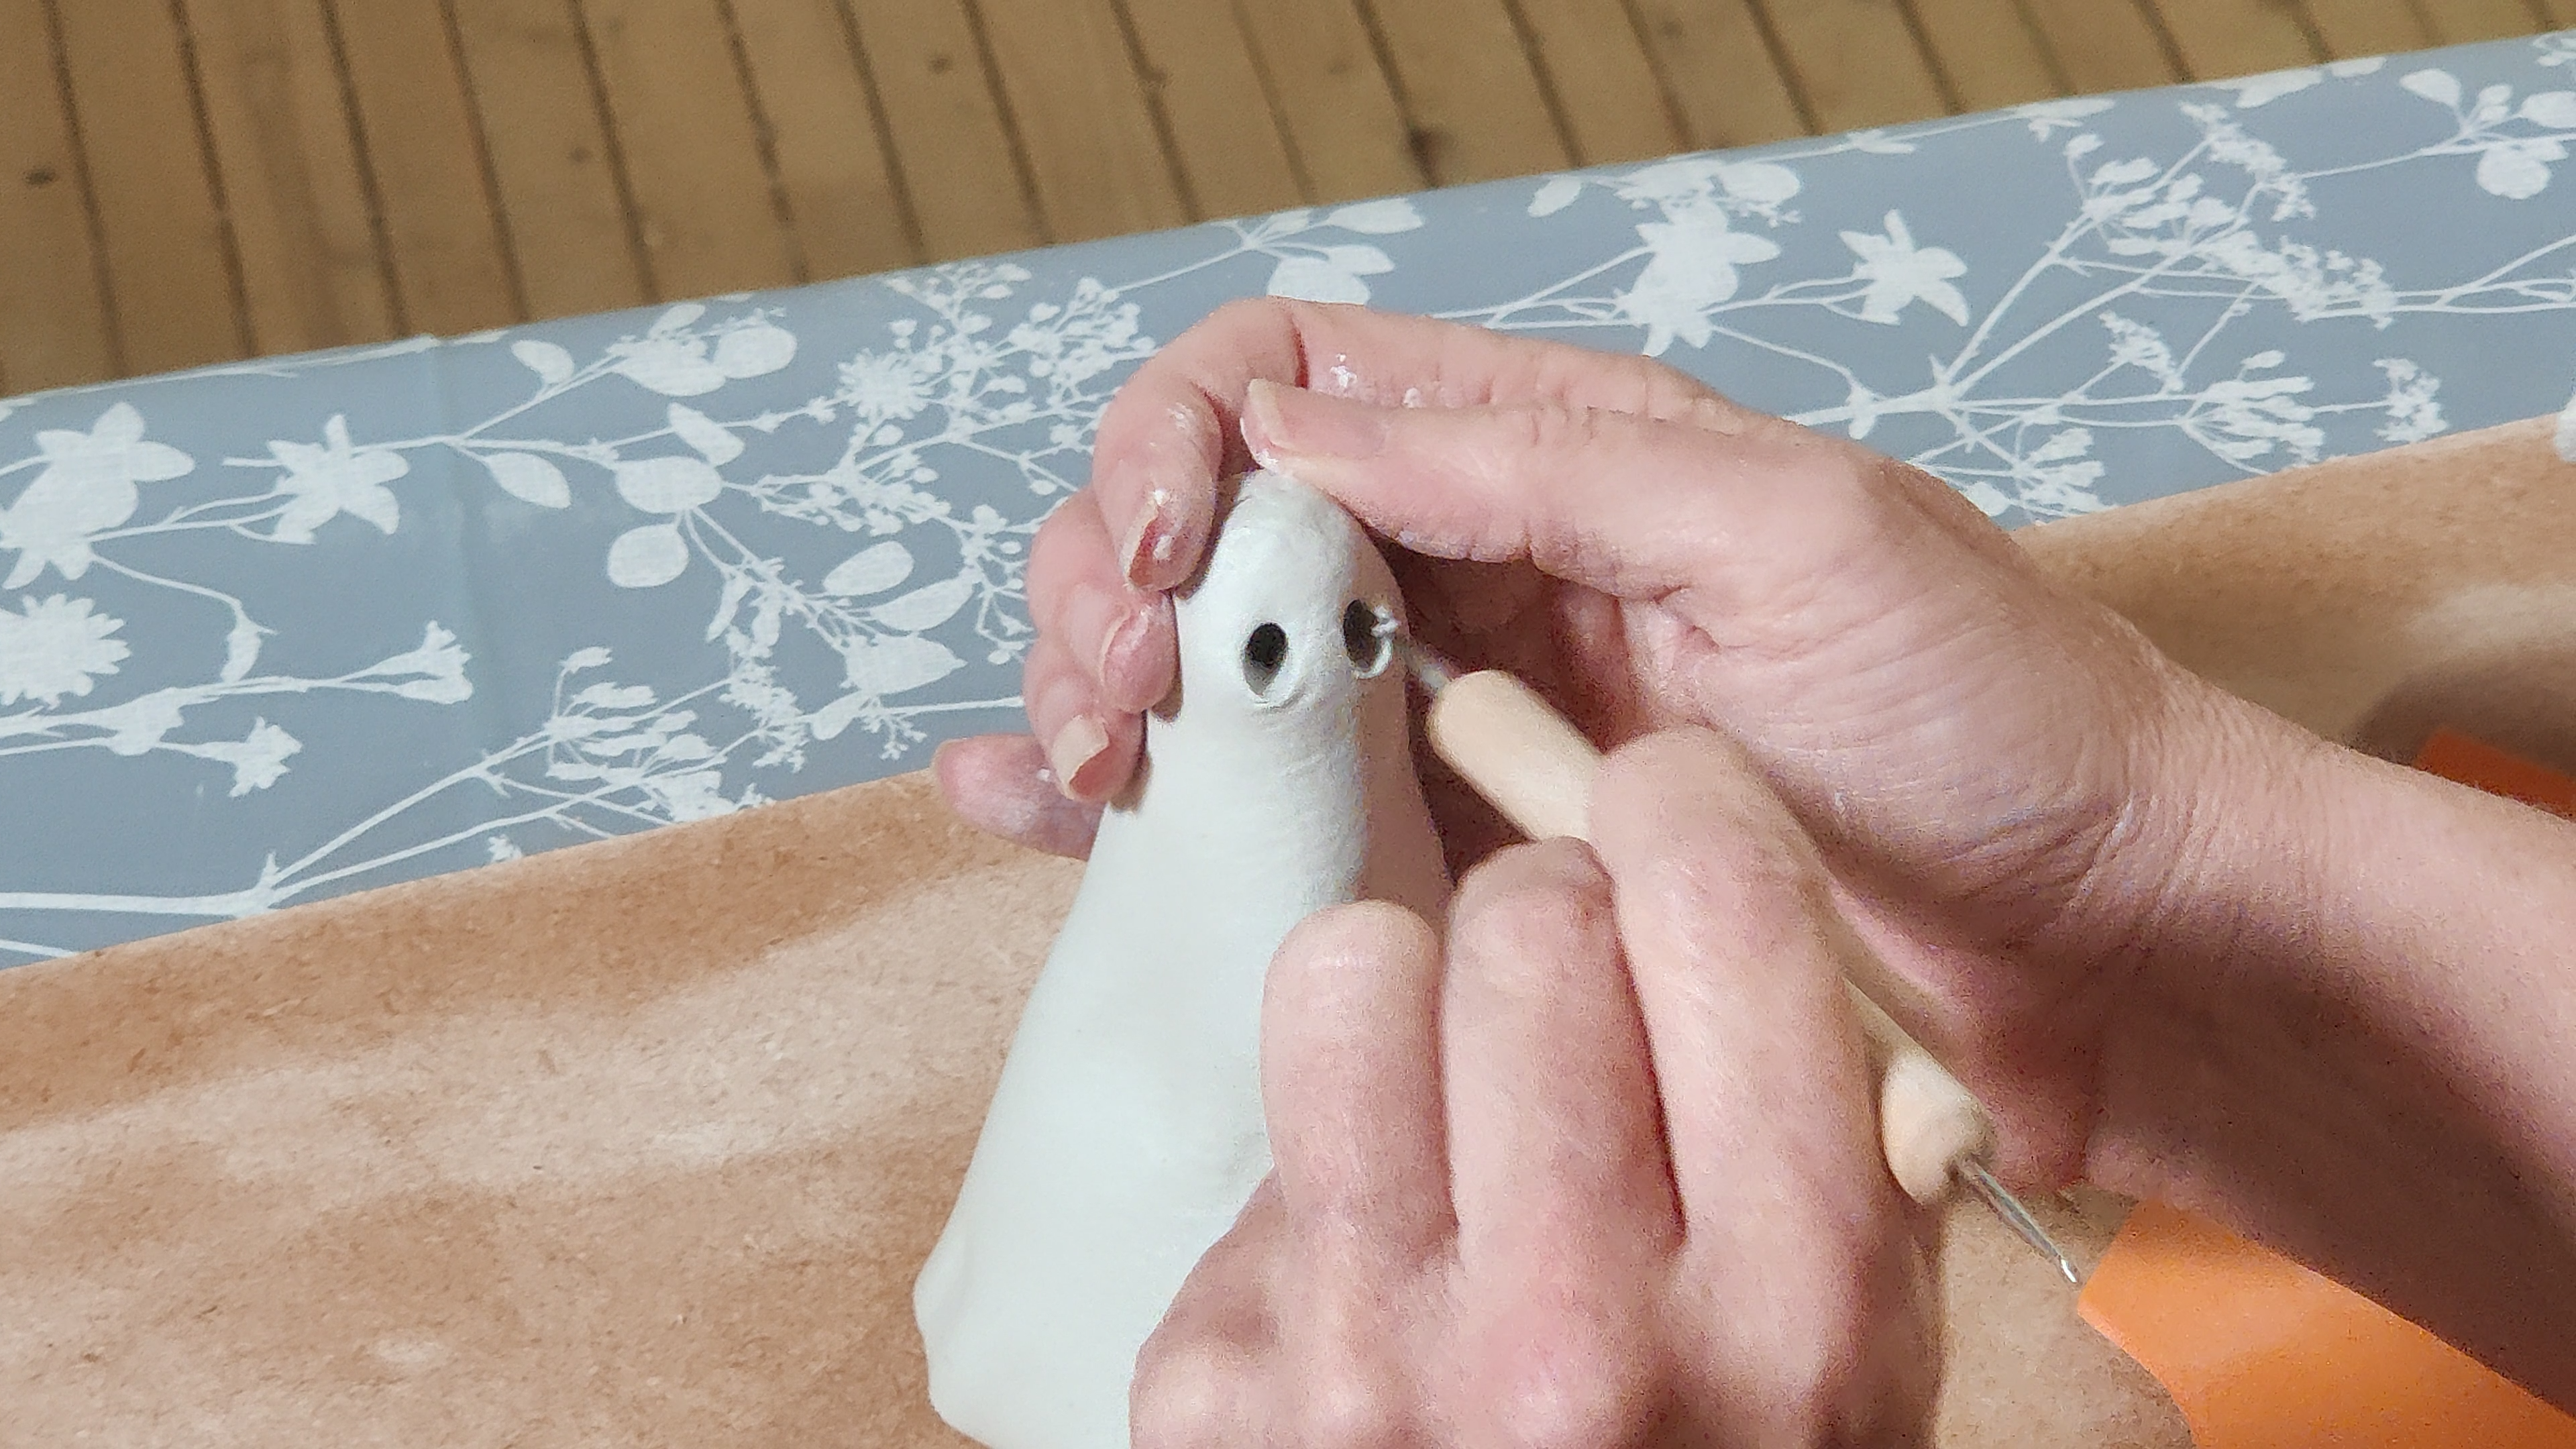
Joining Clay Pieces
When combining separate pieces of clay, a strong bond is paramount to prevent your creation from falling apart prematurely. This is where the concept of “slip” comes into play, although for air dry clay, it’s often a simpler process.
- Score and Slip (or Water): Just as a bricklayer uses mortar, you will need an adhesive for clay. “Scoring” involves roughing up the surfaces of the two pieces you wish to join using a knife or a scoring tool. This creates a textured surface that interlocks. Then, apply a small amount of water (or a thin slurry of clay and water, known as “slip” in traditional ceramics) to both scored surfaces. Press the pieces firmly together, wiggling slightly to create a strong bond. Smooth the seam with your finger or a sculpting tool to further integrate the two pieces.
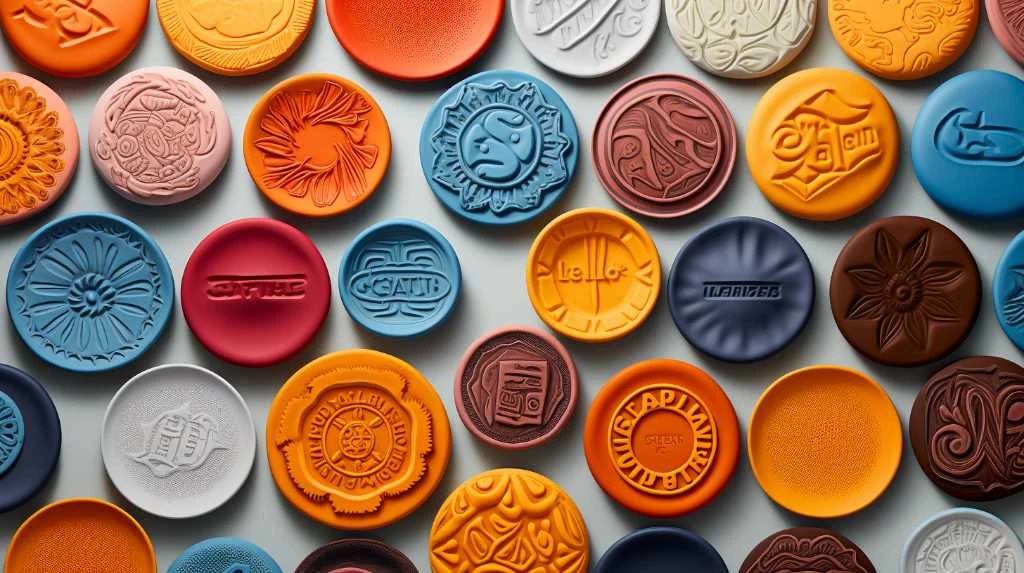
Texturing and Detailing
Adding texture and fine details transforms a basic form into a compelling work of art.
- Imprinting: Use various objects to create impressions on the clay surface. Leaves, fabric textures, stamps, or even textured rolling pins can add intricate patterns.
- Carving/Incising: Use a sculpting tool or a craft knife to carve lines, patterns, or details into the clay. This technique requires a steady hand and a clay consistency that is firm enough to hold its shape but soft enough to be cut cleanly.
- Appliqué: This involves adding decorative elements by attaching small pieces of clay onto a larger surface. Think of it as adding embellishments, much like embroidery on fabric.
Drying Your Air Dry Clay Creations
The drying process for air dry clay is a critical phase that can make or break your project. Patience and proper technique are your allies here.

Package Including: 4 pcs hanging drying racks, and you can easily dry your plants or clothes with our clothes racks

Easy installation, flexible space: The cascading design of Herb Drying Rack makes installation a breeze. Simply stack the herb drying rack layer by layer for quick use. Its flexibility allows you to adjust the number of layers as needed, while maintaining efficient use of space.

Versatile Drying Solution: Our product offers a hassle-free way to air dry items without any mess. Whether it's wet dishes, freshly painted rocks, or resin-coated surfaces, simply place the product on the table, and it efficiently helps keep items in place for a drip-dry experience
The Importance of Slow and Even Drying
Imagine a landscape baked unevenly by the sun; cracks will appear where the moisture evaporates too quickly. The same principle applies to your clay art.
- Preventing Cracks: The primary cause of cracking in air dry clay is rapid or uneven drying. When the surface dries faster than the interior, the outer layer shrinks more quickly, leading to tension and ultimately, fissures. To mitigate this, avoid placing your drying clay piece in direct sunlight, near a heat source (like a radiator), or in a drafty area.
- Even Airflow: Ensure that air can circulate around your entire piece. Elevating your creation on a wire rack or rotating it periodically will help promote uniform drying on all surfaces. If one side dries significantly faster than another, stress can develop within the clay body.
Recommended Drying Environment
Creating an optimal drying environment is a simple yet effective way to protect your work.
- Room Temperature: A stable, moderate room temperature is ideal. Extreme heat accelerates drying, while excessive cold can prolong it considerably.
- Low Humidity: A lower humidity environment will facilitate faster evaporation, but remember to avoid too low, as this can lead to rapid surface drying and cracking.
- Covering (Occasional): For very thick pieces, you might consider loosely covering your clay with plastic wrap for the first 24 hours. This traps some moisture, allowing the internal moisture to catch up with the surface, resulting in more even drying. Remove the cover completely after a day or so to allow full drying.
Determining When the Clay is Dry
You need a reliable method to confirm your piece is fully cured before moving on to finishing steps.
- Visual Inspection: Dry air dry clay will typically appear lighter in color than when it was wet.
- Tactile Test: The clay should feel hard and solid, with no cool or damp spots. If any areas still feel cool to the touch, it indicates the presence of residual moisture.
- Weight Test: A dry piece will feel significantly lighter than it did when wet. This is due to the substantial loss of water. For very small items, this may be less noticeable, but for larger pieces, it is a good indicator.
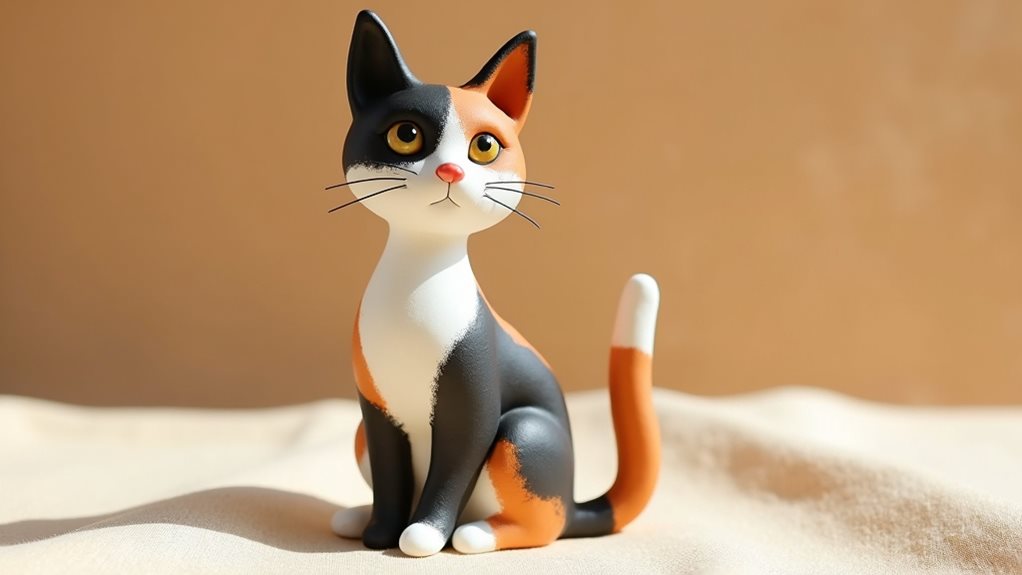
If you’re just starting out with air dry clay, you might find it helpful to explore various projects that can enhance your skills. One interesting article that provides a step-by-step guide is about creating a charming ragdoll cat using air dry clay. This project not only offers a fun way to practice your techniques but also results in a delightful piece of art that you can display. To learn more about this creative endeavor, check out the article here.
Finishing and Sealing Your Air Dry Clay Projects
| Metric | Description | Recommended Value/Range | Notes |
|---|---|---|---|
| Drying Time | Time taken for the clay to fully air dry | 24 to 72 hours | Depends on thickness and humidity |
| Recommended Thickness | Optimal thickness for even drying | 0.5 to 2 cm | Thicker pieces may crack or take longer to dry |
| Weight | Typical weight of beginner air dry clay pack | 250g to 500g | Good size for small projects |
| Flexibility | Ease of molding and shaping | High | Beginners benefit from softer, more pliable clay |
| Paintability | Ability to paint after drying | Excellent | Use acrylic paints for best results |
| Storage Life | How long unopened clay lasts | 6 to 12 months | Store in airtight container to prevent drying out |
| Non-Toxicity | Safety for children and beginners | Yes | Most beginner clays are non-toxic |
Once your clay creation is bone dry, it is ready for the final touches that will truly bring it to life and ensure its longevity. This stage allows you to personalize your piece and protect it from the elements.

【Premium Aluminum Oxide Material for Durable Sanding】Crafted with high-quality aluminum oxide—far superior to ordinary sandpaper—this sponge sandpaper is specially designed for model sanding. It significantly reduces sanding particle loss during use, maintaining exceptional sanding performance even after long-term, high-frequency applications. Perfect for achieving smooth, precise results on delicate model projects.y.

Package Content: You will receive 6 pieces of round painting sponge, enough quantity meets all your needs.(Note: Since this product is vacuum packed, the shape of the product may be affected to a certain extent when received and opened. However, the sponge is a memory foam. You can soak it in water for a while and then let it dry to restore its shape.)

Sanding for Smoothness
Achieving a polished surface often begins with sanding.
- Removing Imperfections: After drying, you may notice small bumps, rough areas, or visible seams. Fine-grit sandpaper (180-220 grit) or a sanding sponge can be used to gently smooth these imperfections. Work slowly and evenly to avoid creating new divots. For intricate areas, a nail file or a small piece of sandpaper wrapped around a stick can be effective. You will find that sanding also creates a better surface for paint adhesion.
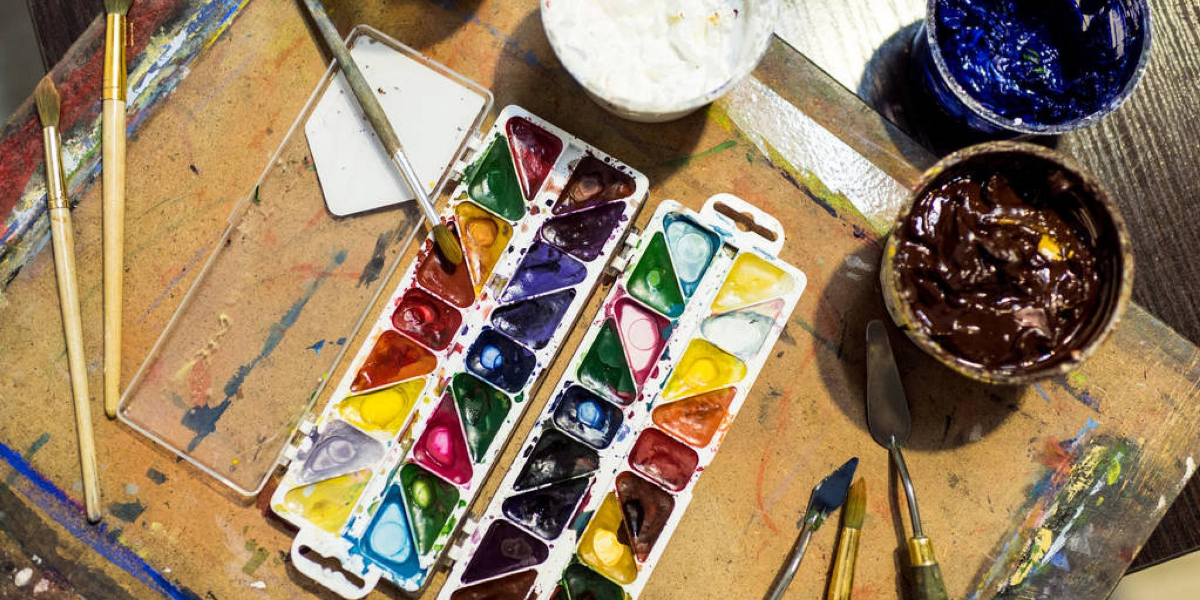
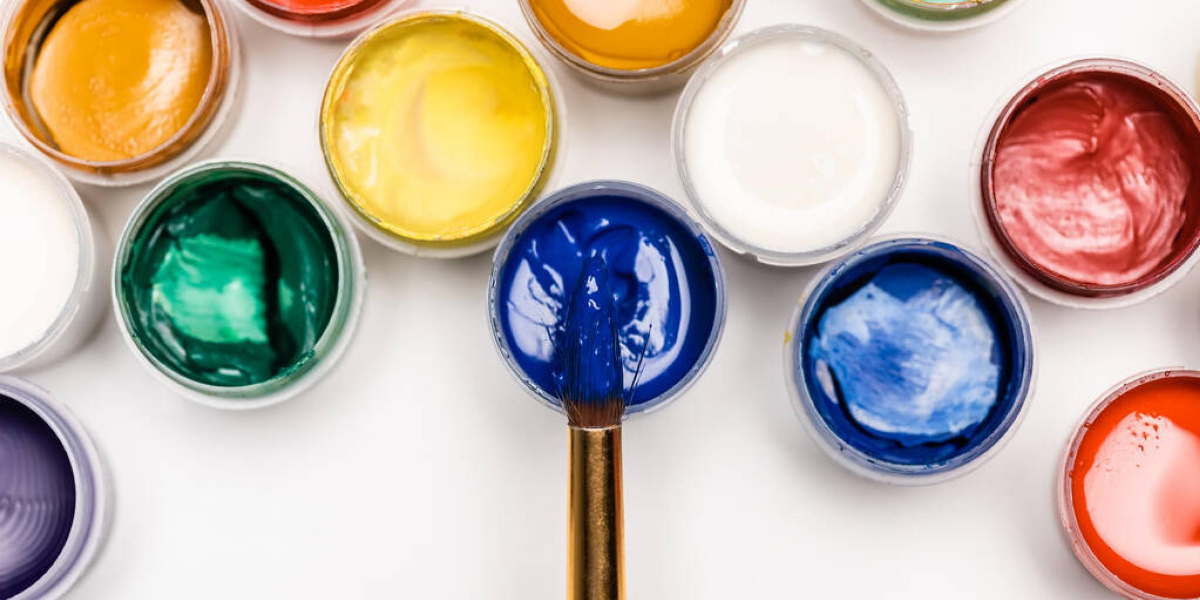
Painting Your Creations
Color breathes personality into your sculpted forms.
- Acrylic Paints: As mentioned earlier, acrylic paints are your best choice. They are opaque, durable, and come in an endless palette. Apply thin, even coats to build up color. Multiple thin layers often provide a smoother finish than one thick layer, which can look streaky or uneven.
- Brushes: A variety of brush sizes will be useful: larger brushes for broad areas, and fine detail brushes for intricate work. Clean your brushes thoroughly after each use to prolong their life.
- Priming (Optional): For very dark or very light clays, or if you want your paint colors to appear more vibrant and true to their hue, you might consider applying a coat of white acrylic gesso or primer first. This creates a uniform, absorbent surface for your paint.
Sealing for Durability and Protection
Sealing is not merely an optional step; it is a critical measure for preserving your work.
- Protection from Moisture: As air dry clay is porous, sealing prevents it from absorbing water, which can lead to softening, swelling, or even disintegration. This is especially important for items like coasters, decorative bowls, or outdoor decor.
- Dust and Dirt Resistance: A sealant creates a protective barrier that makes your piece easier to clean and less prone to accumulating dust and dirt within its porous surface.
- Enhanced Durability: While air dry clay is inherently somewhat brittle, a sealant can add a thin, protective outer layer that offers some resistance to minor bumps and scrapes.
- Finish Options: You have several choices for seals.
- Matte Varnish: Provides a non-shiny, natural look.
- Satin Varnish: Offers a subtle sheen, a middle ground between matte and gloss.
- Gloss Varnish: Creates a shiny, often more vibrant finish.
- Mod Podge: A popular choice for crafters; it acts as both a sealant and an adhesive. It is available in matte, satin, and gloss finishes.
- Spray Sealants: These offer a quick and even application, but ensure you use them in a well-ventilated area.
- Application: Apply your chosen sealant in thin, even coats, allowing each coat to dry completely before applying the next. Two or three coats are generally sufficient for most projects. For items that will experience heavy use or exposure to moisture, you may opt for more layers.
With these foundational principles and techniques at your command, you are now well-equipped to embark on your air dry clay journey. Your hands are the sculptors, and the clay awaits your touch. Embrace the iterative process, learn from each piece, and allow your creativity to flow freely in this incredibly accessible artistic medium.
FAQs
What is air dry clay?
Air dry clay is a type of modeling clay that hardens and dries naturally when exposed to air, without the need for baking or firing in a kiln.
How long does air dry clay take to dry?
The drying time for air dry clay varies depending on the thickness of the piece, but it generally takes 24 to 72 hours to fully dry.
Can air dry clay be painted after it dries?
Yes, once air dry clay is completely dry, it can be painted with acrylic paints or other water-based paints.
Is air dry clay safe for children to use?
Most air dry clays are non-toxic and safe for children, but it is important to check the product label for safety information and supervise young children during use.
How should air dry clay be stored?
Air dry clay should be stored in an airtight container or wrapped tightly in plastic to prevent it from drying out before use.