Unlocking Creativity with Air Dry Clay in Your Classroom
Imagine a classroom where creativity flows freely, where every student, regardless of their artistic background, can bring their imaginative ideas to life with their own hands. This isn’t a pipe dream; it’s the reality you can create by integrating air dry clay into your curriculum. Air dry clay offers a unique blend of accessibility, versatility, and educational value that makes it an ideal medium for a wide range of classroom projects. Unlike traditional kiln-fired clay, air dry clay requires no special equipment, making it incredibly practical for school environments. You can easily facilitate engaging, hands-on activities that foster fine motor skills, spatial reasoning, and artistic expression, all while keeping your classroom tidy and your budget in check.
The beauty of air dry clay lies in its simplicity. You don’t need a ceramics studio or hours of technical training to use it effectively. Students can mold, sculpt, and shape the clay, and then simply leave their creations to dry, often overnight or over a weekend, while they move on to other activities. This allows for seamless integration into various lesson plans, from art class to science, history, or even language arts. As you explore the possibilities, you’ll discover that air dry clay is not just a craft material; it’s a powerful educational tool that encourages problem-solving, critical thinking, and collaborative learning.
The Educational Benefits of Air Dry Clay
Air dry clay provides a rich sensory experience that is incredibly beneficial for children’s development. The act of manipulating the clay engages multiple senses, promoting focus and calming energy. Beyond the sensory aspect, there are numerous cognitive and developmental advantages.
Enhancing Fine Motor Skills and Hand-Eye Coordination
Working with air dry clay is an excellent way to strengthen fine motor skills. Pinching, rolling, shaping, and pressing the clay requires precise movements of the fingers and hands. This repetitive action helps to build muscle strength and dexterity, which are crucial for tasks like writing, drawing, and using tools. As students endeavor to create specific shapes or details, they are constantly practicing and refining their hand-eye coordination, learning to translate their mental image into a physical form with increasing accuracy.
Fostering Creativity and Imagination
With air dry clay, the only limit is imagination. Students are empowered to transform abstract ideas into tangible objects. This process encourages divergent thinking and problem-solving. Whether they are sculpting an animal, designing a piece of jewelry, or creating a miniature landscape, they are actively engaging their creative faculties. The lack of strict rules or pre-set outcomes fosters a sense of freedom and encourages experimentation, allowing each student’s unique artistic voice to emerge. This freedom is essential for building self-confidence and a positive attitude towards creative expression.
Promoting Spatial Reasoning and Problem-Solving
As students sculpt, they are constantly thinking about three-dimensional forms. They learn about volume, proportion, and how different parts connect to create a cohesive whole. This inherently promotes spatial reasoning skills, helping them understand how objects exist and interact in space. When a creation doesn’t quite turn out as planned, students are faced with a problem to solve: how can they adapt their design, add more clay, or reshape a section to achieve their desired outcome? This iterative process of creation and refinement builds resilience and critical thinking.
Supporting Thematic Learning Across Subjects
Air dry clay is incredibly versatile for cross-curricular integration. In a science class, students could sculpt different types of cells or create models of geological formations. For a history lesson, they might craft ancient artifacts or miniature replicas of historical buildings. In language arts, they could create characters from a story or build a scene to illustrate a narrative. This hands-on approach makes learning more engaging and memorable, helping students connect abstract concepts to concrete experiences. It allows for a multi-modal learning experience that caters to different learning styles.
Essential Considerations for Air Dry Clay in Your Classroom
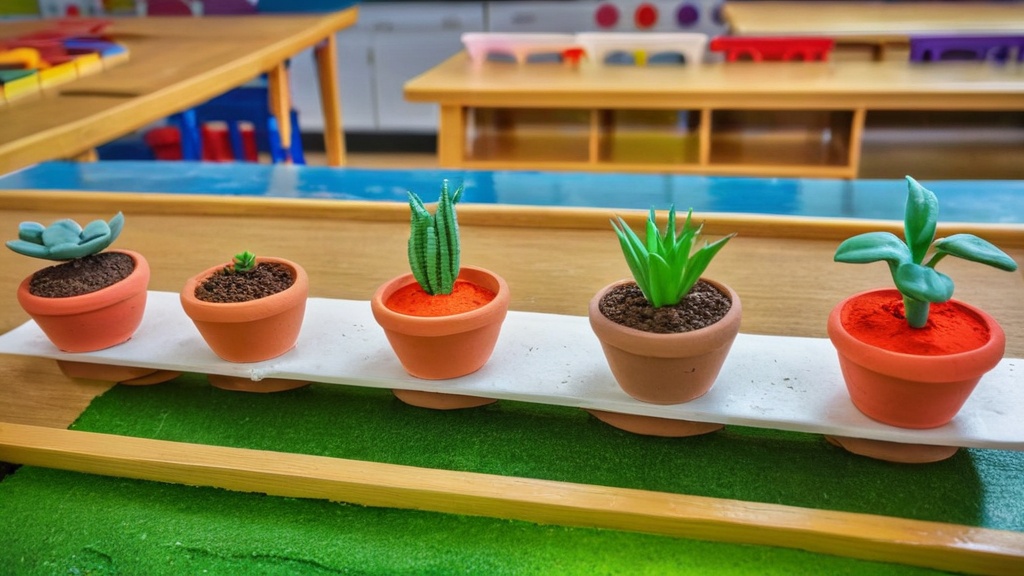
Before you dive into a world of air dry clay projects, it’s wise to consider some practical aspects to ensure a smooth and successful experience for both you and your students. Thoughtful preparation can make all the difference in maximizing the educational impact and minimizing any potential challenges.
Selecting the Right Type of Air Dry Clay
Not all air dry clays are created equal. You’ll find a variety of brands and types, each with slightly different properties. For classroom use, consider a clay that is non-toxic, easy to manipulate for young hands, and doesn’t crack excessively when dry. Crayola, for instance, offers air-dry clay that is popular for kids’ crafts and is often featured in classroom-friendly décor ideas. Some clays are finer and smoother, suitable for detailed work, while others are more fibrous and robust, ideal for larger sculptures. Experiment with a few types if possible to find what works best for your students’ age group and the specific projects you have in mind. Always ensure the chosen clay is clearly labeled as non-toxic and suitable for children.
Setting Up Your Workspace for Success
A well-organized workspace is key to a smooth air dry clay session. You’ll want to protect your tables with placemats, newspaper, or disposable plastic tablecloths. Provide each student with a small cutting board or a sturdy piece of cardboard as their individual workspace. This not only keeps the clay contained but also makes it easier to transport their creations for drying. Ensure you have access to water for moistening hands and tools, and plenty of paper towels or cloths for clean-up. Small containers for water (e.g., plastic cups) for each student can also be helpful. Designate a specific drying area away from direct heat or drafts to prevent rapid, uneven drying, which can lead to cracking.
Managing Drying Times and Storage
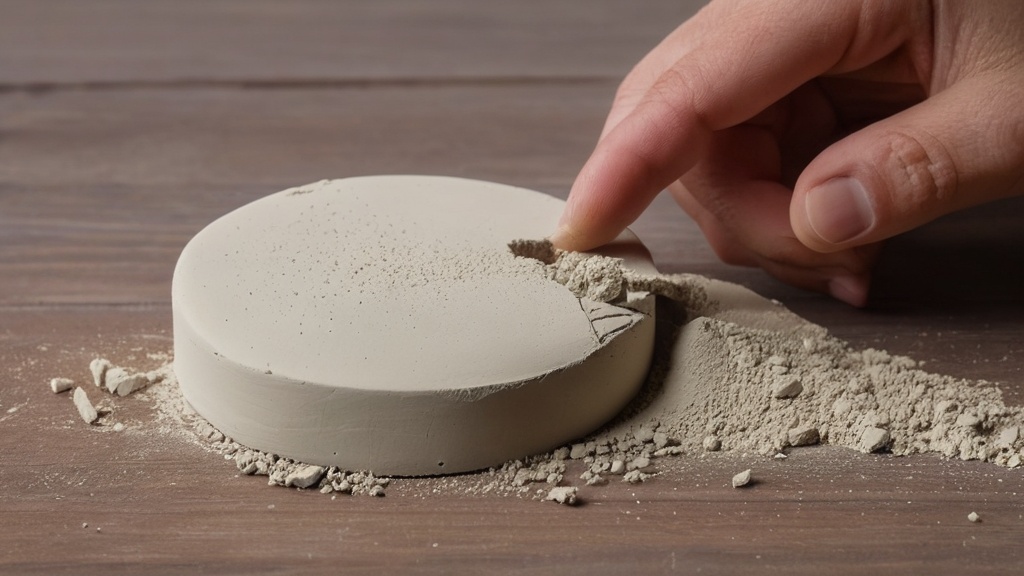
One of the greatest advantages of air dry clay is its no-bake nature. However, understanding drying times and proper storage is crucial. Most air dry clay projects will take 24-72 hours to dry completely, depending on the thickness of the clay and the humidity of the environment. Crafts by Amanda specifically notes that air-dry clay projects can be made in the classroom and then left to dry while students move on to other activities, which is a major convenience. Instruct students to avoid handling their pieces until they are fully dry to prevent damage. For storing unused clay, it’s essential to keep it in an airtight container or tightly wrapped in plastic film to prevent it from drying out prematurely. If the clay becomes a little stiff, you can often revive it by kneading in a few drops of water.
Essential Tools and Materials
While you can do a lot with just your hands, a few basic tools can greatly enhance the air dry clay experience.
Basic Sculpting Tools
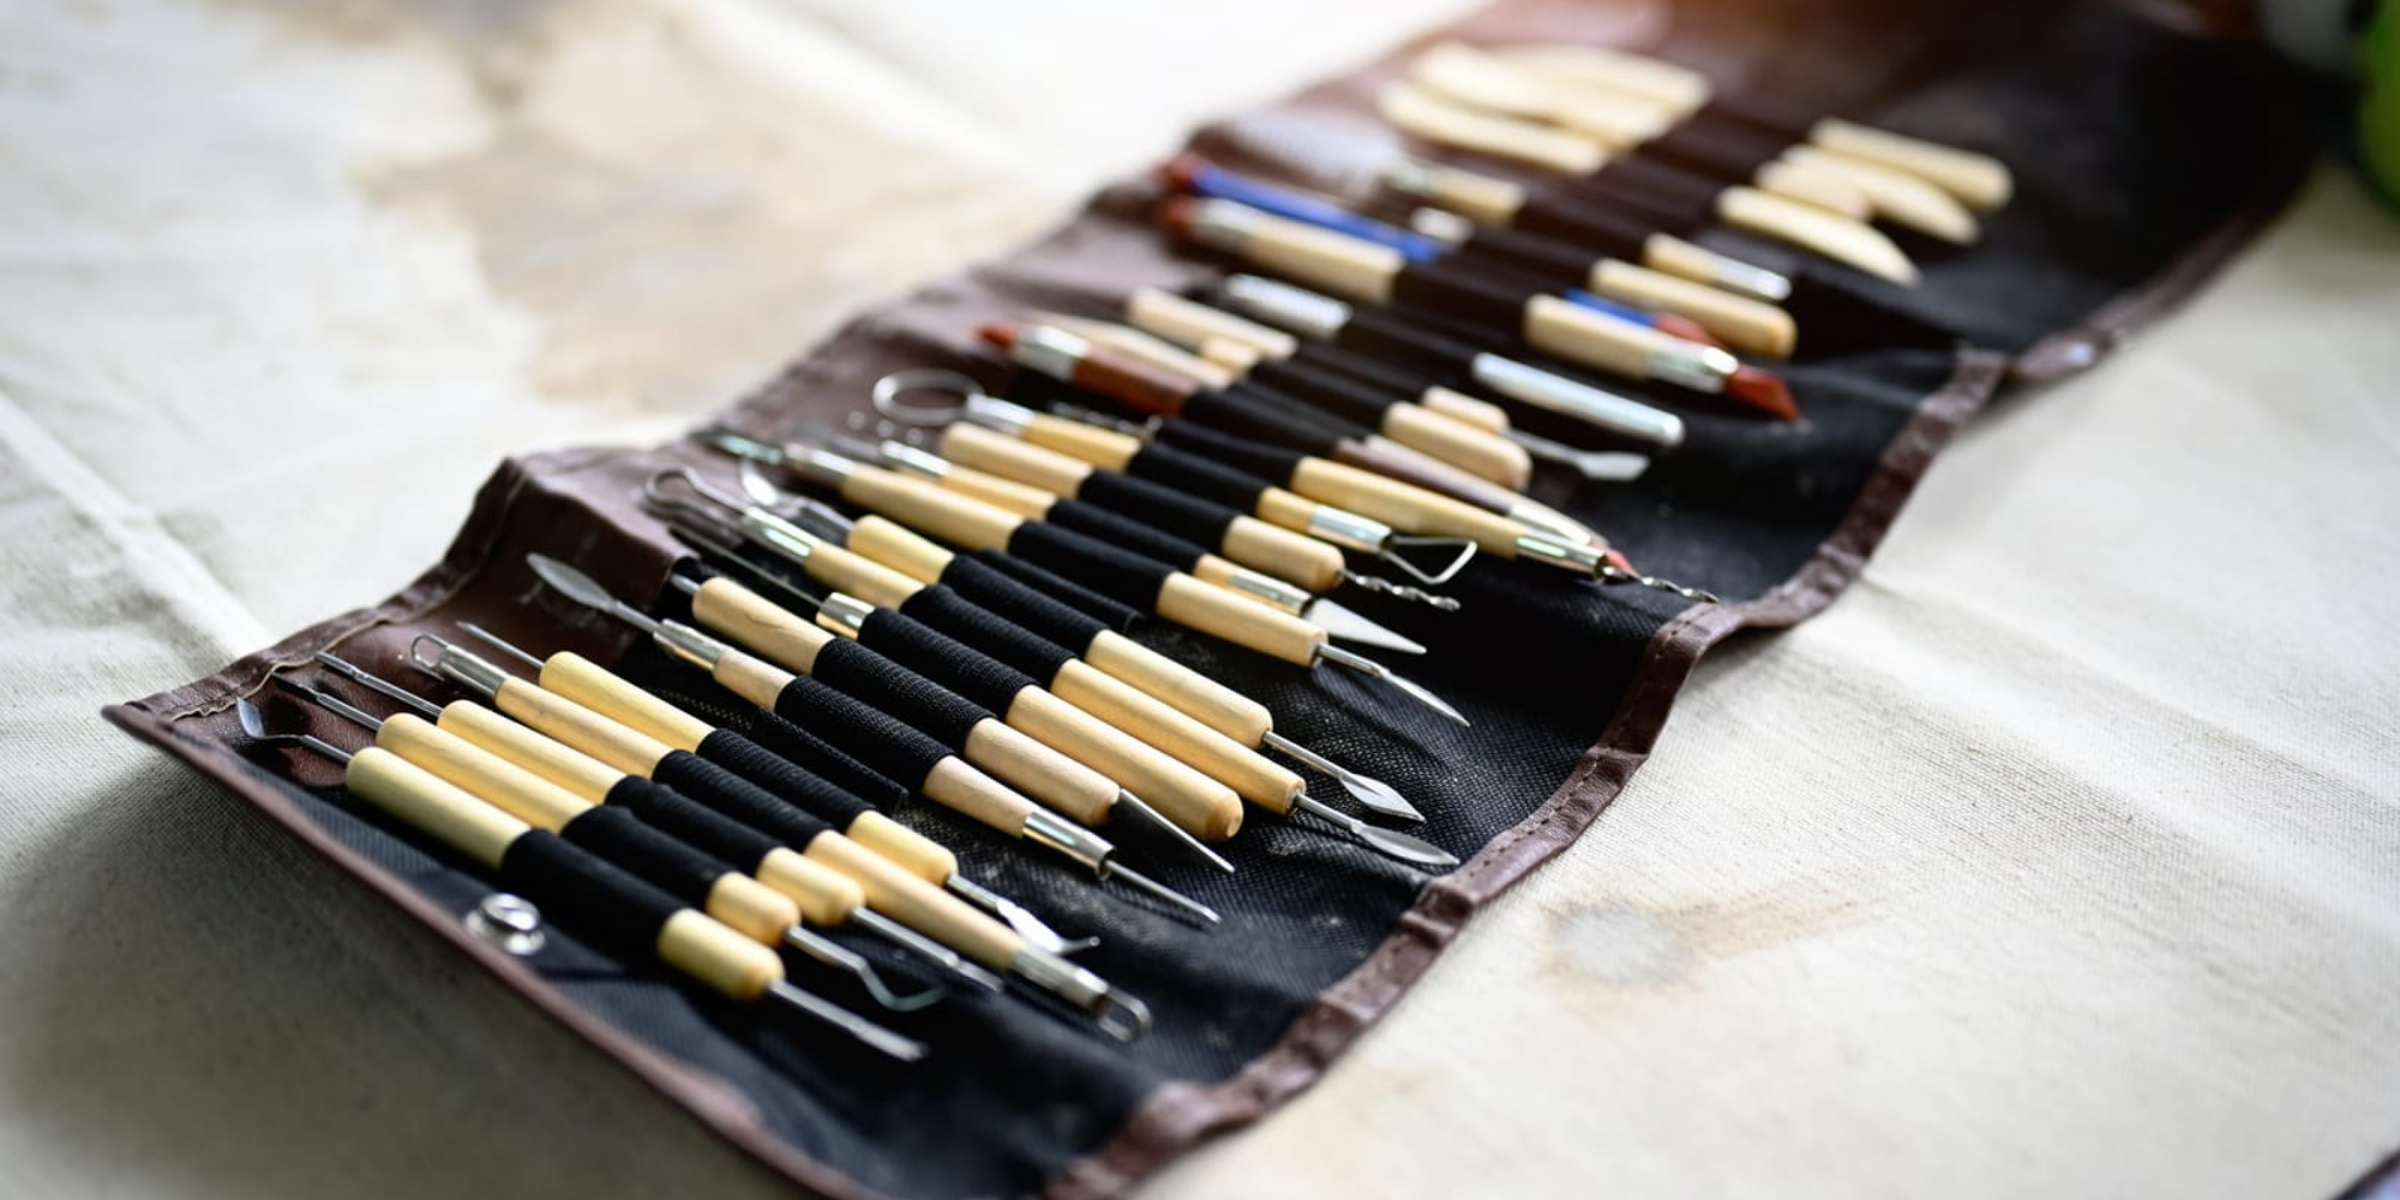
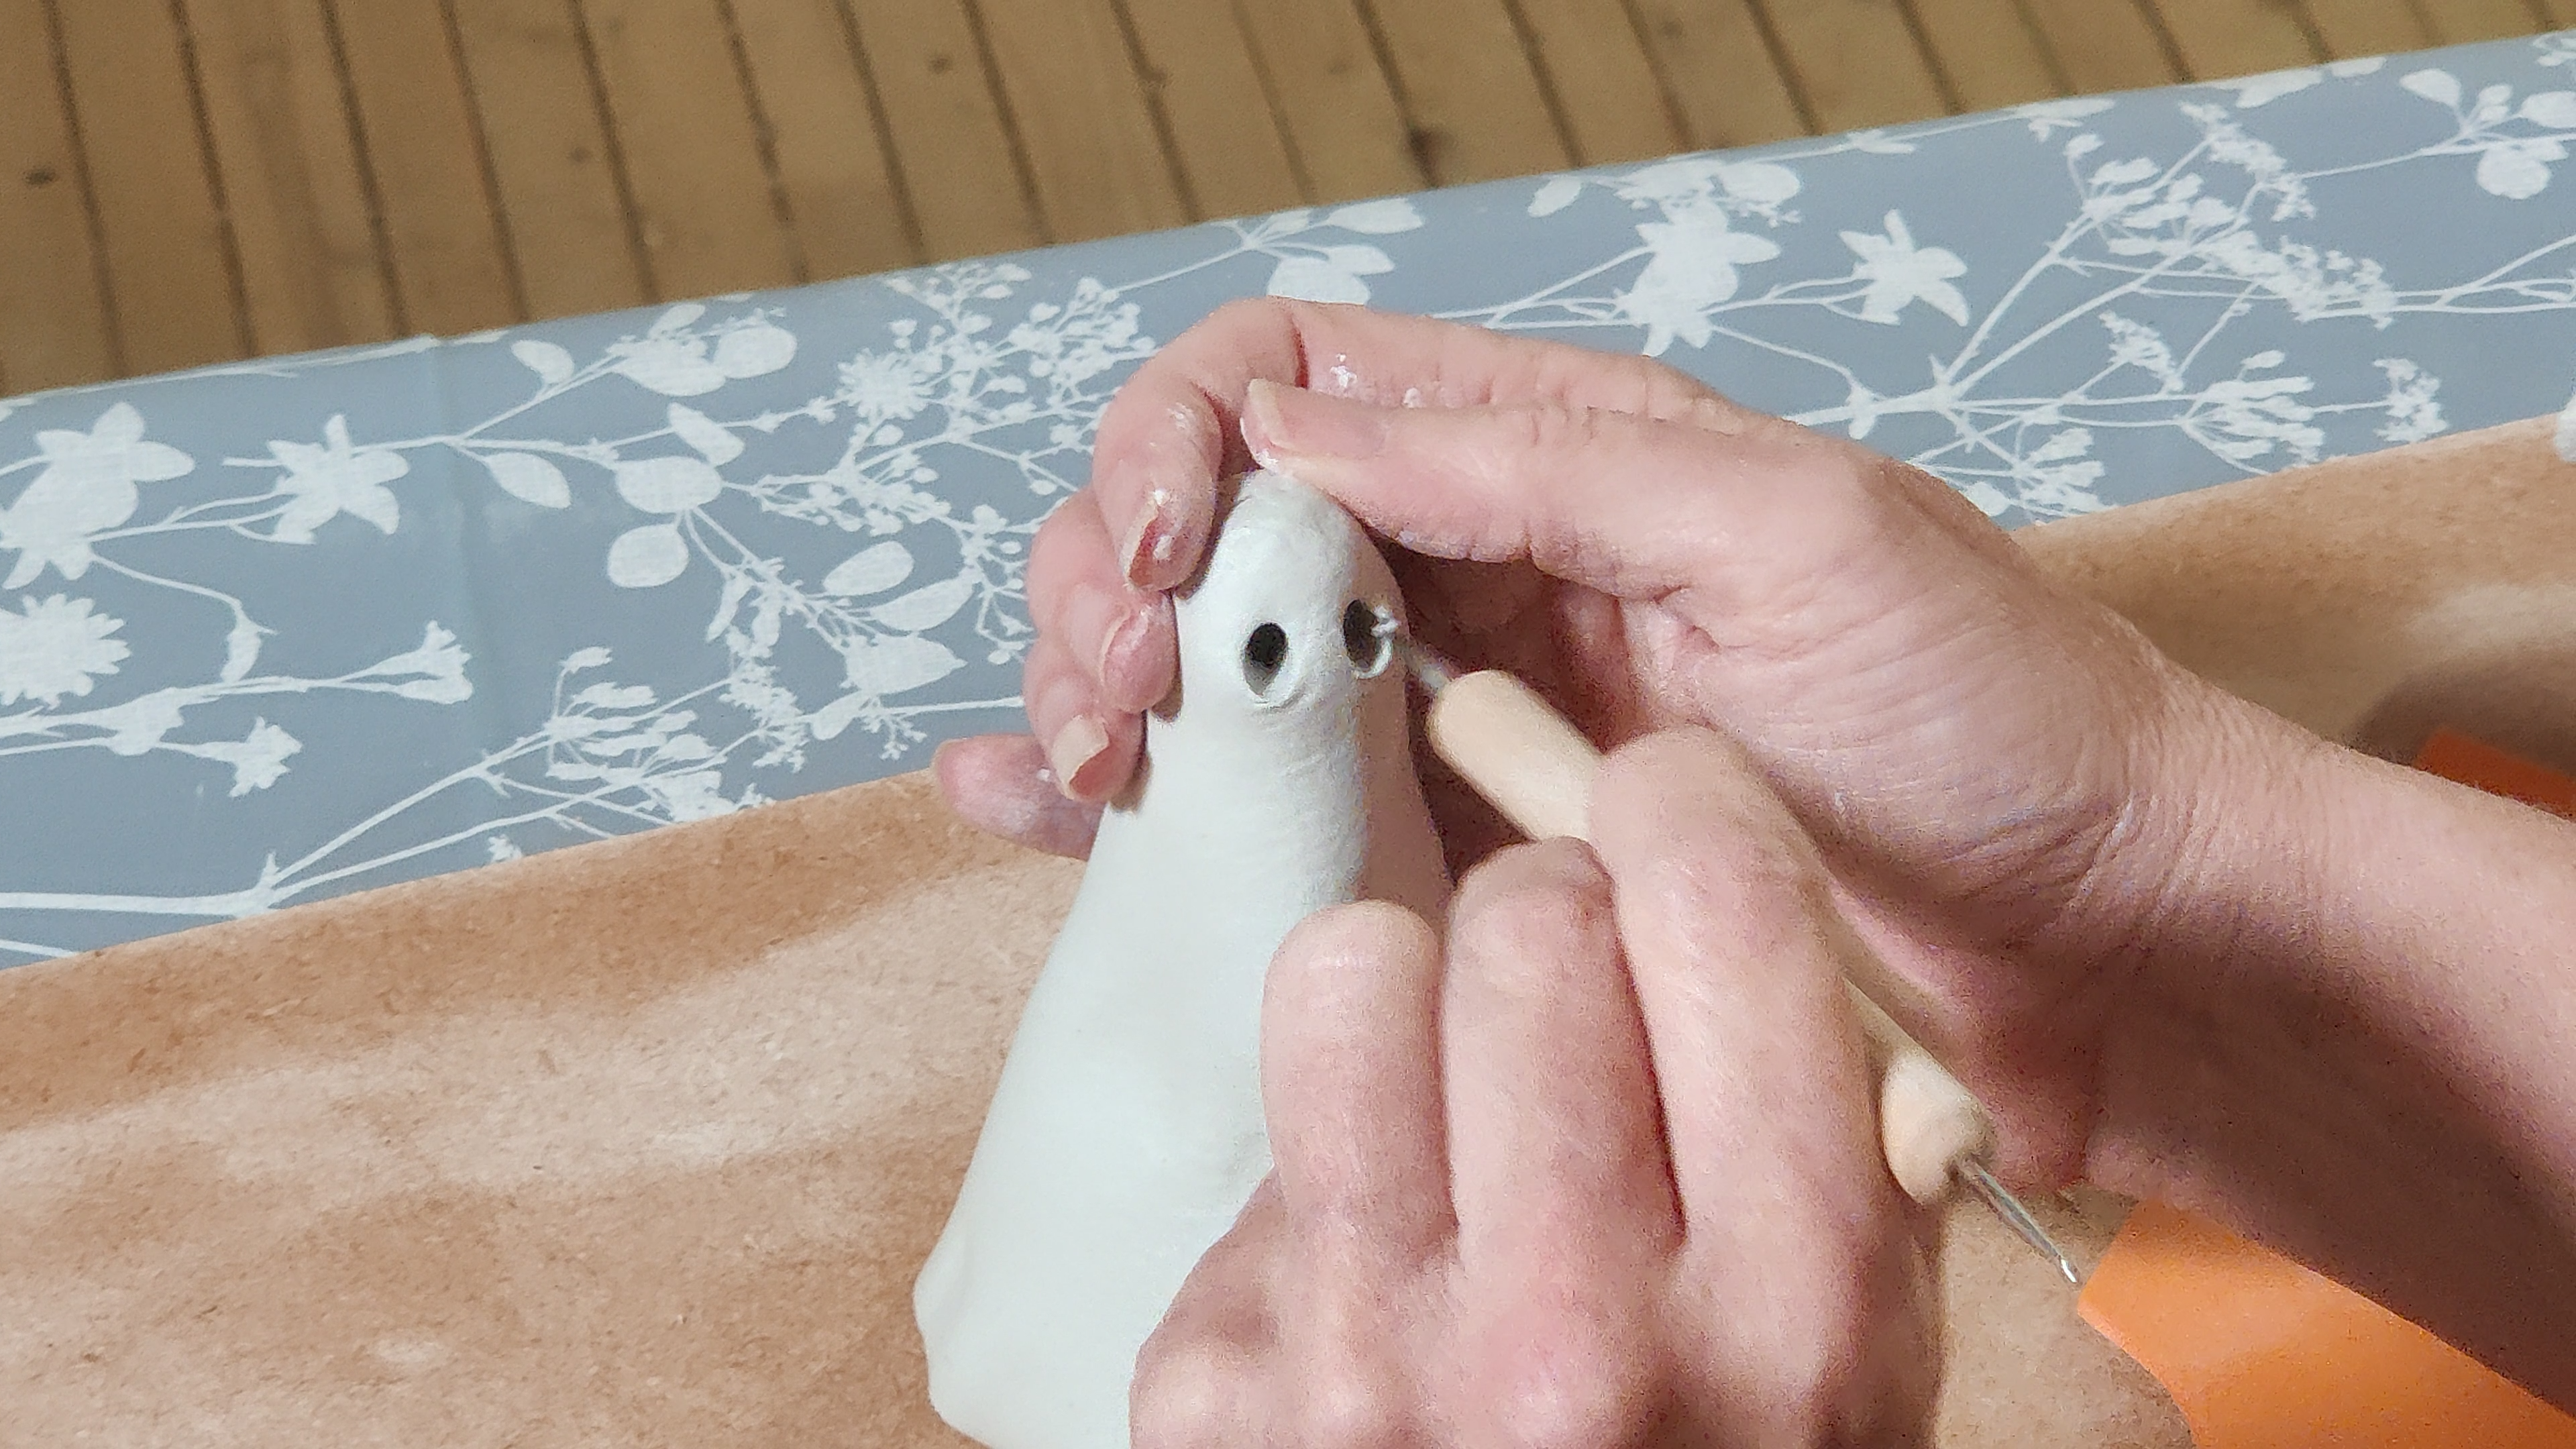
Simple plastic sculpting tools, often found in sets, are ideal for beginners. These can include dull knives for cutting, pointed tools for details, and loop tools for shaping. Even everyday items can be repurposed: plastic forks, toothpicks, rulers, and even old pens can be used to add texture and detail. Consider providing a variety of tools to encourage experimentation and different artistic approaches.
Materials for Embellishment and Finishing
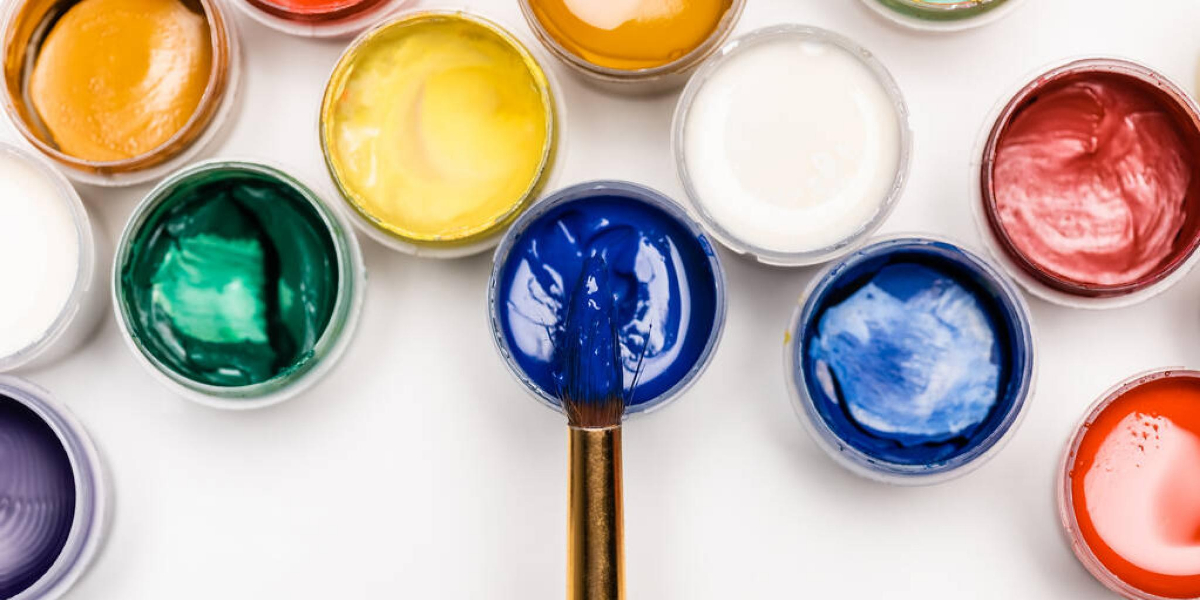
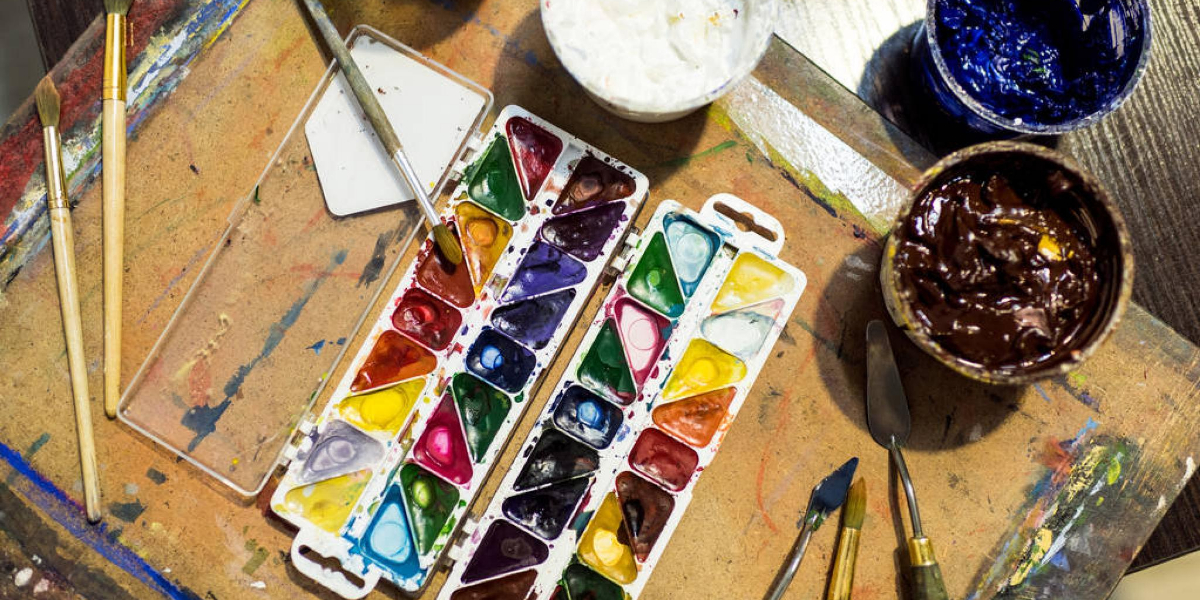
Once the clay is dry, the real fun of embellishment begins! Water-based acrylic paints are excellent for coloring air dry clay. Provide a range of colors, brushes of various sizes, and paint palettes. Sealants, such as clear acrylic spray or brush-on varnish, are highly recommended to protect the finished pieces, make them more durable, and give them a professional look. Other optional embellishments include glitter, beads, sequins, fabric scraps, and even natural materials like small sticks or leaves, which can be incorporated either before drying or glued on afterward.
Engaging Air Dry Clay Projects for Your Classroom
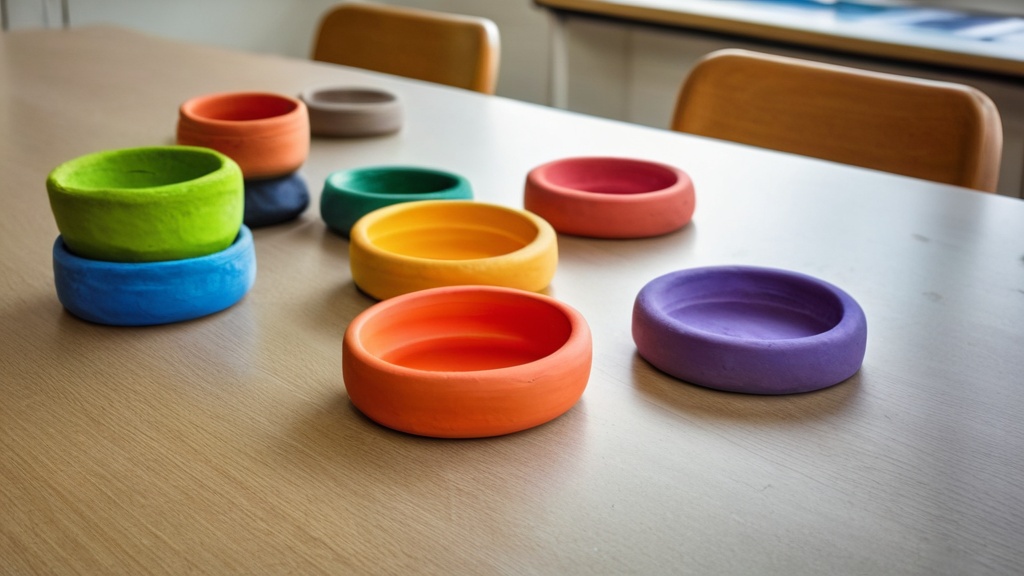
The versatility of air dry clay means there’s an endless array of projects suitable for various age groups and learning objectives. From simple hand-building to more intricate designs, you can tailor activities to meet your curriculum goals and spark every student’s creativity. The Art of Education’s 2026 roundup highlights unique classroom air-dry clay projects, suggesting that this medium continues to be a frontier for innovative teaching.
Simple Sculptures and Figures
Starting with basic sculptural forms is an excellent way to introduce students to air dry clay. Crayola’s current crafts page for kids includes easy projects like sculptures.
Animal Creations
Encourage students to sculpt their favorite animals or even mythical creatures. They can start with basic shapes (balls, coils) and then add details like ears, tails, and textured fur. KCS shares clay animals as a popular classroom-usable air-dry clay activity. This project is fantastic for developing observational skills if students are modeling a specific animal, or fostering imagination if they are creating an imaginary beast.
Miniature Food Items
Creating miniature food items is always a hit. Students can sculpt tiny fruits, vegetables, cakes, or pizzas. This project allows for a focus on color and texture, and the results can be quite charming. They can even create a miniature “feast” collaboratively.
Figurines and Characters
Students can design and sculpt their own characters from stories they’ve read, historical figures, or original creations. This project encourages storytelling and personal expression, allowing students to bring their imaginative worlds into three dimensions.
Functional and Decorative Items
Air dry clay isn’t just for abstract art; it can also be used to create useful and beautiful objects that students can take home and cherish. Crayola also features classroom-friendly décor ideas.
Small Bowls and Dishes
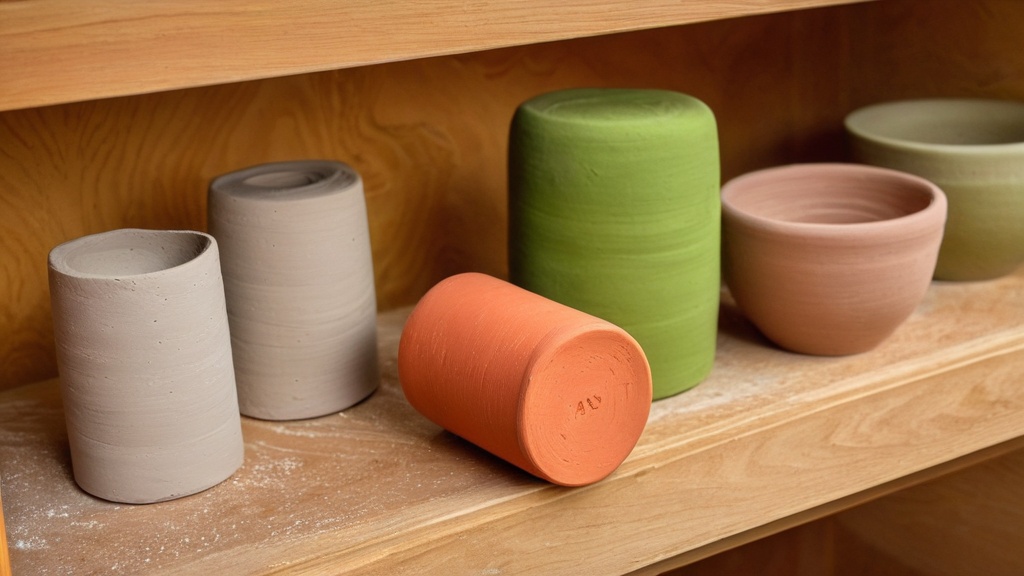
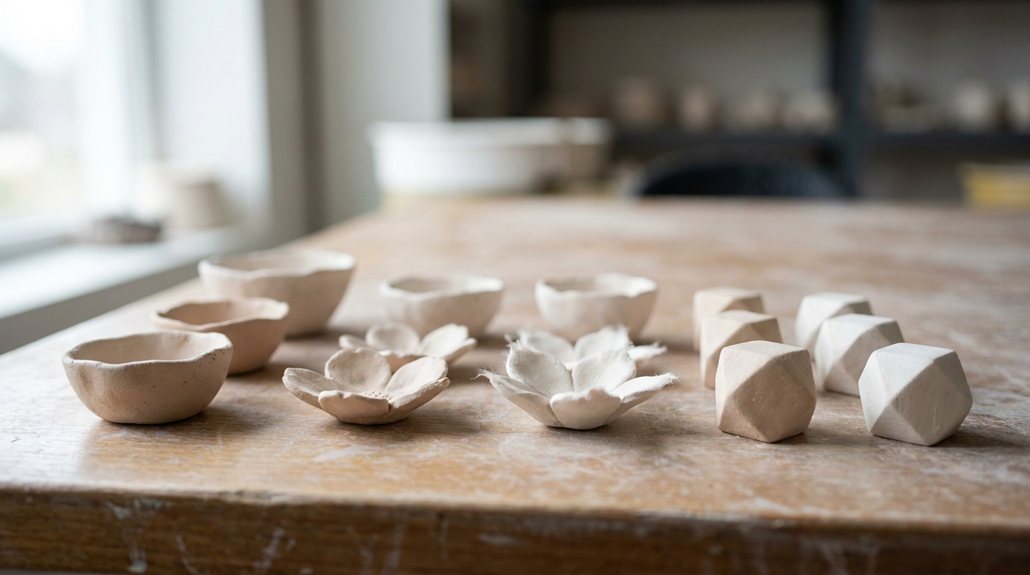
Using a simple pinch pot method, students can create small bowls or jewelry dishes. These are wonderful for developing basic ceramic techniques. Crayola’s crafts page lists jewelry dishes as an easy project. They can then decorate them with paint and seal them for durability, making them perfect for holding trinkets or as decorative pieces.
Ornaments and Wall Hangings
Air dry clay is perfect for crafting ornaments, especially around holidays. Students can cut out shapes, impress textures, and add holes for hanging before drying. Crayola highlights an air-dry clay wall-hanging project that is described as suitable for classrooms and other group settings, demonstrating its adaptability. These can be painted, embellished, and even strung together to create mobile-like decorations.
Fridge Magnets
After sculpting small shapes, figures, or even handprint impressions (another KCS suggestion), students can glue magnets to the back of their dried and decorated clay pieces. This is a practical and personalized project that results in a functional item they can proudly display at home.
Innovative and Collaborative Projects
Beyond individual creations, air dry clay lends itself beautifully to collaborative and more conceptual projects, pushing students to think creatively and work together. The Art of Education’s 2026 roundup provides excellent inspiration for unique classroom projects.
Fossil Builds and Imprints
Students can create their own “fossils” by pressing natural objects (leaves, twigs, shells) or even small plastic toys into flattened pieces of clay. KCS lists dinosaur fossils as a classroom-usable activity. This activity is a fantastic way to introduce concepts of paleontology and geology, allowing students to explore textures and imprints. They can then “excavate” their fossils once dry or paint them to look like ancient artifacts.
Clay Shadow Sculptures
As inspired by The Art of Education, students can create sculptures designed to cast specific shadows. This project encourages spatial awareness and understanding of light and form. It requires students to think beyond the physical object and consider its interaction with light, adding a layer of scientific inquiry to the artistic process.
Sewing/Embroidering Through Clay
This unique project, also highlighted by The Art of Education, involves creating flat or slightly curved clay pieces, drying them, and then using a blunt needle to “sew” or “embroider” through pre-poked holes. This combines clay work with fiber arts, introducing students to new textural possibilities and the concept of mixed media. It’s a wonderful way to teach patience and precision.
Integrating Air Dry Clay with Other Subjects
One of the most powerful aspects of air dry clay is its ability to seamlessly integrate into various subject areas, transforming abstract concepts into tangible, hands-on learning experiences. This cross-curricular approach deepens understanding and caters to diverse learning styles.
Science Explorations
Air dry clay provides an excellent medium for visual representations of scientific concepts.
Models of Ecosystems or Biomes
Students can sculpt miniature models of different ecosystems (e.g., a forest, desert, or ocean floor) or biomes, incorporating elements like plants, animals, and geological features. This allows them to visualize and understand the components and interactions within these environments.
Depicting the Water Cycle or Planetary Models
Using air dry clay, students can create three-dimensional representations of the water cycle, showing evaporation, condensation, and precipitation. Similarly, they can sculpt planets to scale (or relatively so) to create a solar system model, understanding planetary characteristics and orbital relationships.
Human Anatomy or Cell Models
For older students, air dry clay can be used to create simplified models of human organs, skeletal structures, or even complex cell structures, complete with organelles. This hands-on approach can make abstract biological concepts more concrete and memorable.
Historical and Cultural Connections
Bring history and culture to life by having students recreate artifacts or cultural symbols.
Replicating Ancient Artifacts
Students can research ancient civilizations and then attempt to replicate artifacts like pottery, tools, or decorative elements. This project fosters an appreciation for historical craftsmanship and provides insights into past cultures. They could even create “clay tablets” to practice cuneiform or hieroglyphs.
Creating Cultural Symbols or Masks
Explore different cultures by having students create symbolic objects, such as totem poles, traditional masks, or cultural motifs. This encourages research into diverse art forms and cultural meanings, promoting global awareness and understanding.
Dioramas of Historical Events
For a more ambitious project, students can collaborate to create dioramas depicting significant historical events or daily life scenes from a particular era. This involves not only sculpting figures and objects but also planning the layout and composition of a scene.
Language Arts and Storytelling
Air dry clay can be a powerful tool for visual storytelling and character development.
Sculpting Book Characters or Settings
After reading a novel or short story, students can sculpt their interpretations of key characters or significant settings. This encourages close reading, comprehension, and visualization skills. They can then use their sculptures to retell the story or explain character motivations.
Visualizing Vocabulary or Metaphors
Challenge students to sculpt abstract vocabulary words or visual metaphors. For example, how would they represent “resilience” or “a heavy heart” in clay? This pushes creative boundaries and deepens understanding of language.
Creating Story Scene Vignettes
Students can create small vignettes or tableaux representing a pivotal scene from a story they’ve written or read. This helps them understand narrative structure, character interaction, and the importance of visual detail in storytelling.
Maximizing Learning and Engagement
| Project Name | Grade Level | Estimated Time | Materials Needed | Skills Developed | Classroom Use Tips |
|---|---|---|---|---|---|
| Animal Figurines | 1-3 | 45 minutes | Air dry clay, paint, brushes | Fine motor skills, creativity | Use simple shapes; allow drying overnight |
| Decorative Bowls | 4-6 | 1 hour | Air dry clay, rolling pin, paint, sealant | Hand-eye coordination, design skills | Use plastic wrap to prevent sticking; seal after painting |
| Personalized Name Tags | 2-5 | 30 minutes | Air dry clay, letter stamps, paint | Letter recognition, fine motor skills | Press letters firmly; dry flat to avoid warping |
| Holiday Ornaments | 3-6 | 1 hour | Air dry clay, cookie cutters, paint, string | Creativity, planning | Make holes before drying for hanging |
| Impression Tiles | 1-4 | 45 minutes | Air dry clay, leaves, stamps, paint | Observation, texture exploration | Press objects gently; allow full drying before painting |
To truly make air dry clay projects shine in your classroom, consider strategies that enhance engagement, encourage reflection, and build a sense of community around the creative process. Library programming news confirms that air-dry clay classes are still popular in community settings in 2026, demonstrating its enduring appeal and educational value.
Encouraging Process Over Product
While a beautiful finished piece is satisfying, emphasize that the learning and creative journey is just as, if not more, important. Encourage experimentation, allow for “mistakes” to become opportunities for new ideas, and focus on the skills developed during the sculpting process. Discussing challenges and how they were overcome fosters a growth mindset.
Displaying and Celebrating Student Work
Showcasing student creations is crucial for building self-esteem and a sense of accomplishment. Create a dedicated “clay gallery” in your classroom, hallway, or even a virtual gallery online. Encourage students to talk about their work, explain their creative choices, and share what they learned. This public display validates their efforts and inspires others.
Facilitating Reflection and Critique
After projects are complete, guide students through a reflection process. Ask questions like: “What was challenging about this project?” “What did you learn about working with clay?” “What would you do differently next time?” Introduce age-appropriate critique methods, focusing on constructive feedback and positive observations. This helps students articulate their artistic process and develop critical thinking skills.
Collaborative Projects and Group Dynamics
Beyond individual pieces, incorporate collaborative air dry clay projects. Students can work in small groups to create a larger mural, a shared diorama, or a collection of themed objects. This fosters teamwork, communication, and negotiation skills, as students learn to combine their ideas and efforts to achieve a common goal. The shared experience of creation can also strengthen classroom bonds.
Connecting with Community and Home
Send creations home with students, along with a note explaining the project and its learning objectives. This connects classroom learning with home life and allows students to share their achievements with family. You might even invite family members to an “art show” of clay creations. Consider reaching out to local libraries or community centers that offer air dry clay classes (as they are still offered in 2026) to see if there are opportunities for your students to participate in broader art events or displays. This can further enrich their artistic journey and connection to their community.
FAQs
What is air dry clay?
Air dry clay is a type of modeling clay that hardens when exposed to air, eliminating the need for baking or firing in a kiln. It is typically made from natural materials and is non-toxic, making it suitable for classroom use.
What are some benefits of using air dry clay in the classroom?
Using air dry clay in the classroom encourages creativity, fine motor skills development, and hands-on learning. It allows students to express their artistic abilities while also engaging in tactile learning experiences.
What types of projects can be done with air dry clay?
Air dry clay can be used for a variety of projects, including sculptures, decorative items, functional pottery, and educational models. Students can create anything from simple shapes to intricate designs, depending on their skill level.
How long does it take for air dry clay to dry?
The drying time for air dry clay can vary depending on the thickness of the piece and the humidity of the environment. Generally, it takes anywhere from 24 to 72 hours for the clay to fully dry and harden.
Can air dry clay be painted or decorated after it dries?
Yes, air dry clay can be painted or decorated after it dries. Acrylic paints, markers, and other decorative materials can be used to enhance the finished pieces, allowing for further creativity and personalization.