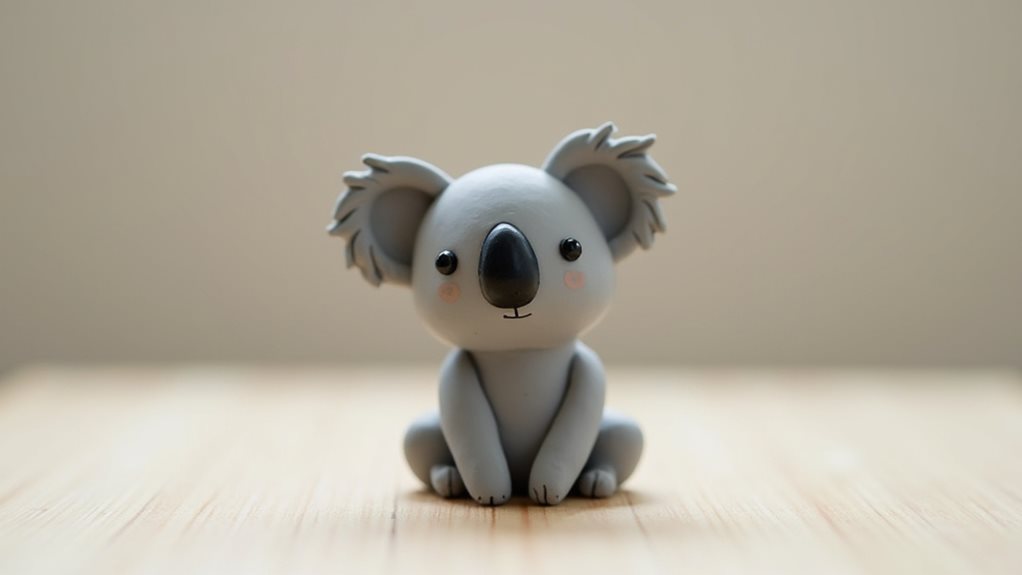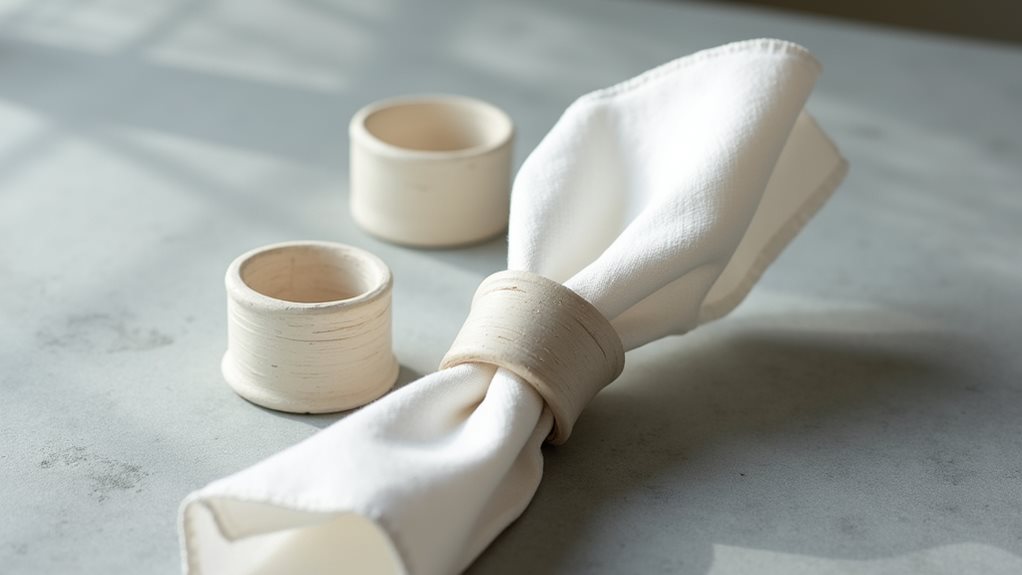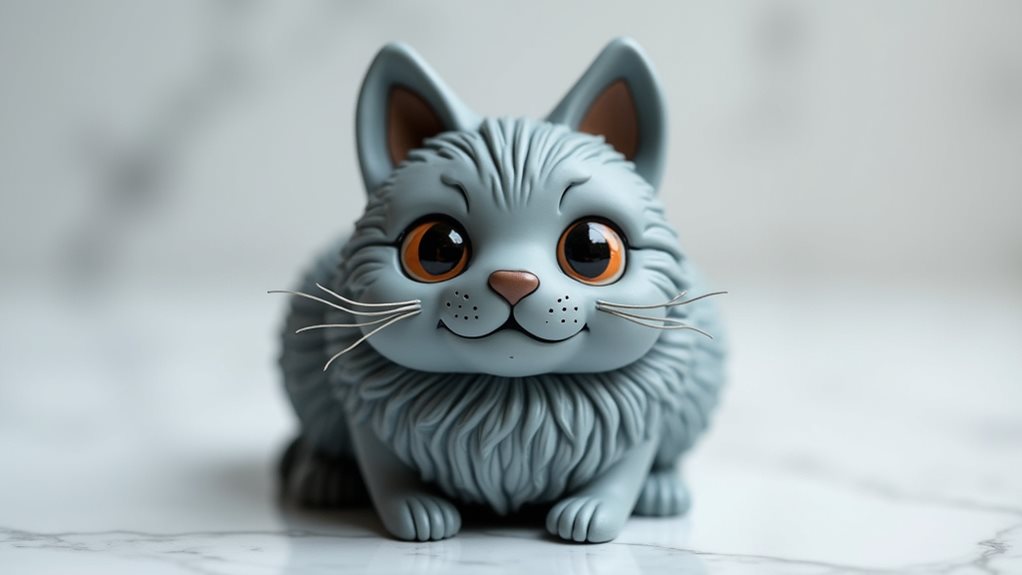
You’ve just finished molding your masterpiece from air-dry clay. The shapes are precisely as you envisioned, the textures are satisfyingly tactile, and you can already picture the finished product. But now comes the crucial question: what happens next? You’ve heard about the growing trend of air-dry clay art, a no-kiln medium that’s allowing artists to recreate classic paintings in three-dimensional forms, all without the need for a specialized kiln. This accessibility is fueling a boom in the DIY and crafting world, with the U.S. air-dry clay market projected to reach a staggering $2.1 billion by 2036. This surge in popularity means you’re part of a vibrant and expanding community, and you have a wealth of creative possibilities ahead. The real magic, for many, begins after the clay has done its initial drying. This is where the transformation truly takes flight, turning a simple clay form into a vibrant piece of art.
Embracing the Drying Phase: Patience is a Virtue
You might be tempted to jump right into painting, eager to add color and life to your creation. However, the most critical step before you even think about picking up a paintbrush is allowing your air-dry clay to dry completely. This isn’t a rushed process; it’s a period of patience that lays the foundation for a durable and beautiful finished piece. Understanding this drying phase is fundamental to your success.
The Science of Setting: How Air-Dry Clay Works
Unlike traditional kilned clays, air-dry clay relies on simple evaporation to harden. When you mix your clay, it contains water molecules that keep it pliable. As it’s exposed to the air, these water molecules slowly escape, causing the clay particles to bind together. This process creates a solid, rigid structure. The rate of evaporation is influenced by several factors, including the thickness of your piece, the humidity in your environment, and the amount of airflow.
Factors Affecting Drying Time
- Thickness of Your Piece: Thicker sections of clay will naturally take longer to dry than thinner ones. This is because the water in the core has a greater distance to travel to evaporate. If you’ve created a substantial sculpture, be prepared for a longer waiting period.
- Environmental Humidity: High humidity levels in the air mean there’s more moisture already present, slowing down the evaporation process from your clay. Conversely, dry environments will speed up drying.
- Airflow: Consistent, gentle airflow helps to carry away the evaporating moisture. Avoid stagnant air, but also be cautious of strong, direct drafts, which can cause uneven drying and cracking.
- Room Temperature: While not the primary factor, moderate room temperatures are ideal. Extreme heat can sometimes lead to premature surface drying, creating a shell that traps moisture underneath, causing internal stress.
The 24-72 Hour Rule: A General Guideline
For most projects, you can expect your air-dry clay to be fully dry within 24 to 72 hours. This is a broad range, and it’s essential to remember that it’s just a guideline. Smaller, thinner pieces might be ready in as little as a day, while larger, more intricate sculptures could take up to three days or even longer.
Signs Your Clay is Dry
Don’t just rely on the clock. Learn to recognize the visual and tactile cues that indicate your clay is ready for painting.
- Color Change: As air-dry clay dries, it typically lightens in color. It will shift from a darker, sometimes translucent hue when wet to a paler, more opaque shade when dry.
- Surface Feel: A dry piece of air-dry clay will feel completely solid and cool to the touch, but not damp. It should have a matte finish and no longer feel yielding or soft.
- Sound Test (for thicker pieces): Gently tap the clay. A fully dried piece will produce a solid, almost resonant sound. If you hear a dull thud, there’s still moisture trapped inside.
The Art of Painting Air-Dry Clay: Bringing Your Vision to Life
Once your air-dry clay is completely dry, the real artistic fun begins. You have a blank canvas, ready to be transformed into a vibrant explosion of color and texture. The painting stage is where you truly personalize your creation and inject your unique artistic voice.
Choosing Your Medium: Acrylics Reign Supreme
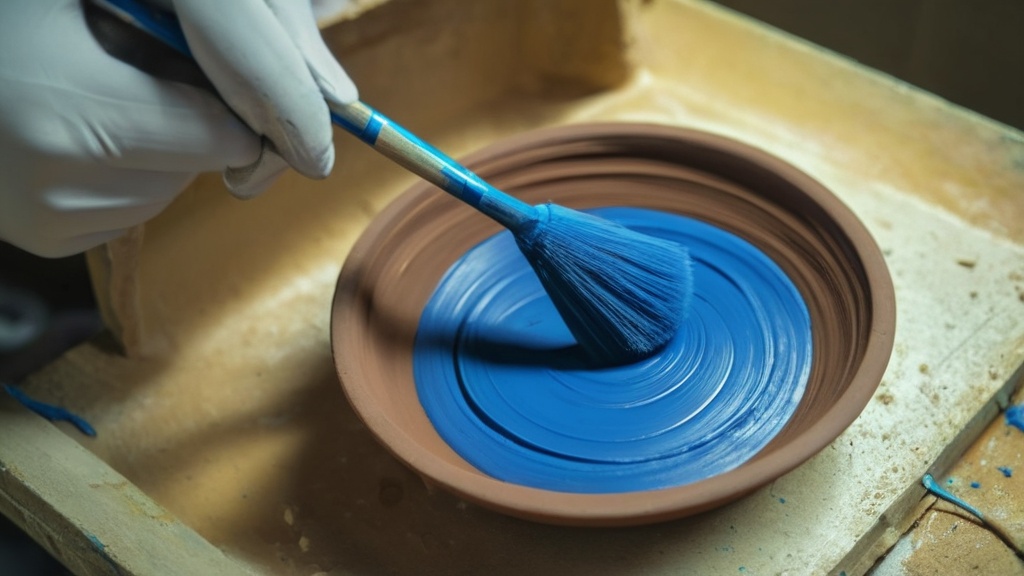
When it comes to painting on air-dry clay, acrylic paints are your undisputed champions. Their versatility, quick drying time, and excellent adhesion make them the go-to choice for most artists working with this medium.
Why Acrylics are Ideal for Air-Dry Clay
- Adhesion: Acrylic paints create a strong bond with the porous surface of dried air-dry clay, ensuring your paint doesn’t peel or flake off easily.
- Vibrancy and Opacity: Acrylics offer rich, opaque colors that can easily cover the clay’s natural hue, allowing for bold and impactful designs. You can also achieve beautiful translucent effects by thinning them down.
- Durability: Once dry, acrylic paint forms a flexible yet durable layer that can withstand some handling and display.
- Water-Soluble (when wet): While durable when dry, acrylics clean up easily with water while they are still wet, making the painting process less messy.
- Fast Drying Time: This complements the drying of the clay itself, allowing you to move through your painting stages efficiently.
Exploring Other Paint Options (with caution)
While acrylics are the primary recommendation, you might consider other paints for specific effects.
- Tempera Paints: These are also water-based and offer good coverage but are generally less durable than acrylics and can be more prone to chipping if not sealed properly.
- Gouache: Similar to tempera but with more pigment density, gouache can provide a beautiful matte finish. However, it’s also water-sensitive once dry, so sealing is crucial.
- Watercolor: While you can use watercolors for a delicate, washed-out effect, they are highly water-soluble and will likely reactivate if not completely sealed with a waterproof varnish. This is generally not recommended for pieces that will be handled or exposed to moisture.
The Technique of Application: Layering and Detail
How you apply the paint is as important as the paint itself. Think of your dried clay as a textured canvas, and adapt your techniques accordingly.
Building Up Layers for Depth
Don’t be afraid to build up your colors in layers. This technique can create depth and dimension, especially when working with opaque acrylics.
- Base Coats: Start with a solid base coat of your dominant color. This ensures an even foundation and helps to cover any minor imperfections in the clay surface.
- Washes and Glazes: Thinning down acrylics with water or a medium can create translucent washes that allow the clay’s texture to show through or subtle color variations. Glazes can be layered to deepen colors or create subtle shifts.
- Dry Brushing: For textured surfaces, dry brushing (applying paint with a nearly dry brush) can highlight the raised areas of your clay, adding visual interest.
Mastering Detail Work
Your air-dry clay sculptures may have intricate details that require careful painting.
- Fine-Tip Brushes: Invest in a set of fine-tipped brushes for precise lines, outlines, and small details.
- Masking Techniques: For sharp, clean lines between different colors, consider using artist’s tape or masking fluid. Ensure the clay is completely dry and has a smooth-enough surface for the tape to adhere well.
- Stippling and Dotting: For textured effects or to create shading, you can use stippling (applying paint with dots) or carefully applied dabs of color.
Battling the Blues: Crack Control and Drying Challenges
As you’ve likely discovered, drying and crack control remain the biggest practical concerns when working with air-dry clay. Even with the best intentions, hairline cracks can sometimes appear, threatening to mar your beautiful work. But don’t despair; there are strategies you can employ both during the drying process and in your painting and finishing stages to mitigate these issues.
Proactive Prevention: During the Drying Phase
The best way to deal with cracks is to prevent them from happening in the first place. This involves mindful handling and environmental management of your clay as it dries.
The Role of Airflow and Humidity
- Consistent Airflow: As mentioned, gentle, consistent airflow is crucial. You can achieve this by placing your piece in a well-ventilated room or using a small fan on a low setting directed away from the piece, creating ambient air movement.
- Avoiding Direct Heat: Never place your air-dry clay in direct sunlight, near a heater, or in an oven. Rapid, uneven drying is the primary cause of cracking. The outside of the clay will dry too quickly, shrink, and pull away from the still-wet interior, creating stress and cracks.
- Moisture Control: If your environment is excessively dry, you can try placing your clay near a bowl of water (not touching) to slightly increase ambient humidity. Conversely, if it’s very humid, ensure good ventilation.
Thin Layers are Your Friend
When building your forms, remember the adage: “thin is in.” Thinner sections of clay are less prone to shrinking and cracking than thick, solid masses.
- Hollowing Out: For larger sculptures, consider hollowing out the interior. This reduces the amount of clay that needs to dry and minimizes internal stress.
- Scoring and Slipping: If you’re joining pieces of clay, always score both surfaces and apply a “slip” (a watery clay mixture) before pressing them together. This creates a strong bond that resists separation during drying.
Reactive Measures: During Painting and Finishing
Sometimes, despite your best efforts, a small crack might appear. Or, you might be working with a piece that already has some minor imperfections. You can often address these during your painting and finishing stages.
Filling and Smoothing Minor Cracks
- Clay Paste: A simple mixture of air-dry clay and water can be used as a paste to fill small cracks. Apply it with a small spatula or tool, then gently smooth it over. Allow this patch to dry completely before painting.
- Sanding: Once completely dry, you can often sand down minor bumps or surface imperfections. Use fine-grit sandpaper, working gently to avoid damaging the clay.
Paint as a Protective Layer
Your paint layers themselves can act as a minor sealant, helping to bridge small gaps and prevent minor cracks from worsening.
- Thick Paint Application: In areas where you might be concerned about minor imperfections, applying slightly thicker layers of acrylic paint can help to conceal them.
- Priming: You can also prime your clay with a layer of white acrylic gesso before painting. This creates a smooth, uniform surface and can help to fill in very fine surface irregularities.
The Final Touches: Sealing for Longevity and Shine
You’ve painted your air-dry clay creation with precision and care, and you’re thrilled with the results. But before you declare your masterpiece complete, there’s one final, crucial step: sealing. This isn’t just about aesthetics; it’s about protecting your work and ensuring its longevity.
The Purpose of Sealing
Sealing your air-dry clay painting serves multiple purposes. It acts as a protective barrier, enhances the visual appeal, and adds durability to your artwork.
Protection Against Elements
- Dust and Grime: A sealant creates a smooth, non-porous surface that repels dust and makes your artwork easier to clean. A gentle wipe with a damp cloth will suffice.
- Moisture (Limited): While air-dry clay is not truly waterproof, a good sealant offers some resistance to minor splashes or condensation. It won’t survive submersion in water, but it will better withstand typical household environments.
- Fading: Some sealants contain UV inhibitors, which can help protect the vibrant colors of your paint from fading over time, especially if your artwork will be displayed in direct sunlight.
Enhancing Visual Appeal
- Glossy Finish: Many sealants, particularly varnishes, offer a glossy finish that can make your colors appear richer and more vibrant. This can be particularly effective on painted surfaces, giving them a professional, polished look.
- Matte Finish: If you prefer a more subtle, non-reflective look, matte sealants are also available. These maintain the artwork’s integrity without adding shine.
- Uniformity: A sealant can even out any slight inconsistencies in sheen between different paint colors or the clay itself, creating a more cohesive final appearance.
Choosing Your Sealer: Options for Every Finish
The world of sealants offers a variety of finishes to suit your artistic vision. Acrylic sealants are the most common and recommended for air-dry clay.
Varnish: The Go-To Choice
Varnishes are excellent for providing a durable, protective, and often glossy finish.
- Acrylic Varnishes: These are water-based, easy to clean up, and come in various sheens – gloss, satin, and matte. They dry clear and are flexible, making them ideal for painted clay.
- Spray Varnishes: For even coverage, especially on complex shapes, spray varnishes can be very effective. Ensure you work in a well-ventilated area and follow the manufacturer’s instructions carefully.
Mod Podge: A Versatile Option
Mod Podge is a popular all-in-one glue, sealer, and finish that works well on many craft surfaces, including air-dry clay.
- Different Finishes: Like acrylic varnishes, Mod Podge is available in gloss, matte, and satin finishes.
- Ease of Use: It’s easy to apply with a brush and dries clear. It’s a good choice for those looking for a simple, multi-functional sealant.
Water-Based Sealers
Many craft stores offer general water-based sealers that are suitable for painted surfaces.
- General Craft Sealers: These can offer a good balance of protection and ease of use. Always test on a small, inconspicuous area first to ensure compatibility with your paints.
Application Tips for a Flawless Finish
Applying your sealant correctly is as important as choosing the right one. Rushing this step can lead to streaks, bubbles, or an uneven finish.
Preparation is Key
- Ensure Complete Dryness: Double-check that your paint is entirely dry before applying any sealant. Applying a sealer to wet paint can cause smudging or discoloration.
- Clean Your Surface: Ensure your painted clay piece is free from dust or debris. A soft brush can help remove any loose particles.
Layering for Optimal Protection
- Thin, Even Coats: Apply your sealant in thin, even coats. Multiple thin layers are always better than one thick, gloopy layer, which can lead to drips and an uneven finish.
- Brush Strokes: If using a brush-on sealant, try to maintain consistent brush stroke direction to avoid visible lines.
- Drying Time Between Coats: Allow each coat to dry thoroughly according to the manufacturer’s instructions before applying the next. This ensures maximum adhesion and durability.
- Complete Coverage: Make sure you cover every part of your painted surface to ensure consistent protection and a uniform finish.
Exploring Advanced Techniques: Beyond Basic Painting
You’ve mastered the basics of painting your air-dry clay creations, but the journey doesn’t have to end there. As you become more comfortable and adventurous, you can explore advanced techniques that add even more depth, texture, and artistic flair to your work. The beauty of air-dry clay is its adaptability, and with a little experimentation, you can achieve truly unique results.
Texturizing Effects: Adding Tactile Dimension
While the clay itself offers a tactile surface, you can enhance this further with various texturizing techniques during or after painting.
Using Texturizing Mediums
- Modeling Pastes and Gels: Acrylic modeling pastes and gels can be applied to the dried clay and then painted over. These can create raised textures, stucco-like finishes, or even mimic the look of impasto painting.
- Sand and Other Inclusions: You can mix fine sand, glitter, or other small particles into your acrylic paints or mediums to add a subtle granular texture. This can be particularly effective for landscape pieces or abstract art.
Incorporating Found Objects
- Adhering Small Items: Small, lightweight found objects like tiny beads, threads, or even dried botanicals can be adhered to the dried clay with a strong craft glue or even with the clay itself if it’s still slightly pliable. These can then be painted to integrate them into the overall artwork.
Mixed Media Integration: A World of Possibilities
Air-dry clay’s compatibility with various adhesives and mediums opens the door to mixed media art.
Decoupage and Collage
- Paper Applications: You can decoupage decorative papers, fabric scraps, or even printed images onto your dried and painted clay using Mod Podge or a similar decoupage medium. This allows for intricate patterns and layered imagery.
- Layering Textures: Combine painted clay with elements like textured papers, stencils, or even thin pieces of fabric adhered with strong glue to create a rich, multi-layered surface.
Adding Other Materials
- Wire and Metal Accents: Small wire sculptures, metal embellishments, or even small charms can be attached to your air-dry clay piece using strong adhesives or by embedding them into the clay before it fully dries.
- Resin Accents (with caution): For a high-gloss, protective finish on specific areas, you can carefully apply a clear epoxy resin. However, ensure the clay is completely sealed and dry beforehand, and work in a well-ventilated area.
The Future of Air-Dry Clay Painting: Innovation and Evolution
You are part of a rapidly evolving art form. The trends in air-dry clay are pushing boundaries and creating new avenues for creativity. The focus on sustainability and durability means you have access to better materials than ever before.
Eco-Friendly and Biodegradable Options
The market is responding to consumer demand for more environmentally conscious art supplies. You’ll find an increasing number of air-dry clay brands that are eco-friendly, biodegradable, and made with sustainable ingredients. This allows you to create art that is not only beautiful but also kinder to the planet.
Enhanced Formulations for Greater Durability
New product trends are also addressing some of the inherent challenges of air-dry clay. You’ll find polymer-enhanced formulations that offer improved crack resistance and greater durability. These advancements mean your creations are more likely to withstand handling, transport, and the test of time. This is particularly exciting for artists who want to create functional art or pieces that will be displayed prominently.
Recreating the Classics in 3D
The trend of recreating classic paintings in tactile 3D forms is a testament to the versatility of air-dry clay. Imagine transforming the Mona Lisa’s enigmatic smile into a dimensional relief, or giving Van Gogh’s swirling stars a physical form. This no-kiln medium makes such ambitious projects accessible to a wider range of artists, blurring the lines between painting and sculpture.
By embracing the drying process, choosing the right paints and techniques, and paying attention to sealing and finishing, you are well on your way to creating stunning works of art with air-dry clay. The journey from a lump of clay to a vibrantly painted masterpiece is a rewarding one, and with the continuous innovation in materials and trends, your creative possibilities are virtually endless. So, go forth, experiment, and let your imagination soar!
FAQs
1. What is air dry clay?
Air dry clay is a type of modeling clay that hardens when left to dry in the air, without the need for baking or firing in a kiln.
2. Can you paint air dry clay after it has dried?
Yes, you can paint air dry clay after it has dried. Once the clay is completely dry, it can be painted with acrylic paints, watercolors, or any other type of paint.
3. What type of paint is best for air dry clay?
Acrylic paint is often recommended for painting air dry clay, as it adheres well to the surface and provides a durable finish. Watercolors and oil-based paints can also be used, but may require a sealant to protect the surface.
4. Do you need to seal air dry clay after painting?
It is recommended to seal air dry clay after painting to protect the surface and prevent the paint from chipping or flaking. A clear acrylic sealer or varnish can be applied to the painted surface to provide a protective layer.
5. How long does air dry clay take to dry before it can be painted?
The drying time for air dry clay can vary depending on the thickness of the clay and the humidity of the environment. In general, air dry clay can take anywhere from 24 hours to several days to dry completely before it is ready to be painted.