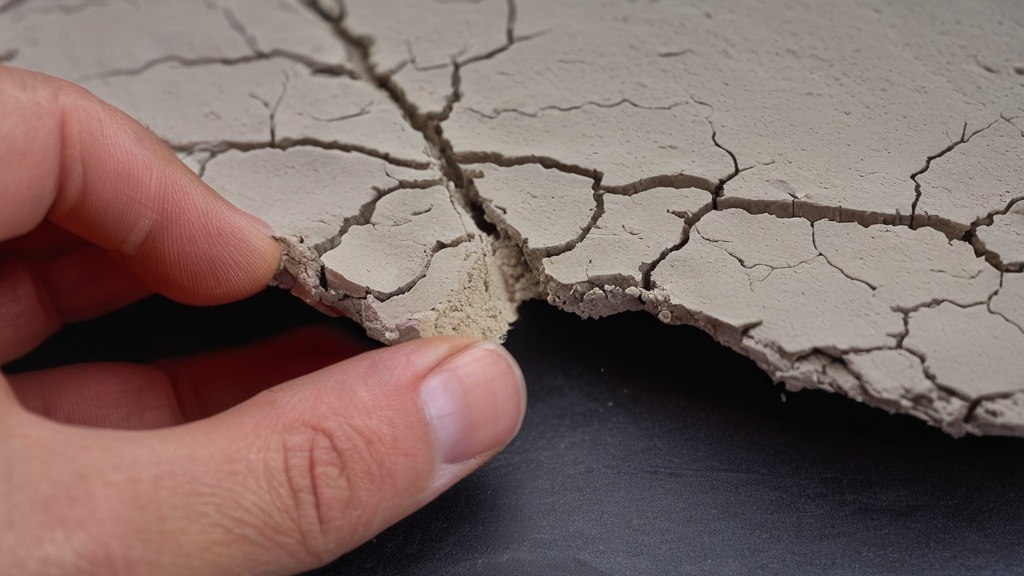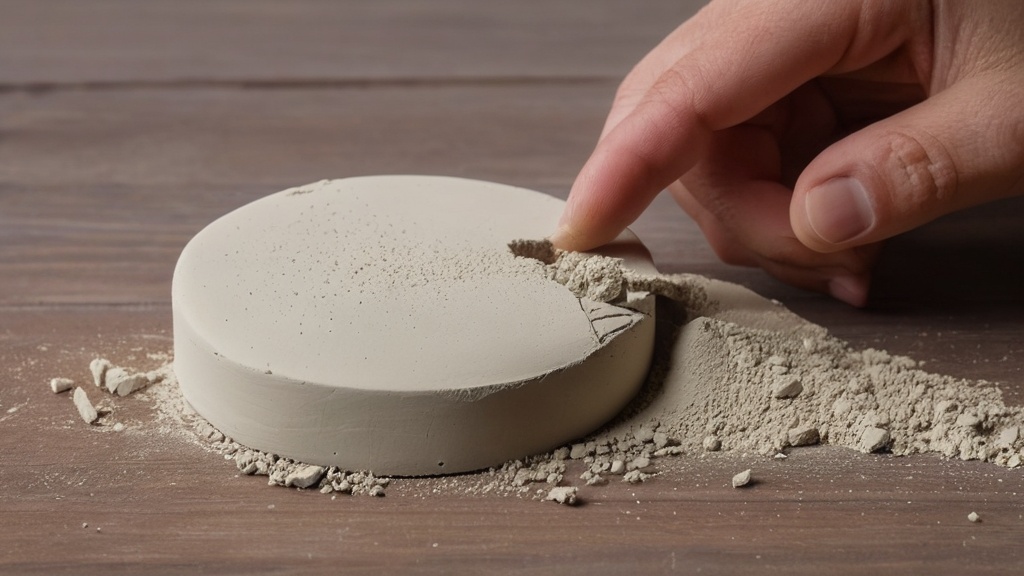
You’ve just invested hours, perhaps even days, into crafting a magnificent air-dry clay creation. Your imagination took physical form under your fingertips, and the anticipation of seeing your finished piece is palpable. But then, as it begins to dry, a tiny hairline crack appears. Your heart sinks. That tiny crack can quickly expand, marring your artwork and possibly even causing it to crumble. Fear not, creative warrior! This comprehensive guide will equip you with all the knowledge and techniques you need to banish cracking from your air-dry clay projects and ensure your masterpieces stand the test of time.
Understanding the Enemy: Why Air-Dry Clay Cracks
Before you can effectively combat cracking, you need to understand why it happens. It’s not a conspiracy by the clay gods; it’s a natural process driven by the inherent properties of air-dry clay. Think of it like this: your clay is full of water. As that water evaporates, the clay particles draw closer together, causing the entire piece to shrink. The key to preventing cracks lies in managing this shrinkage.
The Role of Water Evaporation
Imagine a sponge soaked with water. As it dries, it shrinks, right? Air-dry clay behaves similarly. It’s essentially a suspension of clay particles in water, often with binders and stabilizers. As the water evaporates, these particles pack more tightly together.
The Dangers of Uneven Drying
This is perhaps the single biggest culprit behind cracking. If one part of your sculpture dries faster than another, the more rapidly drying section will shrink sooner. This creates internal stress within the piece. Think of it like a tug-of-war where one side pulls harder than the other – eventually, something has to give, and in clay, that “something” is a crack. Direct sunlight, drafts, or even just leaving one side exposed more than the other can lead to uneven drying.
The Impact of Thickness
The thickness of your clay piece plays a crucial role. If you have sections that are too thin, they will dry incredibly quickly compared to thicker sections. This disparity in drying speed intensifies the uneven shrinkage, making cracks almost inevitable. Conversely, extremely thick sections can also be problematic if they are drying much slower than the surface.
Preparing Your Clay and Workspace for Success
Prevention truly is the best medicine when it comes to air-dry clay cracking. By adopting good practices from the very beginning, you set yourself up for a much smoother, crack-free journey.
Conditioning Your Clay Properly
Just like kneading dough, conditioning your clay before you start working with it is vital. This process helps to achieve a uniform consistency and distributes moisture evenly throughout the clay.
Working with Fresh Clay
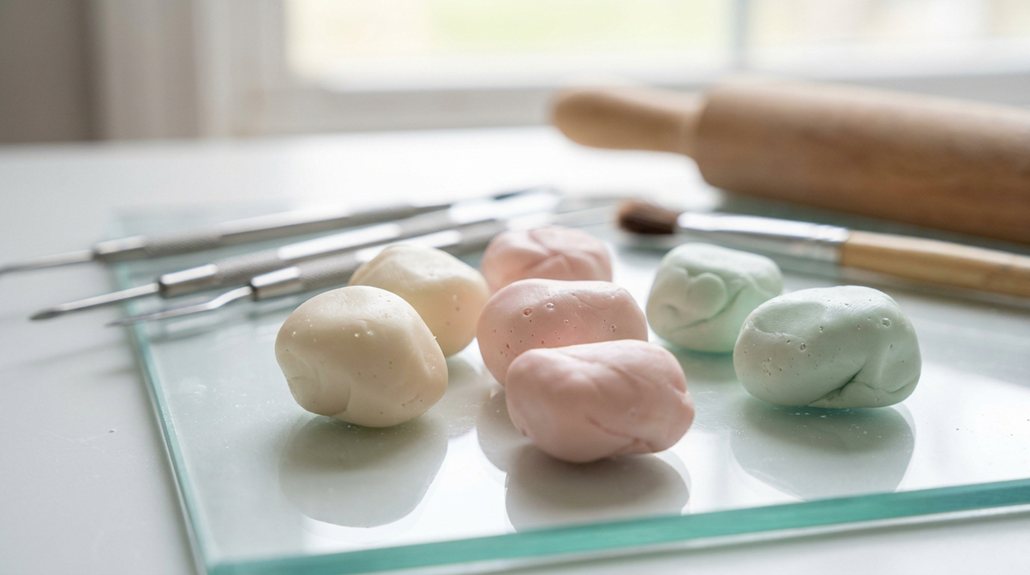
When you first open a new package of air-dry clay, it should feel pliable and somewhat moist. Take a good chunk and begin to knead it thoroughly. This isn’t just for fun; it’s essential for working out any air bubbles and ensuring the moisture is evenly distributed. If the clay feels a little stiff, you can add a tiny bit of water.
Reviving Stiff or Dry Clay
Perhaps you left your clay out for a bit, or it came to you a little drier than ideal. Don’t despair! You can often revive it. Spritz it lightly with water or wrap it in a damp paper towel inside a sealed plastic bag. Let it sit for several hours, or even overnight, allowing the moisture to redistribute. Then, knead it vigorously until it’s pliable and consistent.
Maintaining Proper Clay Consistency
The “right” consistency is key. Your clay should be soft and workable, easily manipulated without crumbling. However, it should not be sticky or overly wet.
The Water Balance Act
Adding water is an art. You need enough to make the clay pliable, but too much, and you’re inviting excessive shrinkage. Think of it like baking: a little too much water can drastically change the outcome. Add water gradually, literally a few drops at a time, and work it into the clay until it reaches a soft, yet not sticky, texture. If you add too much, you’ll have to air it out a bit or knead in some drier clay if you have it.
Modifying Your Clay with PVA Glue
This is a fantastic trick for boosting your clay’s elasticity and significantly reducing cracking. Mixing PVA glue (white craft glue) directly into your clay can be a game-changer. The ideal ratio is often a 50/50 mix of PVA glue with water, and then adding this solution to your clay gradually. The PVA acts as an additional binder, creating a more flexible and robust clay body that is less prone to cracking during shrinkage. Experiment with small amounts first to find the ratio that works best for your specific clay and project.
Sculpting Techniques to Prevent Cracks
How you work with the clay itself can have a profound impact on its structural integrity as it dries. These techniques are your first line of defense against those unwelcome fissures.
Ensuring Adequate Thickness
This is a non-negotiable rule: maintain a minimum thickness of 1/4-inch (approximately 0.6 cm) to 1 cm throughout your piece. While you might be tempted to create delicate, wafer-thin details, these sections are the most vulnerable. They dry out very quickly, shrinking at a different rate than thicker parts and inevitably leading to stress and cracking. If you need a thinner look, consider sculpting the base thicker and then carefully carving away material after it’s partially dry, or reinforce thin sections with an armature.
Building Internal Armatures
For larger or more complex sculptures, an internal armature provides essential support. This could be made from aluminum foil, wire, or even a cardboard structure.
Layering Clay Over Armatures
When covering an armature, apply the clay in even layers. Don’s just stick a thick glob on top. This ensures consistent drying and reduces the chances of the clay pulling away from the armature. Also, consider “wrapping” your armature rather than just coating it; this provides better adhesion.
Avoiding Air Pockets
As you sculpt, pay attention to the internal structure. Trapped air pockets can cause significant problems. As the clay dries and shrinks around an air bubble, the air pressure inside increases, which can lead to bursting or cracking. Thorough kneading helps, and you can also use a needle tool to gently pierce and release any small air bubbles you suspect might be lurking.
Mastering Joining Techniques
Connecting two pieces of clay correctly is paramount. Poorly joined sections are notorious for cracking.
The Score and Slip Method
This is the golden rule for joining clay: you must score and slip your surfaces. “Scoring” means scratching crosshatch marks onto both surfaces you intend to join. This creates a rough texture that allows for a stronger mechanical bond. “Slip” is essentially a watery paste made from your clay. Mix a small amount of your clay with water until it has the consistency of thick cream or yogurt. Apply a thin layer of slip to both scored surfaces, then press them firmly together, wiggling slightly to ensure good contact. Smooth the joint with your finger or a tool.
Ensuring Even Dryness of Joined Pieces
A critical detail often overlooked: make sure the two pieces you are joining are at similar stages of dryness. If you try to attach a very wet piece to a nearly dry piece, they will shrink at wildly different rates, virtually guaranteeing a crack at the joint. Ideally, both pieces should be fresh and pliable, or at least at a comparable level of moisture.
Working in Small Portions
You know why your clay cracks? Because it’s impatient! It starts drying the moment it’s exposed to air. To combat this, master the art of working in small portions.
Storing Unused Clay
Always keep the clay you’re not actively using safely stored. Wrap it tightly in plastic wrap, place it in an airtight container, or even a Ziploc bag. This prevents it from drying out prematurely, ensuring it stays pliable and consistent for when you’re ready to use it.
The Art of Slow Drying: Your Ultimate Weapon
This is it. If there’s one principle to engrain in your mind to prevent air-dry clay cracking, it’s this: slow the drying process. Rapid drying is the enemy; slow, controlled drying is your best friend.
Covering Your Sculpture Thoughtfully
You want to create a humid micro-environment around your sculpture to slow down moisture evaporation.
Using a Damp Cloth or Paper Towel
For smaller pieces or initial drying, cover your sculpture with a damp cloth or damp paper towel. The moisture in the cloth acts as a barrier, preventing the clay from drying too quickly. Make sure the cloth is damp, not soaking wet, and change it daily to keep it moist. This allows for a gentle, gradual release of moisture from the clay.
Leveraging Plastic Wrap or Perforated Bags
Another excellent method is to loosely cover your sculpture with plastic wrap or place it inside a perforated plastic bag. The loose covering allows for some air circulation while still trapping humidity. If using plastic wrap, don’t seal it completely; leave a few small gaps for minimal air exchange. A perforated bag is ideal as it’s designed for this balance. This technique allows the clay to “breathe” but at a much slower, more controlled rate. Over several days, you can gradually reduce the coverage, exposing the clay more as it hardens.
Choosing the Right Drying Location
The environment your sculpture dries in is just as important as how you cover it.
Opting for a Cool, Dry Place with Air Circulation
Despite what you might think, a cool, dry place is actually ideal for slow drying. This doesn’t mean a humid place. A cool environment naturally retards evaporation. Good air circulation is still important to prevent mold, but you want to avoid direct drafts.
Avoiding Direct Sunlight and Drafts
These are absolute crack-creators. Direct sunlight bakes the surface of the clay, causing it to dry incredibly rapidly while the interior remains wet. This extreme differential shrinkage is a guaranteed recipe for cracks. Similarly, strong drafts act like a fan, speeding up surface evaporation and leading to uneven drying. Place your piece in a sheltered spot, away from open windows, vents, or direct heat sources.
The Importance of Turning Your Piece
Just like turning a cake in the oven for even baking, you need to turn your clay sculpture for even drying.
Exposing All Sides Equally
As your clay dries, moisture leaves from the exposed surfaces. If one side is constantly facing down or against a surface, it will dry much slower than the other sides. To combat this, make it a habit to turn your piece every few hours or at least once or twice a day, especially during the initial stages of drying. Place it on a wire rack or on soft foam so that air can circulate all around it. This ensures all surfaces have a chance to release moisture at a similar rate, promoting uniform shrinkage.
Repairing Cracks: Salvaging Your Masterpiece
Even with the best preventative measures, sometimes a small crack might appear. Don’t panic! Many cracks, especially those caught early, can be successfully repaired.
Addressing Cracks Immediately
The sooner you notice a crack, the better your chances of a seamless repair. Don’t let it sit and widen.
The Moistening and Filling Technique
If you spot a crack while your piece is still drying (and therefore somewhat pliable), you can often fix it. First, moisten the area around the crack with a little water. This helps to soften the surrounding clay and makes it more receptive to new material. Then, take a small amount of fresh, matching clay – ideally from the same batch you used for the sculpture – and carefully press it into the crack. Use your finger or a small sculpting tool to work the new clay deep into the fissure, ensuring it’s completely filled.
Smoothing with a Wet Brush
Once the crack is filled, smooth the repaired area with a wet brush or your wet fingertip. This blends the new clay with the existing surface, making the repair virtually invisible once dry. Be gentle so you don’t introduce new stress. After repairing, return the piece to your slow-drying environment to ensure the repaired section dries gradually along with the rest of the sculpture.
Final Touches and Considerations
You’ve conquered the cracking monster, but your journey isn’t quite over. A few last steps can ensure the longevity and beauty of your air-dry clay creation.
Full Drying Time
Patience, young padawan! Your sculpture needs to be completely, utterly dry before you proceed with finishing.
How to Tell if Your Piece is Fully Dry
This can take anywhere from a few days to several weeks, depending on the size, thickness, and environmental conditions. A truly dry piece will feel lightweight and often turn a lighter color. It will also feel completely solid and emit a tapping sound when gently flicked. If it still feels cool to the touch, especially in thicker sections, it’s likely still holding moisture. Resist the urge to rush this stage.
Sanding and Finishing
Once fully dry, you can refine your sculpture.
Achieving a Smooth Surface
Air-dry clay can be sanded for a smoother finish. Start with a medium-grit sandpaper and move to a finer grit. Always wear a mask when sanding clay dust. You can also use a damp sponge to gently smooth the surface before it’s fully dry, or even after, if you slightly re-moisten the area.
Sealing for Durability
Sealing your air-dry clay piece is crucial for durability, protecting it from moisture, dust, and further damage.
Choosing the Right Sealant
There are many options available. Mod Podge, clear acrylic spray sealants, clear varnishes, or even clear epoxy resins are popular choices. Matte, satin, and glossy finishes are available. Choose one that suits your aesthetic. Apply multiple thin coats, allowing each to dry thoroughly according to the manufacturer’s instructions. This final protective layer will safeguard your hard work against the elements and ensure it remains a cherished piece for years to come.
By embracing these techniques and understanding the science behind the art, you are now well-equipped to create stunning, crack-free air-dry clay masterpieces. Happy sculpting!
FAQs
1. What causes air dry clay to crack?
Air dry clay can crack due to a few reasons, including improper storage, overworking the clay, not properly sealing the clay, or drying too quickly.
2. How can I prevent air dry clay from cracking?
To prevent air dry clay from cracking, make sure to store it properly in an airtight container, avoid overworking the clay, seal the clay with a glaze or sealant, and allow it to dry slowly and evenly.
3. Can I fix cracked air dry clay?
Yes, cracked air dry clay can be fixed by using a small amount of water to smooth out the cracks and then allowing it to dry again. You can also use a strong adhesive to mend larger cracks.
4. What are some tips for working with air dry clay to prevent cracking?
Some tips for working with air dry clay to prevent cracking include keeping the clay moist while working with it, using proper storage techniques, and allowing the clay to dry slowly and evenly.
5. Are there any specific techniques for repairing cracked air dry clay?
One specific technique for repairing cracked air dry clay is to use a small amount of water to smooth out the cracks and then allow it to dry again. Additionally, using a strong adhesive can help mend larger cracks.