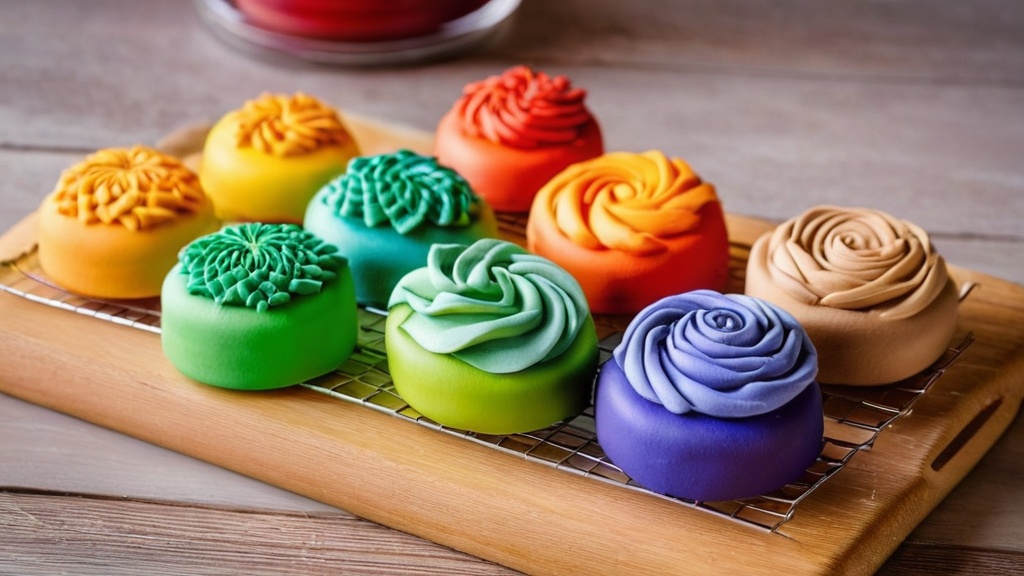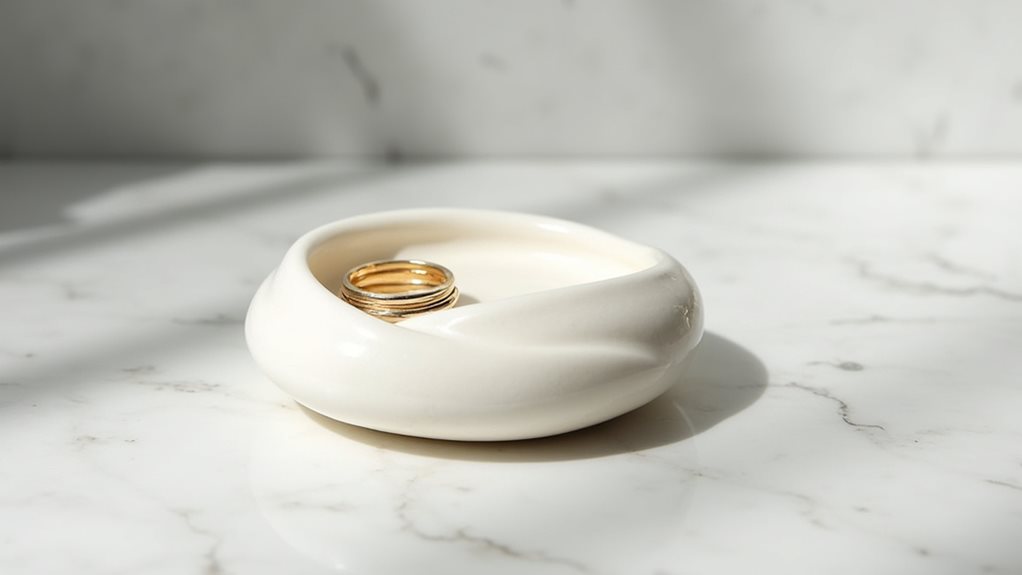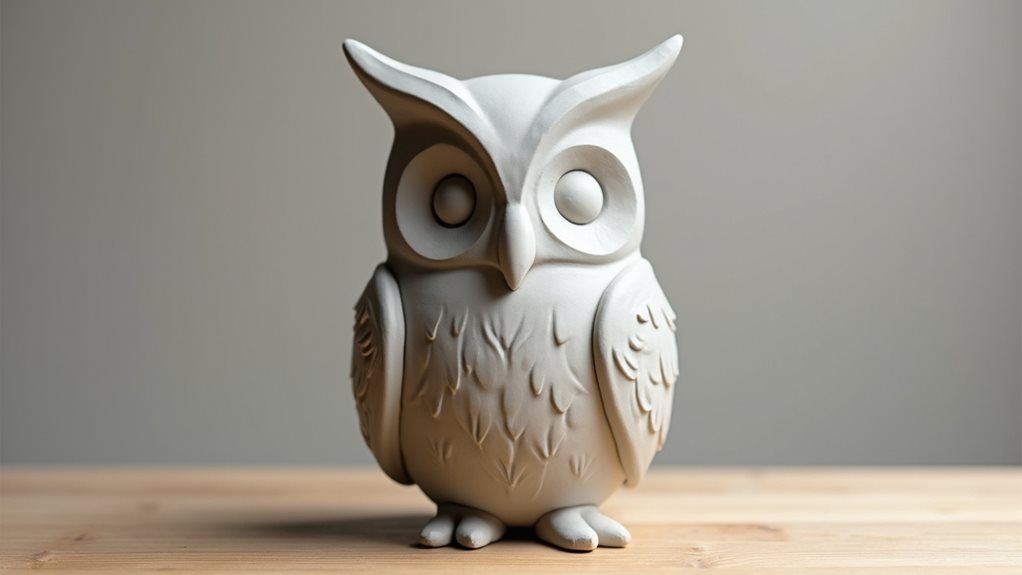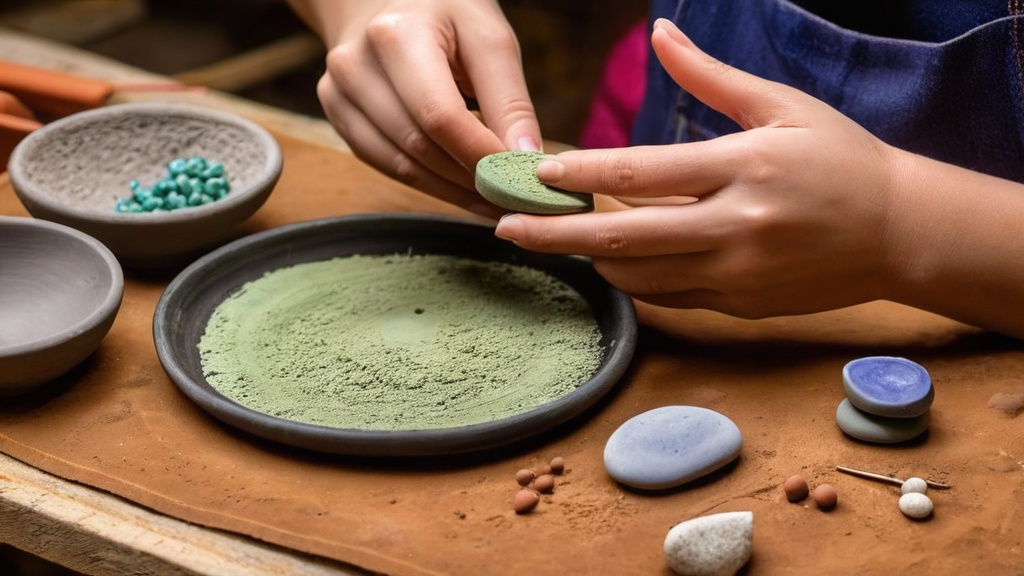
Let’s dive into the world of clay for jewelry making, and I’m going to help you find the perfect medium to bring your stunning creations to life. As you embark on this artistic journey, you’ll quickly discover that not all clays are created equal, especially when your goal is to craft jewelry that is not only beautiful but also durable and long-lasting. The right clay will elevate your designs, allowing for intricate detail and vibrant colors that truly shine. Forget those beginner-friendly clays that promise ease but deliver brittleness; we’re going to focus on the heavy hitters, the clays that professionals and discerning hobbyists swear by for their exceptional qualities.
Unveiling the Top Tier: Your Essential Clay Companions
When you’re aiming for jewelry that will turn heads, you need a clay that can keep up with your vision. The latest expert consensus from 2025, along with extensive community discussions, paints a clear picture of the brands that consistently deliver for stunning jewelry creations. These are the clays that offer a superior balance of workability, strength, and aesthetic appeal, making them indispensable tools for anyone serious about their craft.
Kato Polyclay: The Champion of Durability and Delicate Detail
If you’re striving for jewelry that can withstand the rigors of everyday wear while showcasing the finest details, then Kato Polyclay should be at the very top of your list. This is the go-to brand for many who demand robustness in their creations. It’s known for its firm consistency right out of the package, which might seem daunting at first, but this firmness is precisely what lends it its incredible strength. When you’re working with Kato, you can rest assured that your delicate wirework, intricate filigree, or finely sculpted elements will hold their shape and resist breakage, even in the most challenging designs.
Why Kato Polyclay Reigns Supreme for Detail
The inherent firmness of Kato Polyclay makes it exceptionally well-suited for capturing extremely fine details. Unlike softer clays that can easily smudge or lose their definition, Kato holds sharp edges and subtle textures beautifully. This means you can confidently sculpt tiny embellishments, incise intricate patterns, or create incredibly thin components that would crumble with less robust clays. Your jewelry will possess a professional polish that speaks volumes about the quality of your materials and your craftsmanship.
The Unmatched Strength of Kato Polyclay
Durability is paramount in jewelry making. Pieces that are meant to be worn and cherished should be able to withstand occasional bumps, drops, or stresses without disintegrating. Kato Polyclay, once cured, becomes remarkably strong and resistant to cracking. This makes it ideal for items like pendants, earrings, or even components for bracelets where a certain level of resilience is essential. You can feel confident that your finished pieces will remain intact and beautiful for years to come.
Conditioning Kato Polyclay: A Small Effort for a Big Reward
While Kato Polyclay is firm, it’s not unmanageable. The conditioning process, often done by hand rolling, using a pasta machine, or a clay roller, will soften the clay to a workable consistency. Many artists find that this initial effort is well worth it for the superior strength and detail they achieve. Some even report that Kato becomes more pliable with moderate heating (like holding it in your hands for a bit) before rolling it through a pasta machine. It’s a clay that respects your effort with exceptional performance.
Sculpey Soufflé: The Beginner-Friendly Marvel with a Sophisticated Finish
For those just starting their jewelry-making adventure, or for artists who experience hand fatigue or arthritis, Sculpey Soufflé is an absolute dream. This clay is renowned for its exceptional softness and ease of conditioning. You’ll find that it requires minimal effort to get it ready for sculpting, making it incredibly accessible and enjoyable to work with. But don’t let its gentleness fool you; Sculpey Soufflé offers a surprisingly resilient and beautiful suede-like finish once cured, making it a fantastic option for a wide range of jewelry styles.
The Gentle Giant: Ease of Use for All Hands
The primary appeal of Sculpey Soufflé is its remarkable pliability. It’s soft enough to knead and condition with minimal pressure, which is a blessing for anyone with dexterity issues or for those who want to dive straight into creating without a strenuous warm-up. This ease of use also means you can spend more time on your creative process and less time fighting with your materials.
The Unique Suede-Like Finish: Adding a Touch of Elegance
One of the standout features of Sculpey Soufflé is its distinctive matte, suede-like finish after baking. This sophisticated texture adds an understated elegance to your jewelry, giving it a professional and high-end appearance without the need for extensive finishing techniques. It takes paints and mica powders beautifully, allowing for a further level of customization and artistry.
Versatility in Color and Application
Sculpey Soufflé comes in a vibrant and appealing color palette, and its ability to hold detail, while not as extreme as Kato, is still excellent for many jewelry applications. It’s particularly good for creating organic shapes, smooth cabochons, and lightweight components. Its lightness also makes it a great choice for larger earrings or statement pieces that you want to be comfortable to wear.
Pardo Professional Art Clay (Translucent) & Cernit: The Masters of Faux Glass and Translucency
If your artistic vision involves mimicking the ethereal beauty of glass, or if you’re captivated by translucent and iridescent effects, then Pardo Professional Art Clay (Translucent) and Cernit are your undisputed champions. These clays are celebrated for their unparalleled clarity, offering some of the most convincing “glassy” looks achievable with polymer clay. They are the preferred choice for artisans seeking to create stained-glass effects, faux gemstones, or delicate, light-catching elements.
Achieving True Transparency: The Pardo Difference
Pardo Professional Art Clay, particularly its translucent formulation, is often cited as the pinnacle of clarity in the polymer clay world. When baked, it becomes remarkably transparent, allowing light to pass through it beautifully. This makes it perfect for creating intricate layered designs that have depth, or for mimicking the appearance of precious stones with incredible realism. The way it captures and refracts light is truly something to behold.
Cernit: The European Standard for Translucency
Cernit is another European powerhouse that excels in translucent effects. It offers a clarity that rivals Pardo, providing artists with another top-tier option for achieving that coveted “glassy” look. Cernit is known for its smooth texture and excellent pliability, making it a pleasure to work with while achieving stunning translucent results.
Working with Translucent Clays: Tips for Maximum Effect
When working with translucent clays like Pardo or Cernit, cleanliness is paramount. Any trace of dust, fibers, or even fingerprints can show through once baked, detracting from the glassy illusion. It’s highly recommended to work in a clean environment, use dedicated tools, and consider wearing gloves. Layering these translucent clays with opaque colors or mica powders can create depth and shimmer, much like real gemstones. Experimenting with different baking times and temperatures can also subtly alter the clarity and hue of your translucent pieces.
Sculpey Premo: The Balanced Professional’s Choice
For the serious jewelry artist who seeks a harmonious blend of softness for easy manipulation and strength for lasting durability, Sculpey Premo is a universally acclaimed professional choice. This clay strikes a remarkable balance, offering a user-friendly experience without compromising on the structural integrity and detail retention needed for high-quality jewelry. Its extensive and beautiful color palette further solidifies its position as a favorite among seasoned makers.
The Sweet Spot: Softness Meets Strength
Sculpey Premo is often described as having the ideal consistency. It’s soft enough to condition without excessive effort but firm enough to hold intricate details and maintain its shape during the sculpting process. This balance makes it incredibly versatile, suitable for almost any jewelry project you can envision, from delicate beadwork to sculpted components and layered designs.
A Spectrum of Excellence: The Rich Color Palette of Premo
Another significant advantage of Sculpey Premo is its incredibly rich and diverse color palette. The colors are vibrant, true to their names, and many of them are also available in translucent formulations, allowing for seamless integration across different techniques. The colors mix beautifully, enabling you to create custom shades and gradients that are unique to your artistic vision.
Exceptional for Layering and Mokume Gane
The balanced consistency of Sculpey Premo makes it an absolute joy to work with for advanced techniques such as layered designs and Mokume Gane. It slices cleanly, stacks well, and holds subtle patterns beautifully, allowing for intricate and complex visual effects that are characteristic of professional jewelry.
Staedtler Fimo Professional: The Premium European Option for Pliable Perfection
When you’re looking for a premium option with a European pedigree, Staedtler Fimo Professional stands out as a leading choice. This clay is favored for its exceptional pliability, making it incredibly easy to condition and work with, even for extended periods. Its oven-bake formulation is renowned for its reliability, and the segmented convenience blocks make managing your clay stash efficient and practical.
European Craftsmanship in Every Block
Fimo Professional embodies the quality associated with European art supplies. It’s crafted with precision, offering a consistent texture and reliable performance that artists have come to trust. The clay has a smooth, pliable nature that feels luxurious in your hands, allowing for a highly enjoyable creative process.
Convenience, Redefined: Segmented Blocks for Easy Use
A thoughtful design feature of Fimo Professional is its segmented packaging. Each block is divided into smaller, manageable portions. This not only makes it easier to work with smaller amounts of clay at a time but also helps prevent the rest of the block from drying out prematurely. It’s a small detail, but one that significantly enhances the user experience for jewelry makers.
Reliability in Baking and Durability
Like its top-tier counterparts, Fimo Professional bakes to a hard, durable finish. You can trust that your finished jewelry pieces will be robust and resistant to damage, ensuring they are enjoyed for a long time. The clay’s ability to hold fine details and vibrant colors after baking is also a testament to its professional-grade quality.
The Clays to Sidestep: Why Certain Options Fall Short for Jewelry
As you become more immersed in the world of clay jewelry making, you’ll encounter various brands and types of clay. It’s crucial to understand which ones are best suited for your goals and which ones you should, perhaps, avoid for jewelry applications. Based on recent expert consensus and extensive community feedback, there are certain widely available clays that, unfortunately, fall short when it comes to creating durable and stunning jewelry. Sidestepping these will save you frustration and ensure your beautiful creations have the best possible foundation.
Super Sculpey & Original Sculpey: The Brittle Betrayal
Super Sculpey and its predecessor, Original Sculpey, are often the first polymer clays people encounter. While they have their place in sculpting, particularly for prototyping or larger figurative work where brittleness might be less of a concern, they are widely considered too brittle and porous for most jewelry applications.
The Brittleness Factor: A Common Complaint
The primary issue with Super Sculpey and Original Sculpey for jewelry is their tendency to become brittle once baked. Even with careful baking, they can be prone to cracking and breaking, especially around delicate edges or connection points. This lack of resilience means that earrings might snap off, pendants could fracture, or beads could crumble, leading to disappointment and wasted effort.
Porosity and Surface Issues
These clays can also be more porous than other professional brands. This can make achieving a smooth, polished surface more challenging. Additionally, they can sometimes develop little craters or inconsistencies during baking, which detract from a clean, professional finish that is crucial for jewelry.
Craft Smart: A Cautionary Tale for Jewelry Makers
Craft Smart is another brand that often appears in craft stores, and while it might seem like an accessible option, it’s generally not recommended for jewelry making. The consensus among experienced crafters is that it falls into the category of more brittle clays, similar to the issues found with Original Sculpey.
Inferior Durability for Wearable Art
The lack of durability is the main reason to steer clear of Craft Smart for jewelry. You’ll likely find that pieces made from this clay are more likely to chip, break, or lose their shape over time, especially with the movement and stress that wearable art experiences.
Limited Color Vibrancy and Consistency
Beyond the durability issues, Craft Smart often suffers from inconsistent color quality and a less vibrant palette compared to the professional-grade clays. This can make it harder to achieve the stunning visual impact you desire for your jewelry.
Mastering Your Medium: Essential Techniques for Stunning Results
Once you’ve selected your ideal clay, the journey to stunning jewelry creations truly begins. Understanding how to best work with your chosen material will unlock its full potential. Whether you’re a seasoned artist or just starting, honing your techniques is key to transforming simple clay into wearable art that captivates.
The Art of Conditioning: Preparing Your Clay for Success
Conditioning your clay is the foundational step that significantly impacts the quality and longevity of your finished jewelry. It’s not just about softening the clay; it’s about creating a cohesive, pliable material that holds detail and bakes without issues.
Hand Conditioning vs. Machine Conditioning
- Hand Conditioning: This involves kneading and rolling the clay by hand. It’s great for smaller amounts and for developing a feel for the clay’s texture. For firmer clays like Kato, it can initially involve the “warm-up” technique – holding the clay in your hand for a minute or two.
- Pasta Machine/Clay Roller: For larger amounts, a pasta machine or dedicated clay roller is invaluable. Roll the clay through the widest setting multiple times, folding it in half with each pass. Gradually decrease the thickness setting until the clay is smooth, uniform, and pliable. This is particularly effective for brands like Sculpey Premo and Fimo Professional.
Signs of Properly Conditioned Clay
Properly conditioned clay will feel smooth and pliable. It will not be crumbly or sticky. It should hold sharp edges and subtle indentations without distorting. If your clay feels stiff, crumbly, or overly soft and sticky, it needs further conditioning.
Surface Preparation: The Key to a Flawless Finish
A flawless finish is what elevates jewelry from hobbyist to professional. The surface of your clay plays a critical role, and you need to be meticulous about its preparation both before and after baking.
Keeping Your Workspace Immaculate
This cannot be stressed enough, especially when working with translucent clays. A clean workspace prevents dust, lint, pet hair, and any other debris from embedding in your clay. Use a dedicated non-porous work surface like a ceramic tile or glass mat.
Smoothing Techniques Before Baking
- Rubbing Alcohol or Mineral Oil: A light application of rubbing alcohol or mineral oil on your fingertips or tools can help smooth the surface of the clay before baking, especially for materials like Sculpey Premo.
- Sanding Blocks: For very fine imperfections, you can use a very fine-grit sanding block (e.g., 400-600 grit) on uncured clay, but be extremely gentle.
Post-Bake Surface Refinement
- Sanding: Once cured, sanding is essential for achieving a smooth, polished surface. Start with coarser grits (e.g., 220-400) and progress to finer grits (e.g., 600-1200, even up to 2000). Wet sanding (using water) is highly recommended, especially for the finer grits, as it reduces dust and yields a smoother finish.
- Buffing: After sanding to your desired smoothness, use a buffing wheel, a soft cloth, or a jeweler’s buffing compound to bring out a high shine. Microfiber cloths are excellent for this.
Baking Your Creations: The Crucial Curing Process
Baking is where your clay transforms from pliable material into a durable piece of jewelry. Understanding the correct baking temperatures and times is paramount to achieving optimal strength and color stability.
Understanding Your Clay’s Baking Requirements
Each brand of polymer clay has specific baking instructions. It is absolutely critical to follow the manufacturer’s recommendations. These are usually found on the packaging or the company’s website.
- Temperature is Key: Over-baking can cause discoloration and brittleness, while under-baking will result in clay that is soft and easily damaged. An oven thermometer is an invaluable tool to ensure your oven is accurately calibrated.
- Baking Time: Baking time is dependent on the thickness of your piece. Thicker items require longer baking times.
Oven Choice: Home Oven vs. Toaster Oven
- Home Oven: Generally provides more consistent and even heat distribution.
- Toaster Oven: Can be convenient but requires careful monitoring as they can have hot spots. Consider using a ceramic tile or baking stone inside to help with heat distribution.
- Baking Surface: Always bake on an oven-safe material like cardstock, printer paper, a ceramic tile, or a dedicated baking sheet for polymer clay. Avoid direct contact with oven racks, as this can cause indentations.
Venting Your Oven
It’s a good practice to slightly prop open the oven door during baking (use a small piece of wadded-up foil or a chopstick) to allow fumes to escape. Polymer clay releases fumes when baked, and venting helps ensure these fumes do not build up excessively in your oven.
Exploring Advanced Techniques for Your Jewelry Masterpieces
Once you’ve mastered the basics, you’ll be eager to explore techniques that add complexity, depth, and visual intrigue to your jewelry. The top-tier clays we’ve discussed are perfectly suited for these advanced applications, allowing you to push your creative boundaries.
Layering and Color Blending: Creating Depth and Dimension
The beauty of polymer clay lies in its ability to be layered and blended, creating stunning effects that mimic natural materials or abstract artistic expressions.
Simple Layering for Visual Interest
Applying thin sheets of different colored clay on top of each other can create simple yet effective designs. Think of creating gradients by gradually blending colors or contrasting sharp lines with soft transitions. Brands like Sculpey Premo and Fimo Professional are excellent for this due to their consistent texture and color vibrancy.
Advanced Blending and Gradient Techniques
Creating smooth, seamless color gradients involves careful blending of colors. This can be achieved by repeatedly rolling and folding different colored clays together, or by using blending tools to soften the transitions between colors. Experiment with wet blending using alcohol or water for an even smoother effect.
Mokume Gane: The Art of “Wood Grain” in Clay
Mokume Gane is a Japanese metalworking technique that translates beautifully to polymer clay. It involves layering different colored clays, compressing them, and then revealing intricate patterns through slicing and manipulation.
The Layers of a Mokume Gane Design
You’ll typically start by layering thin sheets of contrasting colored clays. The number of layers and color combinations will influence the final pattern. For complex patterns, using thinner layers or incorporating translucents can add depth.
Revealing the Pattern
Once your layers are stacked and compressed, you will slice through the block of clay. The way you slice (e.g., diagonally, parallel) and manipulate the slices (e.g., pressing, twisting) will determine the resulting pattern. This is where the precision of clays like Sculpey Premo shines, as they slice cleanly and maintain their layered integrity.
Creating Translucent Effects: Mimicking Glass and Gemstones
As mentioned with Pardo and Cernit, translucent clays open up a world of possibilities for creating realistic glass or gemstone effects.
Faux Dichroic and Iridescent Glass
By layering translucent clays with mica powders, iridescent pigments, or other metallic finishes, you can create stunning light-catching effects that mimic dichroic glass. Experiment with different application methods for the powders, such as dusting on top or pressing into the clay.
Creating Realistic Gemstones
To simulate gemstones, combine translucent clays with pigments, glitter, or even tiny inclusions. Learning about the natural inclusions and color variations found in real gemstones will help you achieve a more authentic look. The clarity and light-filtering properties of Pardo and Cernit are invaluable here.
Essential Tools and Accessories for Your Jewelry Studio
To complement your choice of premium clay, having the right tools and accessories will not only make your creative process smoother but will also allow you to achieve finer details and more professional results in your stunning jewelry creations. Think of these as your trusty sidekicks in the world of clay artistry.
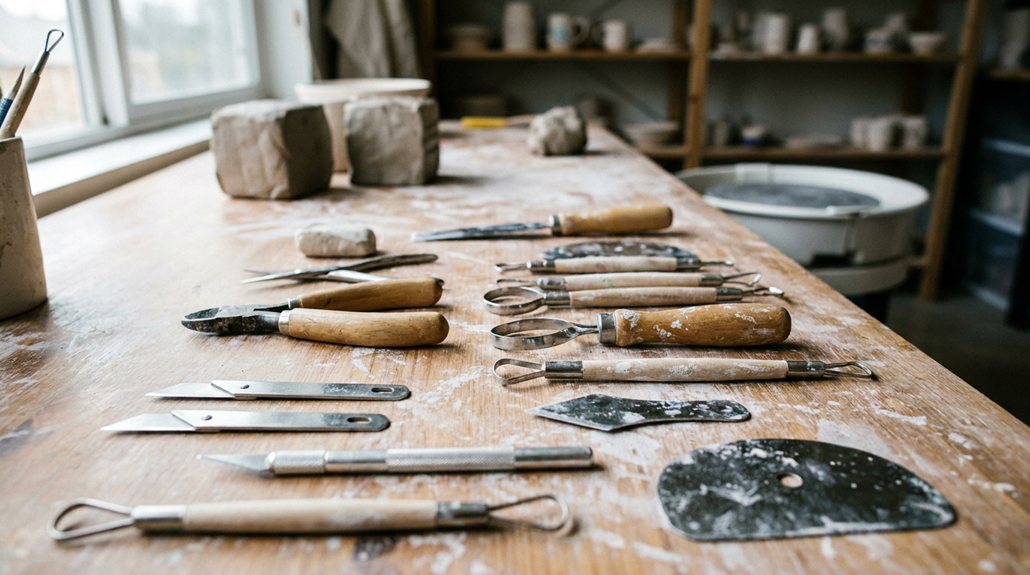
Cutting and Shaping Tools: Precision in Your Hands
The tools you use to cut, shape, and sculpt your clay directly influence the precision and detail of your work. Investing in a good set of tools will make a significant difference.
Blades and Knives: For Clean Cuts and Intricate Detail
- Craft Blades/X-Acto Knives: Essential for precise cutting, scoring, and creating sharp edges. Ensure you have a sharp blade for clean cuts that don’t drag or distort the clay.
- Clay Slicers: These are often thin, flexible blades that are excellent for slicing through blocks of clay cleanly, which is vital for techniques like Mokume Gane and for slicing beads.
Sculpting Tools and Styluses
- Ball Styluses: These come in various sizes and are perfect for creating indentations, rounding edges, making stippled textures, and general shaping.
- Loop Tools: Ideal for carving and removing small amounts of clay, creating hollows, and shaping organic forms.
- Silicone Tools: These are fantastic for smoothing surfaces, blending, and creating soft, painterly effects without leaving harsh marks.
Cookie Cutters and Embossing Tools
While not exclusively for clay, small, intricate cookie cutters can be useful for creating uniform shapes. Embossing tools can add texture and pattern to the surface of your clay before baking.
Texturing and Surface Embellishment Tools
Adding texture and detail to the surface of your clay is a wonderful way to enhance the visual appeal and tactile quality of your jewelry.
Texture Sheets and Stamps
These reusable sheets or individual stamps can imprint intricate patterns onto your clay. You can find everything from faux fabric textures and geometric patterns to organic leaf designs.
Brayers and Rollers
Beyond the pasta machine, smaller textured rollers or brayers can be used to apply patterns or create specific surface finishes on smaller clay pieces.
Mica Powders and Pigments
These fine, shimmery powders can add a pearlescent or metallic sheen to your clay. They can be applied dry by dusting or buffing onto the cured clay, or they can be mixed into uncured clay for a more uniform effect. They are particularly effective with translucent clays.
Finishing and Assembly Tools: Bringing Your Creations Together
Once your clay pieces are baked and refined, you’ll need tools and components to assemble them into finished jewelry.
Jewelry Pliers
- Round-Nose Pliers: Essential for creating loops for jump rings and making curves for wire wrapping.
- Chain-Nose/Flat-Nose Pliers: Used for holding small components, bending wire, opening and closing jump rings securely, and crimping.
- Cutter Pliers: For cutting wire and headpins cleanly.
Jump Rings, Ear Wires, and Other Findings
These are the essential hardware that turn your clay creations into wearable pieces. Ensure you choose findings that are made of quality materials (like sterling silver, gold-filled, or surgical stainless steel) to avoid allergic reactions and ensure durability.
Adhesives and Sealants
Depending on your design, you might need strong adhesives (like E6000 or specialized polymer clay glues) to attach metal findings or other embellishments. A sealant or varnish can also add an extra layer of protection and shine if desired, though many clays have a beautiful finish on their own.
By stocking your studio with these essential tools and accessories, you’ll be well-equipped to handle a vast array of jewelry-making projects, allowing you to fully realize the potential of your chosen premium clay and create truly stunning pieces that you’ll be proud to wear and share.
FAQs
What is the best type of clay for jewelry making?
The best type of clay for jewelry making is polymer clay. It is versatile, easy to work with, and can be cured in a home oven.
What are the advantages of using polymer clay for jewelry making?
Polymer clay is durable, lightweight, and comes in a wide range of colors. It can also be easily molded, shaped, and textured to create intricate designs for jewelry pieces.
Are there different brands of polymer clay to consider for jewelry making?
Yes, there are several reputable brands of polymer clay available for jewelry making, including Fimo, Sculpey, and Kato Polyclay. Each brand offers different characteristics such as flexibility, strength, and color range.
Can polymer clay jewelry be baked at home?
Yes, polymer clay jewelry can be baked at home in a regular oven. It is important to follow the manufacturer’s instructions for the specific brand of clay being used to ensure proper curing.
What are some tips for working with polymer clay for jewelry making?
Some tips for working with polymer clay for jewelry making include conditioning the clay to make it more pliable, using specialized tools for shaping and detailing, and experimenting with different techniques such as marbling, caning, and sculpting.