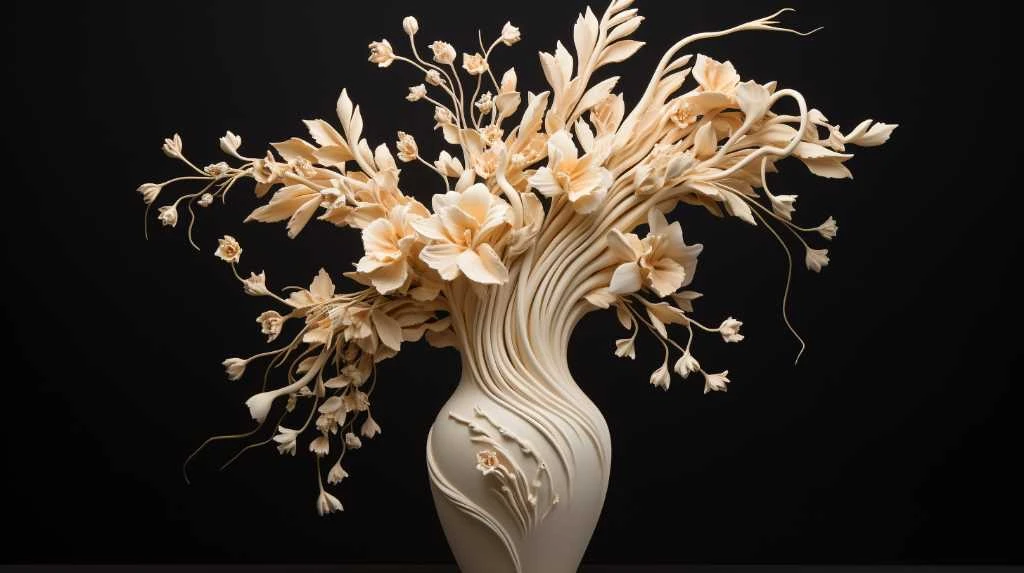
Have you ever wanted to sculpt something beautiful, something tangible, something that springs from your imagination into your hands, but felt intimidated by the idea of ceramics and kilns? Then you, my friend, are about to discover the magic of air dry clay. This remarkably accessible material is a game-changer for artists, crafters, hobbyists, and even those just dipping their toes into the world of three-dimensional art. Forget the expensive equipment and lengthy firing processes; air dry clay allows you to bring your creative visions to life with nothing more than your hands, a few basic tools, and a healthy dose of patience.
So, what exactly is air dry clay? At its core, it’s a wondrous sculpting medium that revolutionizes how you approach three-dimensional art. Unlike traditional ceramic clays that demand extreme heat to transform from malleable earth into durable artwork, air dry clay undergoes its hardening process through the simple act of moisture evaporation. You sculpt it, you leave it out, and it slowly but surely solidifies.
The Science of Simplification
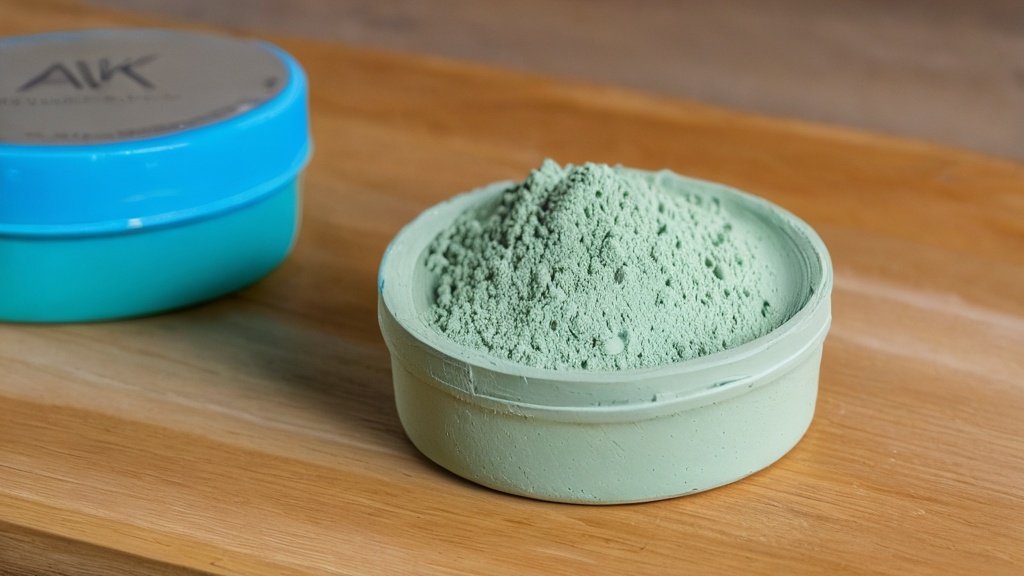
Imagine tiny, microscopic particles suspended in a binding agent, often a natural starch or cellulose-based polymer, mixed with water. As you work the clay, you’re manipulating these particles. When you expose your creation to the air, the water within the clay gradually dissipates into the atmosphere. This evaporation causes the particles to bind together more tightly, shrinking slightly as they do. This tightening and bonding process is what ultimately results in a hardened, earthenware-like finish without the need for a fiery kiln. It’s a testament to simple chemistry working in your favor.
What it Isn’t
It’s crucial to understand what air dry clay is not to manage your expectations and achieve the best results. It is not traditional ceramic clay, which vitrifies (turns glassy and rock-like) at high temperatures, making it incredibly durable and, crucially, food-safe when properly glazed. Air dry clay, while hardening to a reasonable degree, will not withstand the same stresses as kiln-fired pottery. You won’t be putting your air dry clay mug in the dishwasher or drinking from it with hot liquids. It’s important to acknowledge these limitations upfront so you can choose the right material for your project and enjoy the unique strengths that air dry clay offers.
Diving into its Distinct Characteristics
Now that you understand the fundamental nature of air dry clay, let’s explore the traits that make it such a popular and versatile medium for you to work with. These characteristics are what define your experience and open up a world of creative possibilities.
Safety First, Fun Always
One of the most appealing aspects of air dry clay, especially for those working with children or in educational settings, is its non-toxic nature. You can generally handle it with bare hands without worrying about harsh chemicals or skin irritation. This makes it an ideal material for you to introduce beginners to sculpting, allowing for hands-on exploration without significant health concerns. You won’t need specialized ventilation, just good common sense with cleanliness.
The Food Safety Question
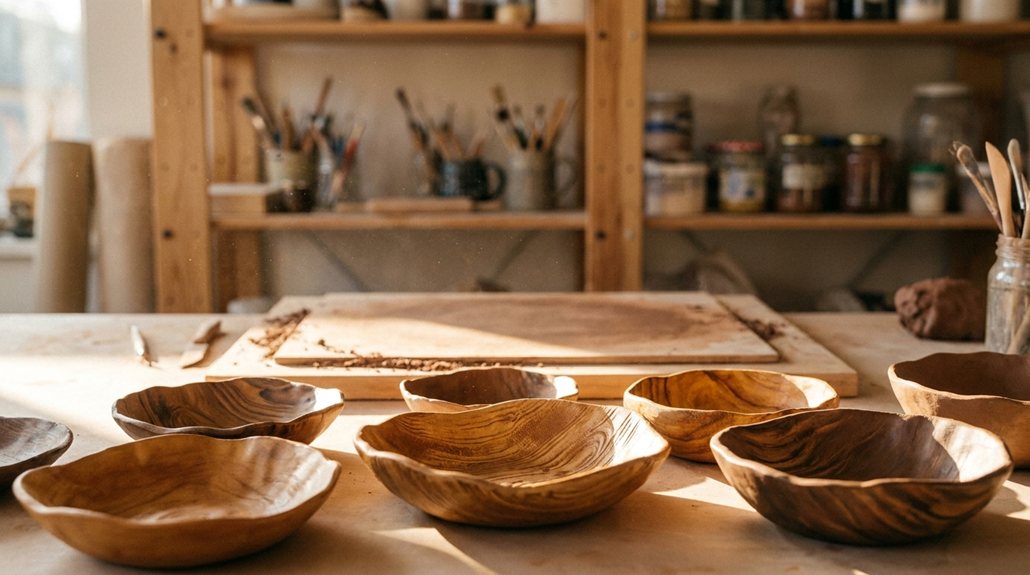
While you can feel safe touching and shaping air dry clay, you must remember that it is decidedly not food-safe. Even after sealing, the porous nature of the material means it can harbor bacteria, and the sealants themselves are not designed for direct food contact. Therefore, you should avoid creating items like plates, bowls, cups, or anything that will directly come into contact with food or beverages. If you’re making decorative items like fruit bowls, ensure a barrier (like a napkin) is always between the clay and consumable items.
The Beginner’s Best Friend
You’ll find air dry clay remarkably forgiving, making it an excellent choice if you’re new to sculpting. It doesn’t require a steep learning curve or expensive tools. Its pliability allows you to easily shape it, reshape it, and even rehydrate it a bit if it starts to dry too quickly during your work session. This malleability means you can experiment freely, learn from your mistakes, and develop your sculpting skills without the pressure of a costly or elaborate setup.
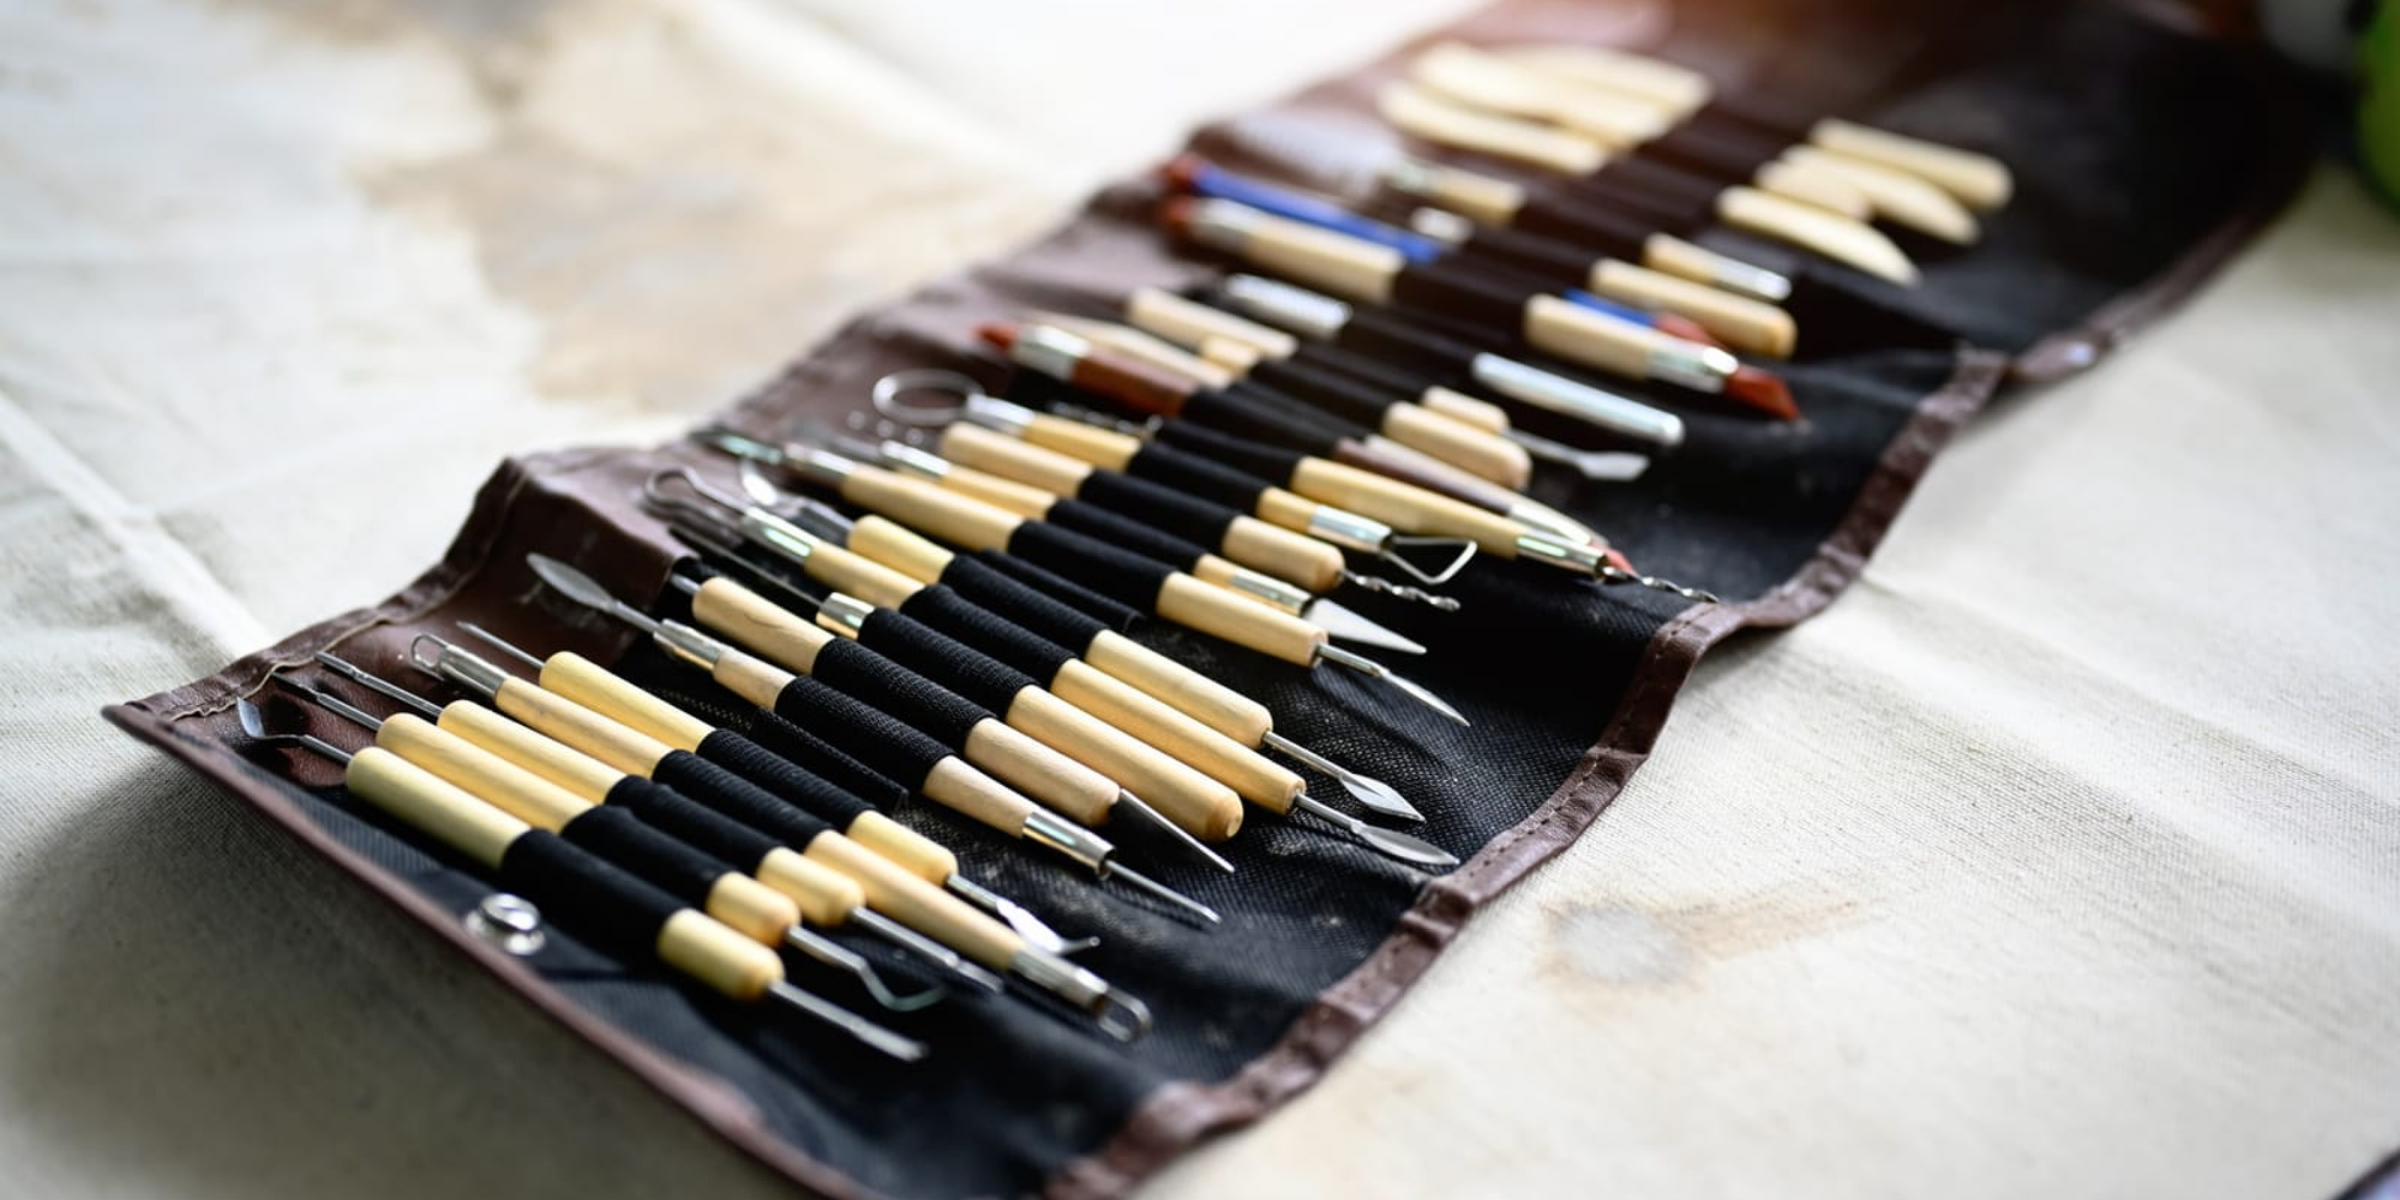
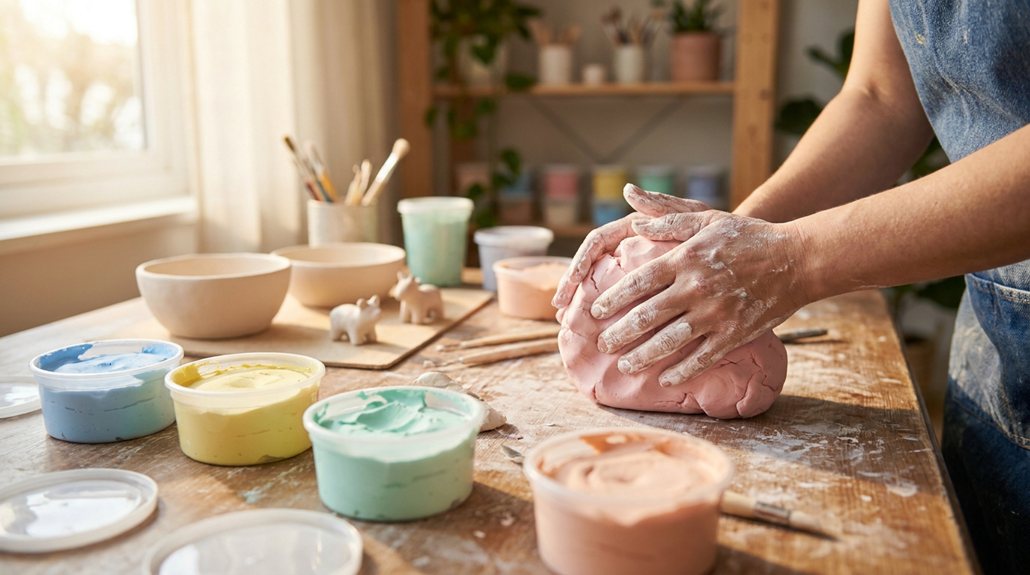
Kneading Your Way to Perfection
Before you even begin shaping, you’ll discover a crucial step: kneading. Just like baking dough, kneading air dry clay is essential. Why? Because it warms the clay, removes any trapped air bubbles, and evenly distributes the moisture, making it smoother and much more workable. If you skip this step, you might find your clay stiff, crumbly, or prone to cracking as you try to sculpt. Take a few minutes to roll it, stretch it, and compress it in your hands until it feels supple and uniform. This simple action will significantly improve your sculpting experience and the quality of your finished piece.
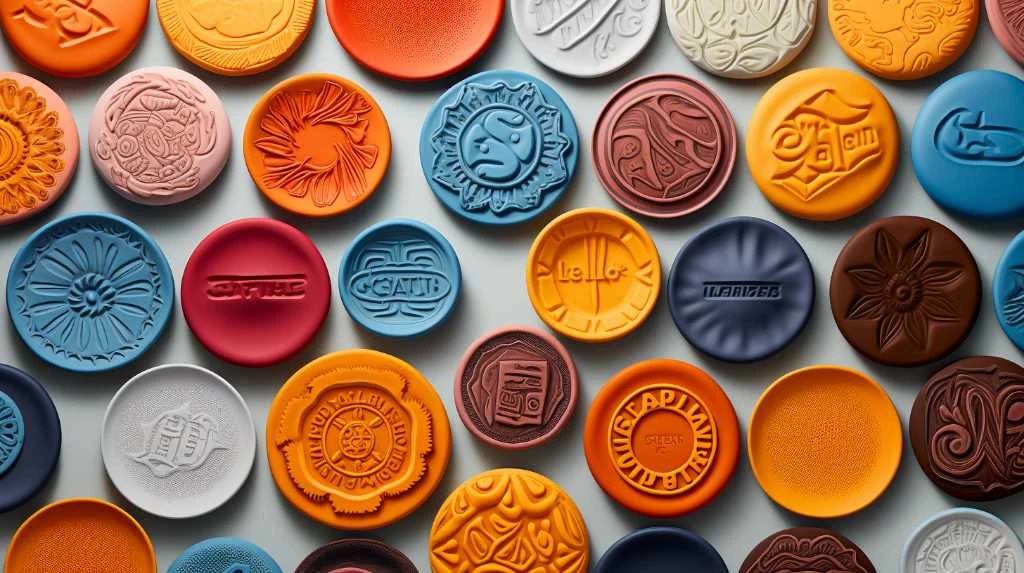
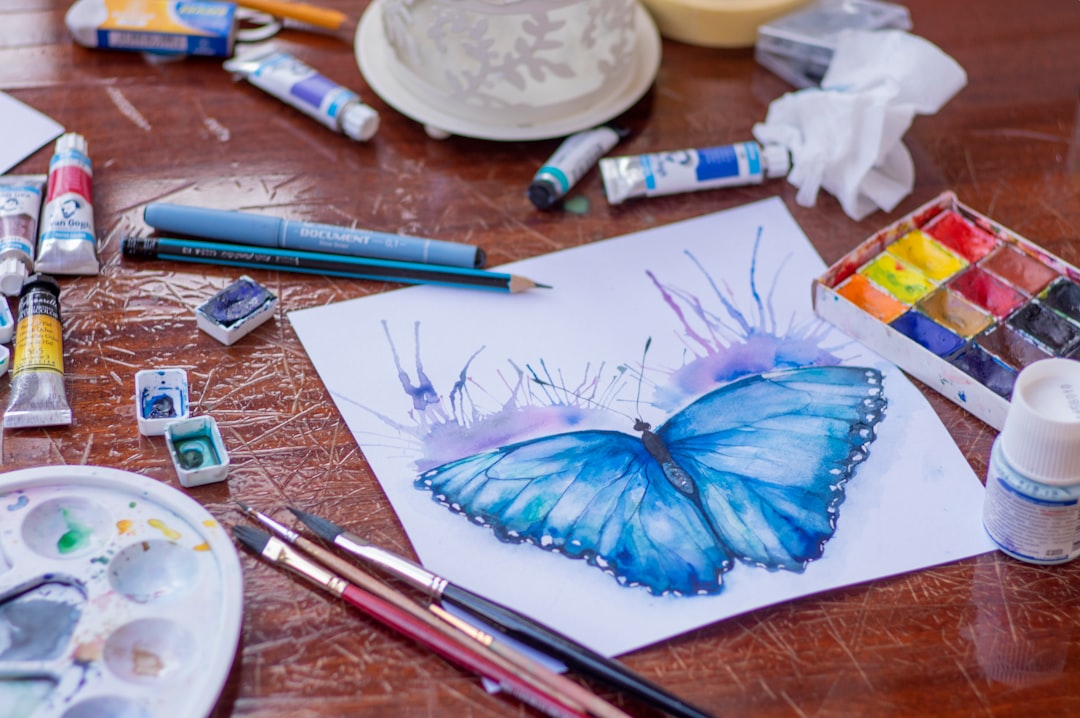
A Canvas for Mixed Media
One of the most exciting characteristics for you, the artist, is air dry clay’s incredible compatibility with other artistic mediums. It’s not just a standalone material; it’s a foundation. Once your piece is fully dry, it transforms into a blank canvas, eager to be adorned and embellished. You can embed small objects into it while it’s wet, paint it with a vast array of colors, or even add textures and glitter. This versatility means your creative options are almost limitless, allowing you to combine different techniques and materials to achieve truly unique results.
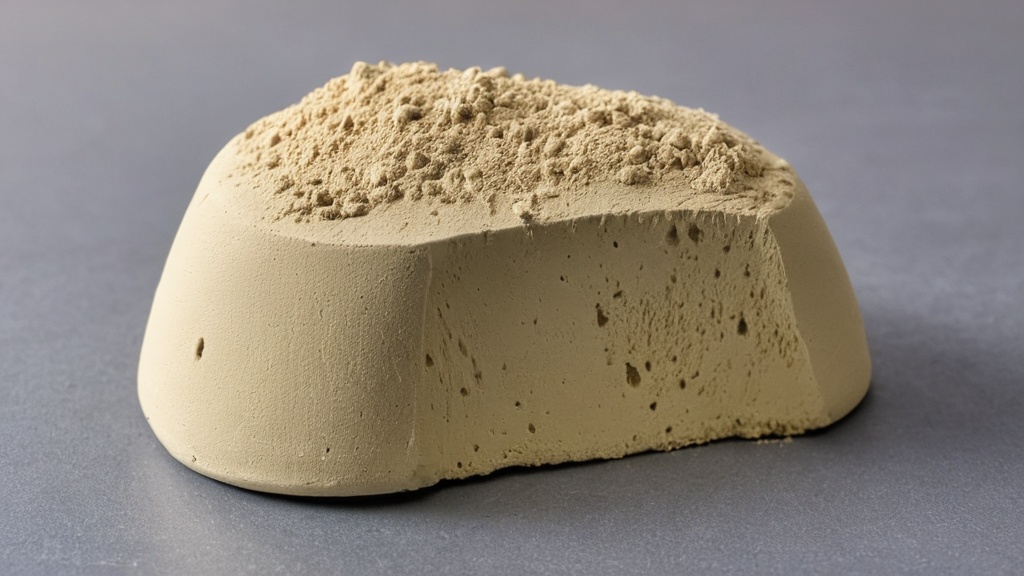
Mastering the Art of Drying
The drying process is arguably the most critical stage in working with air dry clay. This is where your patience is tested, and your understanding of shrinkage and moisture evaporation comes into play. Fail to dry your piece correctly, and you risk cracks, warping, or even breakage.
The 24-Hour Rule (and its Realities)
A common guideline you’ll hear is “24 hours per centimeter of thickness.” While this is a helpful starting point, you should view it more as a minimum than a strict rule. Environmental factors like humidity, temperature, and even the type of clay can significantly influence drying times. A thin, small piece might be dry in a couple of days, while a larger, thicker sculpture could take a week or even longer to fully cure. Your best bet is to check your piece regularly, feeling for coolness (indicating moisture) and observing its ever-so-subtle color change as it lightens while drying.
Timing for Different Scales
- Small, thin pieces (e.g., jewelry components, small figurines): You can generally expect these to be bone dry within 2 to 3 days.
- Medium-sized objects (e.g., bowls, small sculptures): These might take 4-7 days to fully cure, depending on their overall volume and thickness.
- Large, thick constructions (e.g., robust containers, intricate statues): Prepare for a waiting game, as these could easily take over a week, sometimes two, to completely dry. Patience is your greatest tool here.
The Virtue of Slow Drying
While it might be tempting to speed up the drying process – perhaps by putting your piece in direct sunlight, near a heater, or even in a low oven – you must resist this urge. Rapid drying is the leading cause of cracking in air dry clay. When the surface dries too quickly, it shrinks faster than the interior, creating tension that inevitably leads to fissures and cracks.
Why Slow is Better
Imagine a sponge. If you quickly dry the outside, the inside is still plump with water. The rapidly shrinking exterior pulls on the still-moist interior, causing stress. Similarly, with air dry clay, slow and even drying allows the moisture to evaporate at a consistent rate from both the surface and the core of your piece. This minimizes differential shrinkage and greatly reduces the likelihood of cracks forming. Place your drying pieces in a cool, dry area away from direct heat sources, drafts, or intense sunlight.
The Art of the Flip
To promote even drying and prevent warping, you should get into the habit of gently flipping your pieces every 12 to 24 hours during the initial drying phase. If a piece dries predominantly on one side, that side will shrink more and faster, potentially pulling or bending the still-wet side. By regularly turning your sculpture, you expose all surfaces to the air, allowing for a more uniform moisture release and a more stable, crack-free result. This simple technique dramatically improves the structural integrity of your finished sculpture.
Conquering Common Challenges
Like any artistic medium, air dry clay presents its own set of challenges. However, with a little knowledge, you can anticipate these issues and apply effective solutions, ensuring your creative journey remains smooth and rewarding.
The Dreaded Crack
Cracking is arguably the most common and disheartening problem you’ll encounter with air dry clay. It’s almost always a symptom of uneven drying or excessive moisture.
Preventing Cracks from the Start
- Mind your water usage: While you might need a little water to smooth seams or attach pieces, use it sparingly. Excess water weakens the clay and increases shrinkage, leading to cracks.
- Build in layers: For thicker sculptures, consider building them in hollow forms or attaching smaller, partially dried pieces rather than trying to sculpt a massive, solid block. This reduces the interior moisture content.
- Slow it down: As discussed, ensure your drying environment is cool, dry, and free from direct heat or drafts.
- Score and slip: When joining two pieces of clay, score both surfaces with a tool (like cross-hatching) and apply a small amount of clay slip (clay mixed with water to a creamy consistency) to create a strong bond that’s less prone to separation-induced cracks.
Repairing the Damage
Even with the best precautions, you might still find a crack in your dried piece. Don’t despair!
- Clay slip salvation: For small to medium cracks, mix a fresh batch of air dry clay with a little water until it forms a thick, smooth paste – your clay slip. Work this slip into the crack with a small tool or your finger, smoothing it over. Allow it to dry slowly again. You might need to repeat this process a couple of times for deeper fissures.
- Sanding and filling: For very fine cracks, you can often sand them down a bit after the piece is fully dry, then fill with model putty or even a thick layer of paint/primer if it’s purely cosmetic.
The Fragility Factor
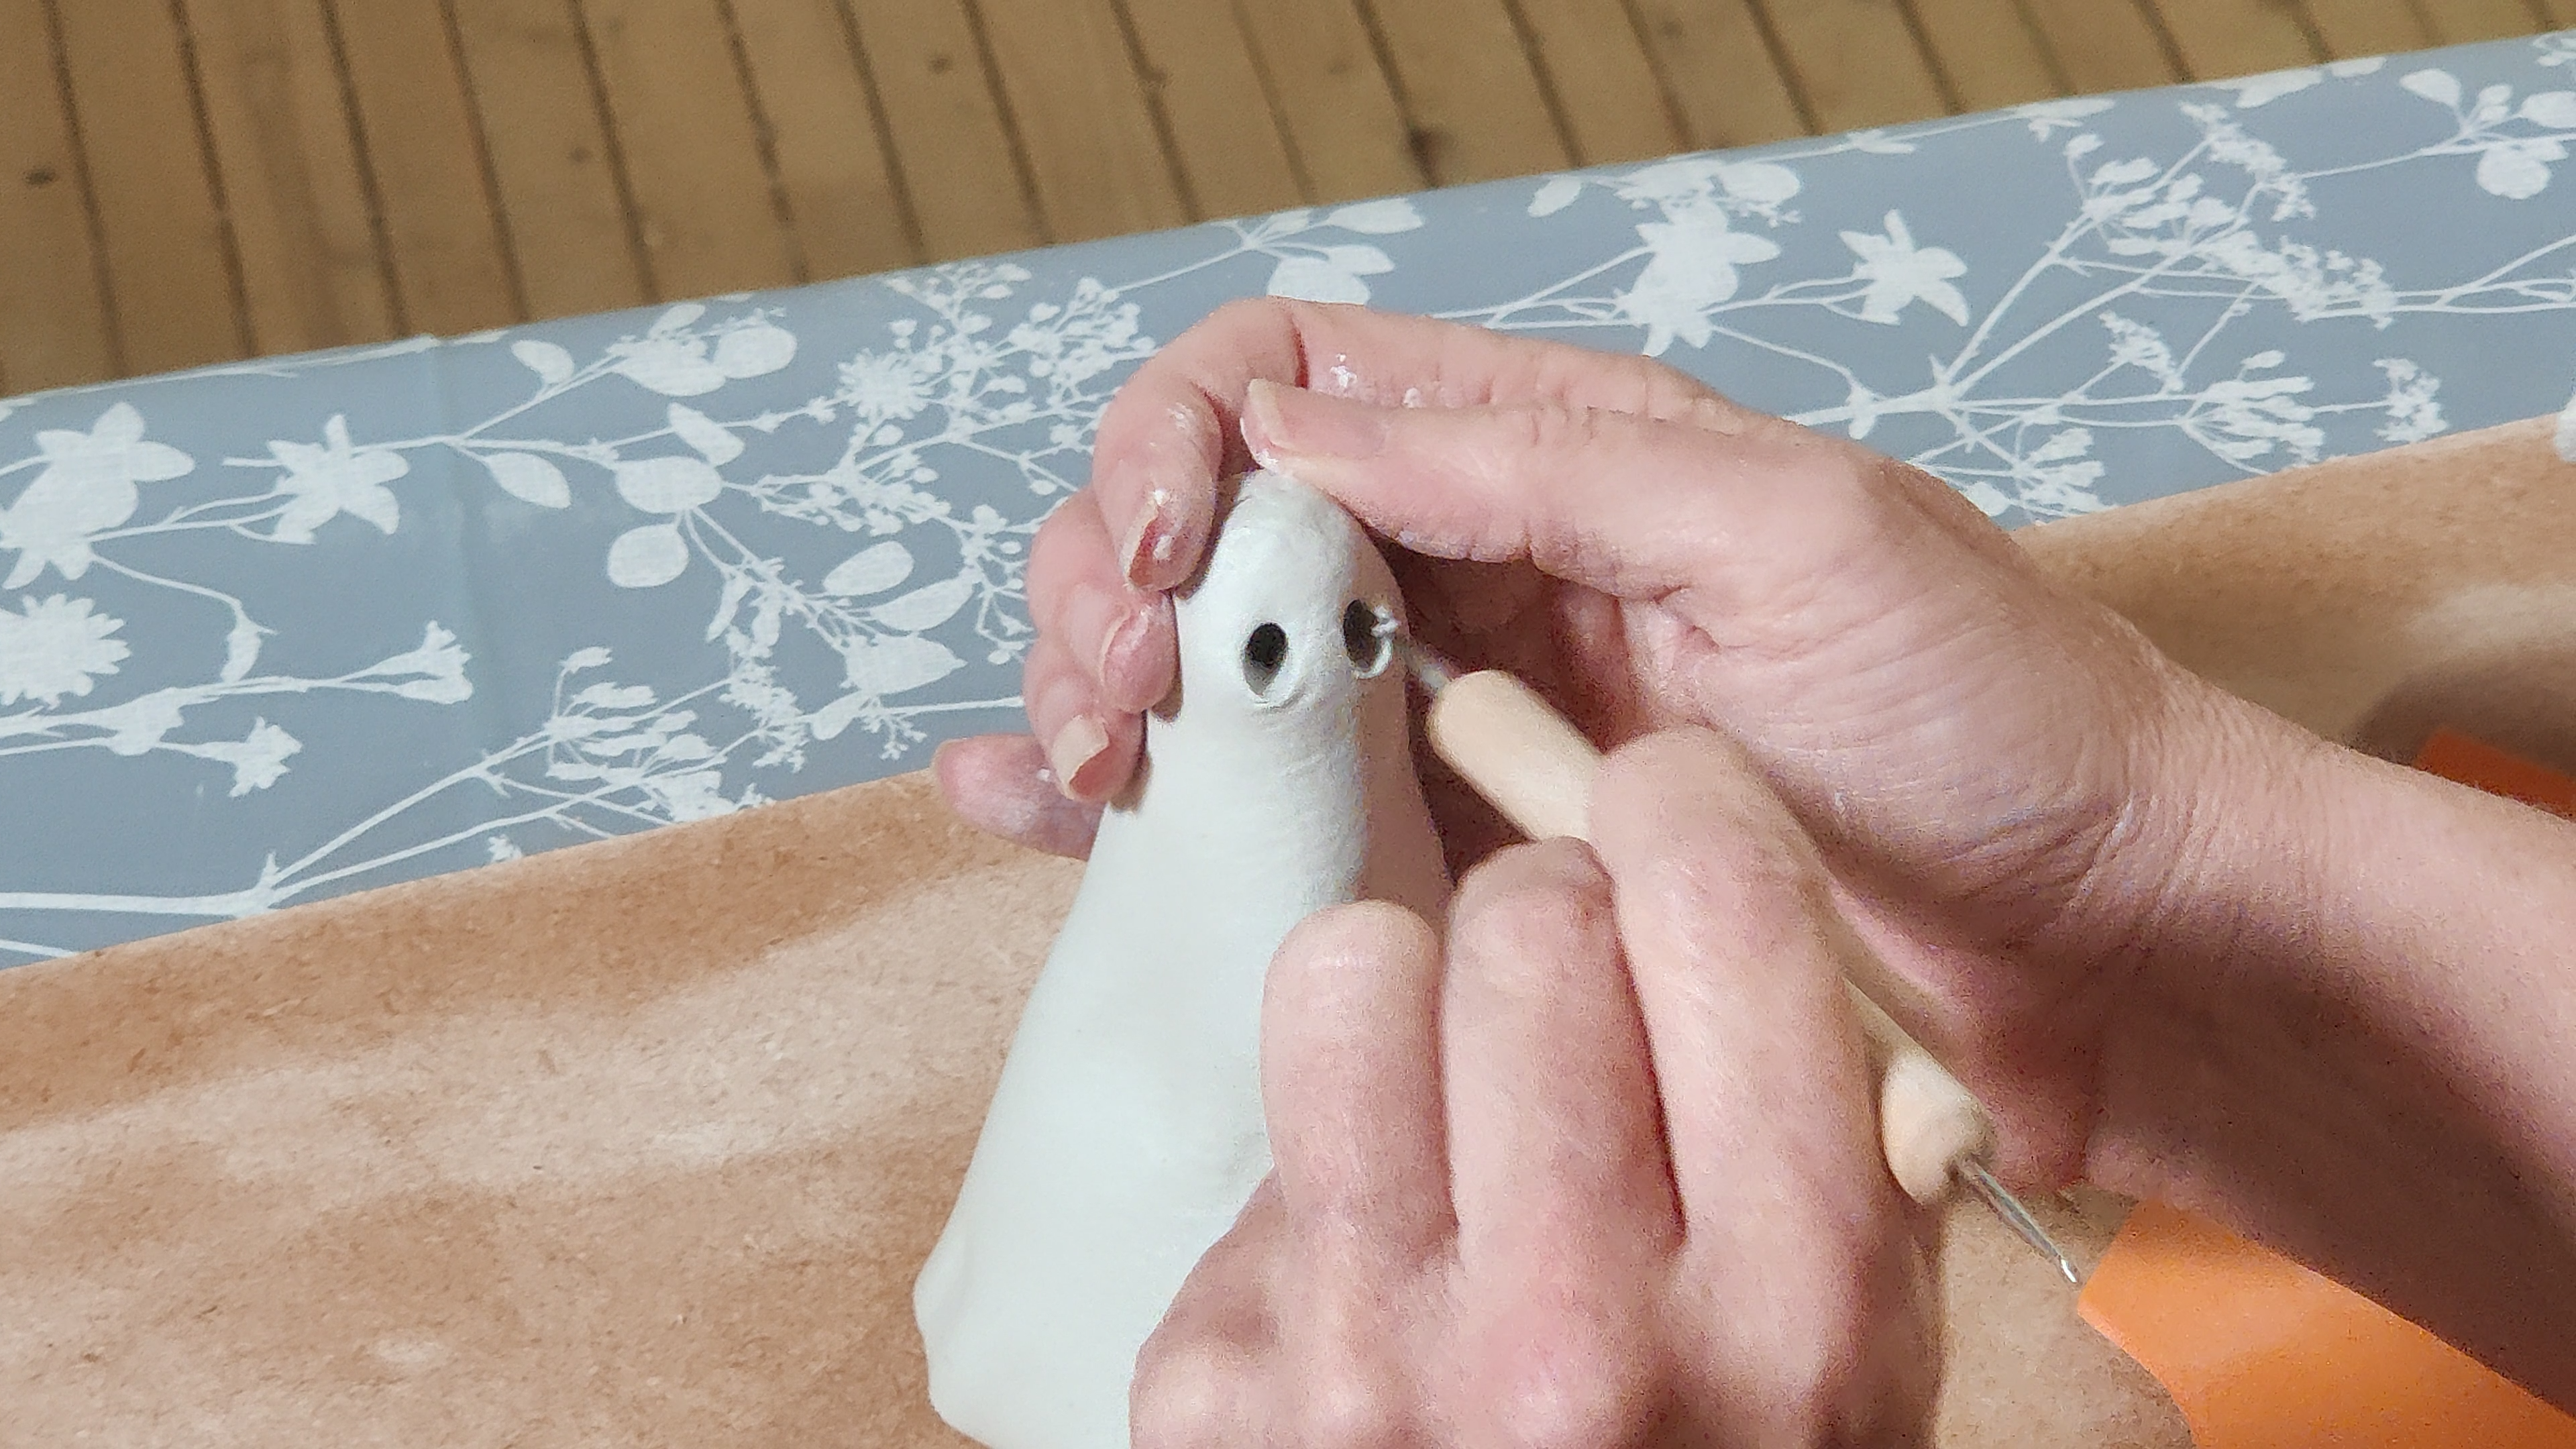
Another characteristic you’ll quickly discover is that air dry clay, while hardening, can be somewhat fragile, particularly in thin sections. Delicate appendages like outstretched fingers, thin animal legs, or intricate ears are prone to breaking off with even a minor knock.
Reinforcing Weak Spots
- Armatures: For sculptures with thin, protruding parts, you should consider building an armature (an internal support structure) first. Wire, aluminum foil, or even wooden skewers can provide structural integrity. Sculpt the clay around these supports, making your thin elements much stronger.
- Thicken up: Where possible, subtly thicken delicate areas. A slightly chunkier finger, for instance, will be far more resilient than an ultra-thin one, often without detracting from the overall aesthetic.
- Layering: Instead of sculpting a thin part in one go, you can build it up in thin layers, allowing each layer to firm up a bit before adding the next. This creates a denser, stronger form.
The Art of Finishing and Protection
| Property | Value |
|---|---|
| Material | Clay mixed with water-based substances |
| Drying Time | 24-48 hours |
| Color | White or natural clay color |
| Usage | Modeling, sculpting, and crafting |
| Finish | Matte or glossy, depending on sealant |
Once your air dry clay creation is bone dry and any repairs have been made, you enter the exciting phase of finishing and protection. This is where you bring your piece to life with color and ensure its longevity.
Smoothing the Way: Sanding
You’ll notice that dried air dry clay, while generally smooth, can have rough patches, fingerprints, or tool marks. Gentle sanding is your answer.
The Sanding Process
- Patience and fine grit: Start with a medium-grit sandpaper (around 120-180 grit) to remove larger imperfections, then move to a finer grit (220-320) for a silky-smooth finish.
- Dust considerations: Sanding clay creates fine dust. You should wear a mask to avoid inhaling it and sand in a well-ventilated area or outdoors.
- Minimalism is key: Air dry clay isn’t as robust as wood or fired ceramics, so sand minimally and delicately to avoid damaging the integrity of your piece, especially thin areas.
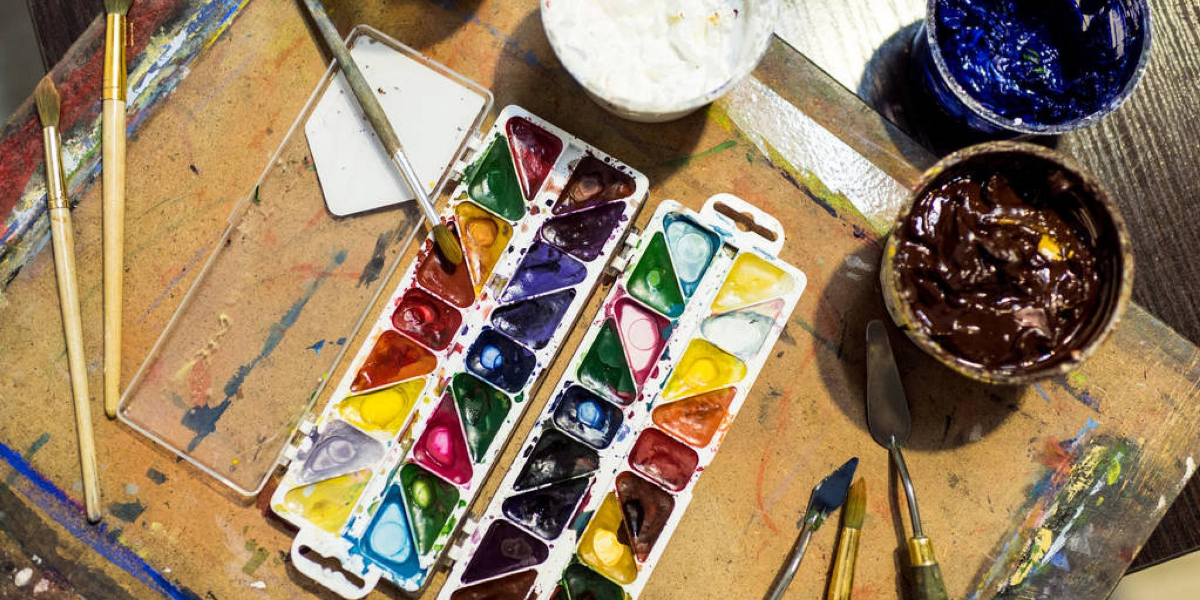
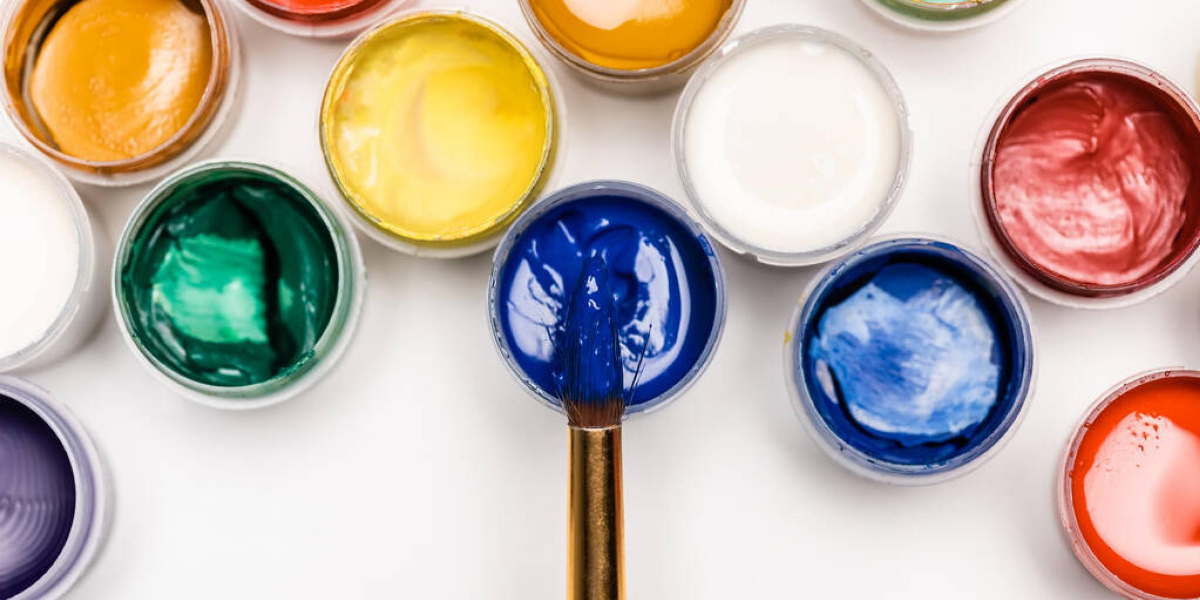
Unleashing the Color: Painting
Air dry clay is an incredibly receptive canvas for paint. Once fully dry and sanded, it eagerly soaks up color.
Your Painting Palette
- Acrylic paints: These are your go-to. They’re non-toxic, dry quickly, offer a vast range of colors, and clean up easily with water. You can achieve vibrant hues, subtle washes, or intricate details.
- Oil paints: If you prefer the rich, blendable quality and longer drying time of oils, you can certainly use them. Just be aware they require specific thinners and longer curing times.
- Priming for perfection: For a truly vibrant and even paint job, consider applying a thin coat of gesso or white acrylic primer before painting. This creates a uniform base and prevents the clay from “drinking” too much of your expensive paint.
The Indispensable Seal: Varnishing
This step is non-negotiable for most air dry clay projects. Sealing your piece with a varnish or clear coat serves multiple crucial purposes.
Why Varnish is Your Friend
- Protection: It creates a protective barrier against moisture, dust, dirt, and everyday wear and tear. Without it, your piece could absorb humidity and potentially soften or attract grime.
- Strengthening: A good quality varnish can add a surprising amount of structural integrity and durability, especially to slightly more delicate pieces. It helps bind the surface particles together.
- Aesthetic enhancement: Varnishes come in various finishes – matte, satin, or glossy – allowing you to choose the look that best complements your artwork. A glossy finish can make colors pop, while a matte finish provides a more natural, subtle look.
- Application: Apply your varnish in thin, even coats, allowing each coat to dry completely before adding the next. Multiple thin coats are always better than one thick, gloopy layer.
Beyond the Basics: Embellishments
Your finished air dry clay piece isn’t just about the clay itself. You can easily integrate other elements to enhance its appeal.
Attaching Accessories
- Glue gun magic: For attaching hardware, magnets, hooks, or other decorative elements (like sequins, beads, or fabric), a hot glue gun is your best friend. It provides a strong, instant bond to the sealed clay surface.
- Epoxy adhesive: For heavier items or bonds that need exceptional strength and durability, a two-part epoxy adhesive is a superior choice.
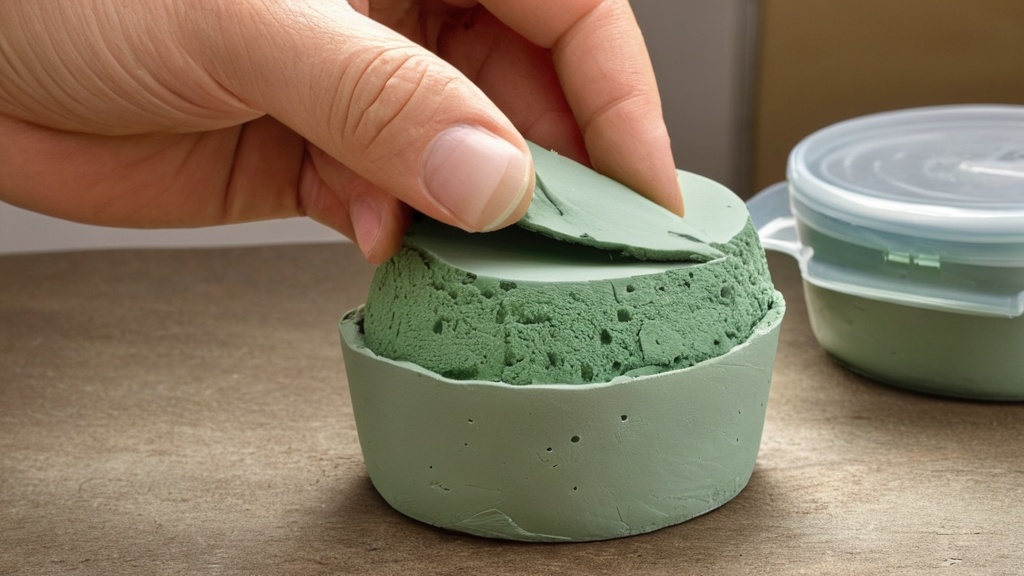
Safeguarding Your Unused Clay
Proper storage is key to ensuring your air dry clay remains workable and ready for your next creative outburst. Nothing is more frustrating than reaching for your clay only to find it rock-hard and unusable.
Keeping it Fresh: The Wrap-and-Seal Method
Your primary goal for storing unused air dry clay is to prevent moisture loss.
The Storage Protocol
- Damp cloth: Take any leftover clay and wrap it snugly in a damp (but not dripping wet) paper towel or a clean tea towel. The slight moisture helps maintain the clay’s pliability.
- Airtight barrier: Immediately after wrapping, place the dampened, clay-filled towel into several layers of plastic cling wrap. Ensure there are no air pockets.
- Double protection: For even better results, place the cling-wrapped clay into an airtight resealable plastic bag or a rigid airtight container. This double-layer protection is your best defense against drying out.
- Longevity: Stored this way, your air dry clay can remain workable for several weeks, if not months, depending on the initial moisture content and the quality of your seal.
- Rehydrating dry bits: If you find a small piece of clay has dried out slightly, you can try misting it lightly with water, kneading it, and then storing it using the method above. This often revives it enough for use.
In conclusion, air dry clay offers you a wonderfully accessible and versatile gateway into the world of sculpting. Its ease of use, non-toxic nature, and compatibility with various finishing techniques make it an outstanding medium for artists of all levels. By understanding its key characteristics, mastering the drying process, tackling common issues, and applying proper finishing and storage techniques, you can confidently create a stunning array of durable and beautiful artworks. So grab a block, roll up your sleeves, and let your imagination take shape!
FAQs
What is air dry clay?
Air dry clay is a type of modeling clay that does not require a kiln or oven to cure. It dries and hardens at room temperature, making it a convenient option for artists and crafters.
What are the different types of air dry clay?
There are several types of air dry clay, including paper-based clay, polymer-based clay, and natural clay. Each type has its own unique properties and is suitable for different types of projects.
How do you use air dry clay?
To use air dry clay, you simply mold and shape it into your desired form using your hands or sculpting tools. Once you are satisfied with your creation, allow it to dry completely at room temperature. Depending on the type of clay, this process can take anywhere from a few hours to a few days.
What can you make with air dry clay?
Air dry clay can be used to create a wide variety of items, including sculptures, jewelry, ornaments, and decorative objects. It is a versatile medium that can be painted, varnished, and embellished to achieve different effects.
How do you store air dry clay?
To keep air dry clay fresh and pliable, it should be stored in an airtight container or sealed plastic bag when not in use. This will help prevent it from drying out prematurely and becoming unusable.