Embroidery, the craft of decorating fabric or other materials using a needle to apply thread or yarn, has a history spanning millennia. From ancient garments to contemporary art pieces, its presence is enduring. For those new to the practice, the initial steps can seem daunting. This guide aims to demystify the process, offering a practical approach to learning fundamental techniques.
Before the first stitch, assembling the right tools is crucial. Quality materials can enhance the learning experience and improve outcomes.
Choosing Your Fabric
Fabric selection impacts both the ease of stitching and the final appearance.
- Cotton or Linen: These natural fibers are often recommended for beginners. Their weave is generally stable, making it easy to count threads and maintain tension. Cotton broadcloth, unbleached muslin, or linen blends are good starting points.
- Aida Cloth: Specifically designed for counted cross-stitch, Aida cloth has a distinct grid pattern, making it beginner-friendly for certain types of embroidery. Its stiffness can be a drawback for more fluid designs.
- Evenweave Fabrics: These offer a more refined appearance than Aida but still have an easily countable weave. They come in various blends and thread counts.
- Stabilizer: For knit fabrics or more delicate materials, a stabilizer applied to the back can prevent distortion and provide a firm surface for stitching. There are various types, including tear-away, cut-away, and wash-away.
Selecting Your Threads
Embroidery threads come in a multitude of fibers and weights.
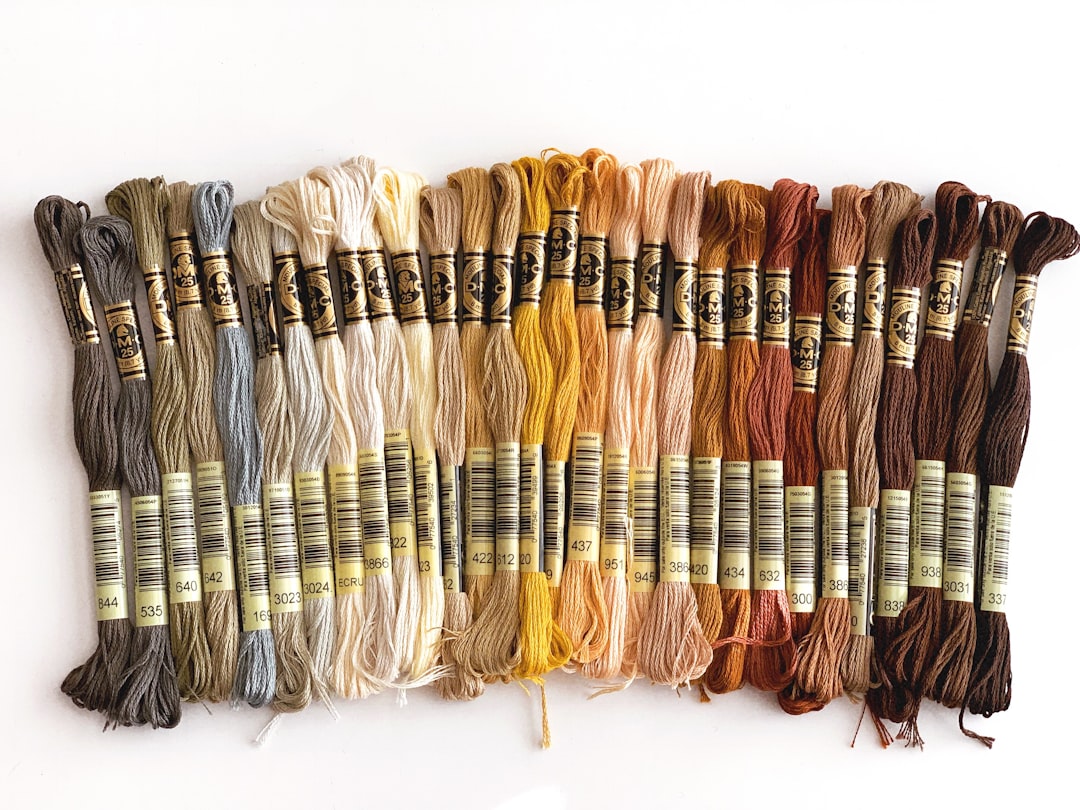
- Stranded Cotton Floss (DMC or Anchor): This is the most common and versatile thread for surface embroidery. It consists of six individual strands that can be separated, allowing for variations in thickness and texture. DMC and Anchor are two widely available brands known for their colorfastness.
- Perle Cotton: A non-divisible, mercerized cotton thread with a lustrous finish. It’s often used for bolder outlines or textural stitches. It comes in various weights (sizes), with larger numbers indicating finer threads.
- Silk Thread: Valued for its sheen and strength, silk thread is a more luxurious option. It requires a gentle hand as it can snag and fray more easily than cotton.
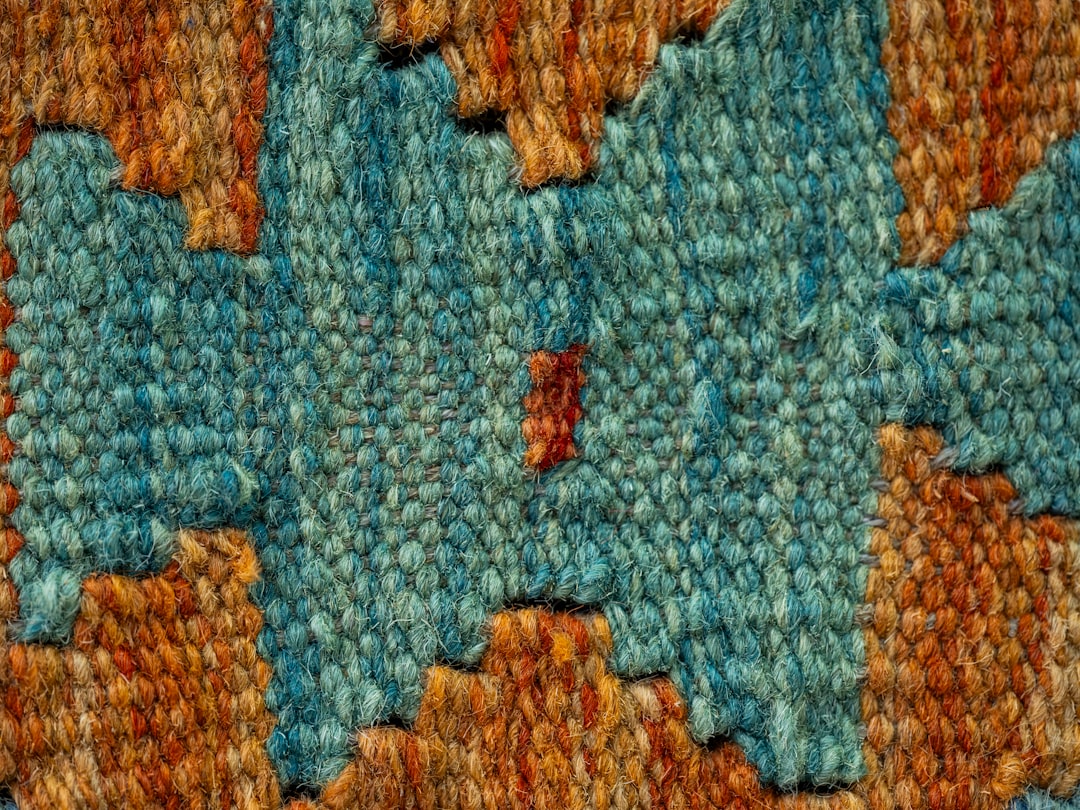
- Wool Thread: Used for crewel embroidery, wool thread offers a soft, textured finish. It’s usually heavier than cotton floss.
- Metallic Threads: These threads add sparkle and can be challenging to work with due to their tendency to unravel or kink. A thread conditioner can help.
Hoops and Frames
Embroidery hoops keep the fabric taut, which is essential for even tension.
- Wood Hoops: Traditional and widely used, wood hoops often have a metal screw to adjust tension. Sizes range from small to large.
- Plastic Hoops: Lighter and sometimes less expensive, plastic hoops can also provide good tension. Some have a lip that helps grip the fabric.
- Q-Snaps: These frames use plastic clamps to hold the fabric taut. They are often preferred for larger projects as they don’t crease the fabric as much as traditional hoops.
- Stretcher Bars: For substantial projects, wooden stretcher bars can be assembled to create a square or rectangular frame, to which fabric is stapled or sewn.
Needles
Needle choice depends on the fabric and thread type.
- Embroidery Needles (Sharps): These have a sharp point for piercing fabric and typically a longer eye for easier threading of embroidery floss. They come in various sizes; a higher number indicates a finer needle.
- Tapestry Needles: These have a blunt point and a larger eye, making them suitable for counted thread work (like cross-stitch) where the needle passes between threads of the fabric, rather than through them.
- Chenille Needles: Similar to tapestry needles but with a sharp point, they are used for thicker threads and open-weave fabrics.
Other Tools
- Small, Sharp Scissors: Essential for precise thread cutting.
- Thimble: Protects your finger when pushing the needle through dense fabric.
- Water-Soluble Pen or Pencil: For transferring designs to fabric. Always test on a scrap piece first.
- Light Source: Good lighting reduces eye strain and helps with visibility.
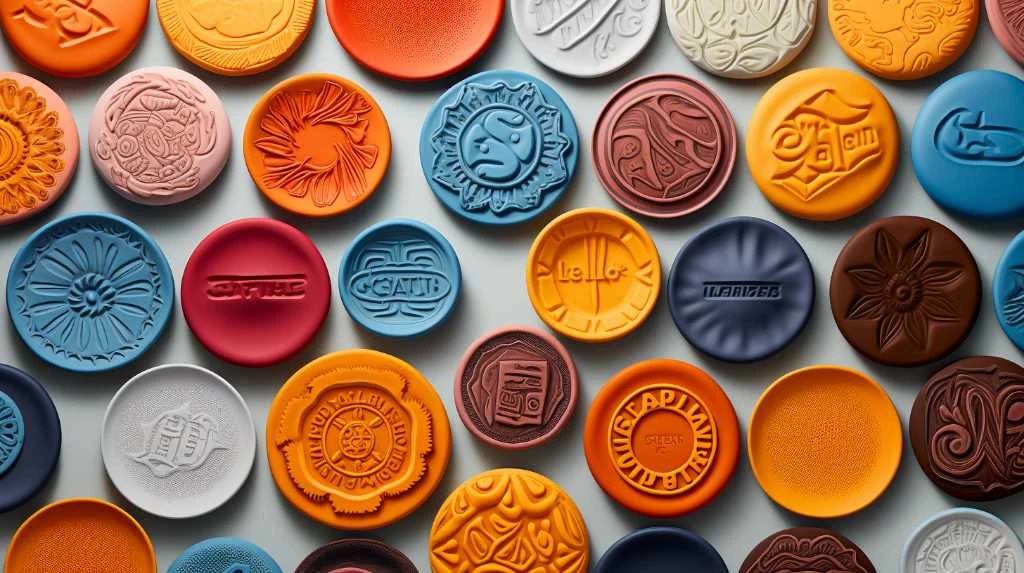
If you’re interested in exploring more creative projects that complement your embroidery skills, you might find this article on making air dry clay beads particularly inspiring. These beads can be a fantastic addition to your embroidery work, allowing you to incorporate unique, handmade elements into your designs. Check out the article here: How to Make Air Dry Clay Beads.
Fundamental Stitches for Beginners
Mastering a few basic stitches provides a foundation for more complex designs. Practice these on scrap fabric until you achieve consistent tension and stitch length.

COMPLETE EMBROIDERY KIT FOR BEGINNERS: 5 pre-printed floral embroidery patterns, a 7-inch adjustable embroidery hoop, 19 vibrant threads, 9 needles, a threader, a seam ripper and 5 detailed instructions.
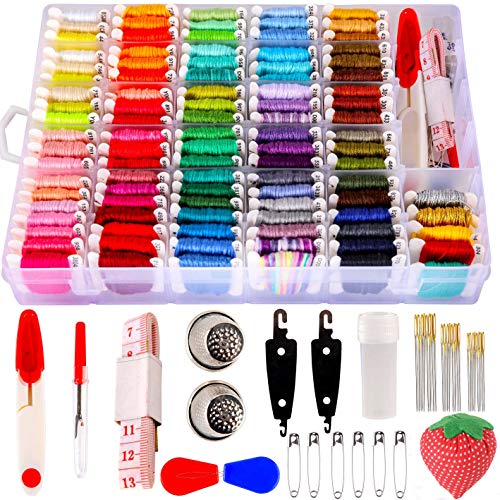
【EMBROIDERY FLOSS KIT】- Friendship bracelet string kit includes 100colors 8m six-strand mercerized embroidery floss Re-wound on bobbins+100 embroidery cross stitch tools that is great for friendship bracelets making and Embroidery&DIY project .

Cross Stitch Beginners Kits: Includes 6 pcs cross stitch hoops, 1 pcs vintage scissors, 1 pcs large seam ripper, 12 pcs bobbins, 45 pcs embroidery needles, 3 pcs thimbles, 3 pcs needle threaders, and 1 pcs measuring tape. Basic cross stitch tool kit, multiple cross-stitch hoop sizes to meet your daily use needs
The Running Stitch
The running stitch is one of the simplest and most versatile stitches. It creates a dotted line.
- Bring the needle up from the back of the fabric.
- Go back down a short distance away.
- Come up again a short distance from where you went down.
- Repeat, creating a series of even stitches and gaps.
The Backstitch
The backstitch creates a solid, continuous line, often used for outlines or lettering.
- Bring the needle up from the back.
- Go back down a short distance away.
- Bring the needle up again an equal distance past where you went down.
- Insert the needle back into the hole created by the end of the previous stitch.
- Repeat, working backwards along the line.
The Stem Stitch
Used for graceful lines, especially for plant stems or flowing outlines, the stem stitch has a rope-like texture.
- Bring the needle up from the back.
- Take a small stitch forward.
- Before pulling the thread completely through, bring the needle up mid-way below the line you are stitching, with the working thread kept to one side (usually below the needle).
- Pull the thread through.
- Repeat, ensuring consistent stitch length and thread placement.
The Satin Stitch
The satin stitch fills an area with smooth, close-together stitches, creating a satin-like texture.
- Outline the area to be filled with backstitch or a fine running stitch for definition.
- Bring the needle up at one edge of the outlined area.
- Go down at the opposite edge, keeping the stitch taut and flat.
- Bring the needle up very close to the start of the previous stitch.
- Repeat, maintaining consistent tension and direction, ensuring stitches lie parallel and without gaps.
The French Knot
French knots add texture and dimension, often used for eyes, flower centers, or decorative accents.
- Bring the needle up from the back of the fabric.
- Hold the thread taut with your non-dominant hand.
- Wrap the thread around the needle two or three times (more wraps create a larger knot).
- Insert the needle back into the fabric very close to where it emerged (not the same hole, or it might pull through).
- Keep the wraps tight around the needle and push the needle through to the back, pulling the thread taut until the knot is formed on the surface.
Preparing Your Project: Design and Setup
Careful preparation can prevent frustration and improve the outcome of your embroidery.
Choosing and Transferring Your Design
Starting with a simple design is advisable.
- Pre-Printed Fabric: Many beginner kits come with designs already printed on the fabric.
- Heat-Transfer Pens/Pencils: Draw your design on paper, then iron it onto the fabric. Test on scrap fabric first to ensure it’s removable.
- Water-Soluble Pens/Pencils: Use these to draw directly onto the fabric.
- Light Box or Window Method: Place your fabric over your design on a light source (like a window or light box) and trace with a water-soluble pen.
- Carbon Paper for Fabric: Similar to regular carbon paper, but designed for fabric, it transfers an outline when pressed.
- Printer Fabric Sheets: Print your design directly onto fabric sheets compatible with inkjet printers. These are often wash-away or permanent.
Securing the Fabric in the Hoop
Proper hooping prevents puckering and maintains even tension.
- Separate the inner and outer rings of the hoop.
- Place the outer ring flat on a surface.
- Center your fabric over the outer ring, ensuring the design is positioned as desired.
- Place the inner ring on top of the fabric.
- Press the inner ring down firmly into the outer ring, ensuring the fabric is caught evenly on all sides.
- Tighten the screw on the outer ring.
- Gently pull the fabric taut around the edges, without distorting the weave. Re-tighten the screw if necessary. The fabric should feel like a drum skin. During a long session or break, it’s often advisable to unhoop the fabric to prevent lasting hoop marks.
Threading the Needle and Knotting
Correct threading and knotting help maintain neatness.
- Threading: Cut an arm’s length of floss (approx. 18-24 inches) to prevent tangling. Separate the desired number of strands, wet the end slightly, and pinch it flat to guide it through the needle’s eye. A needle threader can be helpful.
- Starting with a Knot: For beginners, a small knot at the end of the thread is common. Create a simple overhand knot, trimming any excess tail. For a neater finish, some embroiderers avoid knots by taking a few tiny stitches from the back in the area to be covered, or by catching the tail under later stitches.
- Ending a Thread: When nearing the end of a thread, run the needle under several stitches on the back of the fabric to secure it, then trim the excess close to the fabric. Avoid tying a knot on the back if possible, as it can create bulk.
Understanding Thread Management and Tension
Consistent tension and careful thread handling are critical for neat embroidery.

Package:The cross stitch set come with 200 different colors embroidery floss, 48 pcs embroidery needles, 4 pcs cross stitch needle-threading tools,3 pcs pin cushions, 2 pcs metal sewing thimble, 2 pcs water-soluble pens,1 pcs untwist tool, 1 pcs scissors, 1 transparent organizer storage box and other accessories.

ALL-IN-ONE EMBROIDERY STARTER KIT - Embroidex starter kit provides you a cost-effective way to start from scratch with your new embroidery machine. The kit is has a thoughtful selection of all the essential embroidery paraphernalia that you would need to start with your first project - the kit ensures that you need to look no further to start with.
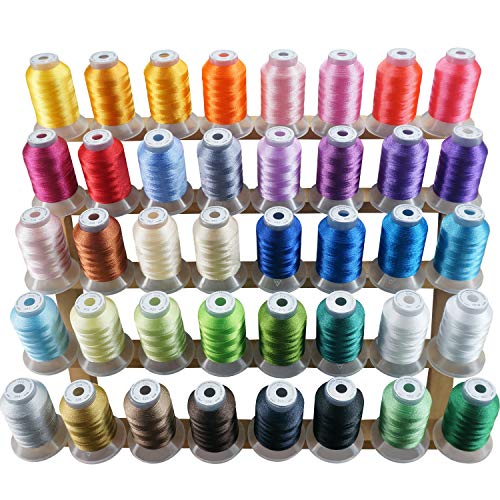
★ 40 SPOOLS PER KIT + COLOR CHART - 40 spools great assorted bright and beautiful colors Polyester Embroidery Machine Thread to brighten and beautify all sort of your embroidery projects. Using Color Chart to find compatible with Brother Color No. and name, Conversion Chart of Madeira is also available.
Managing Thread Length
- Optimal Length: An ideal thread length is about 18-24 inches (45-60 cm). Longer threads are prone to tangling, knotting, and fraying, particularly silk or metallic threads. Shorter threads mean more frequent re-threading.
- Fraying: If your thread starts to fray, this can indicate dry hands, a rough needle eye, or simply too much manipulation. A little beeswax or thread conditioner can help.
Achieving Consistent Tension
- Even Pull: Each stitch should be pulled with uniform tension. Too loose, and stitches look baggy; too tight, and the fabric puckers. The goal is to lay the thread smoothly on the fabric’s surface, without pulling the fabric out of shape.
- Hoop Tightness: A taut hoop is essential. If the fabric loosens in the hoop, re-tighten it.
- Hand Position: The non-dominant hand typically holds the hoop and helps guide the fabric, while the dominant hand manages the needle and thread. Practice makes this co-ordination smoother.
Separating Strands
- DMC/Anchor Floss: Common stranded floss is made of six individual strands. Most patterns specify how many strands to use. To separate, pull one strand upwards while holding the remaining strands taut. They should “unzip” without tangling.
- Varying Thickness: Using fewer strands (e.g., 1 or 2) gives a finer, more delicate line. More strands (e.g., 3, 4, or 6) create a bolder, heavier effect. This choice significantly impacts the final look of a piece.
Avoiding Knots and Tangles
- Keep Thread Straight: As you stitch, allow the needle and thread to hang freely occasionally, letting the thread untwist. This prevents the formation of knots and twists.
- Gentle Pull: Don’t tug aggressively on the thread. A smooth, controlled pull is more effective.
- “Parking” the Thread: For complex pieces with many color changes, embroiderers might “park” threads (leaving them threaded in a needle, taped to the fabric) to avoid re-threading.
If you’re interested in exploring creative crafts, you might enjoy learning about the art of embroidery, which offers a unique way to express your artistic flair. For those looking to combine different crafting techniques, you can find inspiration in this article about making an adorable one-eyed orange cat from air-dry clay. Check it out here to see how you can incorporate various materials into your projects.
Care and Finishing Your Embroidery
| Metrics | Value |
|---|---|
| Embroidery Stitches per Minute | 500-1000 |
| Embroidery Machine Speed | 600-1000 stitches per minute |
| Thread Colors | Up to 15 colors |
| Embroidery Hoop Sizes | 4×4, 5×7, 6×10 inches |
Once your stitches are complete, proper finishing ensures the longevity and presentation of your work.

Compatible with Brother Innovis VM6200D/VM5200/VM5100/VE2300/VE2200;Compatible with Brother Innovis 6750D/6700D/6000D/5000/4750D/4500D/4000D/4000/2800D/2500D/1500D/1500;Compatible with Brother Innovis NQ3700D/NQ3600D/NQ3500D/NQ1700E/NQ1600E/NQ1400E;Compatible with Brother Innovis NV870SE/NV800E/NV6000D/NV2650D/NV2600;Compatible with Brother Innovis XP3/XP2/XP1/XV/XV8550D/XV8500D/XJ1/XE1/Stellaire XJ2;Compatible with Brother Innovis BP3500D/BP2100/BP1400E;Compatible with Brother Innovis V7/V5/V5LE/V3/IE/I;Baby Lock Destiny/Aventura/Aerial;Baby Lock Esante/Ellageo Plus/Ellegante/Ellisimo;Baby Lock Flourish/Flare;Baby Lock Journey/Meridian/Pathfinder/Solaris/Spirit; Baby Lock Unity/Vesta.

This hoop set is compatible with Brother SE725 SE700 SE600 SE630 SE625 SE400 SE425 SE350 SE270D, PE550D PE540D PE400D PE270D PE545 PE535 PE430 PE460L PE525 PE500 PE300S SB7050E SB7500, LB5500 LB6770 LB6770PRW LB6800PRW LB6800THRD LB7000BNDL LB7000PRW LB6800 LB5000 HE1 HE-120 HE240 HE300, Brother Innovis 500D 900D 950D 990D Baby Lock Verve Sofia2 Innov-is NV180 RSE625, Brother Innov-is NV960DL Innov-is M230E Innov-is NV18E 6800PRW NV900 NV900D Innov-is 980D embroidery machines

Specification: Material: Rubber Plastic; Color: White, Brown; Inner Size:19x15cm / 7x5.9inch (LxW); Package List: 5 x Embroidery Hoops
Cleaning Your Embroidery
- Initial Check: Before washing, meticulously check for loose threads, smudges, or remaining transfer marks. Use a lint roller to remove surface debris.
- Washing: Most cotton embroidery can be hand-washed gently in cool water with a mild, pH-neutral soap (e.g., baby shampoo or a product specifically for delicate items). Dampen the fabric thoroughly, then gently agitate. Avoid scrubbing or twisting. If your threads are colorfast, there should be no bleeding. Always test a small area first if unsure.
- Rinsing: Rinse thoroughly under cool, running water until all soap residue is gone.
- Drying: Lay the embroidery flat on a clean, white towel. Roll the towel up to gently press out excess water. Unroll, then lay the piece flat on a dry towel or a clean, non-rusting surface to air dry. Never hang a wet embroidery, as it can stretch and distort.
Pressing Your Finished Piece
- Damp Press: It’s best to press embroidery when it’s slightly damp.
- Protection: Place the finished embroidery face down on a clean, padded surface (a soft towel works well). This protects the stitches from being flattened by direct iron contact.
- Iron Settings: Use a medium heat setting appropriate for the fabric type. Avoid steam directly on the embroidery unless absolutely necessary, as it can make stitches appear fuzzy.
- Gentle Application: Press the iron gently and evenly, lifting and moving rather than dragging. Do not iron directly on the stitches if possible.
Framing and Mounting
Choosing how to display your work completes the process.
- Hoop Display: For smaller pieces, the embroidery hoop itself can serve as a frame. Ensure the fabric is taut and neatly trimmed on the back, then gathered and secured with thread or felt.
- Traditional Framing: For a more formal presentation, standard picture framing can be used.
- Matting: A mat board can protect the embroidery from touching the glass and provide aesthetic spacing.
- Mounting: Archival methods involve lacing the embroidery over an acid-free foam core board. Adhesives should generally be avoided.
- UV Protective Glass: This helps prevent thread colors from fading over time due to light exposure.
- Pillow Covers, Bags, or Other Items: Your embroidery can be incorporated into functional items. Ensure the fabric and threads chosen are suitable for the intended use and will withstand potential washing or wear.
- Wall Hangings: Larger pieces can be finished simply with a rod pocket or secured to a decorative dowel for display.
Embroidery is a craft that rewards patience and practice. By starting with the right tools, mastering basic stitches, and giving attention to detail in preparation and finishing, beginners can create pieces of lasting quality and personal significance. The journey from a blank piece of fabric to a decorated textile is a gradual process of learning and refinement.