Your Journey into Air Dry Clay: A Comprehensive Guide
Welcome, aspiring sculptor! You’ve picked up a block of air dry clay, and a world of creative possibilities stretches out before you. Forget the kiln, the specialized tools, and the daunting learning curve of traditional pottery; air dry clay offers a forgiving and accessible entry point into the art of three-dimensional creation. This guide will walk you through every essential step, from preparing your clay to protecting your finished masterpiece, ensuring your first foray into this delightful medium is a resounding success. Get ready to transform a simple lump of pliable material into something entirely unique, crafted by your own hands.
Preparing for Your Air Dry Clay Adventure
Before you even touch the clay, a little preparation goes a long way in ensuring a smooth and enjoyable crafting experience. Think of it as laying the groundwork for your creative masterpiece.
Gathering Your Tools and Workspace
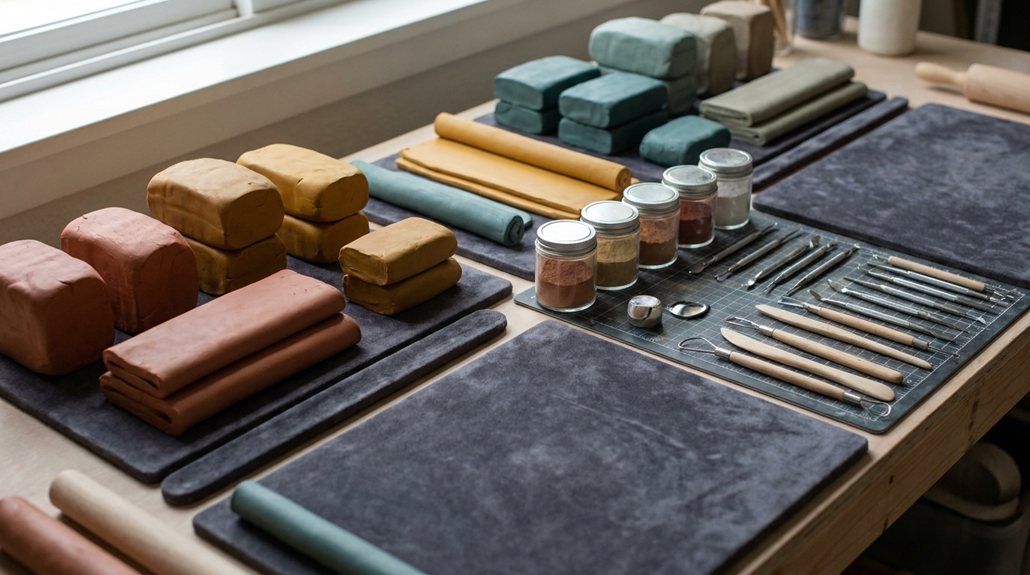
You don’t need a professional studio to work with air dry clay, but a few key items will make your process much easier.
- Your Workspace: Find a clean, flat surface. This can be a kitchen table, a desk, or even a sturdy cardboard box.
- Surface Protection: This is crucial! Air dry clay, while not overly messy, can stick to some surfaces. You’ll want to work on a wax paper, a silicone craft mat, a nonstick baking mat, or even a plain ceramic tile. These surfaces prevent the clay from adhering and make cleanup a breeze. Avoid porous surfaces like unfinished wood or fabric, as the clay might stick or leave residue.
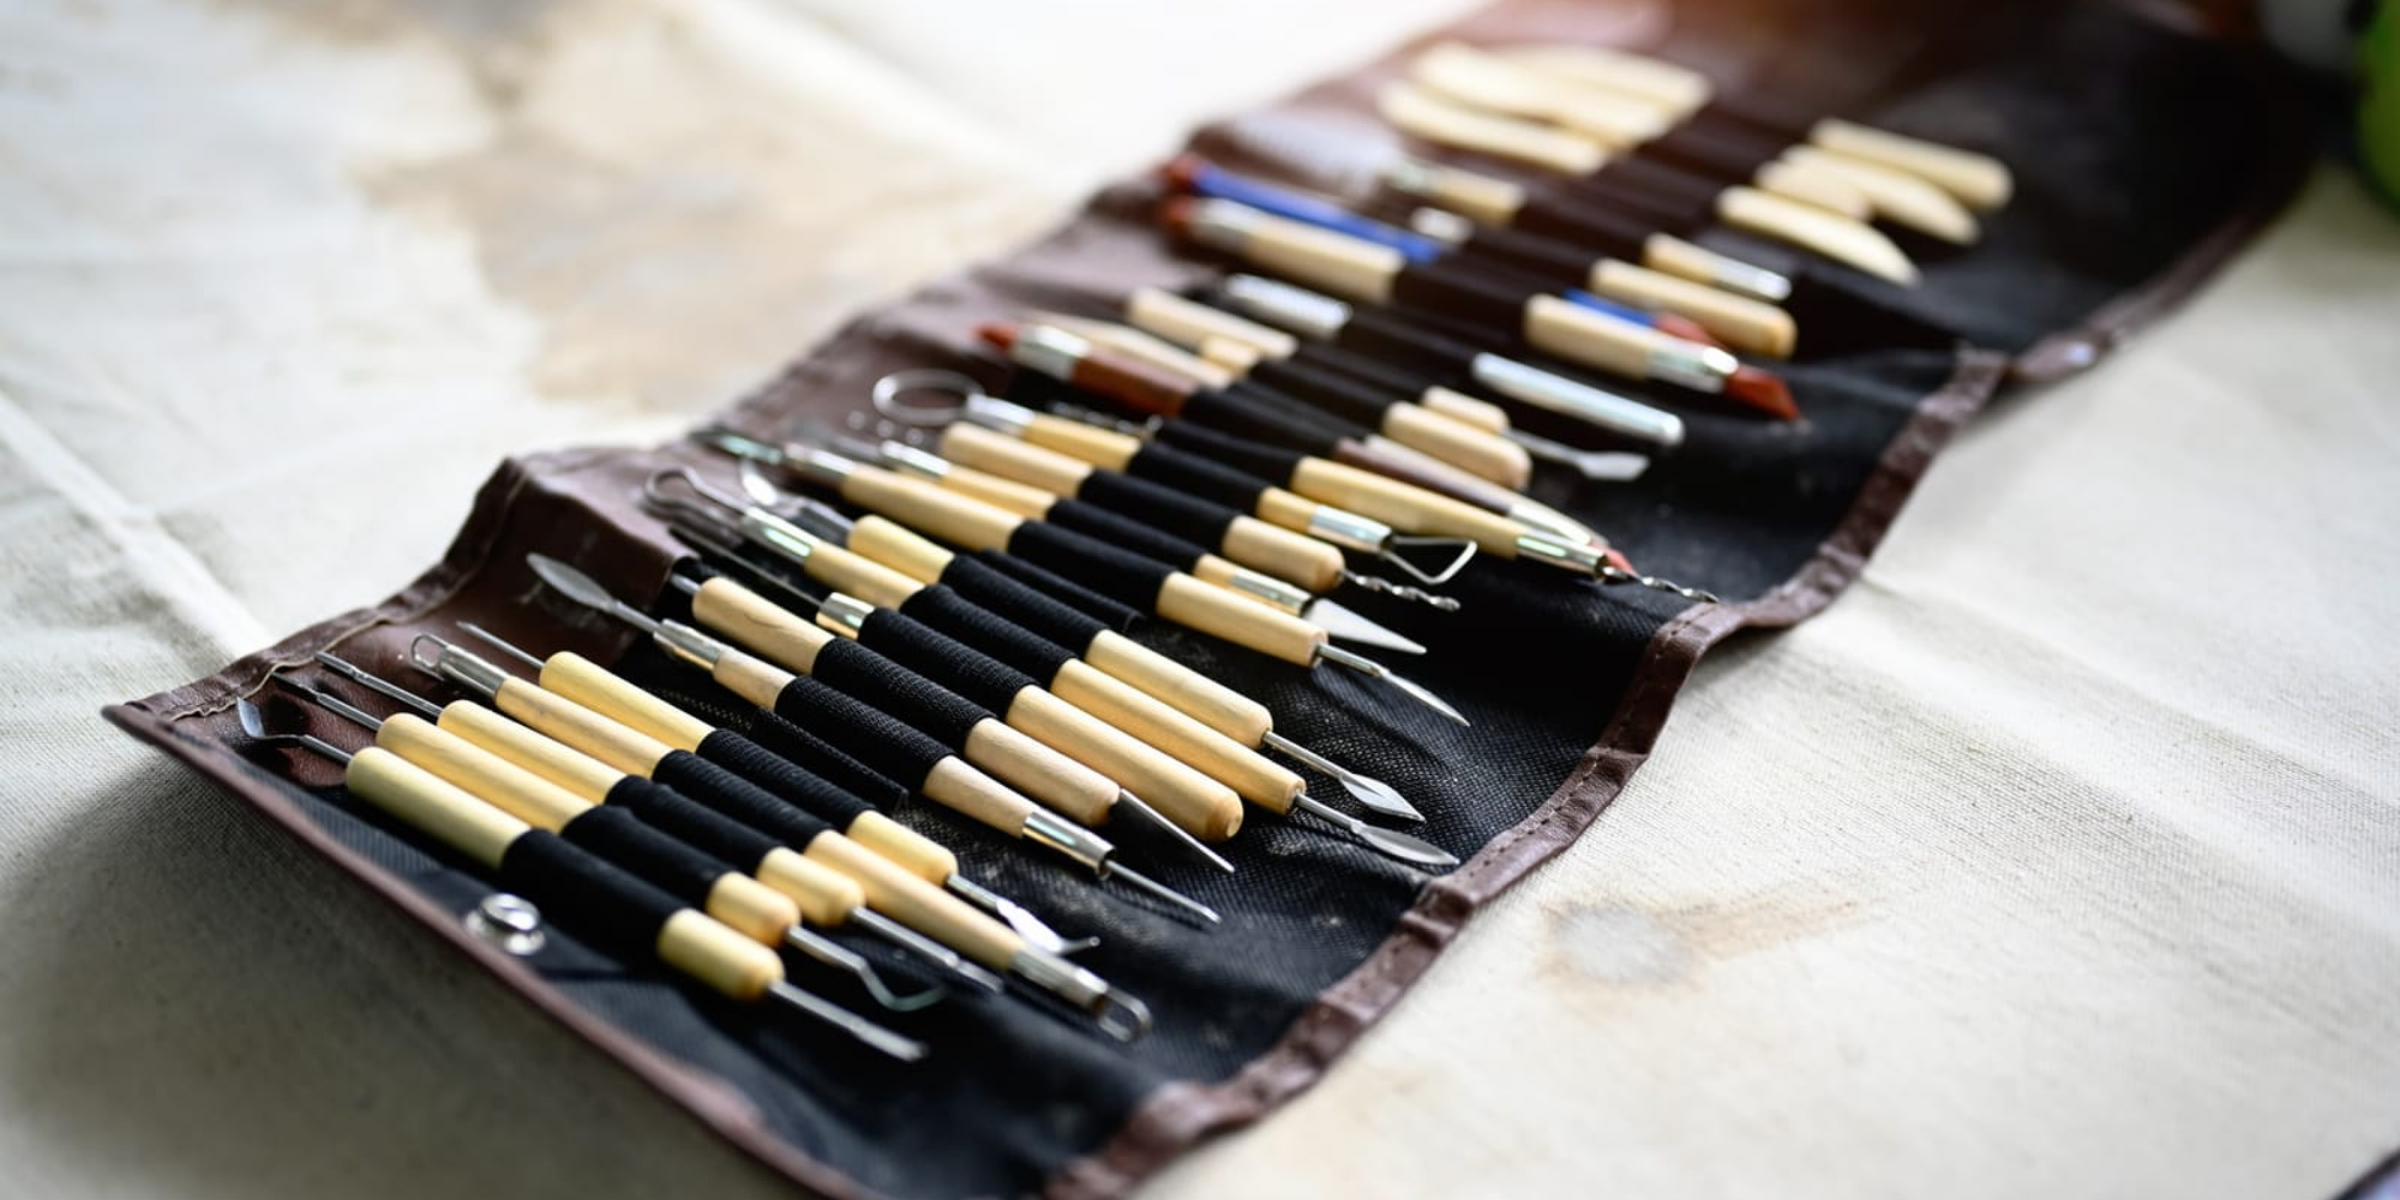
- Basic Sculpting Tools: While your fingers are your primary tools, a few simple additions can enhance your work. Consider plastic or wooden sculpting tools, a rolling pin (a clean, smooth bottle works too), a craft knife or butter knife for cutting, and perhaps a small bowl of water. You don’t need to splurge on expensive sets; often, household items suffice.
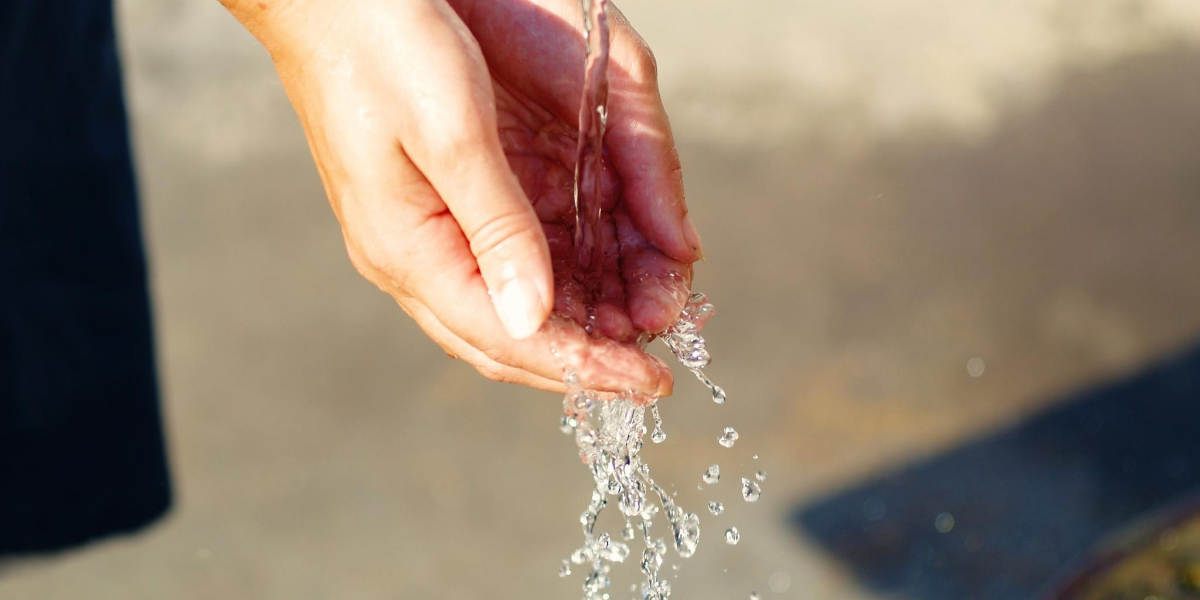
- Water Container: A small cup or bowl of water is essential for smoothing, joining, and rehydrating your clay. Keep it close by.
- Cleaning Supplies: A damp cloth or sponge will be helpful for wiping down your tools and hands.
Priming Your Clay for Perfection
This is an often-overlooked but vital step in working with air dry clay. Don’t just tear off a piece and start sculpting!
- Knead and Warm It Well: Imagine your clay has been resting, perhaps a little stiff. Before you begin sculpting, you need to awaken it. Take a piece of clay and knead and warm it well in your hands. This distributes the moisture evenly throughout the clay. Think of it like kneading dough—you want it to become pliable, smooth, and consistent in texture. If it feels too stiff or crumbly, a tiny spritz of water on your hands before kneading can help. If it’s too soft, let it sit out for a few minutes to firm up slightly. This kneading process helps prevent cracks during drying by ensuring uniform moisture content.
Sculpting Your Vision
Now that your workspace is set up and your clay is perfectly primed, it’s time for the exciting part: bringing your ideas to life!
Forming Basic Shapes
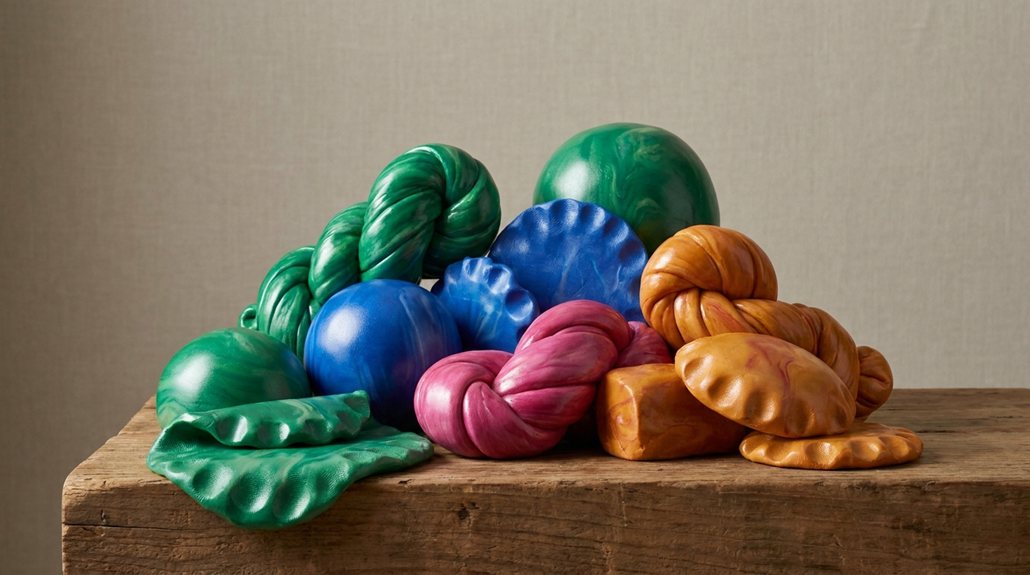
Start with simple shapes to get a feel for the clay’s properties. Roll, pinch, coil, and flatten. Think about the basic geometric forms that underpin most objects.
- Rolling Coils: Great for building up structures, adding details, or creating even strands. Roll a piece of clay between your palms or on your nonstick surface.
- Pinching and Pulling: Your fingers are fantastic tools for shaping. Pinch out bumps, pull up edges, or gently stretch the clay.
- Flattening Slabs: Use a rolling pin to create uniform sheets of clay, perfect for cutting out shapes or building box-like forms. Place the clay between two pieces of wax paper for easier rolling and to prevent sticking.
Joining Pieces for Strength
One of the most common challenges for beginners is having parts of their sculpture fall off either during creation or after drying. This is where a crucial technique comes into play.
- Score and Slip the Surfaces: This is the golden rule for joining air dry clay pieces securely. Don’t just press two pieces together! Instead, take your sculpting tool (or even a toothpick) and score the surfaces you want to join. This means making small, criss-cross scratch marks on both corresponding pieces. Then, apply a small amount of “slip” – which is simply a very wet, pasty mixture of air dry clay and water – to both scored surfaces. Think of it as glue. Press the pieces together firmly, wiggling slightly to ensure good contact, and then smooth the seam with your finger or a damp tool. This creates a much stronger, more integrated bond that is far less likely to break apart.
- Avoiding Weak Joints: Without scoring and slipping, joined pieces often have air pockets or insufficient surface contact, leading to brittleness. Take the extra minute to properly secure your joins.
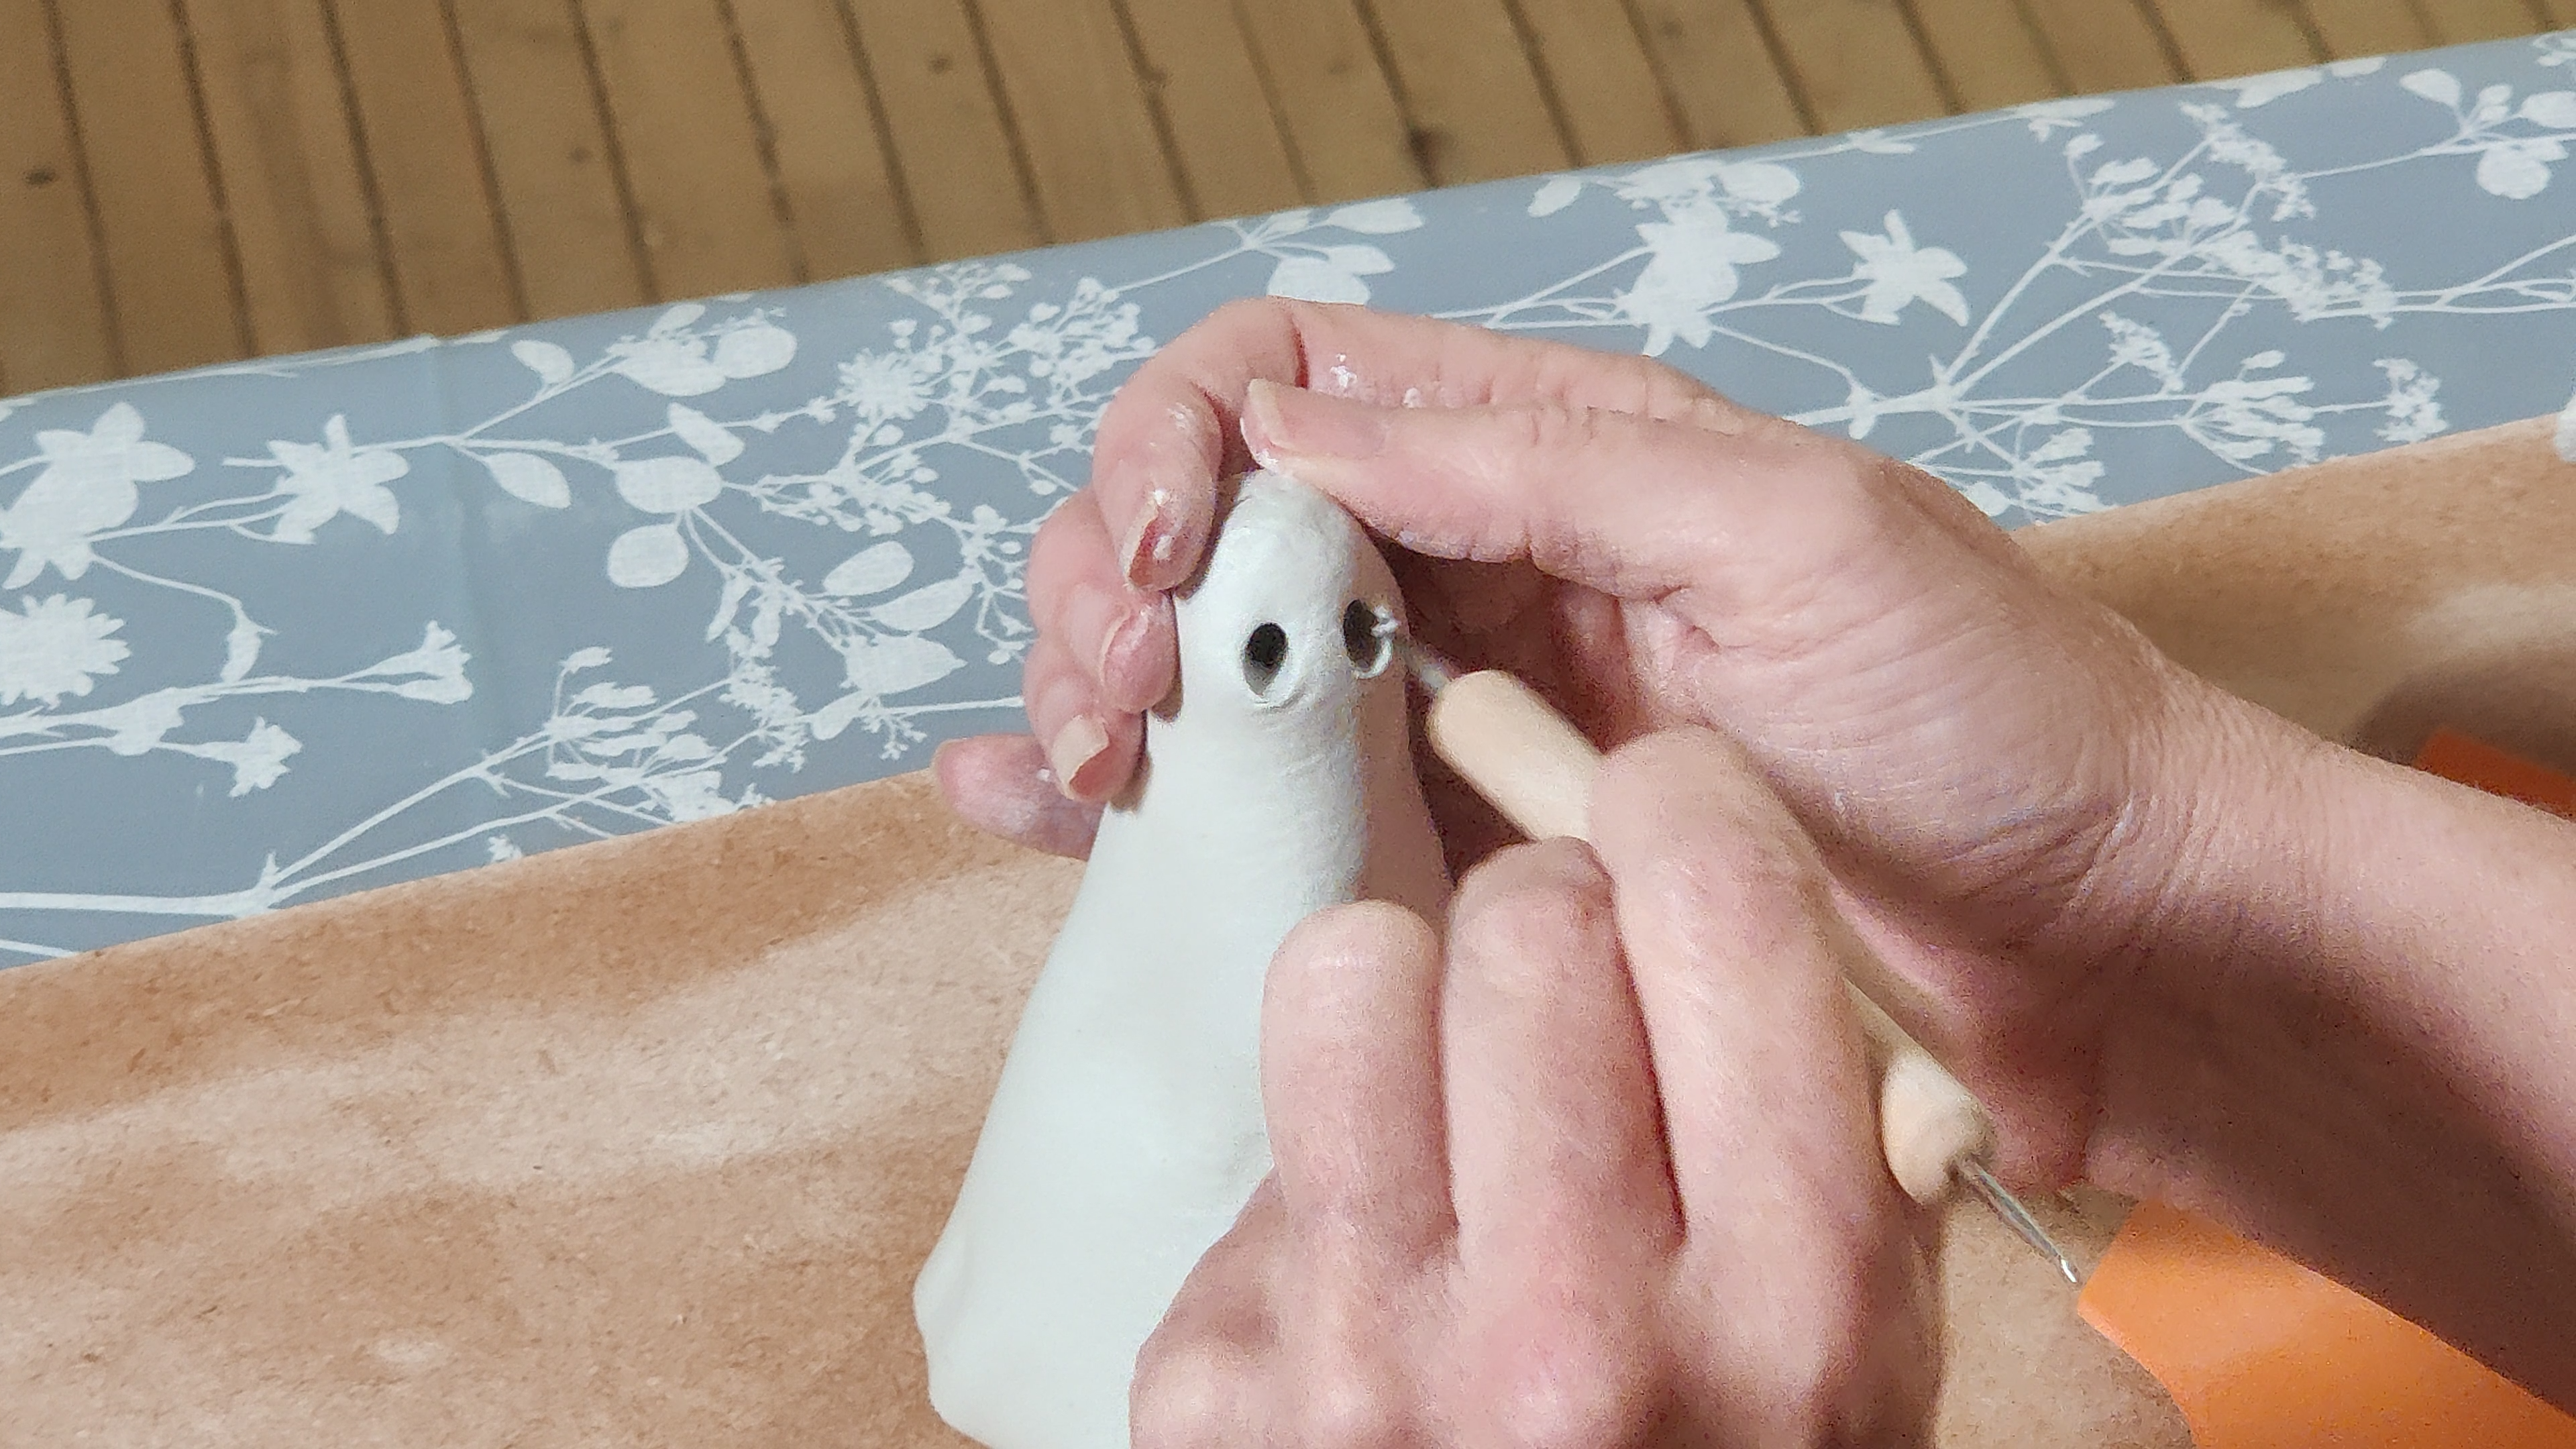
Adding Detail and Texture
Once your basic form is established, you can refine it and add personality.
- Smoothing Seams and Cracks: As you work, you might notice small cracks appearing, especially on curves or where you’ve joined pieces. A tiny bit of water on your fingertip or a soft brush can help smooth these out. Gently rub the area until the crack disappears.
- Water Sparingly: While water is useful for smoothing, remember this key advice: add water sparingly. A little can work wonders, but too much slows drying and can cause cracking. If your clay becomes too wet, it will be difficult to work with, feel soggy, and take an excessively long time to dry, increasing the risk of structural failure as it shrinks. Use just enough to get the job done.
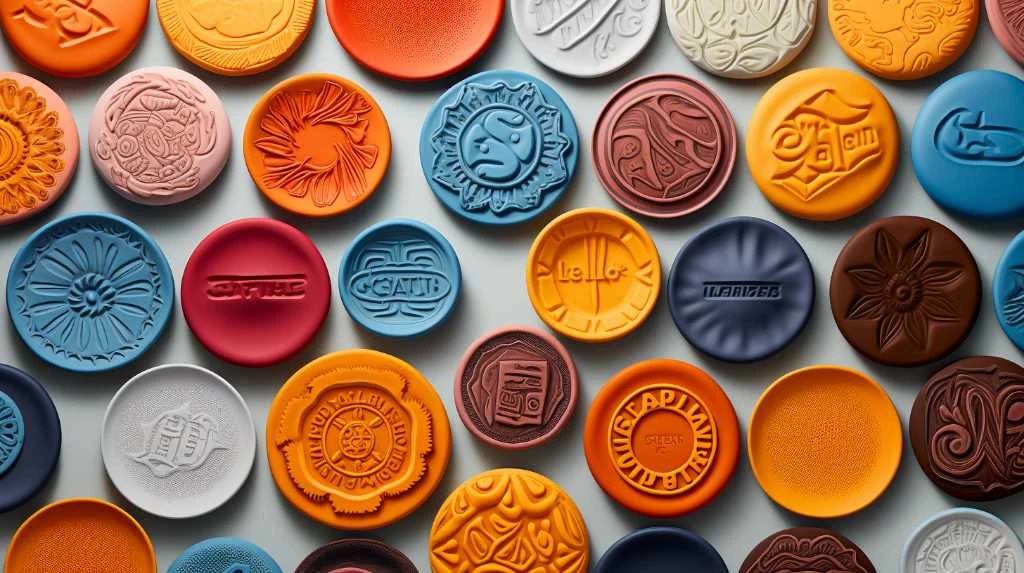
- Creating Textures: You can use found objects like leaves, lace, or stamps to impress textures onto your clay. Tools can also carve lines, dots, and patterns.
The Critical Drying Process
This stage is where your sculpture transitions from pliable clay to a solid form. Patience and the right conditions are paramount to preventing cracks and achieving a strong, durable piece.
The Art of Gradual Drying
Resist the urge to speed up the drying process using extreme heat! This is a common mistake that leads to many cracked sculptures.
- Let It Dry Slowly: The best results come from gradual drying in a warm, low-humidity room. Think of a sheltered spot away from direct sunlight, drafts, or heat sources like radiators. A consistent, moderate temperature allows the moisture to evaporate evenly from all parts of the sculpture, reducing internal stresses that cause cracking.
- Avoid Extreme Heat: Placing your sculpture in a hot oven, under a powerful heat lamp, or in direct, blasting sunlight will almost certainly cause it to crack. The outer layers will dry and shrink too quickly, while the inner layers remain wet, leading to an inevitable rupture.
Optimising Airflow for Even Drying
While gradual drying is key, promoting good airflow can significantly improve the process.
- Improve Airflow: You want air to circulate around all sides of your piece.
- A Fan on Low: A small fan set to its lowest setting, gently circulating air in the room (not directly blowing on the clay), can aid in even drying.
- Flipping Pieces: For flatter or larger pieces, gently flipping pieces periodically (once they’ve firmed up enough to handle) ensures both sides are exposed to the air.
- Using Racks: Drying racks, wire cooling racks, or even a piece of cardboard with small holes punched in it can lift your sculpture off the surface, allowing air to reach the underside. This is especially helpful for preventing flat areas from staying damp.
Knowing When It’s Truly Dry
How do you know for sure your sculpture is ready for the next step?
- Visual and Sensory Clues: A fully dry piece of air dry clay will be uniformly lighter in color than when wet. It will also feel completely hard and cool to the touch. If there are any areas that still feel cool or look darker, they are likely still damp.
- Timeframe: Depending on the thickness of your sculpture and environmental conditions, drying can take anywhere from 24 hours for small, thin pieces to several days, or even a week or more, for very thick or large creations. Be patient!
Refining Your Masterpiece
Once your sculpture is bone-dry, you have the opportunity to smooth out any imperfections and prepare it for its final finish.
Sanding for Smoothness
Even with careful sculpting, you might have rough patches or minor bumps.
- Sand Only When Fully Dry: This is critical. Attempting to sand a piece that is still even slightly damp will simply gum up your sandpaper and make a mess. Wait until it’s completely dry and hard.
- Use Fine Sandpaper: Start with a medium-grit sandpaper if you have significant imperfections, then move to a fine-grit (220 grit or higher) for a smooth finish. You can find sandpaper at any hardware store.
- Wear a Mask to Avoid Dust: Sanding air dry clay creates fine dust. For your respiratory health, it’s highly recommended to wear a mask to avoid dust inhalation. Work in a well-ventilated area, or even outdoors if possible.
- Gentle Technique: Use light, even pressure, and sand in small circular motions or along the contours of your piece.
Reinforcing Delicate Details
Sometimes, despite your best efforts, small, thin, or protruding parts of your sculpture might feel a bit fragile, even after drying.
- Water-and-Glue Wash: For stronger details, some makers use a water-and-glue wash or reinforce small pieces after drying. This involves mixing approximately equal parts white or craft glue (like Mod Podge or PVA glue) with water to create a thin, milky solution. You can then gently brush this mixture onto delicate areas or even the entire piece. The glue soaks into the porous clay, strengthening it as it dries without adding significant bulk. This is particularly useful for thin appendages, intricate carvings, or areas prone to breakage.
- Applying with Care: Use a soft brush and apply thin coats. Allow each coat to dry completely before applying another.
Finishing and Protecting Your Creation
Congratulations! Your sculpture is dry, smoothed, and ready for its final transformation. This is where you add color and durability.
Adding Color with Paint
This is your chance to really bring your sculpture to life with a splash of color!
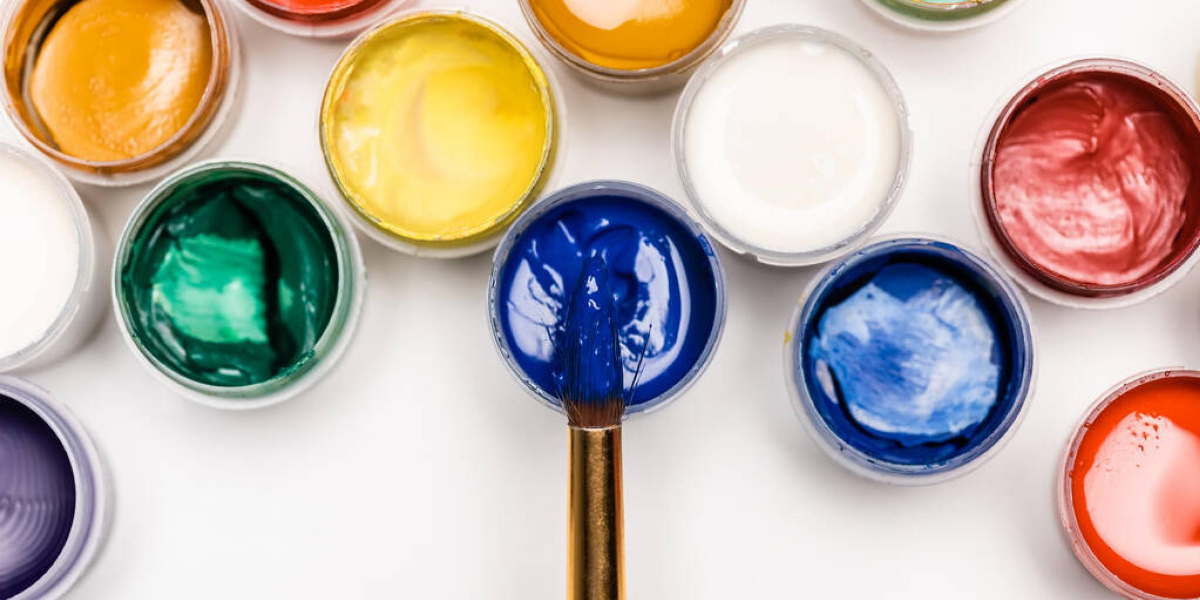
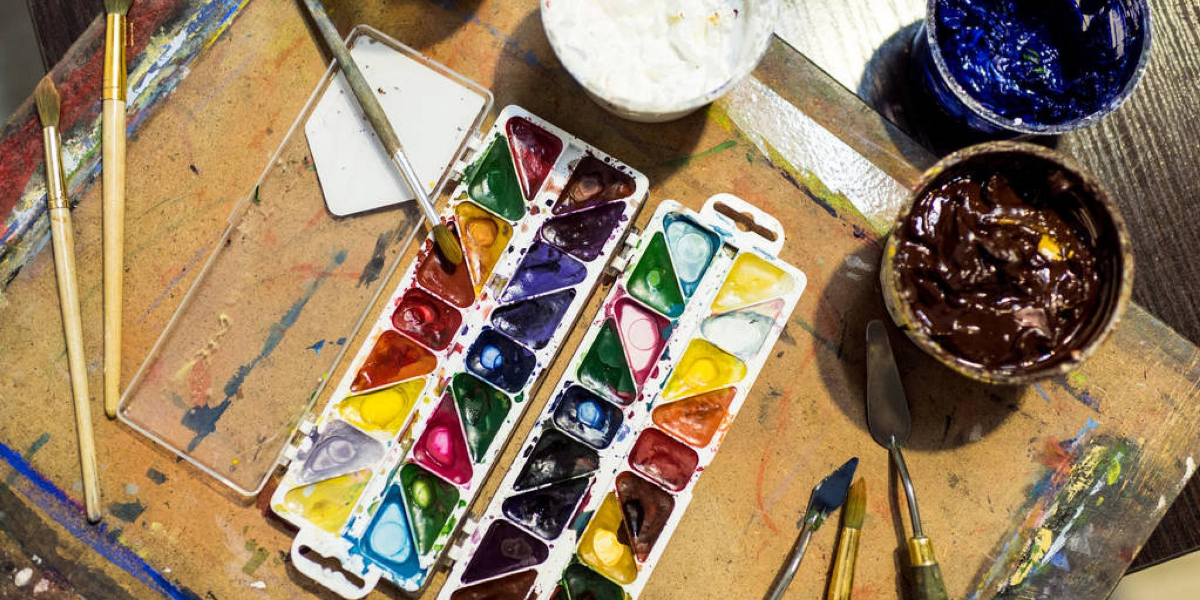
- Paint with Acrylics: Acrylic paints are an excellent choice for air dry clay. They are water-soluble, easy to clean up, dry quickly, and offer a wide range of vibrant colors. They adhere well to the porous surface of the clay.
- Applying Coats: You might need multiple thin coats of paint to achieve opaque coverage, especially if you’re painting light colors over darker clay. Allow each coat to dry completely before applying the next.
- Other Paint Options: While acrylics are most popular, tempera paints can also work, though they might not be as durable. Oil paints are generally not recommended as they can take a very long time to dry on air dry clay.
Sealing for Durability and Longevity
Painting adds color, but sealing adds protection, enhancing the lifespan and appearance of your piece.
- Seal with Varnish or Mod Podge: Once your paint is completely dry, it’s time to seal your work. You can optionally seal with varnish or Mod Podge.
- Varnish: Available in various finishes (matte, satin, gloss), varnish provides a durable, protective layer. Artist’s acrylic varnishes are widely available. Apply thin, even coats with a soft brush, allowing each coat to dry thoroughly.
- Mod Podge: This all-in-one glue, sealer, and finish is another excellent option, offering both protection and varying finishes. It’s often favored for its ease of use.
- The Benefits of Sealing: Sealing protects the paint from scratches, dirt, and moisture (though air dry clay is generally not waterproof, a good sealed finish offers some resistance). It also unifies the finish and can deepen the colors.
- Consider Its Use: If your piece is purely decorative and won’t be handled much, sealing might be optional. However, for pieces that will be touched, displayed in areas with fluctuating humidity, or are meant to last, sealing is highly recommended.
Maximising Your Clay and Creativity
Every sculptor, from beginner to expert, encounters situations where they need to preserve their work or adapt to unexpected challenges.
Storing Unfinished Work
Don’t feel pressured to finish a project in one sitting. Air dry clay is forgiving if you know how to store it correctly.
- If You Need More Time: Crafting can be a lengthy process, and sometimes you need to step away. Store unfinished work in plastic wrap or a sealed bag to keep it from drying out. Wrap it very tightly, ensuring as little air as possible reaches the clay. You can even place the wrapped piece inside an airtight container for extra protection. This will keep your clay pliable for days, or even weeks, allowing you to return to your project without losing your progress.
- Rehydrating Stiff Clay: If your stored clay feels a bit stiff, you can try working a tiny bit of water into it during kneading to bring it back to life.
Troubleshooting Common Issues
- Cracking During Drying: This is usually due to too-rapid drying or uneven moisture distribution. Ensure you kneaded the clay well and allowed it to dry slowly in a stable environment. If cracks appear, you can sometimes fill them with fresh clay and smooth them out with water before the piece is fully dry.
- Weak Joints: Revisit the “score and slip” technique. It’s truly the key to strong connections.
- Surface Stickiness: If your clay sticks to your work surface, you likely didn’t use a nonstick material. Next time, opt for wax paper or a silicone mat.
You now possess a comprehensive understanding of how to work with air dry clay, armed with practical insights and proven techniques. From the very first knead to the final protective seal, you have the knowledge to create durable, beautiful, and expressive sculptures. Embrace the process, experiment with forms and textures, and most importantly, enjoy the satisfying journey of bringing your imagination into tangible existence. Happy sculpting!
FAQs
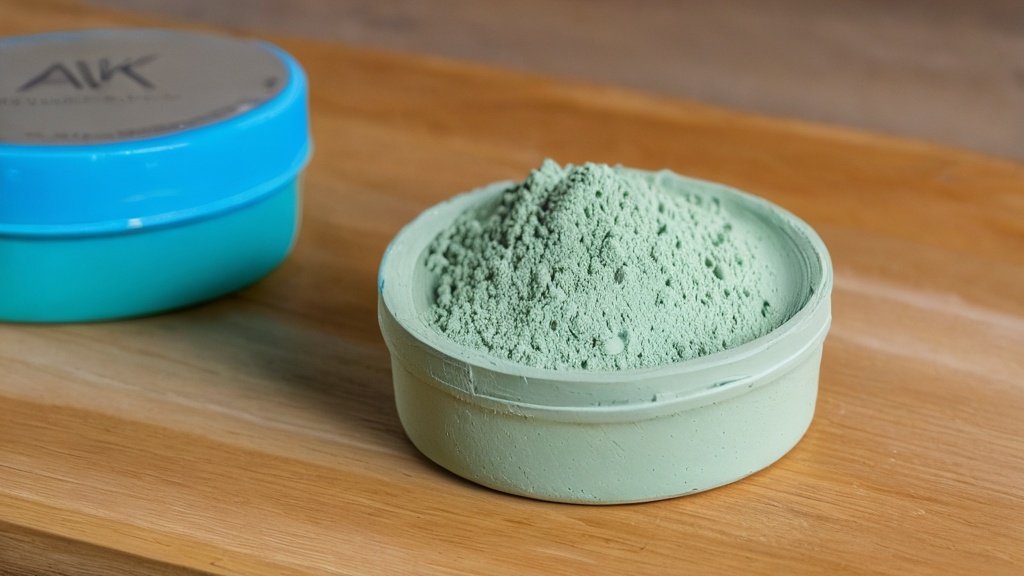
What is air dry clay?
Air dry clay is a type of modeling clay that hardens as it dries in the air, without the need for baking or firing in a kiln. It is a popular choice for craft projects and sculpting due to its ease of use and accessibility.
How do you use air dry clay?
To use air dry clay, start by kneading it to make it pliable. Then, shape and mold the clay into your desired design. Allow the clay to dry completely, which can take anywhere from 24 hours to several days depending on the thickness of the clay and the humidity of the environment.
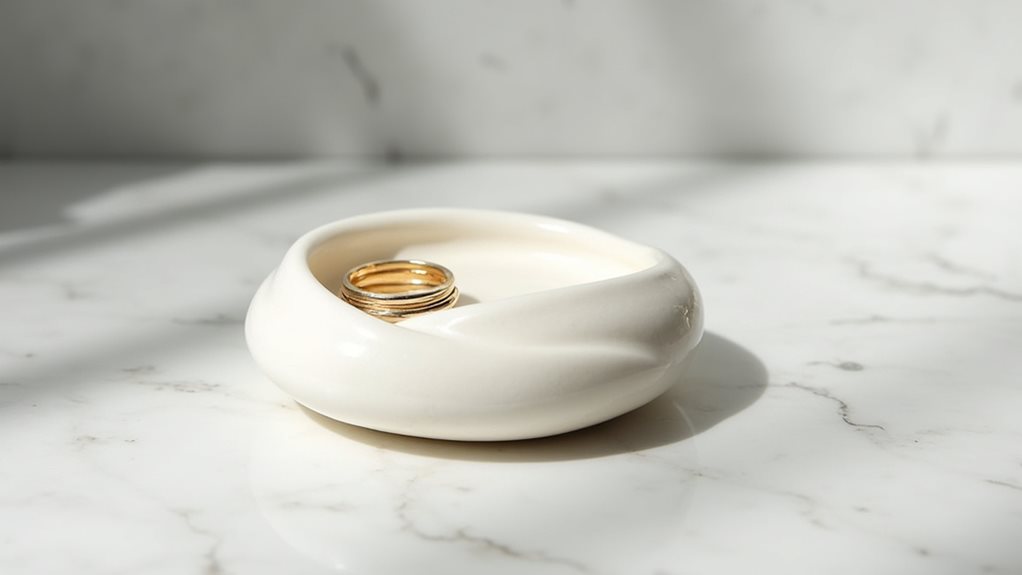
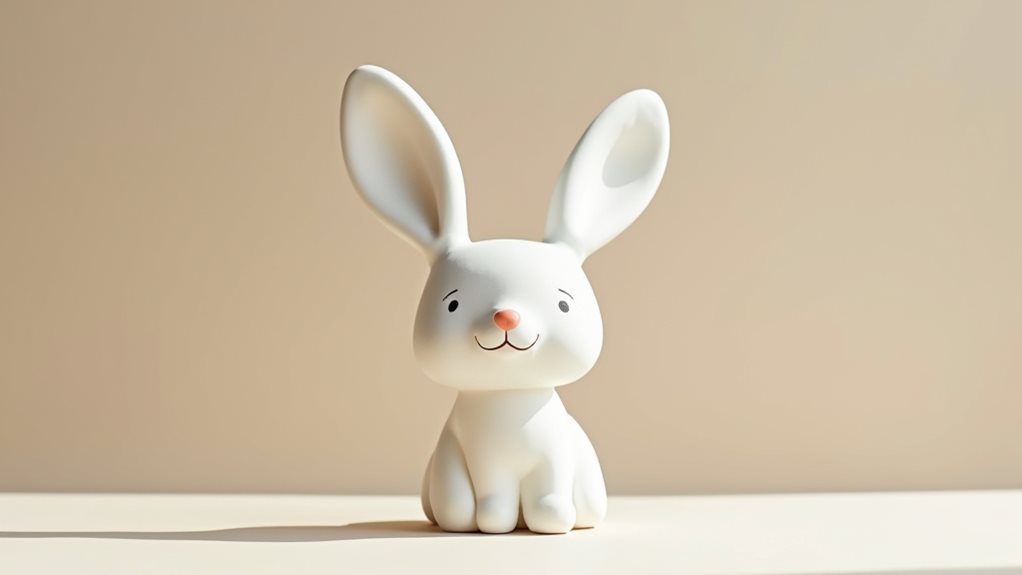
What can you make with air dry clay?
Air dry clay can be used to create a wide range of items, including sculptures, jewelry, ornaments, and decorative objects. It is a versatile medium that can be painted, stamped, and embellished to add unique details to your creations.
How do you store air dry clay?
To keep air dry clay fresh and workable, store it in an airtight container or resealable plastic bag when not in use. Make sure to keep it away from direct sunlight and extreme temperatures to prevent it from drying out prematurely.
Can air dry clay be painted?
Yes, air dry clay can be painted with acrylic paints, watercolors, or other types of paint once it has fully dried. It is important to seal the clay with a clear varnish or sealant after painting to protect the surface and enhance the finished look of the piece.